
Macro photography on phones, even the best camera phones, isn't as straightforward as it should be. And while I'm not a photography expert, I do know how to use phones, so I want to share some tips that might help you improve your close-ups.
I was inspired to write this all down after I received an email from a TG reader who owns a Galaxy S25 Ultra, and who was struggling to get good results with its macro mode. Since the Galaxy S25 Ultra recently proved to be a far better macro camera phone than the iPhone 16 Pro Max, there's a lot of potential to unlock with the right set-up.
Hopefully these tips will help you get the most out of your current phone's cameras. But if you want to see what the top phones you can buy today are capable of, check out our 200 photos face-off series where we compare macro shots, among many other kinds, taken by the latest and best phones around.
Make sure you know how to enable/disable Macro mode
I don't mean to condescend to anyone with this first point, because it's important to start here. Phones don’t always make it obvious where Macro mode is, if it has one. And some models also make it annoyingly easy to accidentally turn off macro mode, for added difficulty.
On some phones, you'll need to open a specific preset in the Camera app, perhaps stored under a "More" header in the main interface, or secreted alongside common settings like aspect ratio or resolution. You may also have to check the macro option enabled in your Settings app first, as is the case with iPhones.
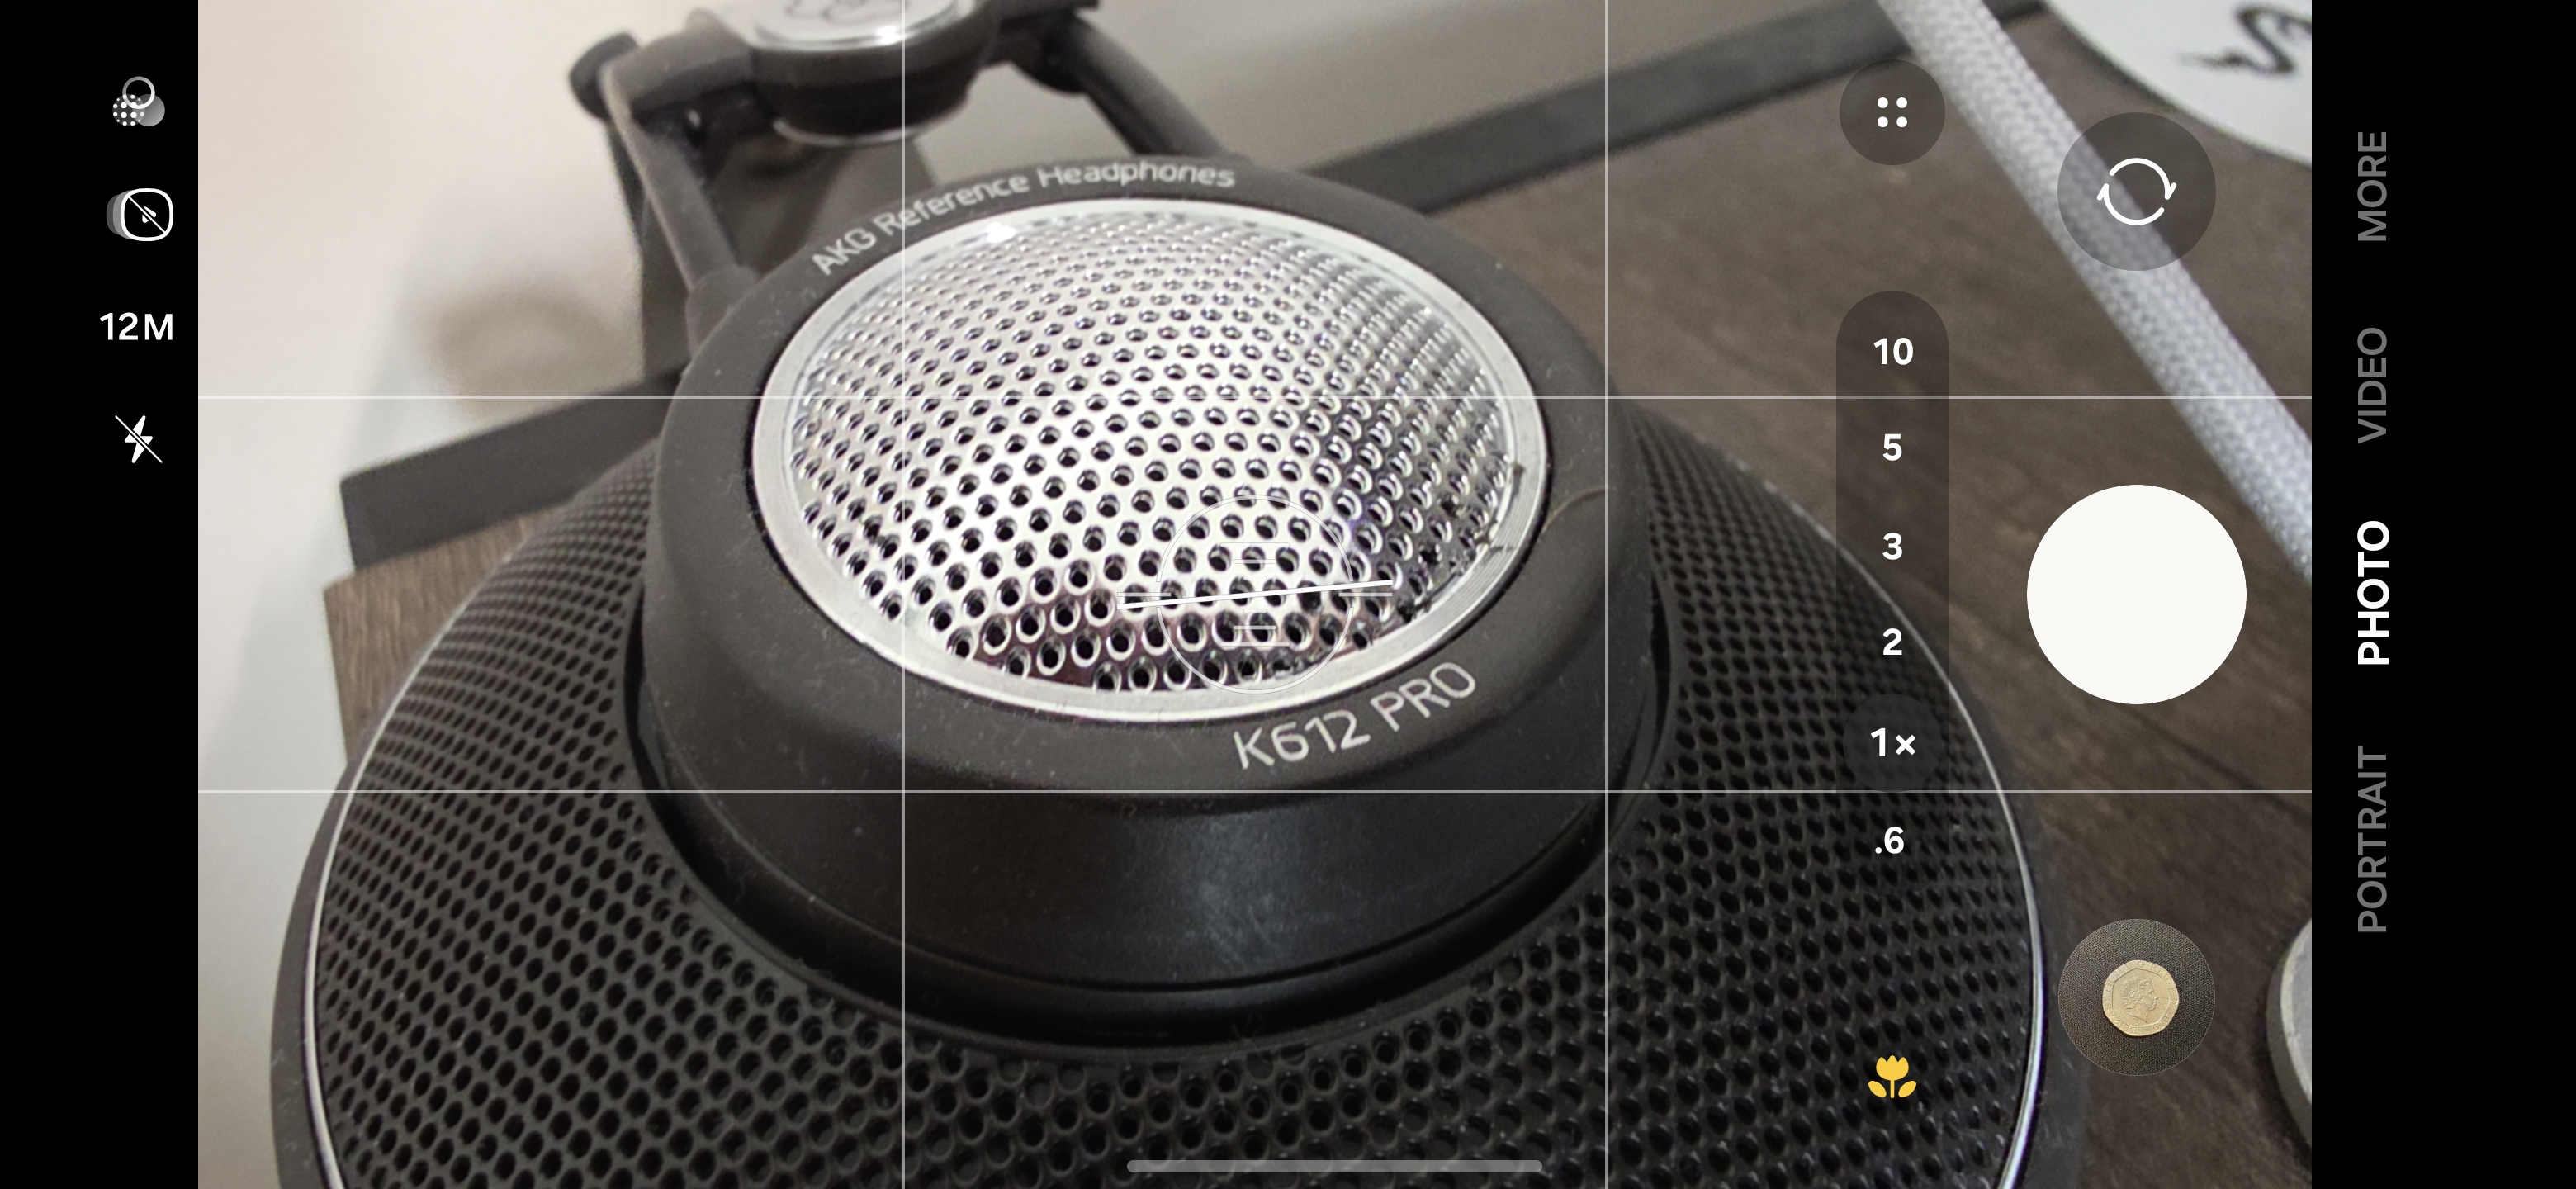
In the Galaxy S25 Ultra’s case, macro mode exists as a little flower icon, labelled as Focus Enhancer, which will appear automatically when the phone thinks it can help out with a close-up shot. If it’s yellow, then it’s already active. If it’s white, then give it a tap to switch it on.
Light is everything
At its simplest, photography as about recording light, so generally you want a lot of it when taking your snaps, especially of objects indoors. Increasing the light level, or number of lights, you use to illuminate your subjects can turn a grim-looking image into something much more appealing.

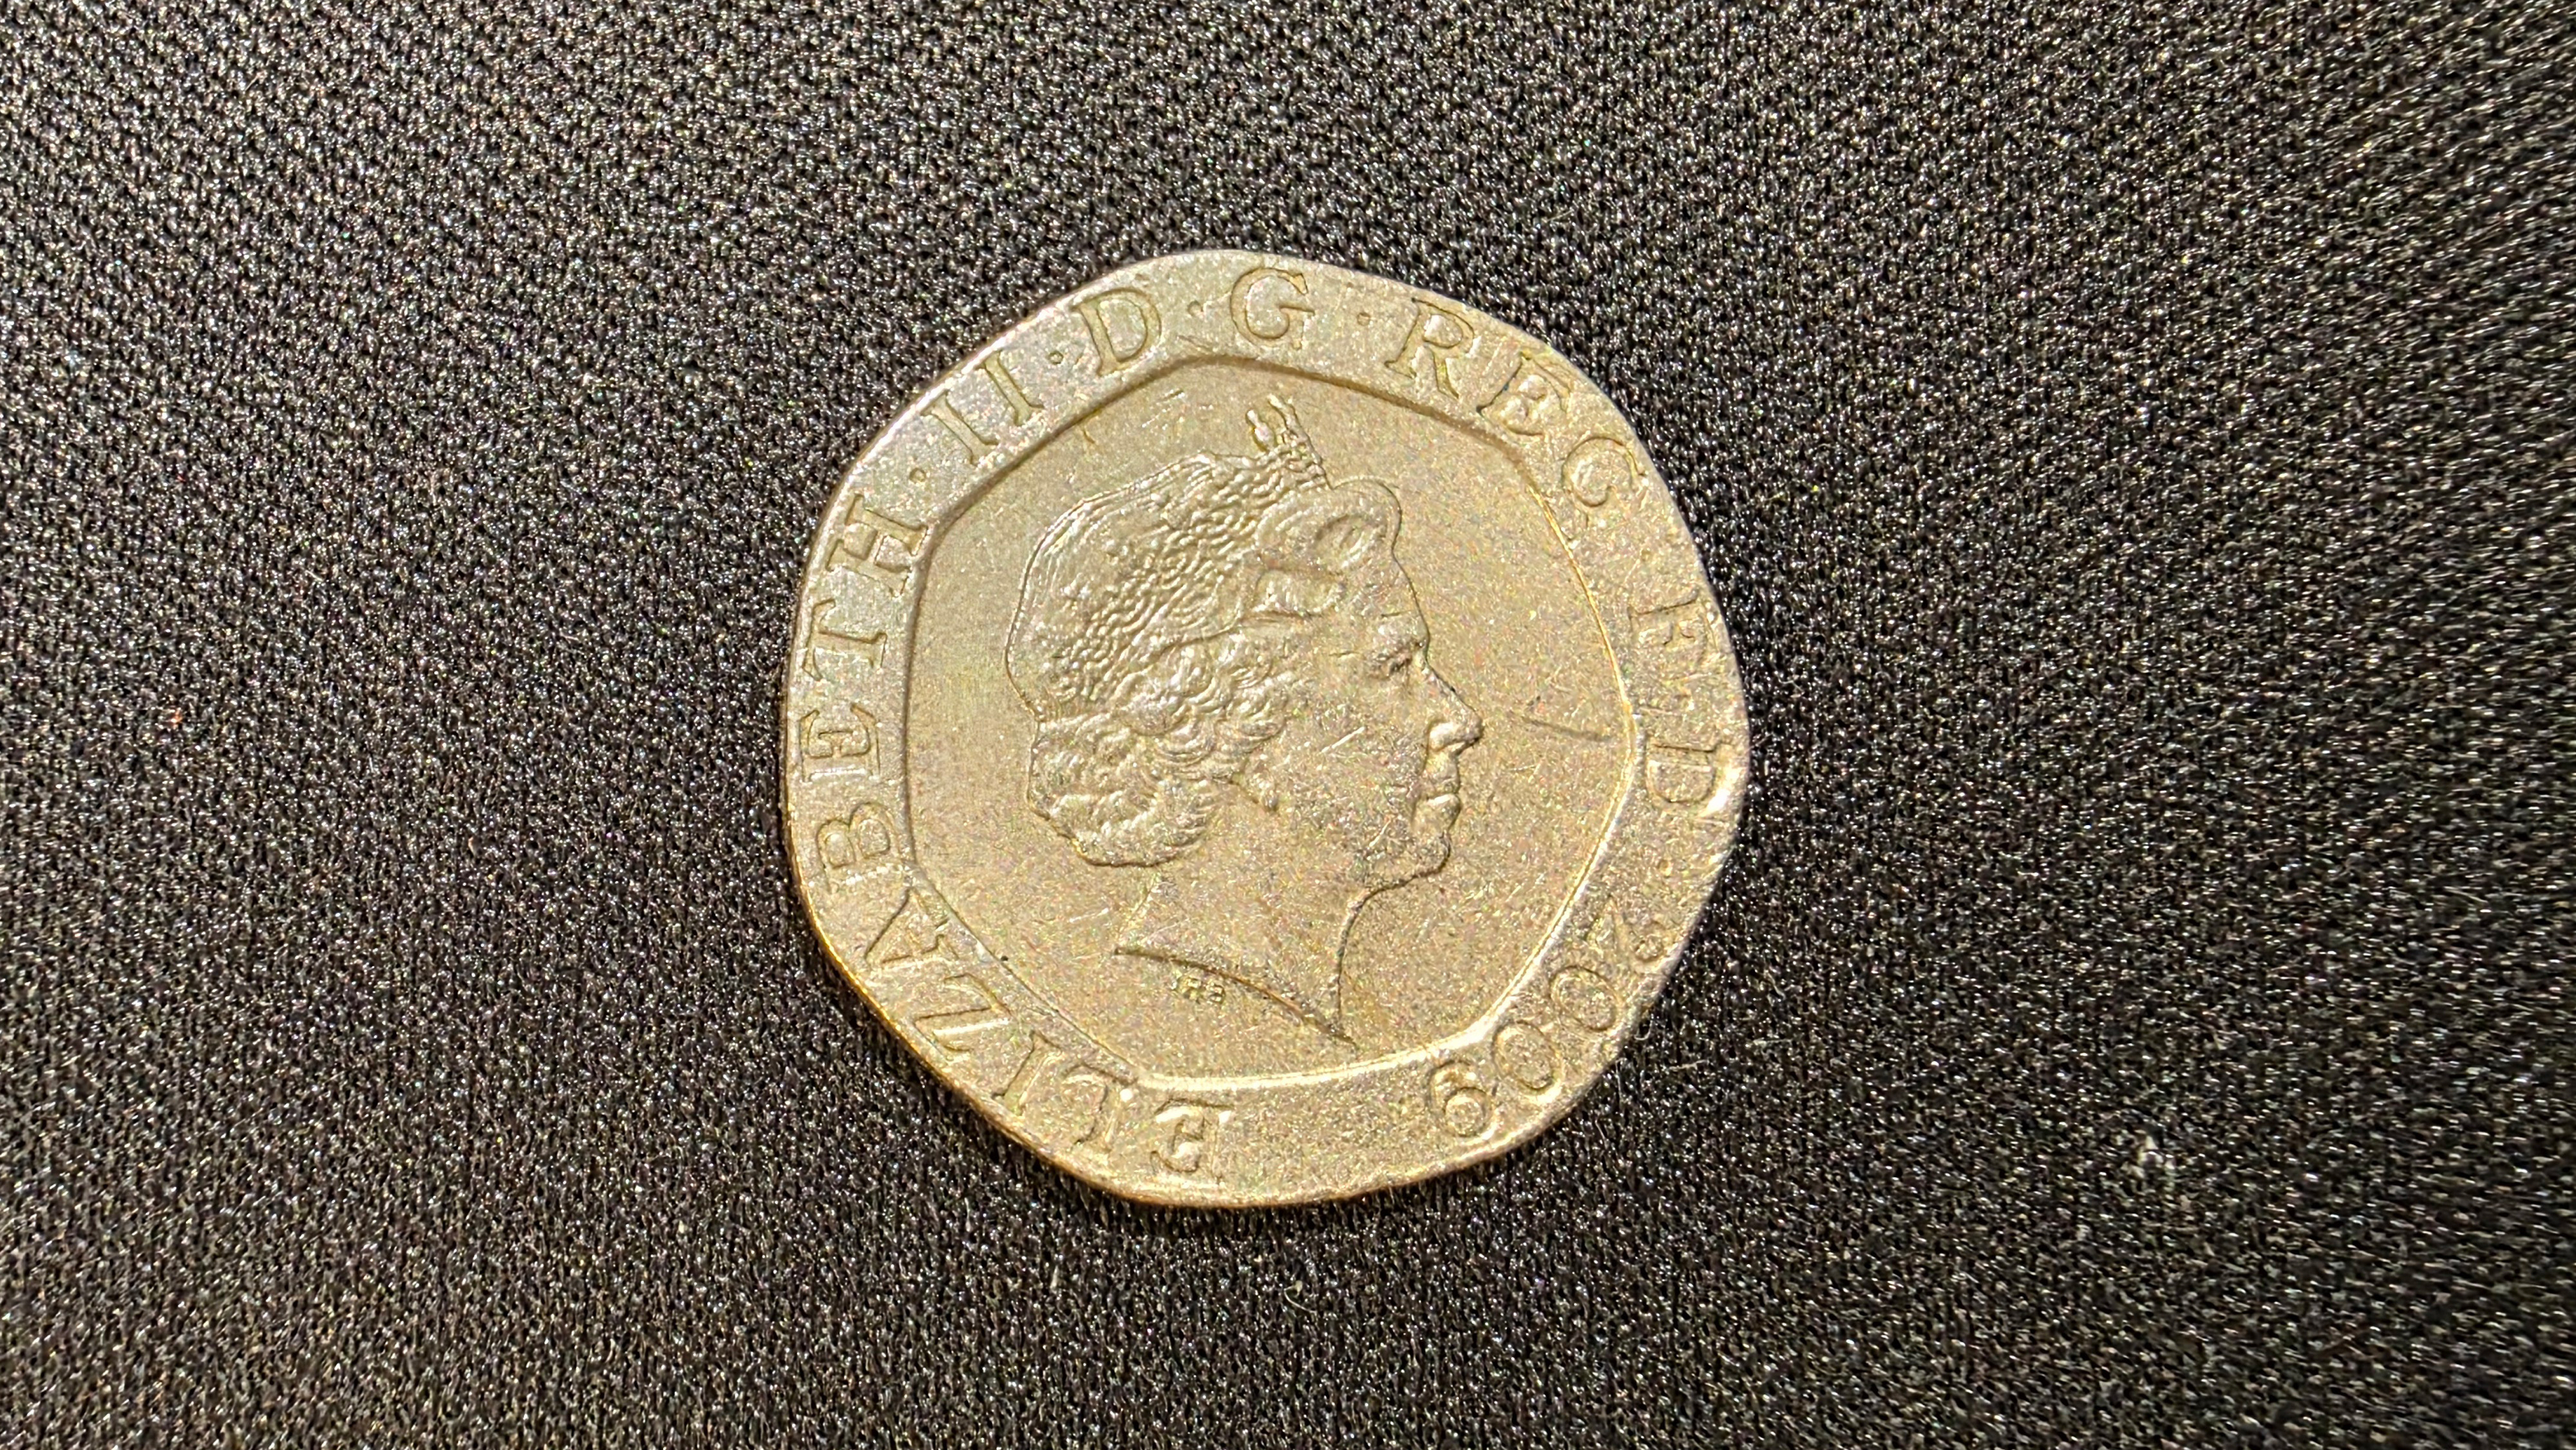
Where possible, I take my own macro shots outdoors or by a large window, as under normal indoor lighting, the quality of these shots rapidly deteriorates. If the light causes too much glare or reflection on your subject, then try adjusting your angle to move the position of the light spots, or use a diffuser. If you don’t have one of these handy translucent screens, then fixing any material over the light source that will scatter the light, like a thin fabric or sheet of paper, could do the job in a pinch.
Macro mode isn’t always the right answer
My final piece of advice is the counter-intuitive idea to ignore the macro mode entirely in some situations. Sometimes the best solution is to actually get further away.
The Galaxy S25 Ultra, iPhone 16 Pro, Google Pixel 9 Pro and many other flagship phones all have excellent 5x zoom telephoto cameras, and many cheaper phones are capable of 2x or 3x zoom by cropping in with a high-res main sensor. But even if you don't have that capability, a main camera with macro mode switched off can still be the better pick for certain scenarios.
This is for two main reasons. First off, the distance you have to hold a phone for macro shots is often close enough for the phone to end up casting a shadow on your subject, causing full-on lighting issues like we discussed above or just an ugly dark patch that spoils the shot.
The other consideration is the visual effects that different lenses provide, mainly different depths of field and levels of flattening. Depth of field describes how large a range of distance will be in focus in a shot, while flattening refers to how much it compresses the space in a shot, as you can see below.
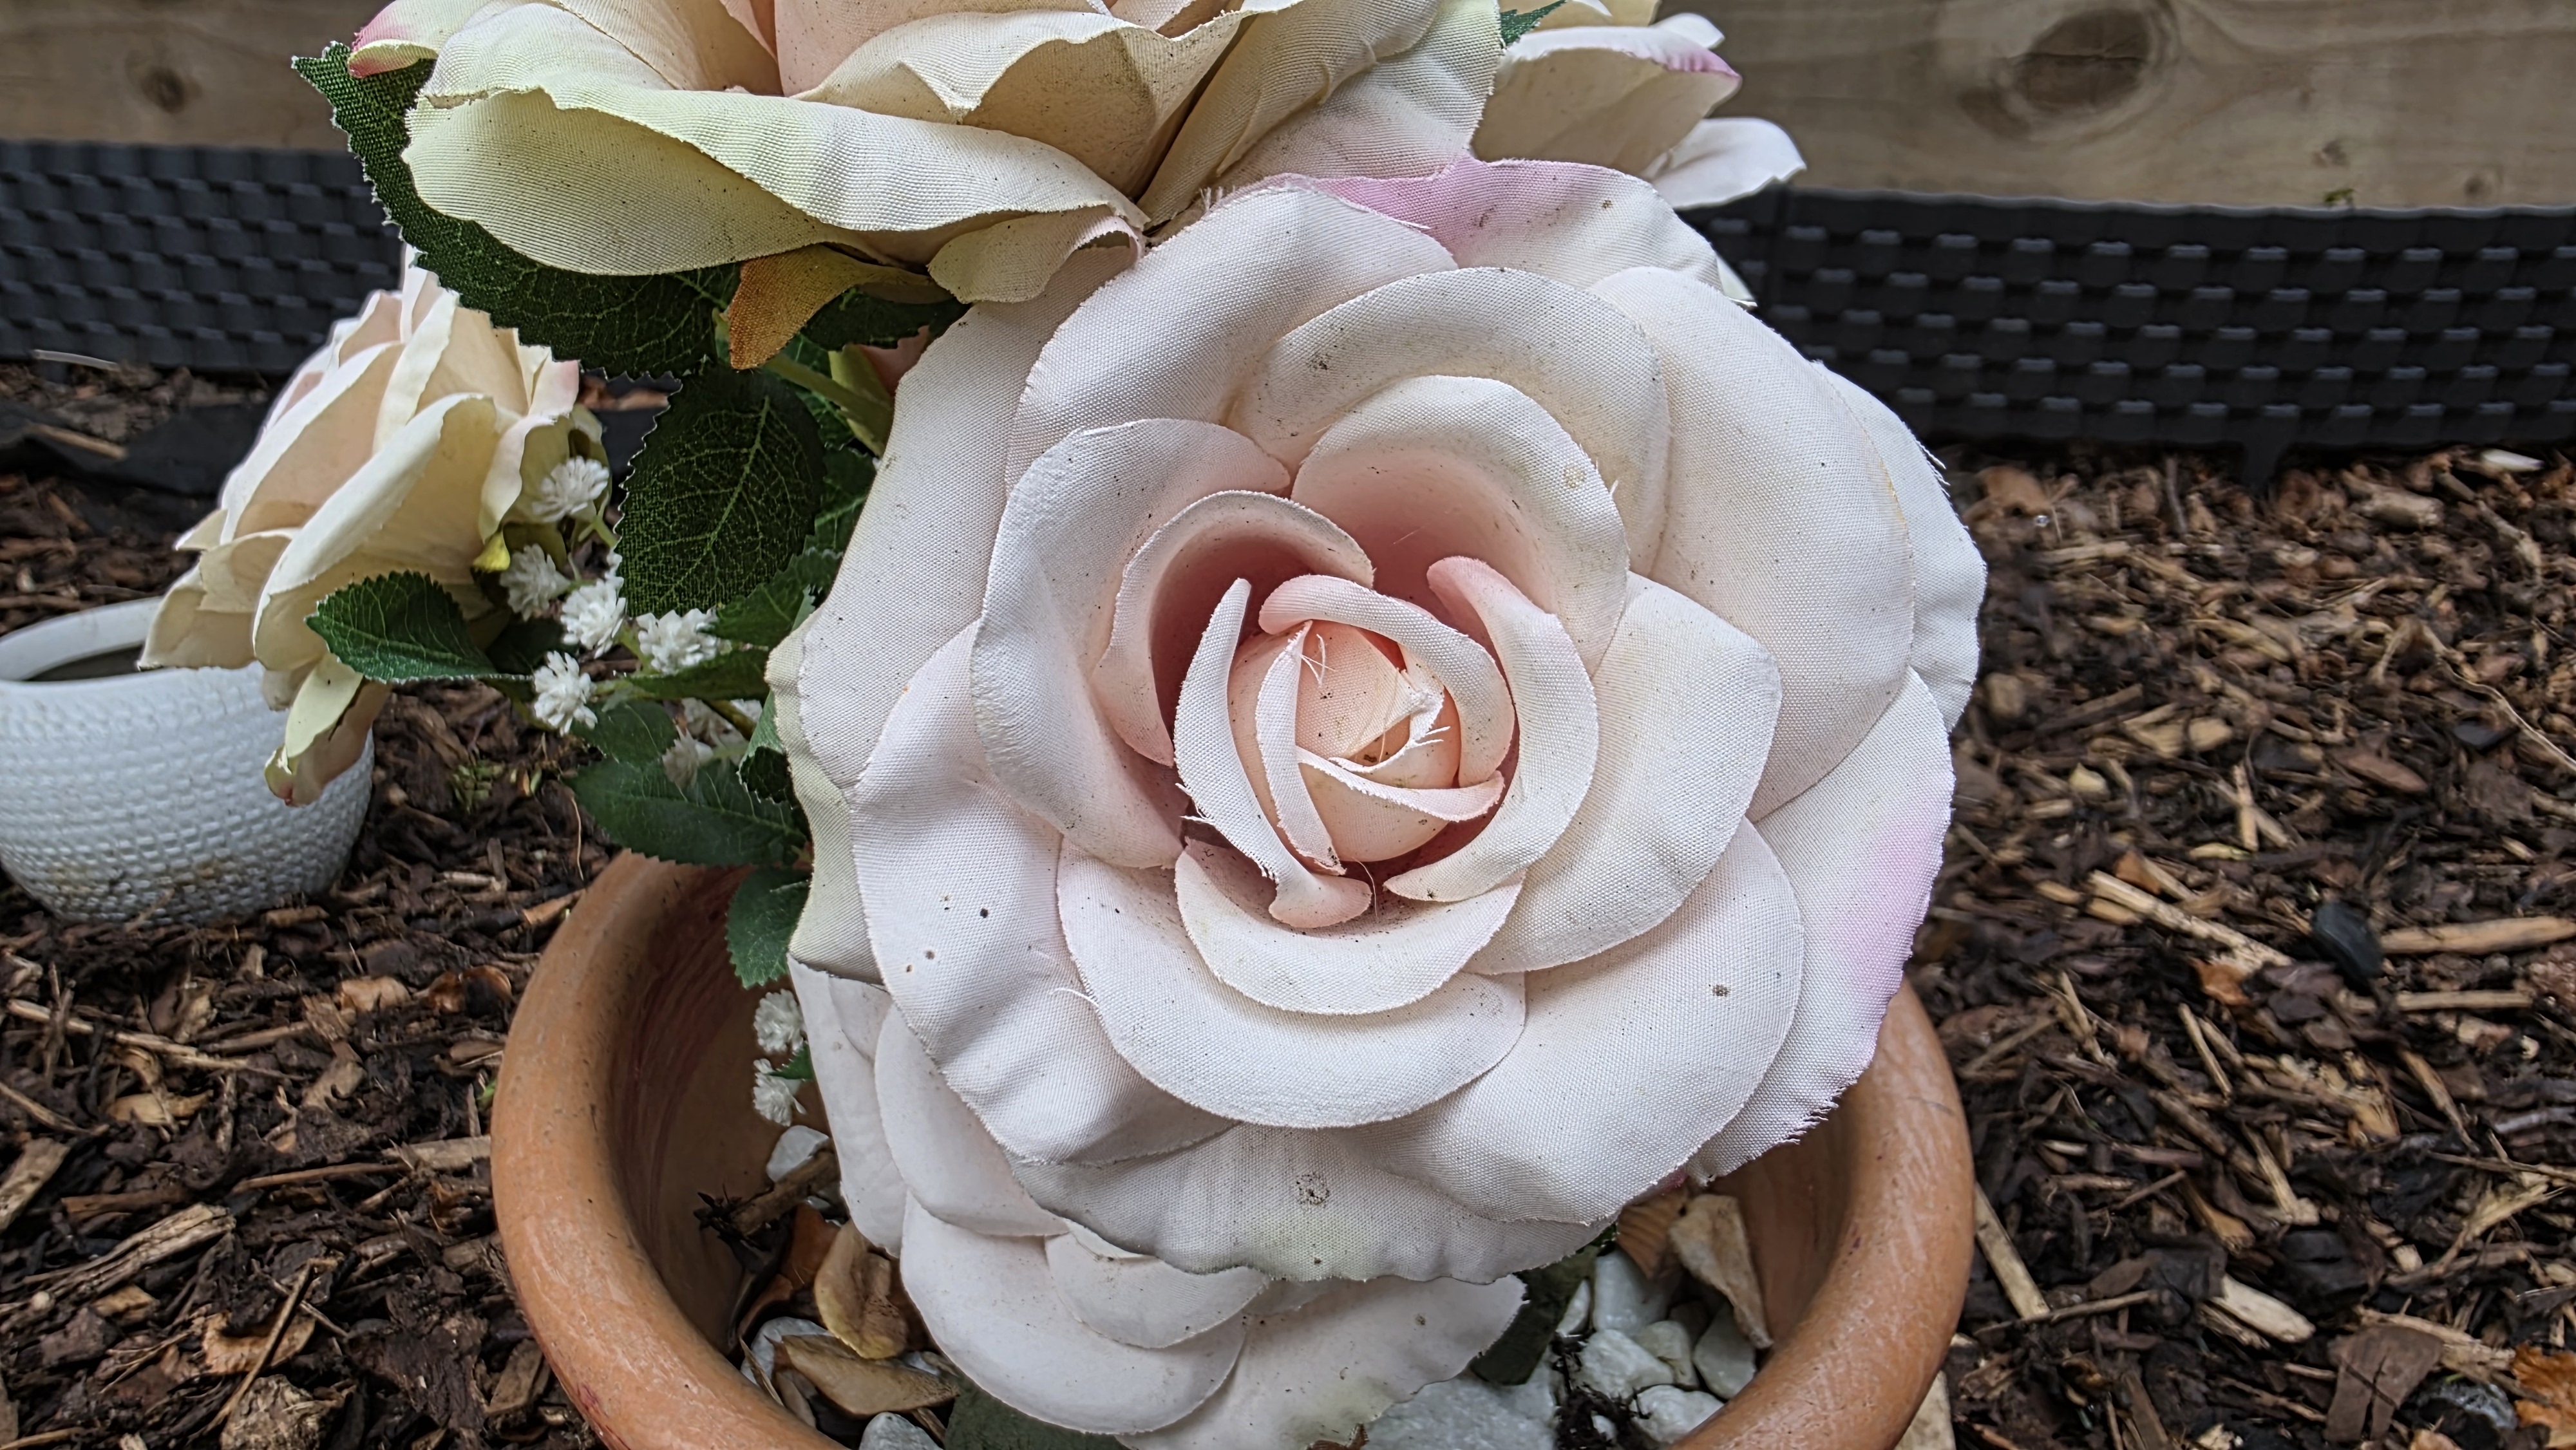
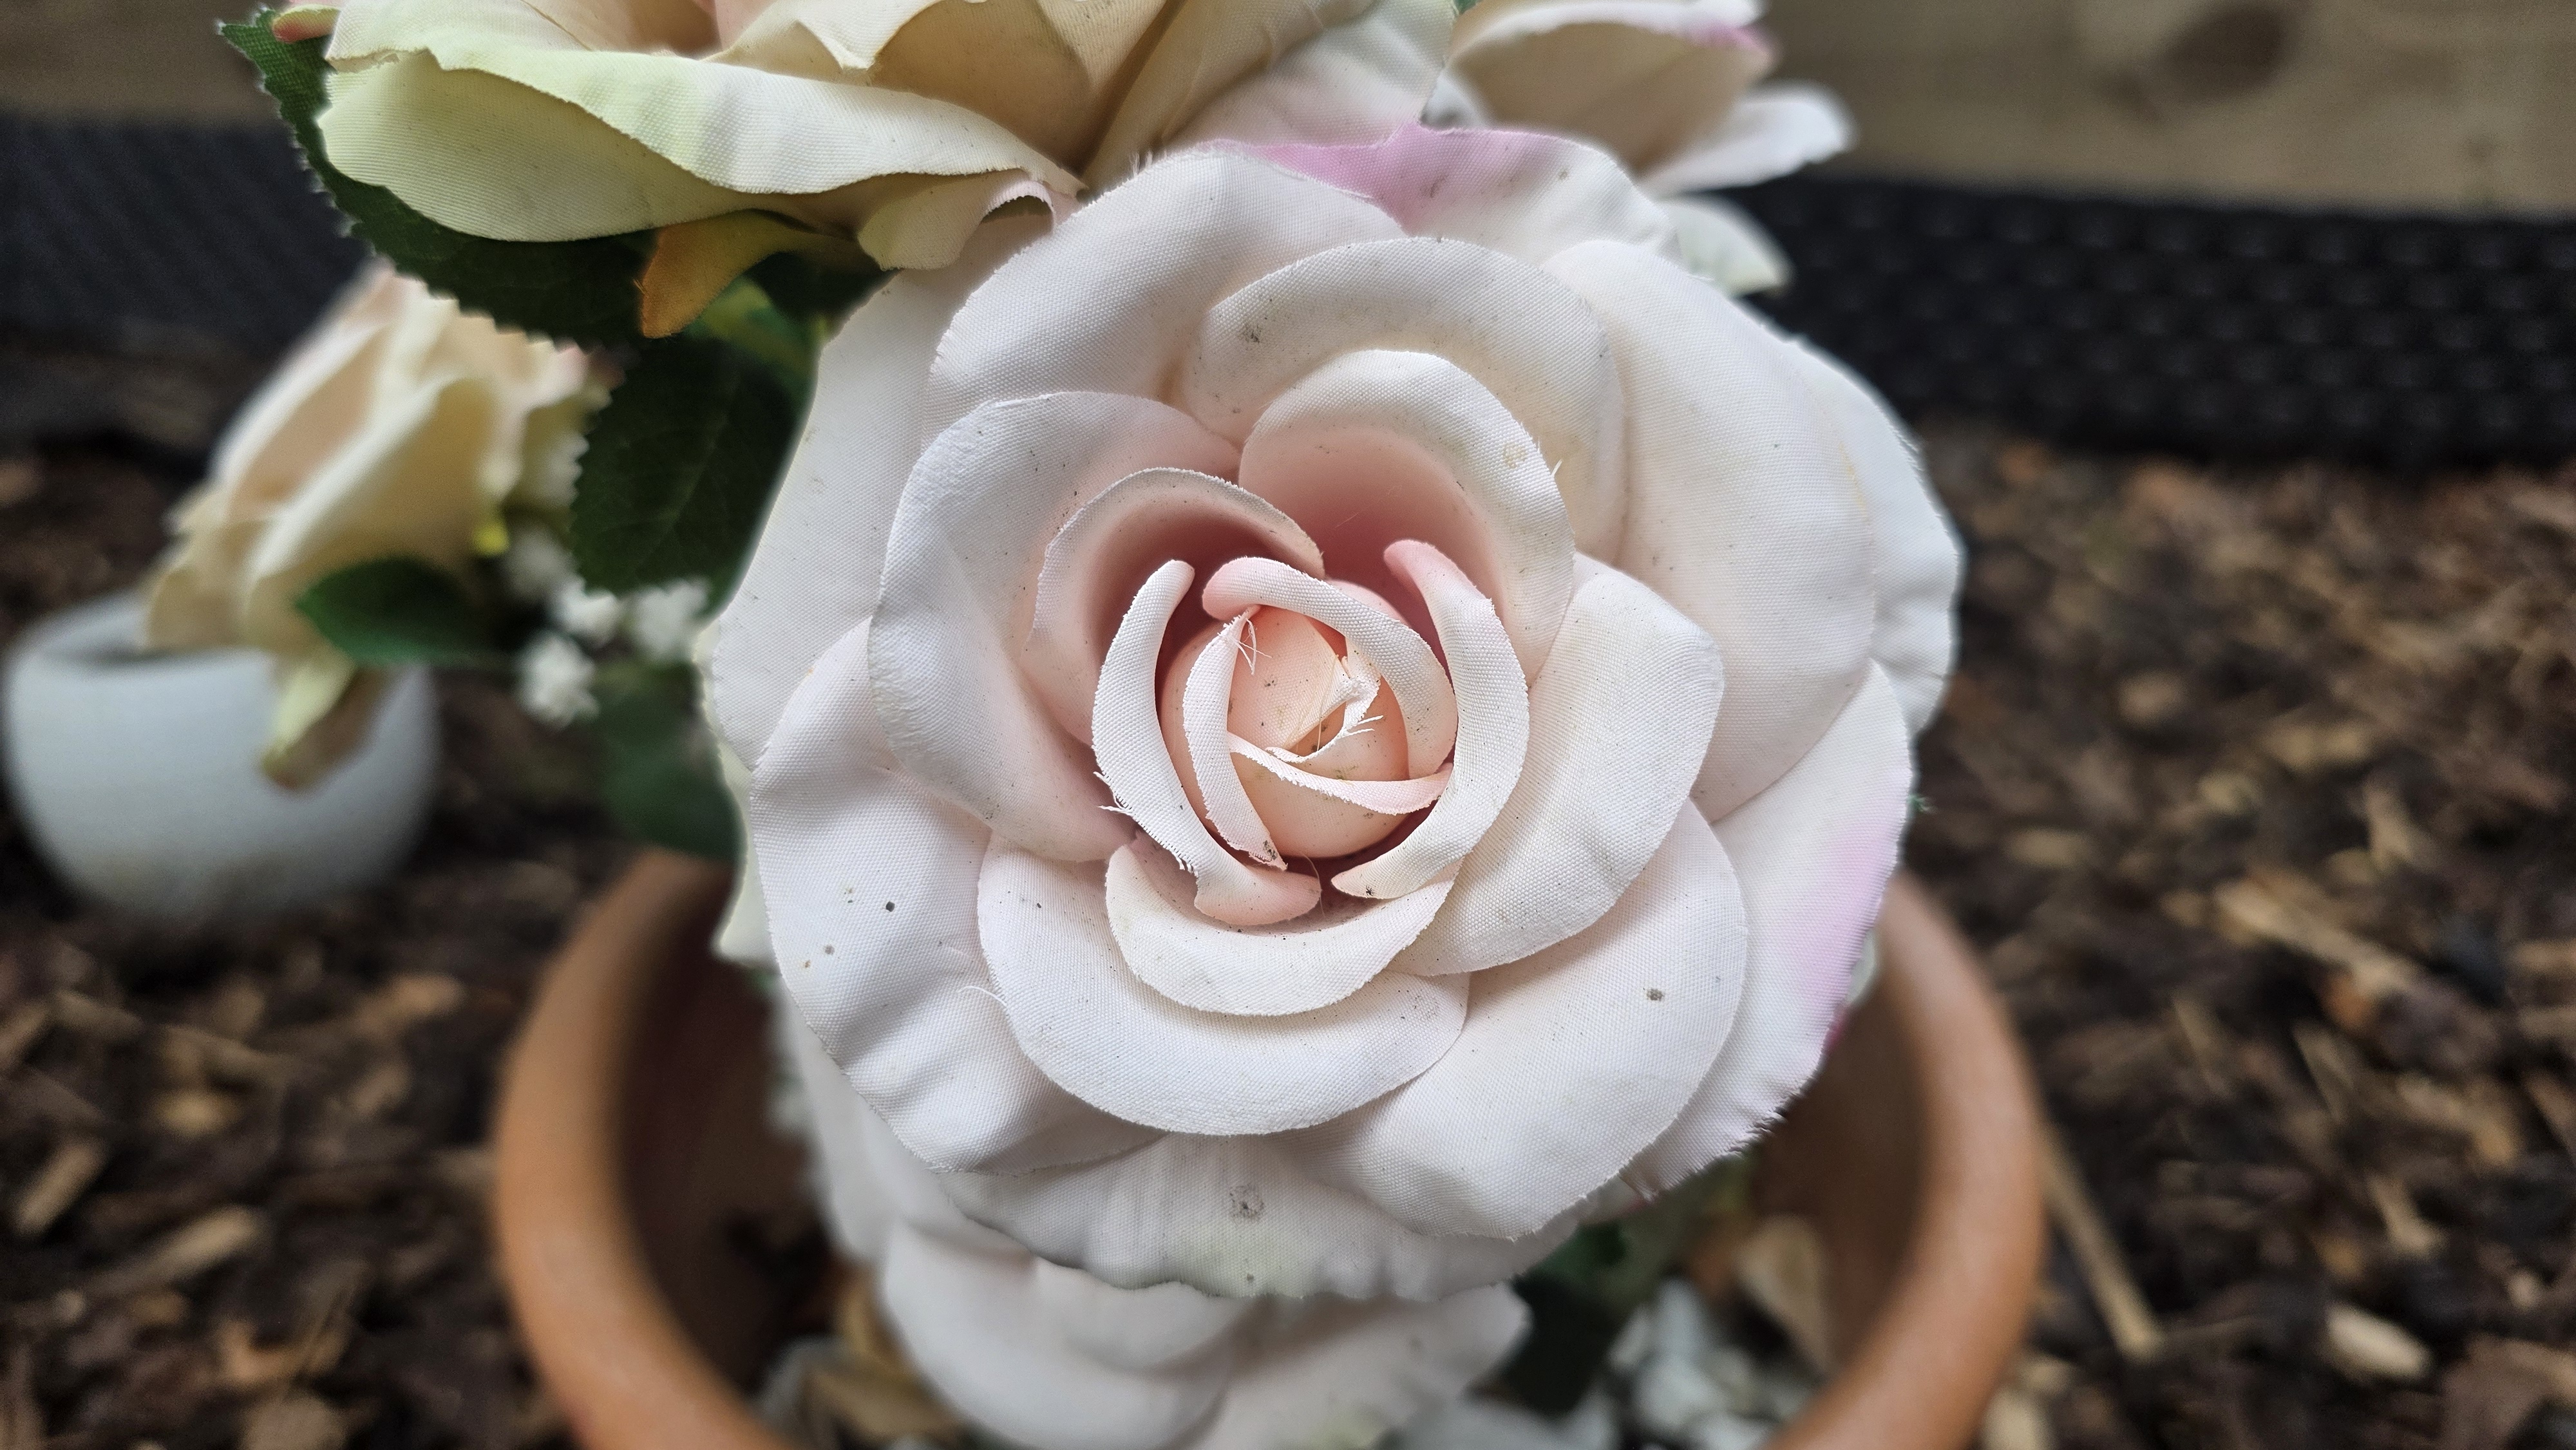
Macro camera modes try to keep everything in focus, foreground and background included. But switching to regular mode can create a natural blurring of the background (known as bokeh) that can help bring out your subject more effectively.
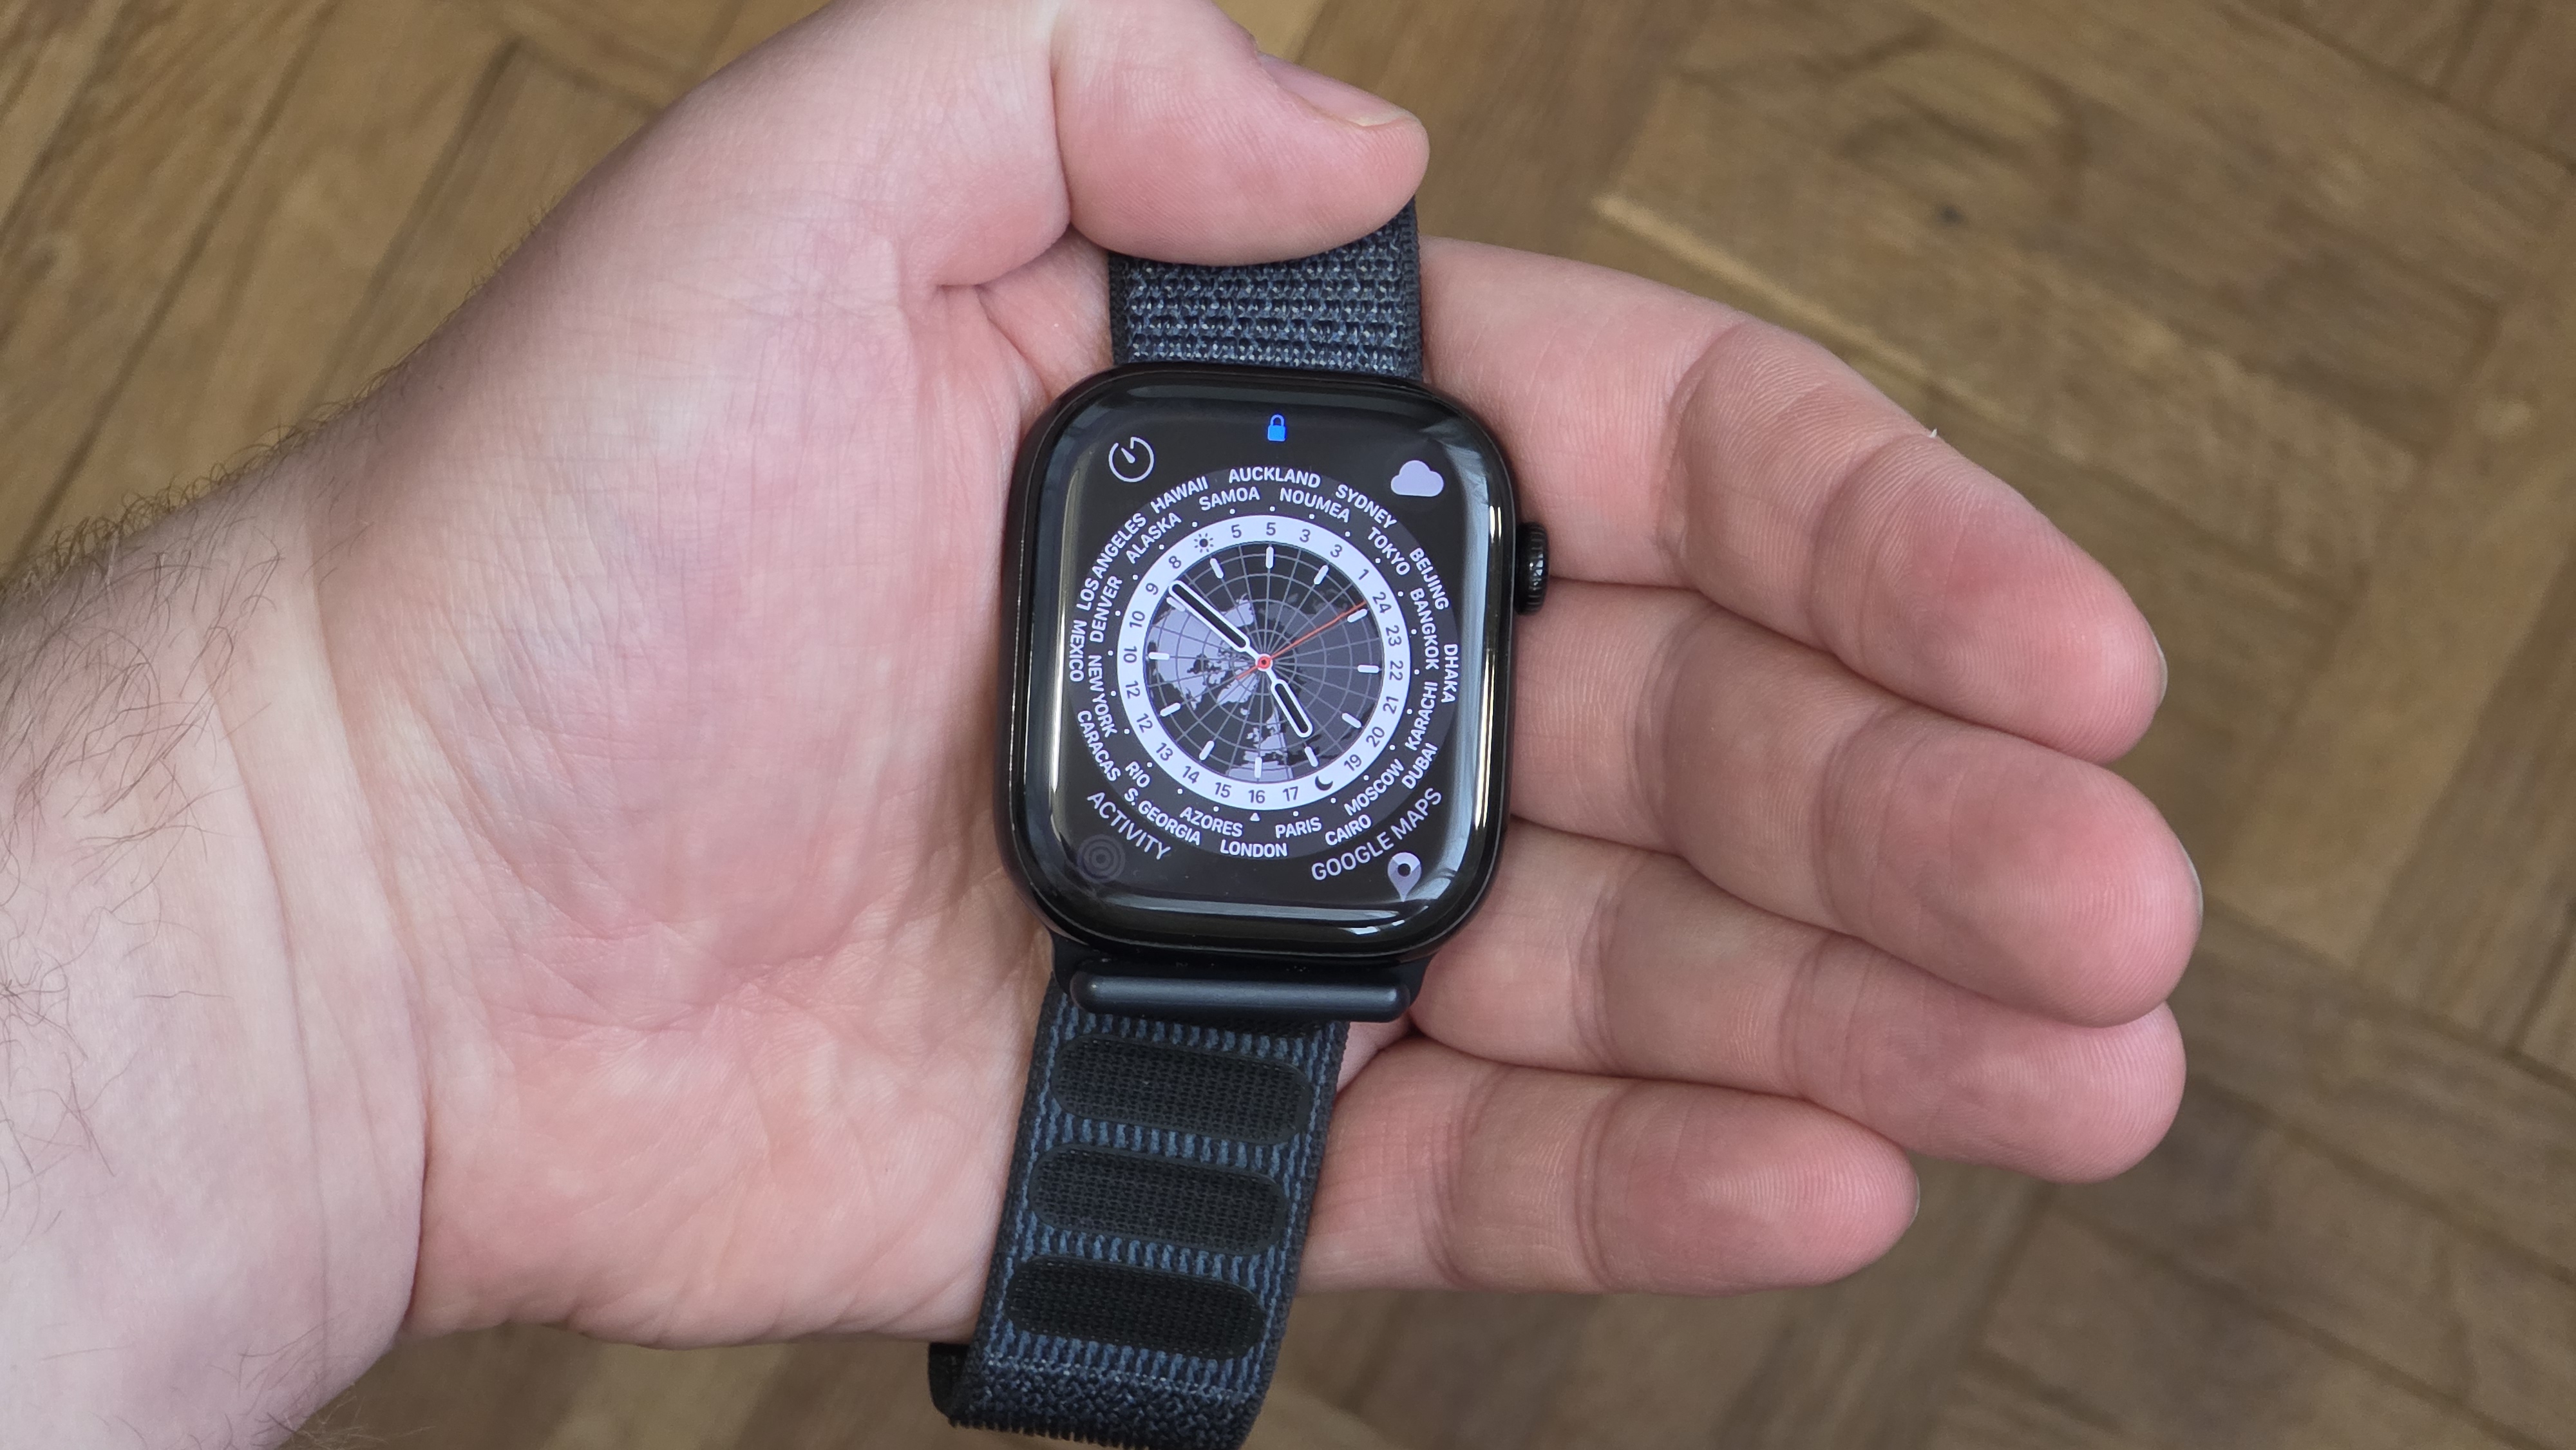
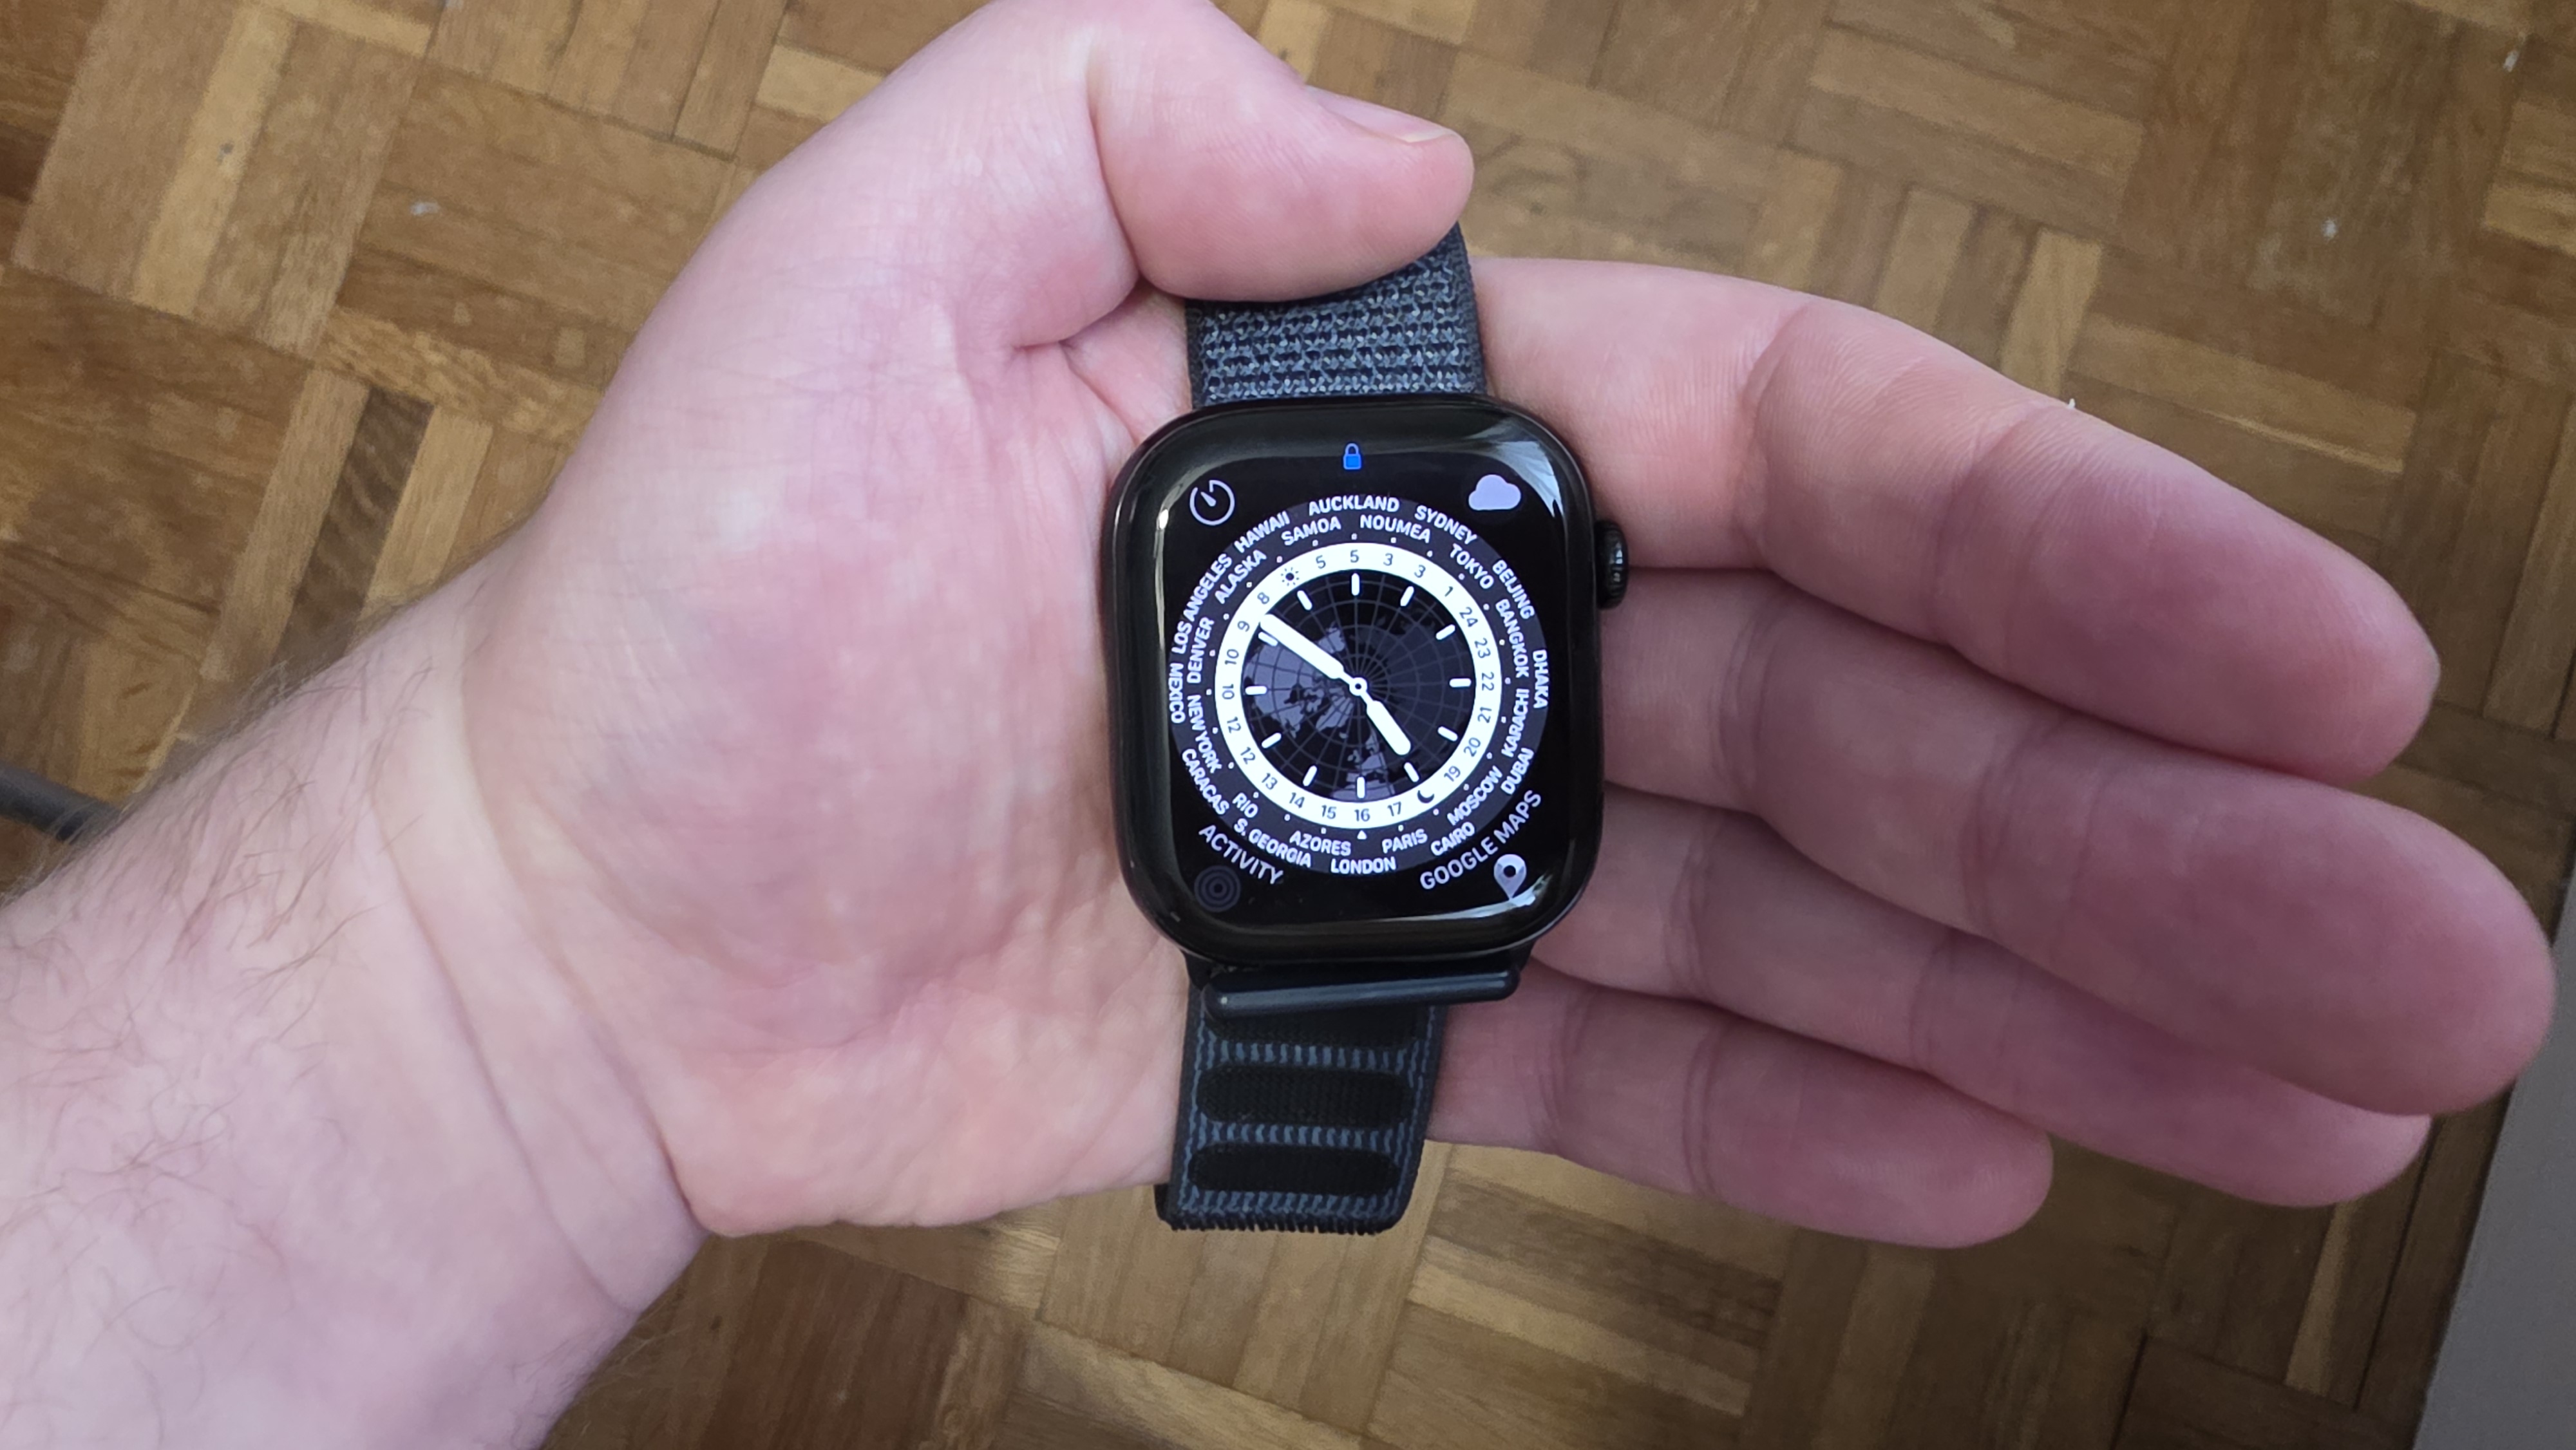
As for flattening, it can be useful to keep everything at a more even perceived distance to help your shots look balanced.


