I test some of the best coffee makers on the market, but you don't need to spend a lot of money to bring your coffee routine to the next level. There’s one easy way to do that, and it’s not a needle distributor or a portafilter puck — although those are somewhat worthy investments, too. I’m a former barista, and I’m perfectly happy with my current routine of yes-to-the-scale, no-to-the-bells-and-whistles.
Some coffee evangelists will tell you that you physically cannot make a high-quality coffee without a scale, and they’re neither right nor wrong. Here’s why: if you’re a coffee purist who can taste every roasting note and millilitre of over-extraction, they’d be right. However, if you just want to guzzle as much of the brown liquid as possible for your daily caffeine rush, they’d be wrong.
So do you need a coffee scale? If you want to brew consistent, technically perfect coffees time after time, then, yes, you do need a coffee scale. Here’s why using a coffee scale elevates your coffee game.
What are the benefits of a coffee scale?
Try to reign in your surprise — the benefits of using a coffee scale are manifold. Here, I’ll run down the three most important.
1. Accuracy
Well, the first thing (and most important) is accuracy. Most coffee makers come with scoops — think your AeroPresses, your Chemexes, your V60s — but these scoops’ measurements can vary based on how tightly you pack the coffee grounds, the size of the grounds itself, and even the roast of your coffee. A lighter roast needs a finer grind, which will weigh more than a coarse grind in a scoop.
My V60 scoop reads ‘12g’ at the top ring, but the actual weight will differ depending on my roast and grind size. If I use my coffee scale, I can weigh out the required 18g of coffee with no guesswork at all, regardless of grind size or roast type.
This rings true for Chemex coffeemakers, french presses, moka pots — heck, even measuring for AeroPress use.
If you have an espresso machine, the idea is the same: sometimes external grinders can dose an inaccurate amount of coffee grounds. An ideal espresso extraction is a ratio of 1:2 coffee to water (a lungo is more like 1:3), so you’ll want to know exactly how much coffee and water you’re using.
2. Consistency
Imagine you make the most delicious, transcendental, heavenly coffee of your life. And you did it by eyeballing. You would never be able to recreate the specific rations and timing that granted you that perfect drink. But with a coffee scale, that heart-wrenching loss would be nothing more than a long-forgotten memory.
3. Troubleshooting
Imagine this. You’ve just spent $50 on the top-quality locally-roasted artisan-crafted coffee beans and you’ve loaded up your coffee maker/espresso machine of choice. You’ve lovingly prepared a perfect ratio of coffee to water.
But your drink tastes… off. Wrong. Too bitter, and also watery? Whatever could be the problem?
Here’s where a coffee scale comes in. You can calculate exactly how much coffee you used versus water and do some coffee math to see what went wrong. If your ratio is looking closer to 1:4 than 1:2, you need less water or a finer grind of coffee.
What makes a coffee scale a good coffee scale?
There are two mandatory features to look out for when perusing coffee scales. There are a multitude of other functions, but I’ll go into that later.
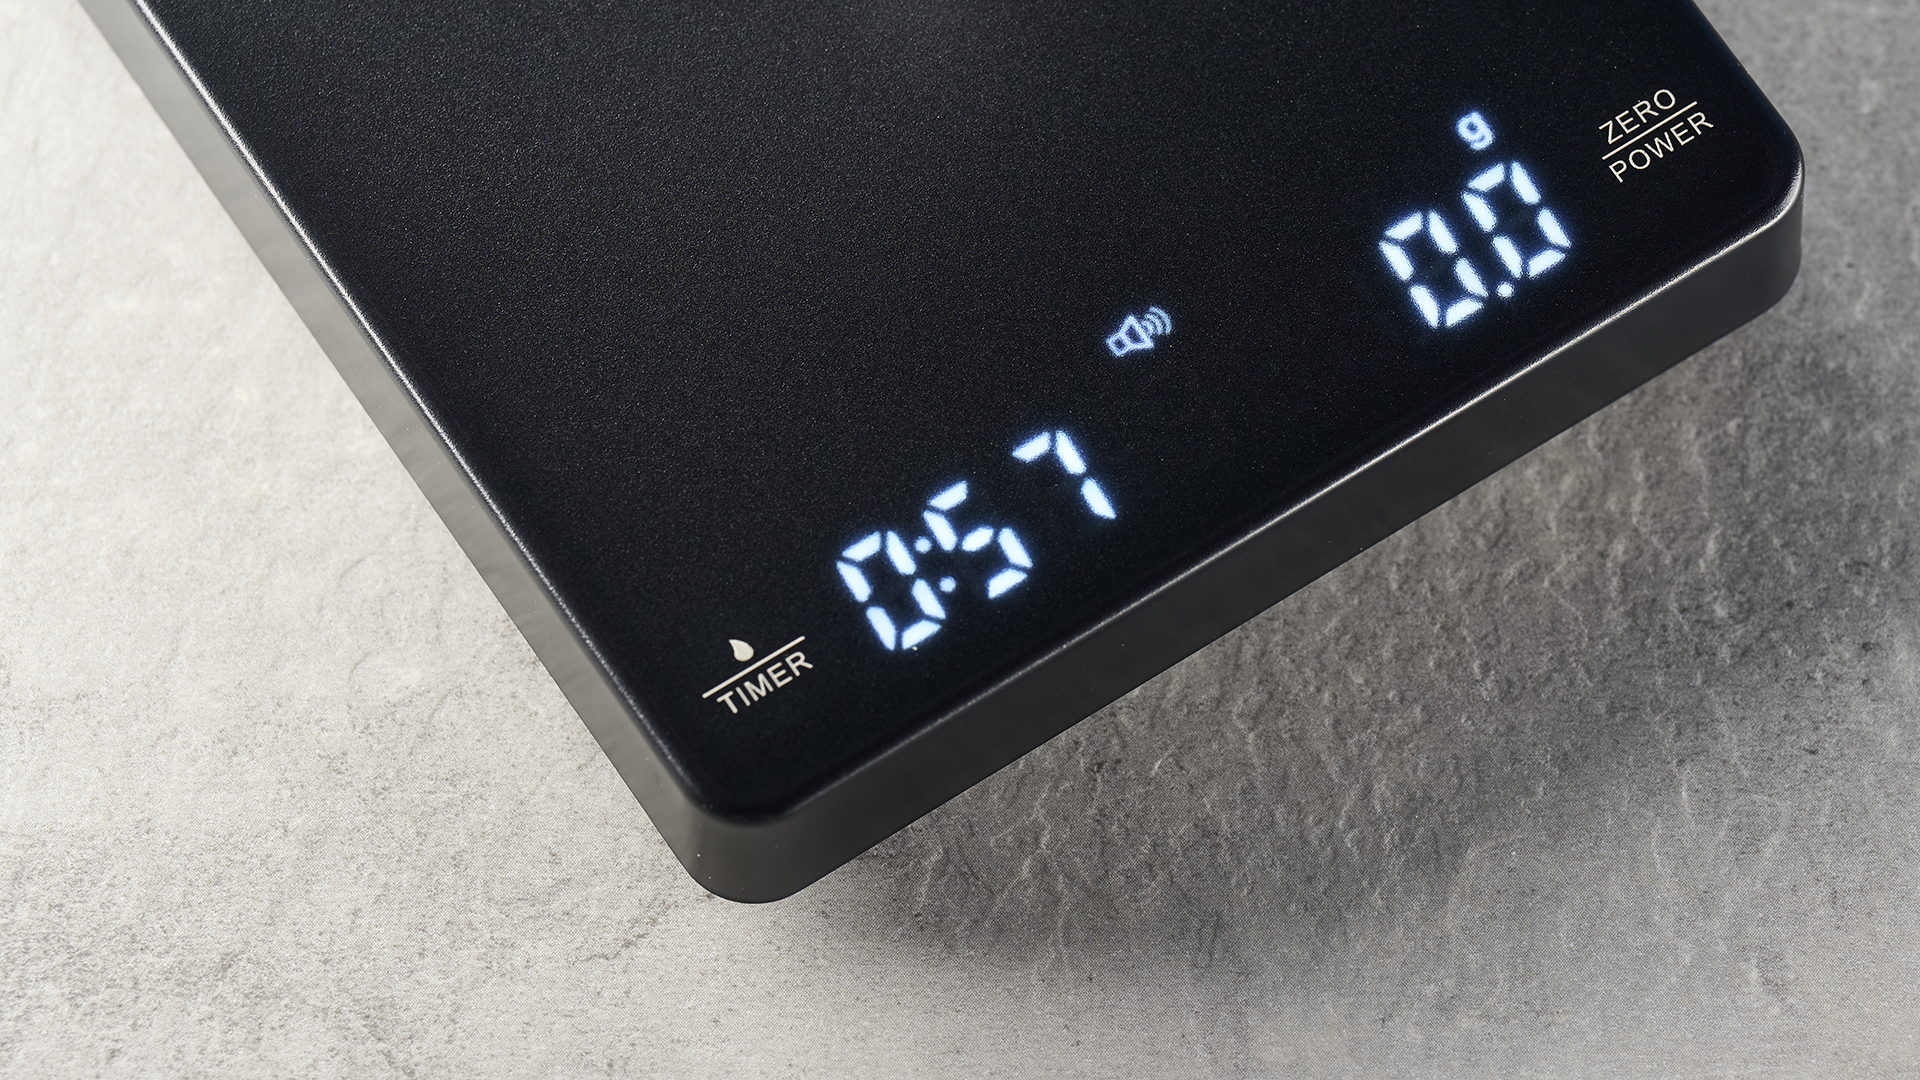
The most integral is high accuracy. The standard accuracy on most coffee scales is 0.1g. If you see anything at 0.2g or above, skip it. It’s not going to be good enough. 0.1 of a gram can actually massively change the flavor of espresso.
The second most important is a timer. You need a timer if you want to ensure your coffee grind is correct. Too slow, and your grind is too fine — bitter and burnt. Too fast, and your grind is too coarse — weak and watery.
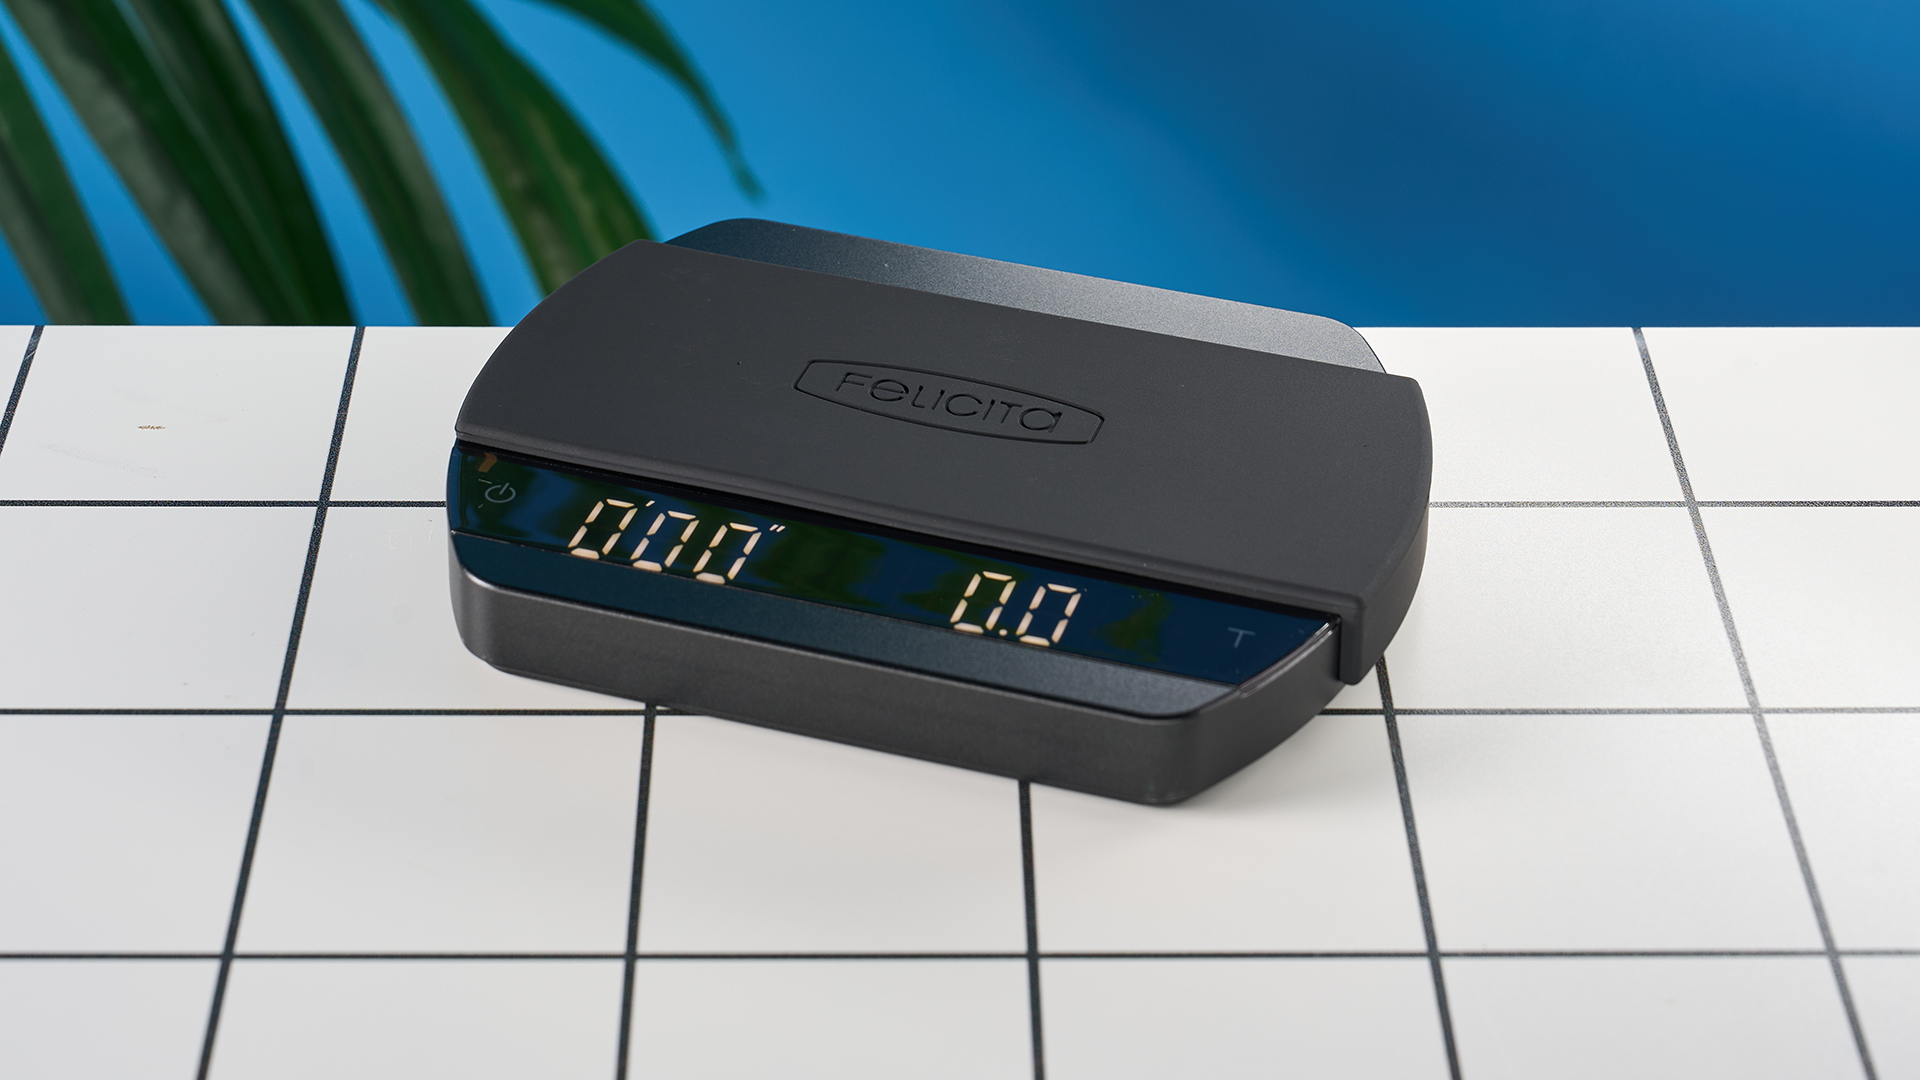
Once you’ve got those necessities down pat, you’ll want to start looking at extra features. If you’re clumsy like me, you’ll want something with a bit of waterproofing, or ideally, an IP rating. The $110 Felicita Arc scale has an IPX5 rating, meaning it can survive splashes and cleaning.
The Felicita Arc has a range of other functionality features, like auto-timing, auto-taring, and pre-infusion shot time. However, it is $110 and takes some serious brain-energy to master. If you want something with an auto-timer, you can get the much cheaper and simpler Maestri House Mini scale.
My favorite scales
It’s unfair of me to tell you what coffee scale is right for you. We all have different needs and different tastes. I can, however, tell you what I think suits different styles.
If you’re a solely expresso-focused drinker, you’d be best off with the Mestri House Mini scale. This scale is — you guessed it — mini, which means it can fit on espresso drip trays. This tiny little scale has fit perfectly on every espresso machine I’ve tried it with, and it’s a little too small to confidently fit a Chemex.
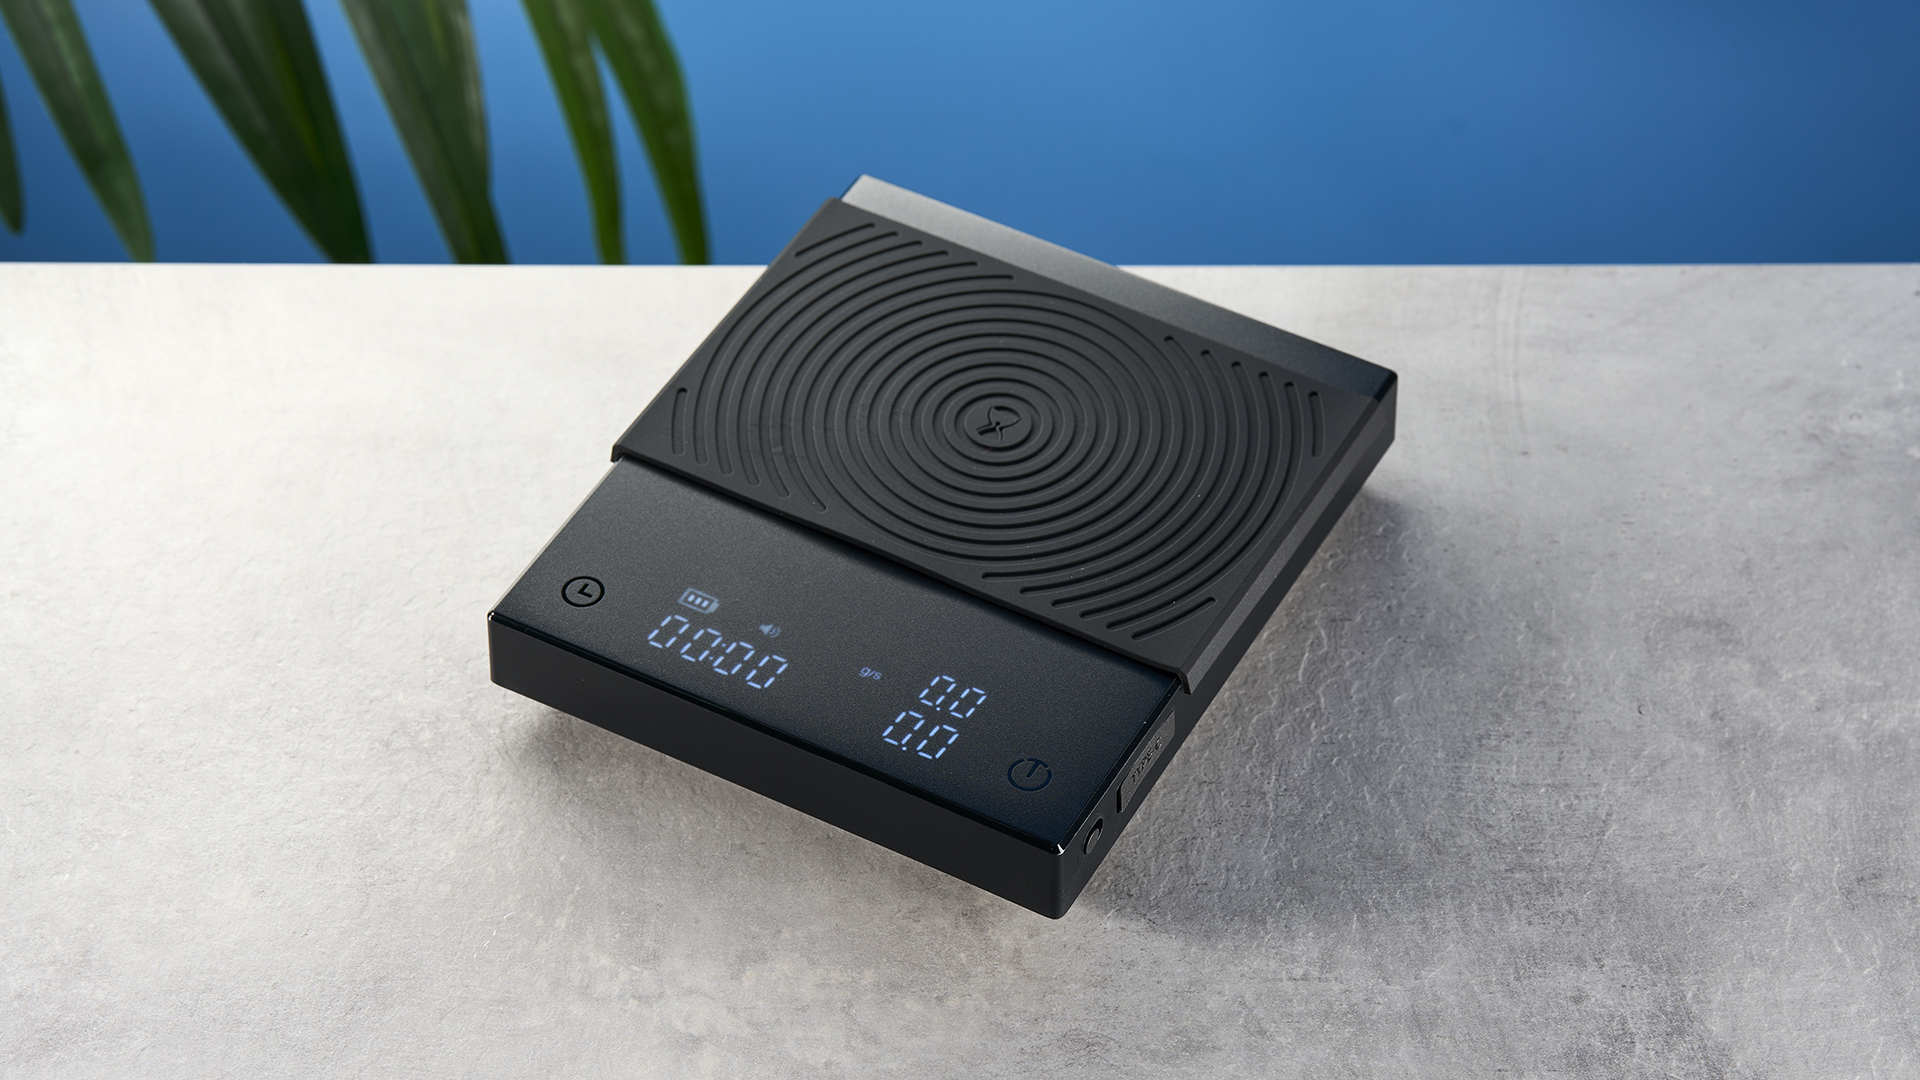
Comparatively, if you are a Chemex drinker, you’d do well with the larger Hario V60 Drip Scale or the Timemore Black Mirror Basic 2. These scales are more versatile for large drippers because they both have decently sized pads — however, this does mean I wouldn’t recommend them for use with espresso machines.
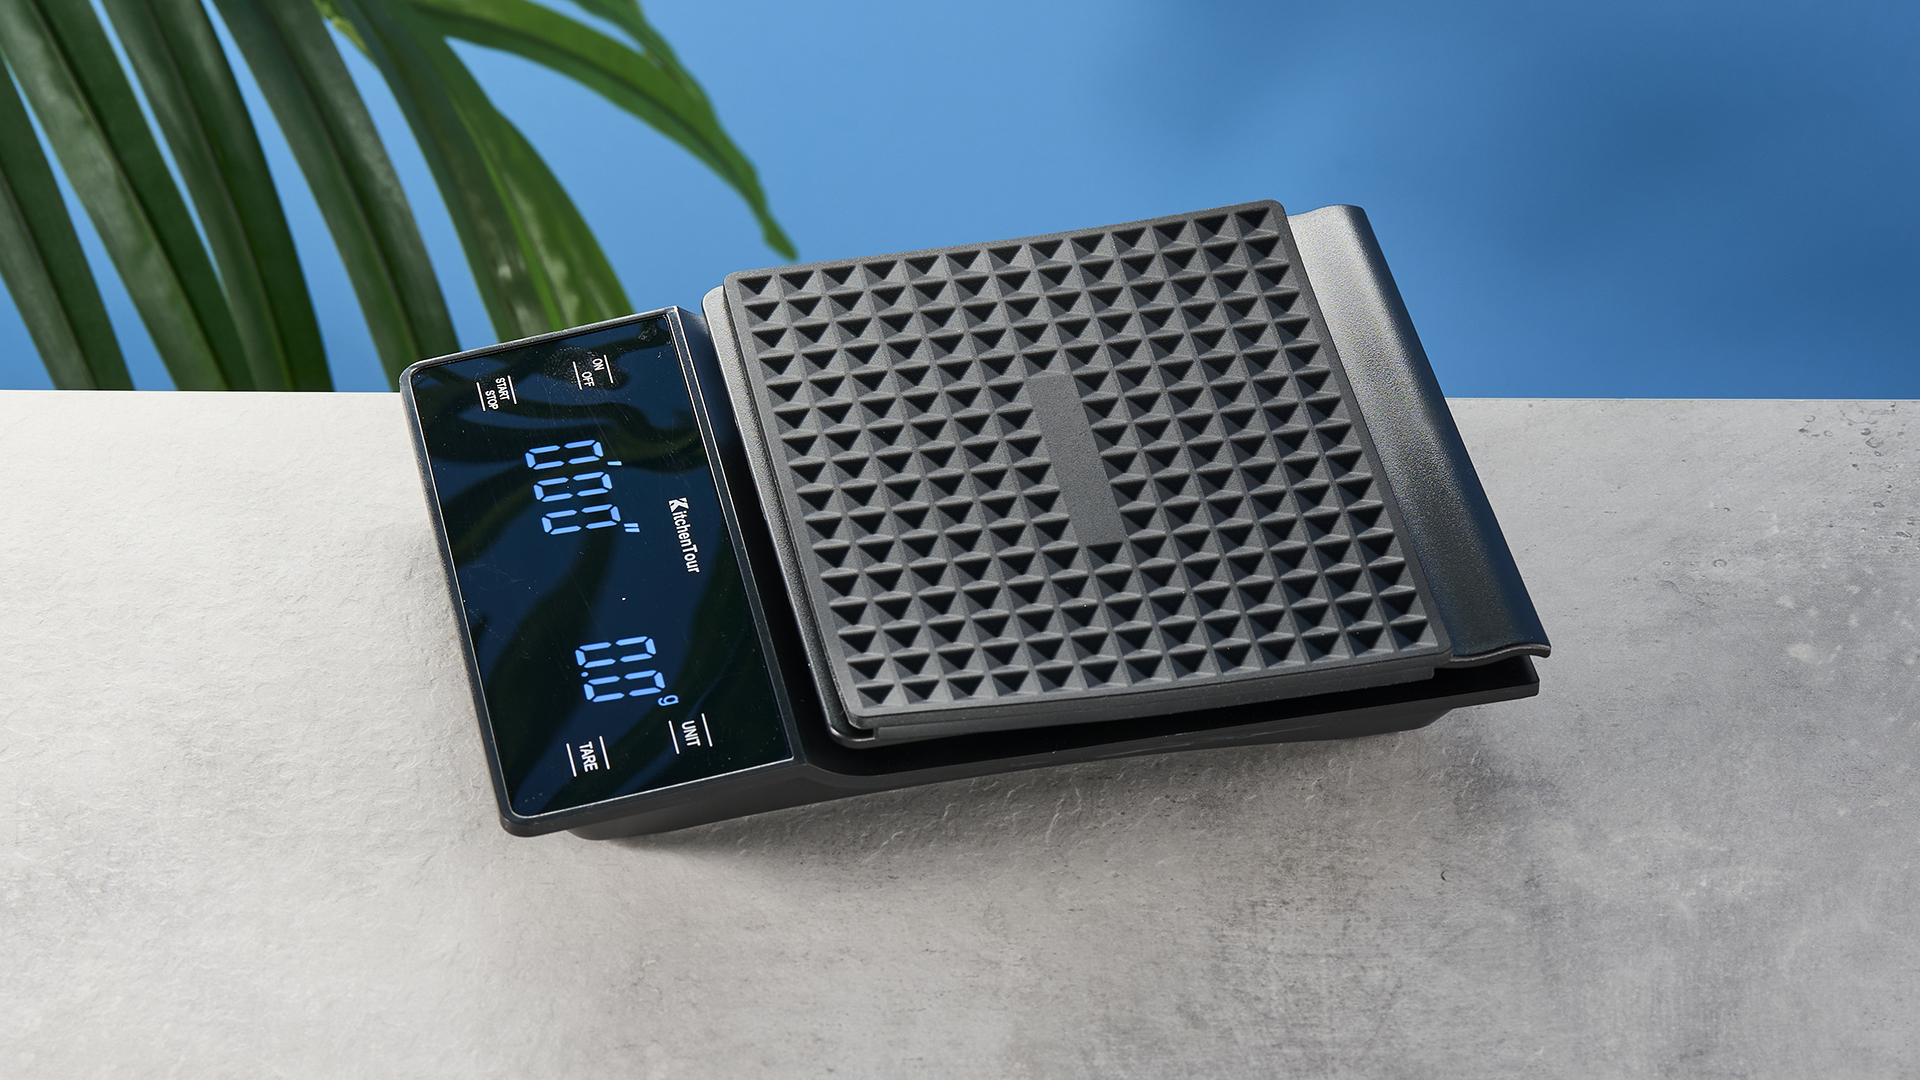
If you want to save as much money as possible and still get a great scale, there’s nothing I’d recommend more than the KitchenTour scale. This scale looks good for the money and performs like a much pricier product.
My perfect V60 routine
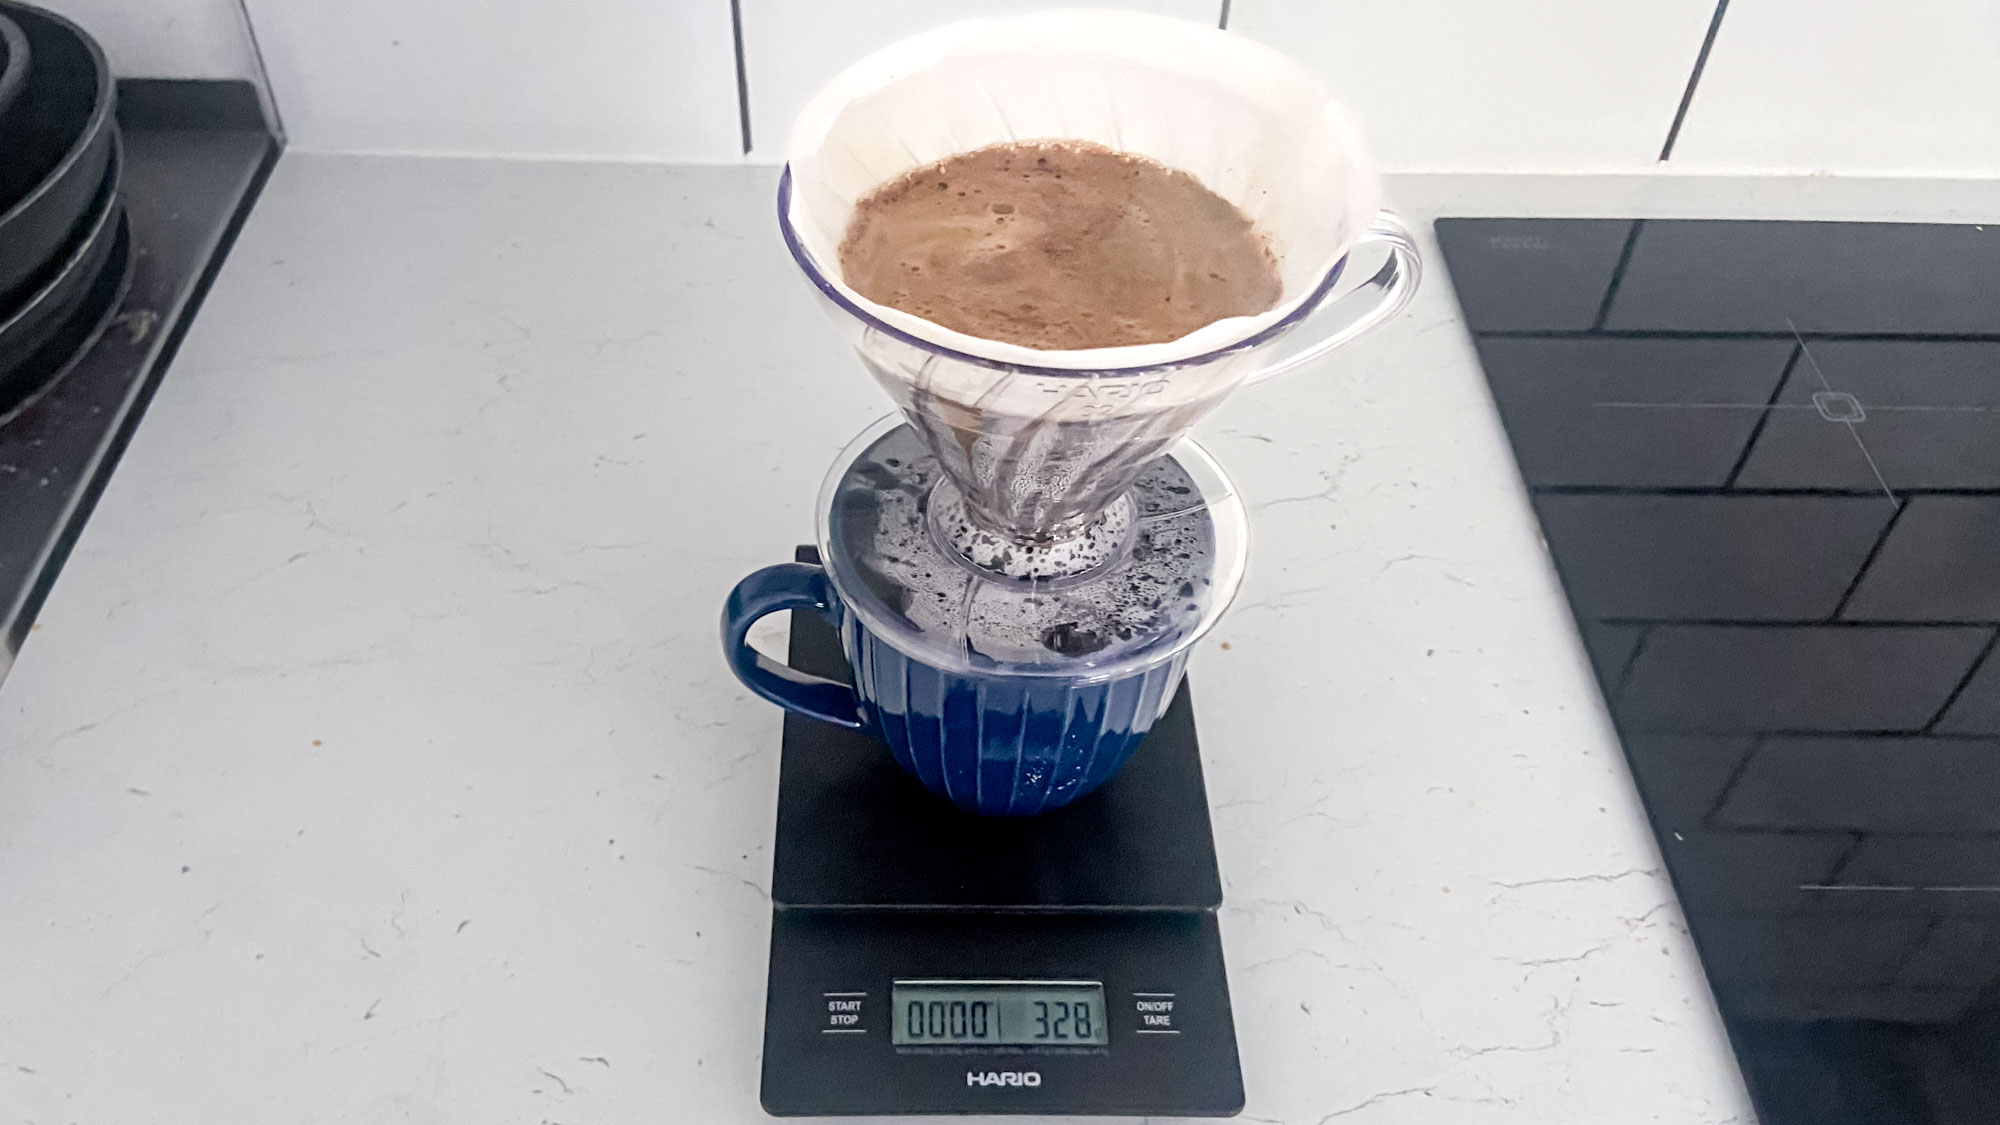
- Place mug, V60 dripper, and filter paper on top of your chosen scale
- Slowly put in 18g of coffee of your choice. I like a medium-fine light roast
- Pour in about 2 ounces of about 200°F water — measure this with weight of water
- Let the coffee ‘bloom’ (expand and sink back down, which is just gas releasing)
- Pour in another round of about 5 ounces of water in slow, circular motions, ensuring each ground is coated — measure this with weight of water
- When the grounds sink back down, pour in another 3 ounces of water slowly and carefully — measure this with weight of water
- Enjoy!


