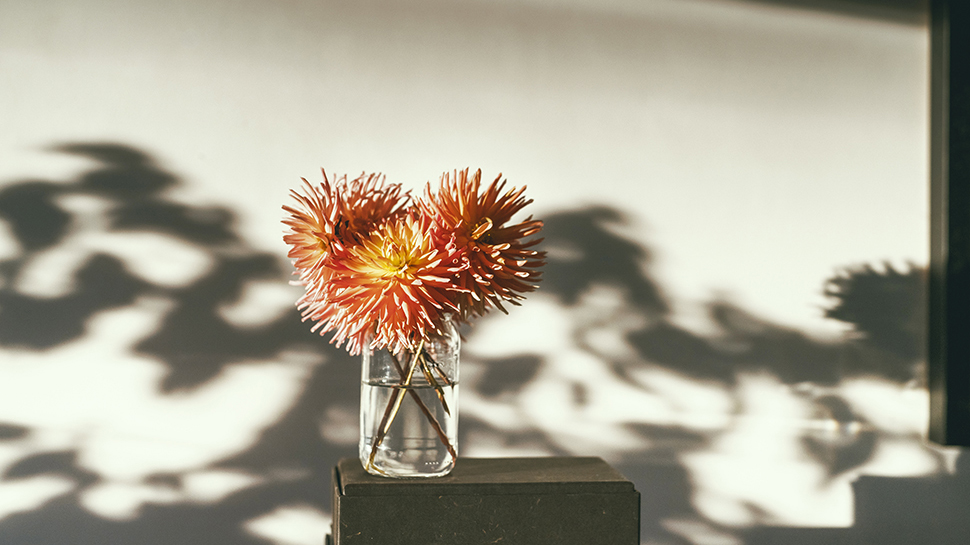
Whenever you’re taking photographs, the light at the beginning and the end of the day is some of the best to work with. To get the most out of it, you might think you have to go out and shoot stunning vistas, but this simply isn’t the case. In this project, we’re going to show you how to shoot during the golden hour in the comfort of your own home – and create some incredible and different fine-art results in the process.
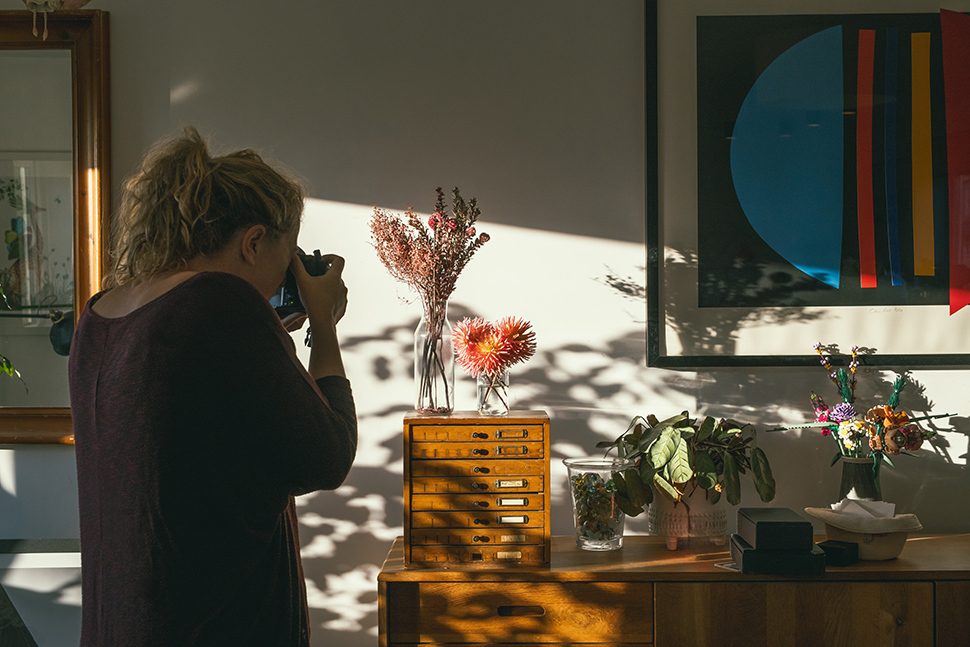
If you’re not lucky enough to get good light through your windows at the start or end of the day, have a search close to home and select another location nearby. For example, the yard or the workshop could also be viable, as you don’t need much to make it work – just some natural light, a plain background and a subject to frame. For this project, we used flowers as our main subject, but your main subject could be anything. You should just aim to pick something that creates interesting shadows, so form and structure are important aspects to consider.
When it comes to kit, we opted to shoot with a 50mm prime lens, but you could always use a wide-angle lens or a long lens. Experiment and find the right optic that matches your style of shooting.
Step by step: Shoot a dramatic still-life

Get set up
For this project, you can either choose to shoot handheld or use a tripod. If you want to slow down and build your composition, a tripod is a great aid; however, in terms of the camera settings, a tripod isn’t necessary. Because of the light, your shutter speed setting should be reading relatively fast, but open your aperture to a wider setting too. For our image, our aperture was set at f/2.8 and the ISO at 400.
Underexpose by a stop
You don’t want your highlights to be overexposed, so take your meter readings from the lighter part of your image, not the shadowed areas. Here, we put our camera into Aperture Priority mode, then dialled in -1 stop of exposure compensation to make sure we were exposing for the main subject and for the lighter parts of the image.
Be experimental
To make the most of the scene and get that fine-art appeal, look for shapes in the shadows, and think about your composition. It could be that you shoot from a different angle or adjust your scene to the light. On this shoot, we had some plain black boxes to hand so that we could raise the main subject into a better position.
Create additional shadows

To enhance your still-life image further, you can create additional interesting shadows to fall in the background. For example, in our image, we placed a large house plant next to the window to create some softer leaf shadows. As our plant was further away compared with the shadow created by the flower jar, these shadows were not as harsh. The mixture of lighter and darker shadows adds to the overall impact.
Color-grade in Lightroom

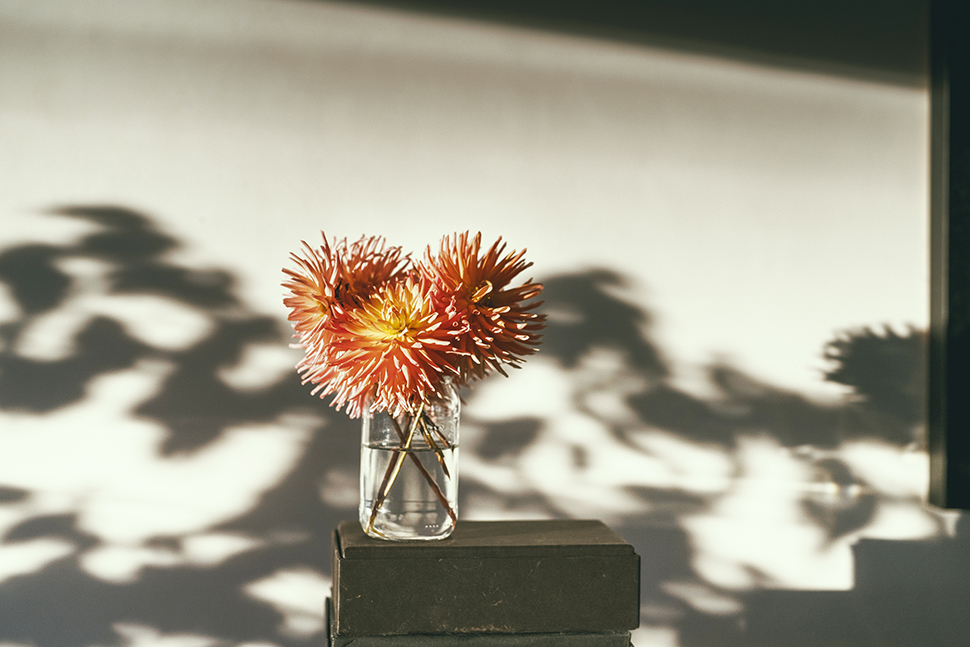
Once your shadowed fine-art image has been shot, you will need to think about the tone and styling. To edit our image, we used Lightroom Classic, as one of Lightroom’s best tools for stylizing is the Color Grading option.
For Color Grading, you can either create a global adjustment across the whole image or adjust the colors in the shadows, midtones and highlights separately. We suggest you opt for the latter as this gives you a more precise result (click the three-circle icon for this option).
For our image, we set Shadows and Midtones to a cool tone and Highlights to a warm tone to contrast with each other. Note that the closer the circle is to the middle of the Color Grading circle, the more subtle the color. You don’t want the colors to be overpowering – just a hint is enough. Have a play around, and experiment with the different effects, strengths and tones to see how they impact your image.

Take a look at the best tripods for photography, and you might also be interested in the best backdrops for photography.


