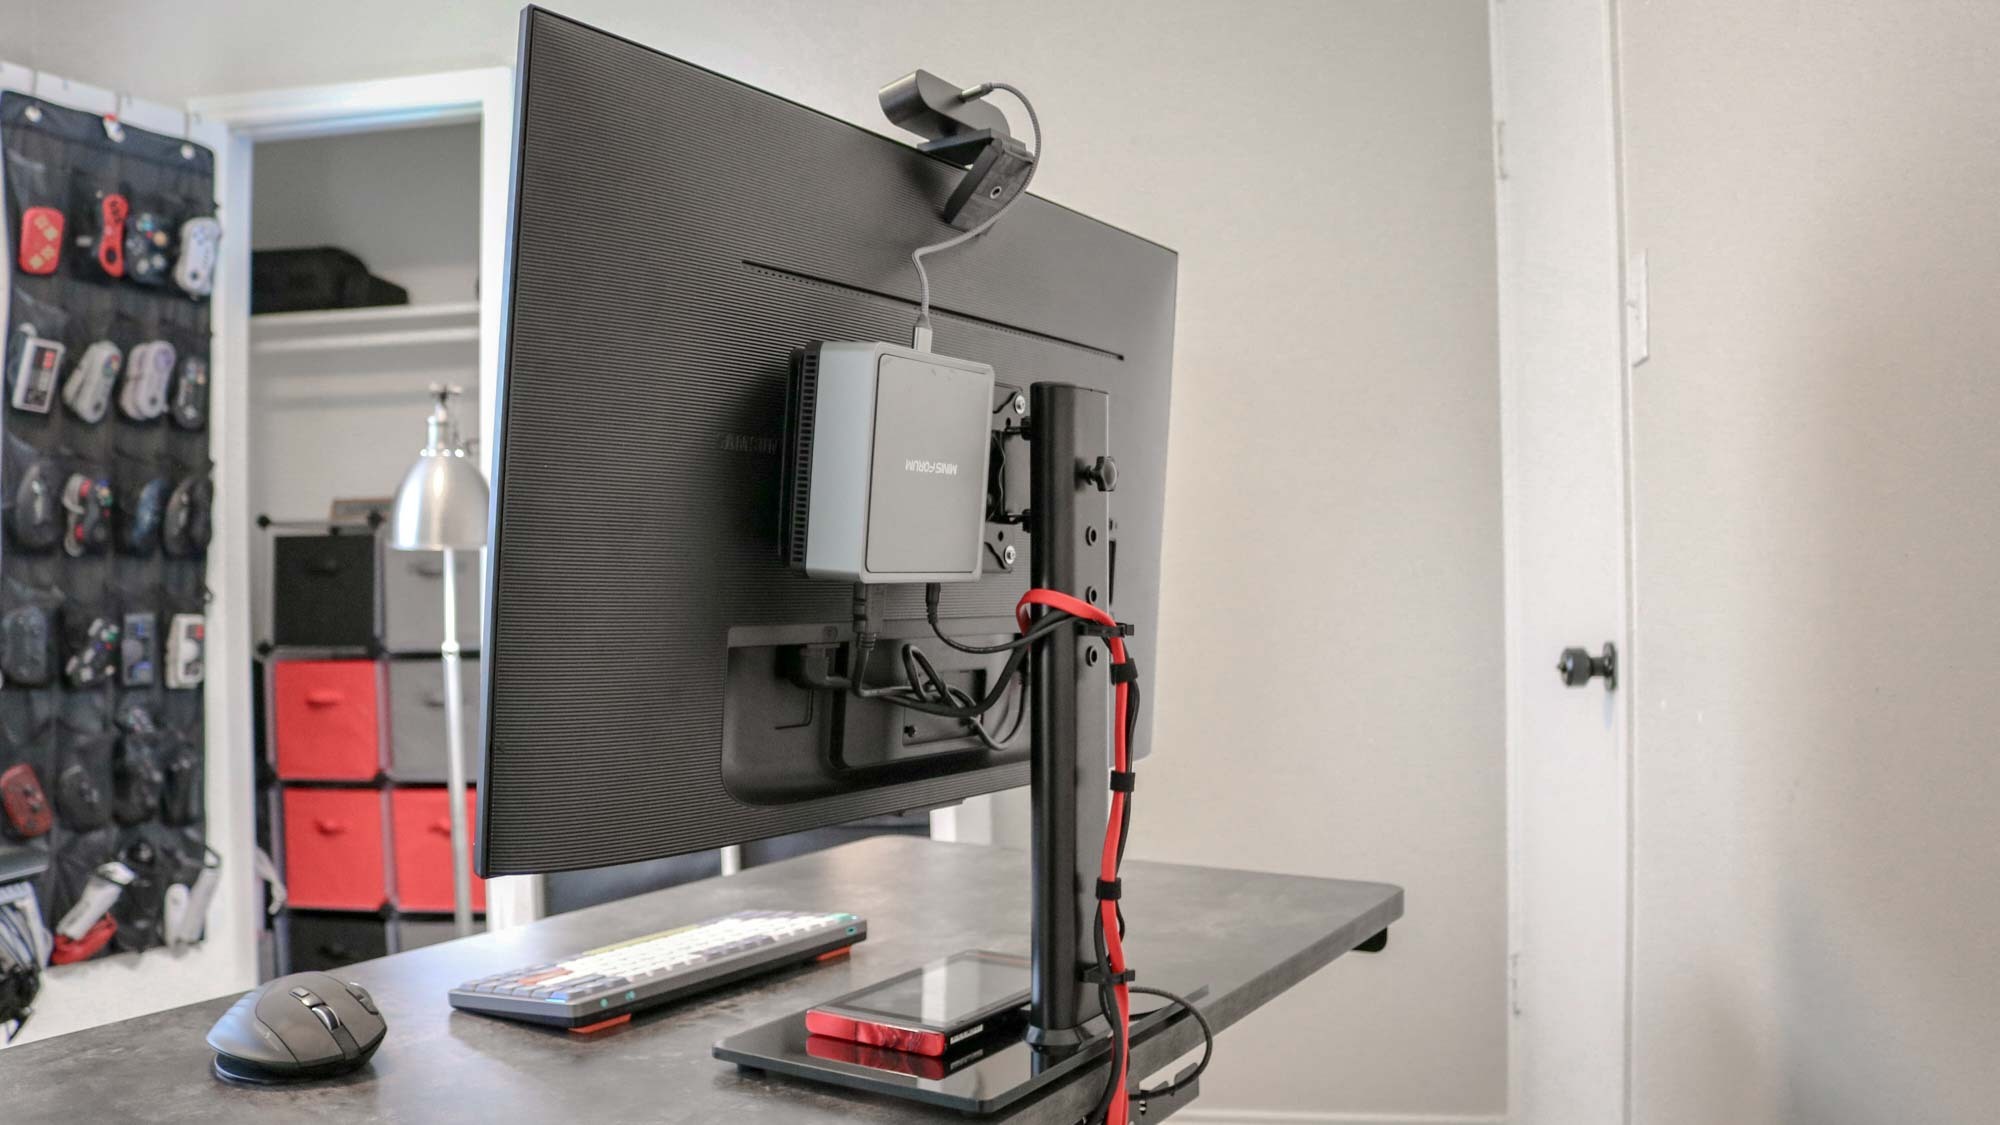
A clean and clutter-free desk can make a world of difference for your productivity since having too many things on top of your desk can be distracting and cause you to lose focus on the task at hand.
Even with one of the best standing desks set up in my office, I find that I can never have enough desk space. Whether I’m using my desk to test out smart home devices or for taking photos, I’m always looking for new ways to maximize my workspace.
While I’ve used a monitor stand and even downsized my keyboard in the past to free up some precious desk space, I knew I could do even more with the right accessory. Fortunately, one of my former colleagues at Tom’s Guide pointed me to one that I didn’t even know existed.
Over the past few years, the best mini PCs have gotten even more powerful without compromising their much smaller form factor. Although the mini PC I have on my desk already takes up a lot less space than a full-size PC, by mounting it to the back of my monitor, I could have less cables running up the back of my desk with even more free space. So that’s exactly what I did.
A whole new use for those VESA mounting holes
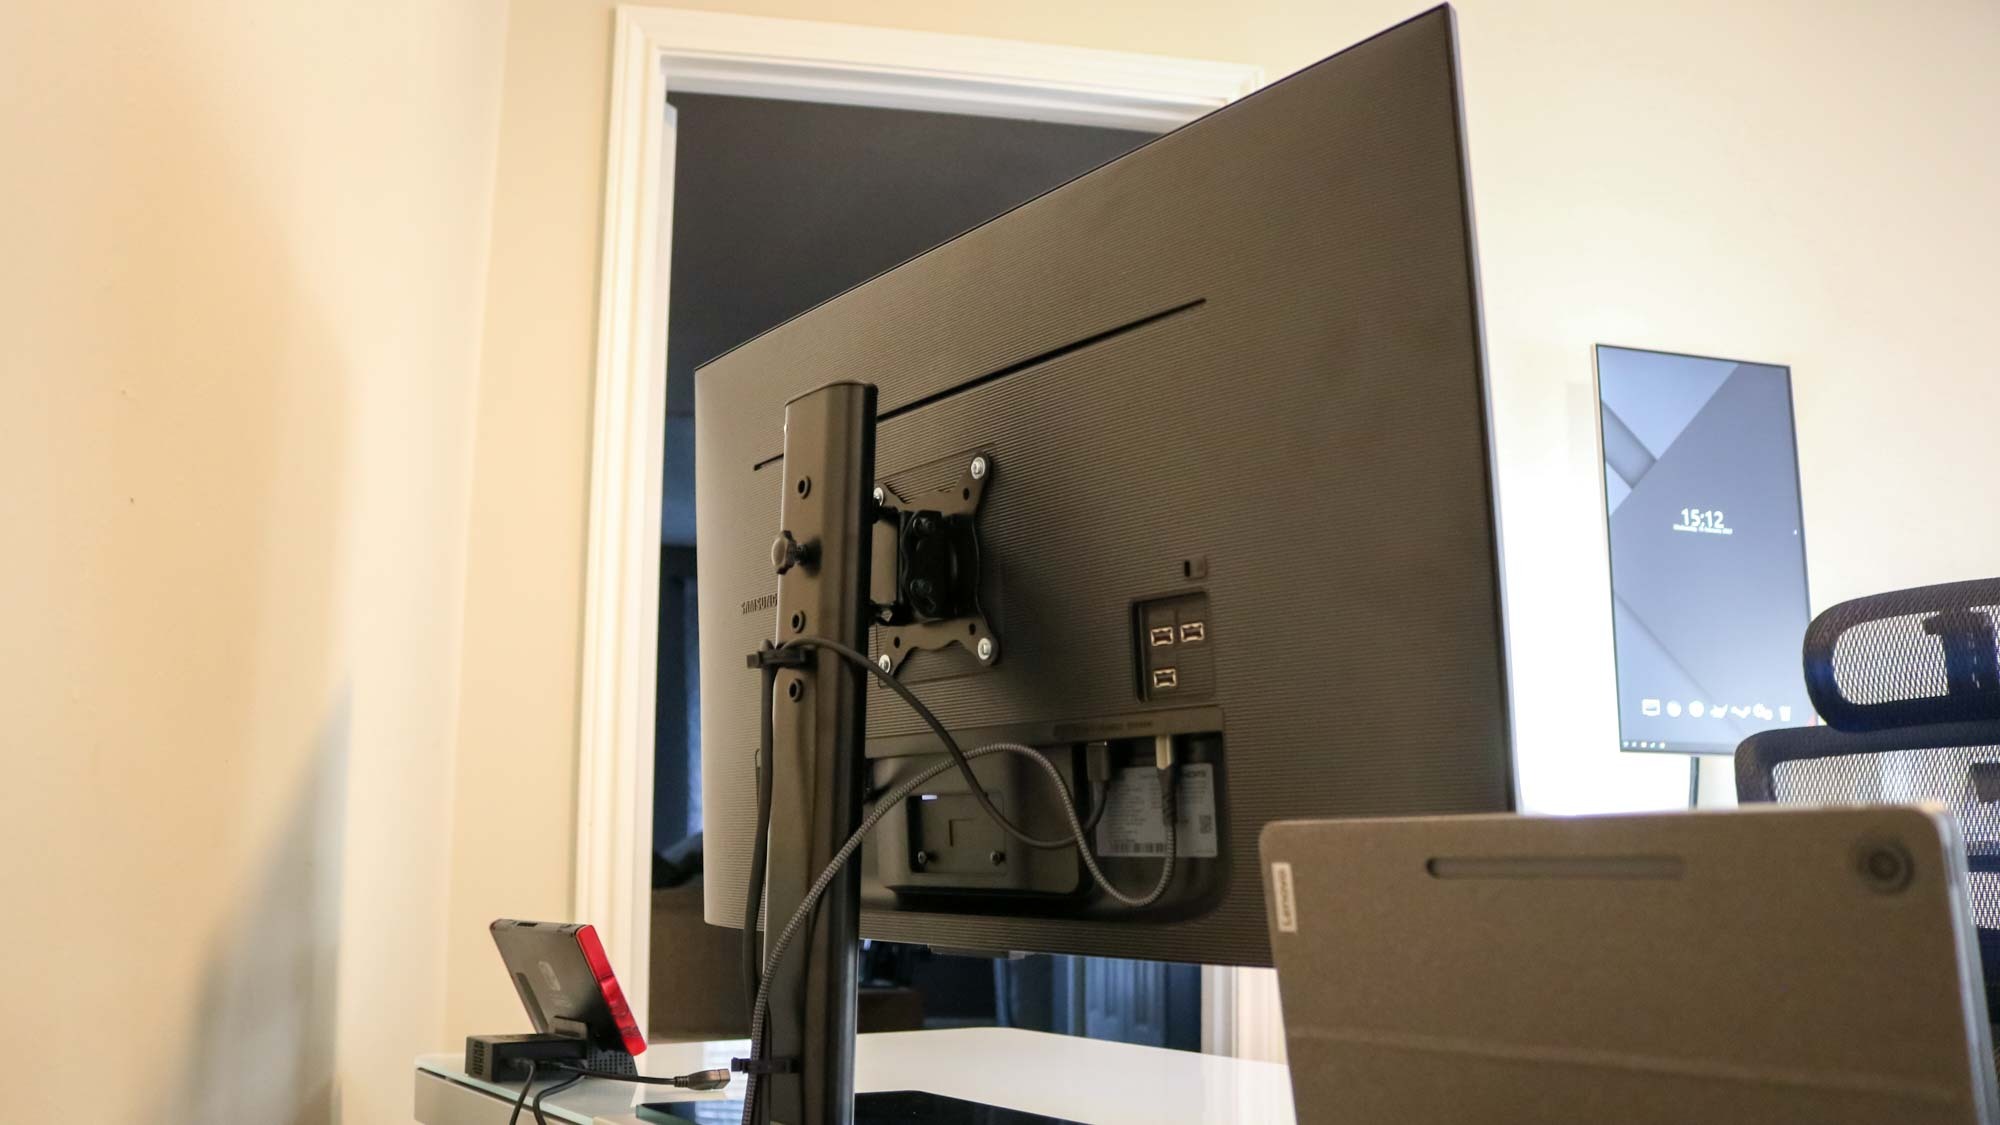
If you’ve ever mounted one of the best TVs to the wall or added a monitor arm to your desk setup, then you’re likely familiar with VESA. These patterns of holes at the back of both TVs and monitors make it easy to use a TV mount or a monitor stand or arm instead of their included stands.
What you may not know about VESA though is that you can also use these holes to mount other devices to your display including a mini PC — that is if you have the right adapter. Although I’ve always loved the idea of mounting a mini PC to the back of a monitor in order to save space, I didn’t realize there were adapters that let you do just that while still using a monitor stand or arm.
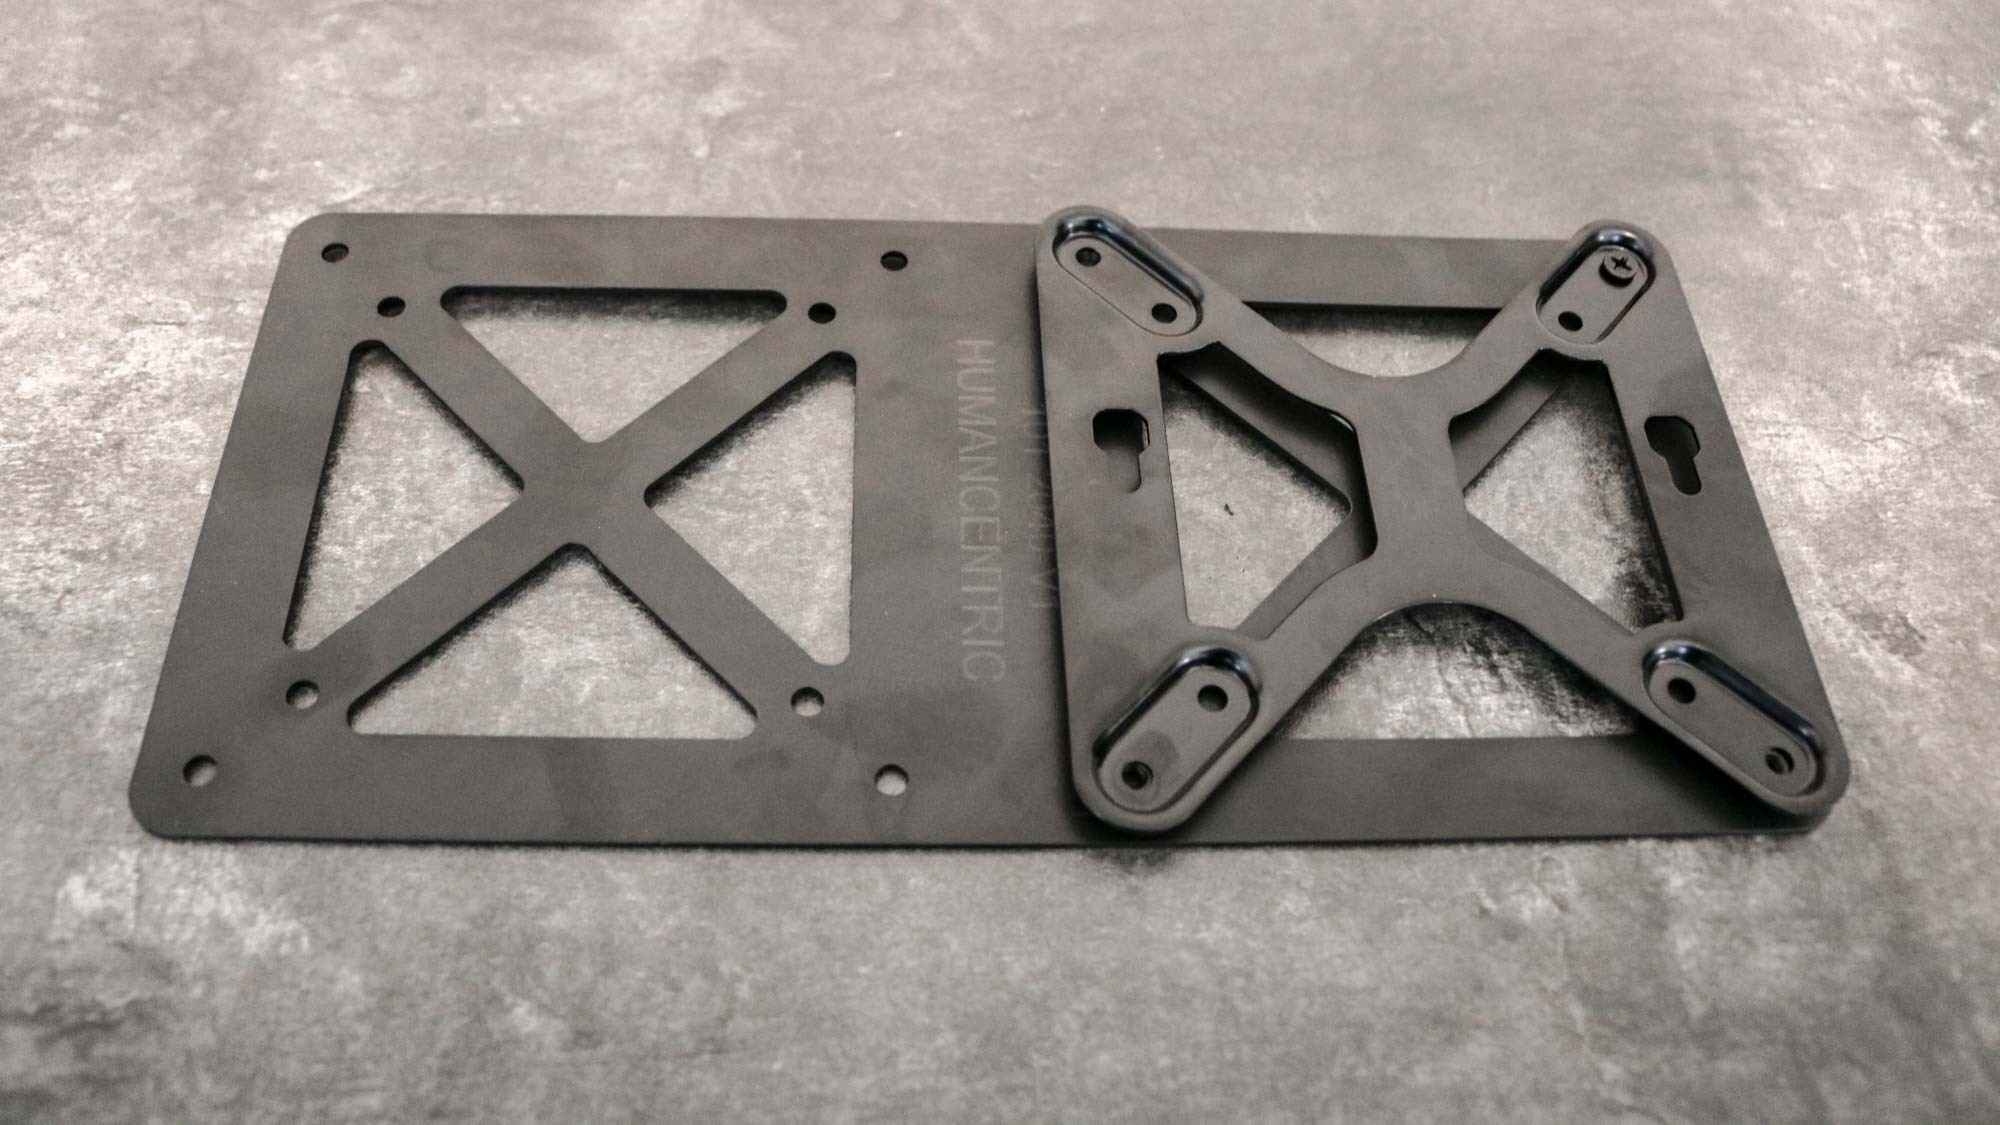
The VESA mount adapter extender bracket I purchased ($13, Amazon) is designed for Intel’s NUC line but it’s also compatible with other mini PCs. While one end of the adapter goes between your monitor and your monitor stand, you can mount a VESA-compatible mini PC to the other side and have it tucked neatly behind your display.
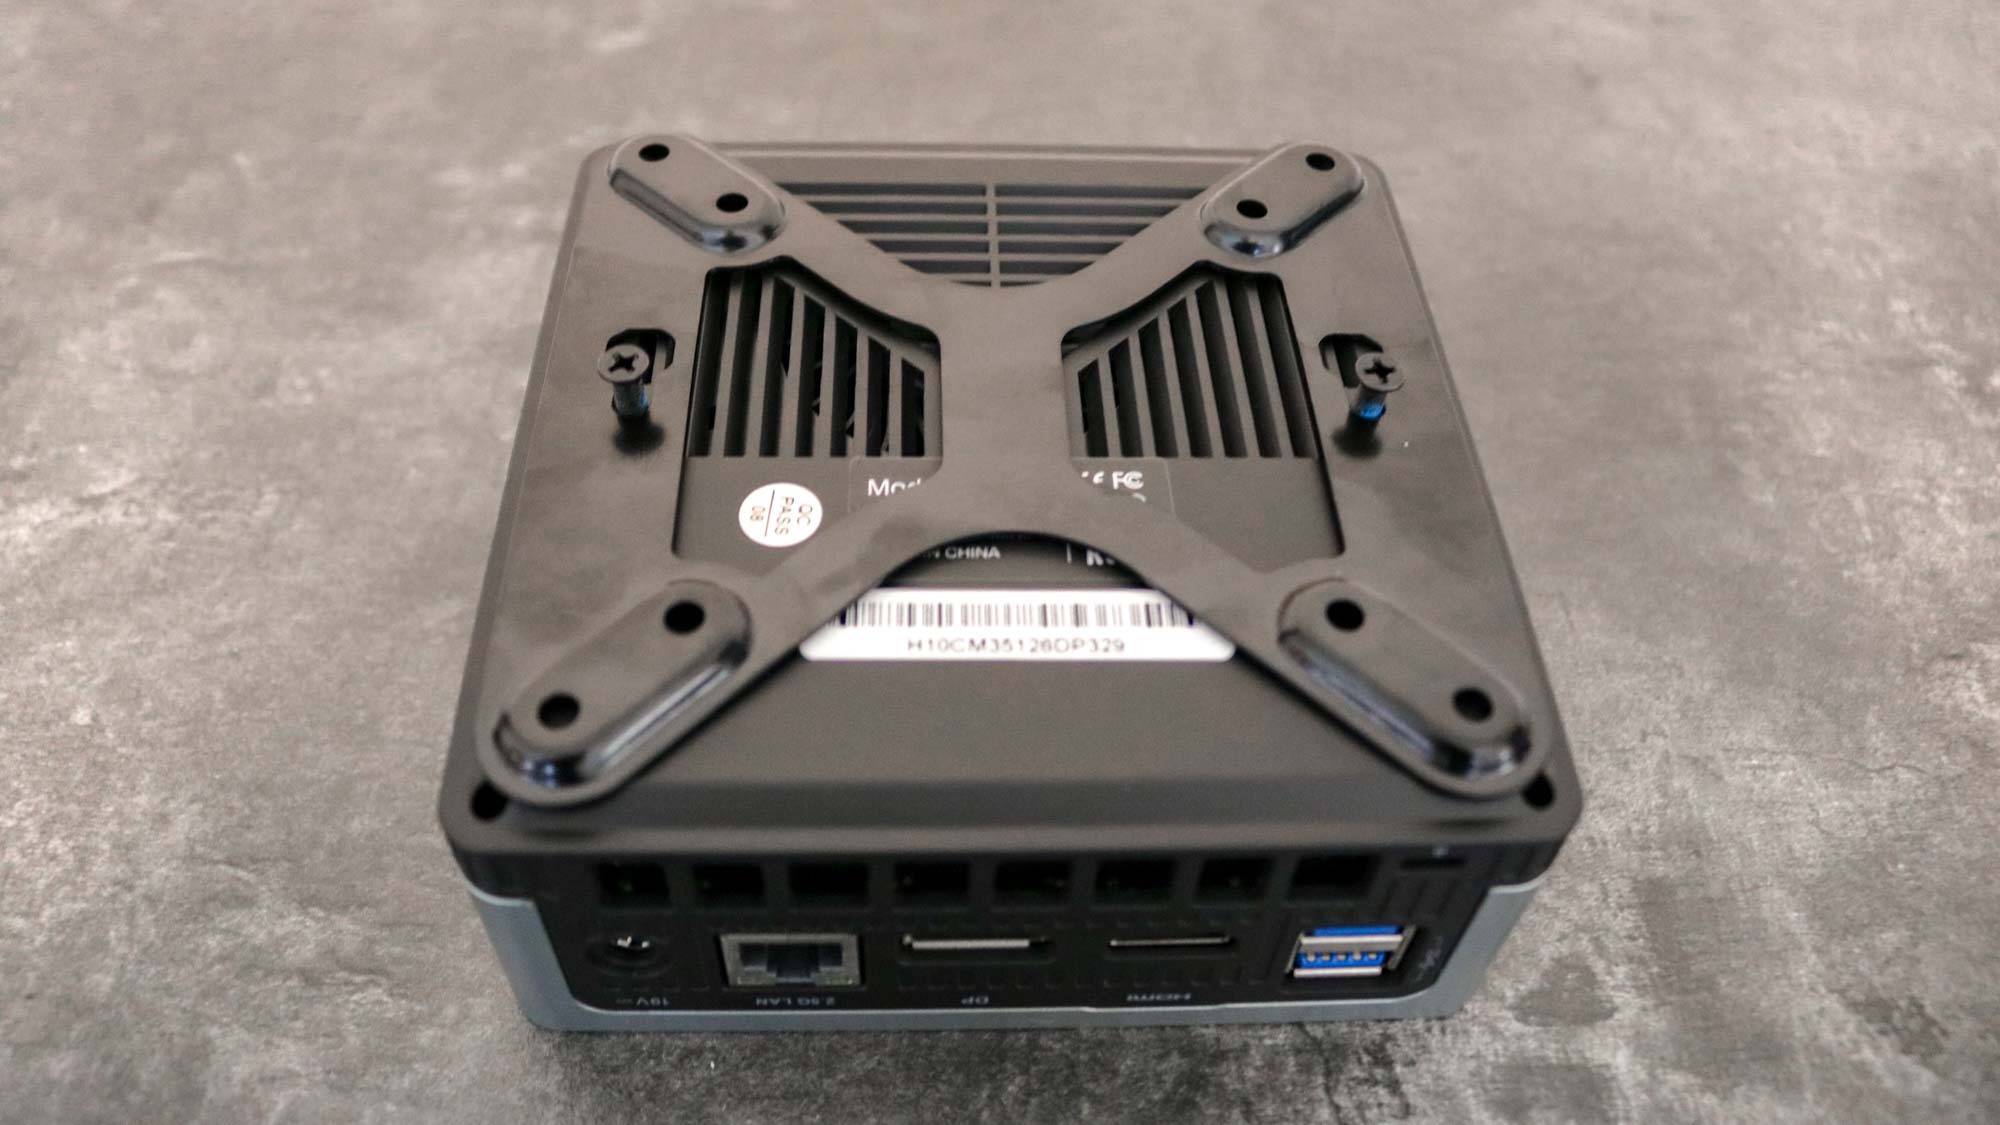
I picked up a Minisforum UM350 ($289, Amazon) mini PC on sale last year and even though I didn’t think I’d have much use for it at the time, it came with a VESA mounting bracket. It took just two screws to secure the bracket to the underside of the PC.
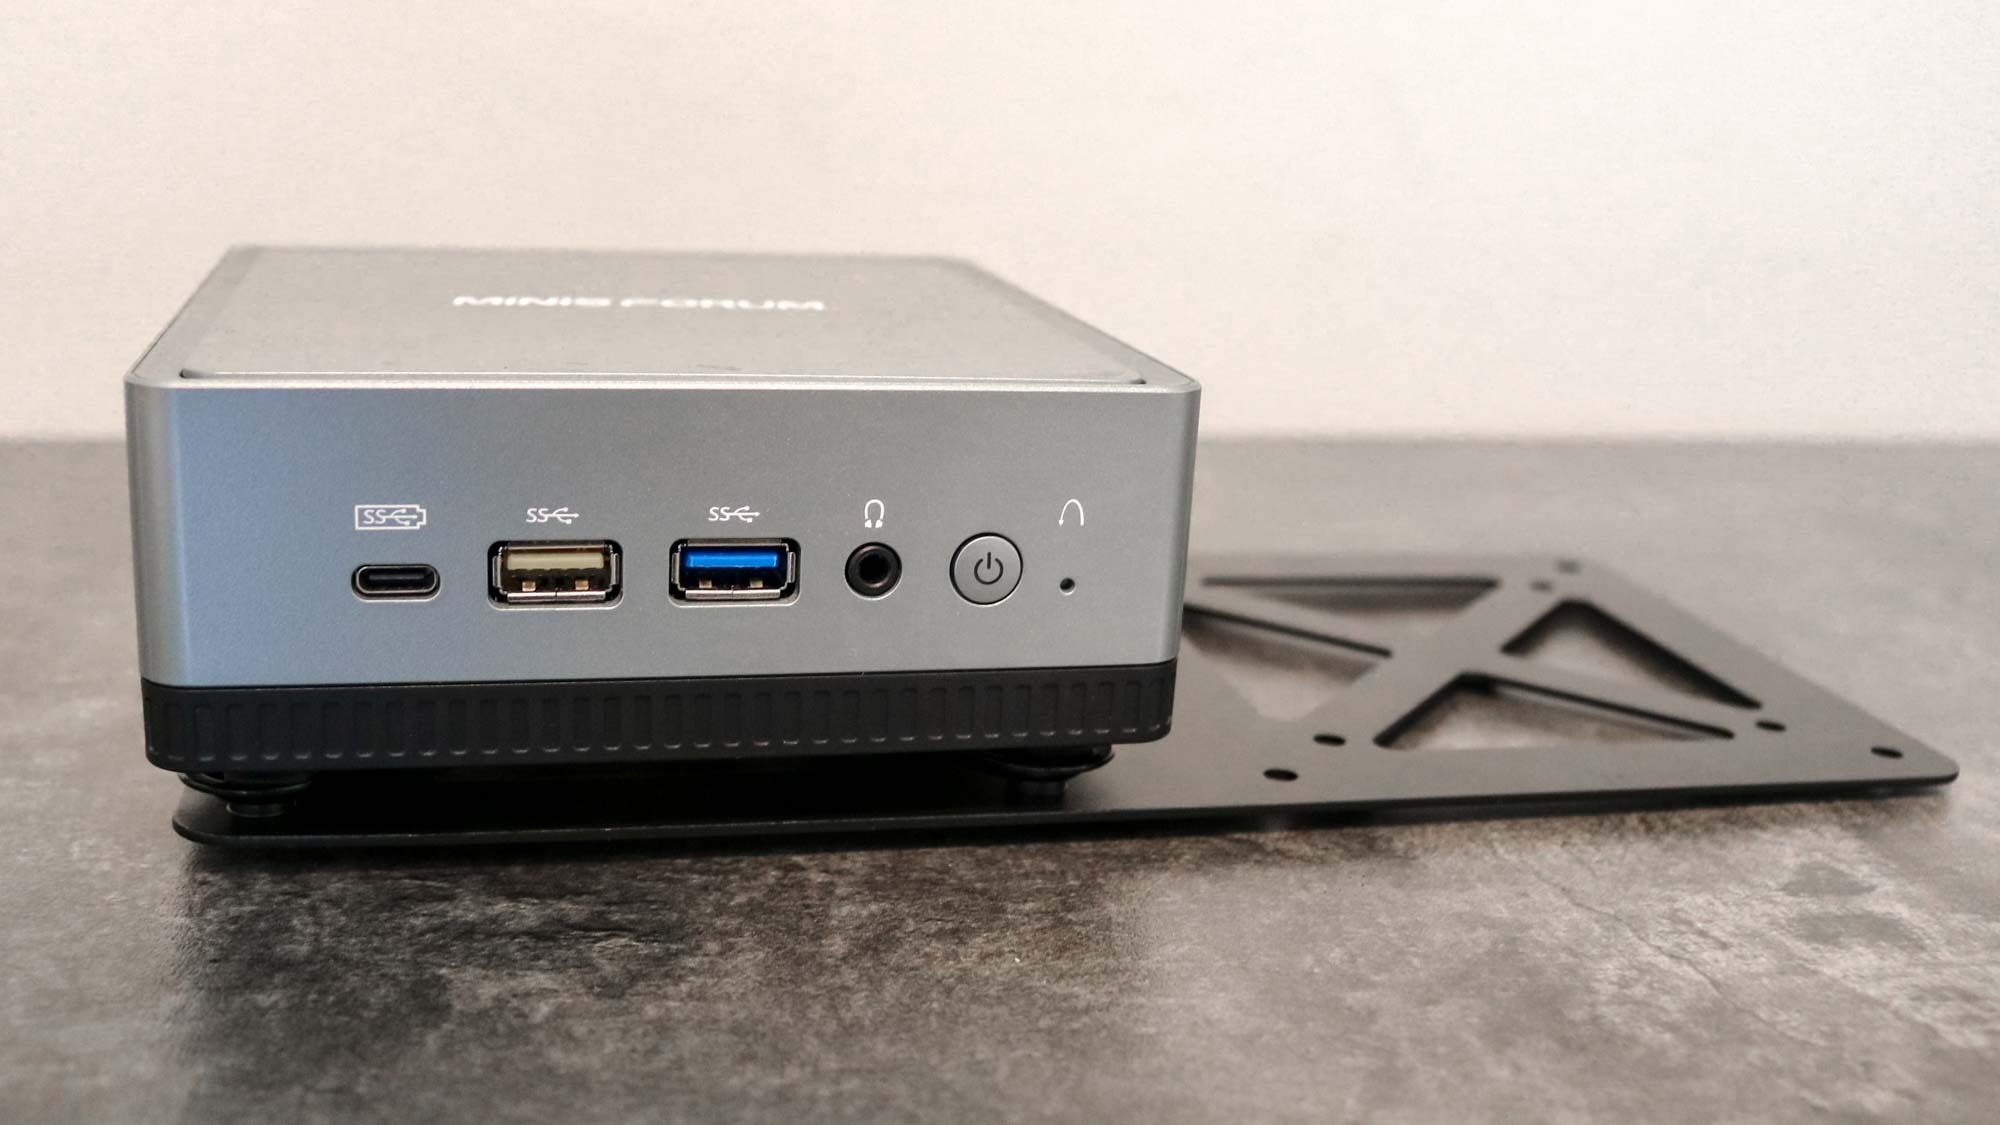
From here, I had to remove the bracket from the bottom of the mini PC so that I could attach it to the adapter. Afterwards, the mini PC just slid right into place. If you plan on doing something similar, you want to keep the orientation that your mini PC will be in once mounted to the back of your monitor in mind during the installation process.
I chose to have my mini PC’s power button and front ports facing up so that the rear ports would be closer to the monitor’s ports. This meant that I could use shorter cables while using the built-in cable management in my monitor stand ($30, Amazon) to keep everything tidy.
Saving those extra bolts sure came in handy
With my mini PC mounted to my VESA mount adapter extender bracket, it was time to attach it to the back of my monitor and reinstall my monitor stand. I was hoping to reuse the bolts I already had but there was a catch.
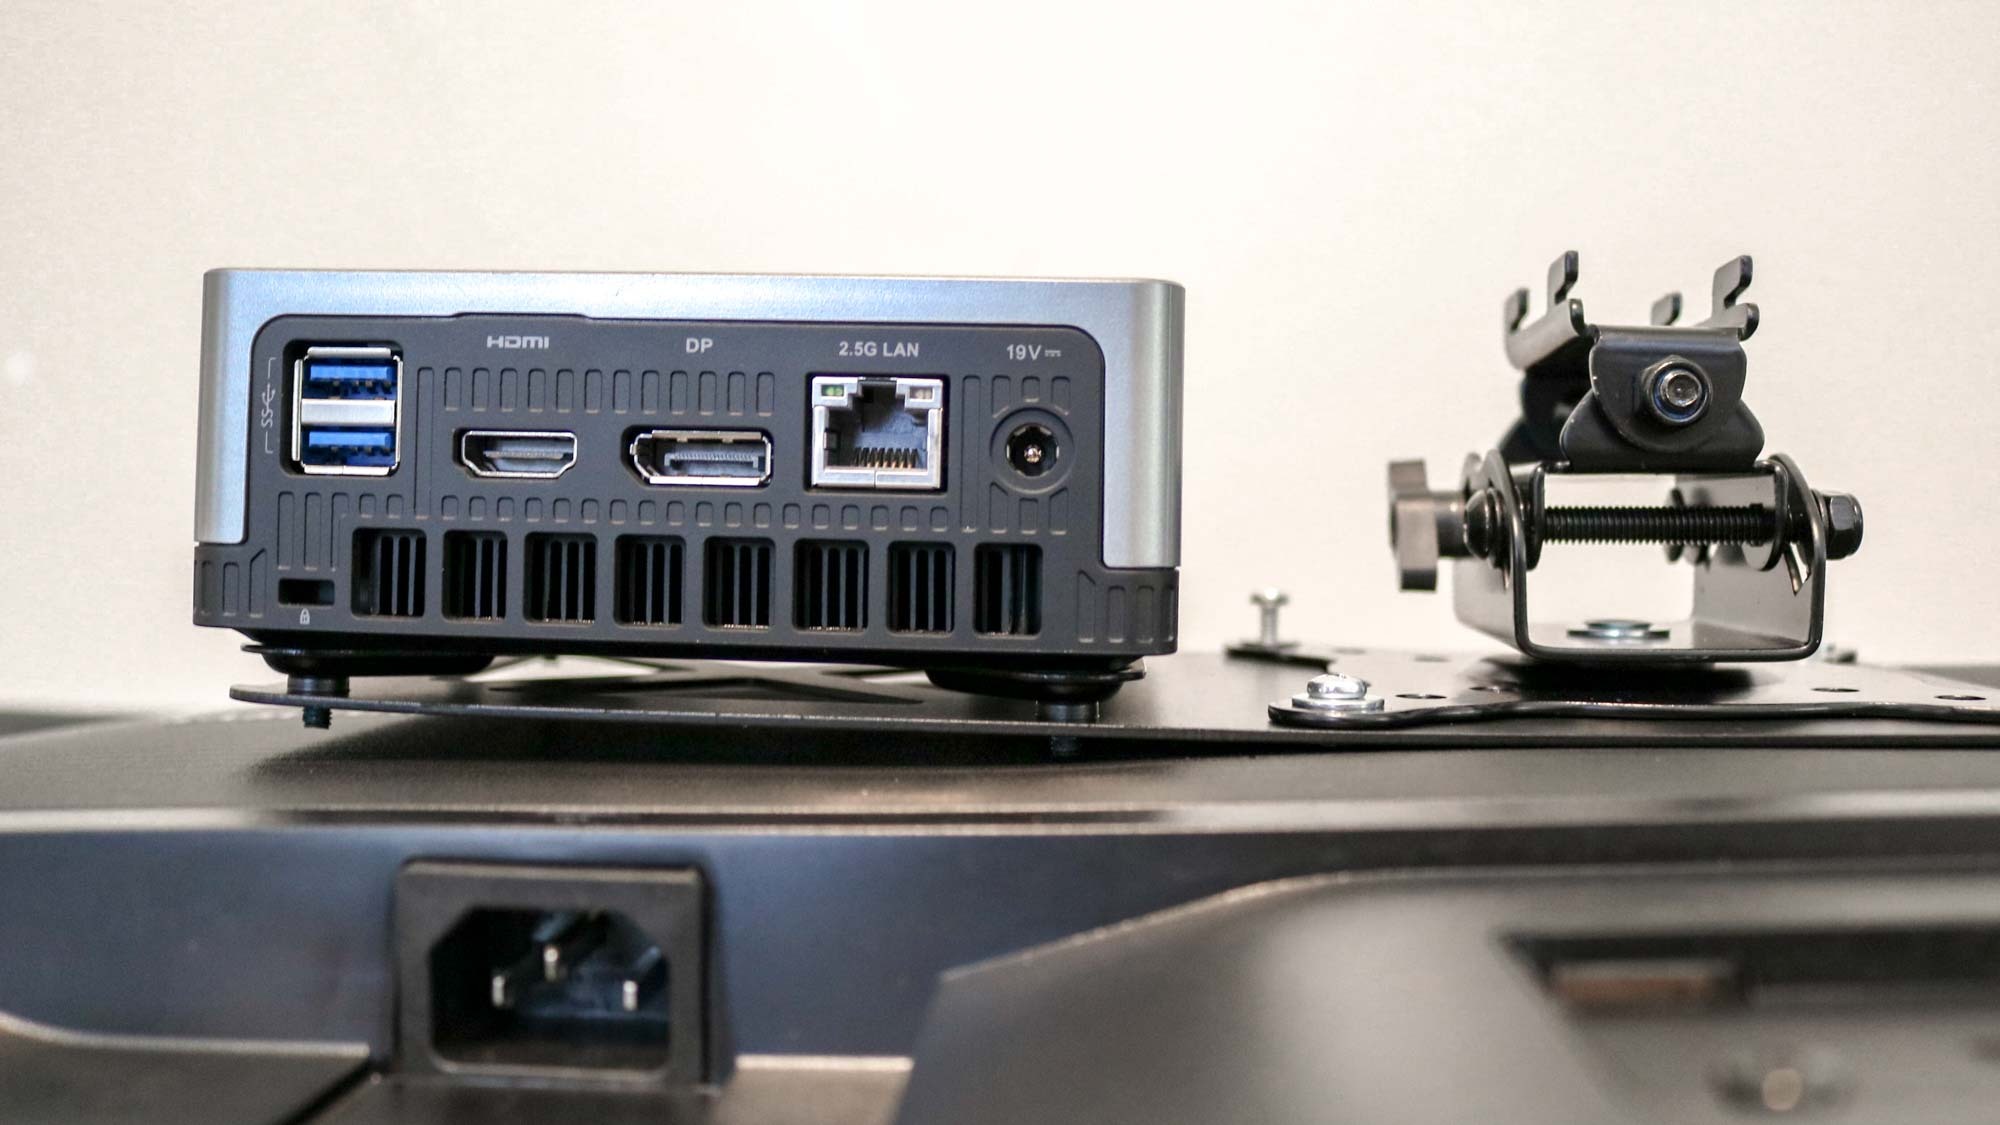
The bolts I used to attach my mini PC to the extender bracket stuck out a bit too far and pushed up against the back of the monitor. While I could tighten the bolts on the far right side using the existing bolts from my monitor stand, they just weren’t long enough on the left side. Fortunately, as I always do, I kept all of the bolts that came with my monitor stand and I was able to find some longer ones for the two holes on the left.
Although I could have used shorter bolts to attach the mini PC to the extender bracket, the way that I ended up doing it worked out as it provided a bit more space for airflow under the bottom of my computer.
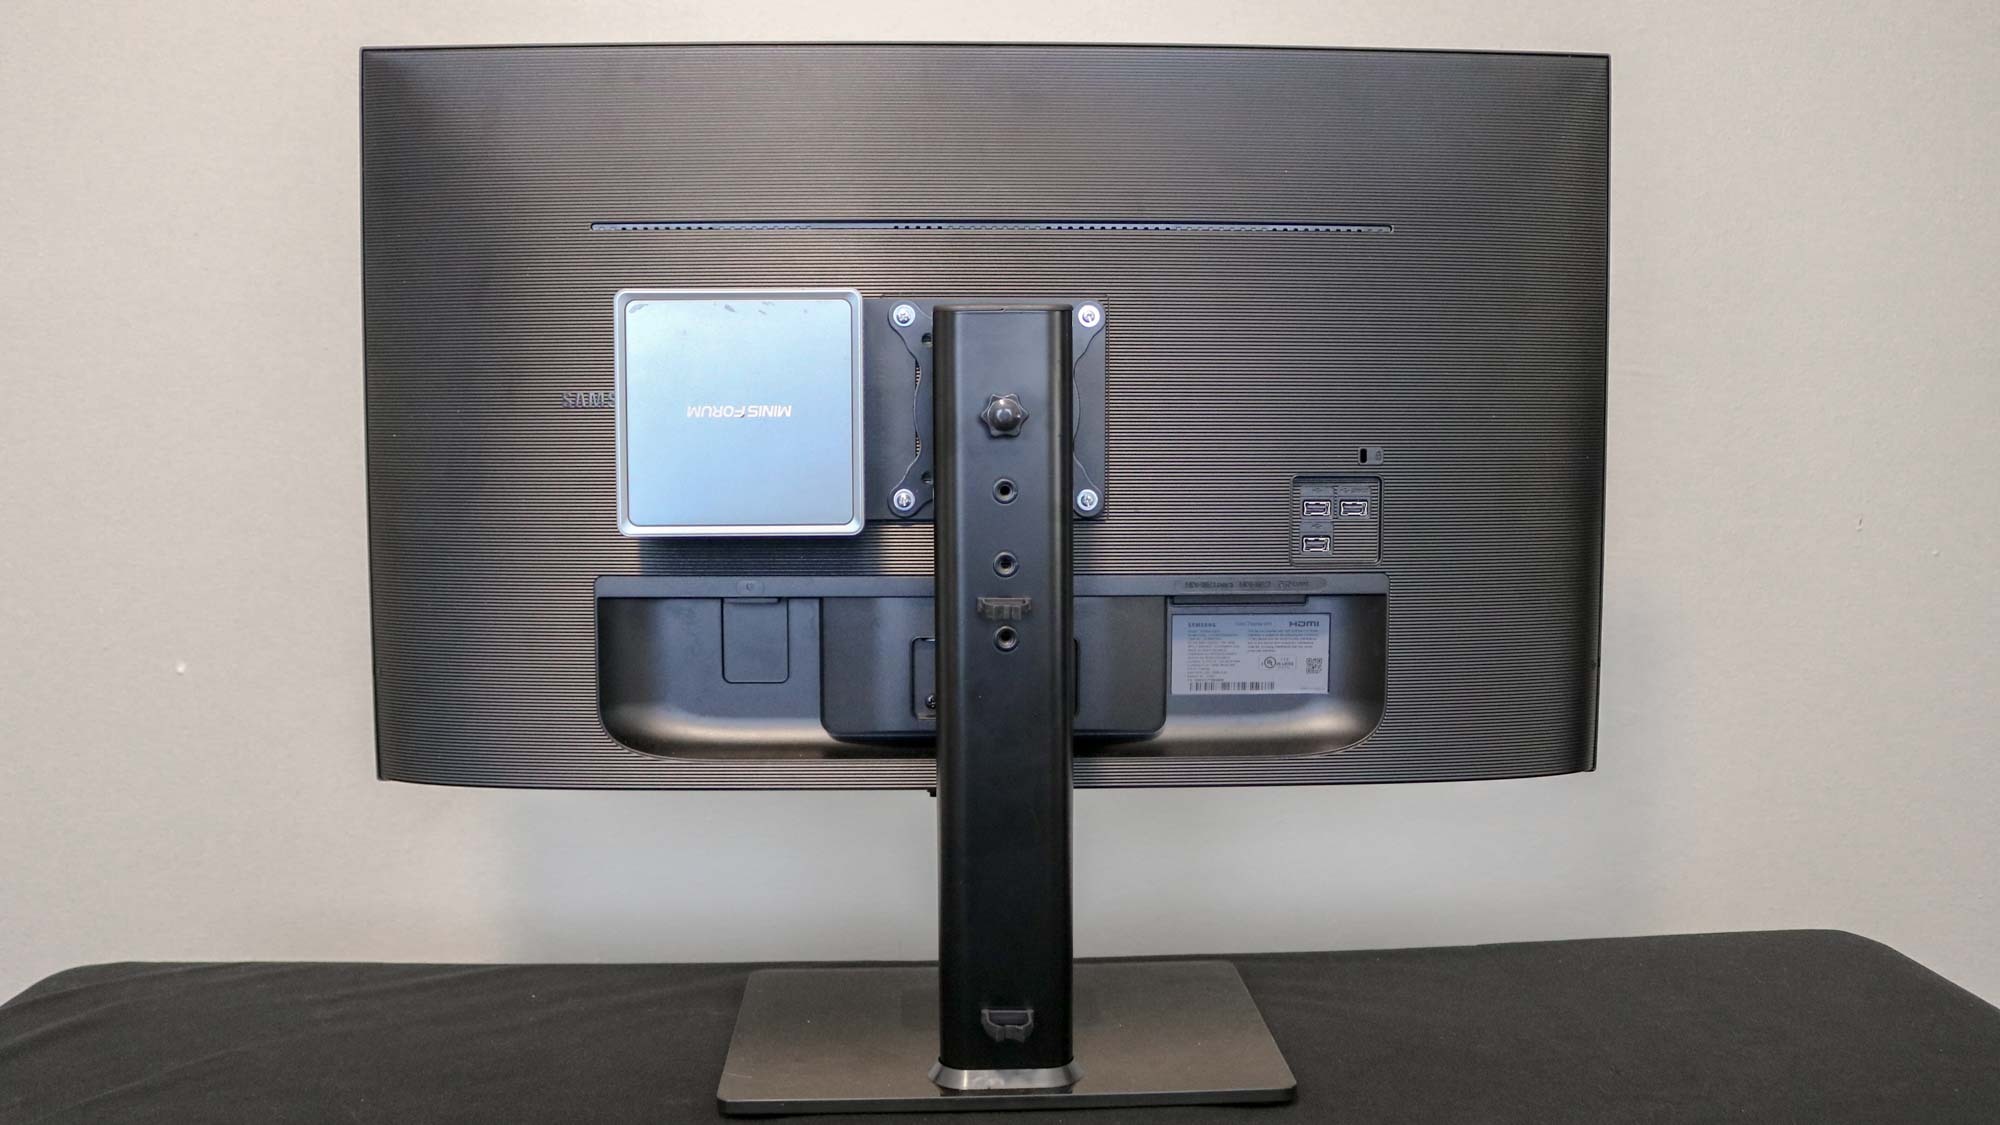
With my mini PC mounted firmly to the left side of the back of my monitor, it was time to wire everything up. The longer cables I used previously would leave me with a lot of extra cable to manage which is why I found some shorter HDMI cables in the repurposed shoe rack I have hanging on the back of the closet door in my office.
An even cleaner setup now with more desk space
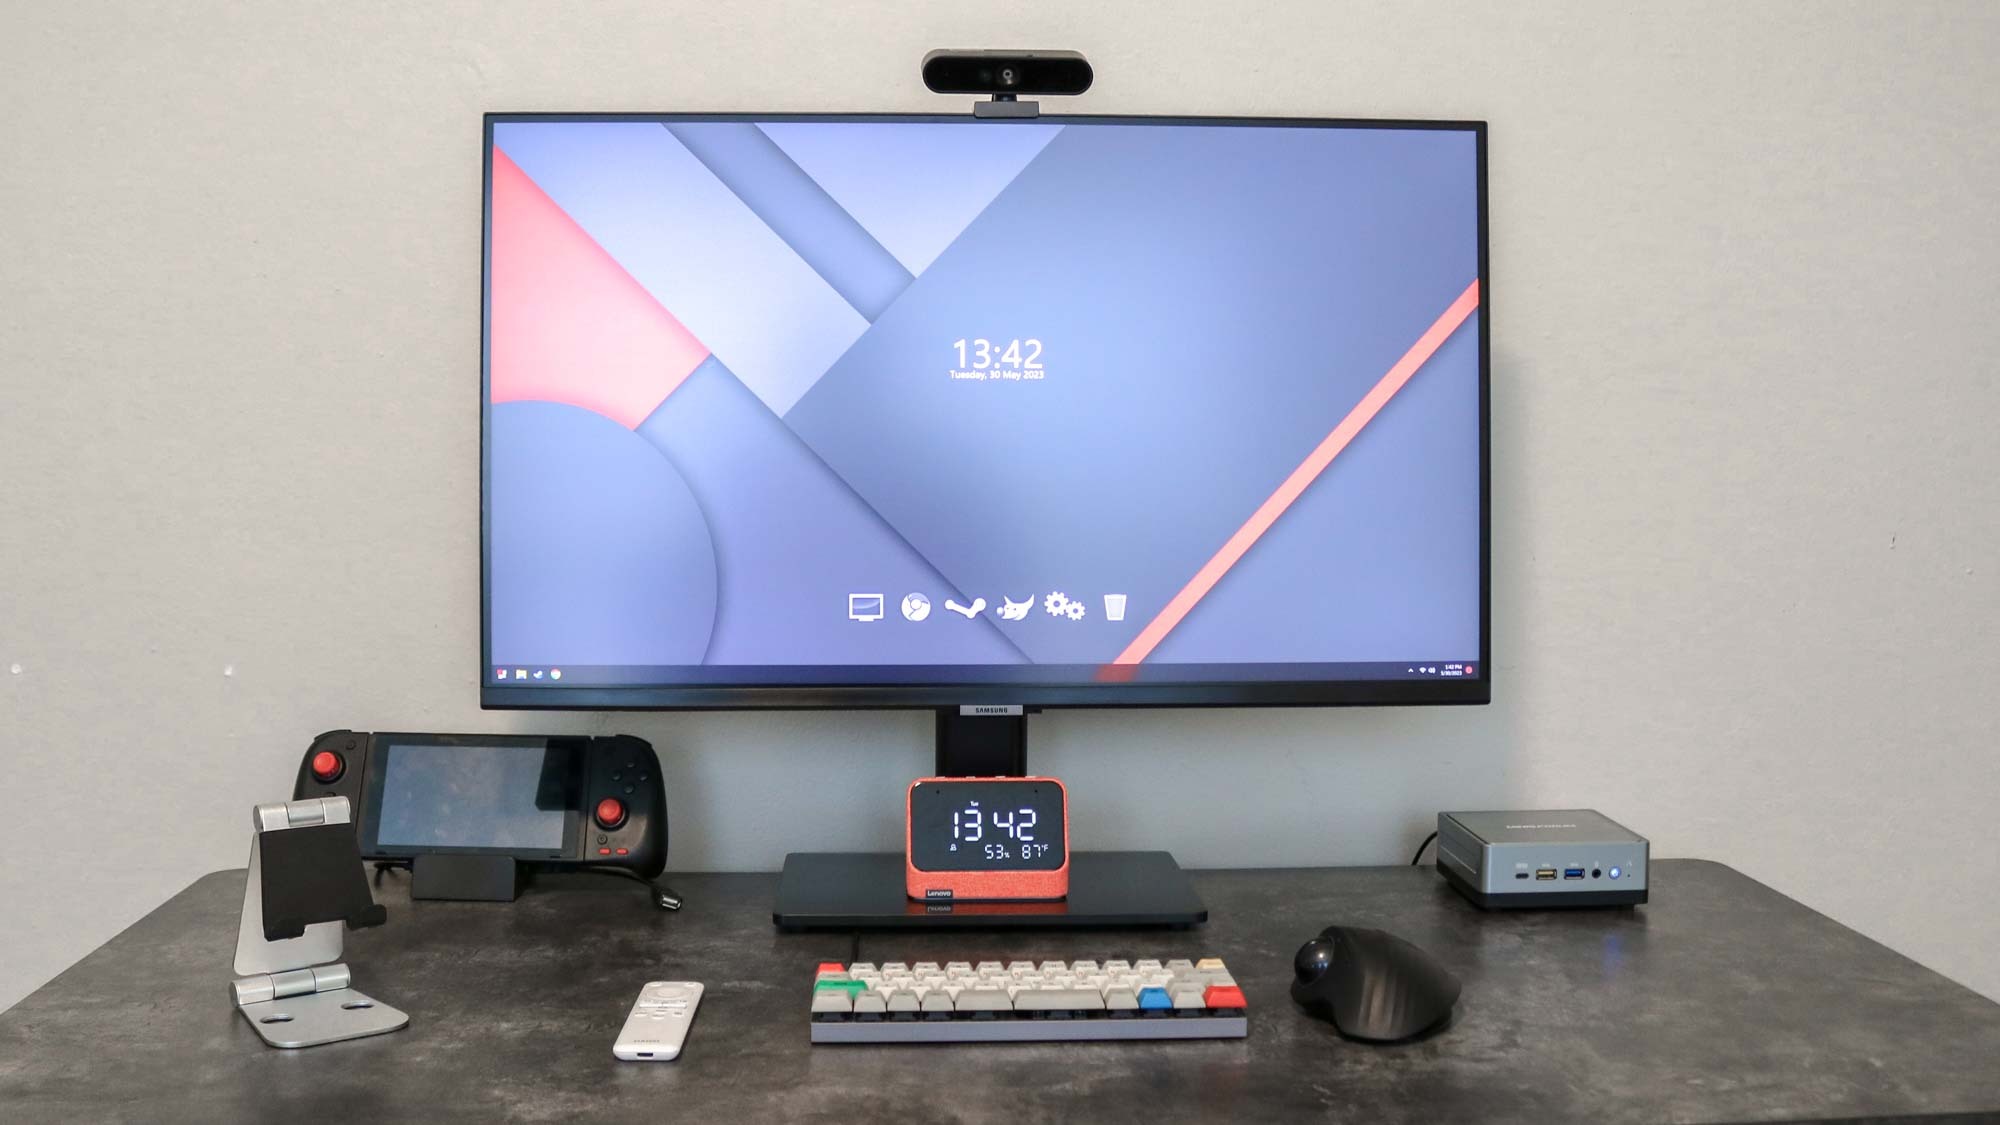
Earlier this year when I purchased my Samsung M7 Smart Monitor, I thought I did a pretty good job creating a minimal desk setup with a mini PC on one side and my Nintendo Switch in its DIY dock on the other. It has served me really well over the past few months while working from home as well as when playing The Legend of Zelda: Tears of the Kingdom.
Even though my desk already looked a lot cleaner than many others, I knew deep down that I could do better. When I heard that VESA mount adapter extender brackets could allow me to do something I’ve always wanted to try, I knew it was time to redo my setup.
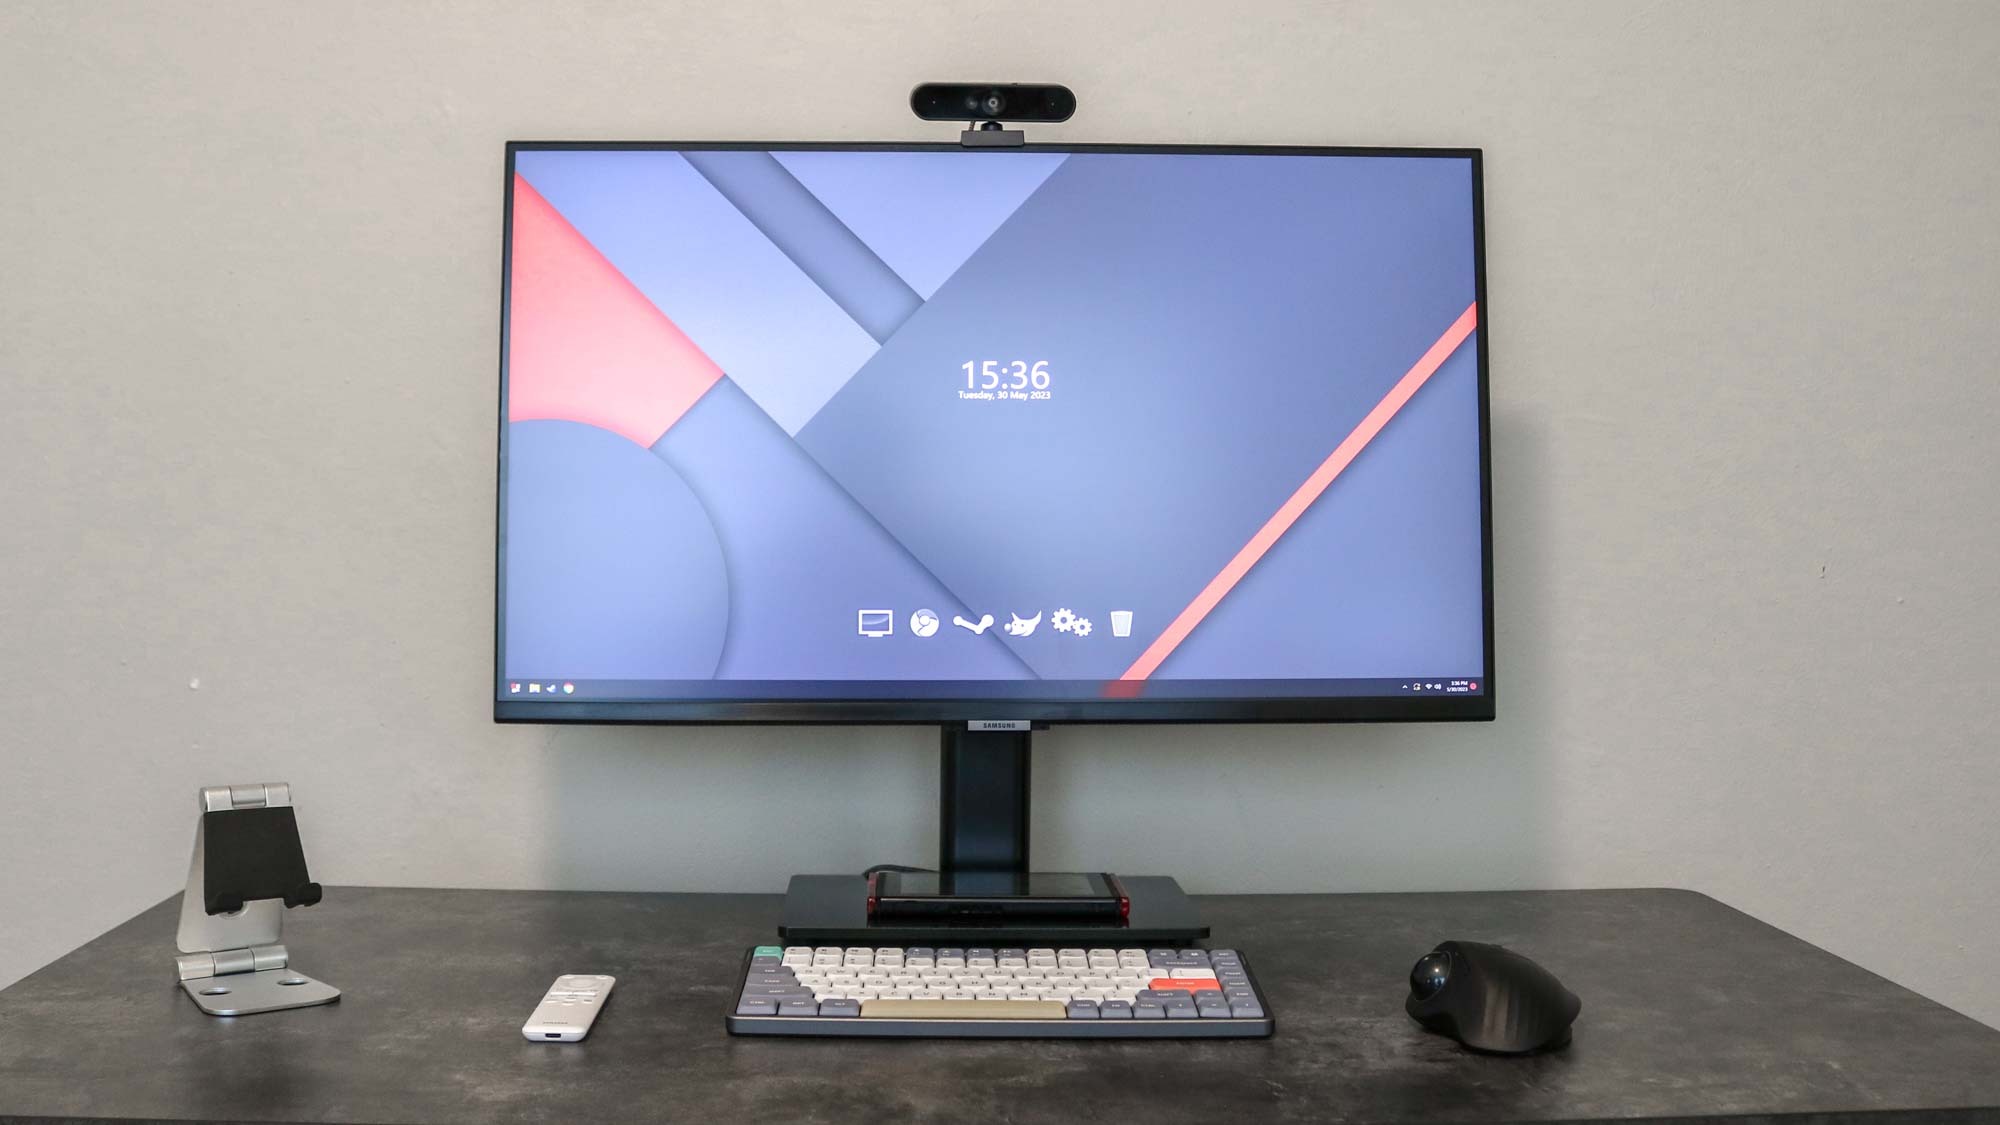
The end result makes it appear like there isn’t even a computer on the desk at all. I swapped my wired mechanical keyboard for a wireless one — the NuPhy Air 75 in case you were wondering – and I also found a way to get rid of my already smaller, re-shelled Nintendo Switch dock. With the Genki Covert Dock Mini ($50, Amazon) plugged into a power strip in my desk’s cable management tray, I only have a single USB-C cable that runs up from the bottom of the desk to use my Switch in docked mode.
Although I’ll likely end up redoing my desk setup yet again down the line, I’m really happy with how this one turned out. I haven’t had any problems with the mini PC mounted to the back of my monitor and with a toddler running around my office, there’s one less button for him to try and press. If you have a mini PC that’s VESA compatible, you may want to consider doing something similar, especially if you value desk space as much as I do.


