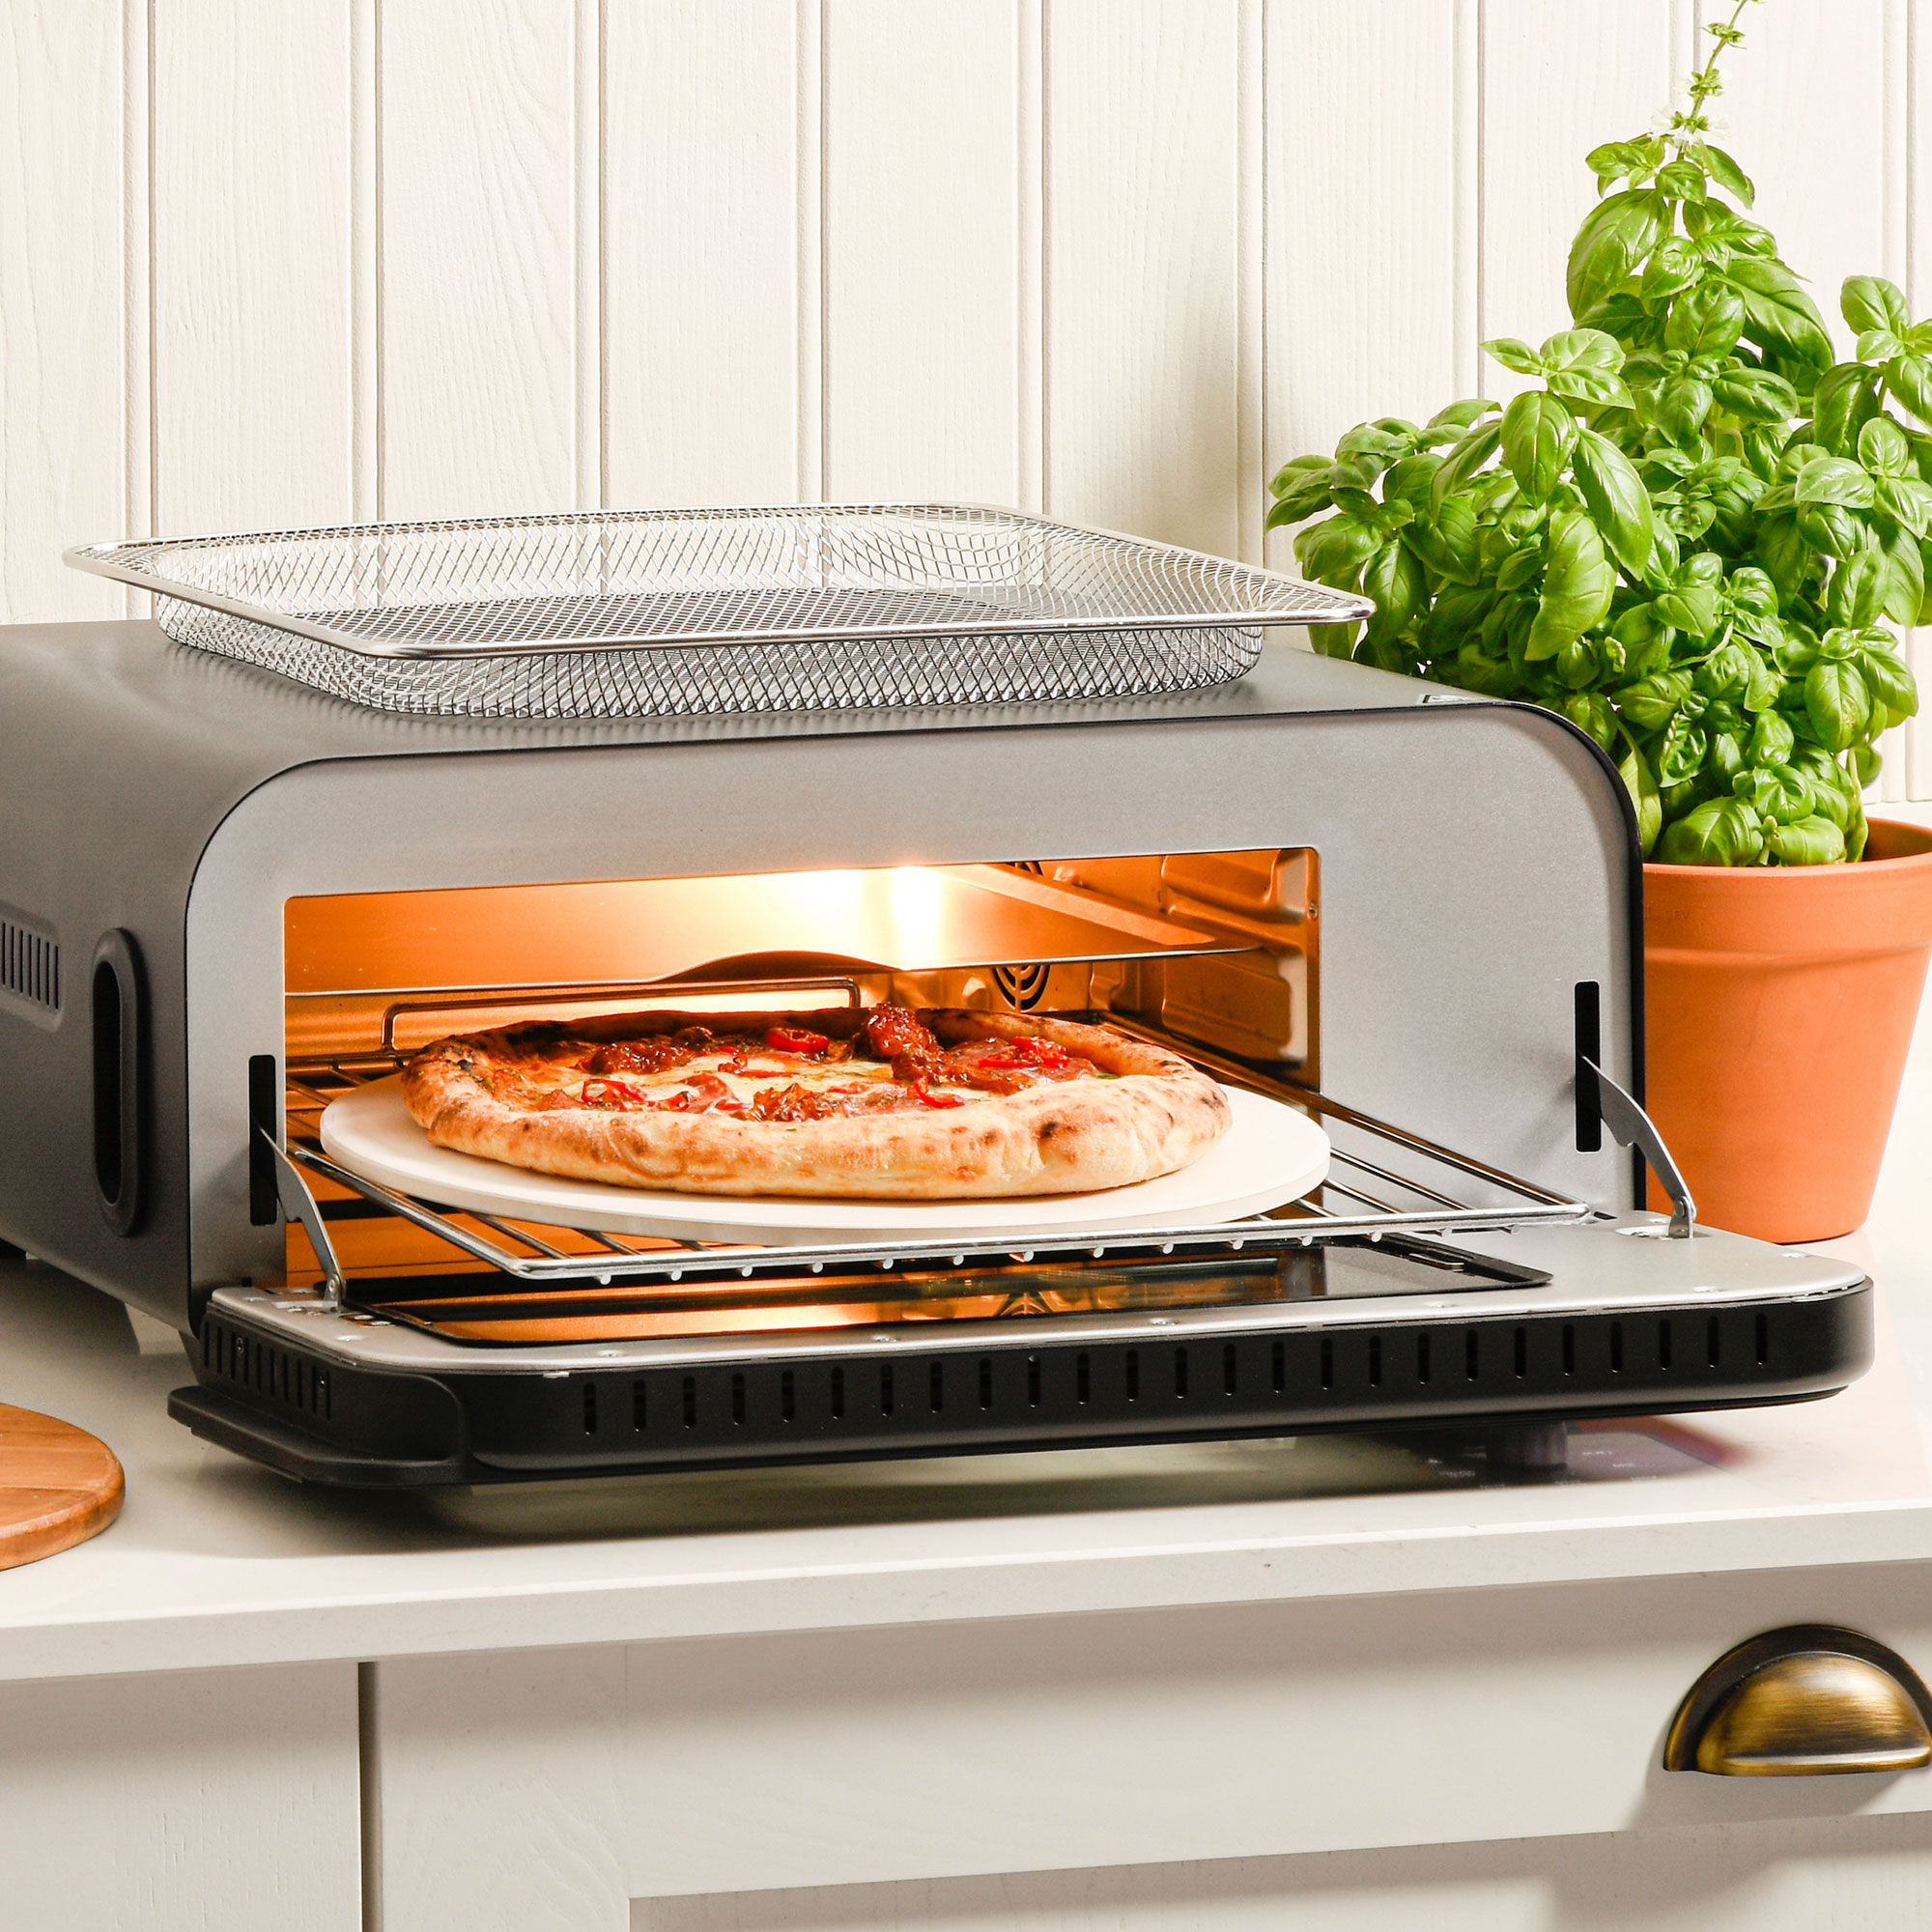
I’ve tested and reviewed my fare share of the best pizza ovens and they're great, but let’s face it, the British weather doesn’t always want to play ball. And even the biggest pizza craving isn’t enough to make me stand outside in the driving rain cooking an, albeit delicious, pizza.
So it’s easy to understand why indoor pizza ovens are becoming increasingly popular, especially taking into account the fact that many people don’t have any outside space in which to set up a pizza oven. So is the ProCook Electric Pizza Oven Air Fryer the answer?
We took a sneak peek at this oven when it launched and the bottom line is that his indoor pizza oven offers multiple cooking functions, so when you’re not making pizzas it’s still very useful. It can be used to cook meats, air fry chips, or even bake a cake. It’s got a lot to offer, so I set it up in my own kitchen for a week and tried to use as many of the functions as possible.
This 12-inch indoor oven has a whole host of settings for your kitchen.
Product specs
- Pizza size: 12 inch
- Dimensions: 53 x 39.5 x 21.5cm
- Accessories included: stainless steel basket, pizza stone, wire rack, cast iron griddle
- Power cable: 107cm
- Warranty: 2 years
Unboxing and first impressions
There were no major surprises when I got it out of the box. I expected it to take up quite a bit of worktop space, which it does. But because it’s not very tall, it doesn’t dominate the kitchen.
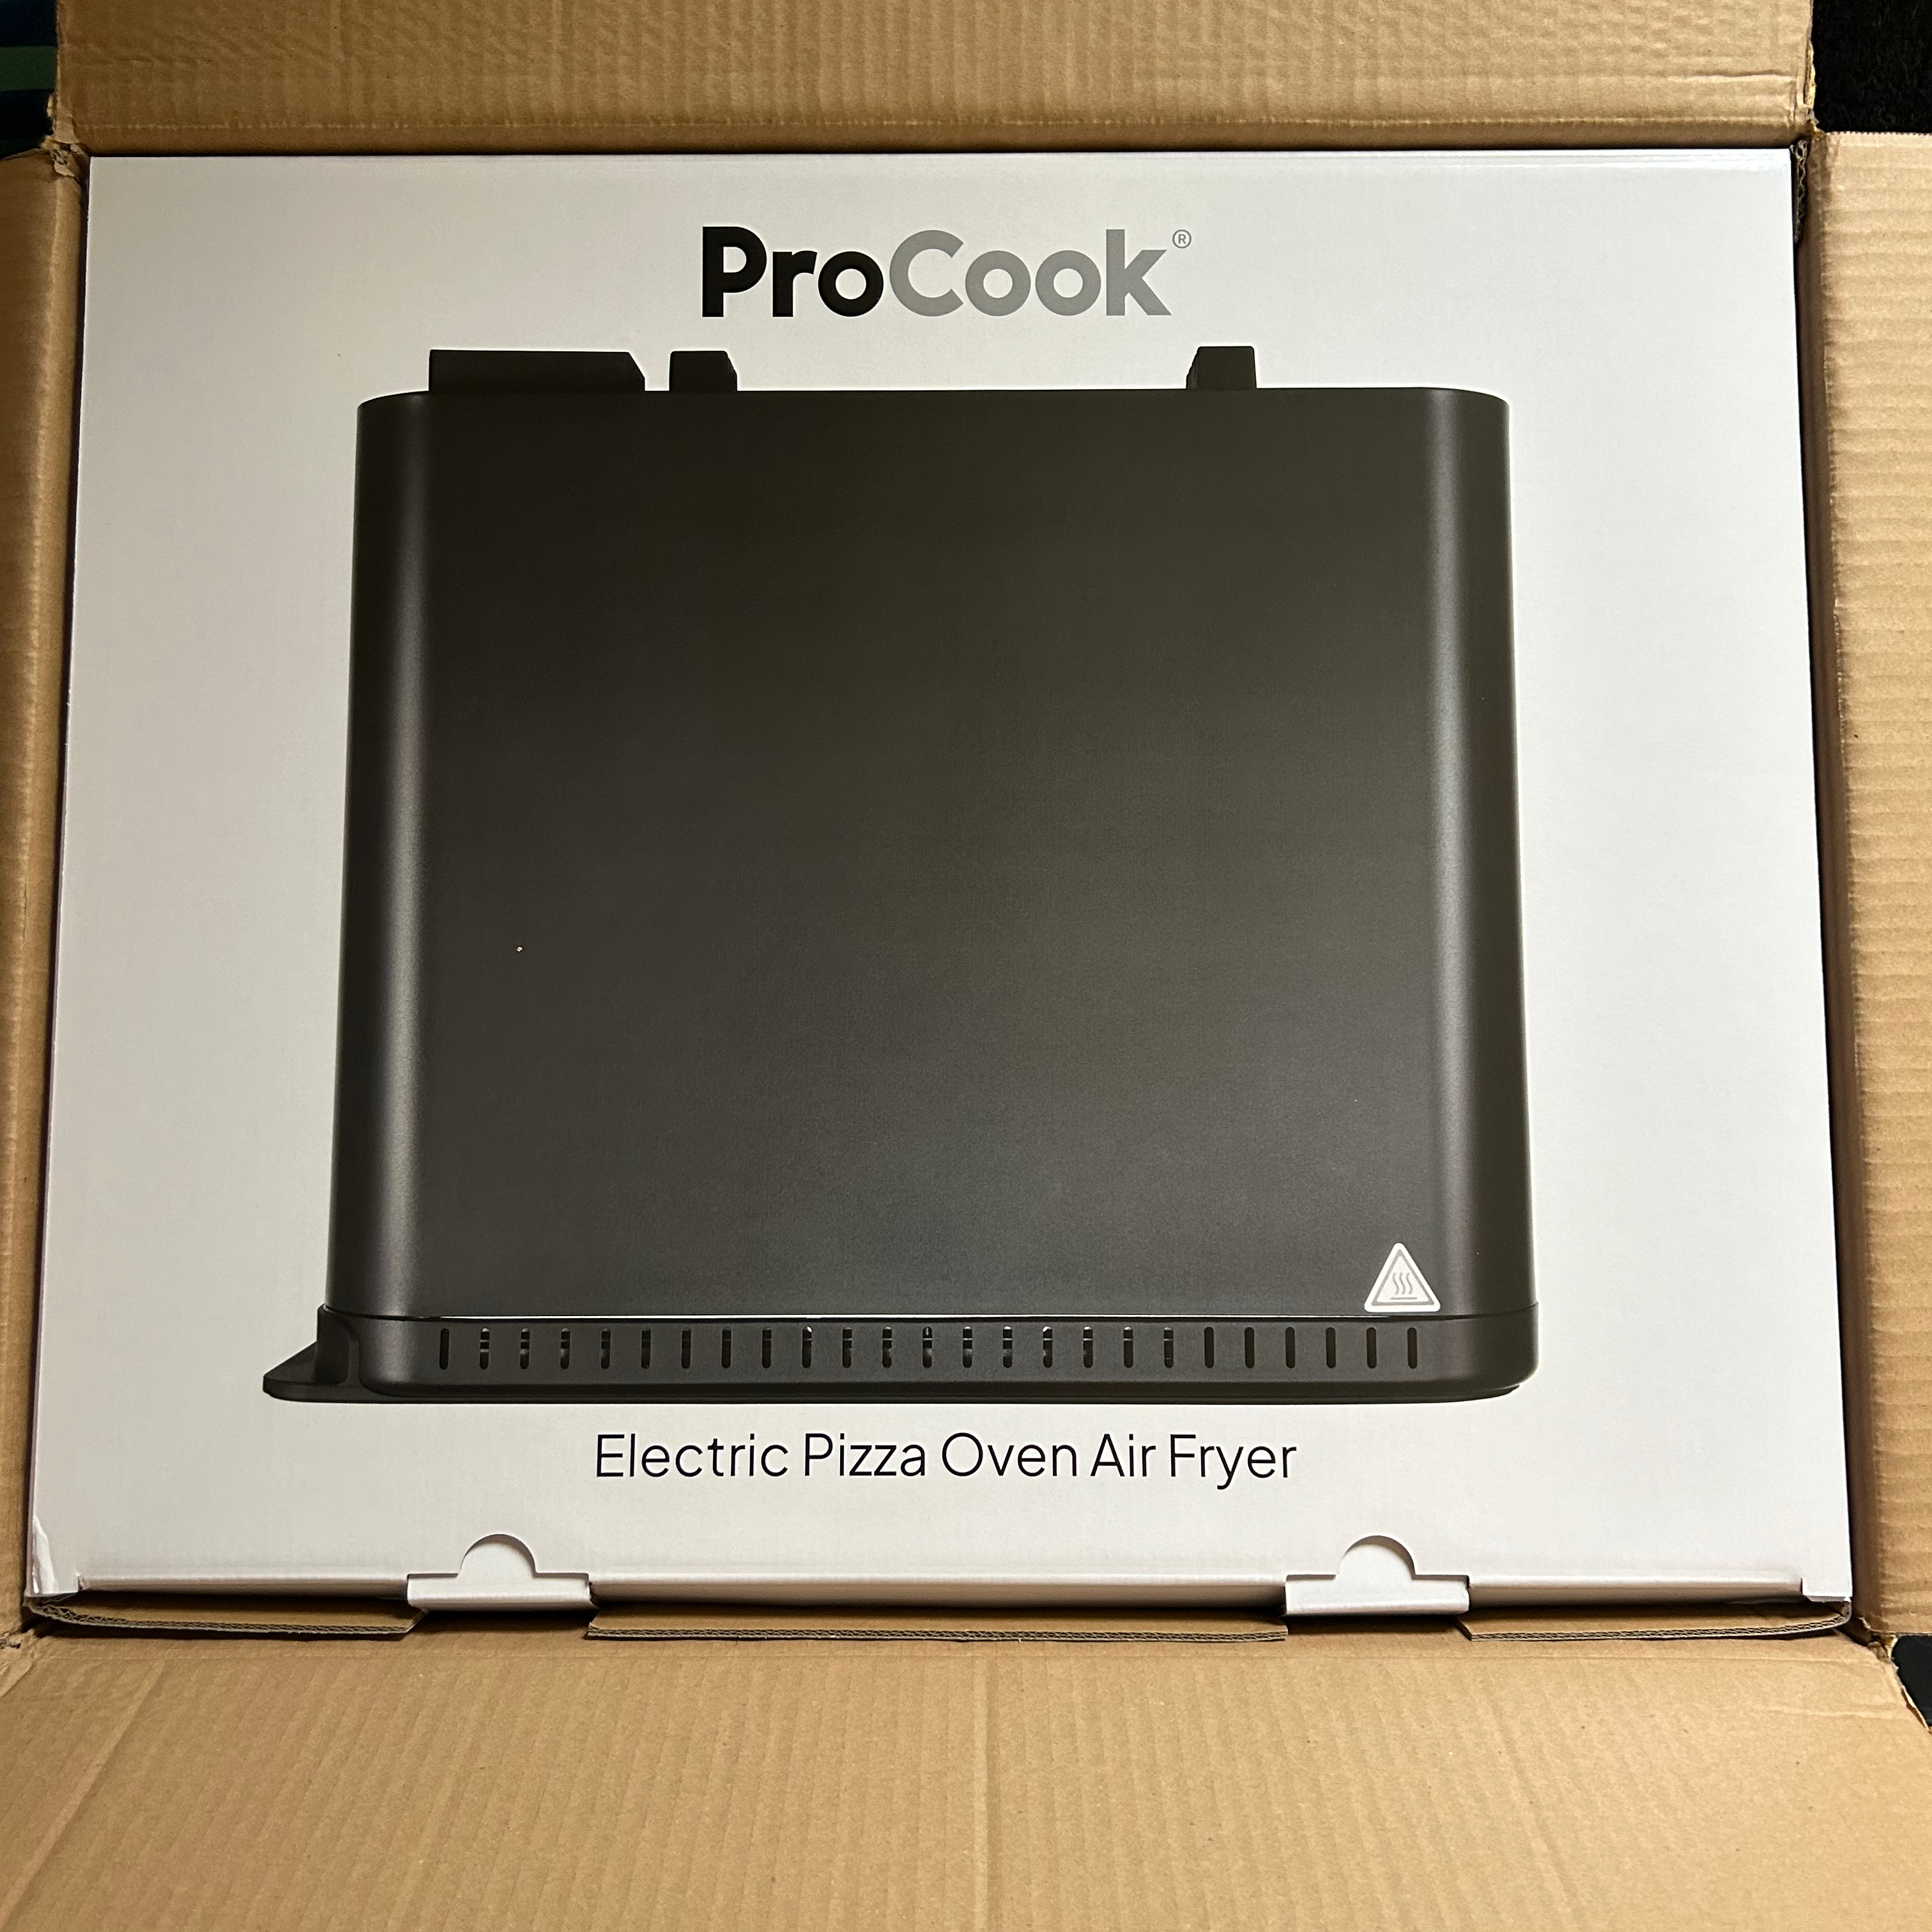
It comes with a pretty straightforward set of accessories, a wire rack style shelf, a 12 inch round pizza stone, a similar size round cast iron griddle, and a mesh style basket shelf for air frying. There’s an additional removable bottom tray that slides in under the bottom element and collects any crumbs or drips to make cleaning easier.
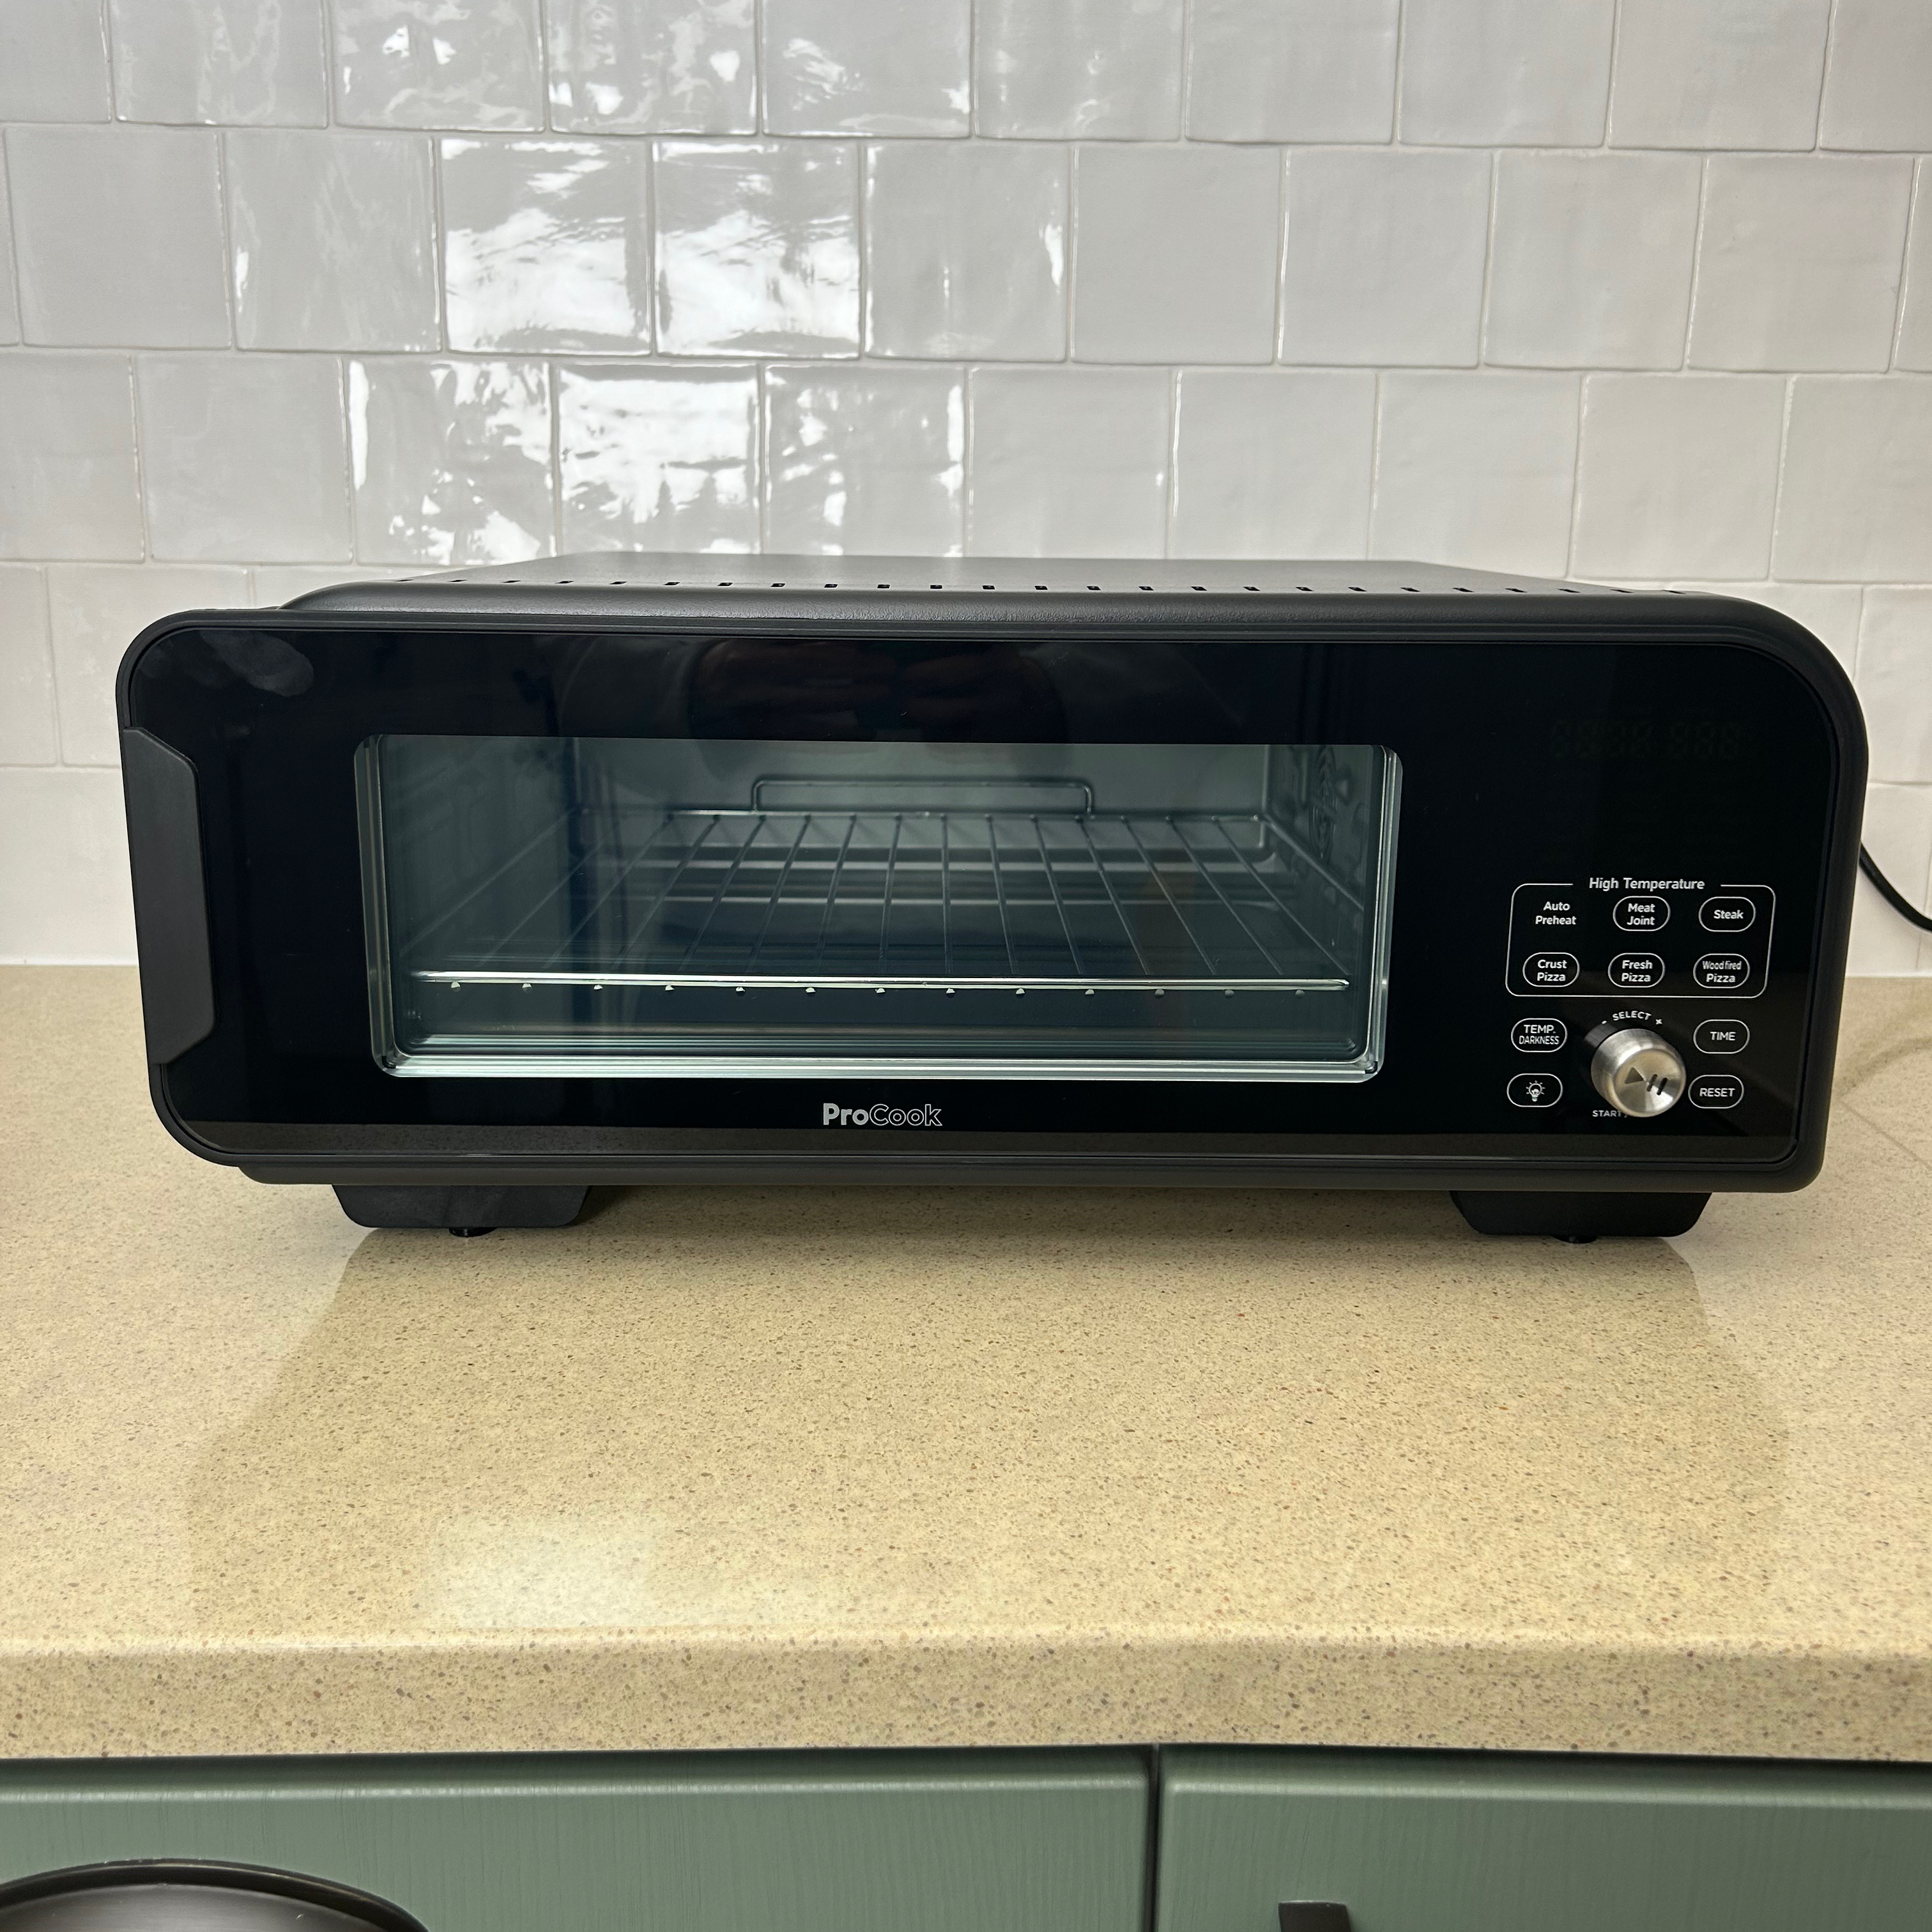
Before the first use, the manual advises washing all the accessories, apart from the pizza stone. Then placing them into the oven and running the air fry function at the maximum temperature for 10 minutes.
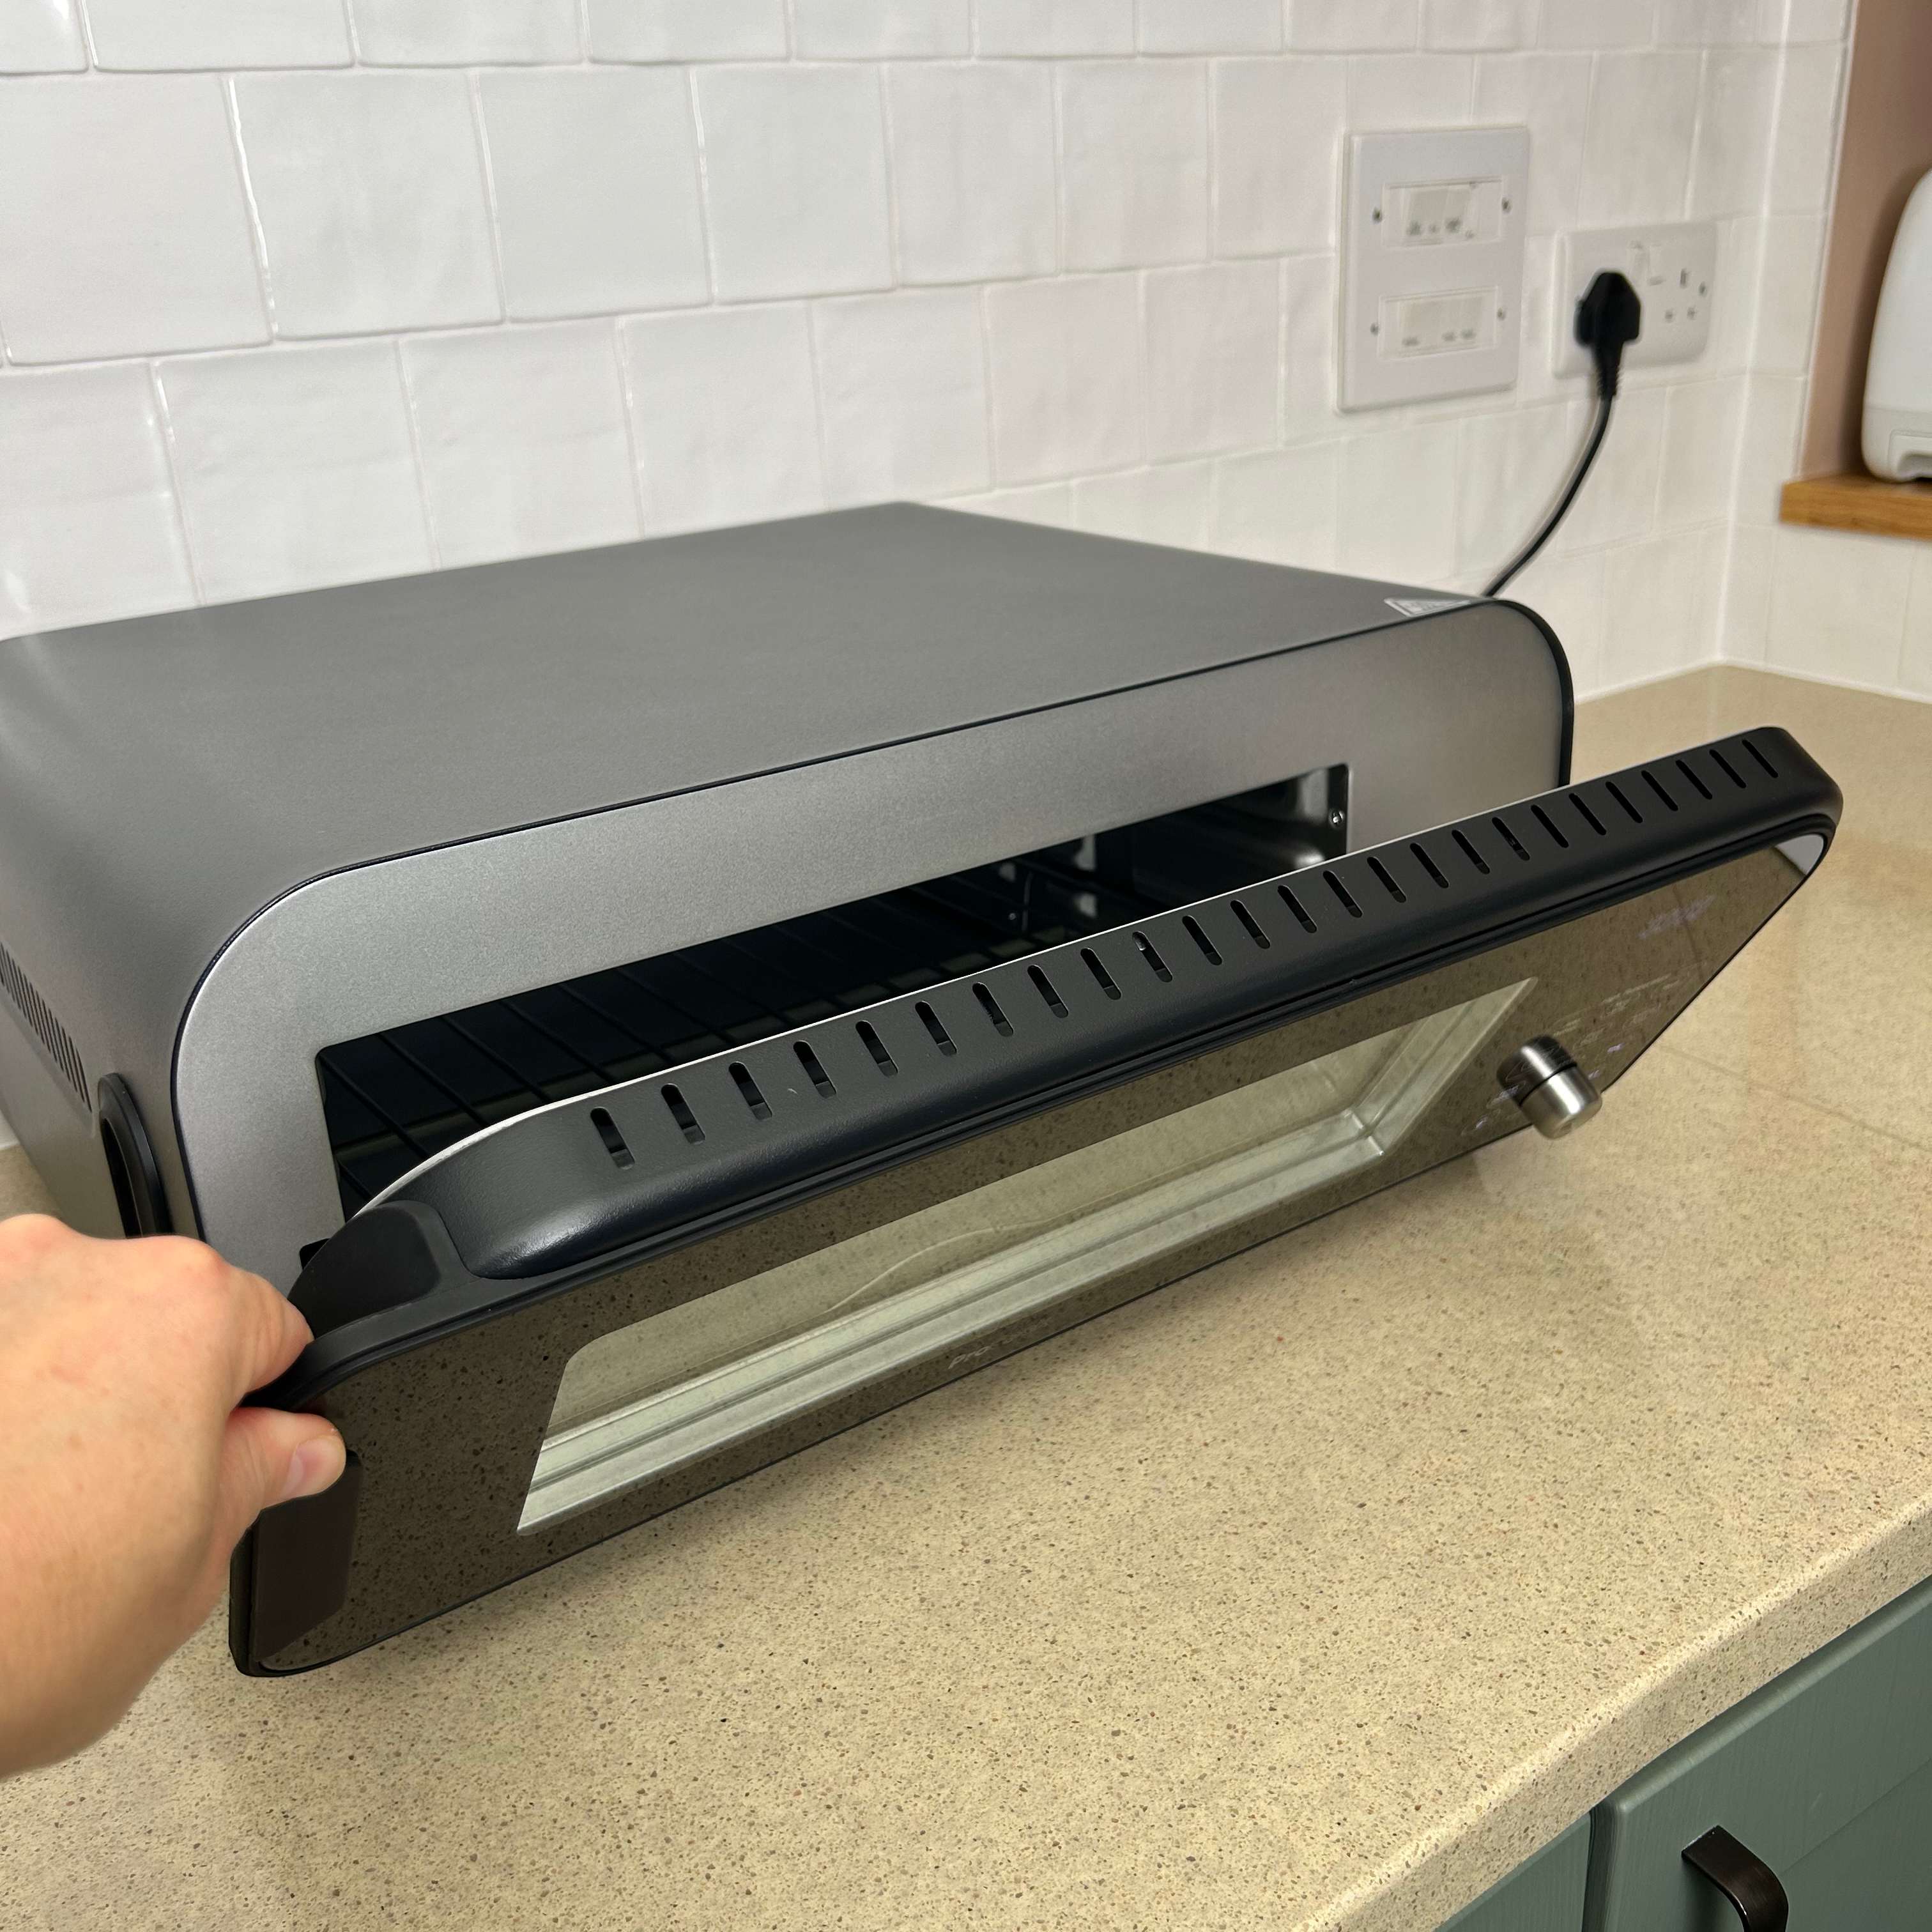
The handle to flip the door open and closed is on the left and one thing I immediately noticed was that it’s easy to accidentally slam the door shut unless you carefully keep hold of the handle until it’s fully closed.
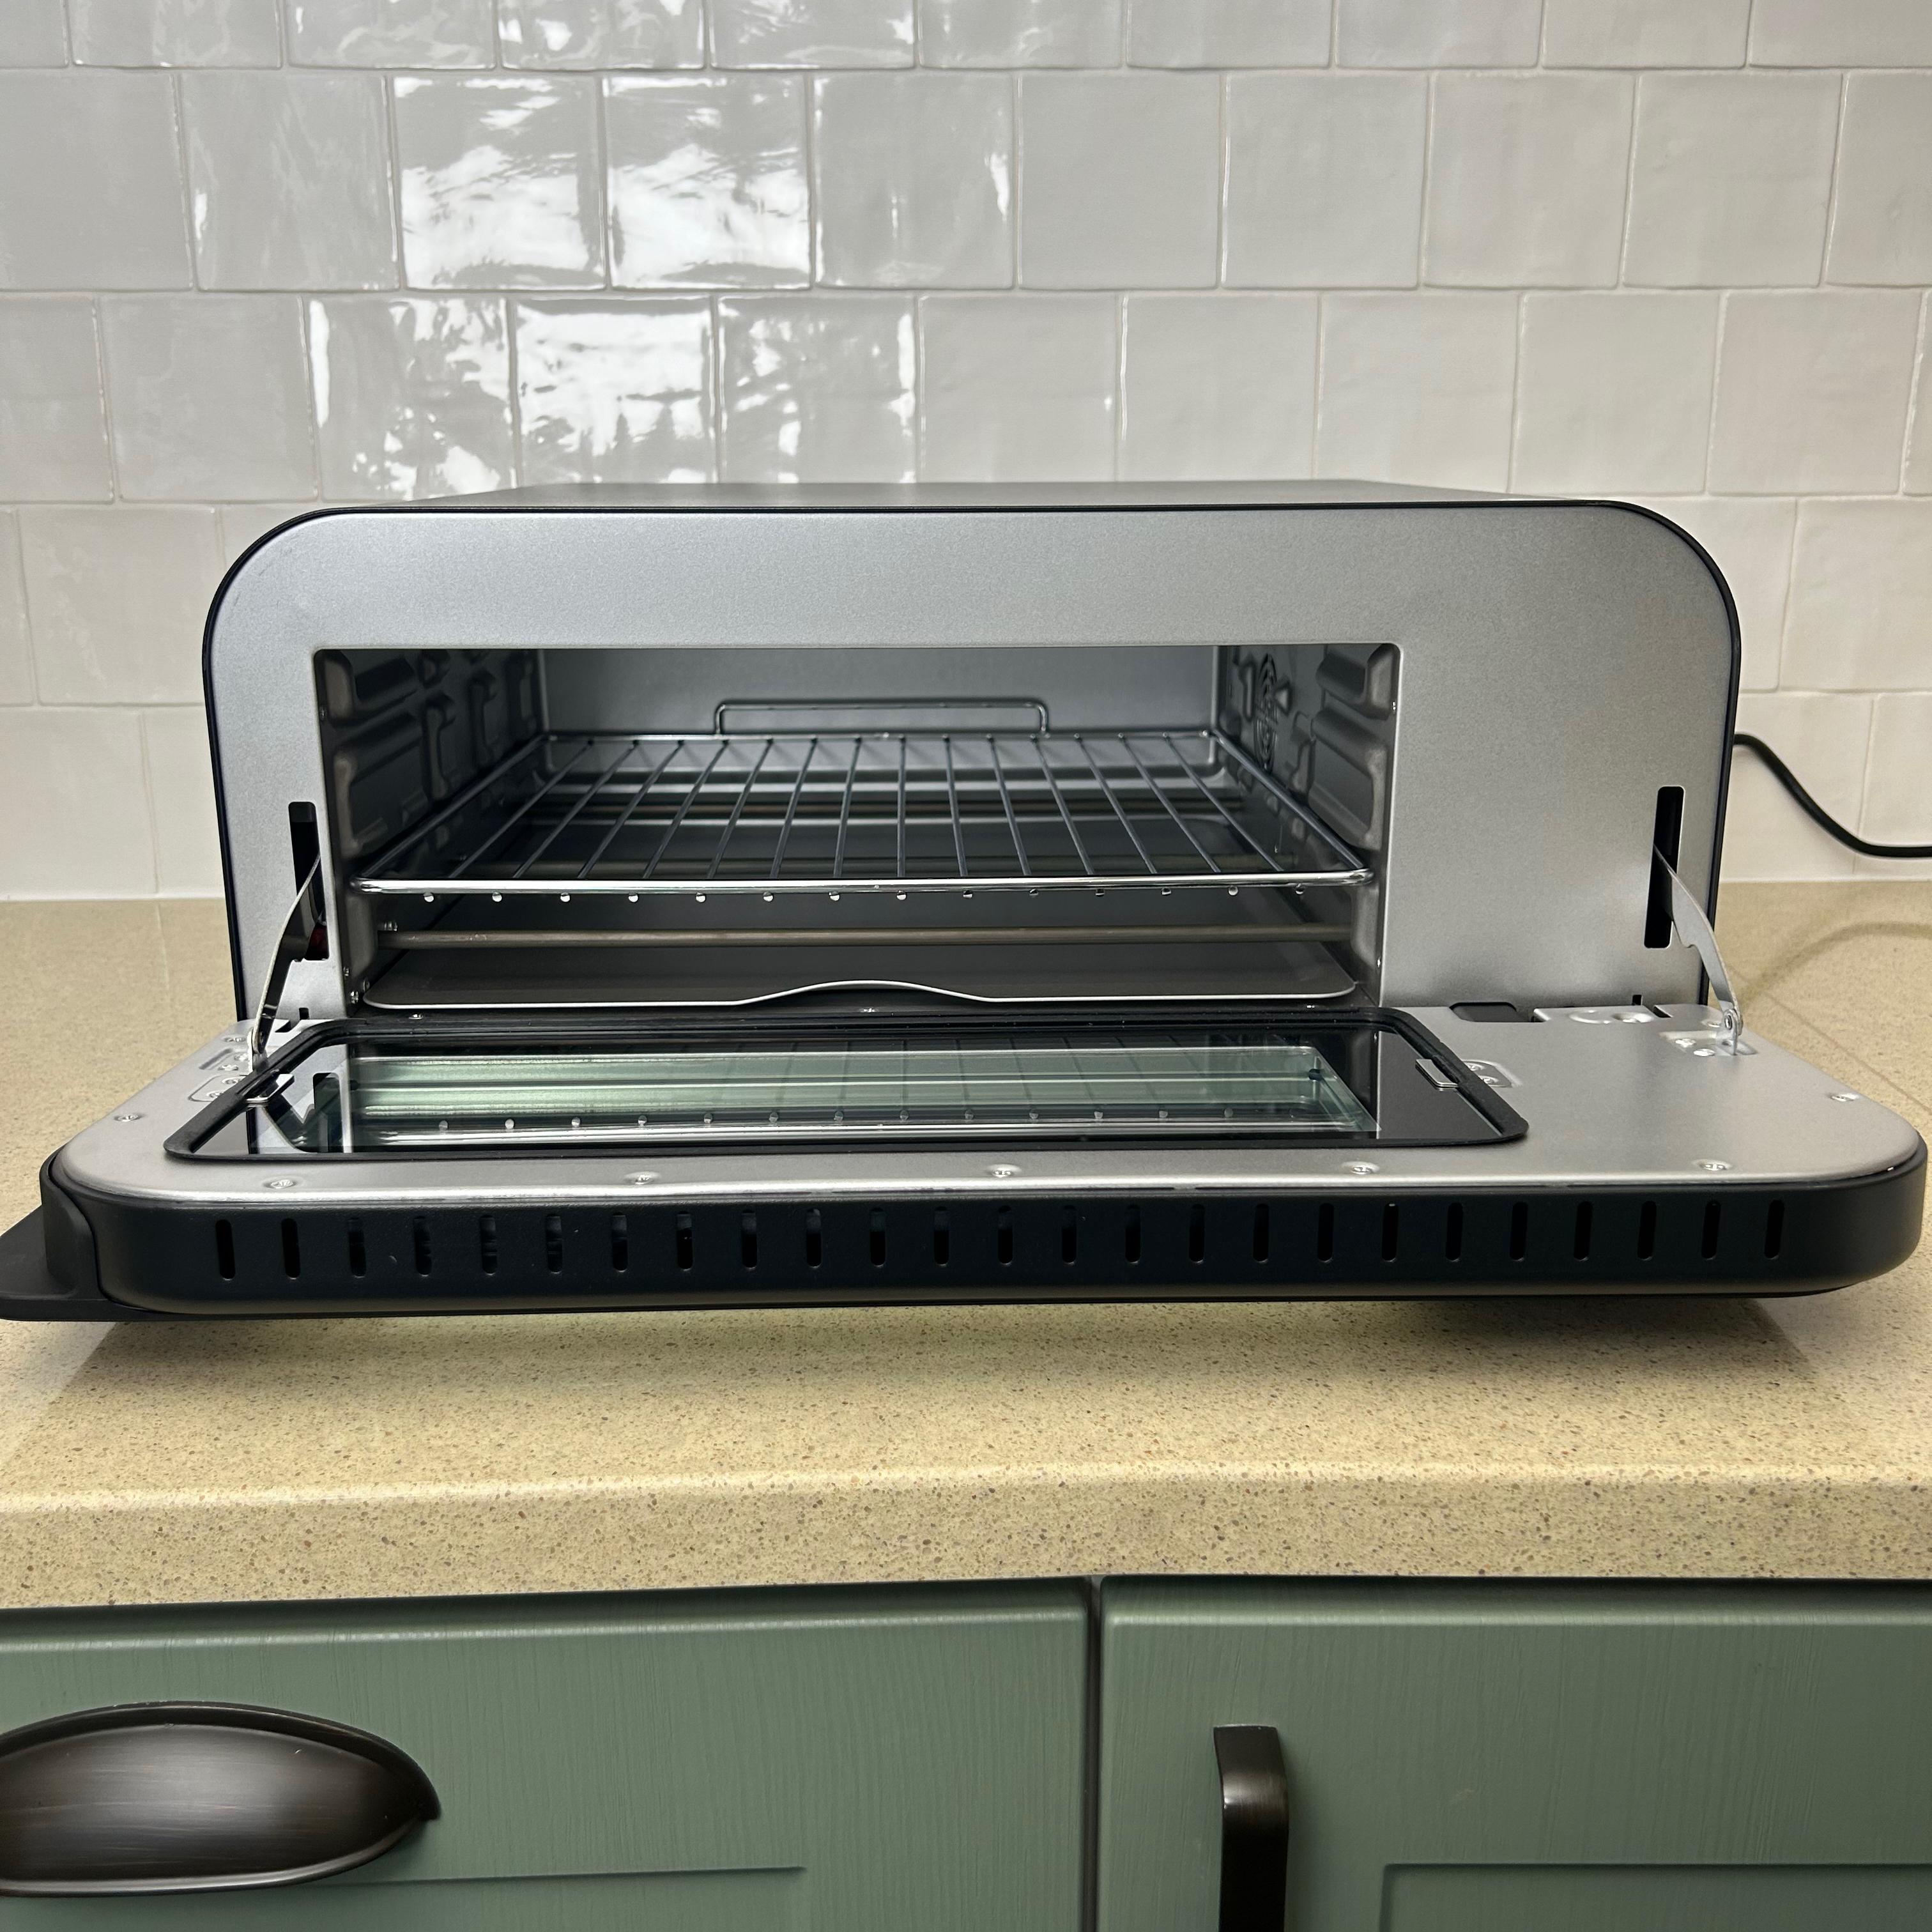
The door has a viewing window built in and there’s an internal light that’s activated by pressing the button on the control panel, which makes it super easy to keep an eye on how your pizza is puffing up.
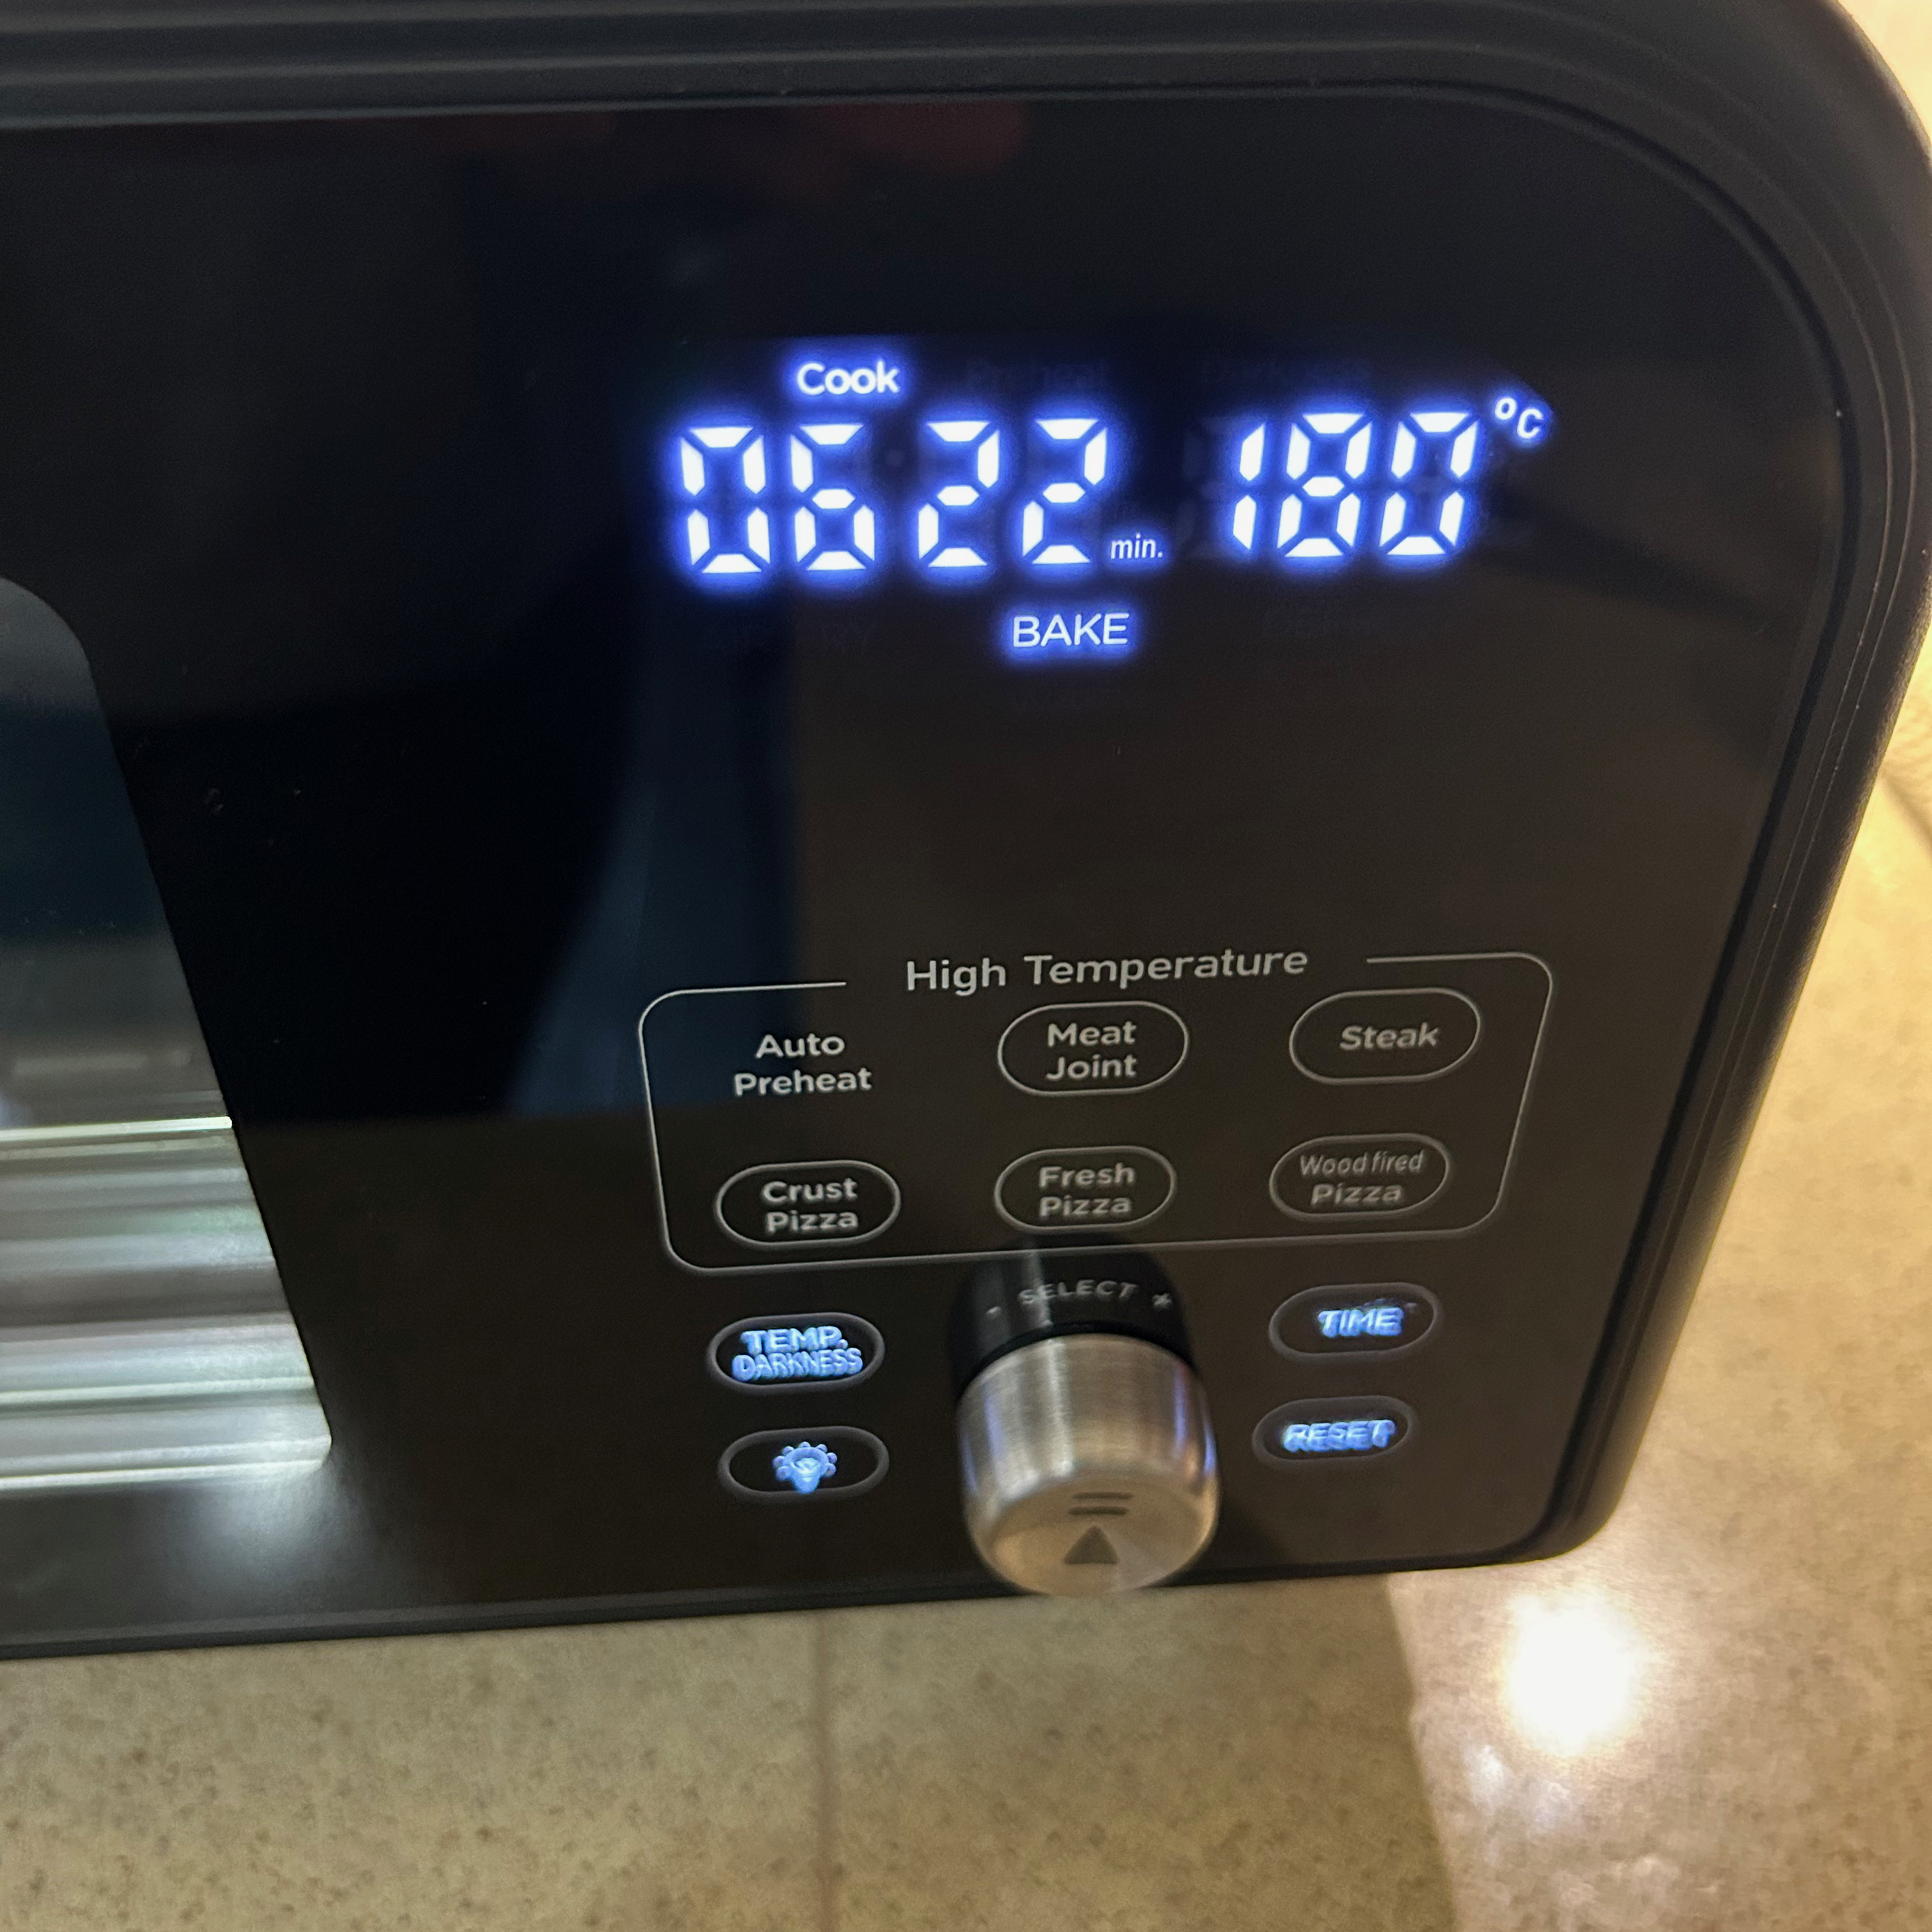
All the controls are on the right hand side of the door. A central dial allows you to toggle through the menu of functions. Then it can be used in conjunction with the time and temperature buttons to adjust these settings.

Overall the settings are simple and intuitive to use. The five high temperature presets all include an auto preheat which is essential for them to perform properly. The other functions like air fry and bake however, don’t have a preheat built in to the settings.
There are a couple of confusing settings that are worth pointing out. Firstly ‘broil’, this annoys me because it’s an American term for a grill, and I do think ProCook could make more of an effort to get the terminology right for the country in which they sell the product.
The second confusing one is the ‘woodfire pizza’ setting. It’s confusing because there’s neither wood, nor fire involved. It’s simply a hotter pizza setting.
The instruction manual has detailed information on using the product, but I’d have loved some recipes or hints and tips for creating the best pizza or getting the most from the other settings.
What is it like to use?
Pizza
The fresh pizza program is designed for a slightly thinner crust pizza and has a preset cook time of 7½ minutes at 360C. Whereas the woodfired pizza program cooks at 400C and has a preset cook time of four minutes. The temperatures aren’t adjustable, but the time can be increased for different sized pizzas.
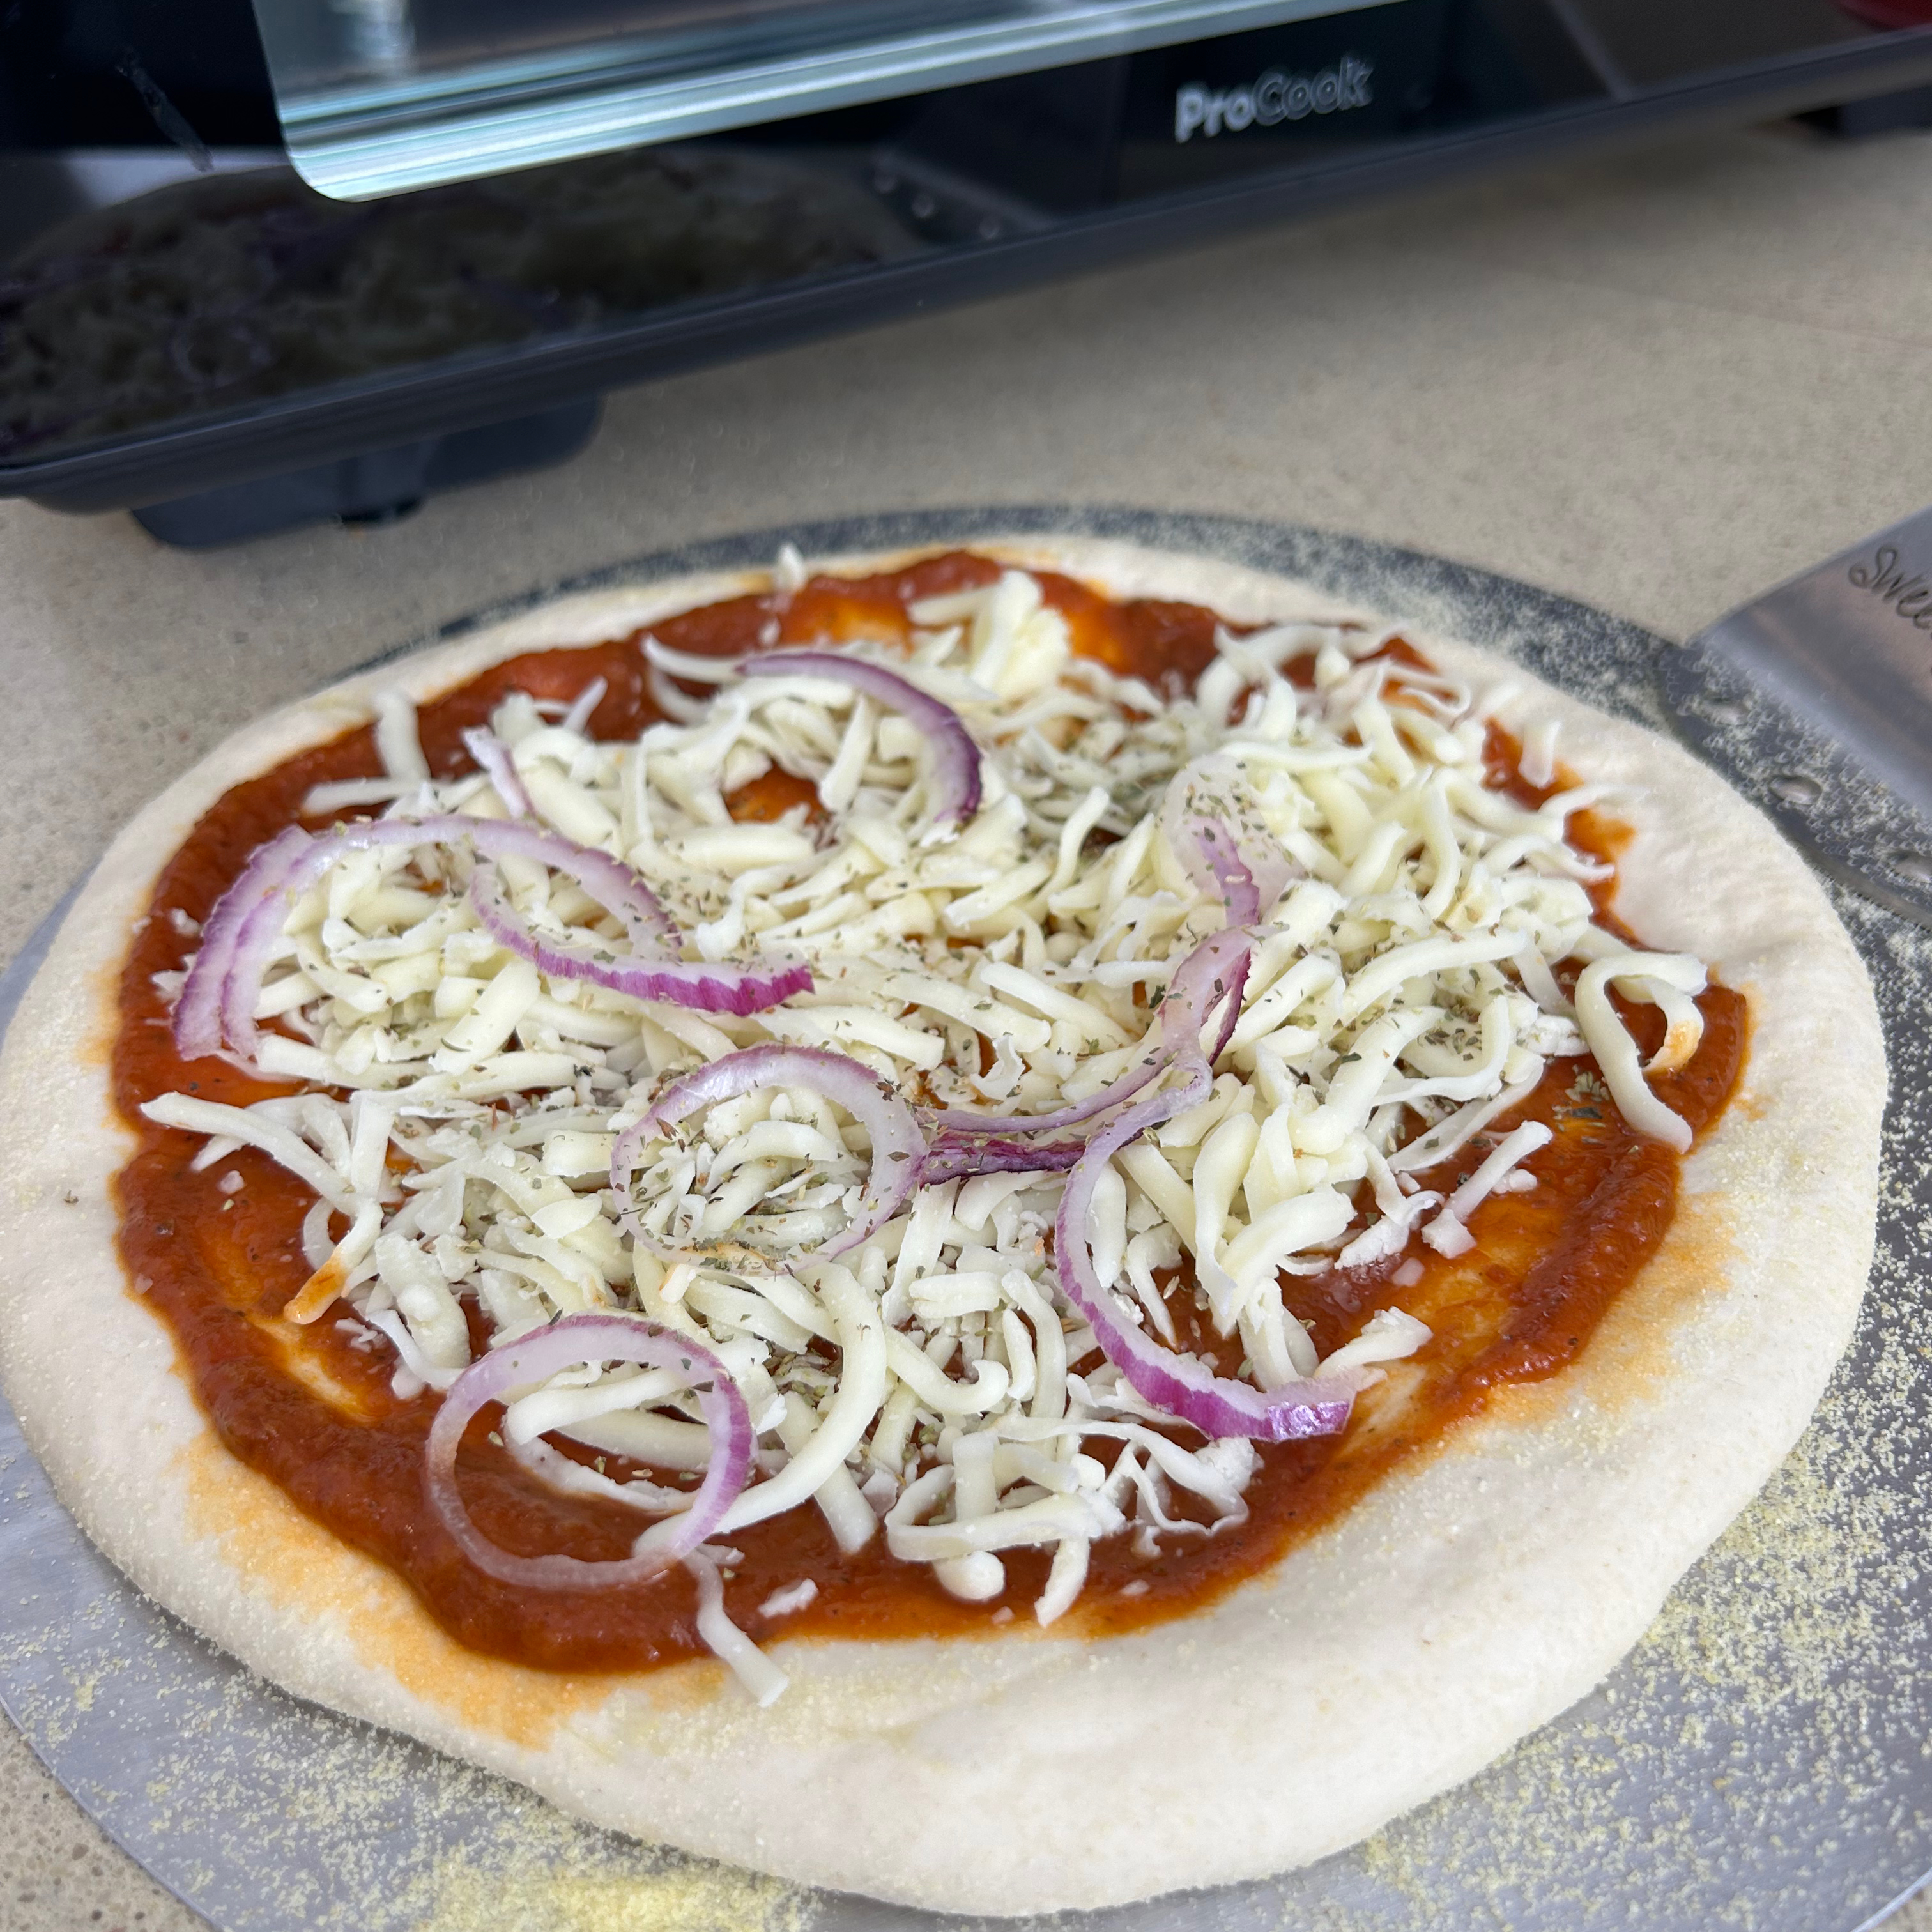
I tried both the wood fired and the fresh pizza programs on separate occasions. Both times my pizzas were around 7-8 inch which is a good size to fit on a plate and a bit easier to handle than anything bigger.
These pizza programs have a 15 minute preheat built in and you have to make sure the pizza stone is in place and gets preheated. Once it’s hot, it’s easiest to pull out the pizza stone by sliding the wire shelf out - that way you don’t have to touch the hot stone, but you can still access it to load on a pizza.

The problem I had was that the wire shelf doesn’t slide freely. I found it really tricky to force the shelf in and out when trying to access the pizza stone. That aside, to get a fresh pizza onto the boiling hot pizza stone, you’ll need some kind of pizza peel. I actually used a round cake lifter, which worked quite well. I used semolina under the pizza base to make sure it didn’t stick to the peel.
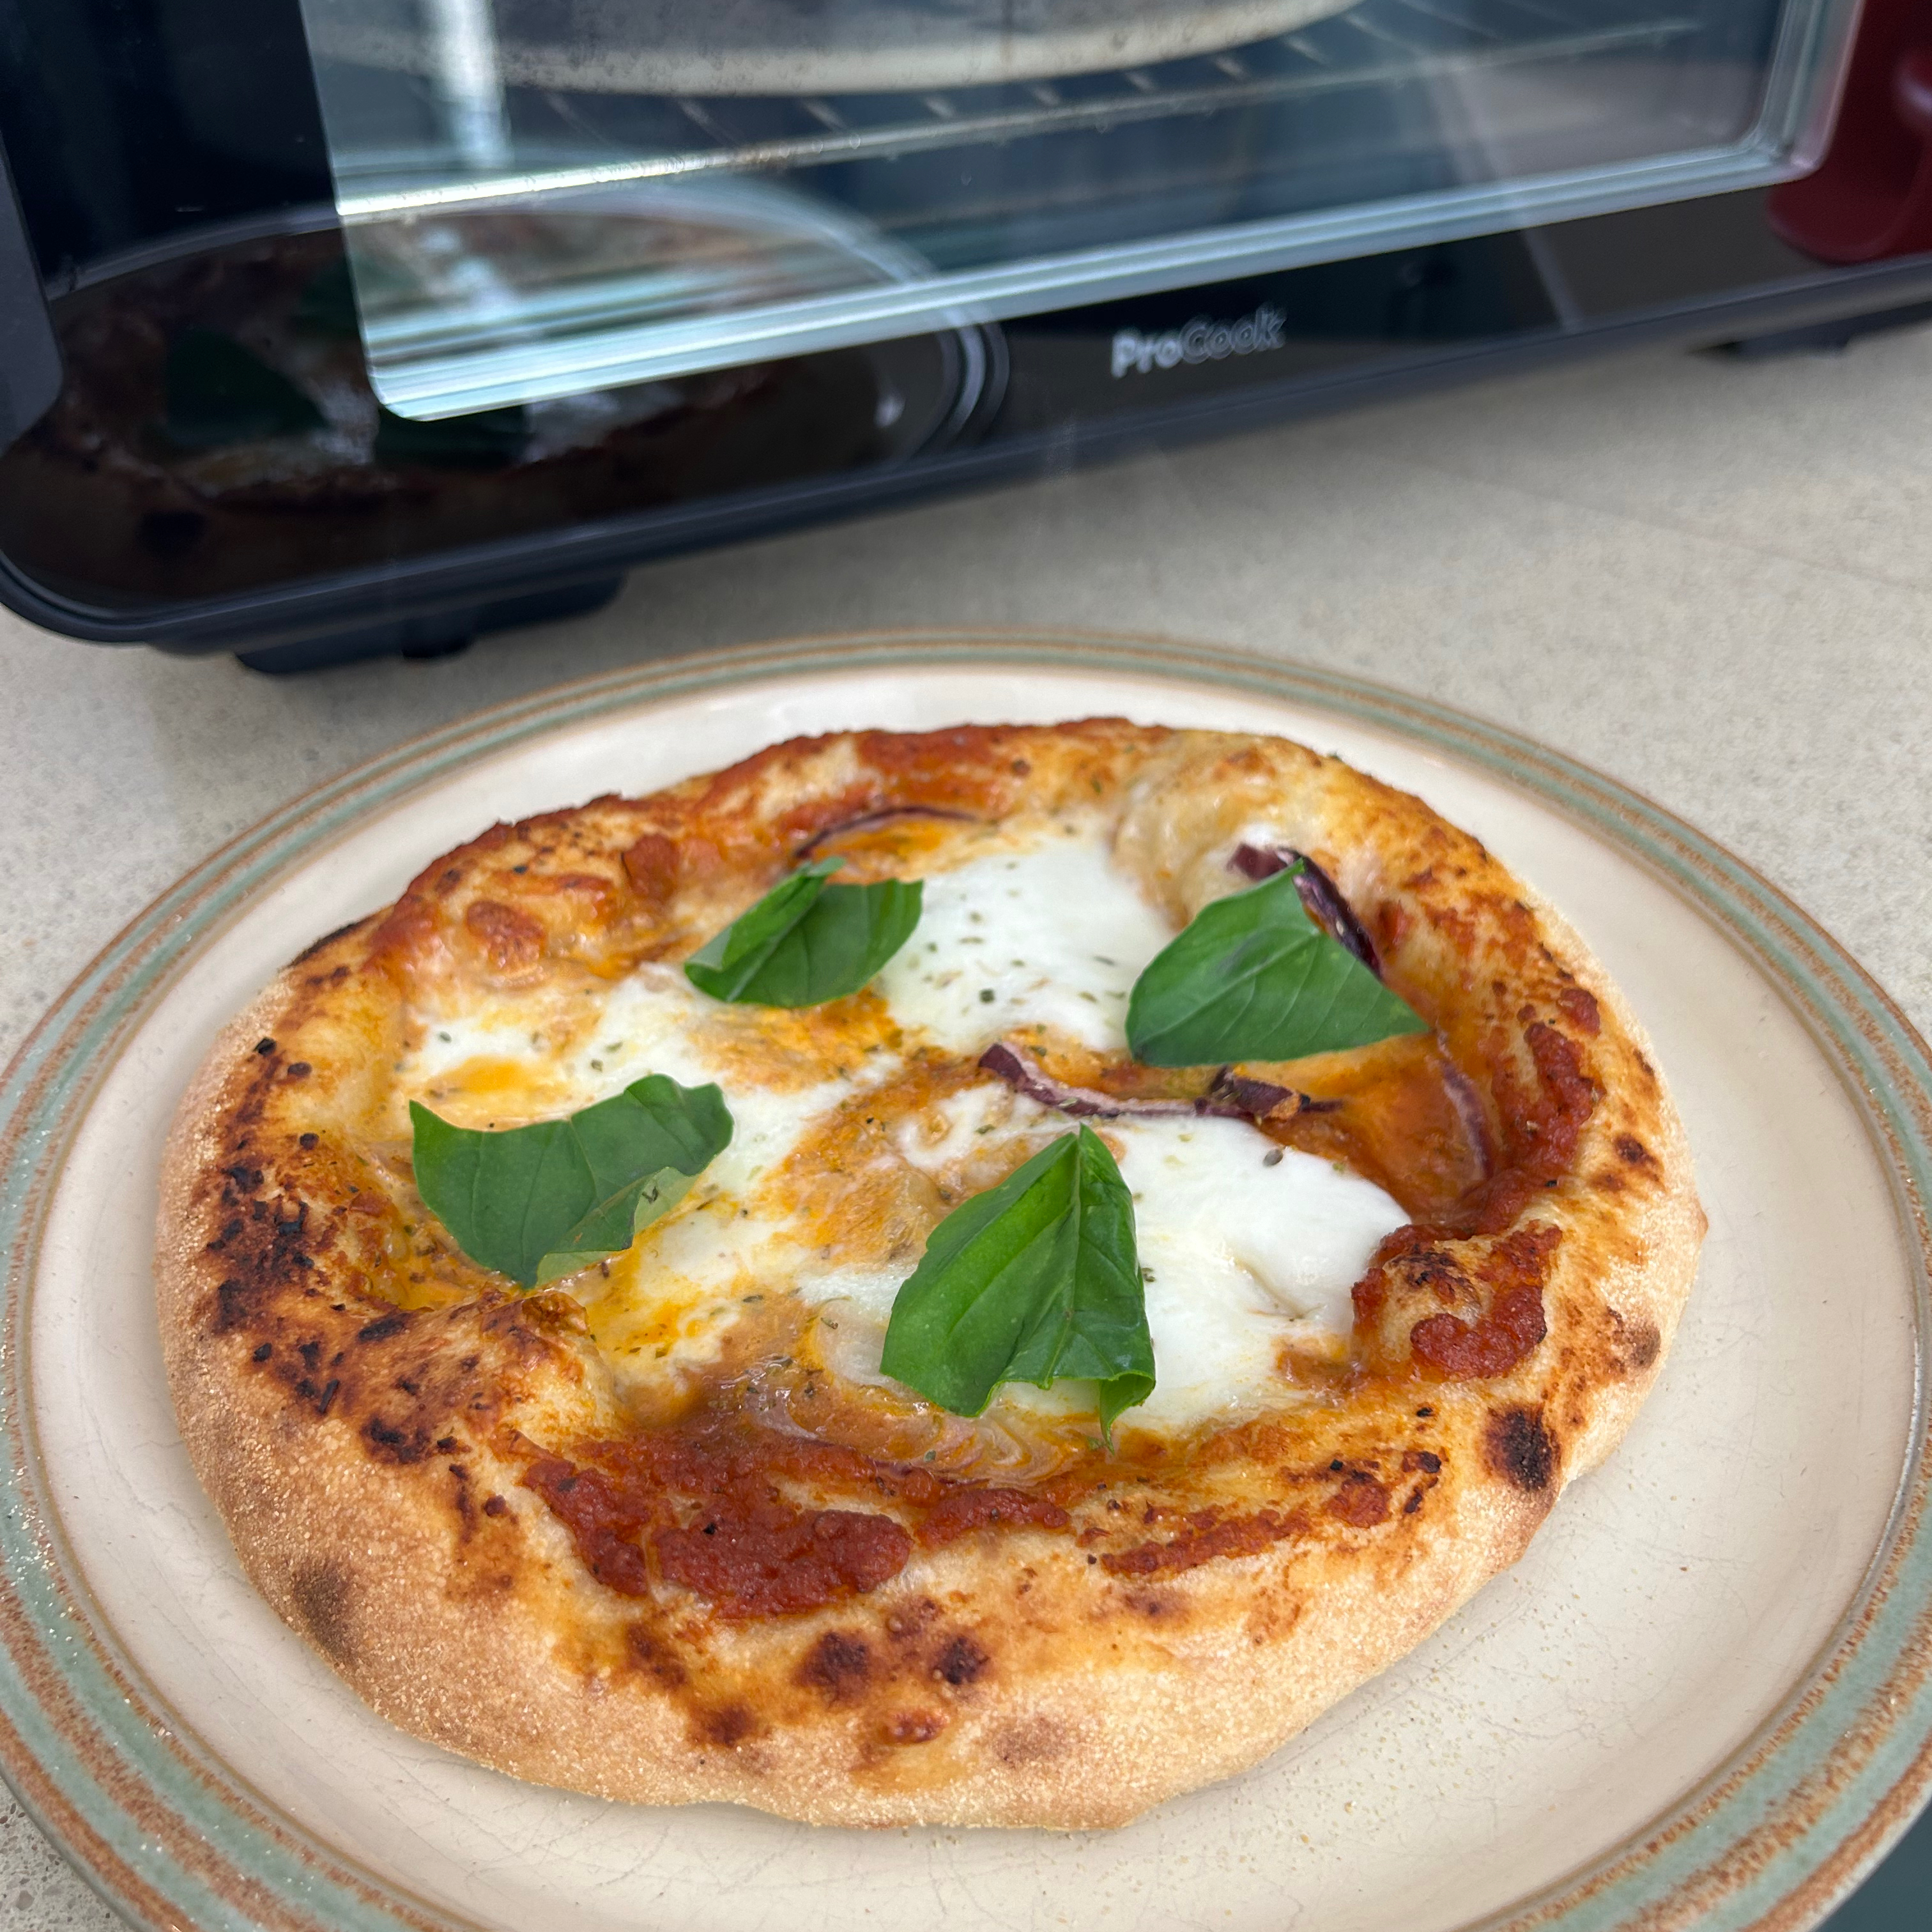
On both the fresh pizza and the woodfired pizza programs, the pizzas cooked really well. The crust puffed up and crisped beautifully and the bases were perfect too. I was very impressed with the results and they were comparable to some of the best pizzas I’ve made in outdoor pizza ovens.
After the first pizza, the oven stays on and ready to go for the next, you simply hit start again once you’ve loaded your next pizza in.
One thing that did concern me was that the exceptionally high temperature cooking might be using a lot of electricity, especially with the 15 minute preheat. So I plugged in an energy meter and was shocked at how little it actually used.

To cook two pizzas, including the initial preheat, it used 0.56 - 0.68kWh depending on the pizza setting. Based on the current average energy prices (22.36p per kWh), this equates to just 12.5 - 15.2p. This will obviously increase if you increase the cook times or make more than a couple of pizzas, but personally I think these numbers are reassuringly low.
I was also concerned that the exterior of the oven would get excessively hot. And right enough, the left hand side did reach 75C so you’ll have to take care there. But the top stayed below 45C and the right hand side stayed cool enough to touch.
I’m not sure why you would buy a pizza oven if you don’t want to explore the process of creating fresh home made pizzas. But just in case you find yourself cooking a frozen or ready made pizza, there are two other settings created especially for these.
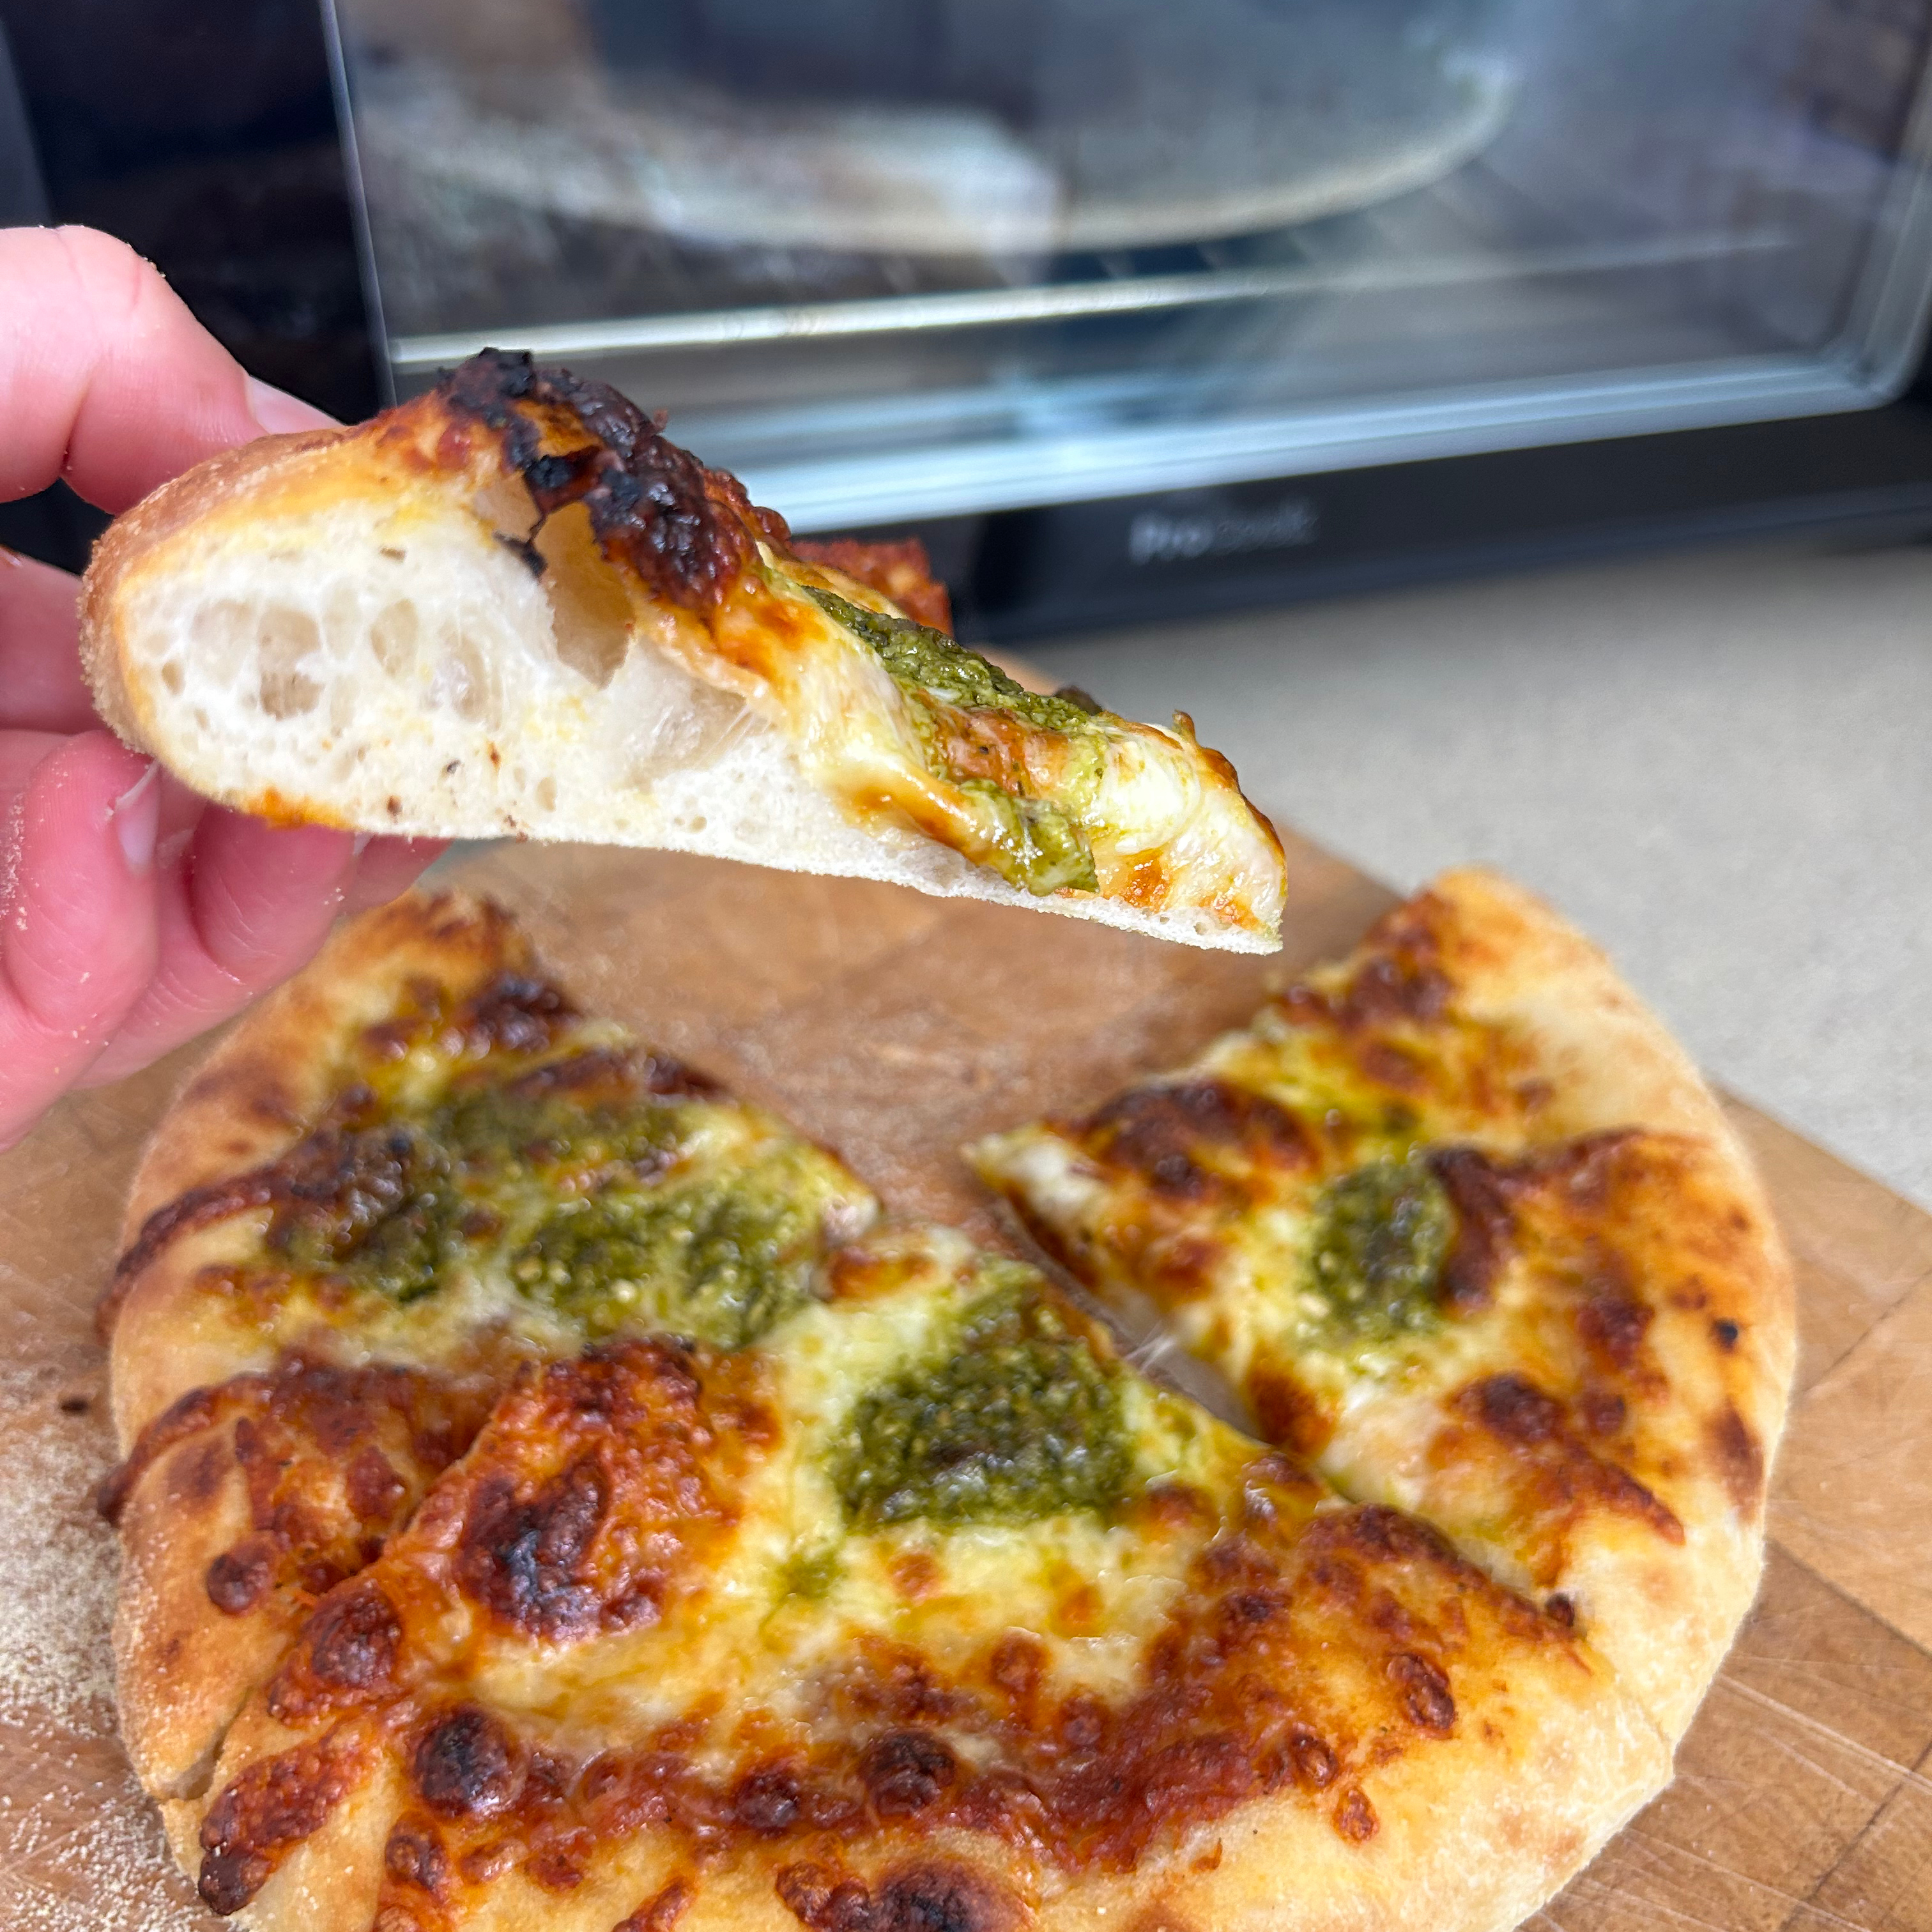
The ‘crust pizza’ setting is designed for frozen shop-bought pizza with a stuffed crust. Or there’s also a ‘frozen pizza’ program for any other types of frozen pizza. Personally I was enjoying the home made versions too much to deviate from them, but judging on how well it makes fresh pizza, cooking a frozen pizza to perfection should be a doddle.
Air fry
The air fryer defaults to 230C for 17 minutes, and while this is hotter than I’d usually set my air fryer, I thought I’d just leave it on this and see how a piece of frozen breadcrumbed fish cooked up. It’s worth noting though, that the time and temperature are both adjustable.
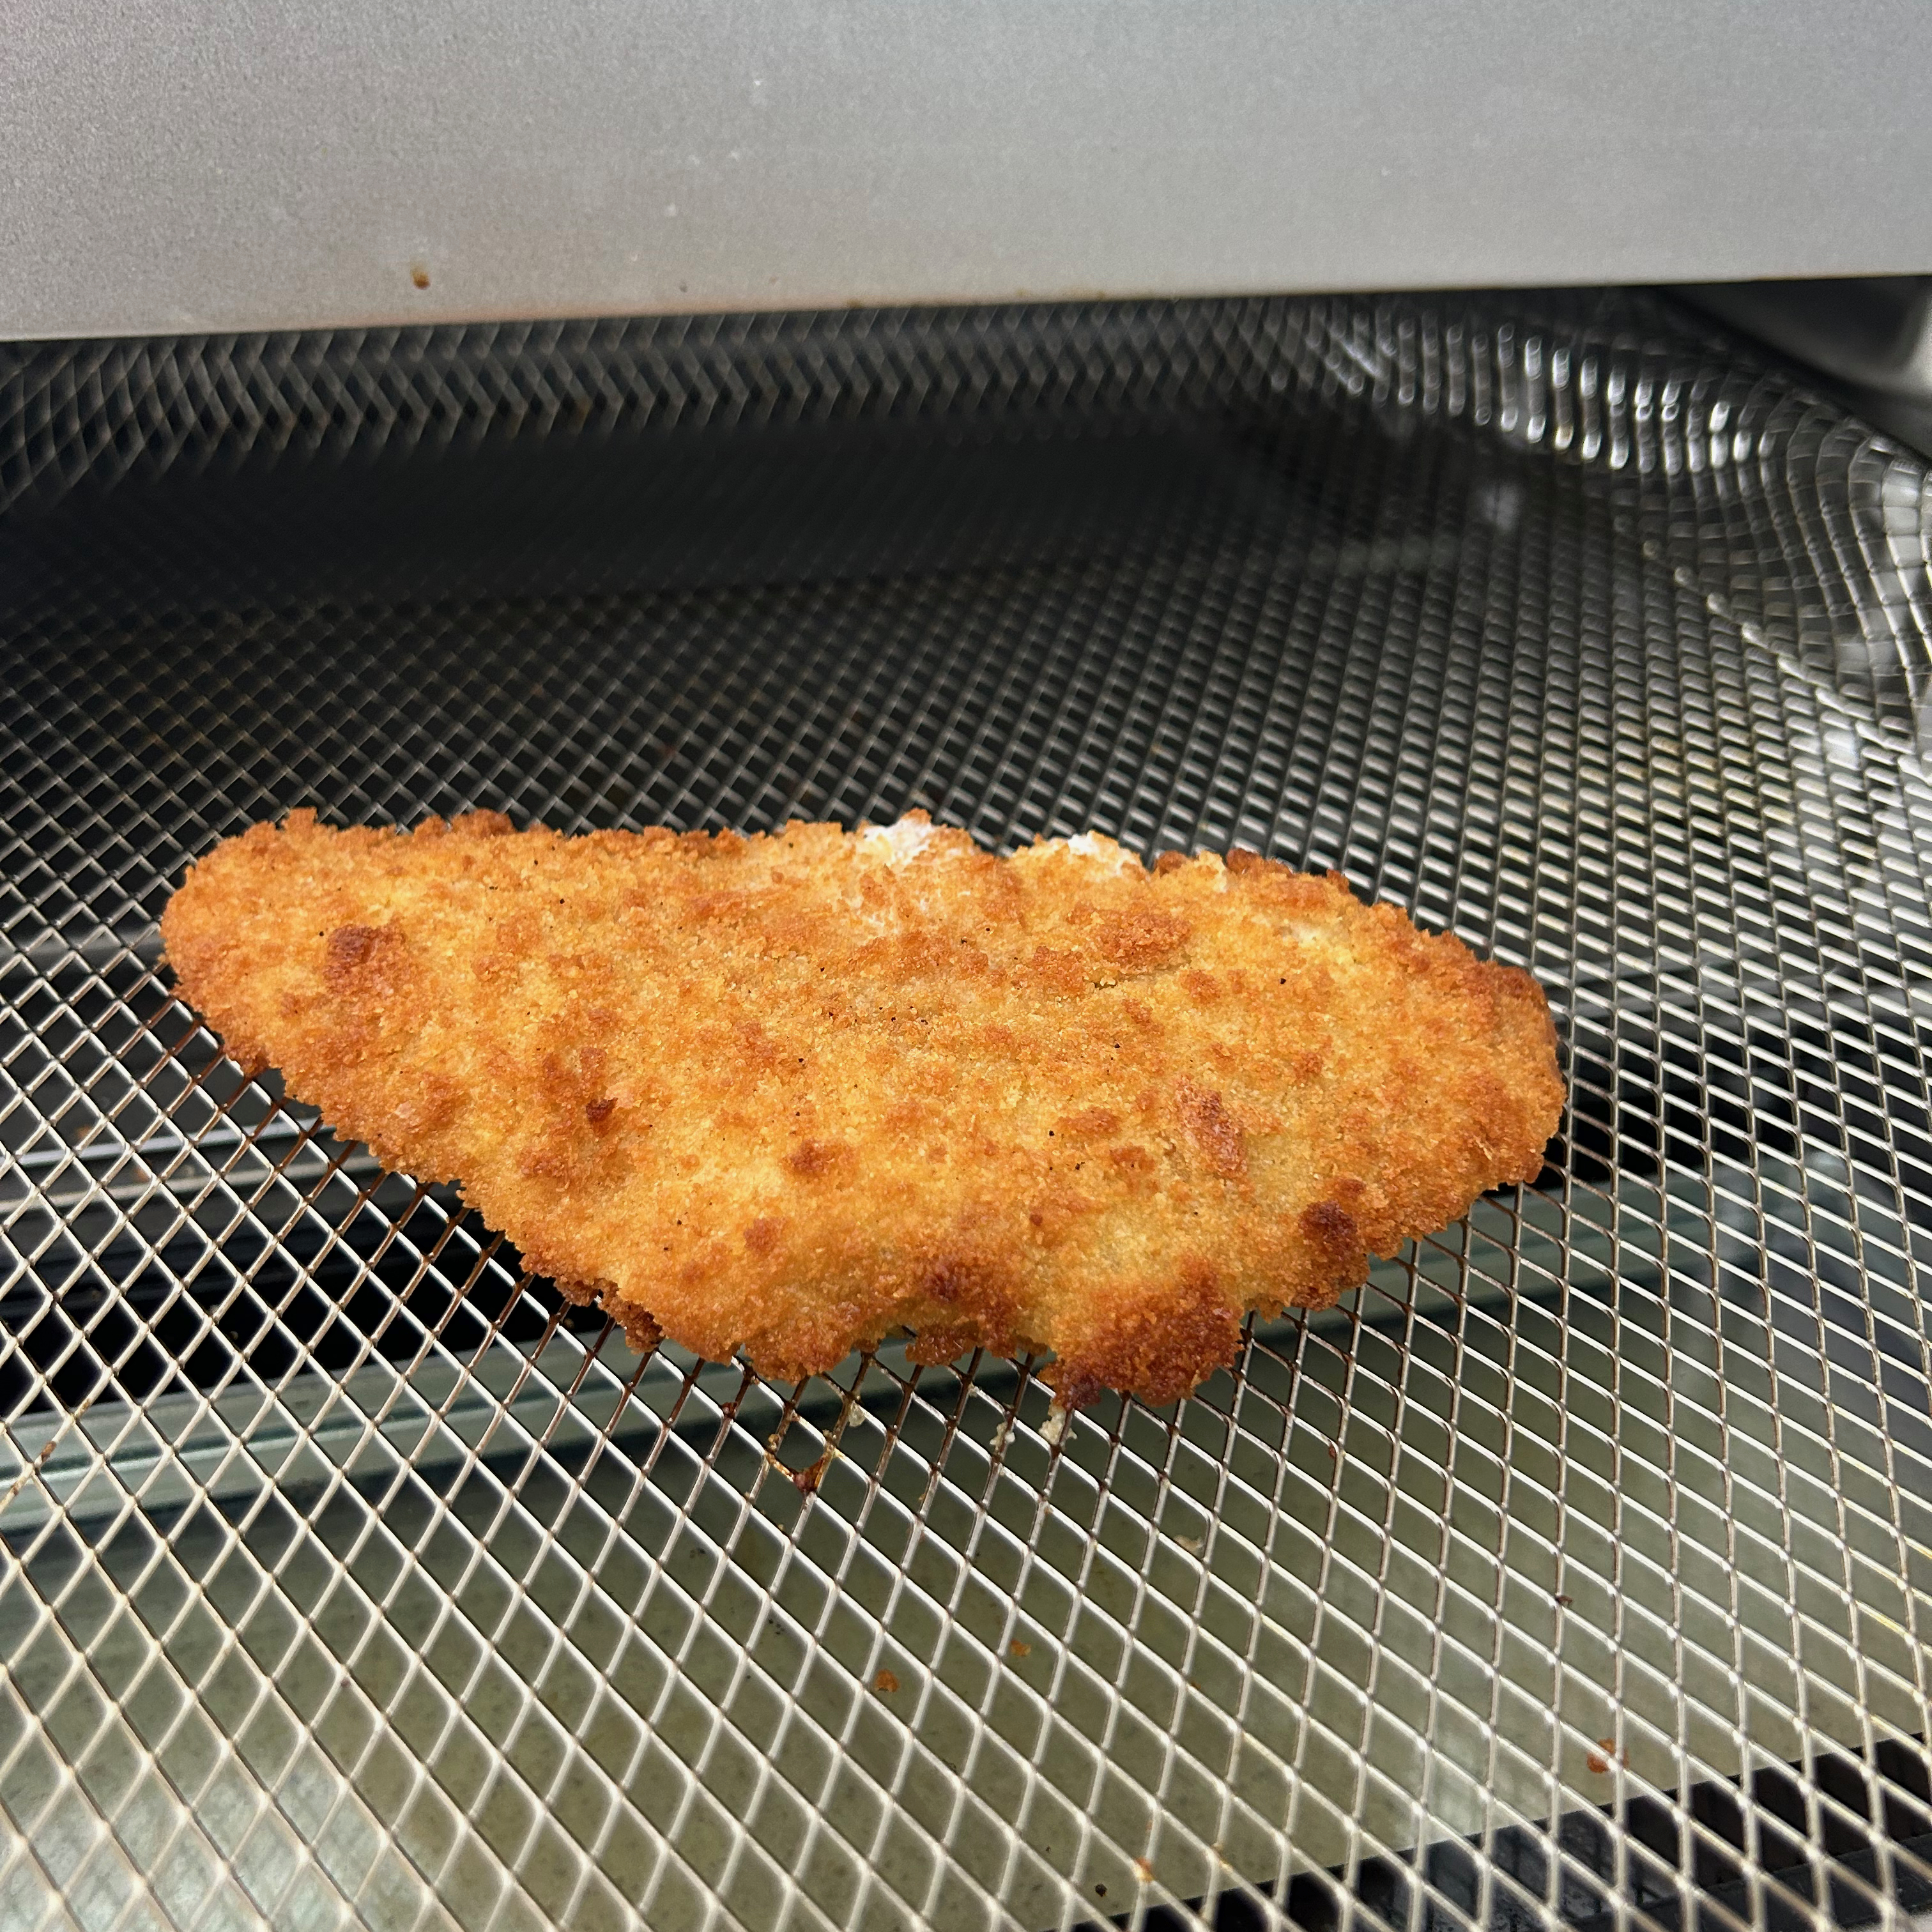
I popped the fish onto the mesh basket and since there’s no auto preheat I put it in the cold oven and started the air fry function. It ended up taking 20 minutes at 230C which, despite the very high temperature, is a bit longer than in my usual air fryer. But it was cooked through nonetheless and had a deliciously crispy breadcrumb coating.
Fries
While it doesn’t specifically say so, I suspect the ‘fries’ preset utilises the air fryer function. This preset defaults to 25 minutes at 230C. I cut up enough potatoes for two portions of chips that I soaked in cold water for 30 minutes before drying, and then coating in a splash of oil.
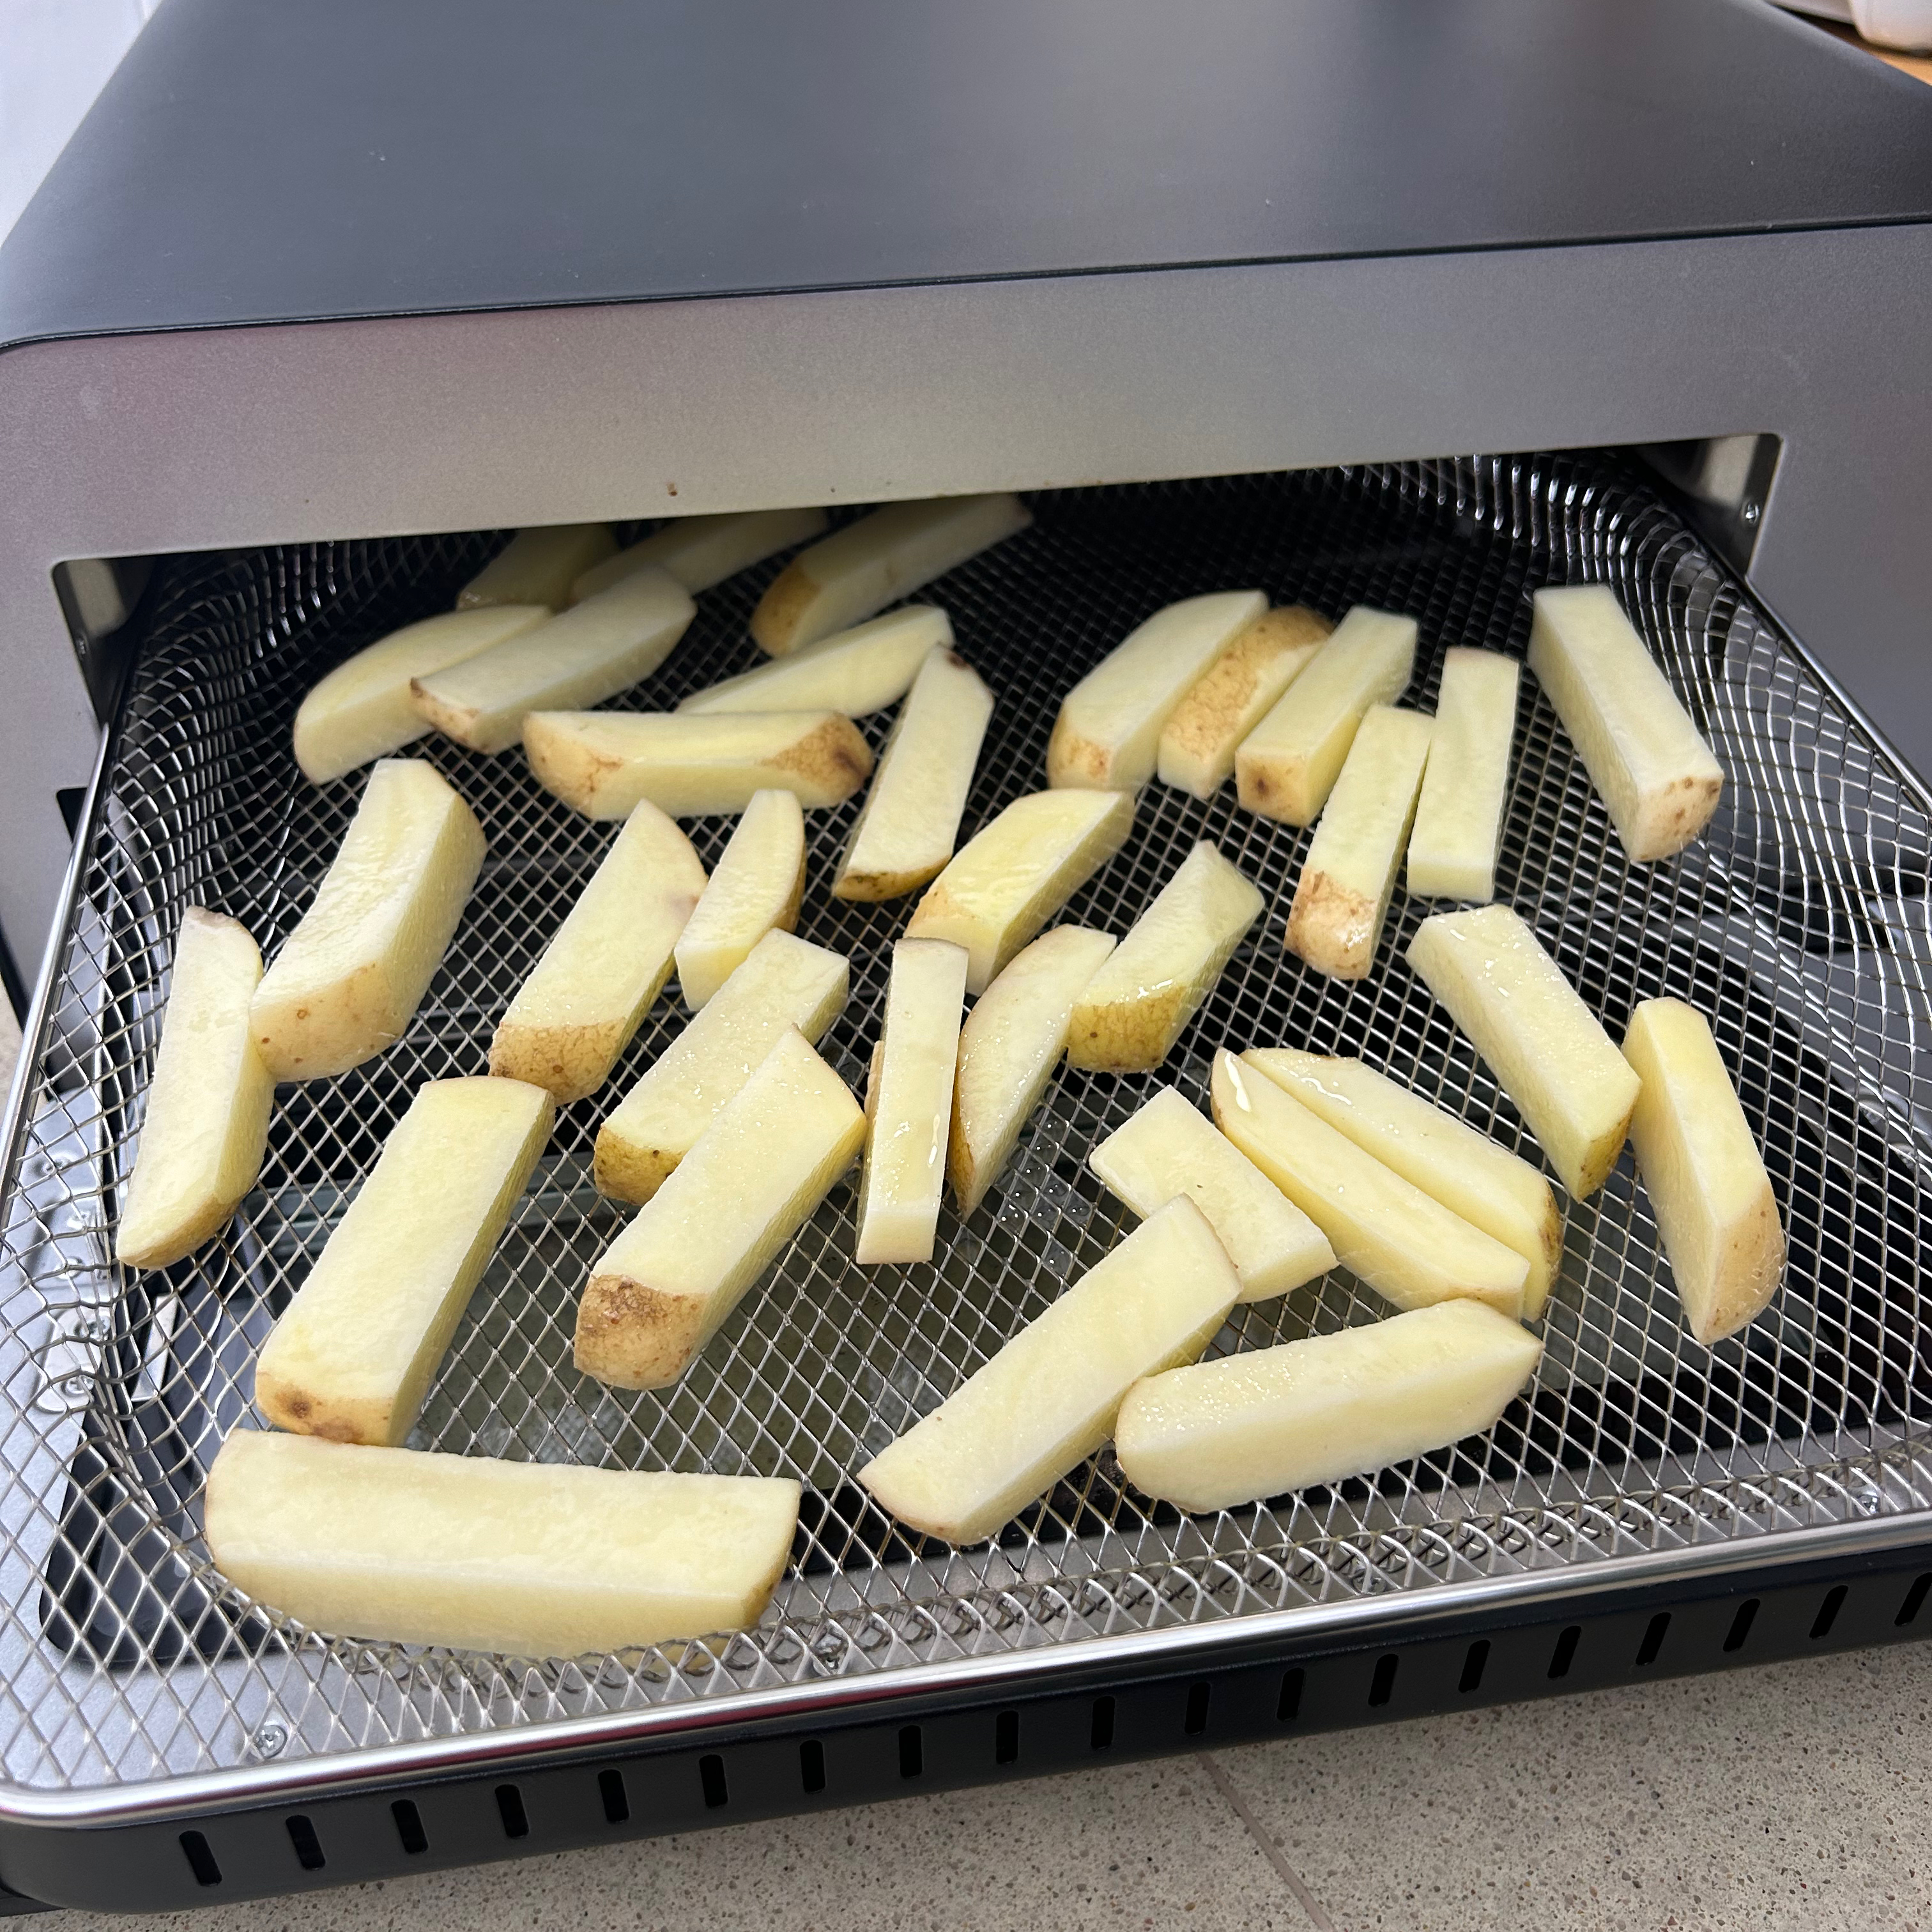
Once again I used the mesh basket and added my home cut chips to a cold oven. A bit like the fish, the chips ended up cooking for a lengthy 35 minutes despite the higher-than-normal temperature setting.

Most good air fryers can cook this quantity of chips in 20-25 minutes, so it's a bit slow. That said, the chips were nicely browned and well crisped. And personally I’d rather wait a bit longer for a good chip than have mediocre or disappointing chips.
Bake
Due to its size and shape, this little air fryer pizza oven won’t be suited to every kind of cake or baked goods you might want to make. But a batch of scones felt like a pretty safe bet. Although my first hurdle was finding a baking tray that would fit. I ended up having to put my scones in a deeper brownie tin, so if you buy this pizza oven you might need to invest in some appropriately sized trays for baking.
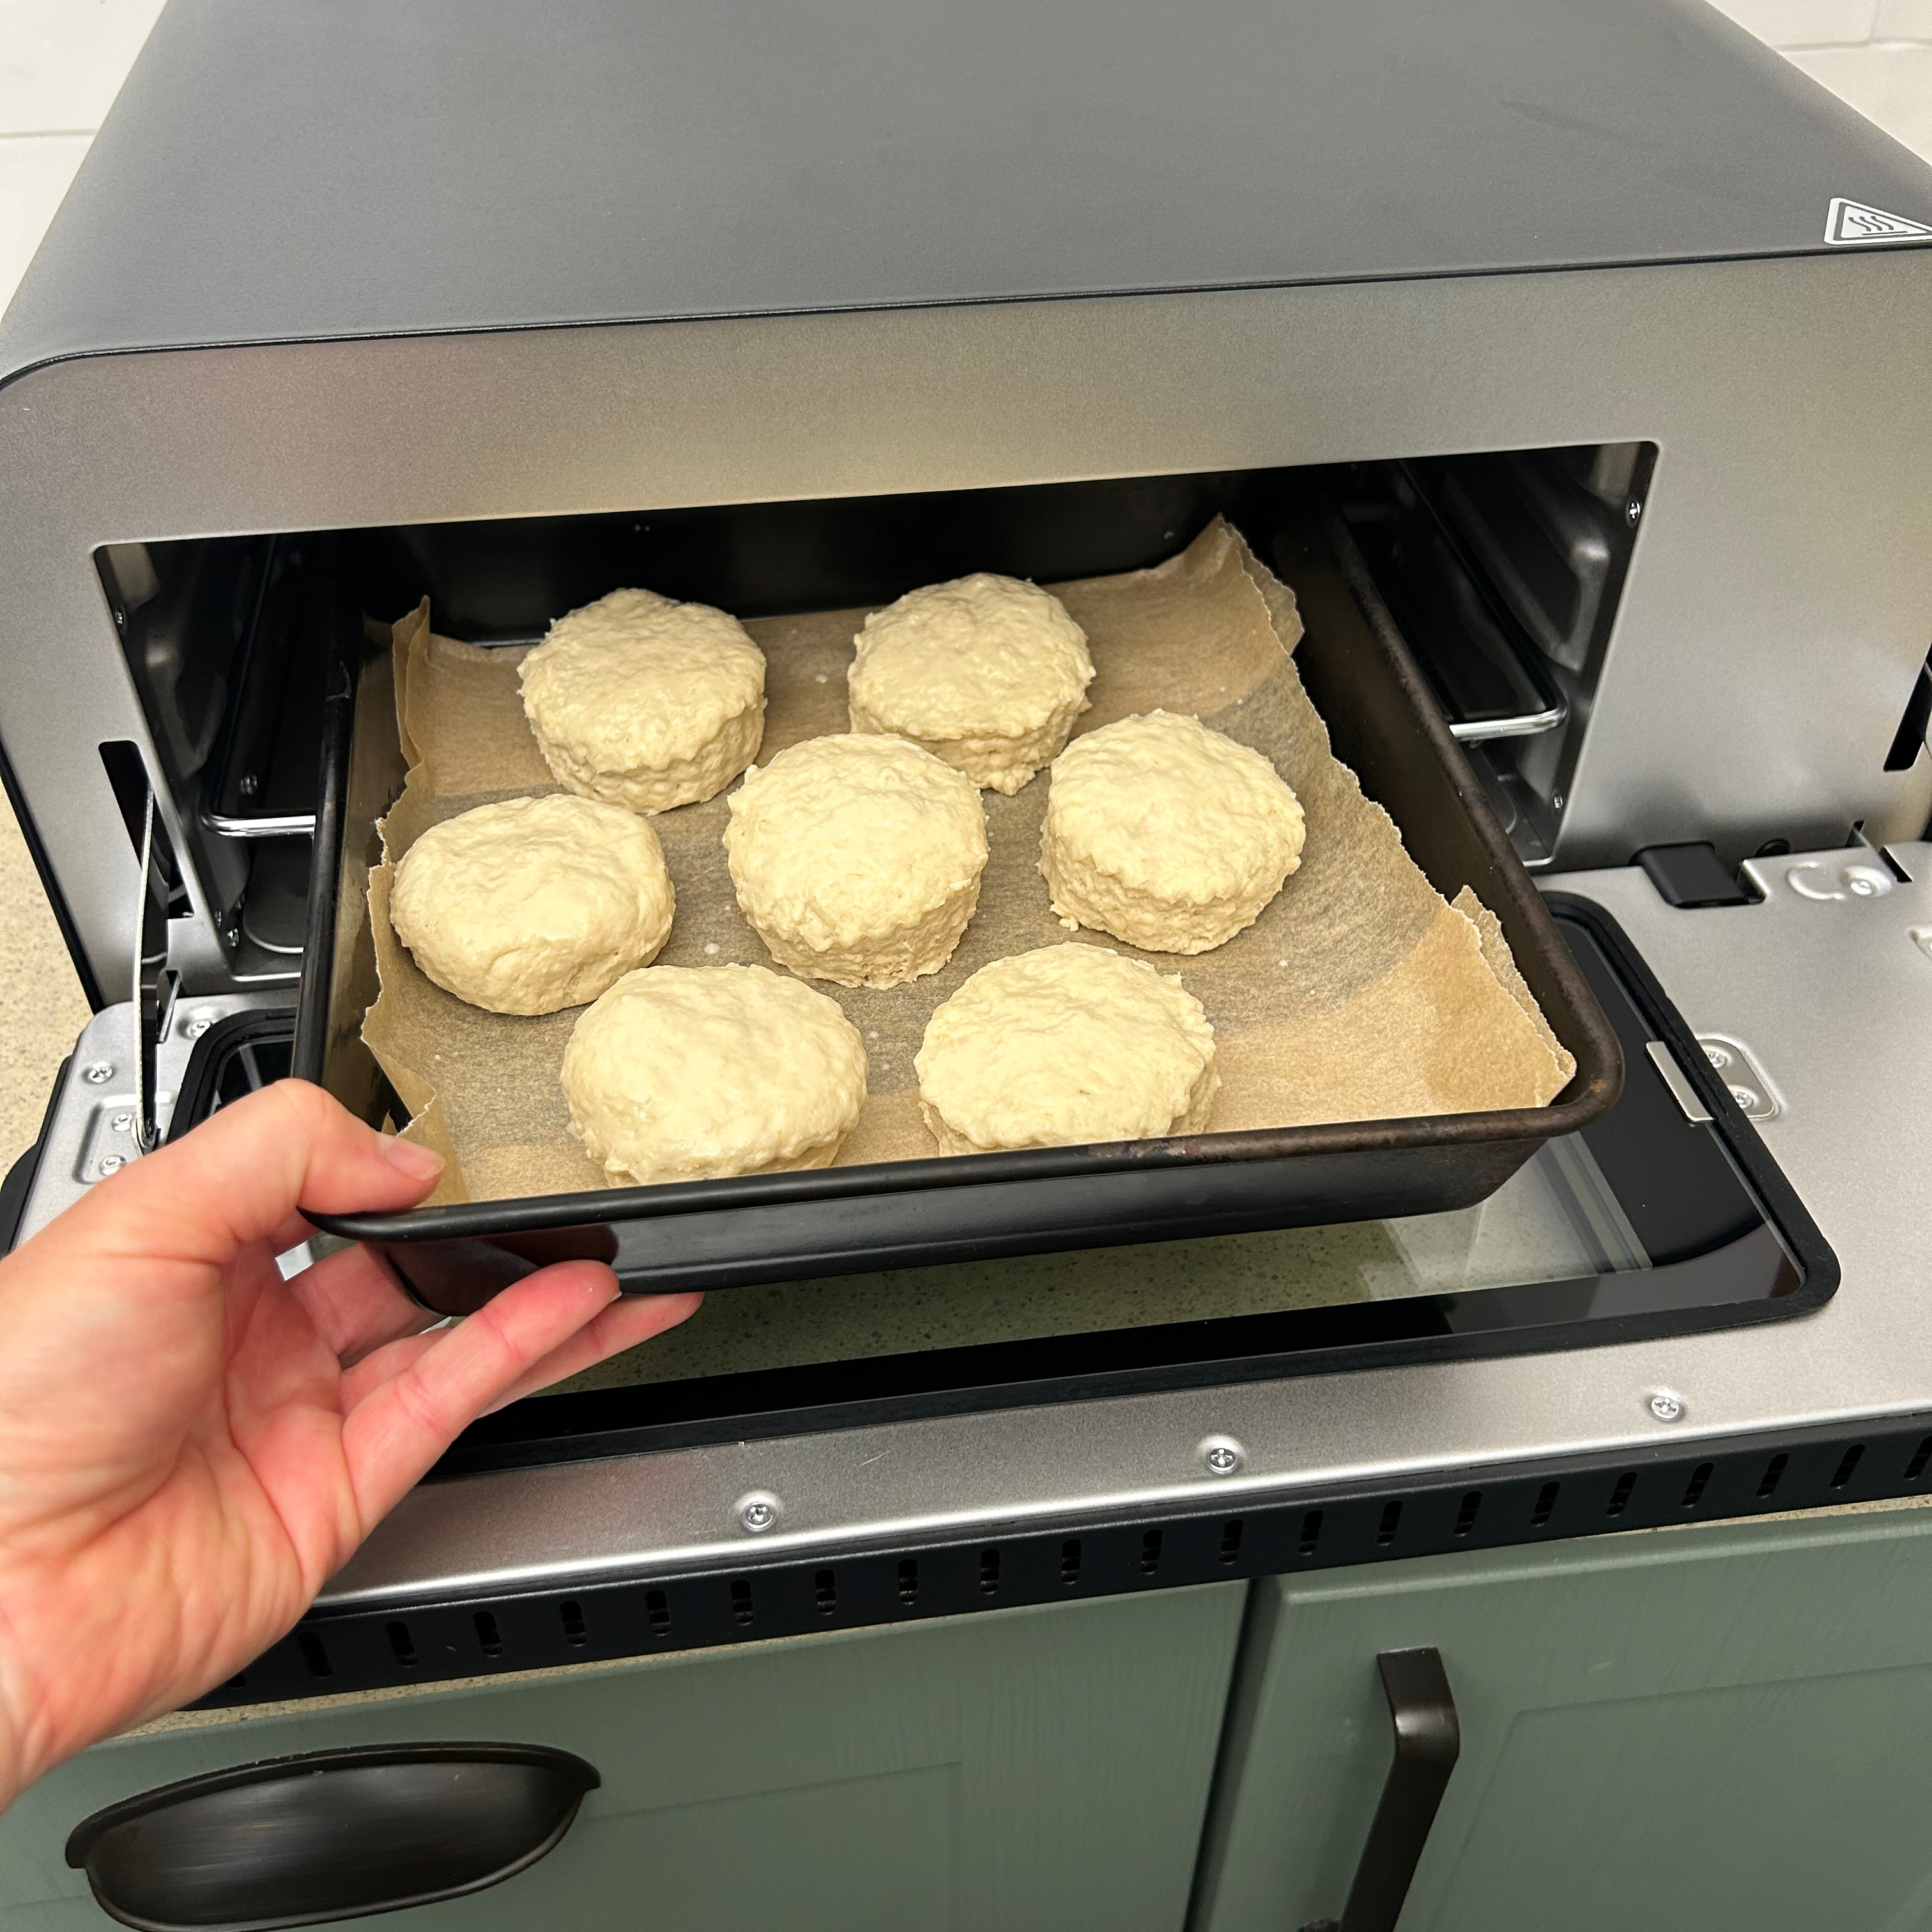
I baked them at 180C. The bake function doesn’t have an automatic preheat, so I put them straight into the cold oven. Despite this, the scones cooked perfectly in 15 minutes. They rose beautifully and were light and fluffy, nothing short of a successful bake.
Bagel
No surprises here, I popped a bagel directly on the rack, cut side up. The manual says the rack must be placed in the lower shelf position, so that’s where I left it. The auto settings for toasting a bagel are adjusted by darkness, not time or temperature.

There are six darkness levels to choose from, but I left it on the default, which is number three. This was just right for my plain bagel and it took 3 ⅓ minutes to toast to a perfect golden brown.
Vegetables
I used this preset to roast red peppers and red onion that I intended to make into a tasty autumn soup. This time I made use of the mesh tray which can only be placed on the upper shelf position otherwise it brushes against the lower heating elements.

Again, there’s no auto preheat on this setting, so I popped the lightly oiled and seasoned vegetables into the cold oven and started the 20 minute default cook, at 220C. I gave them a stir after 10 minutes, but at the end of the 20 minute cook time they hadn’t roasted as much as I’d hoped.

In the end I left them in for a total of 35 minutes, and although this is longer than I expected, the finished result was nicely roasted peppers and onions with light charred edges.
Steak
The steak preset is one of the high temperature cooking programs and is designed to be used with the cast iron griddle pan. It auto preheats for eight minutes and then you place the steak on the hot griddle for just 50 seconds before it prompts you to turn it over and cook for the final 70 seconds.
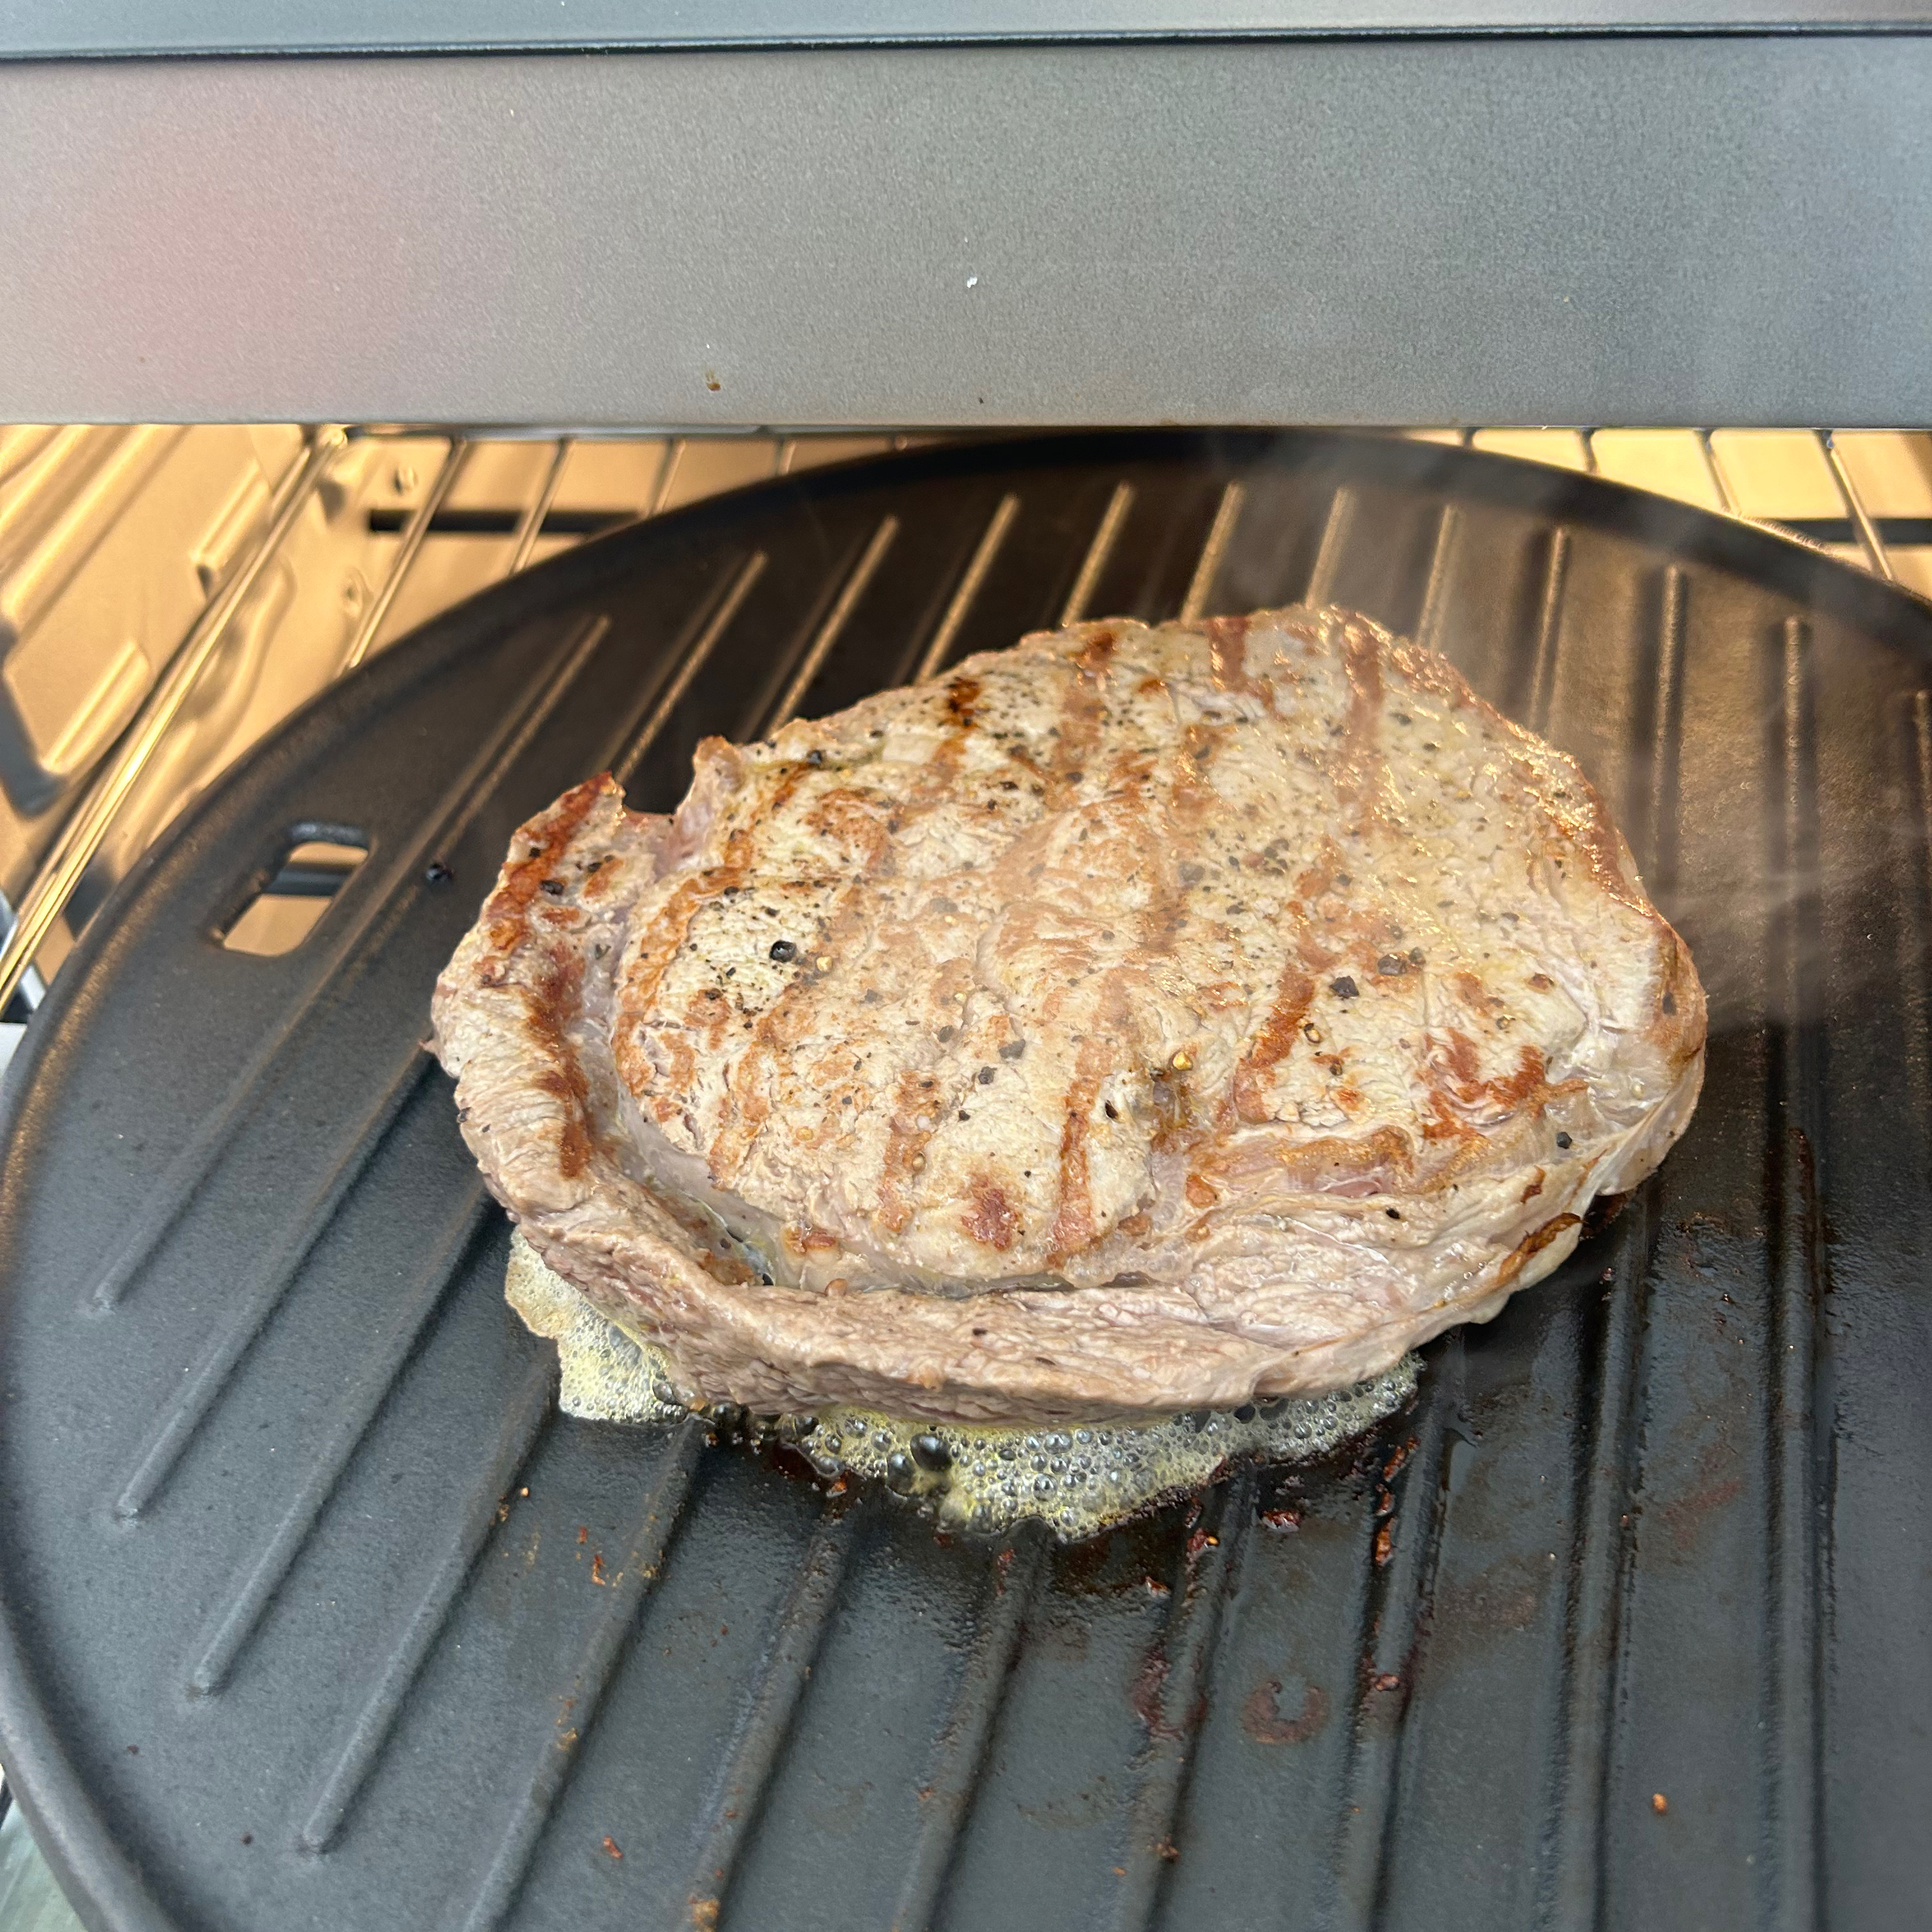
At the end of the two minute cook time, my steak was seared on the outside but still very raw in the centre. I tried to put it back in for a bit longer but the steak mode went back into the eight minute preheat stage. I didn’t have much choice but to put it in anyway on the preheat for a further three minutes until it had cooked to medium rare.
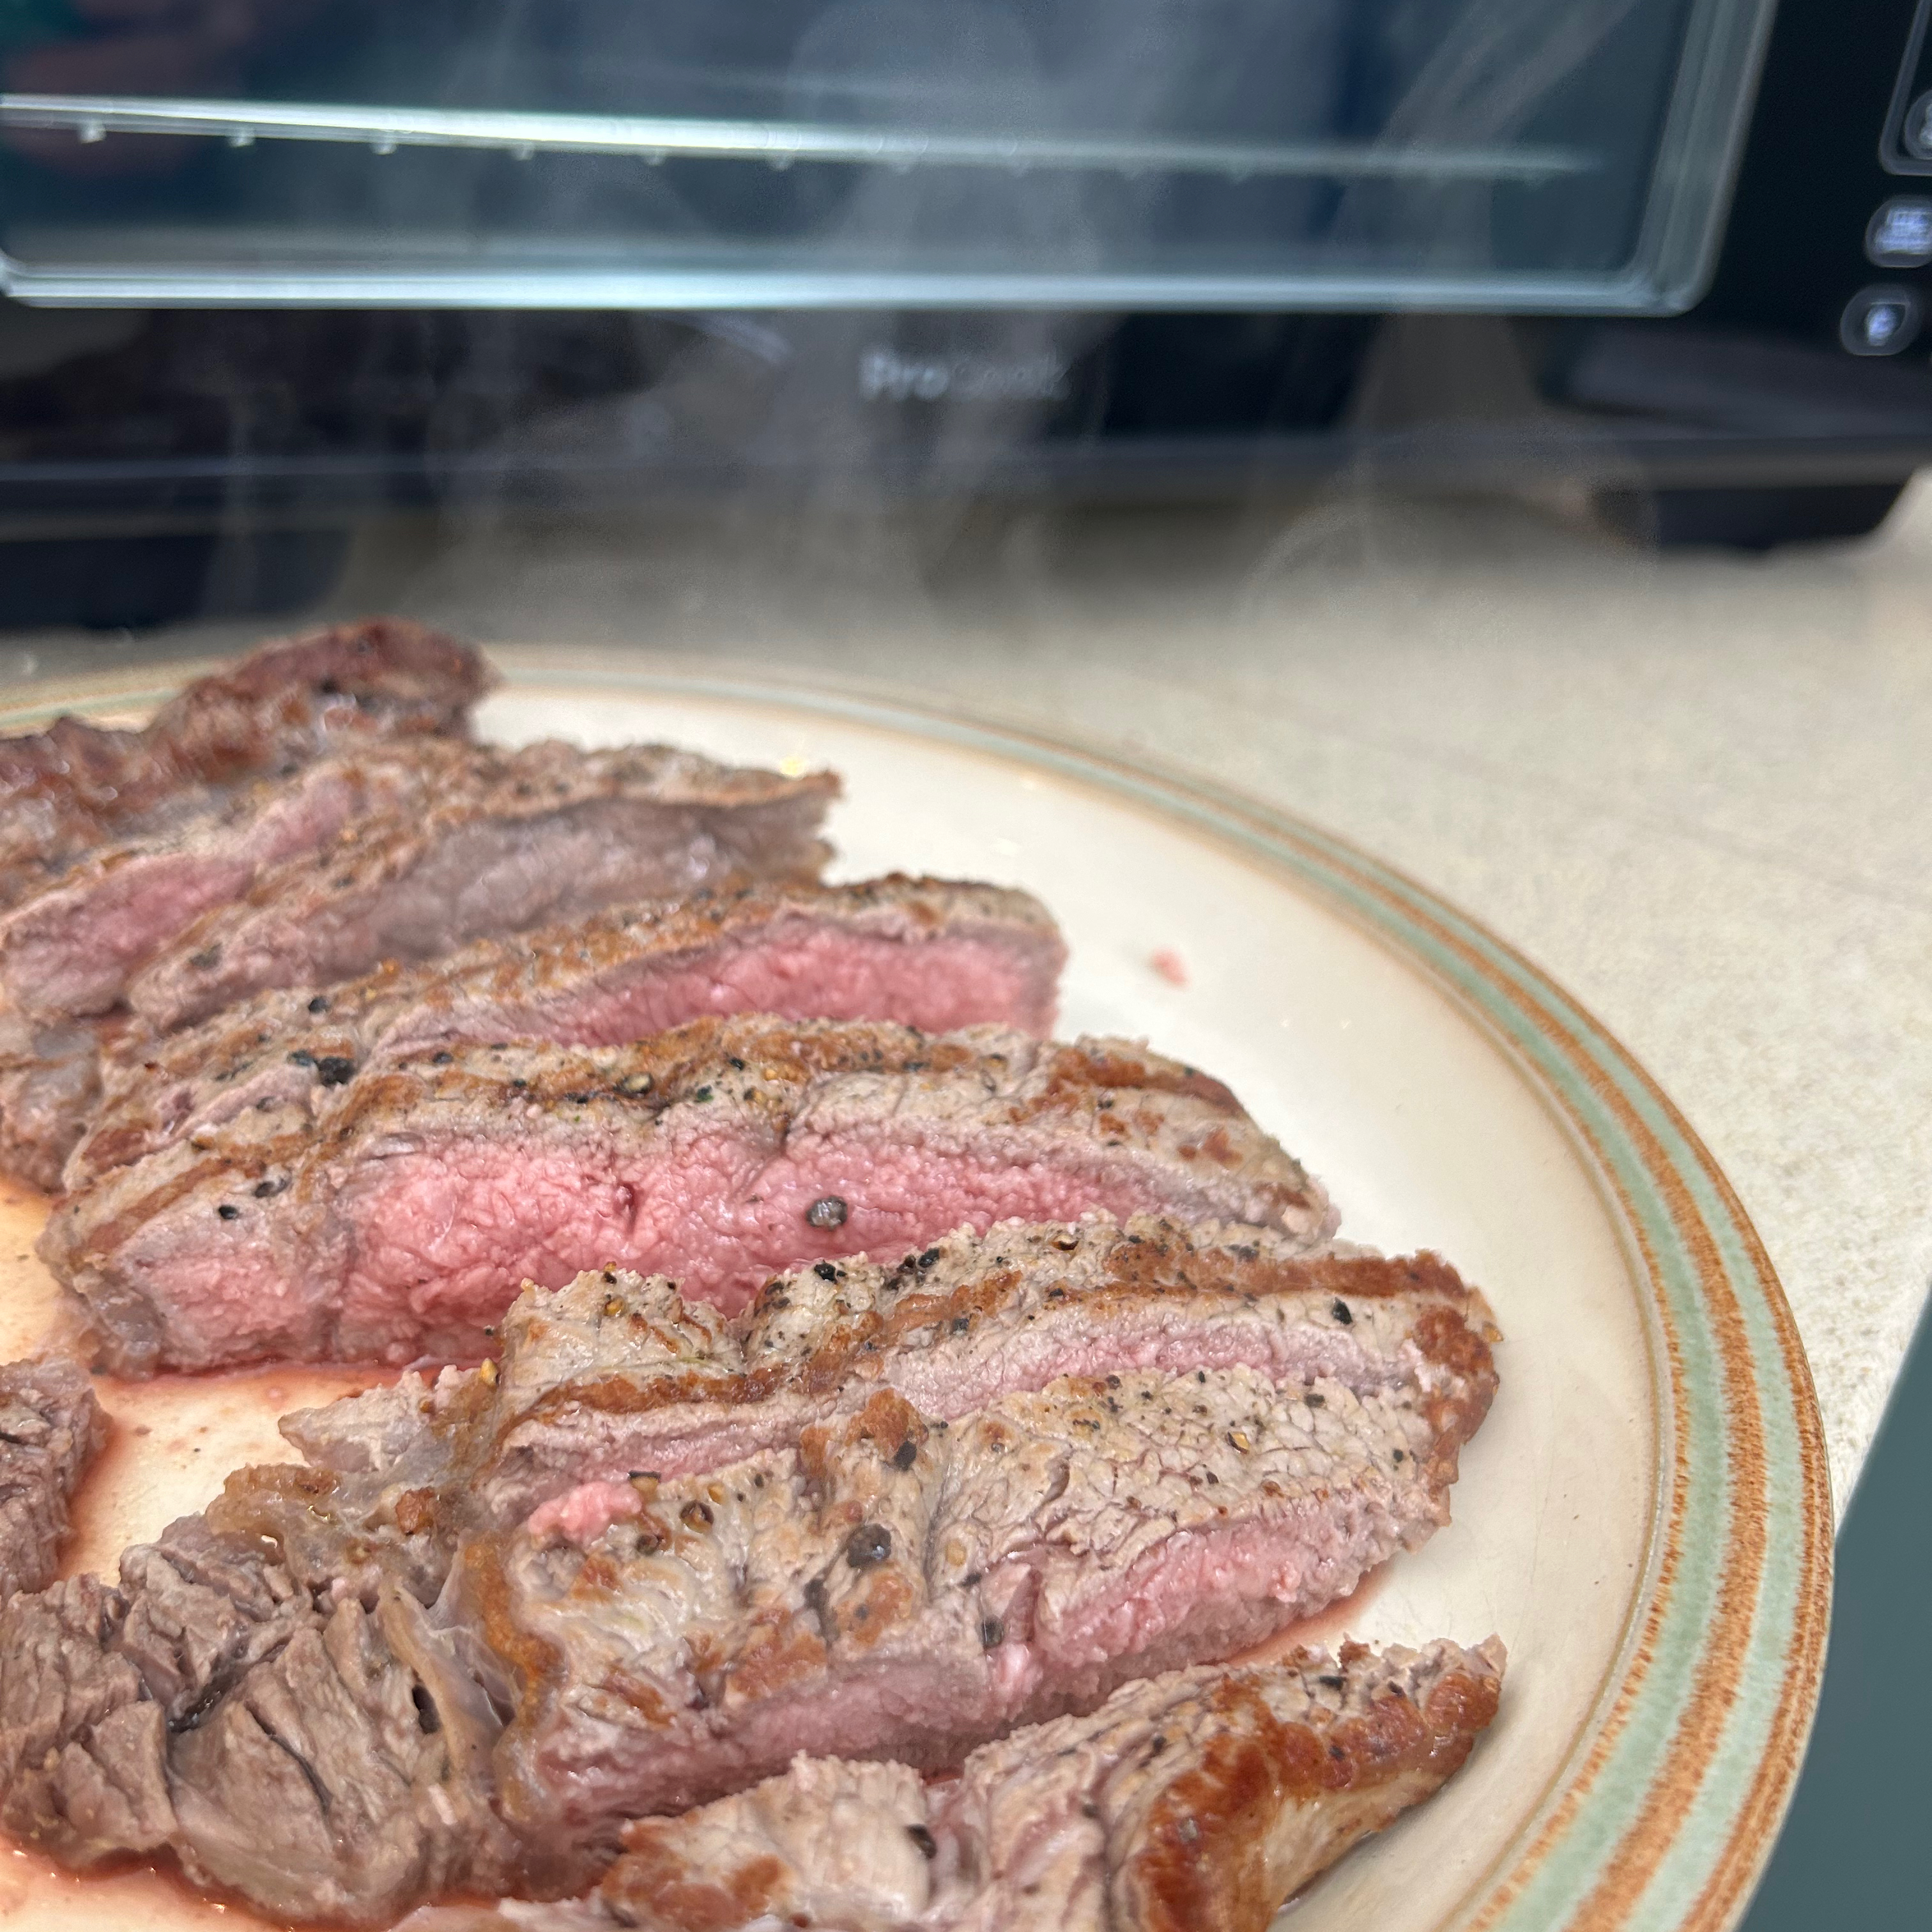
It wasn’t an altogether unsuccessful endeavour, the steak was fine. But I’d suggest you’ll need to play around with the timings as well as the thickness of the steak, and it may take a few attempts to perfect it.
It’s not a noisy appliance. All the noise is coming from the fan, it’s about 60dB which isn’t too loud, but it’s certainly noticeable. And after most cooking sessions the fan stays on for between 15 - 40 minutes, depending on the setting and temperature you’ve been using. I found it annoying if I was still in the kitchen after cooking, sometimes it felt like it would never switch off.
How does it compare to competitors?
Leading pizza oven brand Ooni makes an indoor pizza oven called the Ooni Volt 12 Electric Pizza Oven. It’s a dedicated pizza oven without all the extra functions you get with the ProCook. However it does offer the advantage of being suitable to use outside, so it can take the place of both an indoor and an outdoor pizza oven. The catch though, is that it costs around £800.
My personal favourite electric pizza oven is the Ninja Woodfire Electric Outdoor Oven. And while it is an outdoor model, it’s designed to be used in any weather. Plus it gives you the option to burn real wood pellets and create smokey flavours. And it’s way more than just a pizza oven, it can be used for smoking meats, even baking cakes.
What's it like to clean?
Only the metal rack and the metal basket accessories are dishwasher safe. Everything else has to be washed by hand, apart from the pizza stone. This should never be submerged in water and the best way to clean it is to scrape off any burnt-on residue with a spatula.
The removable bottom tray does catch any spills, drips, or crumbs and it comes clean easily, but you do have to remove and clean it after virtually every use. The thing I found trickiest to clean was the mesh shelf because of the way foods can get stuck in the mesh. I found that a good washing up brush is the best way of getting it clean.
Should you buy the ProCook Electric Pizza Oven Air Fryer?
If your primary objective of buying this pizza oven is to make great pizzas, then it’s absolutely a worthy buy and I can confirm that it does make an excellent pizza. Plus you can use it for other bakes and meals, so it’s more versatile than many of its peers.
I should reiterate that some functions such as steak, might be hit and miss or require you to fine tune the timings. And the air fry function is slower than a standalone air fryer. But on balance, I think that for the money, it’s a cracking little pizza oven that’ll elevate family pizza nights. And when you compare it to the cost of most others, it’s a bit of a bargain.
About this review, and the reviewer
After completing a Home Economics degree, Helen went on to work for the Good Housekeeping Institute and has been reviewing home appliances ever since. She lives in a small village in Buckinghamshire in the UK, where she reviews all sorts of home and garden appliances using her wealth of experience.
Helen set up the ProCook Electric Pizza Oven Air Fryer in her kitchen at home and used it for nearly two weeks. During this time, she tried out multiple functions and used all of the accessories. She made everything from pizza to steak, and even used it to bake a cake in an effort to put it through its paces.


