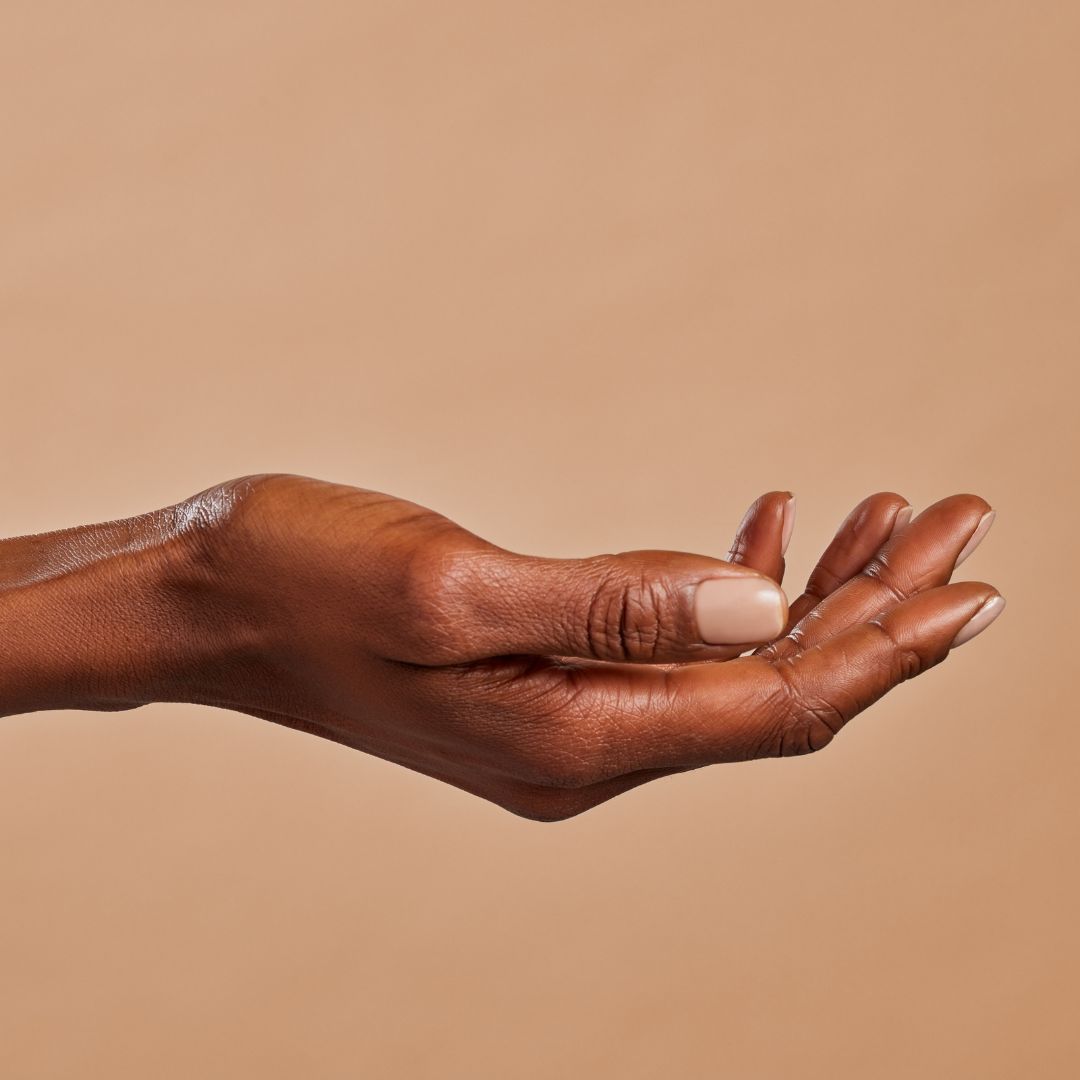
As a beauty editor come nail tech, there's no time when I'm not trying out new manicure designs and shades and scrolling for inspo on 2024 nail trends. And I'm a huge nail art girlie, but when I'm not painting on a neon orange French manicure, I'm wearing naked nails.
Now, naked nails don't actually mean naked. Taking the idea of the 'boring manicure' one step further, a naked manicure is the most natural, blink-and-you'll-miss-it coat of colour done exactly how you like it. Here's everything you need to know about elevating those naked nail days with these tips, tricks and products.
What is a naked manicure?
A naked manicure is pretty much what it implies: a barely-there, almost-naked nail, for times when you want your nails to be yours—but better.
Despite being simplistic, naked nails don't have to be boring—far from it actually. There are so many nail innovations out there now that you can still have fun with your nails without using nail complex nail art. Naked nails give your natural nails the spotlight, focusing on their health and giving them a hint of colour (perhaps with a sheer nail polish). Here's how to do it...
Step 1: Prep
The first step is always your prep, and in naked nails, which focuses on the health of the nails, this is even more important.
Start by pushing back your cuticles and nipping any dead skin. Follow my guide on how to remove your cuticles properly to avoid any nips and cuts.
Next up is filing. Of course, you can use your standard nail file to create your desired length and shape, but you can use files for a whole lot more than that. Nail buffing is a step that means you can use use various nail file grits to create an impossibly shiny nail plate without using a drop of nail polish—fantastic if you choose not to wear any polish at all.
This dual-sided stick is brilliant at gently pushing the cuticle and getting to hard-to-reach places with the flat-sided end.
This 6-in-1 nail file is a great way to get all of the grits in one handy file. Just be careful using sides 1 and 2, as these are best used for artificial nails.
Step 2: Nail polish
You can either stop at nail filing (particularly if you've achieved that shiny buffed nail) or add some nail polish to finish off the manicure. The type of polish you go for really depends on your preferences. but these are four that I love for giving that barely-there, your-nails-but-better finish.
This beautiful milky shade is sheer with a single coat but more opaque with two or three coats.
This polish is from Manucurist's Active range (designed for a no-manicure manicure) and has a gorgeous sheer-pink base with iridescence that glistens as it catches in the sun.
This 2-in-1 formula gives your nails a strengthening base (helping prevent breakage) whilst adding a berry-tint.
It wouldn't be a neutral nail inspiration piece without Dior Nail Glow on the list. This is the ultimate healthy manicured hand addition; it gives a hint of pink that gives the nails a high shine without looking overly 'done'. It's also the perfect base for a French manicure ahead of adding that crisp white tip.
Step 3: Hydration
Finally, you can't finish a manicure without drenching the nails and hands with hydration. This is the best way to keep your nails looking and feeling in the best shape. Be liberal with cuticle oil and apply hand cream.
By far this is the best cuticle oil out there. Give your nails a generous coating of this before bed and your cuticles will wake up happy and healthy.
L'Occitane Hand Cream is also a classic product that I recommend to everyone (and use myself nightly). Slather on a thick layer before bed and your hands will feel cocooned and moisturised the next day. It's more expensive than your average hand cream, but it'll last forever—trust me.


