Stuck on how to use the Dyson Airwrap? You're not alone. In fact, as a beauty editor, I've been quizzed endlessly on whether it's worth the money and how to get lasting results from the techy air-styler.
After Dyson launched the Supersonic in 2016, which is widely regarded as one of the best hair dryers on the market, the Airwrap followed two years later. It was then re-engineered for 2022, complete with new attachments to suit a wider range of hair types, and upgrades like one barrel to style both directions of curl. I hate bragging, but I have on several occasions been asked if I've had a salon bouncy blow dry after using my Airwrap. Of course, my skills are far from those of a professional hairstylist, but still, I have picked up plenty of styling tips, both from experts and through a lot of firsthand practice.
If you're still on the fence about even buying this tool, read my Dyson Airwrap review for more on how well it performs. But if you've taken the plunge and bought one, or are hoping to be gifted one this holiday season and want to be prepared, here's everything you need to know about mastering the Airwrap...
How to use the Dyson Airwrap in 7 straightforward steps
So, you've unboxed your new Dyson Airwrap, but now what? Below, I've detailed every step that experts recommend, as well as ones I've found have really benefitted my own styling - from using it on damp hair, to taking the time to learn what each attachment is designed to do.
1. Get to know the attachments
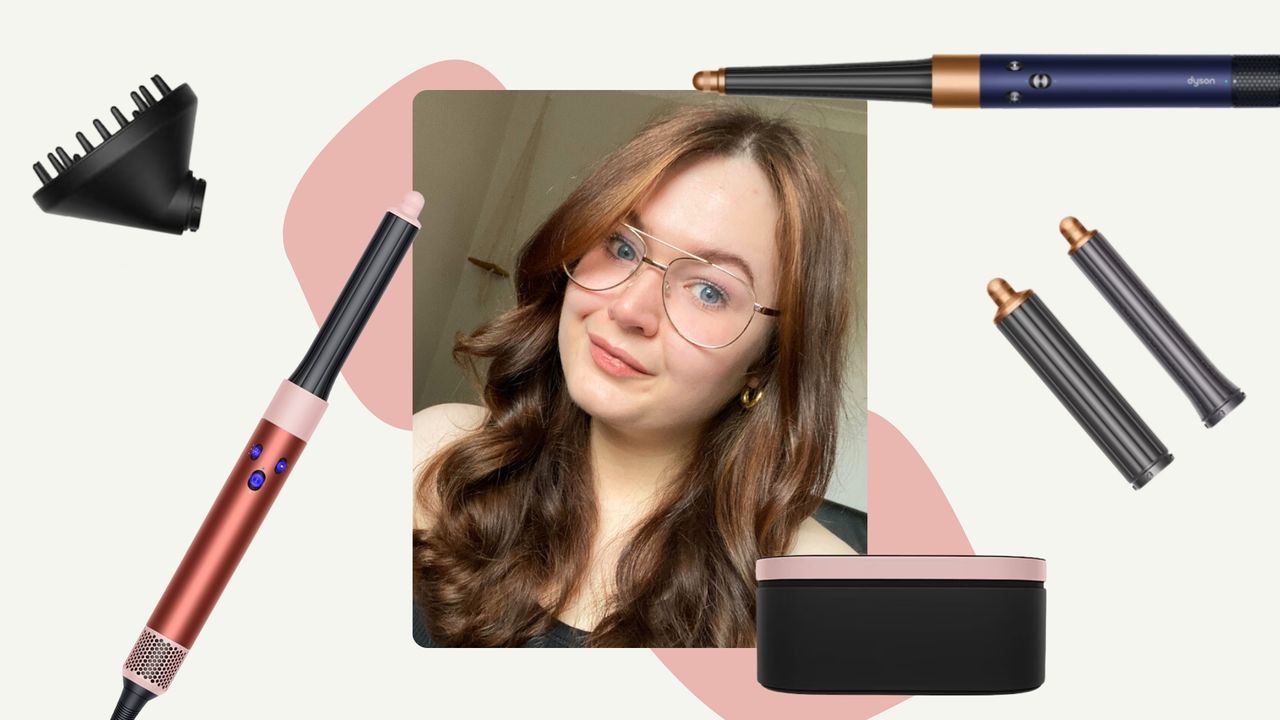
Before we get into the how-tos, let's recap on what each of the attachments actually do. One of the main selling points Dyson's styler has over the many Dyson Airwrap alternatives out there is the variety and scope of its attachments, several of which are pictured above.
- Coanda dryer: a 2-in-1 dryer nozzle and flyaway smoothing tool
- Fast dryer: an oval-shaped drying nozzle for rough drying
- Barrels: for creating curls and waves
- Wide-tooth comb: for stretching out tighter curls and coils
- Round brushes: great for adding volume and creating a smooth blow-dry
- Soft smoothing brush: for creating straighter, sleeker styles
- Firm smoothing brush: same as above, but for hair that's prone to frizz
- Diffuser: for drying curly hair types
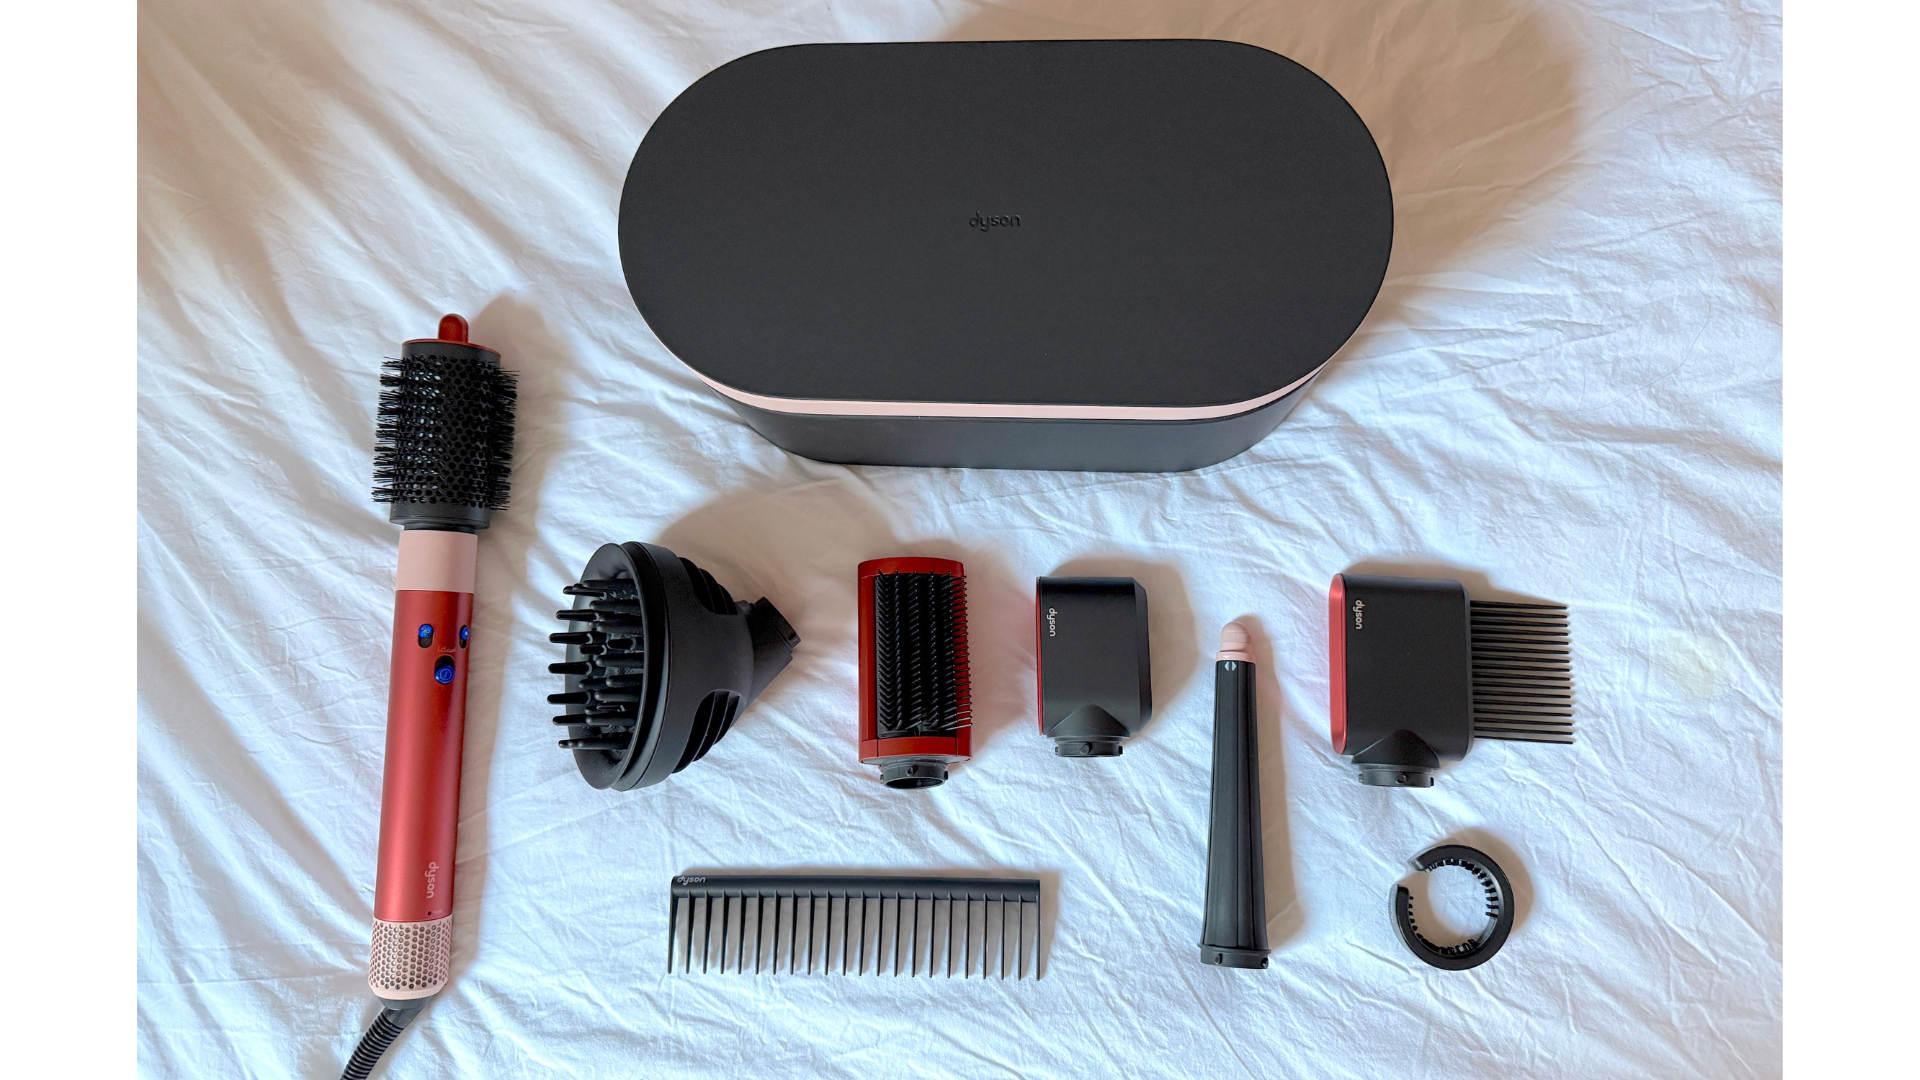
Your selection of attachments will depend on which bundle you've bought. There are four key variations on the market, including two bundles with the newer Airwrap i.d. As well as a presentation case and filter cleaning brush, the accompanying attachments in each bundle are as follows:
- Dyson Airwrap Long: Flyaway dryer attachment, 30mm curling barrel, 40mm curling barrel, round brush, soft smoothing brush, firm smoothing brush
- Dyson Airwrap Long Volumise: Flyaway dryer attachment, 30mm curling barrel, 40mm curling barrel, large round brush, firm smoothing brush, diffuser
- Dyson Airwrap i.d. Curly + Coily: Fast dryer attachment, tapered curling barrel, firm smoothing brush, wide tooth comb, diffuser (pictured above)
- Dyson Airwrap i.d. Straight + Wavy: Flyaway dryer attachment, fast dryer attachment, large round brush, soft smoothing brush, tapered curling barrel, 40mm curling barrel
2. Use it on damp hair
There’s no law that says you can’t use the Dyson Airwrap on dry hair, but styling it from wet to dry is what the brand recommends for the best finish and longest-lasting results. "It’s always good to bear in mind that the Airwrap is a wet-to-dry styler," confirms top hairdresser and Dyson ambassador Larry King. The first step is to dry the hair to around 85%. With curly hair types, really focus on drying off the roots with tension if you're creating a style with a smooth finish. "Then, use the smoothing brush or barrels to create that desired curl or straighten the hair out, and it will really lock in that style," King continues. "The last 15% of drying is where it’s really working its magic."
If you don't need or want to wash your hair from scratch, you can use a mister bottle to dampen your mid-lengths and ends slightly. Then once your desired style has been created, any frizzy hair or flyaways can be flattened with the, frankly genius, flyaway attachment – hold it flat against your head with the metal part at the top and glide it downwards.
It's worth pointing out that, though the dryer and flyaway attachment come with the Complete, Complete long and Airwrap i.d. Straight + Wavy bundles, it isn't included in the Curly + Coily i.d. bundle (you get the fast dryer attachment instead). As somebody with curly hair that's very prone to frizz and flyaways, I think this is a shame as it's an incredibly useful attachment, so hopefully Dyson will make it available to purchase separately in future as with previous iterations.
3. Use prep and styling products
A big part of what to know before buying a Dyson Airwrap is that a lot of success lies in how you prep your hair. Heat protection for hair is a must, even with the lack of 'extreme heat' the brand says is involved in Airwrapping, while the best hair styling products will help keep your style in place. It really is the key to how to make your blowout last longer.
As this device styles at relatively low temperatures, prep is important, especially if your hair struggles to hold a curl at the best of times. With these hair types, "To get the longer-lasting finish, think about using a mousse or a volumising hair mist, something that will complement getting that additional hold to the hair," advises King. "I like to end most styling with a little touch of hairspray to finish the style completely."
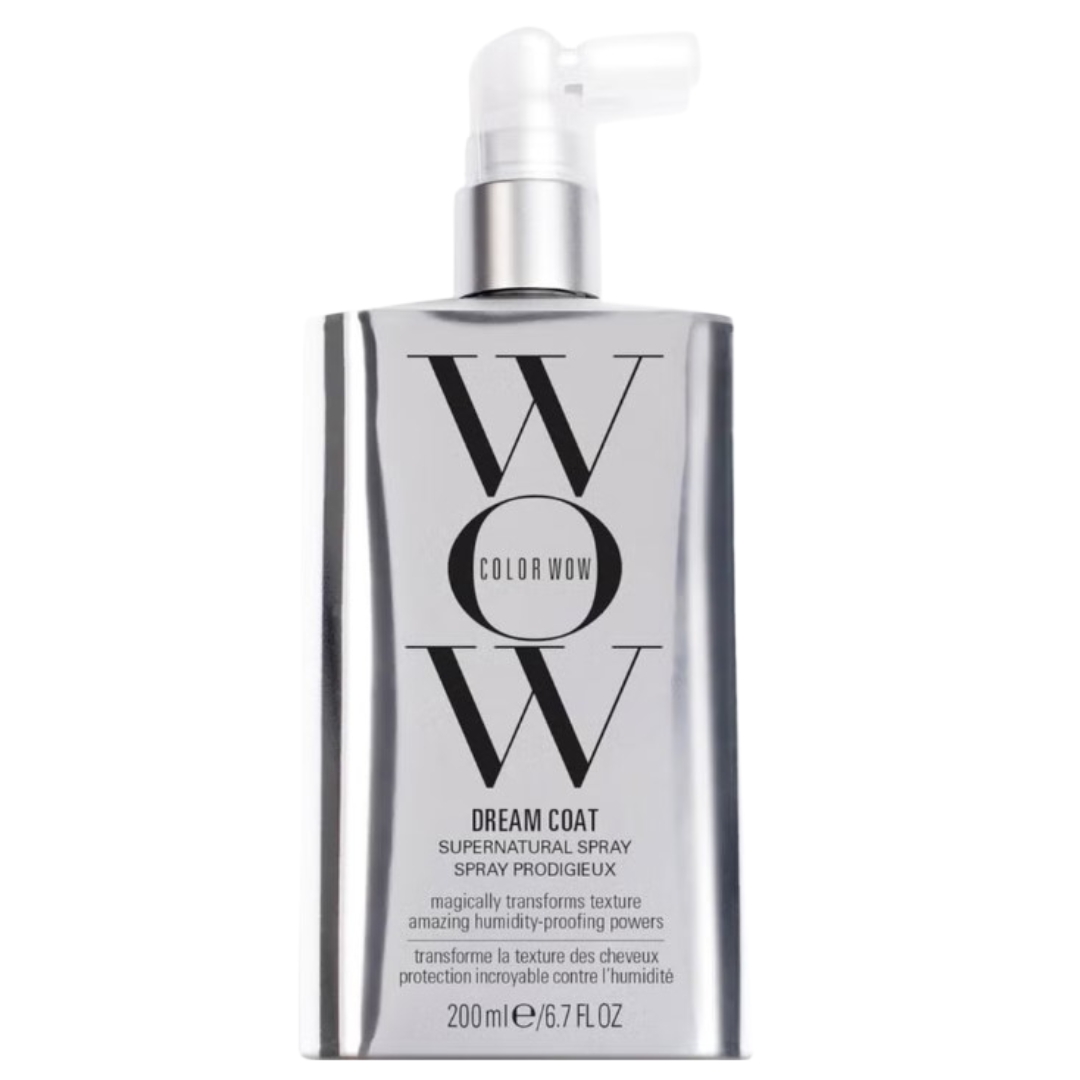
RRP: £27
One of the most famous hair products for humidity, with its results lasting for 3–4 washes, Color Wow's Dream Coat also doubles as a heat protection spray.
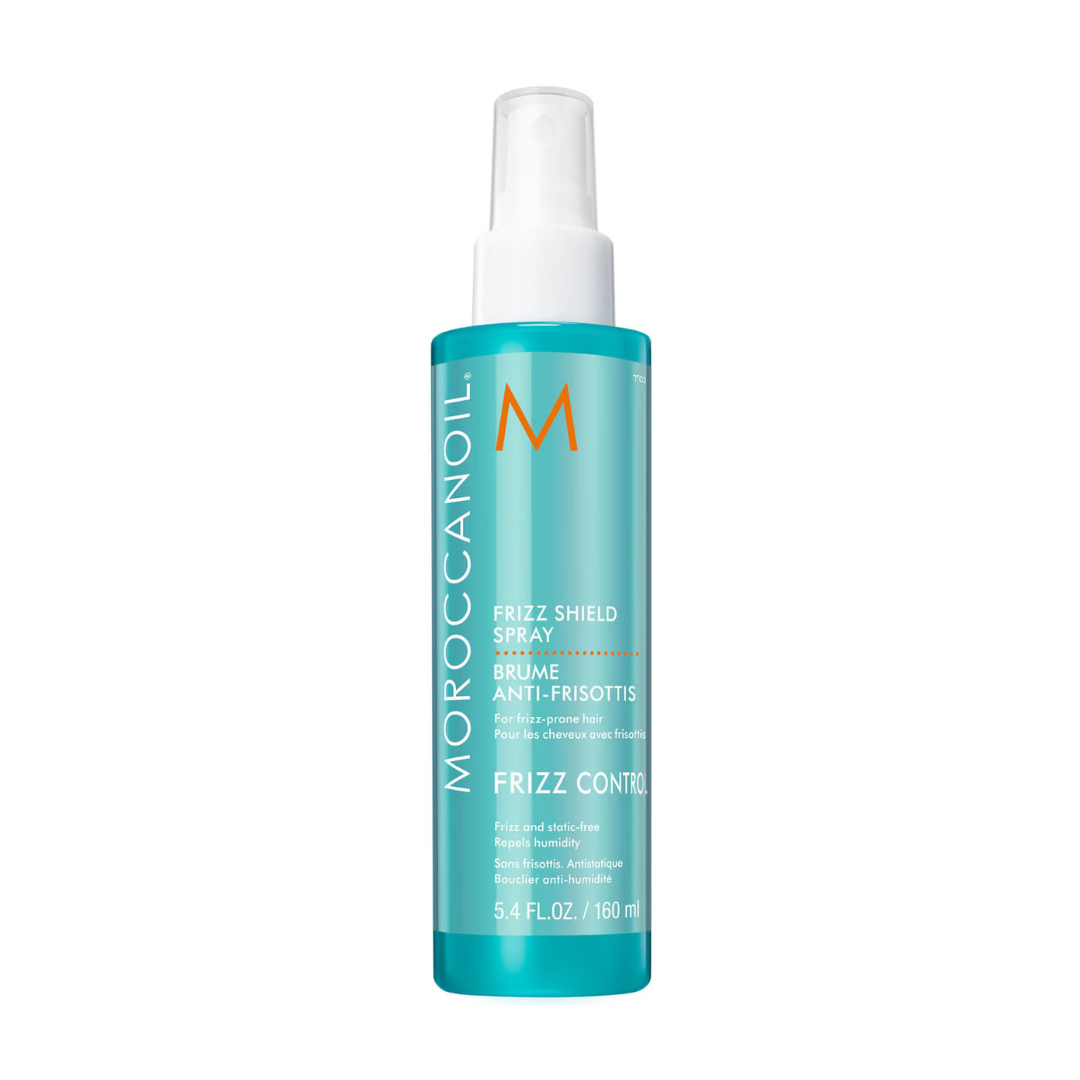
RRP: £25.85
Great for adding a little last infusion of moisture and protecting frizz-prone hair from the elements, this heat-activated spray is one of my most-used products before drying my hair.
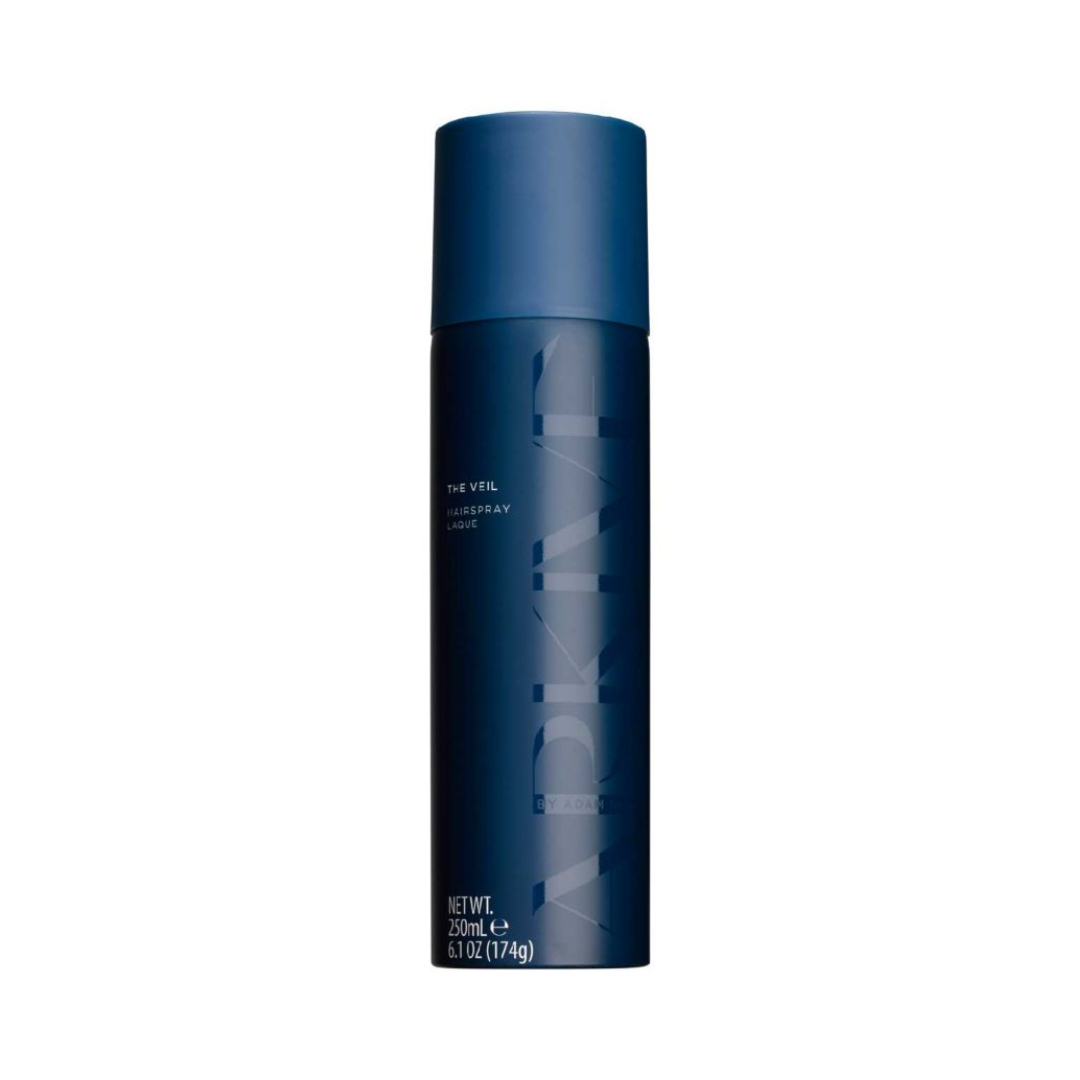
RRP: £14
Created by top hairstylist Adam Reed, this hairspray makes a great final step to help lock in your style. (Bonus: it also smells incredible.)
4. Always set with a cool shot

This step is something King mentioned multiple times and is especially important if you know your hair struggles to hold a curl after styling with other tools: set it with the cold shot. Your hair is still malleable when warm and so cooling it right down helps to fix it in place, especially if it's very fine and limp and tends to "drop" through the day.
Another handy fact about the Dyson Airwrap is you can easily manually switch the temperature to cold while your hair is still wrapped around whichever attachment – thus setting the hair in place, while it’s actually in place. When you use the newer Airwrap i.d.'s Bluetooth connectivity and set up "i.d. curl", the optimal cooling time is actually set for you (more on that later).
5. Practice makes perfect
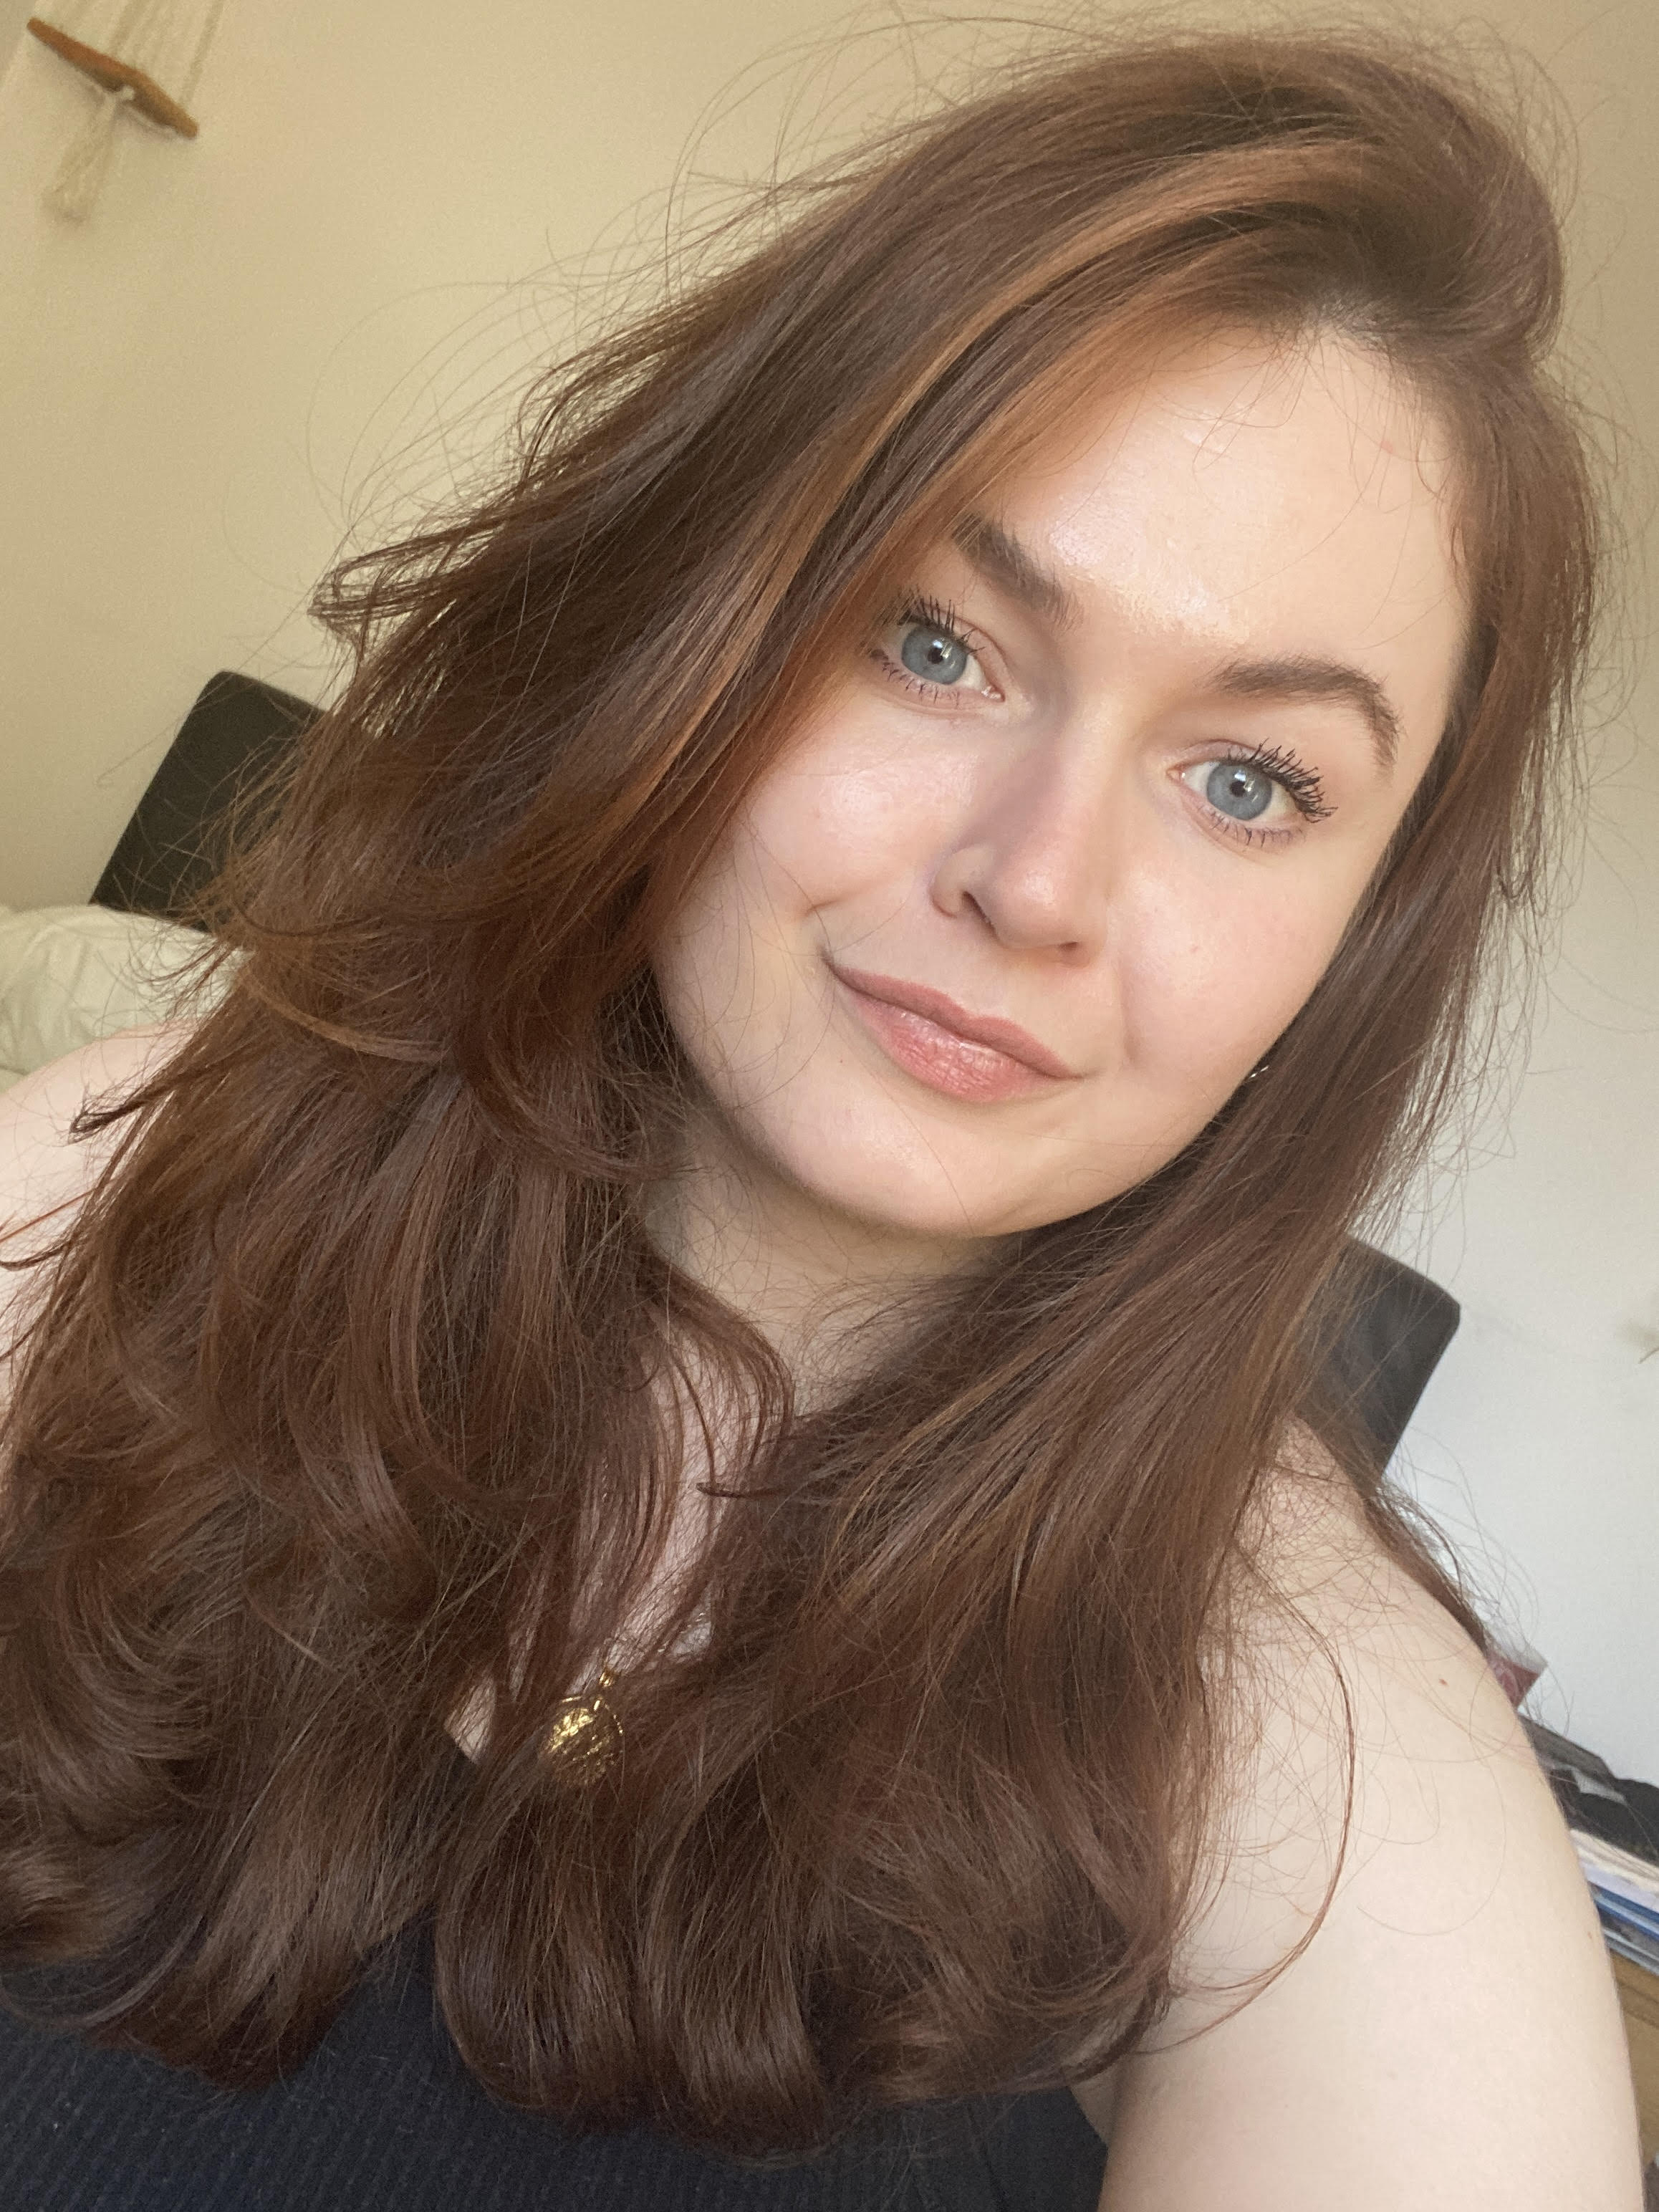
It sounds like a cop-out, but the best way to use the Airwrap genuinely varies from person to person and it can take a little time to find your groove. There are many attachments and techniques, and I don’t think many people would pick it up and immediately be a pro. I'm speculating, but even James Dyson probably needed some practice at first.
If you've never owned a multi-styler, the curling barrels are probably the attachments that are least like anything you’ve used before. If you’re struggling to get a section of hair to adhere to them, gently wave the Airwrap back and forth a little to encourage any loose hair to wrap with the Coanda effect. You can also manually wrap hair around the barrels if you prefer.
The smoothing and round brushes are very easy to use; I love the latter for an easy, '90s-like blow dry, below. You simply brush through sections of hair of as you usually would, lifting them away from your head to help encourage more volume if you want it. If your hair isn't on the straight side naturally, another good tip is to make sure you brush both sides of the section of hair to ensure it's been smoothed from all angles, which also helps your style to last longer. My first Airwrap didn't come with a diffuser, but I'm looking forward to using this with my new Airwrap i.d – this and the comb attachments are great additions that bring the tool in line with the Dyson Supersonic hair dryer's abilities.
6. Get creative
There aren’t many hard and fast rules for how to use the Dyson Airwrap. I'm falling into a cliché here, but the styling world really is your oyster with all those attachments, so don’t be afraid to get creative to find the styles you like most. There are, however, several tips for how to get the most out of this styler.
"It’s all about playing around with all of its amazing attachments," King agrees. "You can mix things up to create curls at the ends, use the smoothing brush to straighten the hair out, and also use the barrels at the ends to flick the hair out – this could be done on a mid-length bob for a cool '90s vibe, for example."
As well as adding lift and volume, the round brush is great for 'swooping' curtain bangs for a '70s feel. If you have these bangs or similar face-framing layers, gather them into one section at the front of your head. Hold vertically and place the brush head near the roots behind your hair, where you might logically put a roller. Turn the brush clockwise to gather hair around it, hold for a few seconds, and cold shot. Then pull the brush back through the hair in the same direction, release, Et voilà, '70s bounce.
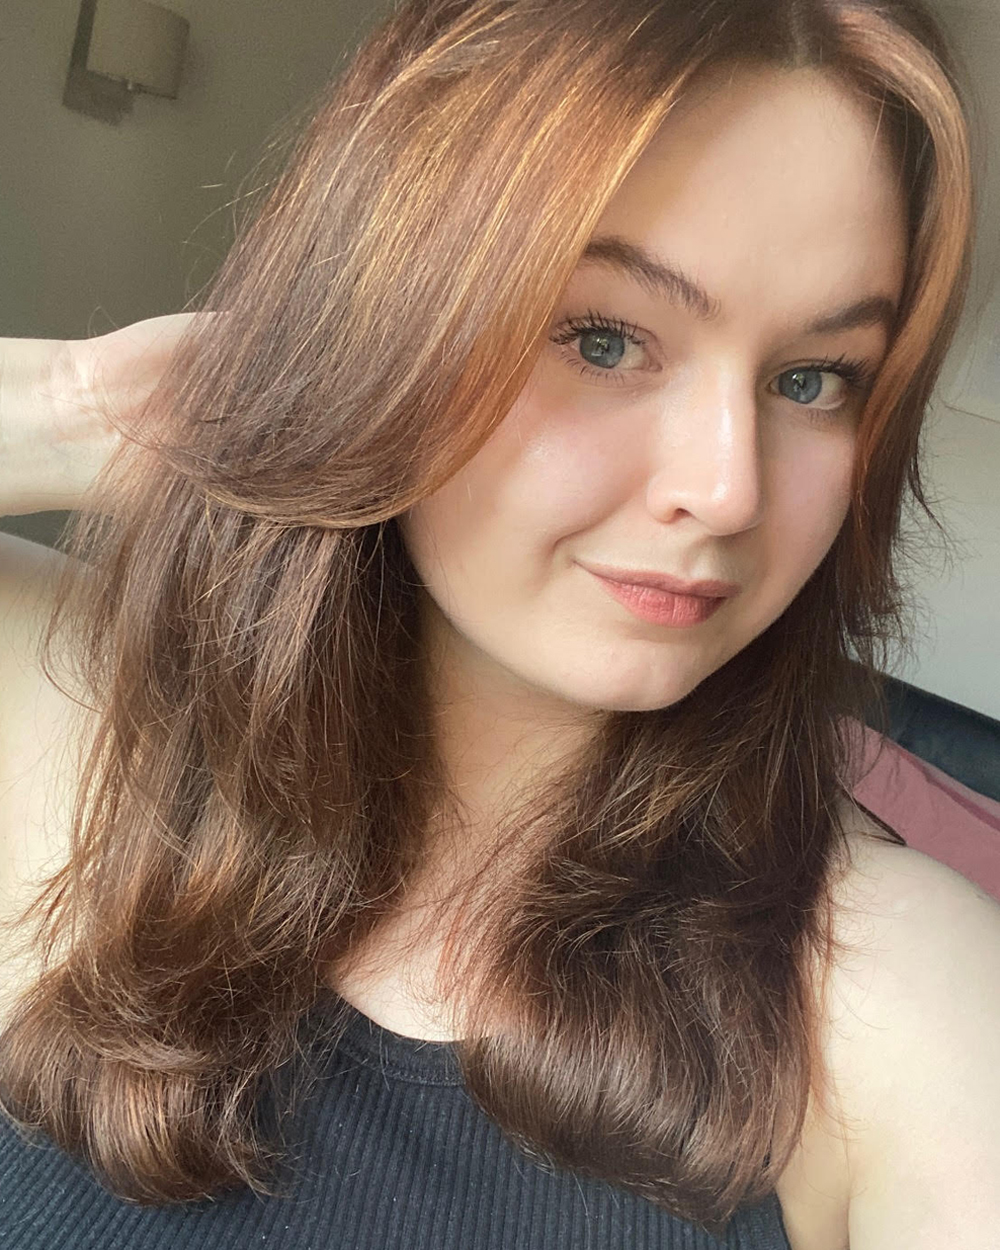
With my older Airwrap, I also like the results of the larger 40mm barrel for curling larger sections of my hair, which I then brush out completely for a looser bouncy blow dry look. As someone with a curly hairstyle, I rarely curl my whole head of hair right up to the roots, but you can use these attachments to curl some sections as you would with a wand.
(If you want to see a head-to-head against another leading tool, take a look at our Shark Flexstyle vs Dyson Airwrap comparison.)
7. Make the most of the MyDyson app
If you've bought or been gifted the newest version, the Airwrap i.d., your tool is equipped with Bluetooth connectivity that allows you to sync it with the MyDyson smartphone app. After creating your unique hair profile, by inputting in various factors about your hair's length, texture and your styling preferences, you can then set up "i.d. curl", AKA personalised wrapping, heating and cooling times to create the best lasting Airwrap curls. I've just got my hands on this newer Airwrap and can tell you that the whole set-up process barely takes five minutes.
Even if you don't have the Airwrap i.d., you can still benefit from the MyDyson app by watching the various hairstyling tutorials. These make nice visual guides to creating various hairstyles with the tool as you get to grips with learning how to use the Dyson Airwrap for the best results.


