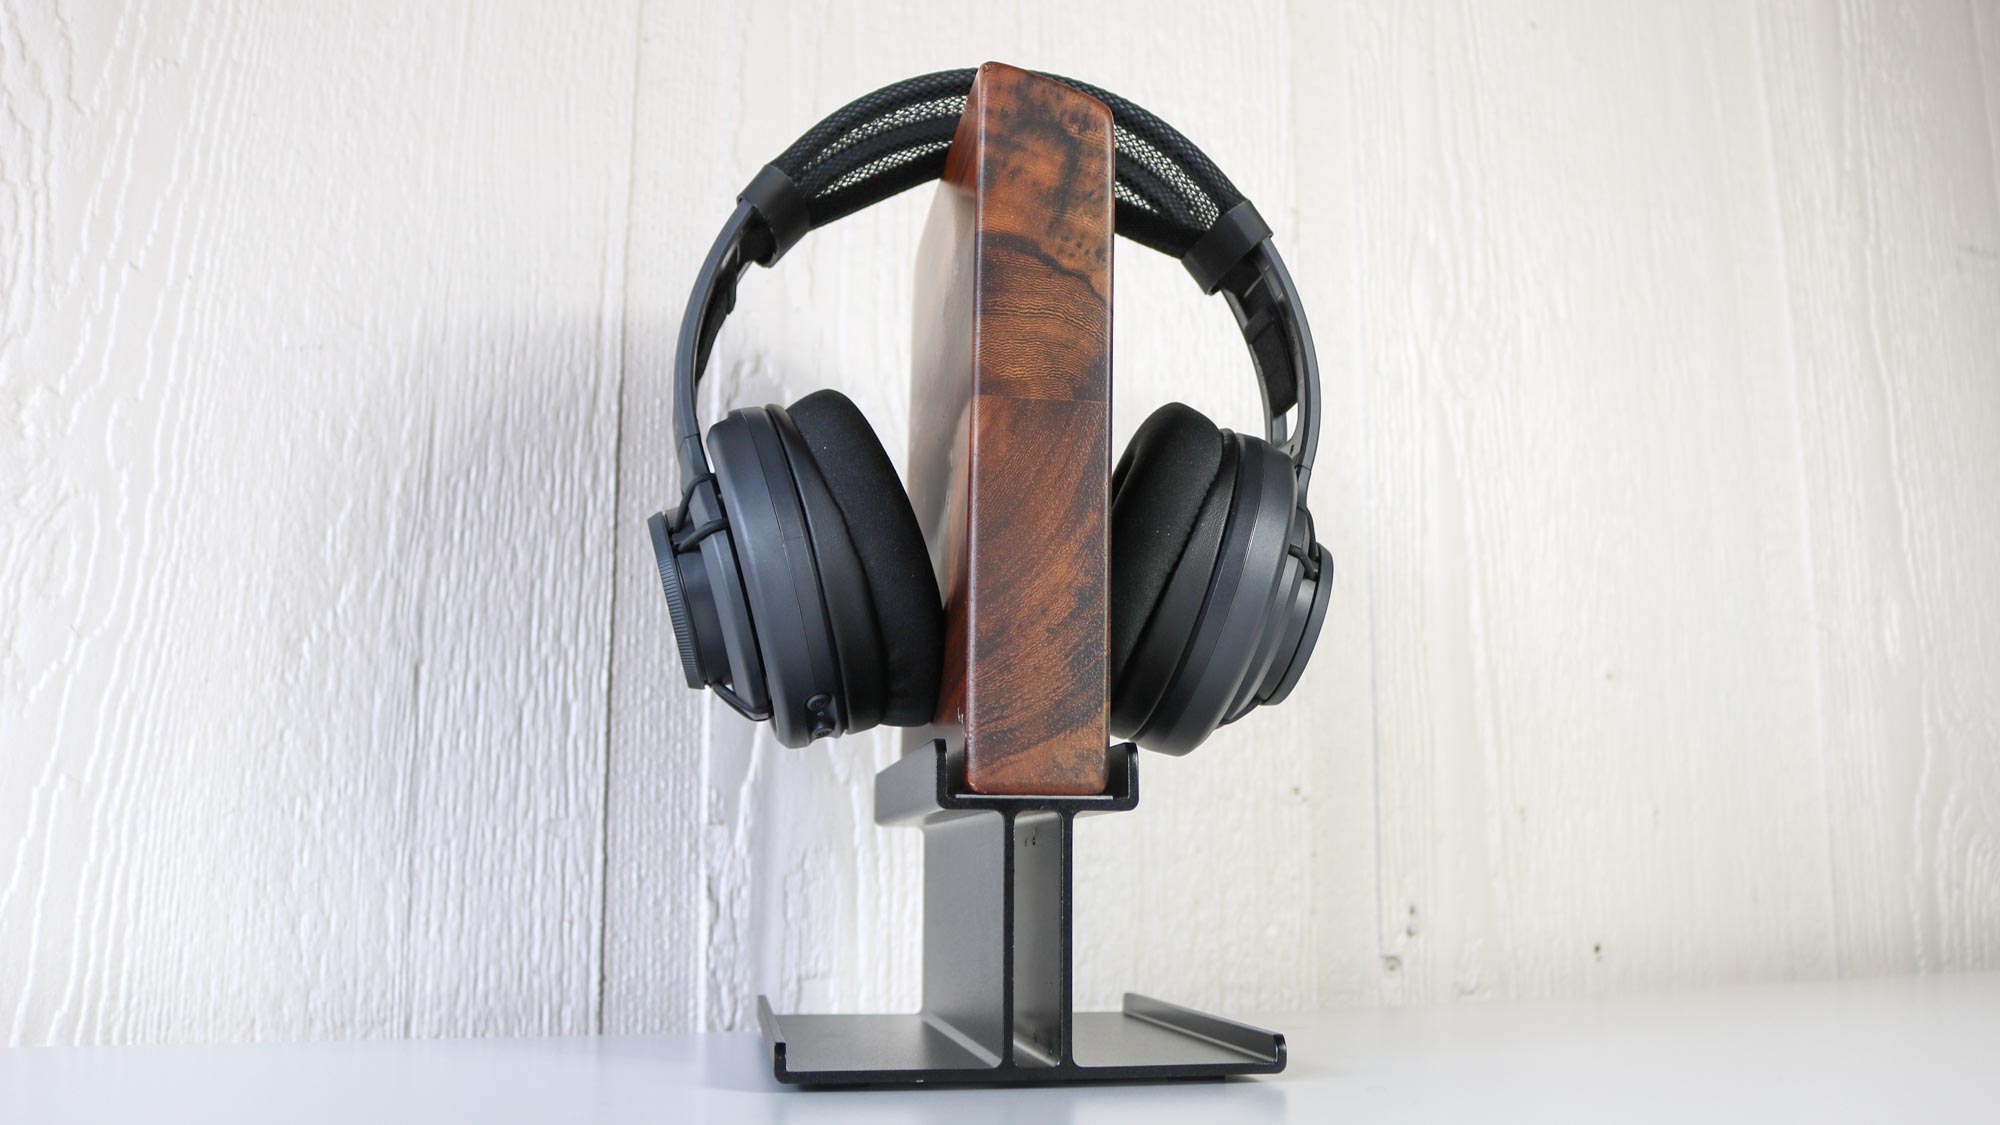
Outfitting a home office is the kind of thing you want to ease yourself into because if not, you could end up spending quite a lot on furniture and equipment you might not necessarily need or even want when all is said and done.
Whether it’s one of the best office chairs or one of the best standing desks, it makes sense to start small and then work your way up. For instance, you might go with one of the best budget office chairs at first before upgrading to a mid-range chair before you finally end up with a premium seat from Steelcase or Herman Miller. That way, you’ll know exactly what you like, what works for your body and your workflow and whether or not a particular feature matters or is even worth spending extra on.
I’ve been working from home exclusively for the past six years and like most people, I first furnished my home office with furniture from Ikea. In fact, my first desk in my new home office consisted of a drawer unit on one side, a pair of legs on the other and a cheap tabletop connecting the two together. It wasn’t until I started reviewing standing desks a few years ago that I finally moved on from using an inexpensive, DIY desk.
Even now when I pick out desks for reviews, I usually go with the cheapest desktop option. These usually consist of laminate desktops in either black or white. The thing is though, when designing a desk or a standing desk, things can get expensive real fast if you go with a solid wood option. And unlike with one of the best phones or laptops, you really can’t go check out your new desktop in person to see what it’s like, let alone bring it back home with you to get a feel for how it will mesh (or won’t) with the rest of your home office decor.
Fortunately though, I’ve found a way to try before you buy and even if you aren’t happy with the end result, you still get a headphone stand out of it. If you’re thinking of upgrading to a premium desk from Uplift Desk, you might want to give this a shot before going all in.
An easy way to try before you buy
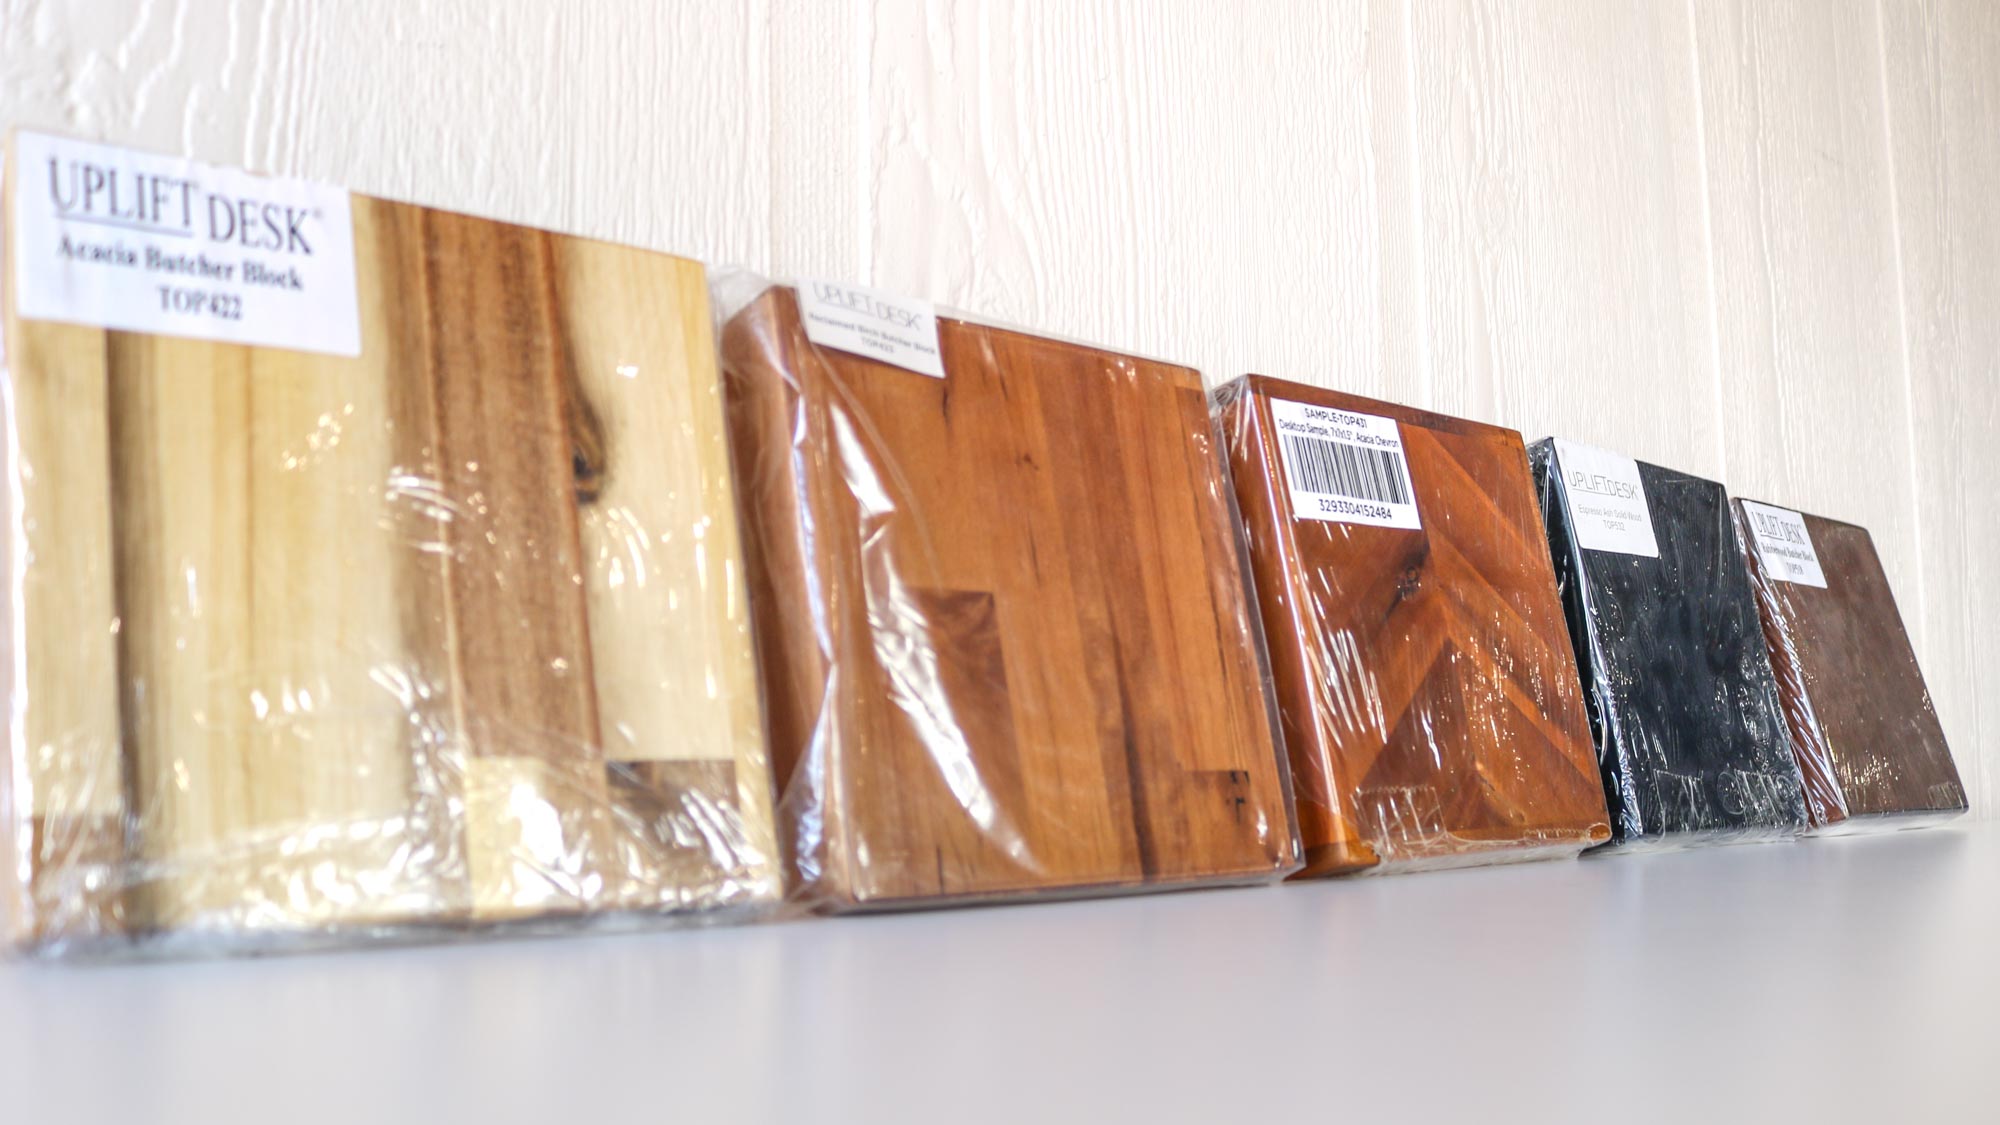
Back when I reviewed the Uplift V2 before joining Tom’s Guide, I strayed slightly from my typical black or white laminate desktop and went with their whiteboard one instead. While it’s still made from laminate and only costs $10 extra, it was the first standing desk I came across that you could take notes directly on.
One of my favorite things about the Uplift V2 is just how customizable it is. For example, when configuring your desk, you have 31 different desktop styles and materials to pick from. Uplift also sells desktop samples starting at $9 but for slightly more, you can end up with a unique headphone stand that’s long enough to hold two pairs of the best over-ear headphones or even two gaming headsets.
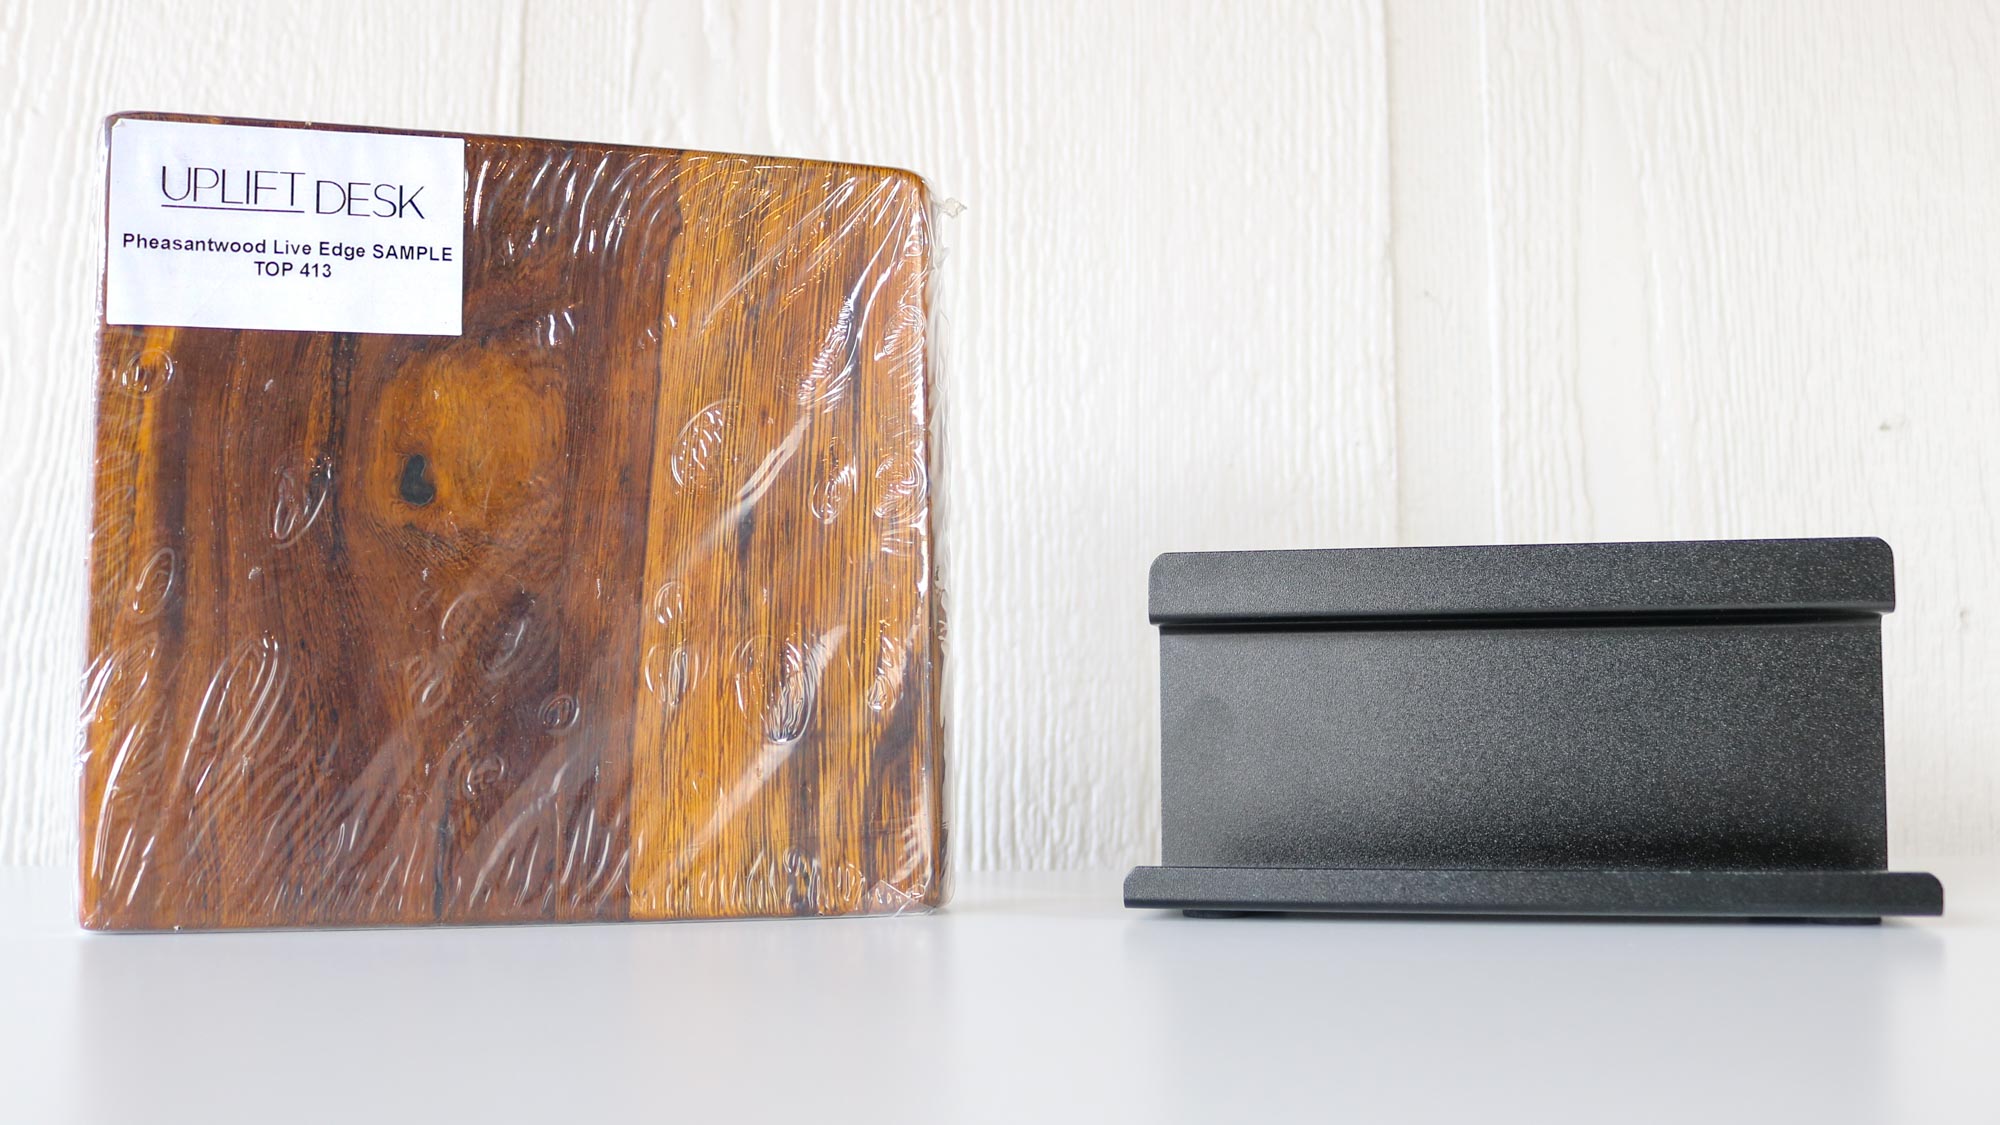
I went down a bit of a rabbit hole earlier this year after I got the Turtle Beach Atlas Air gaming headset and decided that with this one, I wasn’t going to hang it off a headphone hook on the side of my desk where it was easily reachable by my toddler. He loves headphones by the way and has already managed to destroy a cheaper pair I had. As such, I bought a number of different headphone stands online but after testing Uplift’s, I’d recommend it over almost all of the other ones I’ve tried.
The Uplift Headphone Stand is a bit more expensive as it starts at $45 and can go as high as $52 depending on which type of wood you get. The stand itself is made from extruded aluminum and unlike those cheaper ones I’ve tried, it can’t be easily knocked over nor will it budge on your desk. Uplift sent over a few samples for me to try but in the end, I settled on the pheasantwood live edge one.

More and more standing desks now come equipped with a rounded edge like this one. The idea behind this is that instead of using a wrist rest, your desk has one built-in. As you can see in the picture above, this rounded or live edge gives the desktop a more premium look and feel. Likewise, the Uplift V2 with a pheasantwood desktop looks absolutely gorgeous as you can see the grains of the wood and their darker color contrasts really well with the brown.
It’s worth noting that you don’t have to get this particular desk in order to use this desktop. For the most part, standing desk desktops are interchangeable — as long as you have the measurements right — but you might need to drill a few holes to get it to work with your desk frame. Likewise, you could always start with a cheaper laminate top and then upgrade to a more premium, all-wood one later on.
Don’t get me wrong, a desktop like this isn’t something you should pick up when you first start working from home. Instead, think of it as an upgrade that can really tie the whole room together once you know you’re not going back to the office for good.
Sturdy yet simple
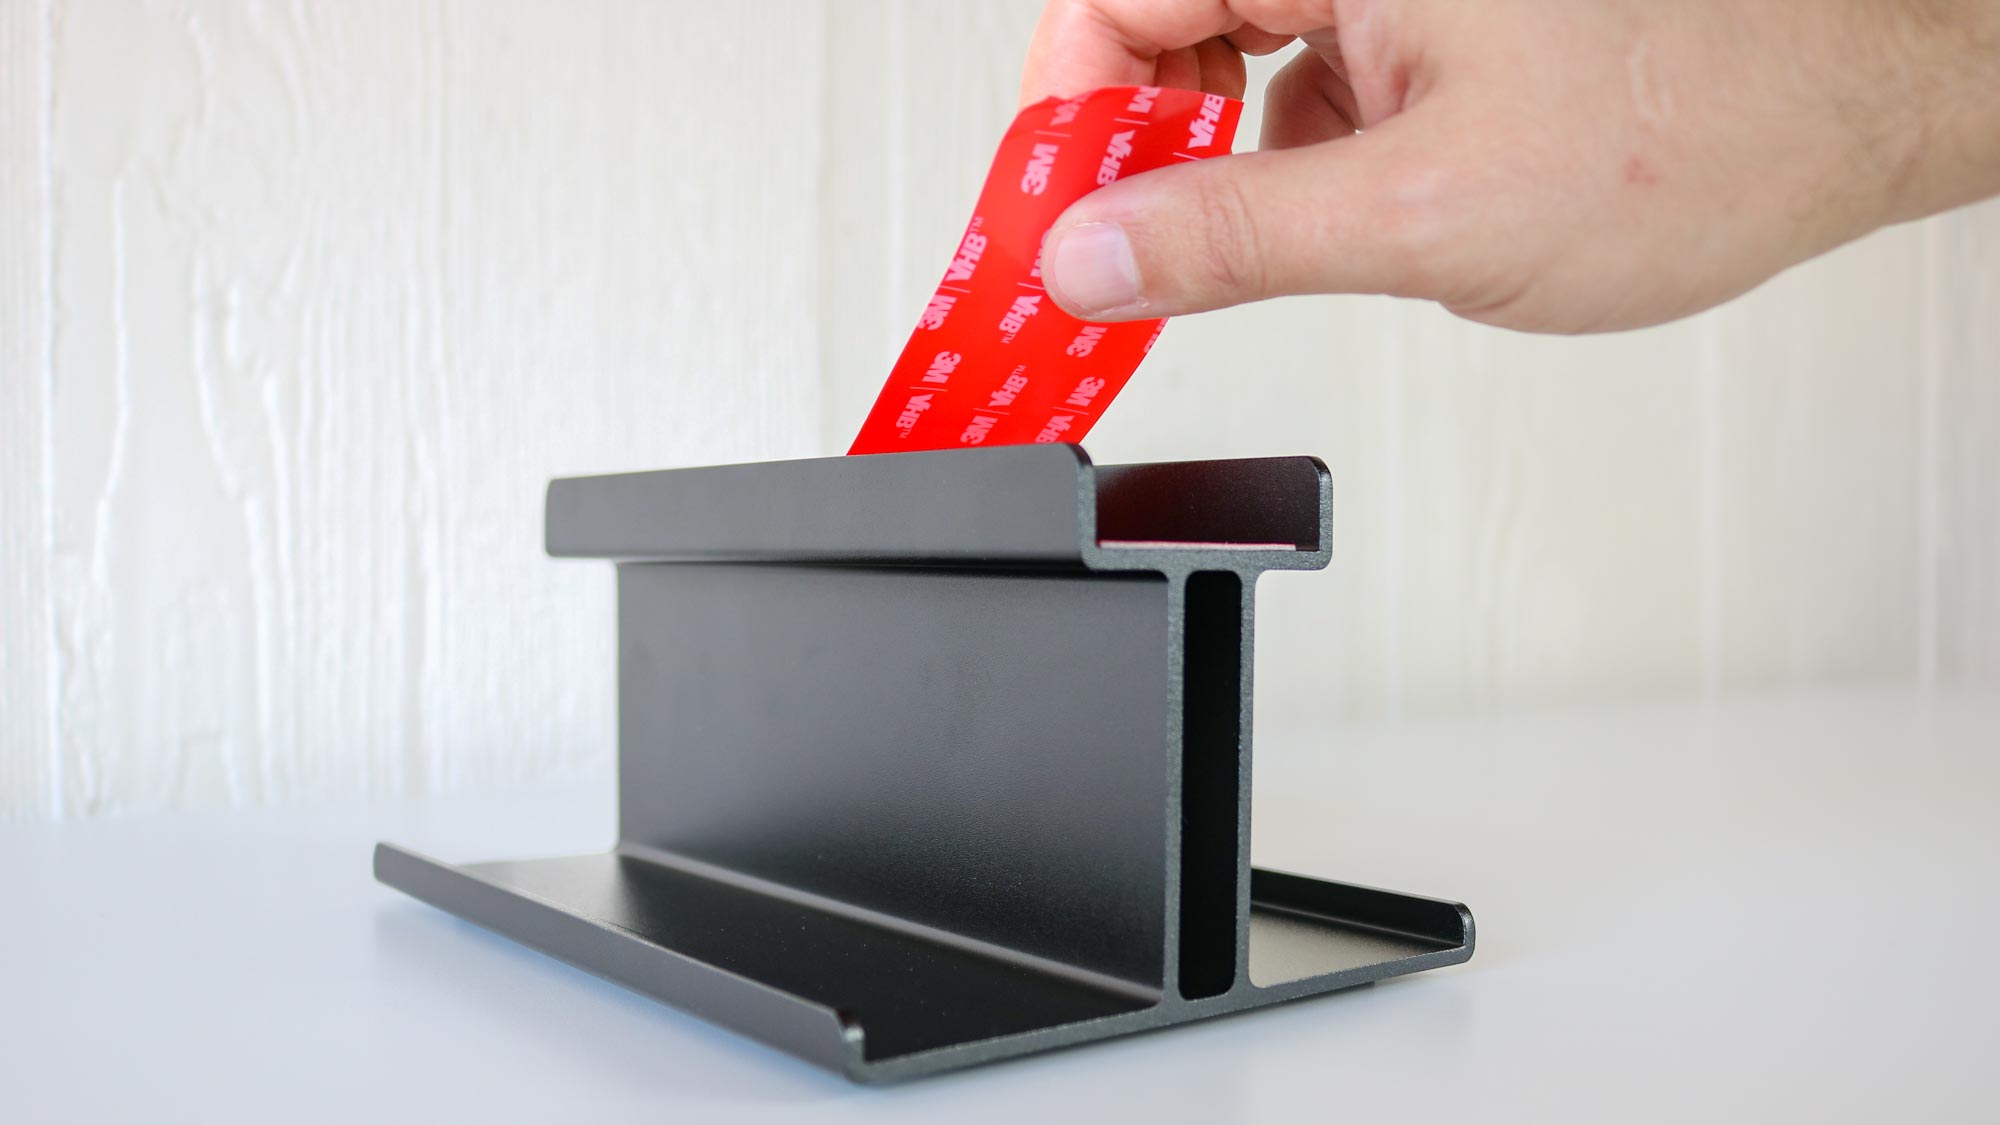
Putting together the Uplift Headphone Stand was incredibly simple. The base has a piece of two-sided tape pre-installed and before you drop your solid wood block onto it, you just need to peel off the one layer of plastic. Honestly, assembly takes less than five minutes but you shouldn’t rush things if you want to ensure that your wood block is aligned perfectly.
There is a little leeway here though and I actually had it slightly off the first time. Since the wood wasn’t entirely stuck to the two-sided tape, I was able to take it off and start over but for the best result, I’d say take your time and do it the right way from the start.
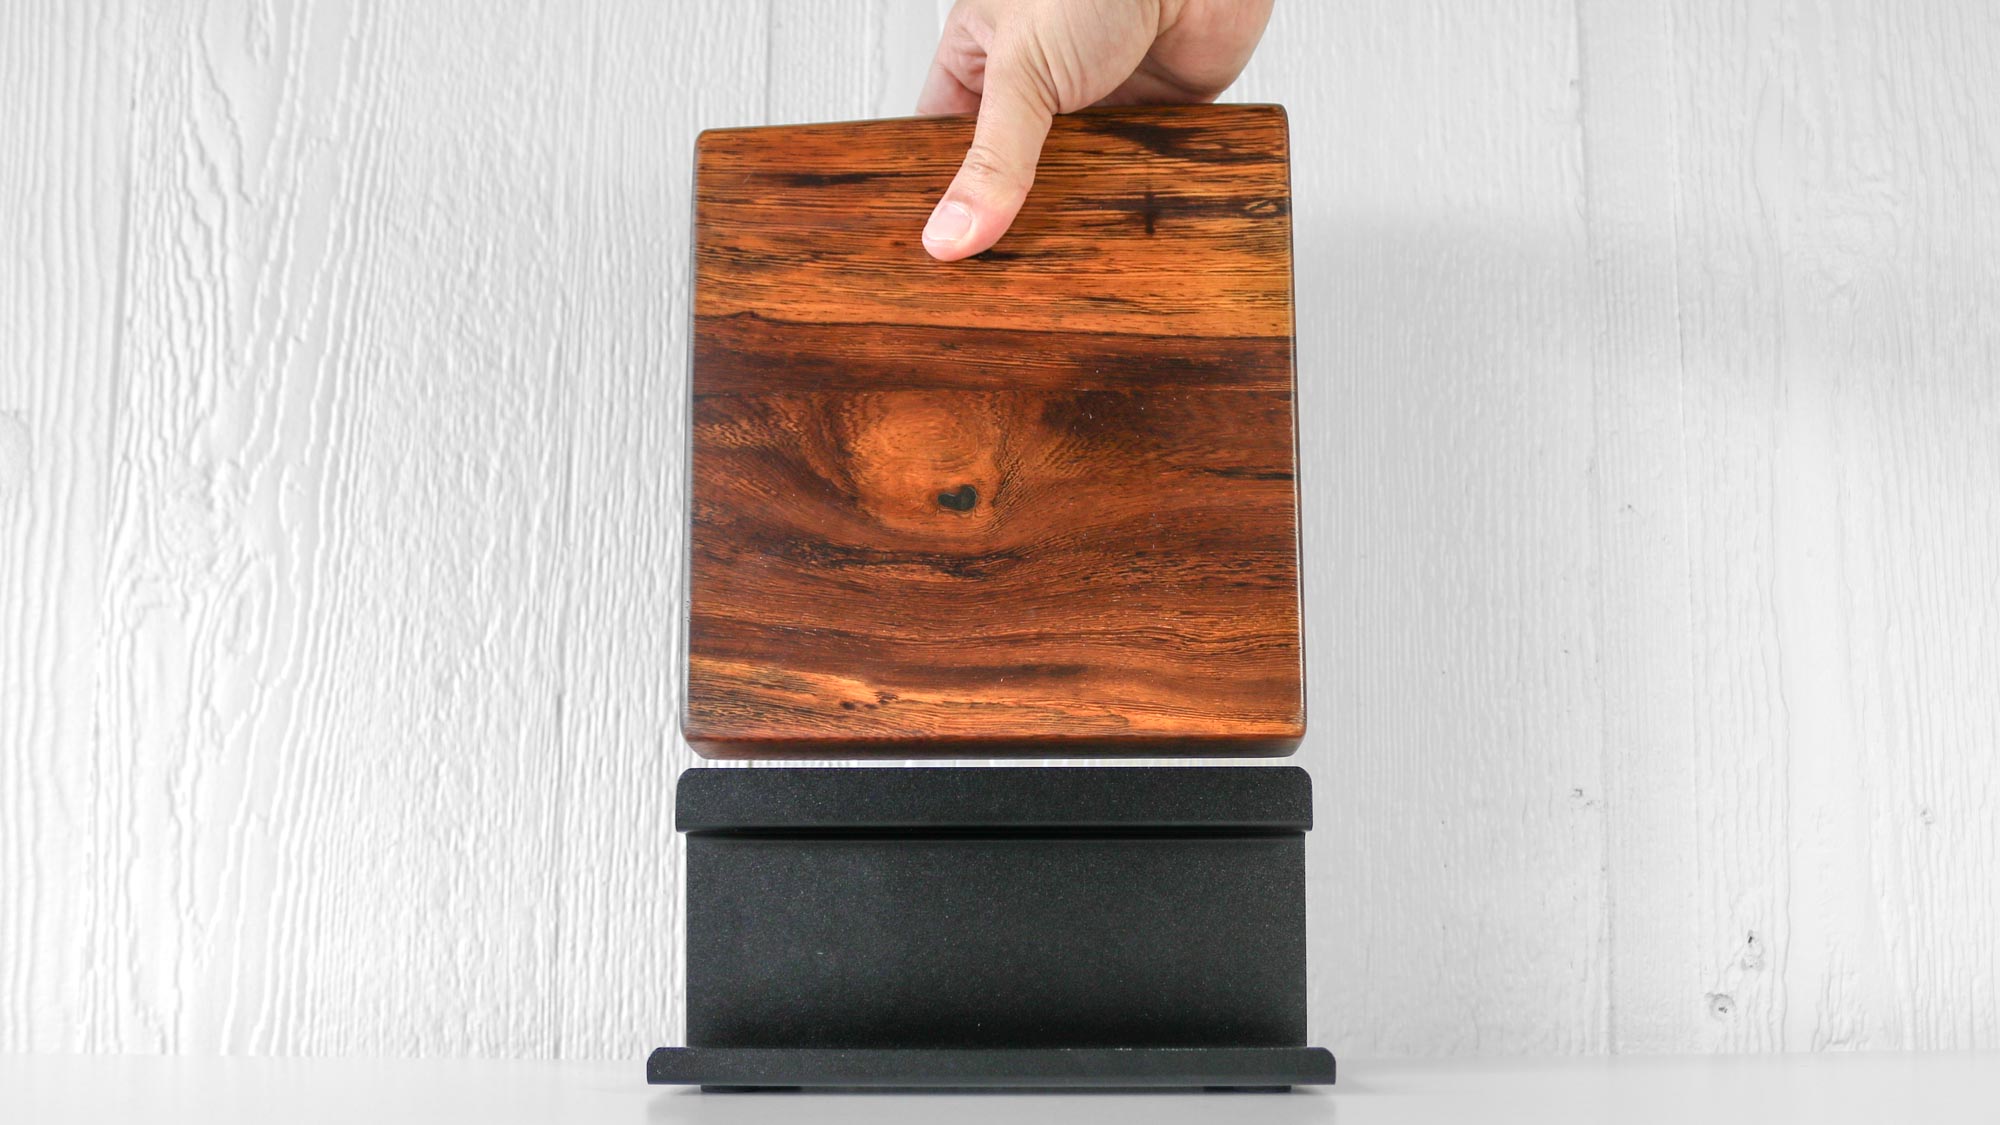
With one end of the two-sided tape off, I just had to line up the wood block and drop it in. I did let it sit for a while before I started hanging headphones on it just to be safe. From there, it was just a matter of adding it to my desk setup.
If you already have a standing desk with an all-wood top from Uplift, you can also get one of the company’s headphone stands after the fact. I don’t have my Uplift V2 anymore as I’m constantly swapping desks for my reviews but I reckon a matching headphone stand and desktop would look fantastic together.
Besides this Uplift Headphone Stand I put together for these photos, I also have an all black one with a painted wood block. I’m currently using it as part of the dedicated gaming setup I built around the Secretlab Magnus Pro. It looks great there as I have a white gaming headset on it positioned on the right side of my desk with the new white Xbox Series X on the left side.
A unique look with built-in storage

Even if you don’t want to upgrade to an all-wood desk from Uplift, this is still one of the best headphone stands I’ve tried yet. Besides the fact that you can hang two pairs of big over-ear headphones on it, I really like its raised sides.
Finding a place for all your little work from home accessories can be hard but due to the raised nature of this headphone stand, you have room for pens, USB flash drives or other small items. You can also have it do double duty as a headphone/phone stand. Alternatively, if you’re wearing your headphones, you could spin it around and use it as a stand for one of the best tablets or even a portable monitor.
If you’re looking for a unique gift for that family member or friend that already has it all, this headphone stand might surprise them. If not, I still think it’s the perfect way to actually go hands-on with a piece of a more expensive all-wood desktop before investing in one.


