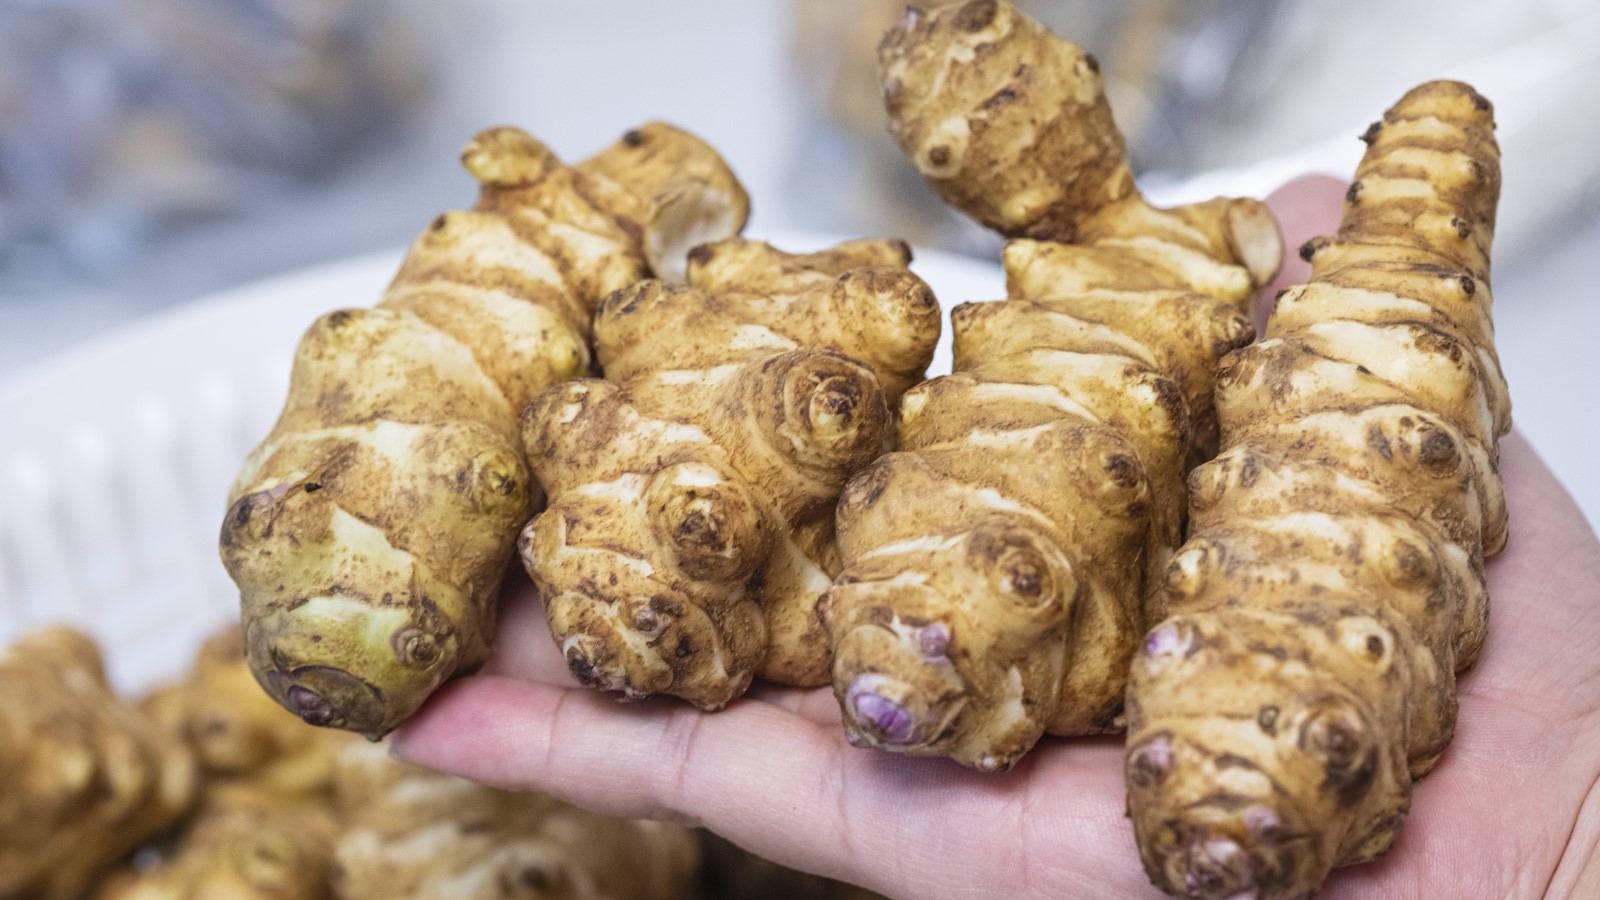
Jerusalem artichokes are a perennial vegetable that originate from North America. The plant is really simple to grow and its tubers have a sweet and nutty taste. Also often called sunchokes, it is a vegetable that is experiencing a rise in popularity again thanks to its versatility and richness in fibre and minerals.
The plant is actually a species of sunflower that grows very tall in the garden, but it is the knobbly tubers that are so popular and have many culinary uses. I have grown and harvested Jerusalem artichokes for chefs at several restaurants, growing them in different kitchen gardens in the UK. It is a crop that was always highly regarded for use during the colder fall and winter months.
Throughout my years growing Jerusalem artichokes I have had to be out harvesting the tubers in all manner of winter weather. I have had to chisel my way through frozen ground and experienced bitter cold in my fingers to lift the crop and get it ready for the kitchen. I take a look at how and when to harvest Jerusalem artichokes to help you get the best harvest from your plants.

When do you harvest Jerusalem artichokes?
There are different types of Jerusalem artichoke that you can grow in a vegetable garden, or even a vegetable container garden. Varieties differ by the tuber shape and size, along with the flavor. It should be noted that Jerusalem artichokes are very different to globe artichokes, they grow very differently and are harvested at another time of year.
Whatever type of Jerusalem artichoke you are growing, the harvesting time remains the same. The time for harvesting Jerusalem artichoke is from late fall into winter, with the season usually running from October to December.
Plants take up to 150 days to reach maturity from planting the tubers and there are some signs to look for to show that the time has come to harvest the crop. These include the plant’s foliage turning yellow and the stems drying out. Signs of the foliage and stems dying back show that the plant has redirected its energy into the tubers and they are ready to harvest.
It is best to wait until the temperatures drop too, as Jerusalem artichokes actually benefit from a frost or two hitting them. The cold temperatures convert the starches in the tubers into sugars, improving their taste. Frosts can also improve the flavor of other vegetables too, most notably when growing parsnips, but also when growing carrots, beetroot, and celeriac too.
Buy Jerusalem artichoke tubers for planting from Amazon

Harvesting Jerusalem artichokes
Jerusalem artichokes are capable of producing a large number of tubers on one plant, and the ultimate crop you get will depend on the variety, spacing of the plants, and also the growing conditions.
When you are harvesting Jerusalem artichokes it is important to be very careful to avoid damaging the shallow-rooting and delicate tubers. It is best to use a digging fork to harvest Jerusalem artichokes, though it is still very easy to accidentally stab the tubers while trying to lift the plant from the ground. Digging forks are commonly available in stores or online, such as this digging fork available on Amazon.
I also took out a wooden board with me to stand on while harvesting, to ensure that I did not compact and damage the wet, or often frozen, winter soil too much as I worked. I did find it easier when I grew Jerusalem artichokes in raised garden beds as I did not have to step on the soil when harvesting.
I found there were 4 key steps to follow when harvesting Jerusalem artichokes that helped me get the tubers without causing too much damage to the plant
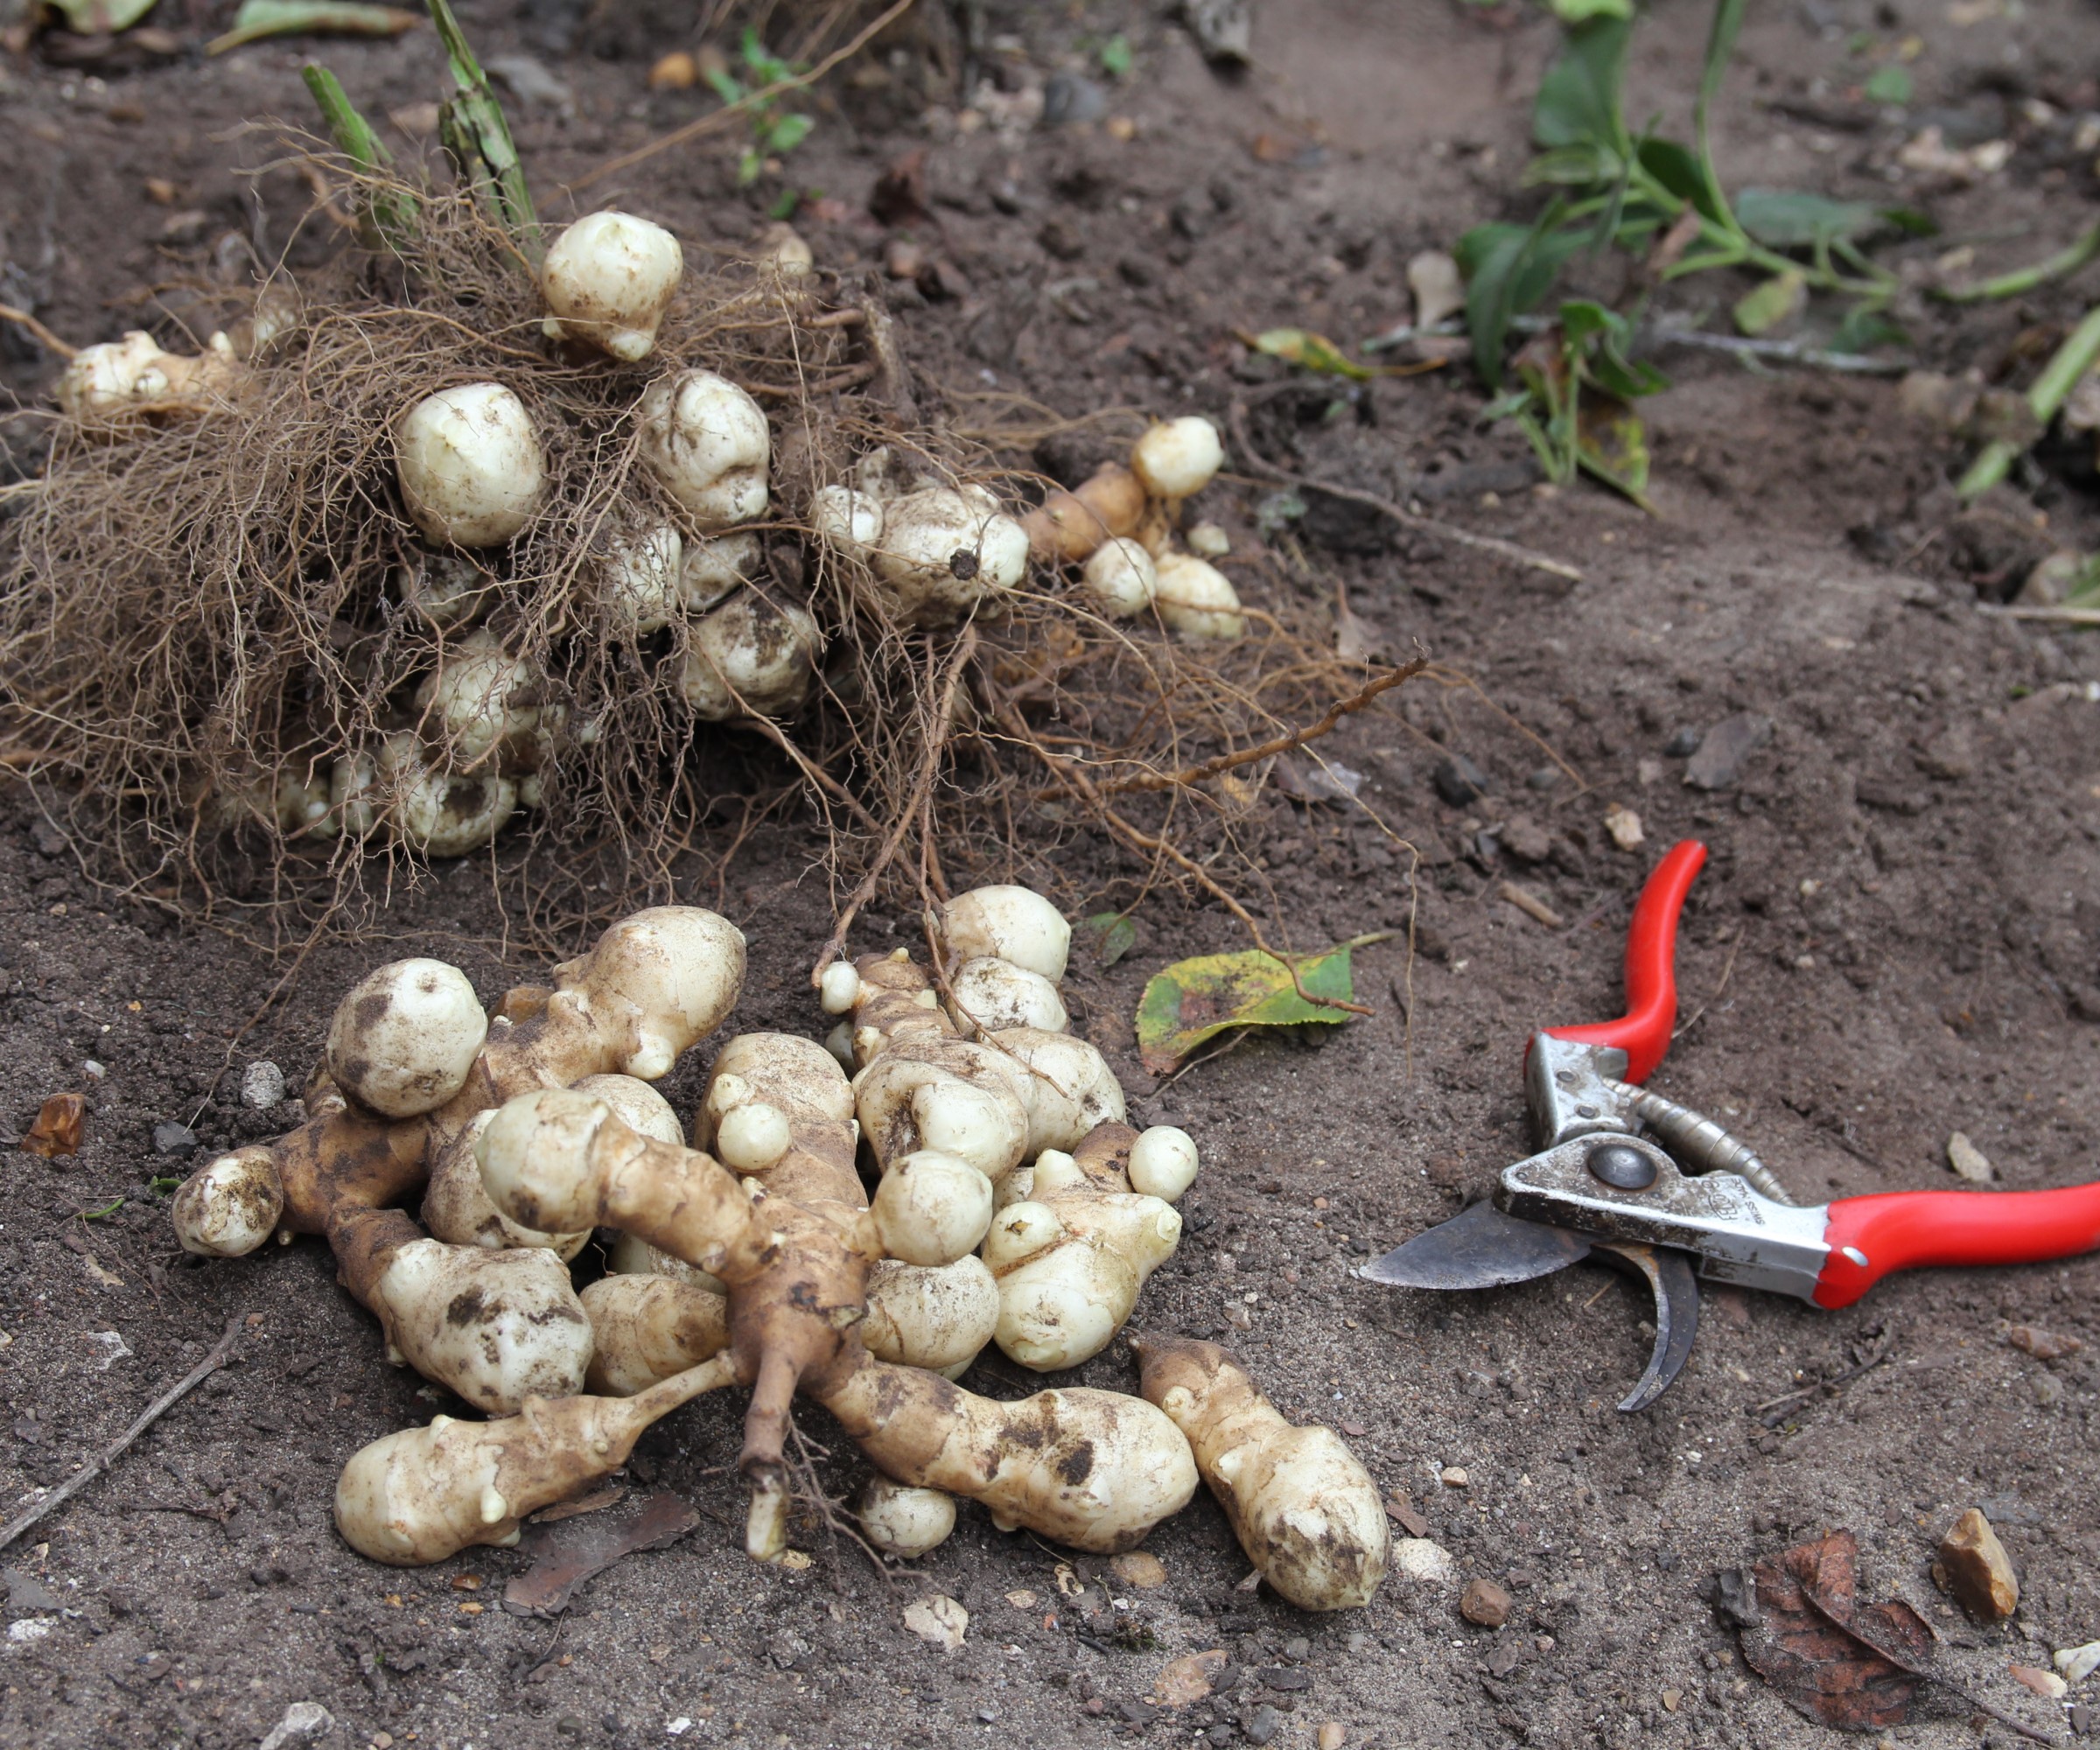
- Start by cutting down the plant’s stalks with a pair of pruning shears or loppers, which can grow up to 10 feet in height. These huge stems can be shortened during the summer to prevent them flopping
- Use a digging fork and insert it into the ground around a foot from the stem, taking care not to stab the tubers. Work your way around the plant with the fork to gently lever it loose of the soil
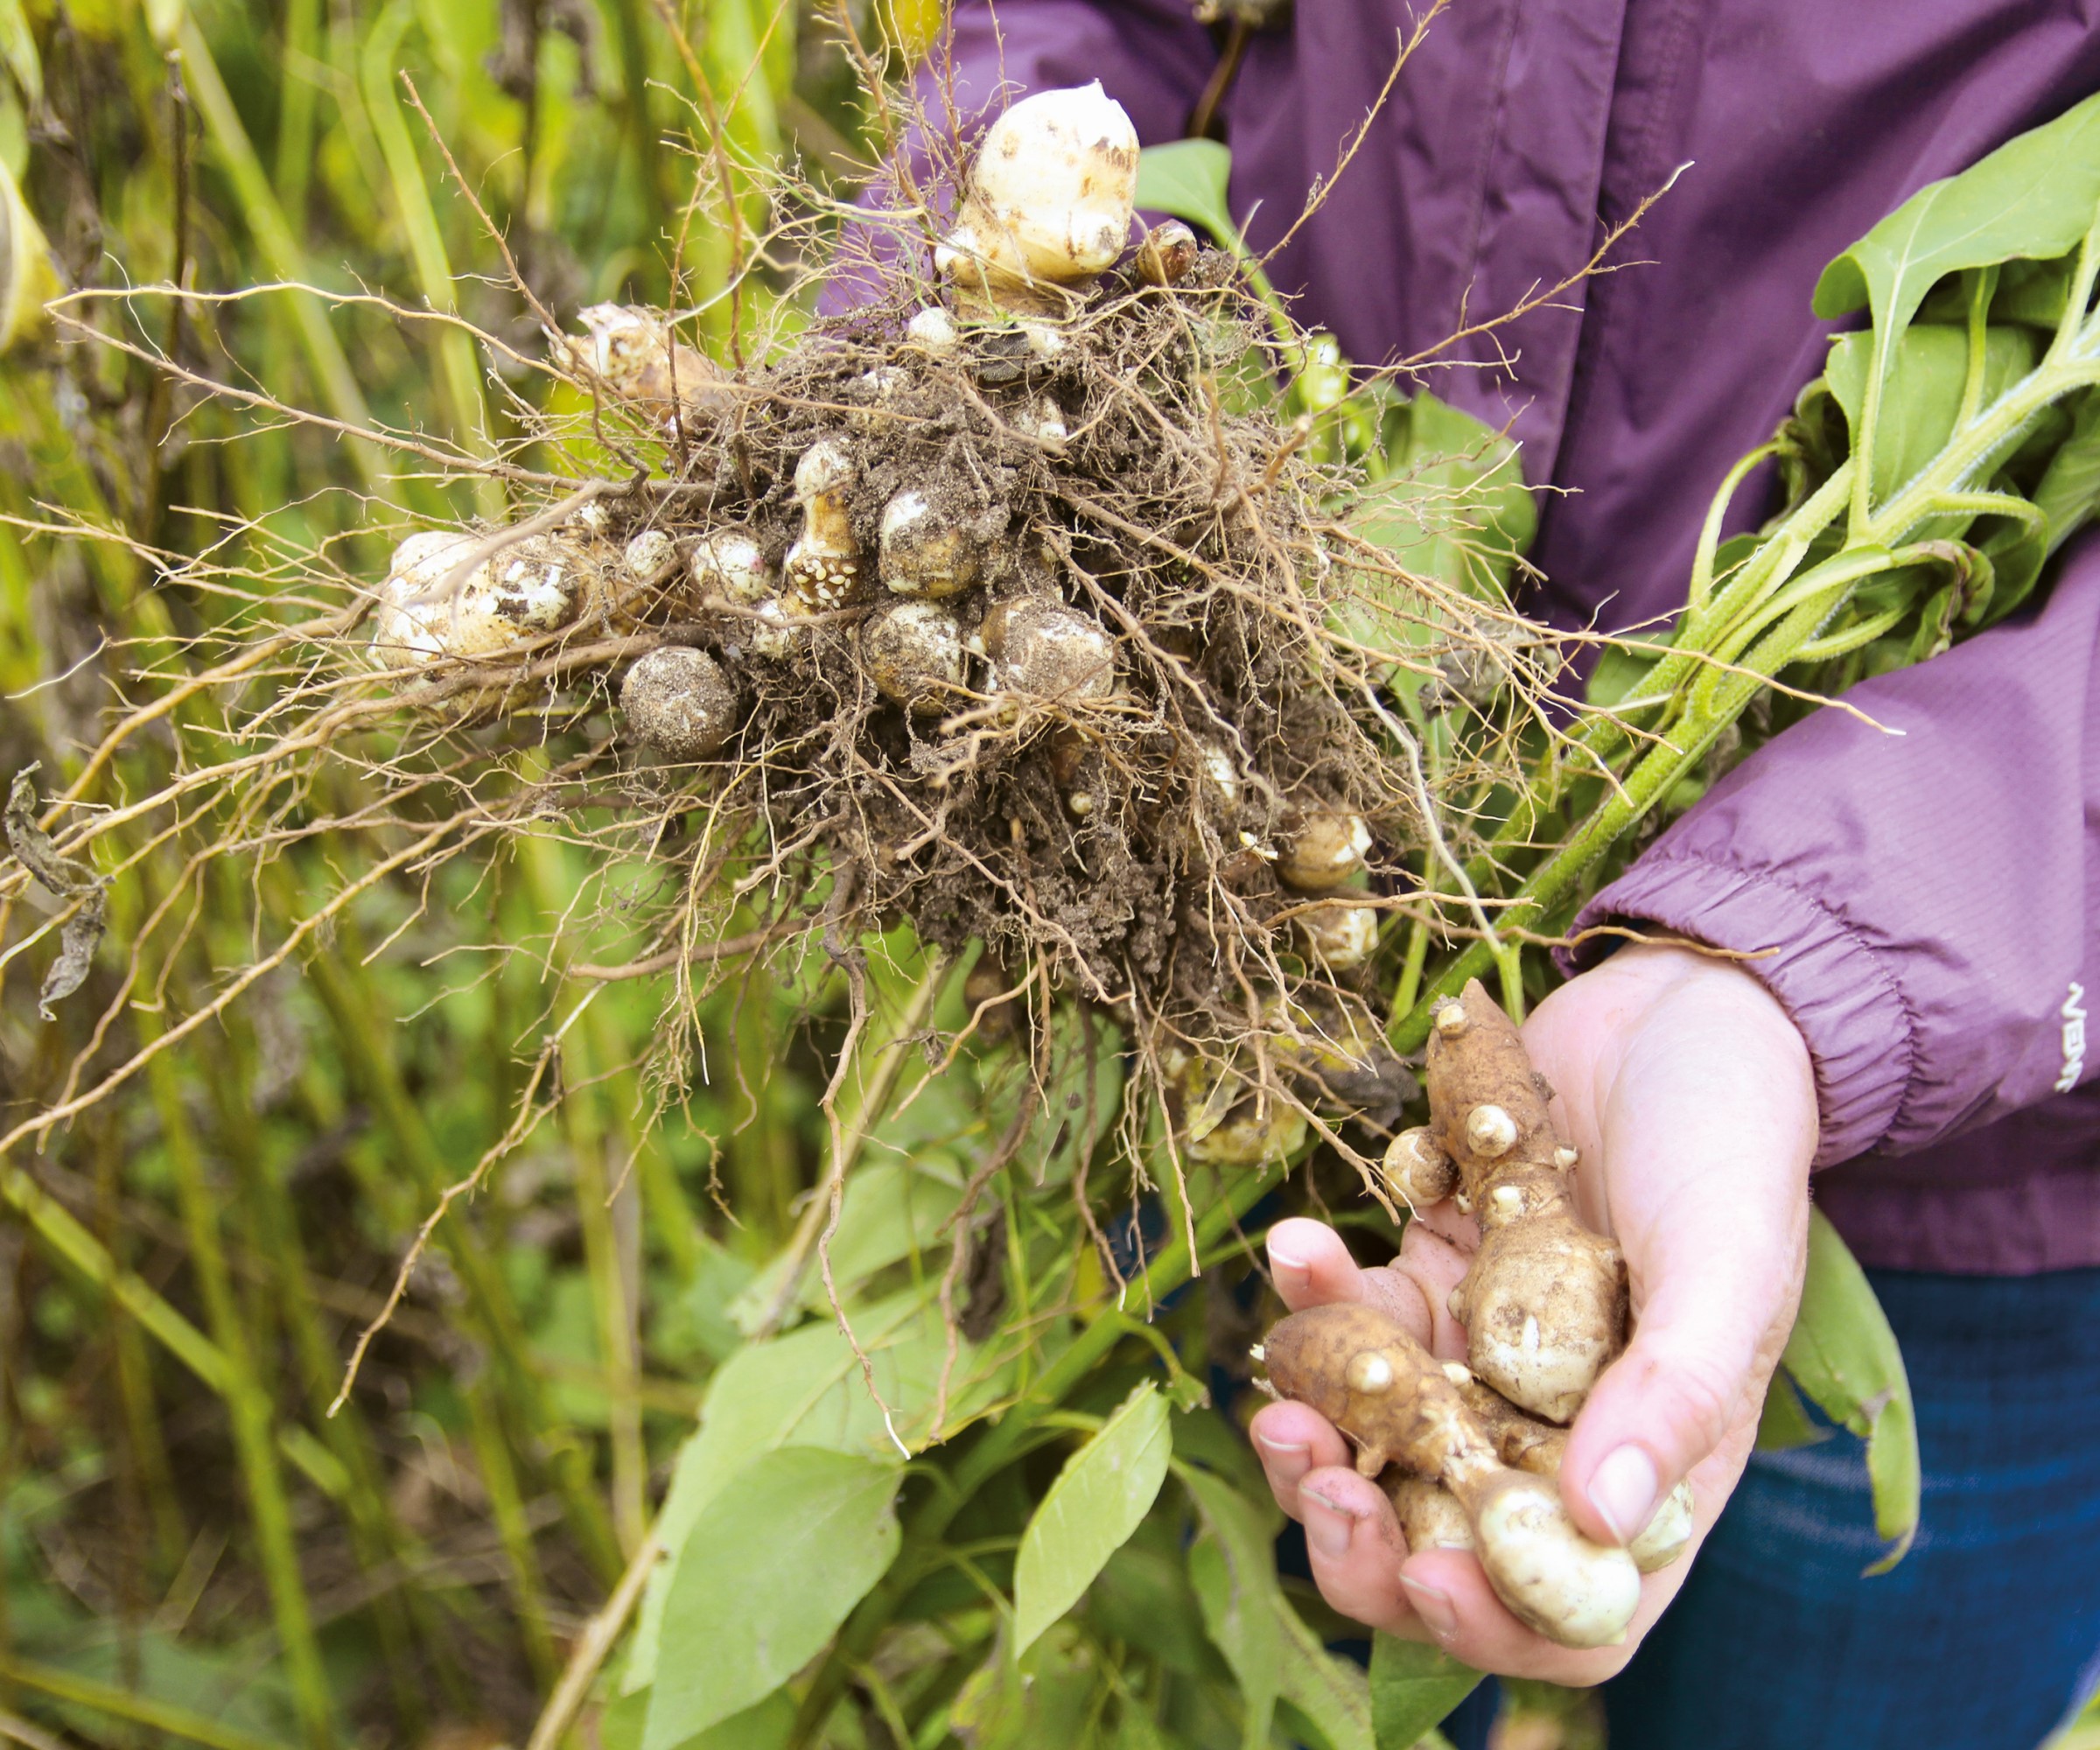
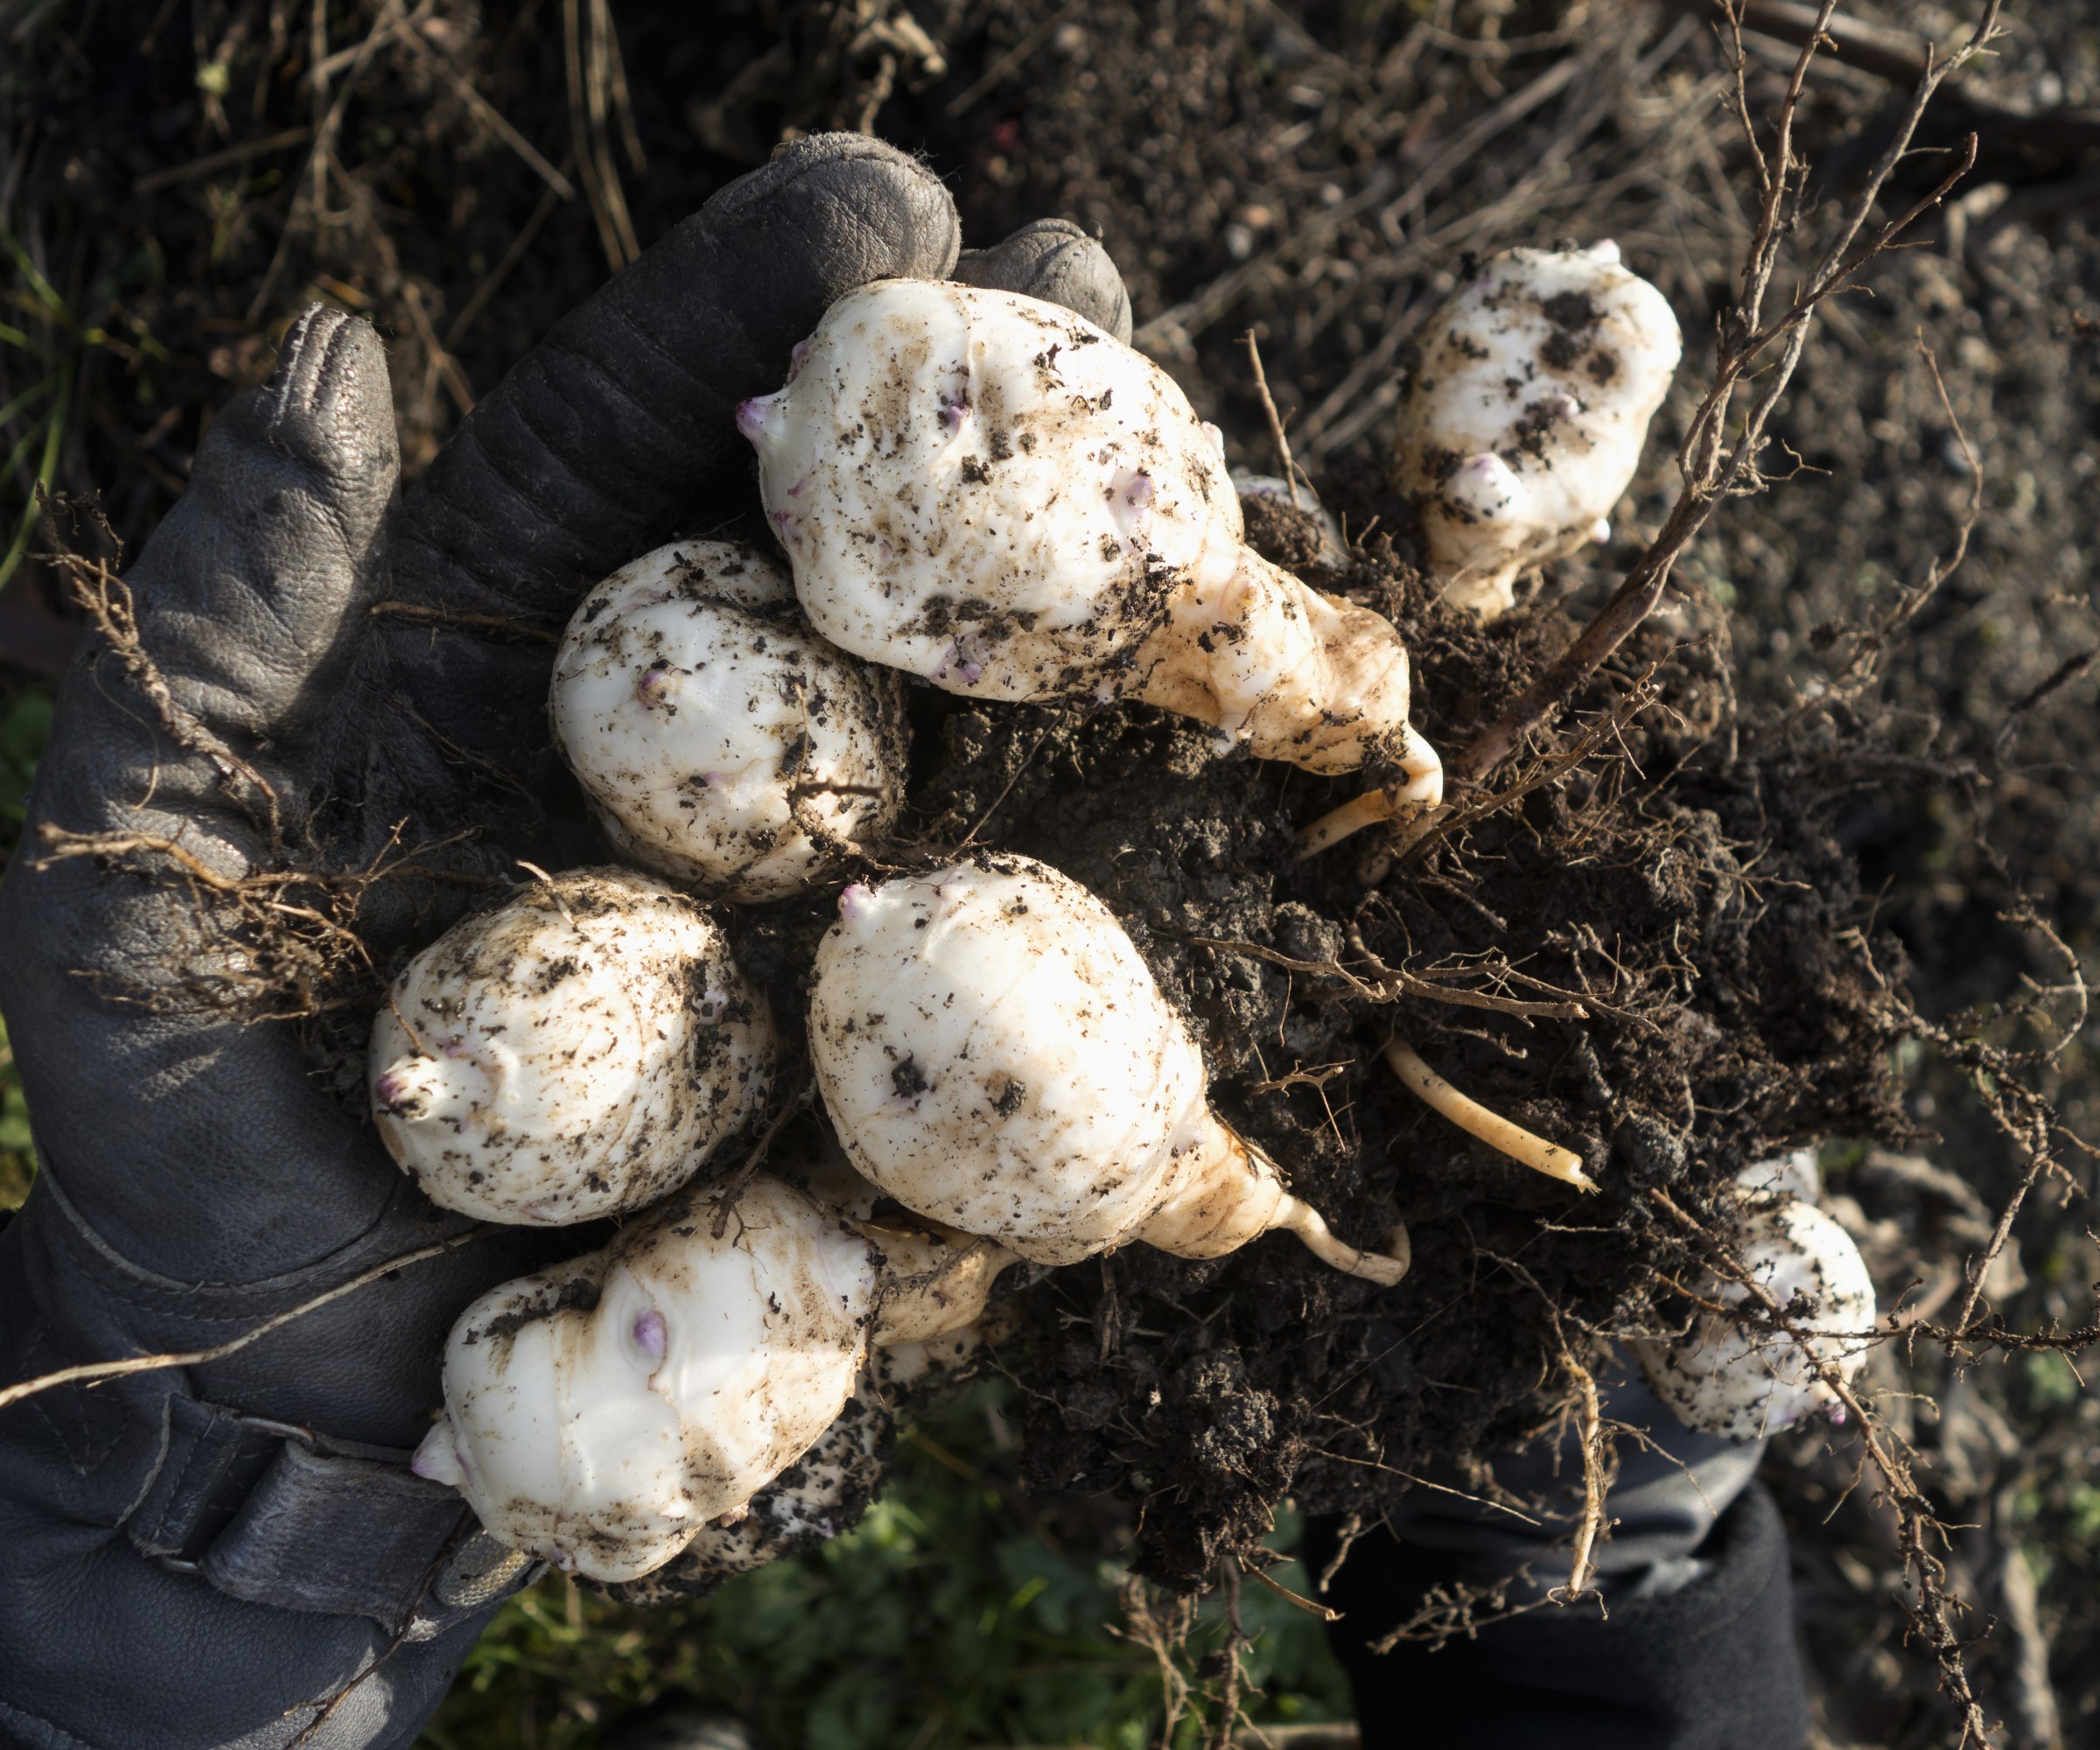
- Lift the plant from the soil carefully and gently remove any Jerusalem artichoke tubers that are attached
- Use the fork, or your hands, to gently turn the soil around where the plant came from. This unearths any tubers still in the ground that may have become disconnected from the roots
The tubers are delicate and you must handle them carefully to prevent any damage. Shake off any excess soil from the tubers at this point and inspect them to see any that are damaged or spoiled. Any tubers not good enough to be eaten need to be thrown away and not used to make compost - as the tubers will likely sprout and start to grow in the pile.

Storing Jerusalem artichokes
Take care when cleaning the harvested tubers as they do have delicate skins that can be easily damaged. Freshly-lifted Jerusalem artichokes do not store for a long time, they can be kept in a refrigerator for one or two weeks. Therefore, it is a crop that is best lifted little and often as required.
Jerusalem artichokes are very hardy plants and can be stored in the ground all winter. A layer of mulching materials, such as leaves or straw, can prevent the soil from freezing and make harvesting the tubers simpler. However, if you live in a very cold climate where you get harsh winters, then it may be better to lift the tubers and store them.
In this scenario, lifted tubers should be stored in a cool and dark place with a temperature of around 32-40°F. Put the tubers in a container filled with damp sand, sawdust, or newspaper, and keep the container somewhere like a cool cellar or basement. Jerusalem artichokes can be stored like this for several months.
When you are planning a kitchen garden for the year, you want to have the longest harvesting season possible. While the list of crops to pick in winter reduces, there are still important and delicious vegetables that can be harvested. By growing crops like leeks, parsnips, and Jerusalem artichokes you can still be getting harvests throughout the colder months without relying on needing greenhouse ideas or a polytunnel.


