Like so many content creators today, I do far more than I am. And by that, I mean that I do not go around telling people I am a “video editor”. And yet, I have been doing professional video editing since shortly after Quicktime played its first frames. I just don’t do it all the time, so it’s neither my specialty, nor how I self-identify. And yet...I’ve spent time on Avids, a tiny bit on Final Cut, and mostly on Adobe’s Premiere, and later the much better Premiere Pro (most of these can be found on the best video editing software guide).
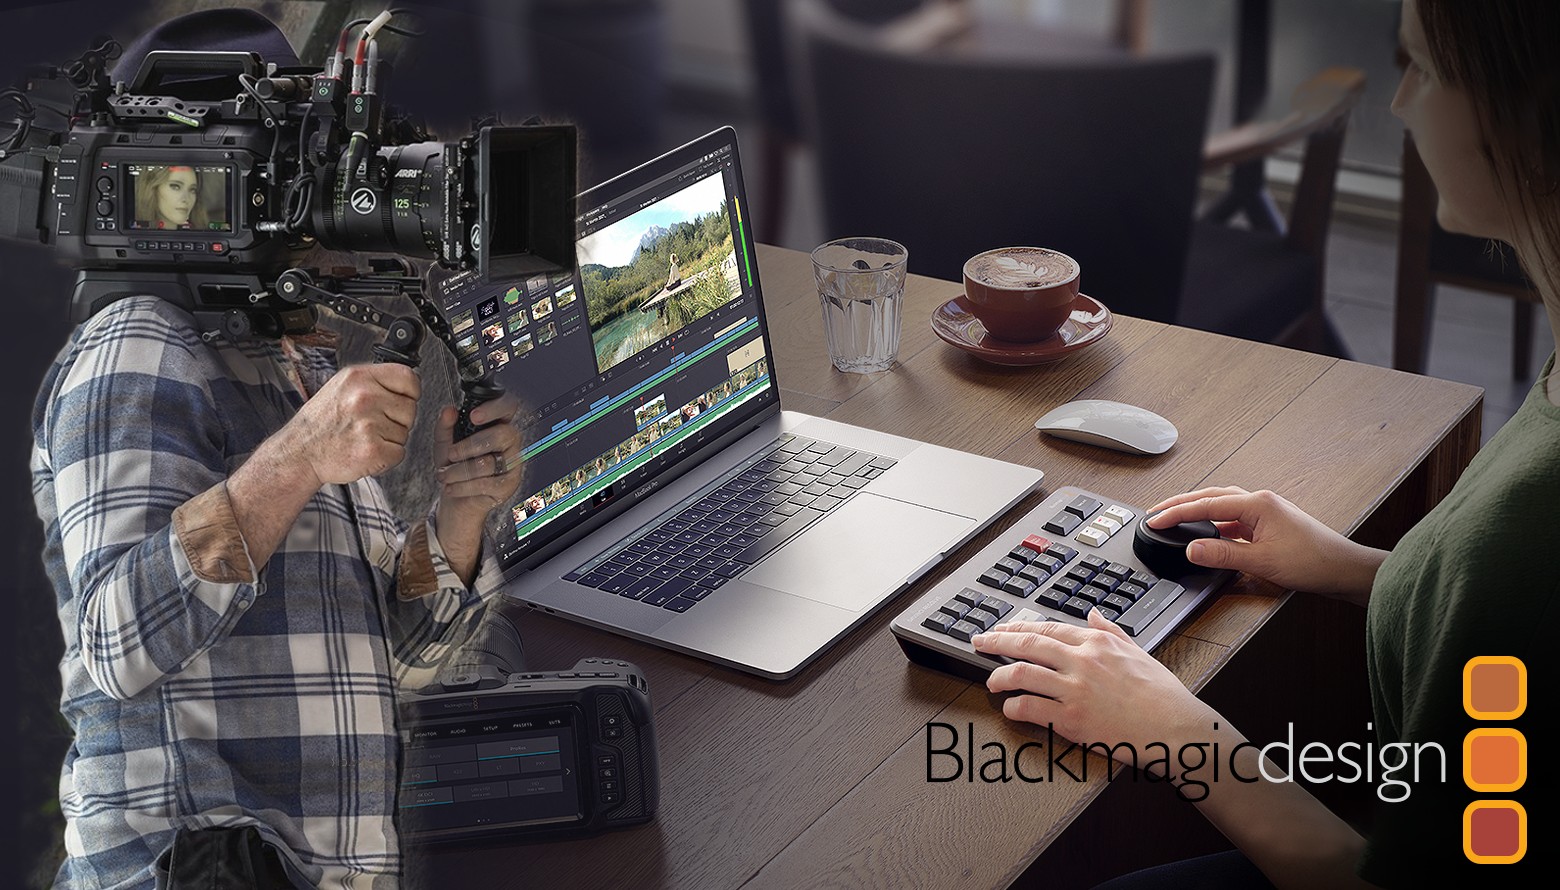
So ok, I’m not cutting Spielberg’s next film, but I’m not a complete noob either. And yet…and I don’t know why, there was one system that I thought was intimidating. Blackmagic Design’s DaVinci Resolve system. It’s hard to put into words why. Likely it was the mystique of it being very high-end. And it being the “industry standard color correction tool in Hollywood”.
Seven applications all in one program? Could my rig handle that?
Plus, as the suite evolved, they kept adding more and more modules. Finally stabilizing on seven separate sections. Each of these sections being what other companies, such as Adobe, normally packaged as totally separate application.
I’ve always had fairly beefy computers (like best video editing laptops), but seven applications all in one program? I remember wondering if my rig could even run something like that. I had assumed it must be pretty demanding. So you can start to see why I felt a tad intimidated by this software, like I did with Maya early on. And I’m sure I wasn’t the only one.
In this article I'll take you through my journey from Adobe to Da Vinci Resolve.
My Adobe days
In the 2000s the high-end of film and ad work was largely dominated by Avid. Getting time on an Avid was very expensive, hundreds per hour if memory serves. And then even more if you needed an editor. The only reason I happen to get time on it was because I knew the fellow who opened the very first Avid room in NYC, in partnership with the huge Post Perfect production house in midtown. I did his early advertising work, and he cut me some time in one of his two or three Avid rooms.
I no longer recall all of the issues, but let me say, working with an Avid back then was not easy. Getting static images from Photoshop into the Avid was a royal pain. So when Adobe released their re-written “PRO” version of Premiere, a version that we were told would actually work compared to the original incarnation, well, we were all happy to give it a whirl.
For Adobe, "The Social Network" was their intro to Hollywood.
Plus, Premiere Pro could integrate with the other gem in Adobe’s offerings: After Effects. And with their “Adobe Dynamic Link” functionality that came out some time later, we could shuttle clips back and forth from editor, to compositor, and back again. And hey, on good days, it actually worked. And on great days, it didn’t crash our systems!
And by 2010 the push was on. Adobe’s editing tools were used for big screen movies. The first, and the one that Adobe marketed the heck out of, was “The Social Network”. After which it seemed the Non-Linear Editing (NLE) race was in full swing
Across the 2010s digital companies like Adobe and Apple were buying up tools to cater to both Hollywood, and the growing film making world beyond it. Like the indie filmmakers. Apple scooped up the high-end compositor Shake, which it would later kill off. And Adobe scooped up Speedgrade, a high-end color corrections tool, that it too would later kill off after making its way into just one version of Adobe’s Creative Suite.
Adobe also purchased a suite of very cool tools from a company called “Serious Magic”. Their Ultra was a virtual set system. And their OnLocation allowed recording video direct to your hard drives. Both were included in an early Creative Suite release. And then also soon killed off, never to be seen again.
There isn’t a single creative that hasn’t been shell-shocked by all of the software the major players have killed off over the years. To say it’s been exhausting, wouldn’t even start to cover it. It has also been financially bankrupting for many who have built careers and businesses on software that is soon after buried.
Why we change tools
When tools are a major part of your business, you don’t change them out without good reason. This is true with construction tools, farming tools, and our own digital tools. You have to have a sound basis for taking that risk. Usually, you have to have more than one lone reason.
For me, the initial reason I even began to consider moving off of Adobe editing tools was my long-term goal of moving off Windows and on to Linux. And Adobe simply isn’t an option on that platform. But as I type this, I realize that is a bit disingenuous, right? I mean, if Adobe and its tools are that important to me, I would just stay on Windows, or move back to a Mac, right? So there has to be more to it, and there is.
Most of us are tired of the games big-tech plays on us.
I’m tired of the issues discussed above. I’m tired of the Mac OS telling us where we can place the trash can (they even sued an extension dev over it!). And of Windows putting ads on my desktop. And like many others, I am tired of all of Adobe’s games. From killing software we have all invested years into, to subscriptions. And their ever increasing prices during an era when the actual value of their tools is going down, not up.

I’ve been waiting for many years for open source creative tools to be ready for the high-end work I built my career on. Tools like GIMP, Krita (see our GIMP vs Krita and GIMP vs Photoshop articles), Inkscape, and the wonderful Linux platform itself. I was assuming that I’d find one of the many NLEs available on Linux, and get up to speed with the compositor Natron, which had been under steady development (alas, no longer the case).
But then more and more colleagues and friends were talking about DaVinci Resolve (DVR). And some years back I had a gig working with a fellow who showed me what it could do. Both its tracking tools and color correction blew me away. And then I learned, they have a version on Linux!
What I noticed about DaVinci Resolve
I do not jump fast. My move to a new platform started by putting Ubuntu Studio on my laptop almost two years ago. Then building a new Linux workstation this past year. Along that time I was also learning more about DaVinci, yes. But also about the company that makes it, Blackmagic.
I learned that the difference between their free version of DVR and their paid one was, amazingly small. They were not, excuse the expression, yanking anyone’s chain as is so often the case. The free version was totally and fully usable.
Blackmagic doesn't seem to jerk its customers chains. And this makes a huge difference!
And that should someone really need the few extra functions of the paid “Studio” version, purchasing that was only $300. A ONE-TIME cost. Those extra functions were so few, that I have been playing with it on smaller projects for about a year, and only just decided to install the Studio version because I needed to import using its 265 codec, only available in the studio version. Otherwise, I would have stayed on the free offering.
Just $300 for an application like this? There must be a catch, I assumed. But talking to friends, I was assured, there was no catch. And in fact one told me he jumped on almost a decade ago and they have never once even asked for any upgrade fee for any of the major releases across all those years.
This was a real head-scratcher.
Jumping In
As mentioned, I had only done very small, short form work in DVR until now. A project that I just recently did in it involved more. Still under 10 minutes, but it involved far more color correction, audio sweetening, and video/text treatments. Nothing I had done in DVR yet.
In the Adobe suite all of this would have meant jumping from Premiere, to some After Effects work, and over to Audition for the audio work. All of that jumping around from one application to another, and back again sounds really daunting. And I can tell you that after years of that being my normal workflow for video work, I still held my breath before each leap. Knowing that there was always the possibility it may not work, it may crash one or more apps (save first!), or the data may corrupt along the way.
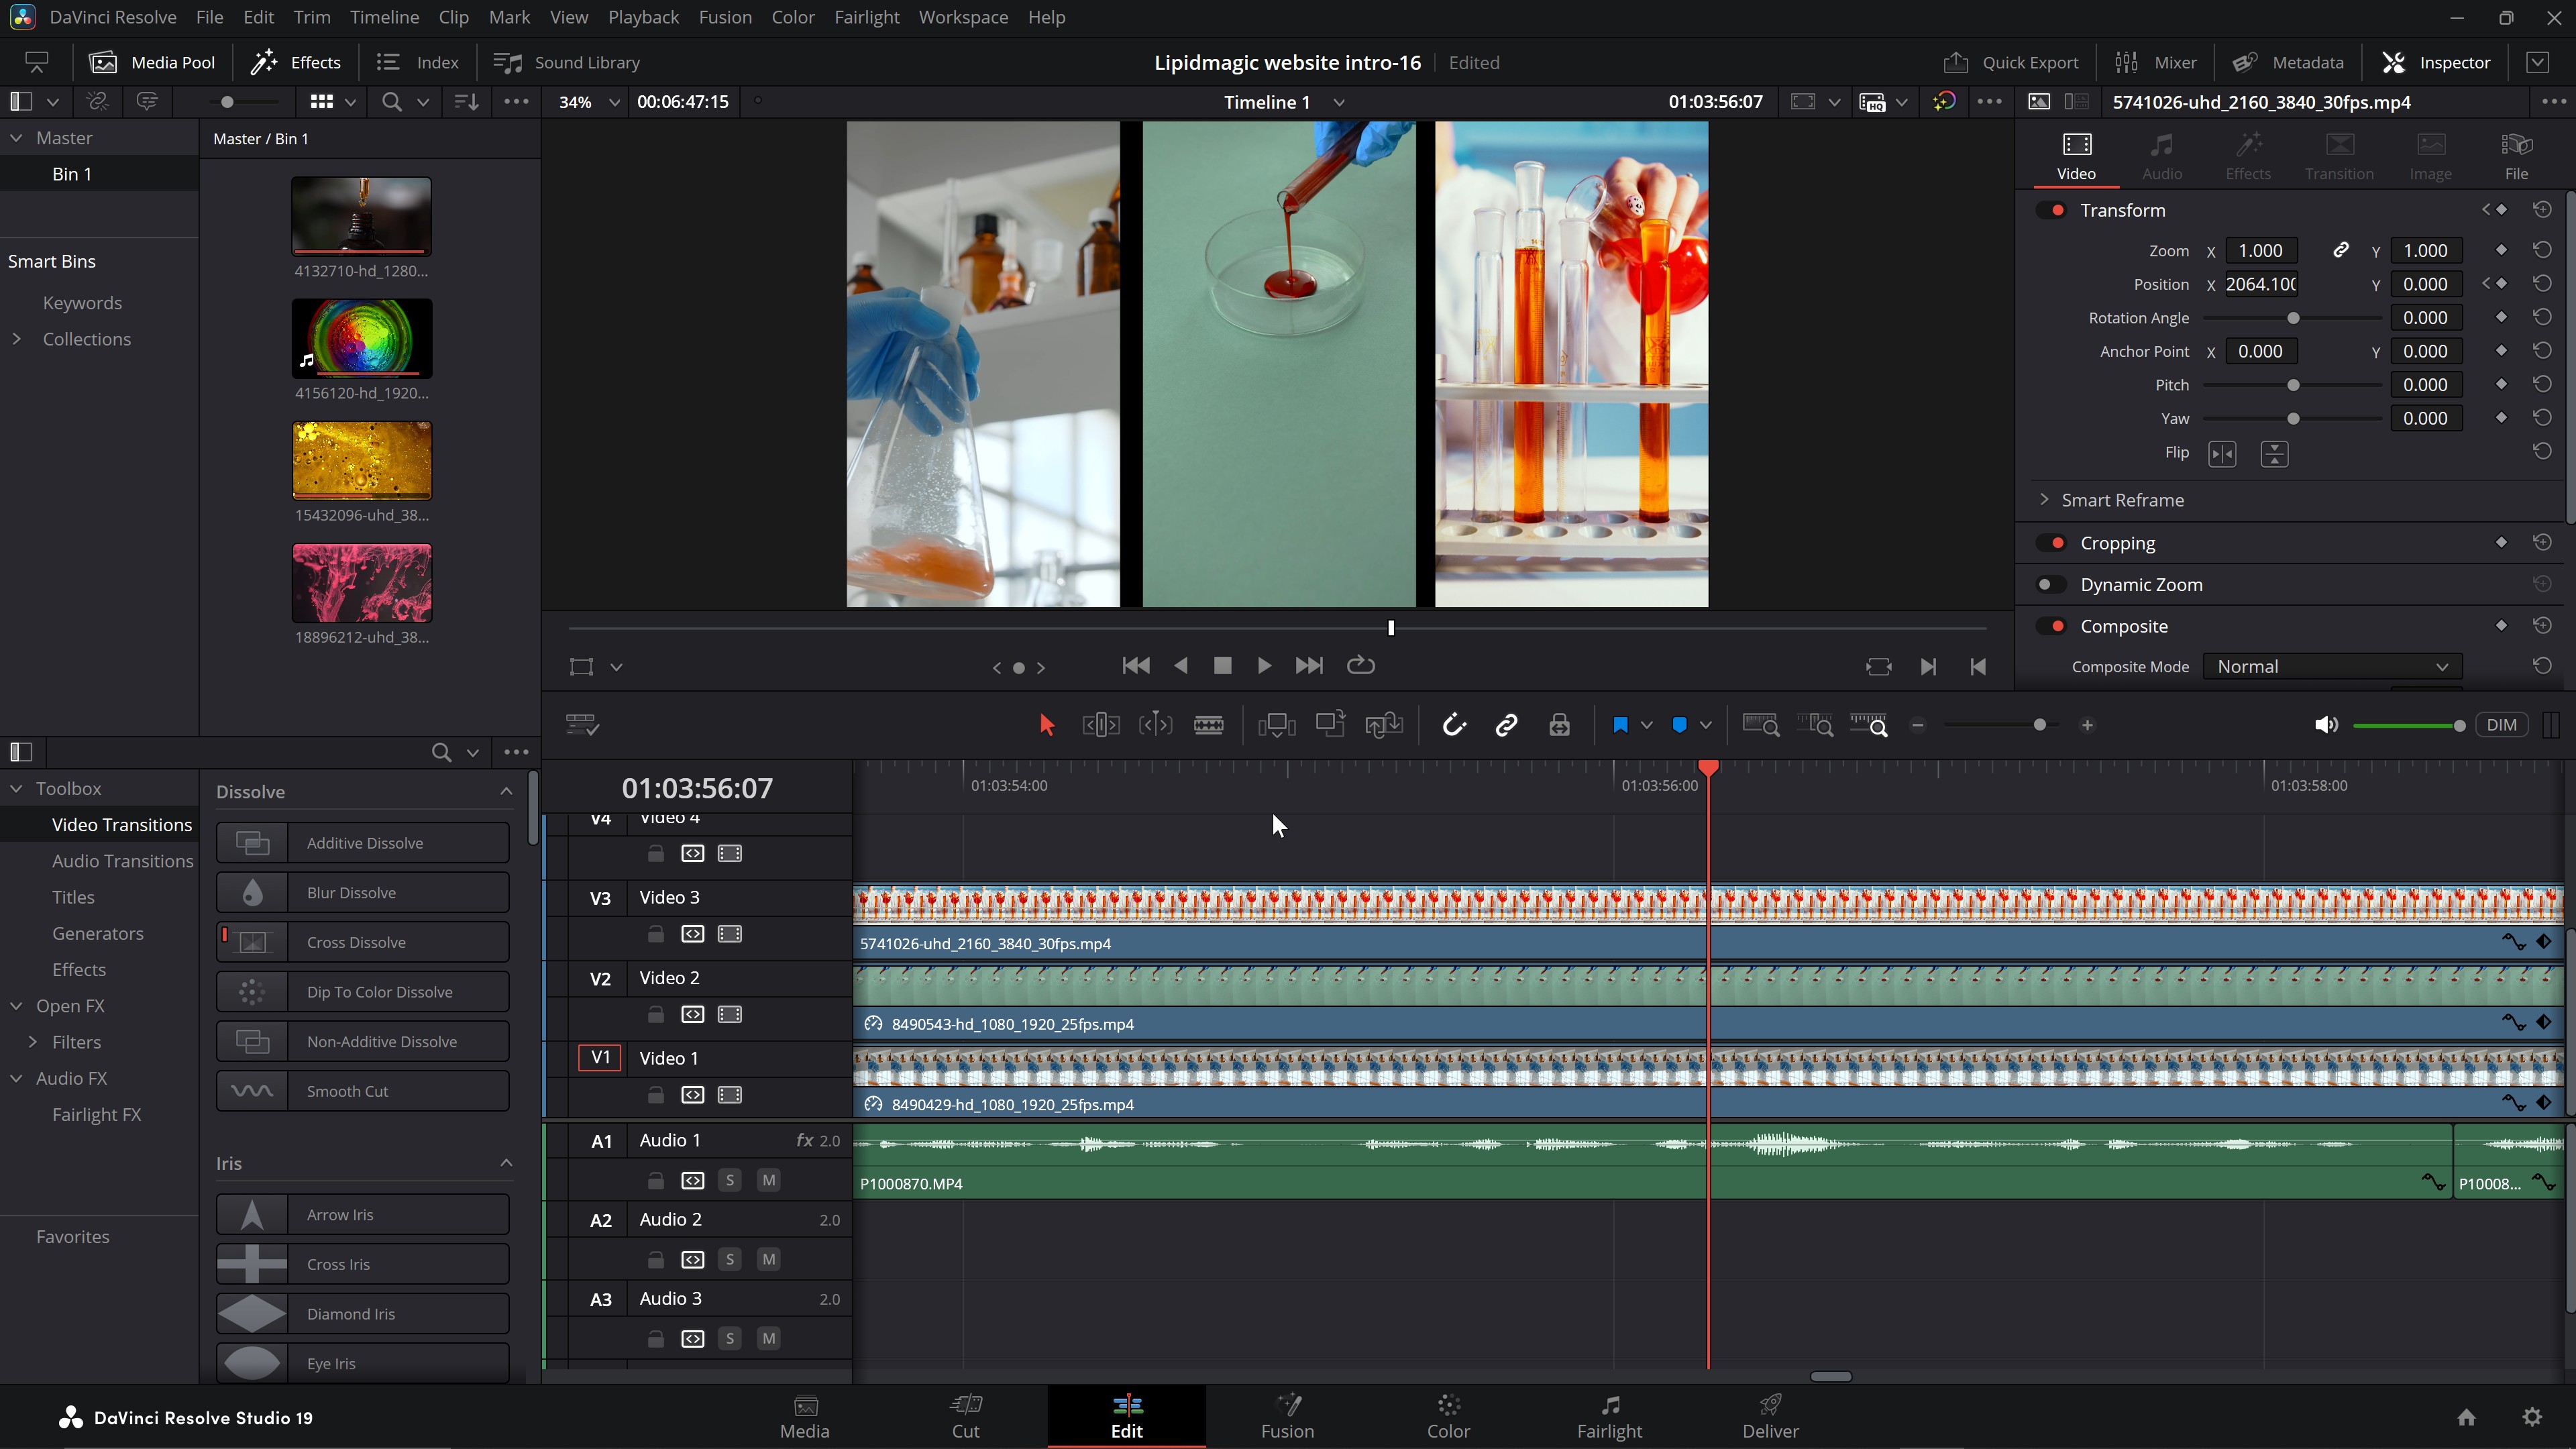
DaVinci Resolve has all of those capabilities, editing, compositing, audio and more. And all within the same application. Each specialty is represented across its seven “tabs”. They include:
Media:
A bit like Adobe’s Bridge, where you can select, manage and import your media.
Cut:
This is a quick cuts timeline designed for on location and dailies. Much like another app Adobe killed off some years ago, Prelude.
Edit:
The main editor, which is very similar to Premiere, and was easy to jump on to.
Fusion:
A video compositor, akin to After Effects. But node based like the high-end Nuke.
Color:
The industry’s top color correction and sweetening software, with endless controls. Much like SpeedGrade, the package Adobe killed.
Fairlight:
A very capable audio editing application.
Deliver:
Much like Adobe’s Media Encoder app, which controls the final rendering for delivery.
Working on my recent project in DVR, as I kept adding more 6k clips to the project, and started moving back and forth between Edit and Color and Fairlight, I kept waiting for a hiccup. But not one ever came.
I should mention that my aging Windows box is a whopping decade old! Yes, it’s been upgraded with SSDs and large hard drives, and has 32 GB of ram, and is on its third GPU. But it is still a decade old.
Not only was there no hiccup, there wasn’t even a pause. DaVinci took everything in stride. And everything worked as I would have hoped it to work. Change the color or sound in their respective editing tabs, and it all looked and sounded just as it should when I went back to the Edit tab.
Even on my aging workstation, DaVinci just worked. No hiccups. In fact, it was quite elegant.
There were no Adobe Dynamic Link slow-downs. No corrupted media, or out of sync issues. Things just worked. That alone would have been magical enough. But there is more.
Exporting the file, as I wanted it, was a breeze. This used to be the case with Premiere or After Effects, years ago. But anyone who’s used their video tools a while will remember how at some point they stripped most of the output tools out of Premiere and After Effects, and moved it to Media Encoder. So that when ME had its own issues at some point, we were all stuck missing deadlines.
Again, using DVR’s Deliver module just worked. Smoothly, and quickly. And the output looked marvellous. And on the first render!
The software is, simply put, quite elegant. For all of its vast toolset, and capability, to look at it on your screen one might expect a busier and more cluttered interface. But it is surprisingly clean. Which had in turn helped make the learning process so much easier, faster, and pleasant.
If only it were Open Source!
As mentioned, I’ve been wanting to go all open source. I no longer want to play all the silly games big tech continues to foist upon us day after year. But Blackmagic is making me think I may make an exception.
After all, I can’t see that they play those games. They seem to have been playing it straight with their user base for a long time now. Free software that actually works, and isn’t bait and switch. A crazy low ONE-TIME purchase price for the Studio version. And no upgrade costs as they roll out new versions.
I'm going to make just one exception to my "All Open Source" decision.
And of course, they make it for Mac, Windows and yes, even Linux. So I may break my plans of going fully open source and include DaVinci Resolve. Because if my experience has been this good on my aging Windows box, I can’t wait to see it fly on my much faster Linux machine. I’ll keep you all posted.
For more kit see the best Mac for video editing.


