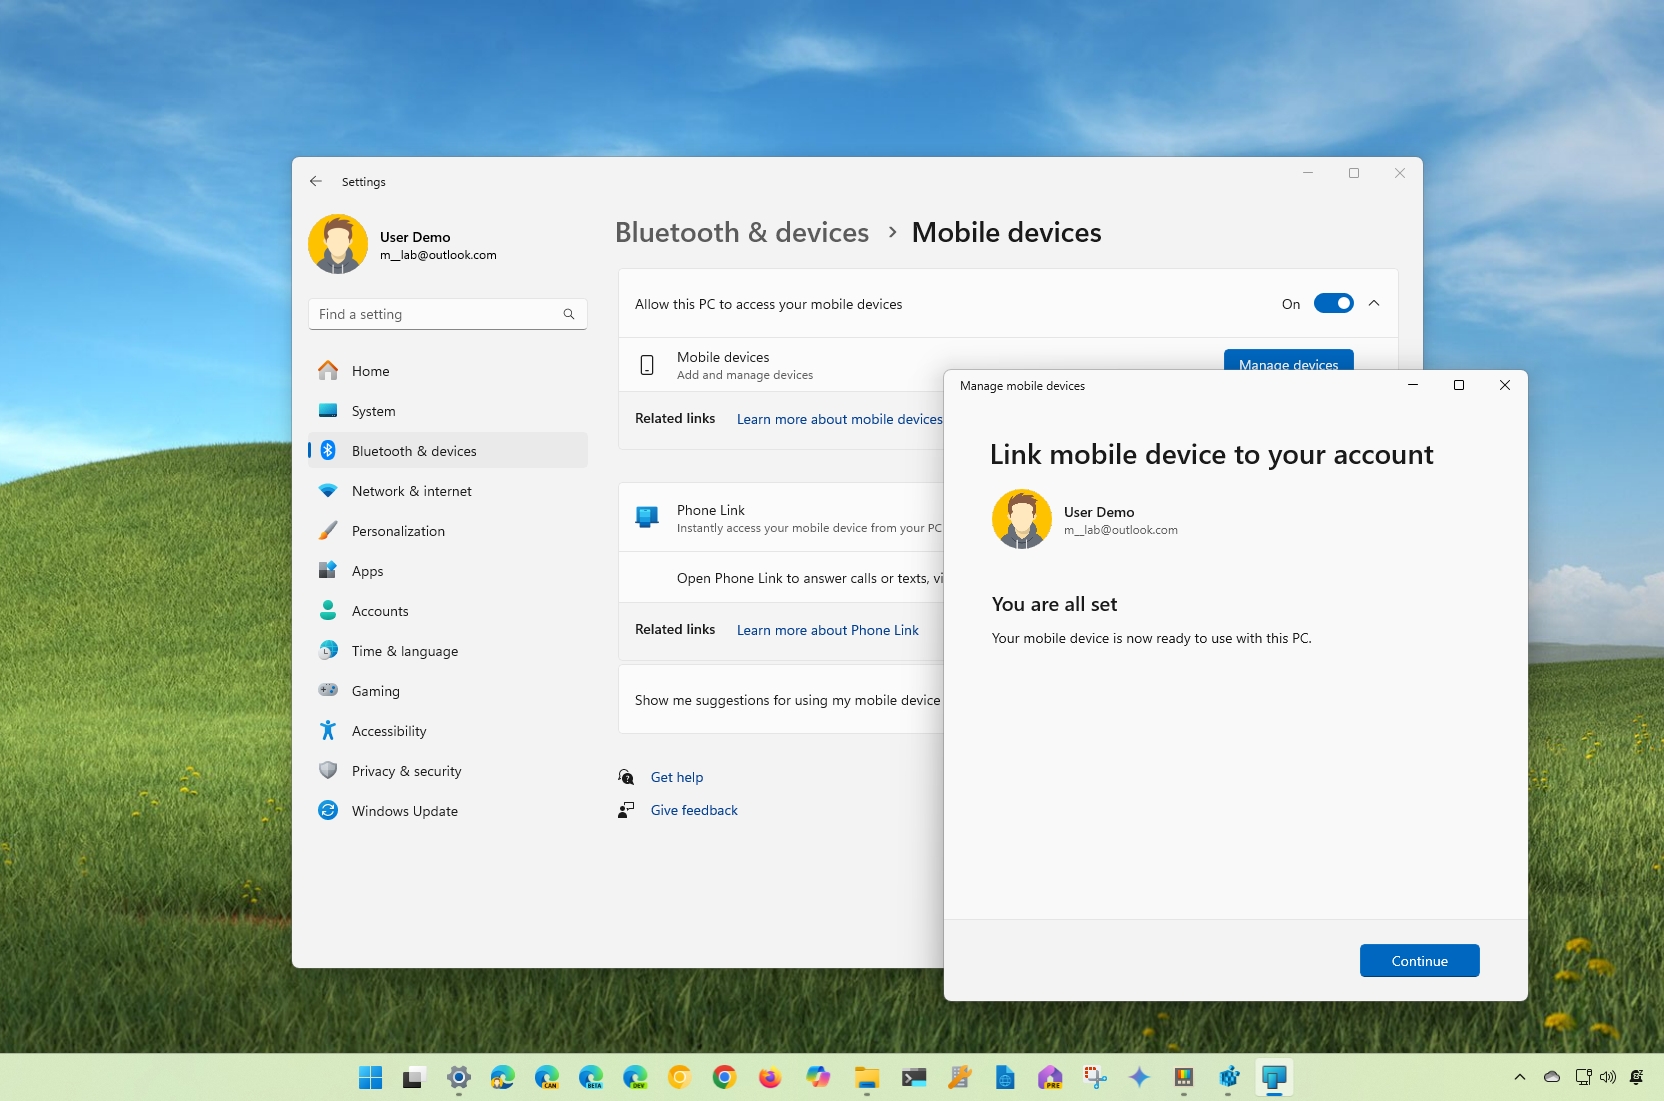
On Windows 11, you can connect your Android (or iPhone) mobile device to manage your messages, calls, notifications, and photos without unlocking your phone, and in this guide, I will explain the steps on how to get the most about this experience.
I have to say that for the longest time, I was hesitant to connect my phone to my computer, but as Microsoft continued adding new features, now it's among the first things I do after an installation. However, as usual, the software giant makes it confusing to set everything up.
I say confusing because you have to connect your phone through two different places, depending on the features you want to use, and while all the features are available for Android devices, only some of them are available for iPhone users.
For example, if you want to manage your messages, calls, notifications, and photos on your phone only, you have to use the "Phone Link" app. On the other hand, if you want to use your phone camera as a webcam or access your phone storage through File Explorer, you have to use the "Mobile Devices" experience.
In this how-to guide, I'll outline the steps to integrate your phone with your Windows 11 computer.
Set up your phone with your computer on Windows 11
On Windows 11, you can connect your phone through the Mobile devices and Phone Link experience.
Connect phone with Mobile devices
To access additional features with your mobile device, use these steps:
- Open Settings.
- Click on Bluetooth & devices.
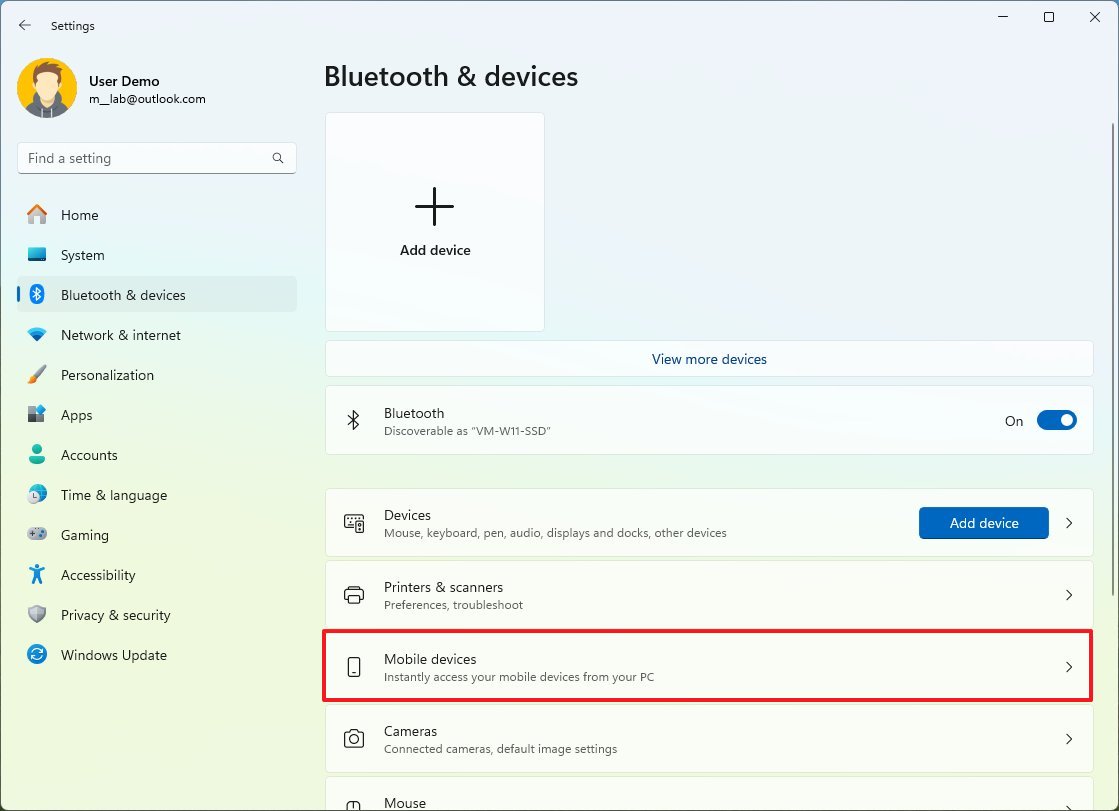
- Click the Mobile devices page on the right side.
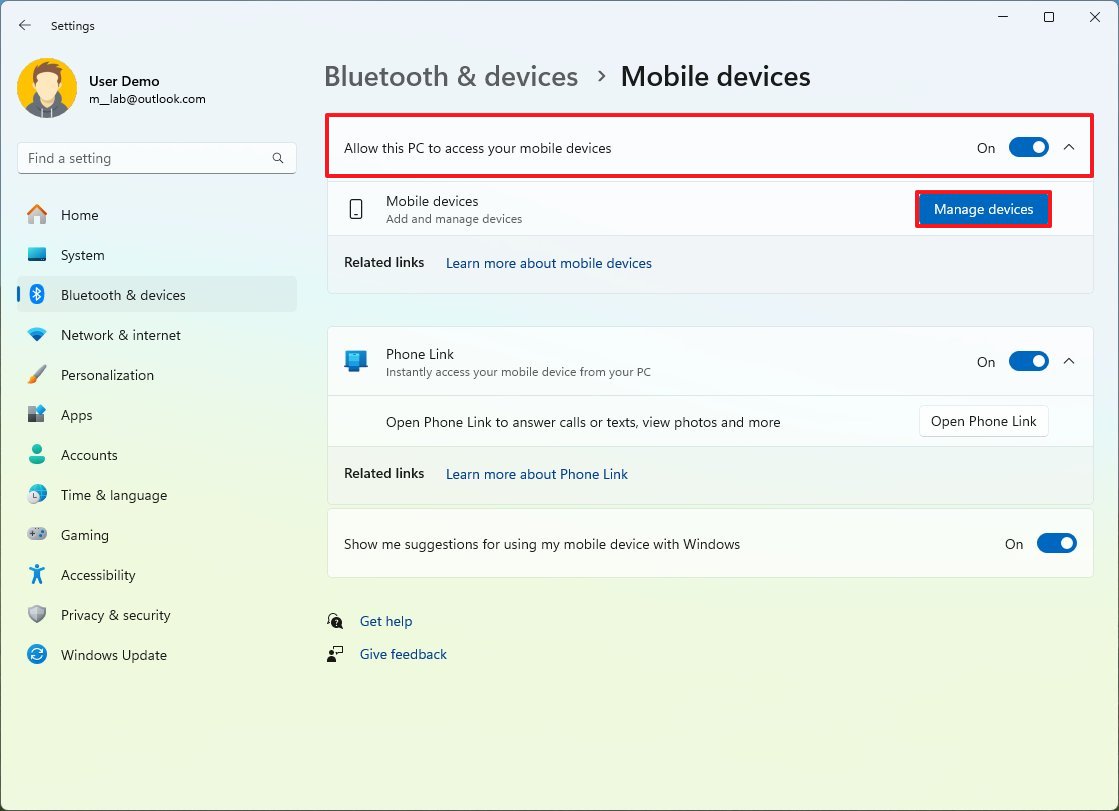
- Turn on the "Allow this PC to access your mobile devices" toggle switch.
- Click the Manage devices button.
- Quick note: If this is the first time the feature has been enabled, the system will automatically download the required bits to set up the feature.
- Sign in with your Microsoft account (if applicable).
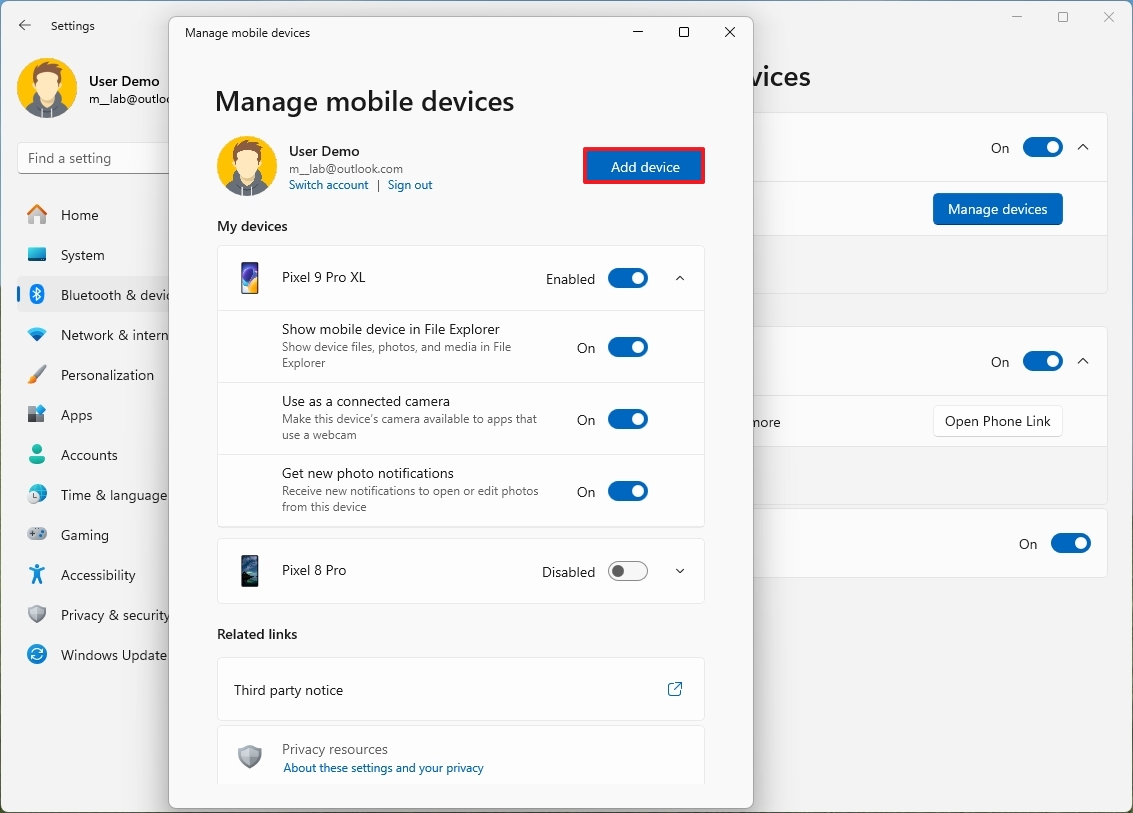
- Click the Add device button.
- Scan the QR Code with the camera on your phone and continue with the setup on your mobile device.
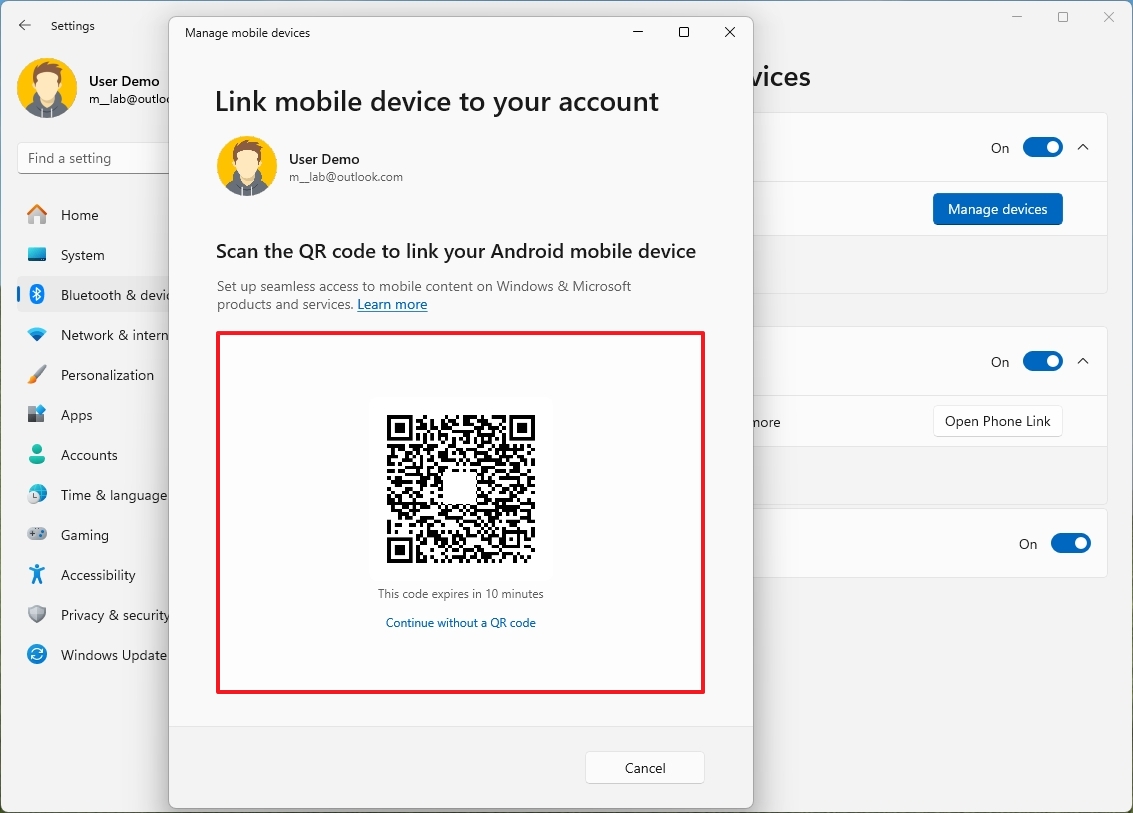
- Quick note: This will require you to install the "Link to Windows" app from the Google Play Store or Apple Store if you have an iPhone.
- Turn on the toggle switch to enable your phone to connect to your computer.
- Turn on the "Use as a connected camera" toggle switch to use your phone's camera as a webcam.
- Turn on the "Get new photo notifications" toggle switch to get notifications to open new photos from your phone on the Snipping Tool on Windows 11.
- Turn on the "Show mobile device in File Explorer" toggle switch to access your Android phone files from File Explorer.
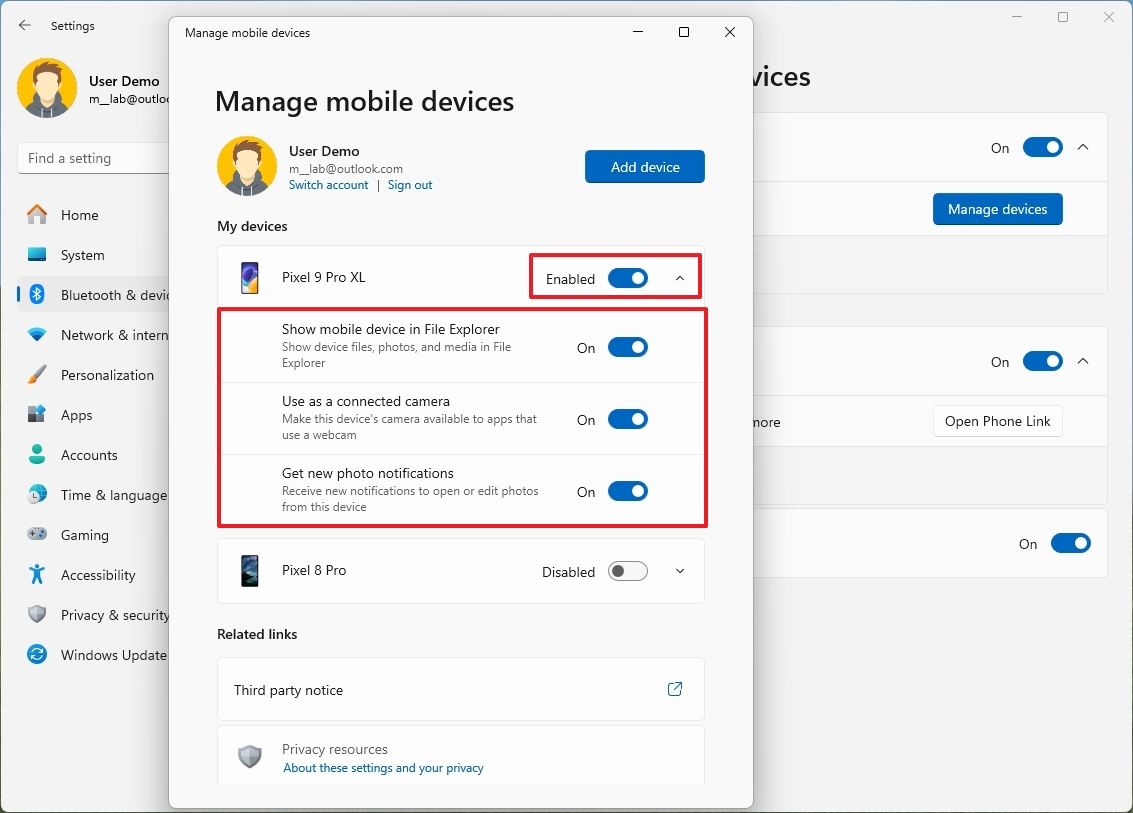
- Quick note: This option may not be available to everyone. It's a new feature, and it may become available once Windows 11 version 24H2 is installed on your computer.
- Click the Allow permissions option for each feature and complete the configuration on your phone.
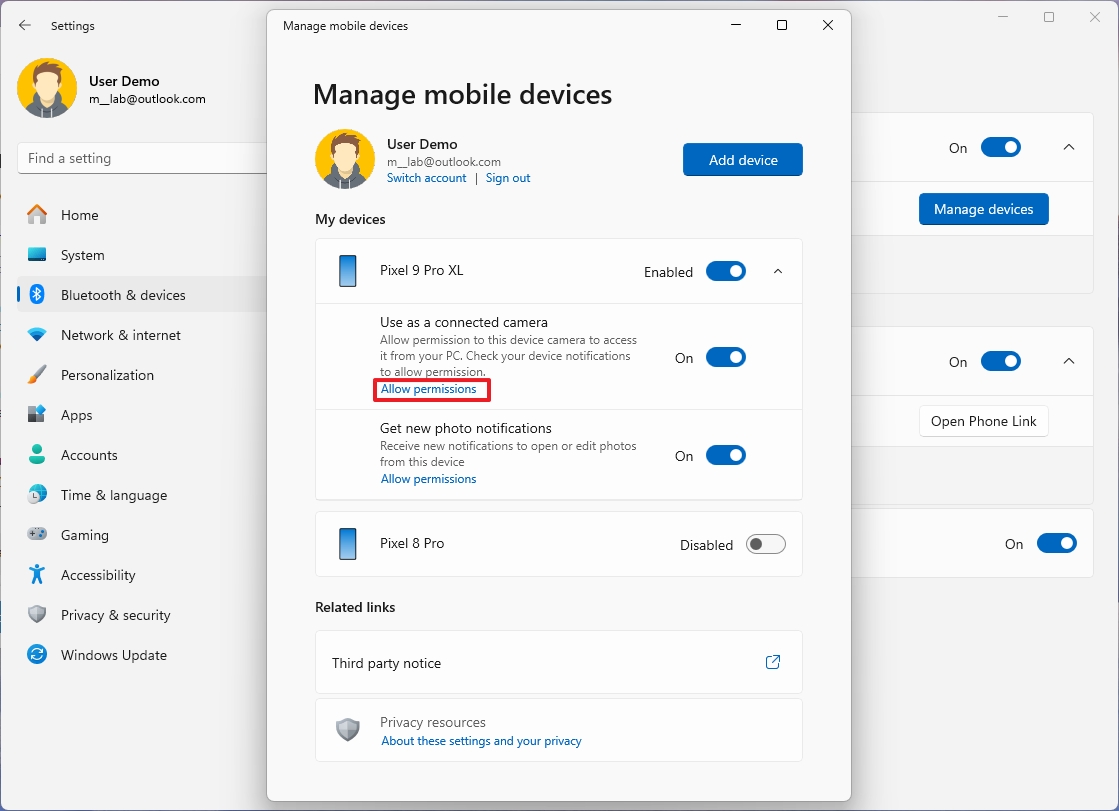
Once you complete the steps, you can use your phone's camera as your webcam and access the mobile device storage through File Explorer without needing a USB cable.
When using this feature, consider that the "Manage Devices" interface, for some odd reason, doesn't include an option to remove devices once connected. I have also checked my Microsoft account's "Android & iOS devices" page, and nothing appears. However, you are able to turn on the device from the interface.
Phone camera as a webcam
To access and configure the webcam, use these steps:
- Open Settings.
- Click on Bluetooth & devices.
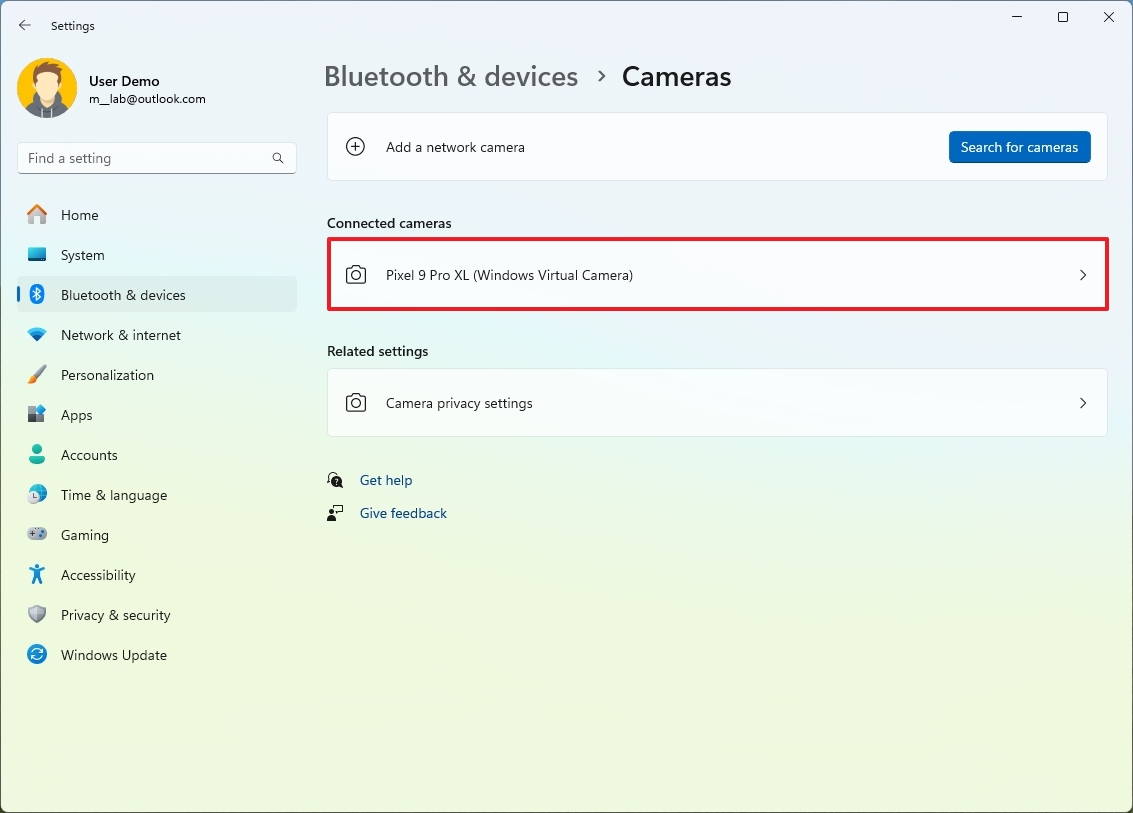
- Click the Cameras page on the right side.
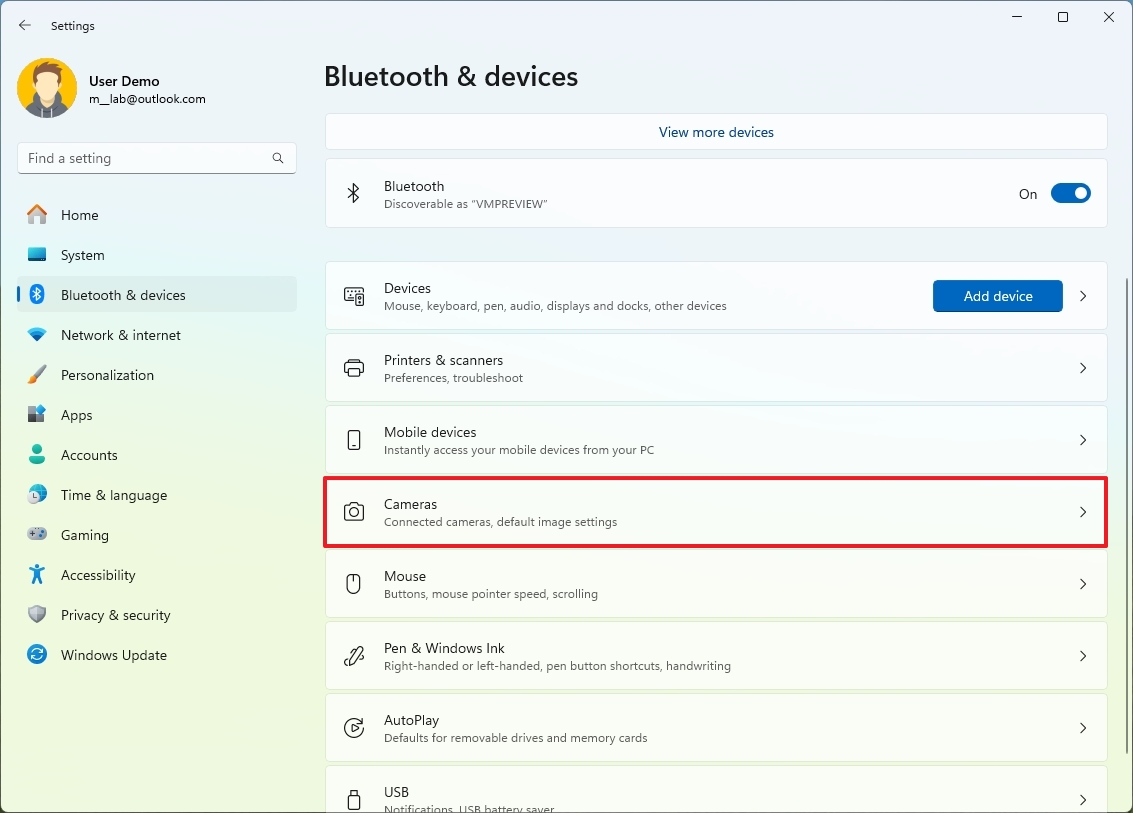
- Click on the camera "Windows Virtual Camera" setting.
- Click the "Send notification" button from the app that appears on the desktop (if applicable).
- On your phone (or computer), confirm whether to use the front or back camera as a webcam.
- On your computer, you should now see the stream on the camera's settings page.
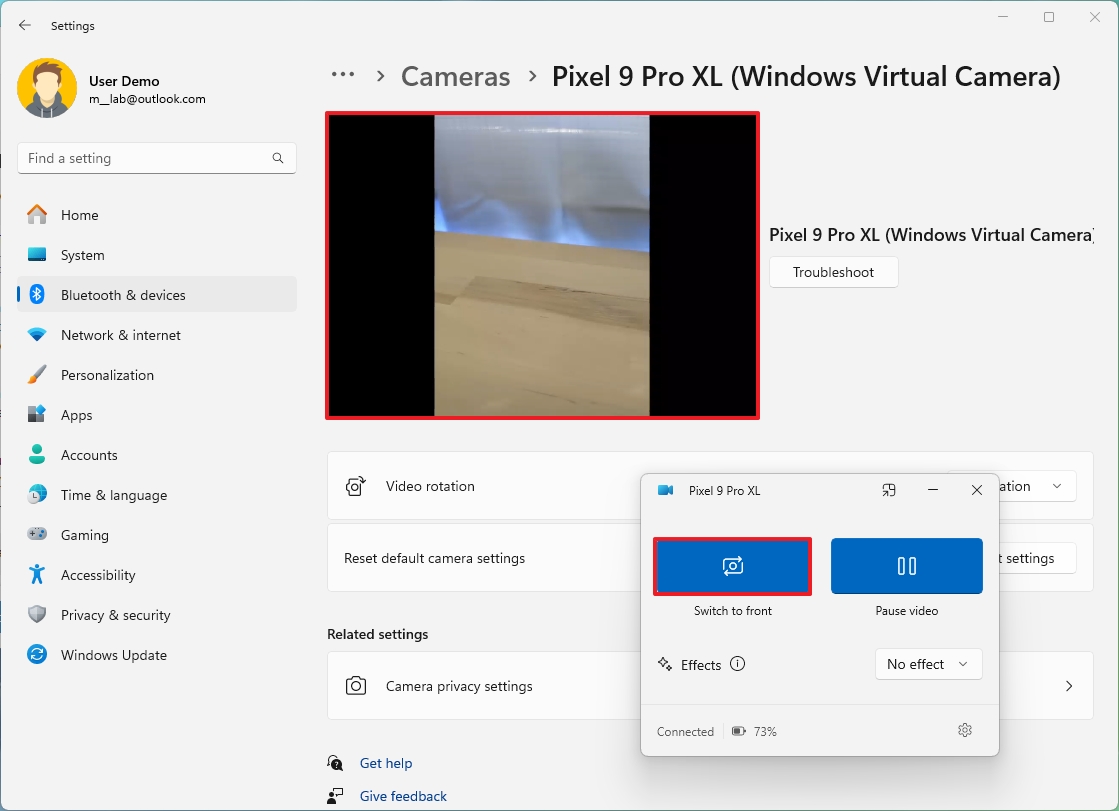
Once you complete the steps, you will be able to choose the new camera from your application or online communication service.
Access phone storage from File Explorer
To access the phone storage, use these steps:
- Open File Explorer.
- Click your Android phone from the left pane.
- Browse the folders as you would, connecting the phone with a USB cable.
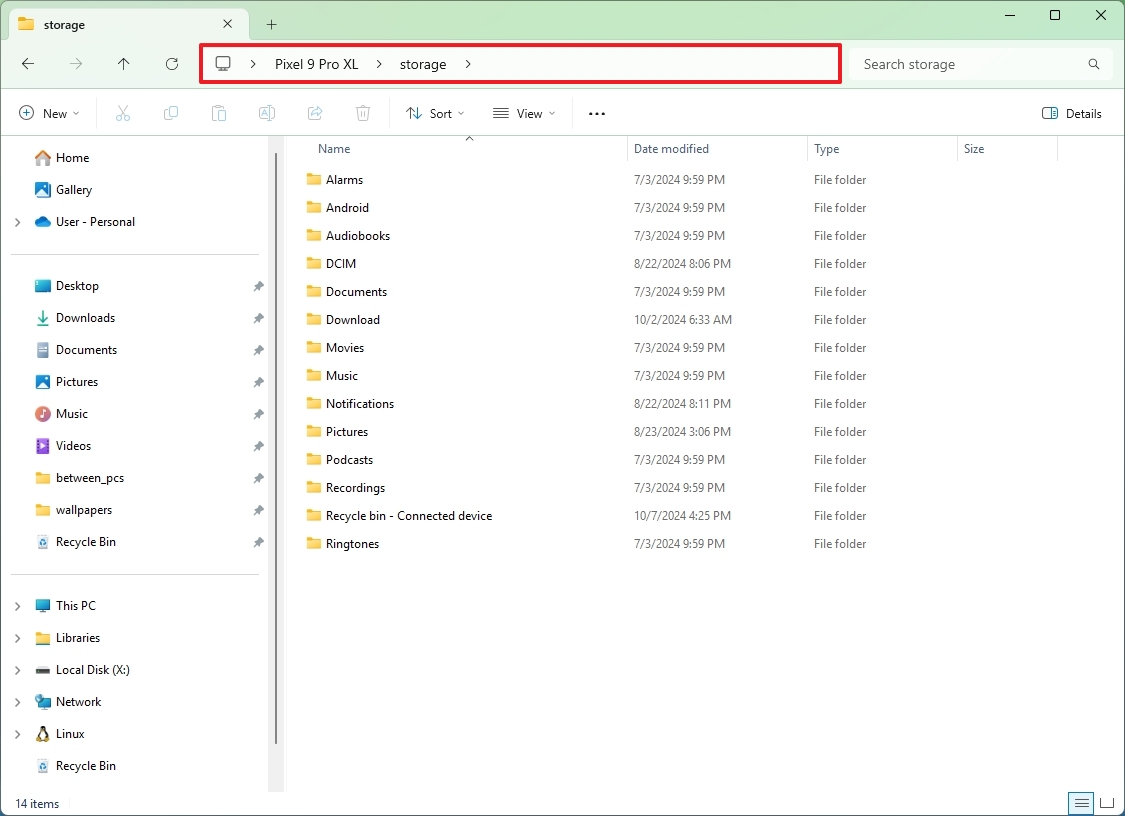
After you complete the steps, you can transfer files in and out as if the location were a network folder. Also, any file you delete from this experience will go to the trashcan on your phone.
It's worth noting that the transfer speeds will be slower than relocating files on your computer to external storage, as this is a wireless connection.
Connect phone with Phone Link
To link your phone to your computer, use these steps:
- Open Settings.
- Click on Bluetooth & devices.
- Click the Mobile devices page on the right side.
- Turn on the "Phone Link" toggle switch (if applicable).
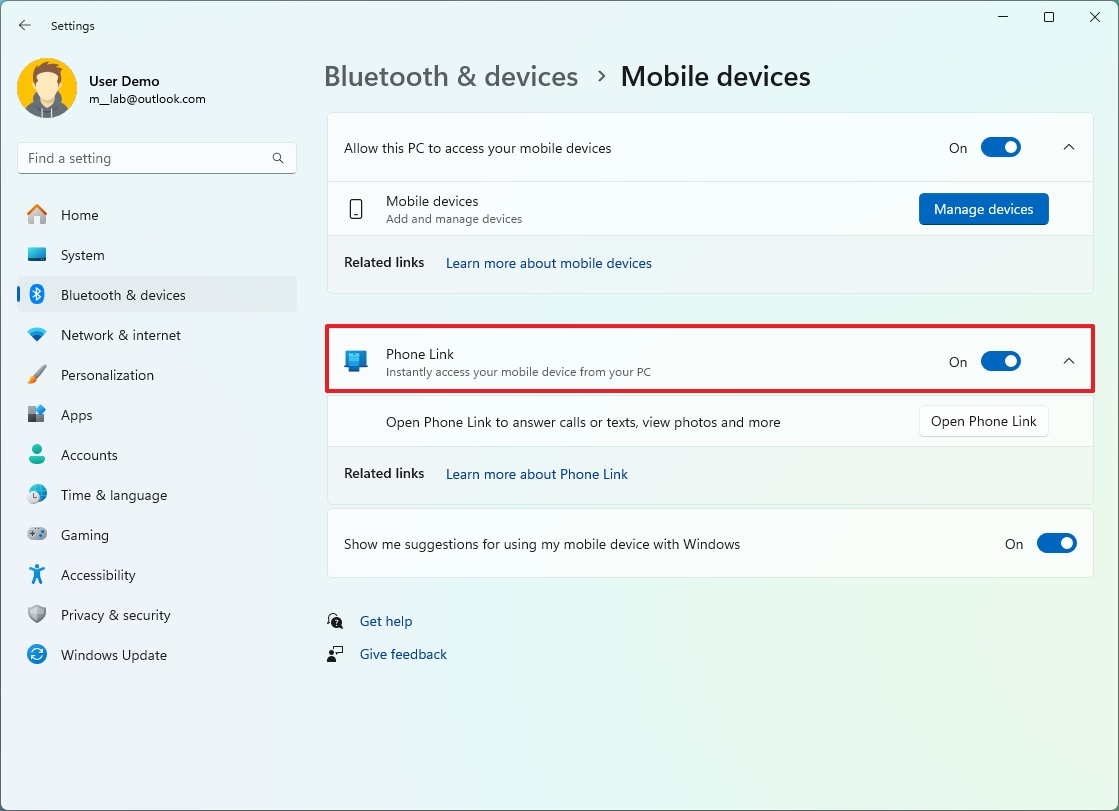
- Click the Open Phone Link button.
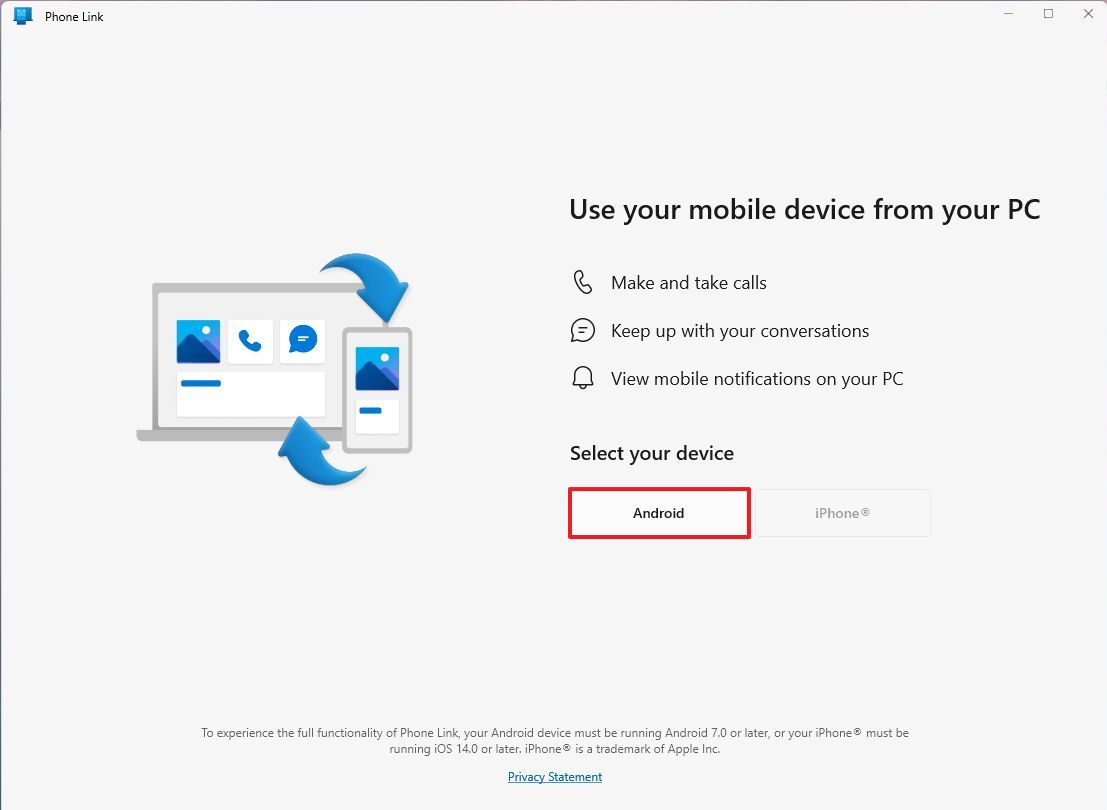
- Click the Android button.
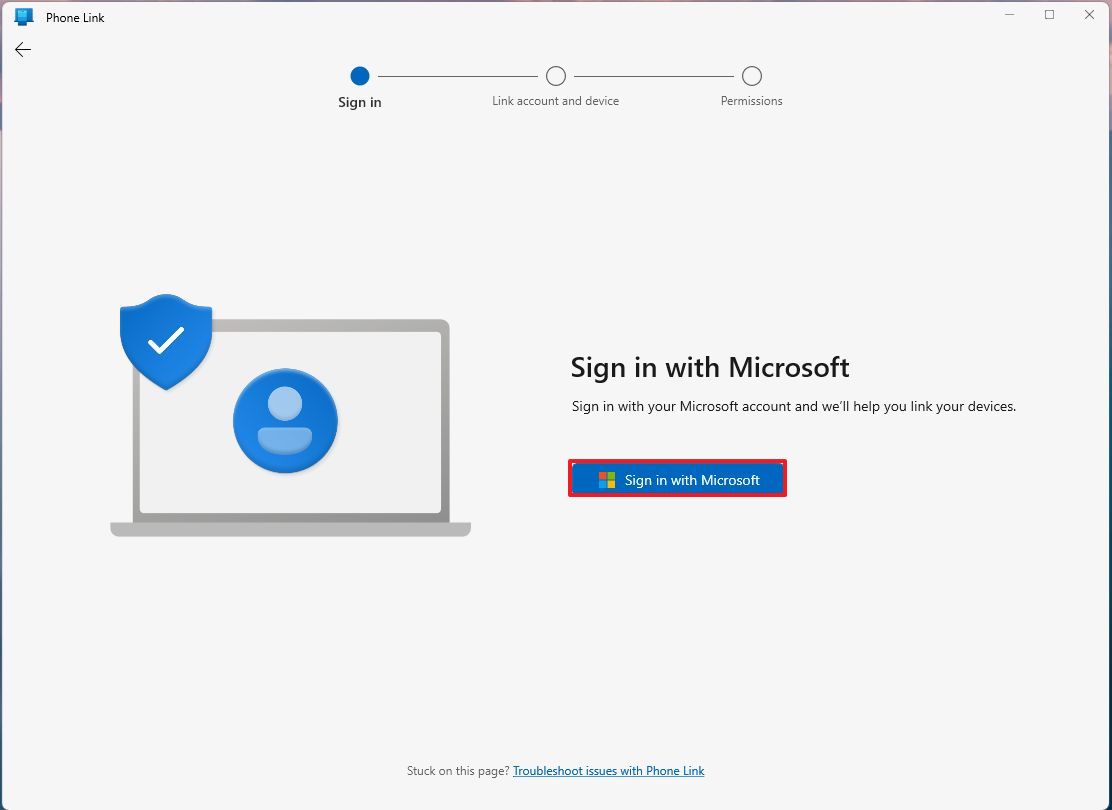
- Sign in with your Microsoft account (if applicable).
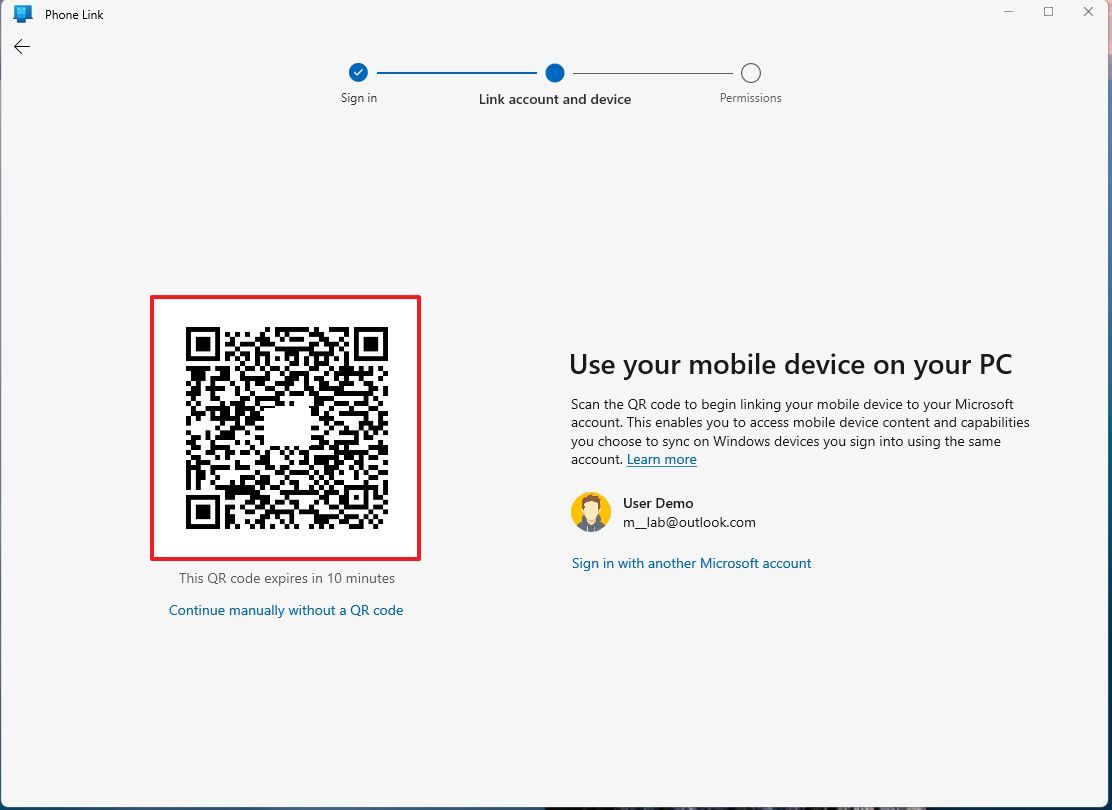
- Scan the QR Code with the camera on your phone and continue with the setup on your mobile device.
- On your phone, access the permission settings for the Link to Windows app and allow access as prompted by the app.
- On your computer, click the Continue button.
After you complete the steps, you will have access to your phone's notifications, messages, and photos from the Phone Link app, which is available through the Start menu.
The app is really easy to use. On the left pane, you can view your phone's status and select options, including turning on Do Not Disturb and controlling volume and music, and at the bottom, you will find your notifications.
Then, there's the "Messages" tab to view and send text messages.
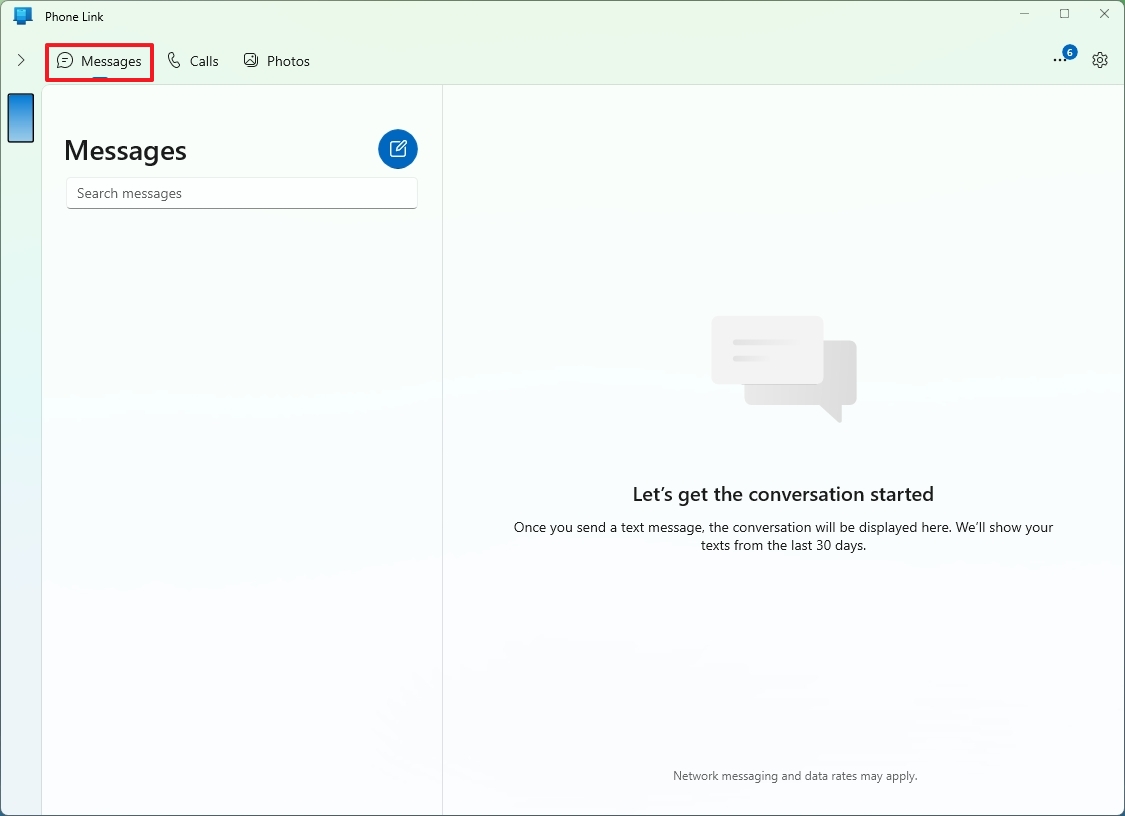
The "Photos" tab allows you to view the recent pictures that are stored on your phone.
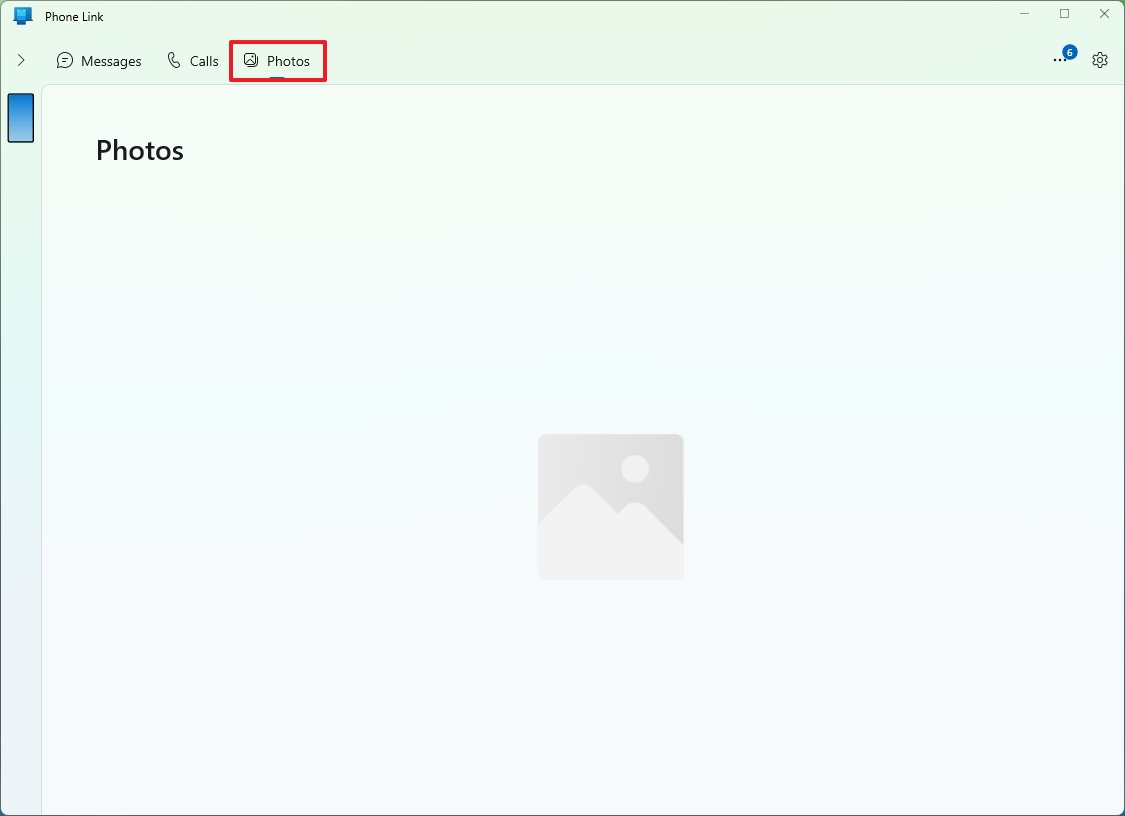
If you want to make calls through your phone from your Windows 11 device, click on the "Calls" tab and then click the "Get Started" button, and follow the on-screen directions to set up the feature.
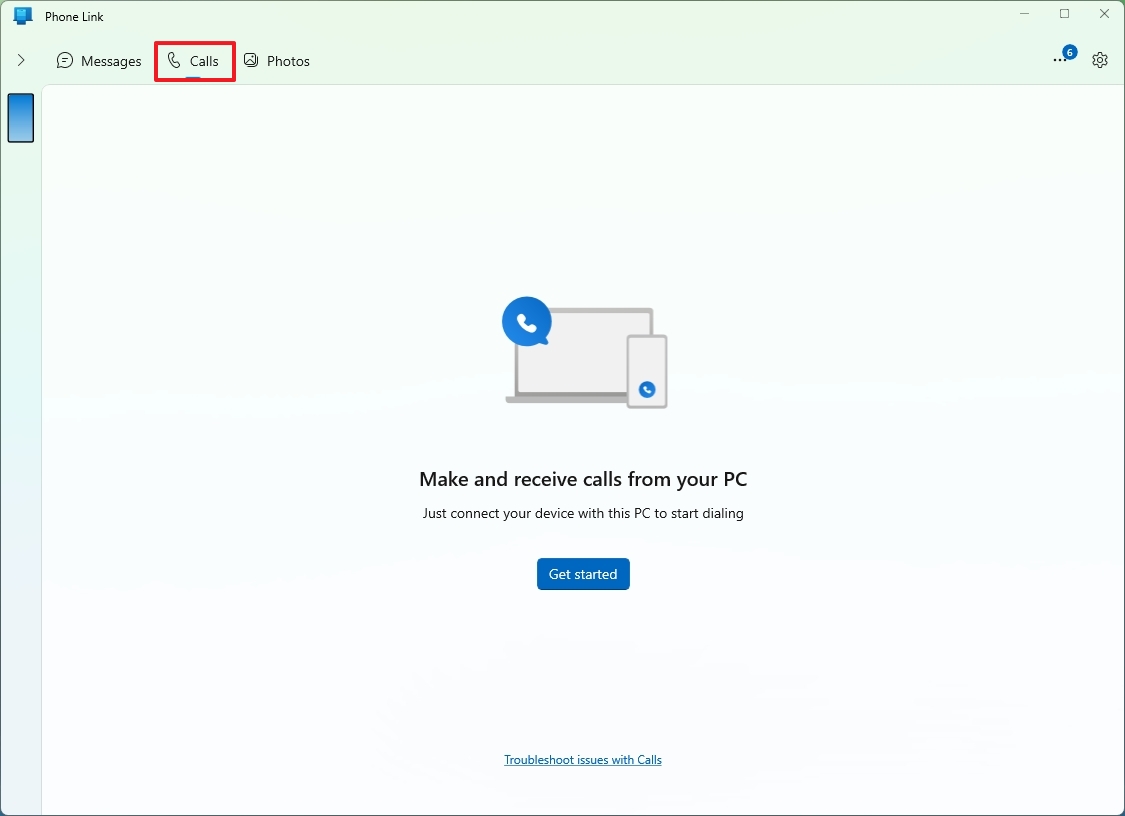
Once you have configured the feature, you can make and receive calls on your Windows 11 computer. However, it's important to note that calls will be processed through your phone.
Also, this feature requires a Bluetooth connection on both devices to work. As a result, make sure that the short-distance wireless technology is enabled on your phone and your computer through Settings > Bluetooth & devices and turn on the "Bluetooth" toggle switch.
Finally, if you're on Windows 11 version 24H2, you may also be able to turn on the phone sidebar from the Start menu with access to your phone status, notifications, and recent activities.
You can enable or disable this feature from Settings > Personalization > Start and turn the "Show mobile device in Start" toggle switch on or off.
If you decide to connect your mobile device to your computer, I would only recommend not to enable the "Phone Link" app to run in the background on your phone as it will drain your phone's battery very quickly.
More resources
For more helpful articles, coverage, and answers to common questions about Windows 10 and Windows 11, visit the following resources:


