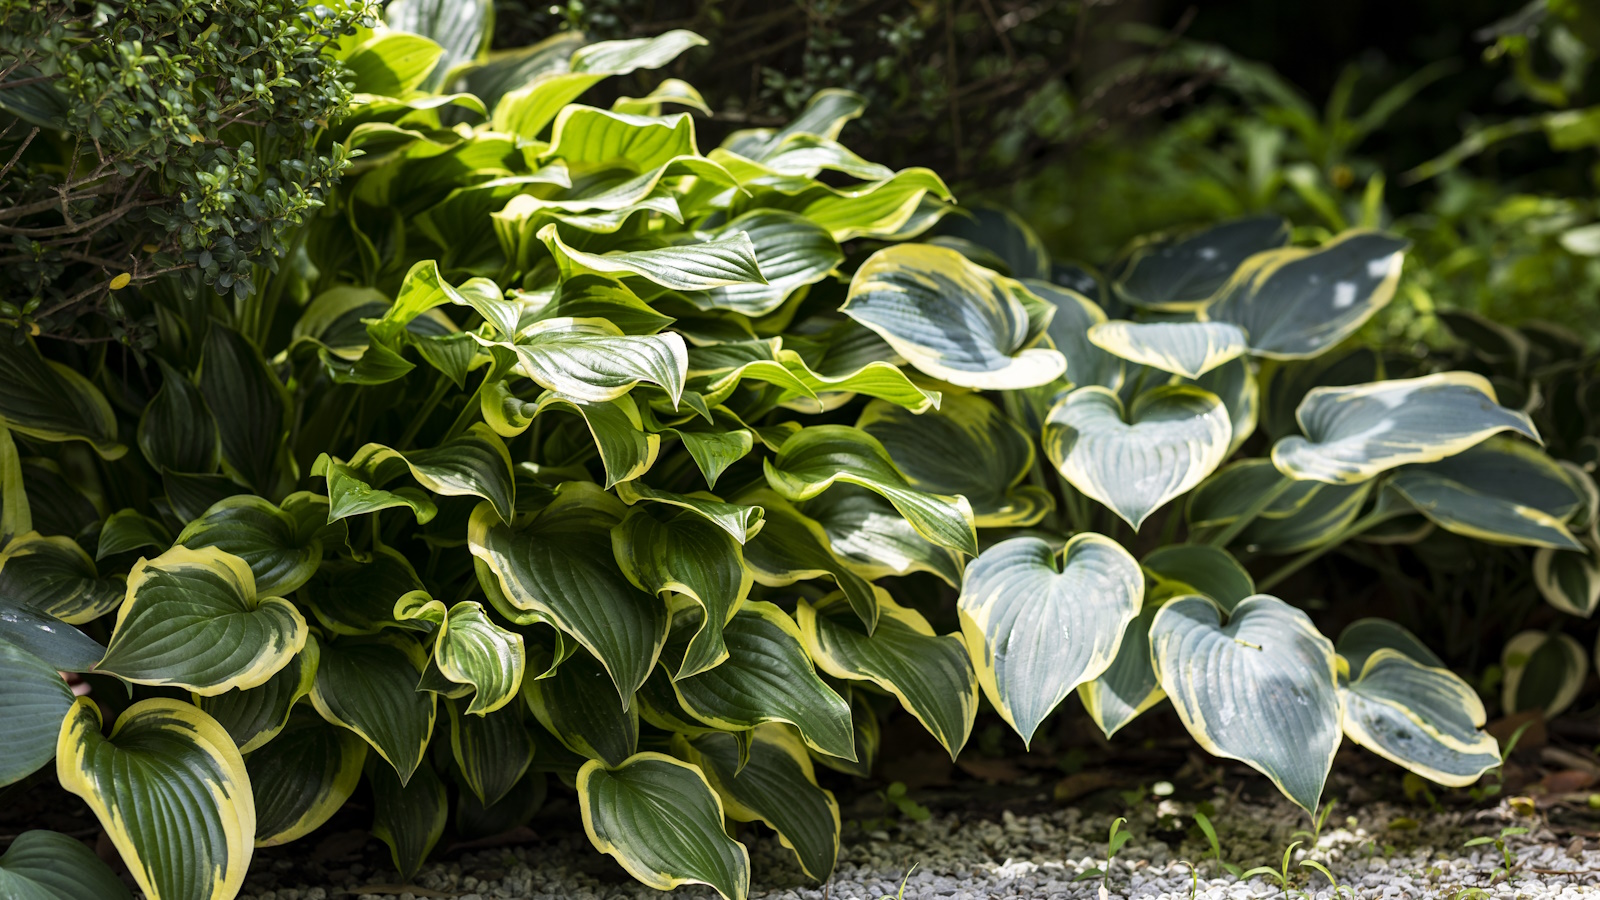
If you're wondering how to winterize hostas, then you'll be glad to know there aren't too many steps required. Hostas are hardy perennials, and a favorite of spring and summer gardens.
Hostas, commonly referred to as plantain lily, are fully hardy, so in many parts of the country they don't need any additional steps to help them survive the winter. Whether grown in the ground or as part of container garden ideas they can be left outside. They will naturally die back in the fall and re-appear the following spring.
However, when you begin to overwinter your garden, just as when winterizing dahlias and other perennials, there are some things you can do to help your hostas get a head start in spring.
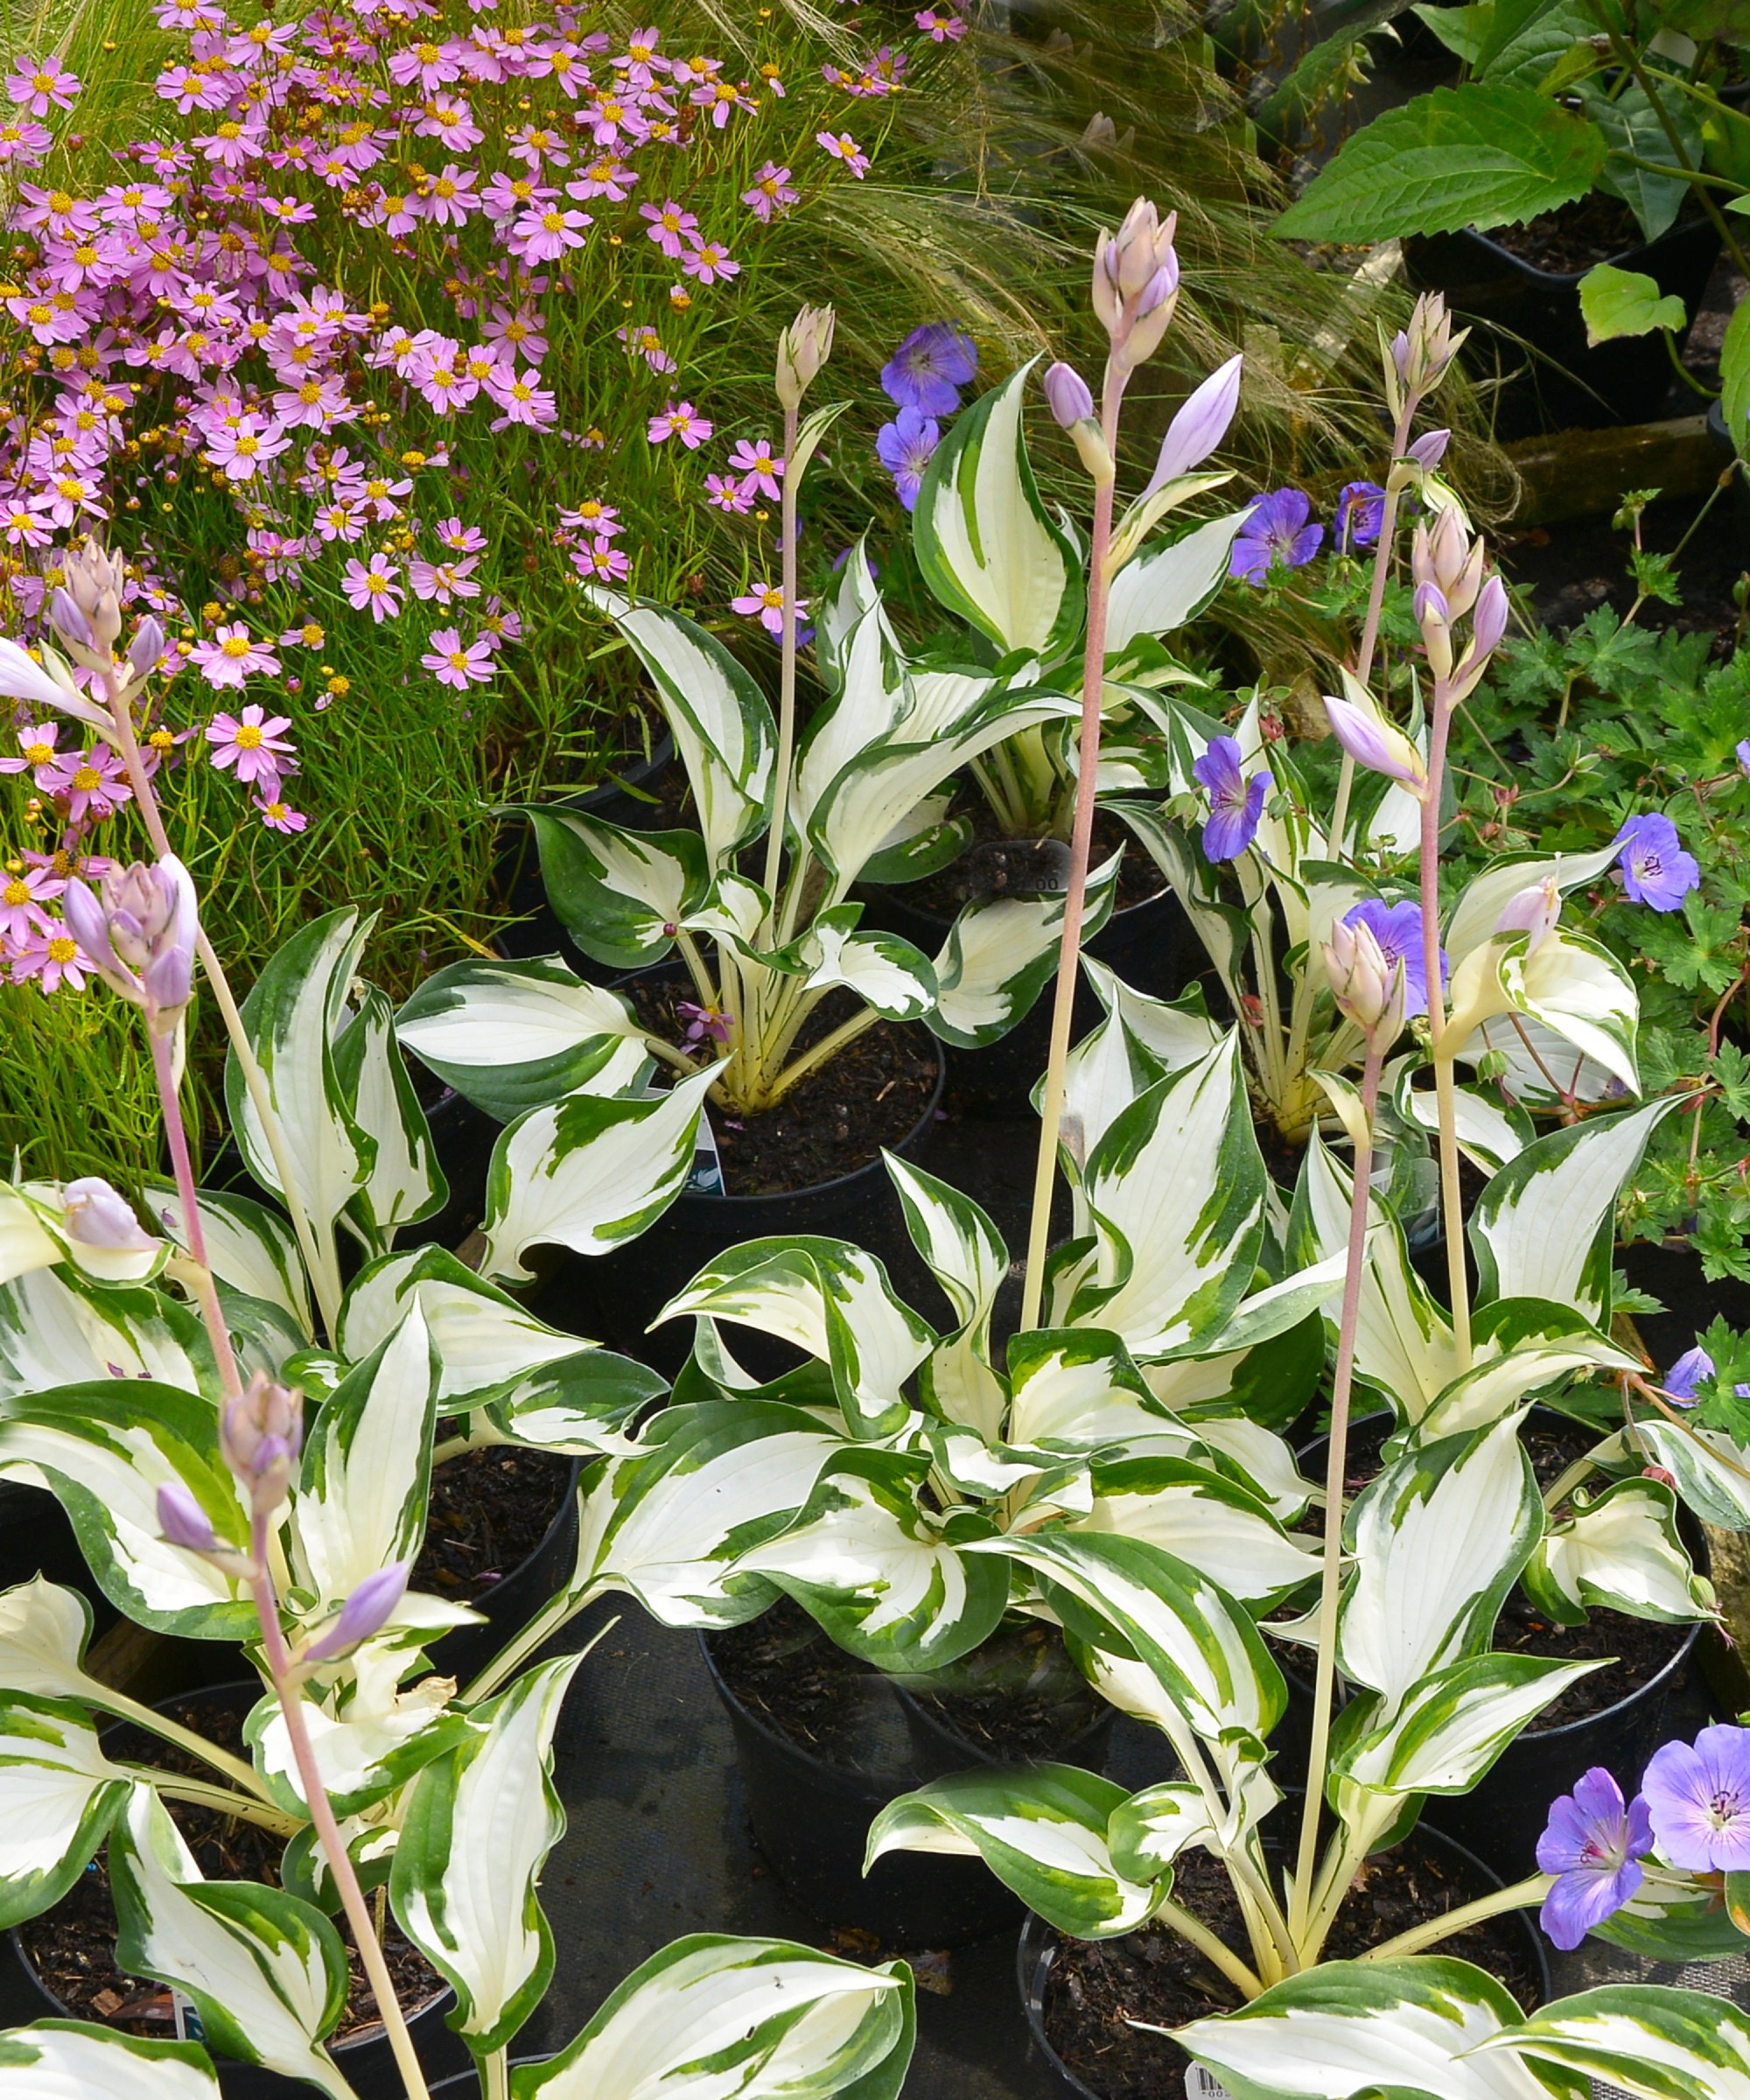
How to winterize hostas in 6 simple steps
Hostas are often thought of as one of the best shade plants. They can grow and thrive in US hardiness zones 3 through 8 which makes them perfect for a wide range of gardens.
When caring for hostas, it's helpful to know they can cope with frosts down to -40ºF. However, the following advice will help you to ensure your hostas get the best start in life once spring arrives.
1. Ensure good drainage

'Hostas are more likely to die from excess rain and moisture than from a freeze,' says Rachel Bull, head of gardens at Homes & Gardens.
Therefore, when winterizing hostas, it is important to ensure the plant has good drainage. There are many ways to achieve this including increasing the number of plants in your flower beds, adding a bark chip mulch, such as this one from Amazon, and incorporating organic matter like homemade compost or well-rotted manure.
2. Clear away old leaves
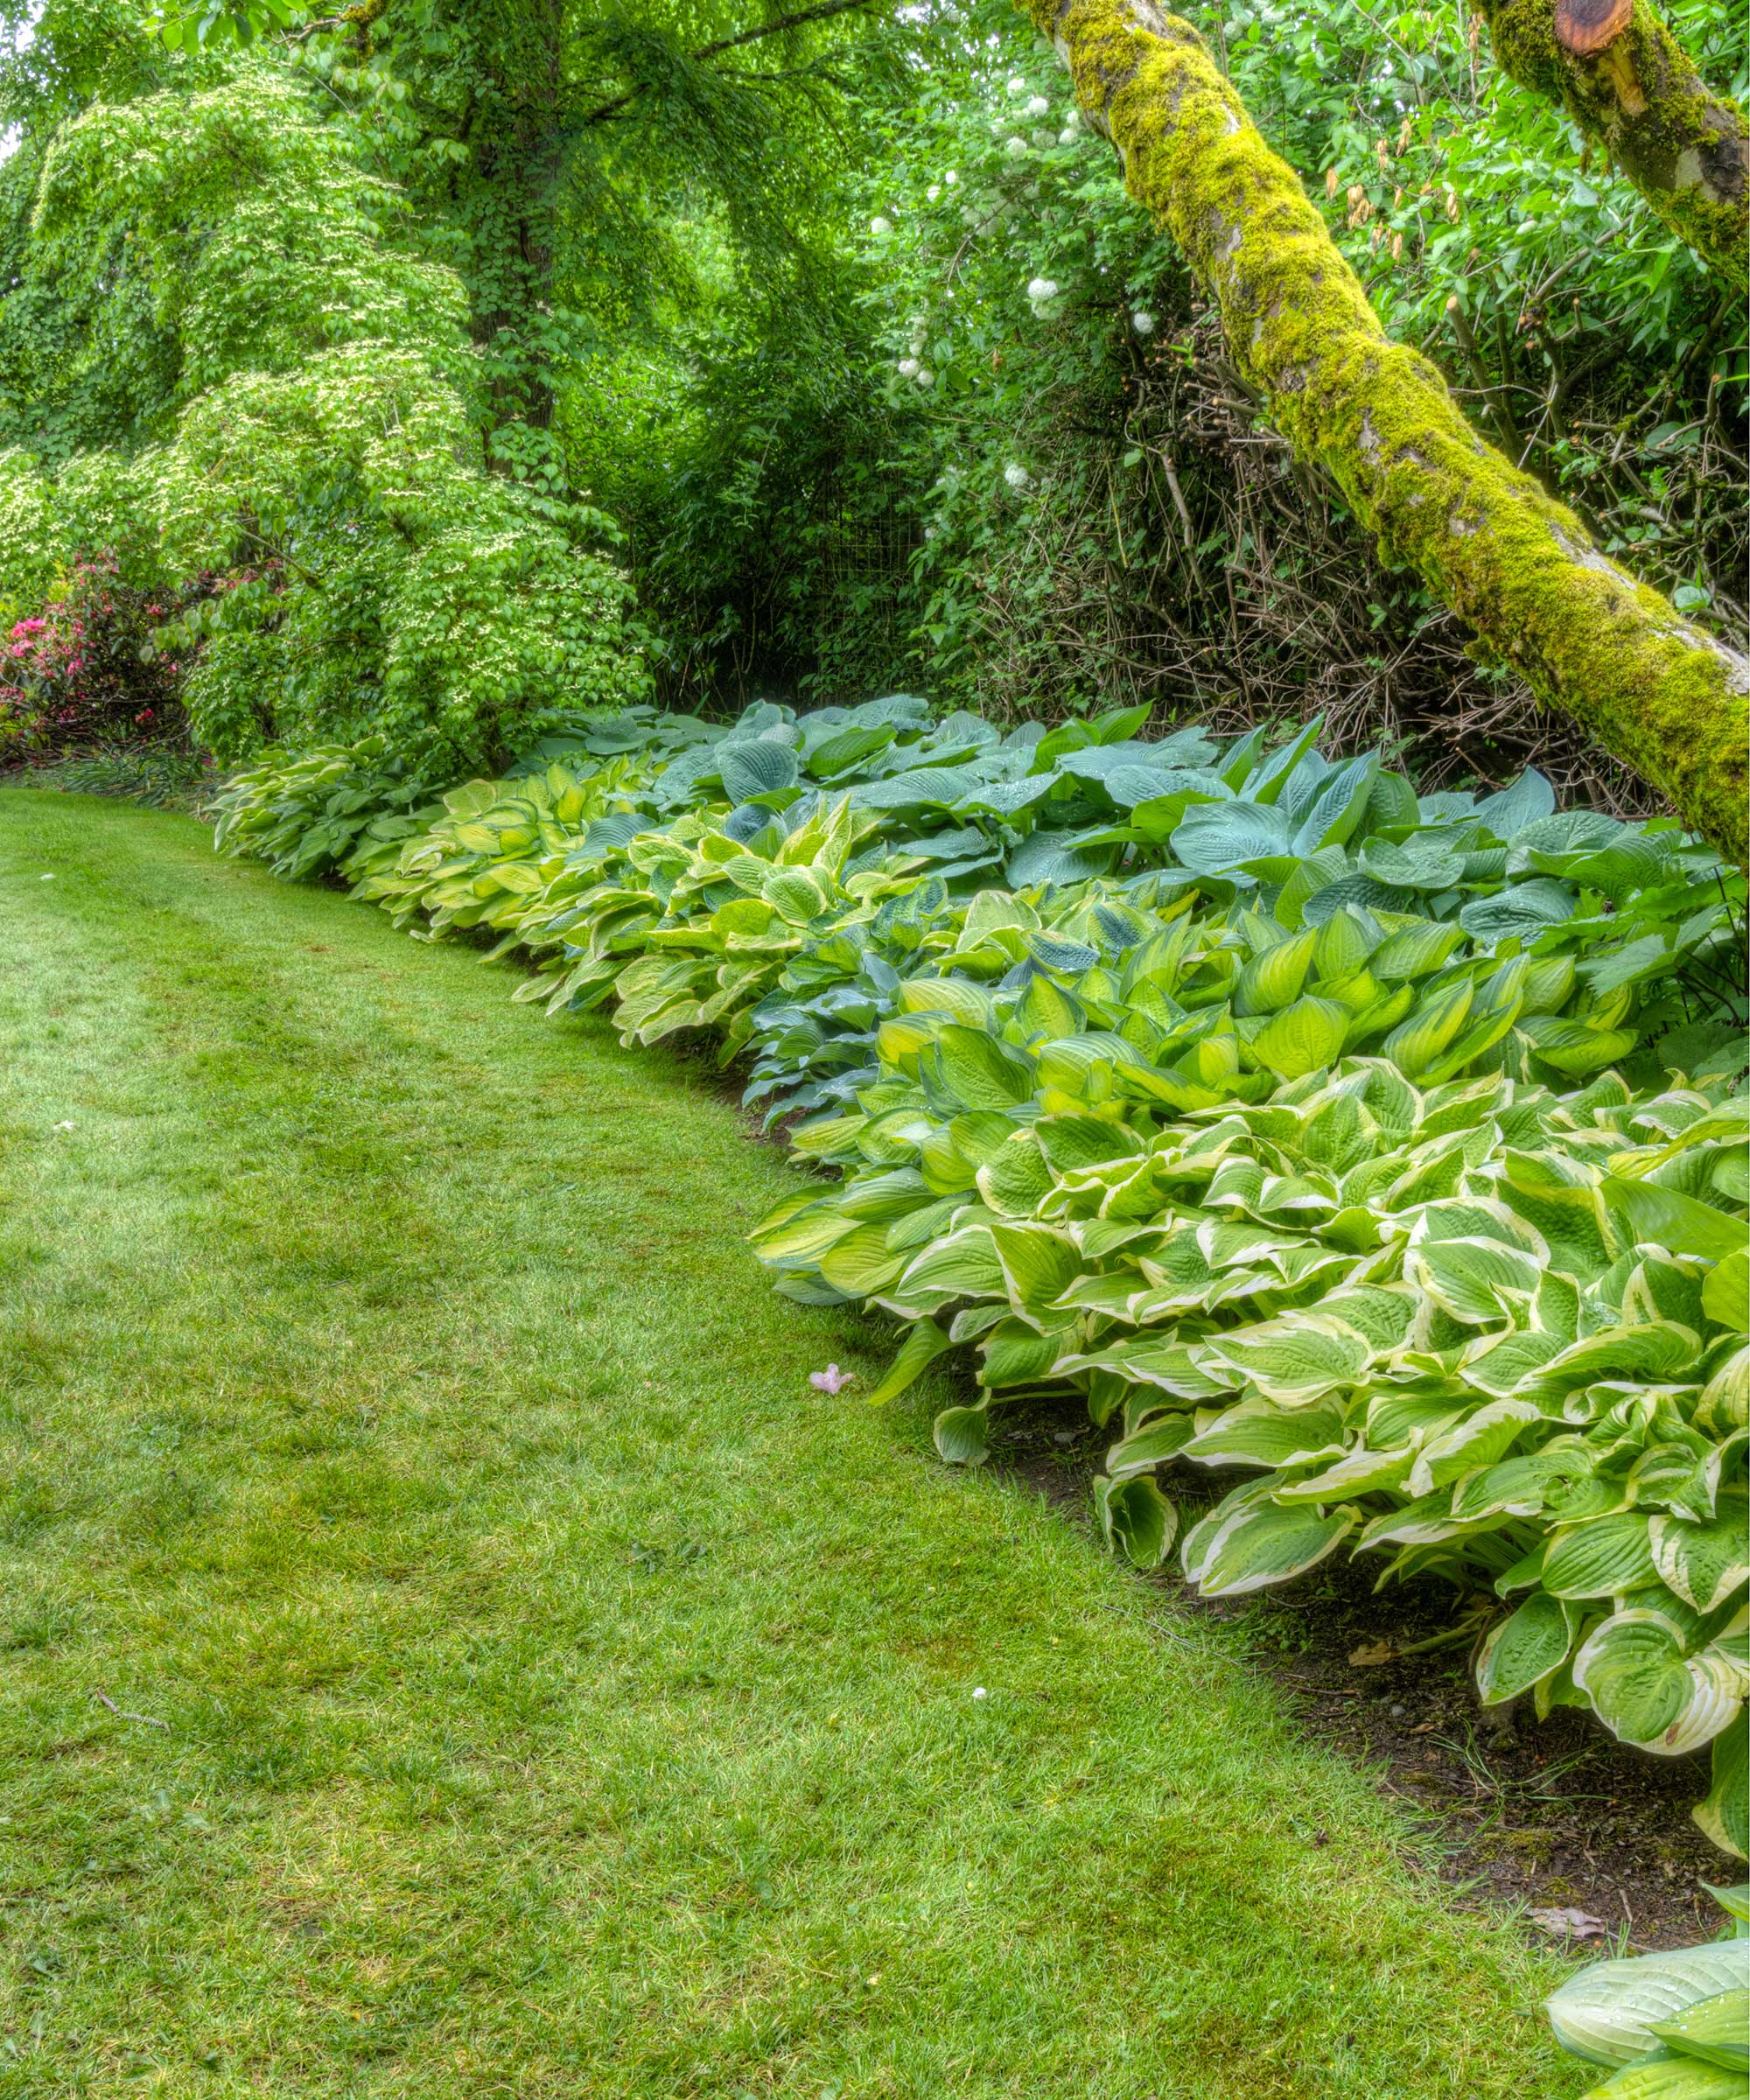
Hostas lose their leaves in winter, so it is good practice to clean these away before they start to decay.
Slugs and their eggs also overwinter in the shelter of the dead leaves, so by clearing them you should help reduce any slug issues in spring. 'Removing the leaves also makes it easier for birds to eat any slugs or eggs that have been laid in or around your plants,' says Rachel, 'and anything you can do to protect your hostas from their slug nemesis, the better.'
3. Install slug protection
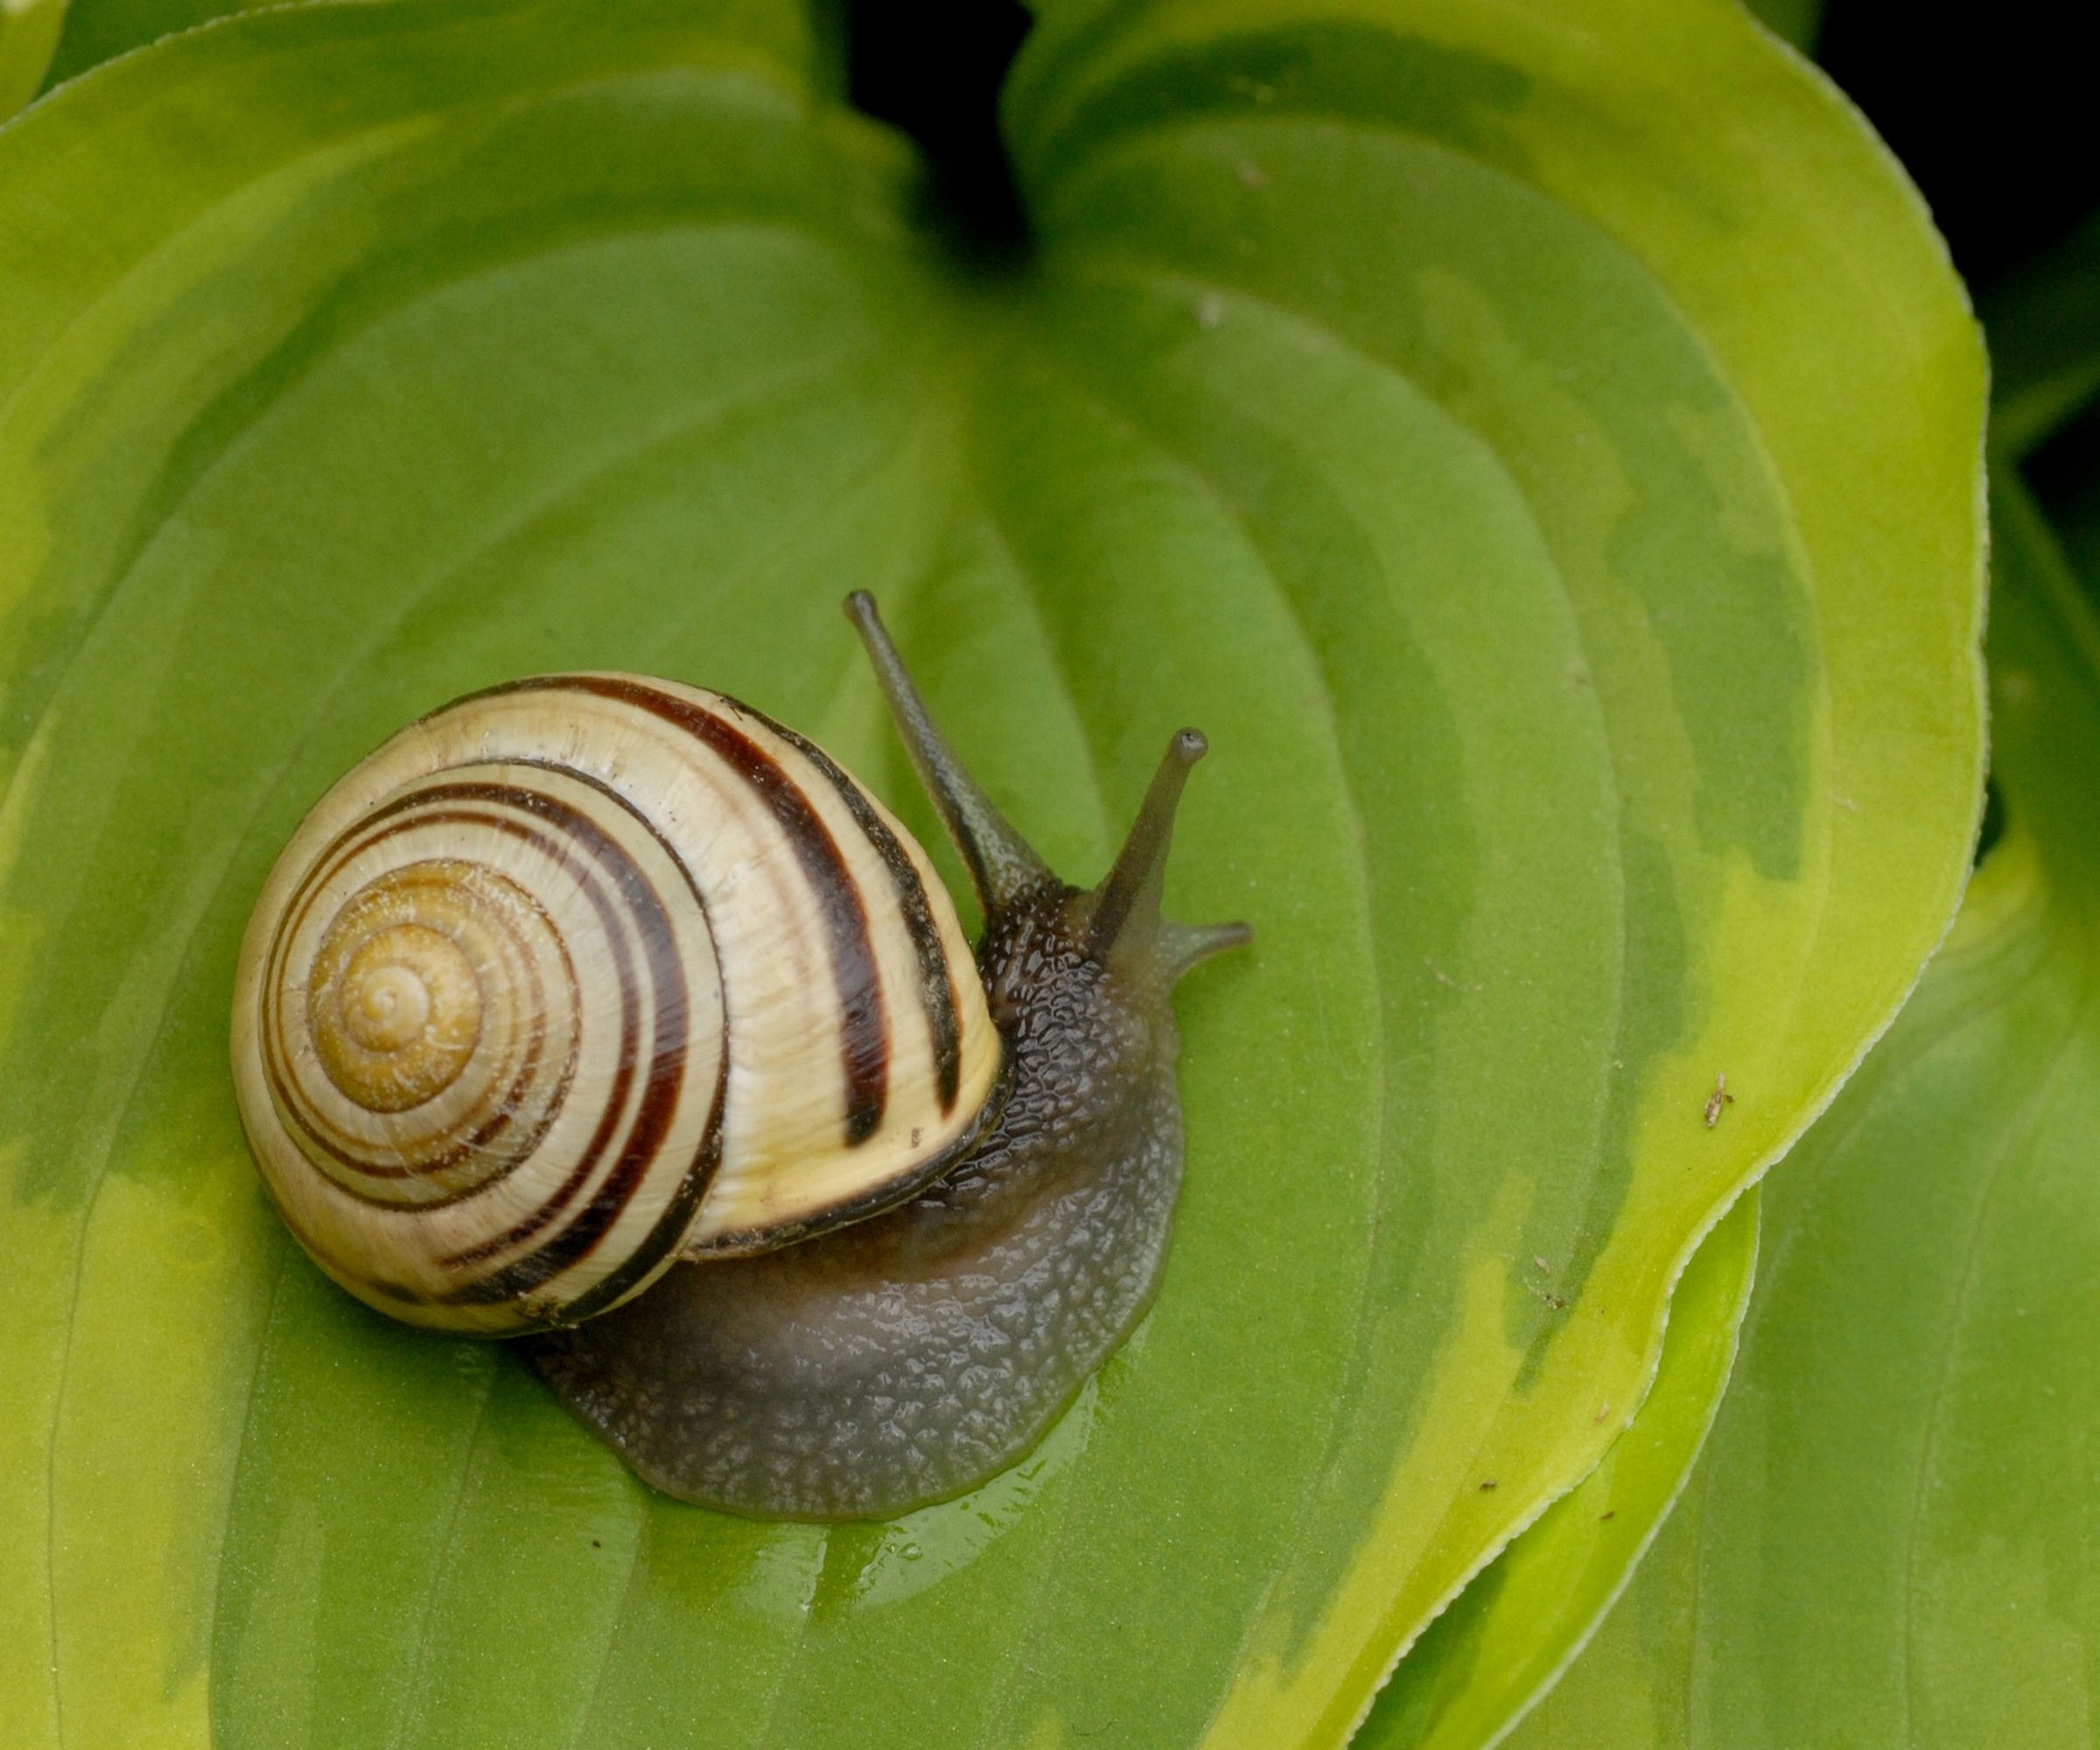
As we have just alluded to, hostas are very vulnerable to slugs and snails who love to munch on their leaves. Thankfully, there are lots of slug control methods that can help – one is installing a copper strip around the base of the plants, this non-toxic copper stopper strip from Amazon is especially designed for the job, or adding copper coins to the surface of the soil.
Doing this in winter will help to protect the vulnerable new stems and leaves from being decimated in spring. You can then apply nematodes to the soil in the spring which will further protect your hostas.
4. Apply a thin mulch
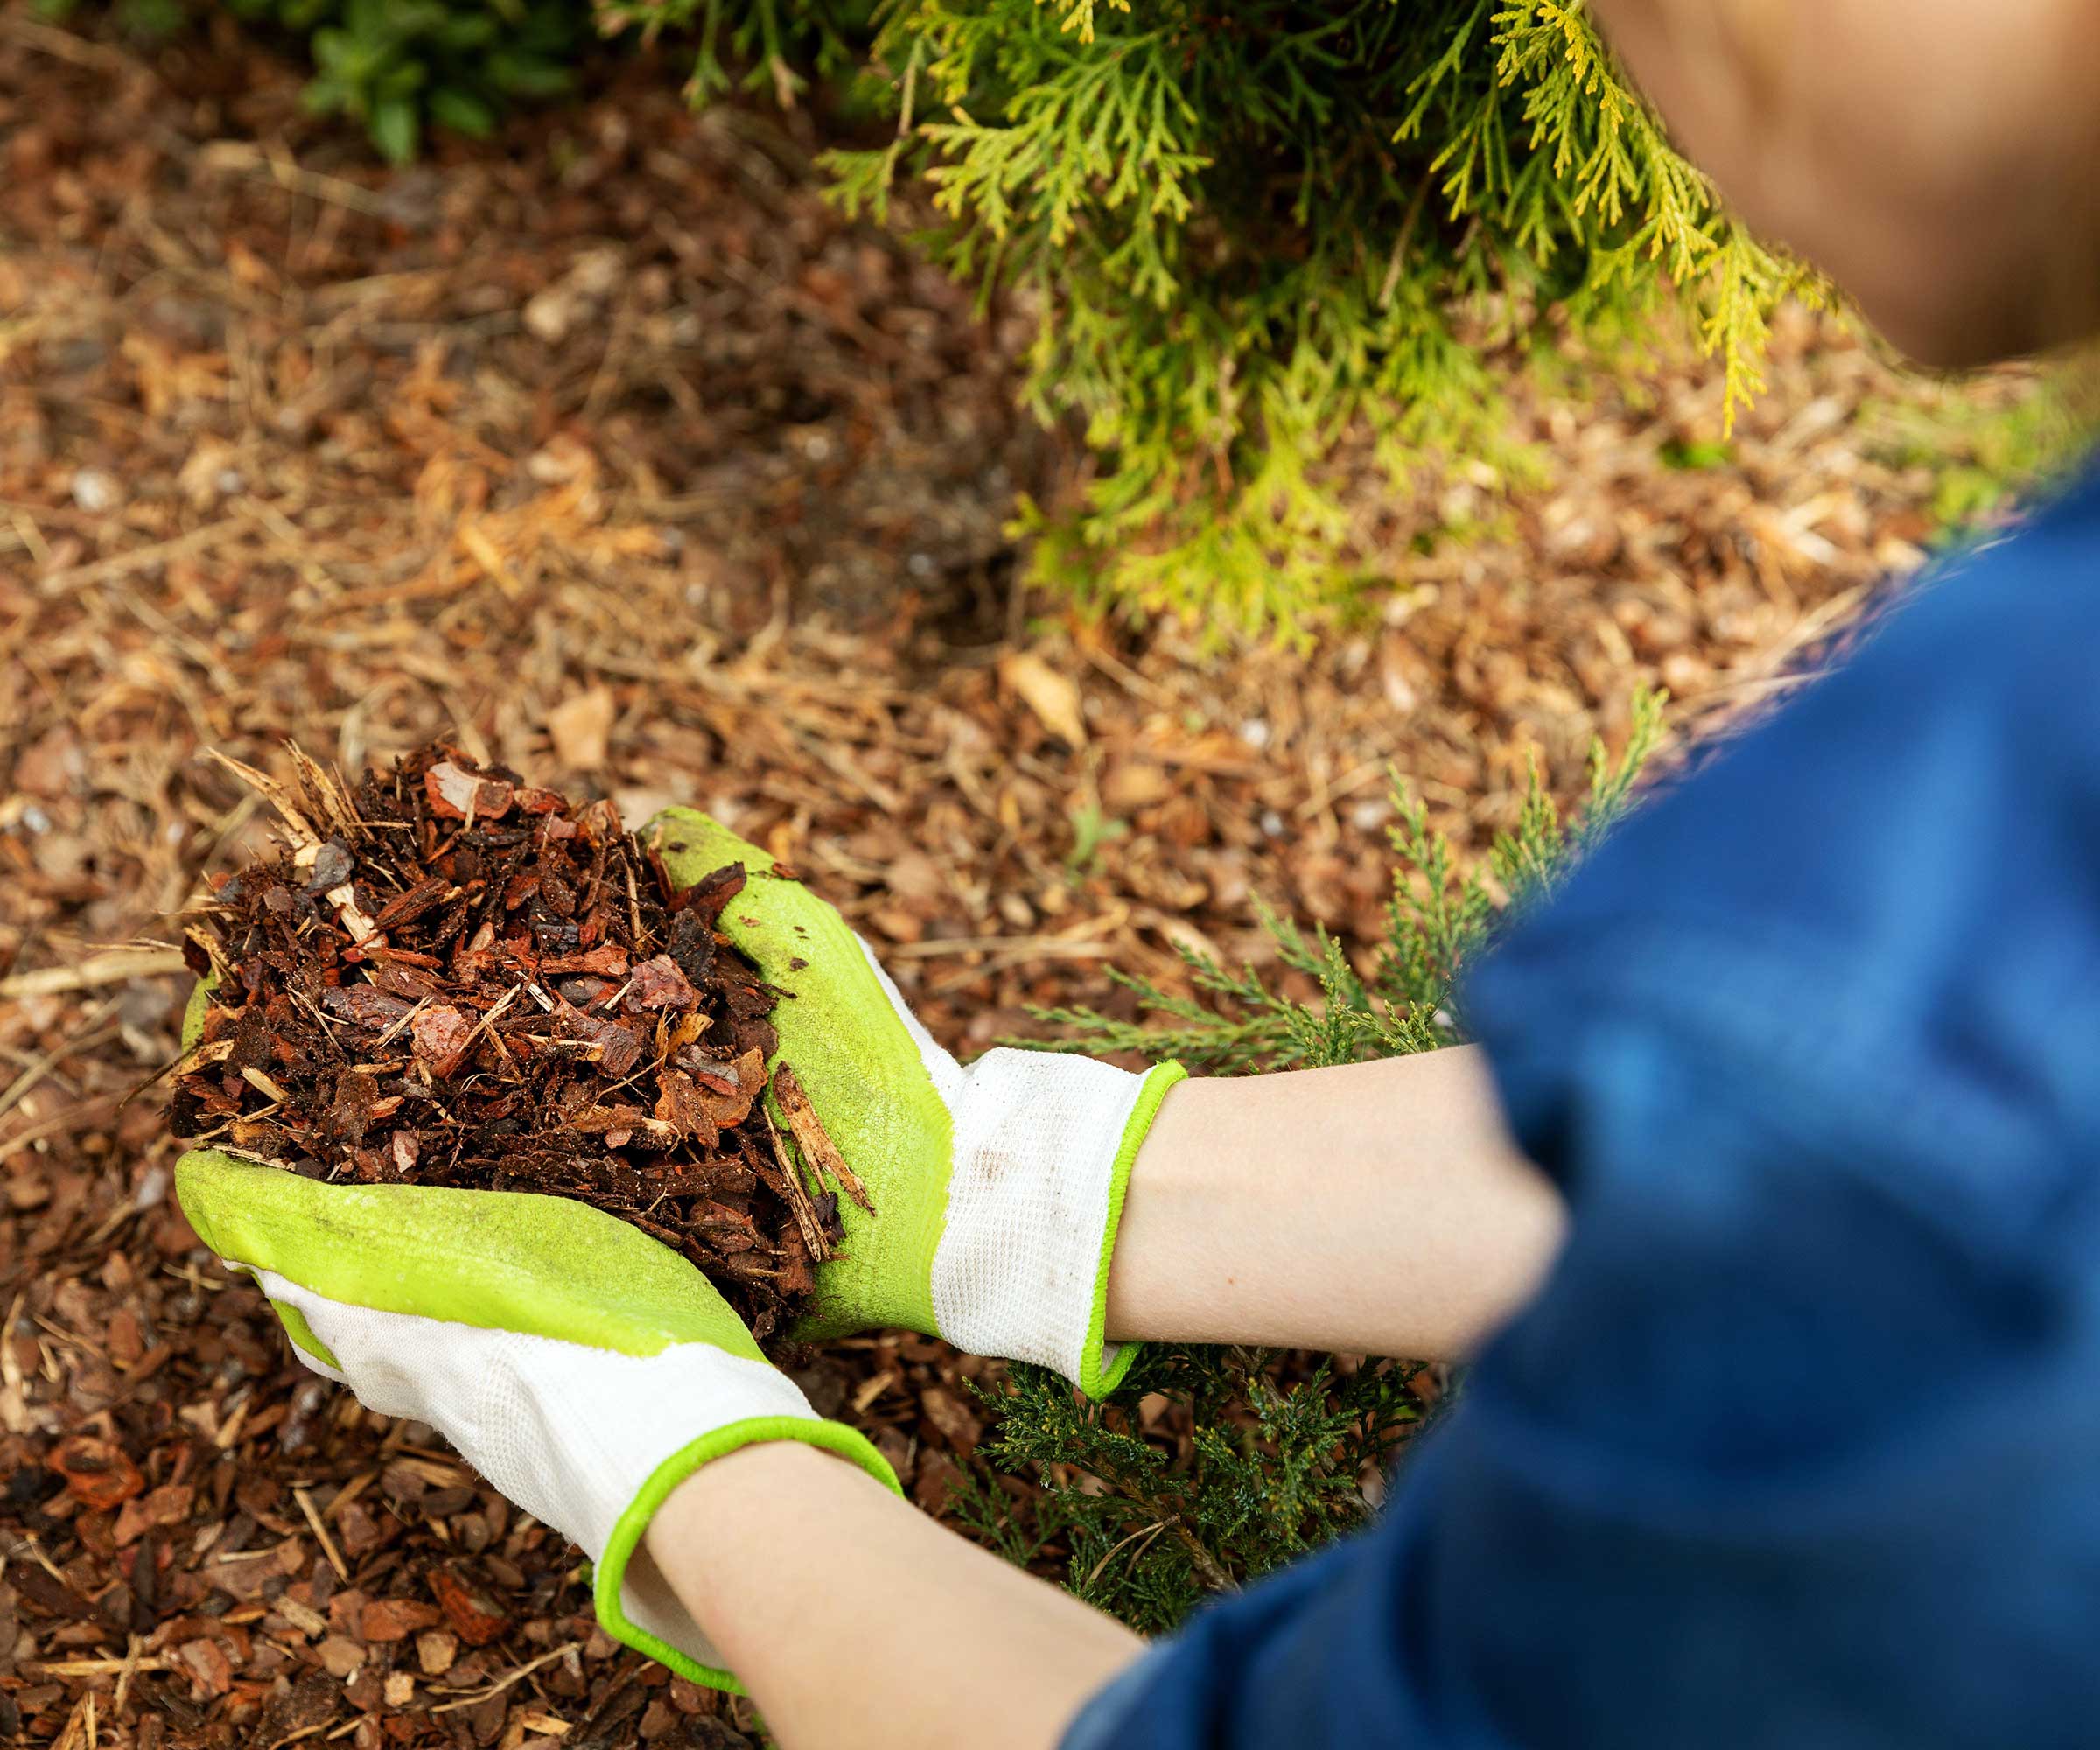
There are no downsides to applying a thin mulch to the bases of your plants in advance of winter – and the same applies to hostas. 'Appling a thin mulch of wood bark to help insulate my plants through the coldest periods of winter,' says Rachel.
While hostas don't require this treatment in order to make it through the winter, adding a thin mulch will help to protect the roots from extreme frosts and will provide some additional nutrients into the soil as the mulch decays. Coco coir (available from Amazon) is highly recommended by pro gardeners for this kind of job.
5. Cover plants if frost arrives in spring
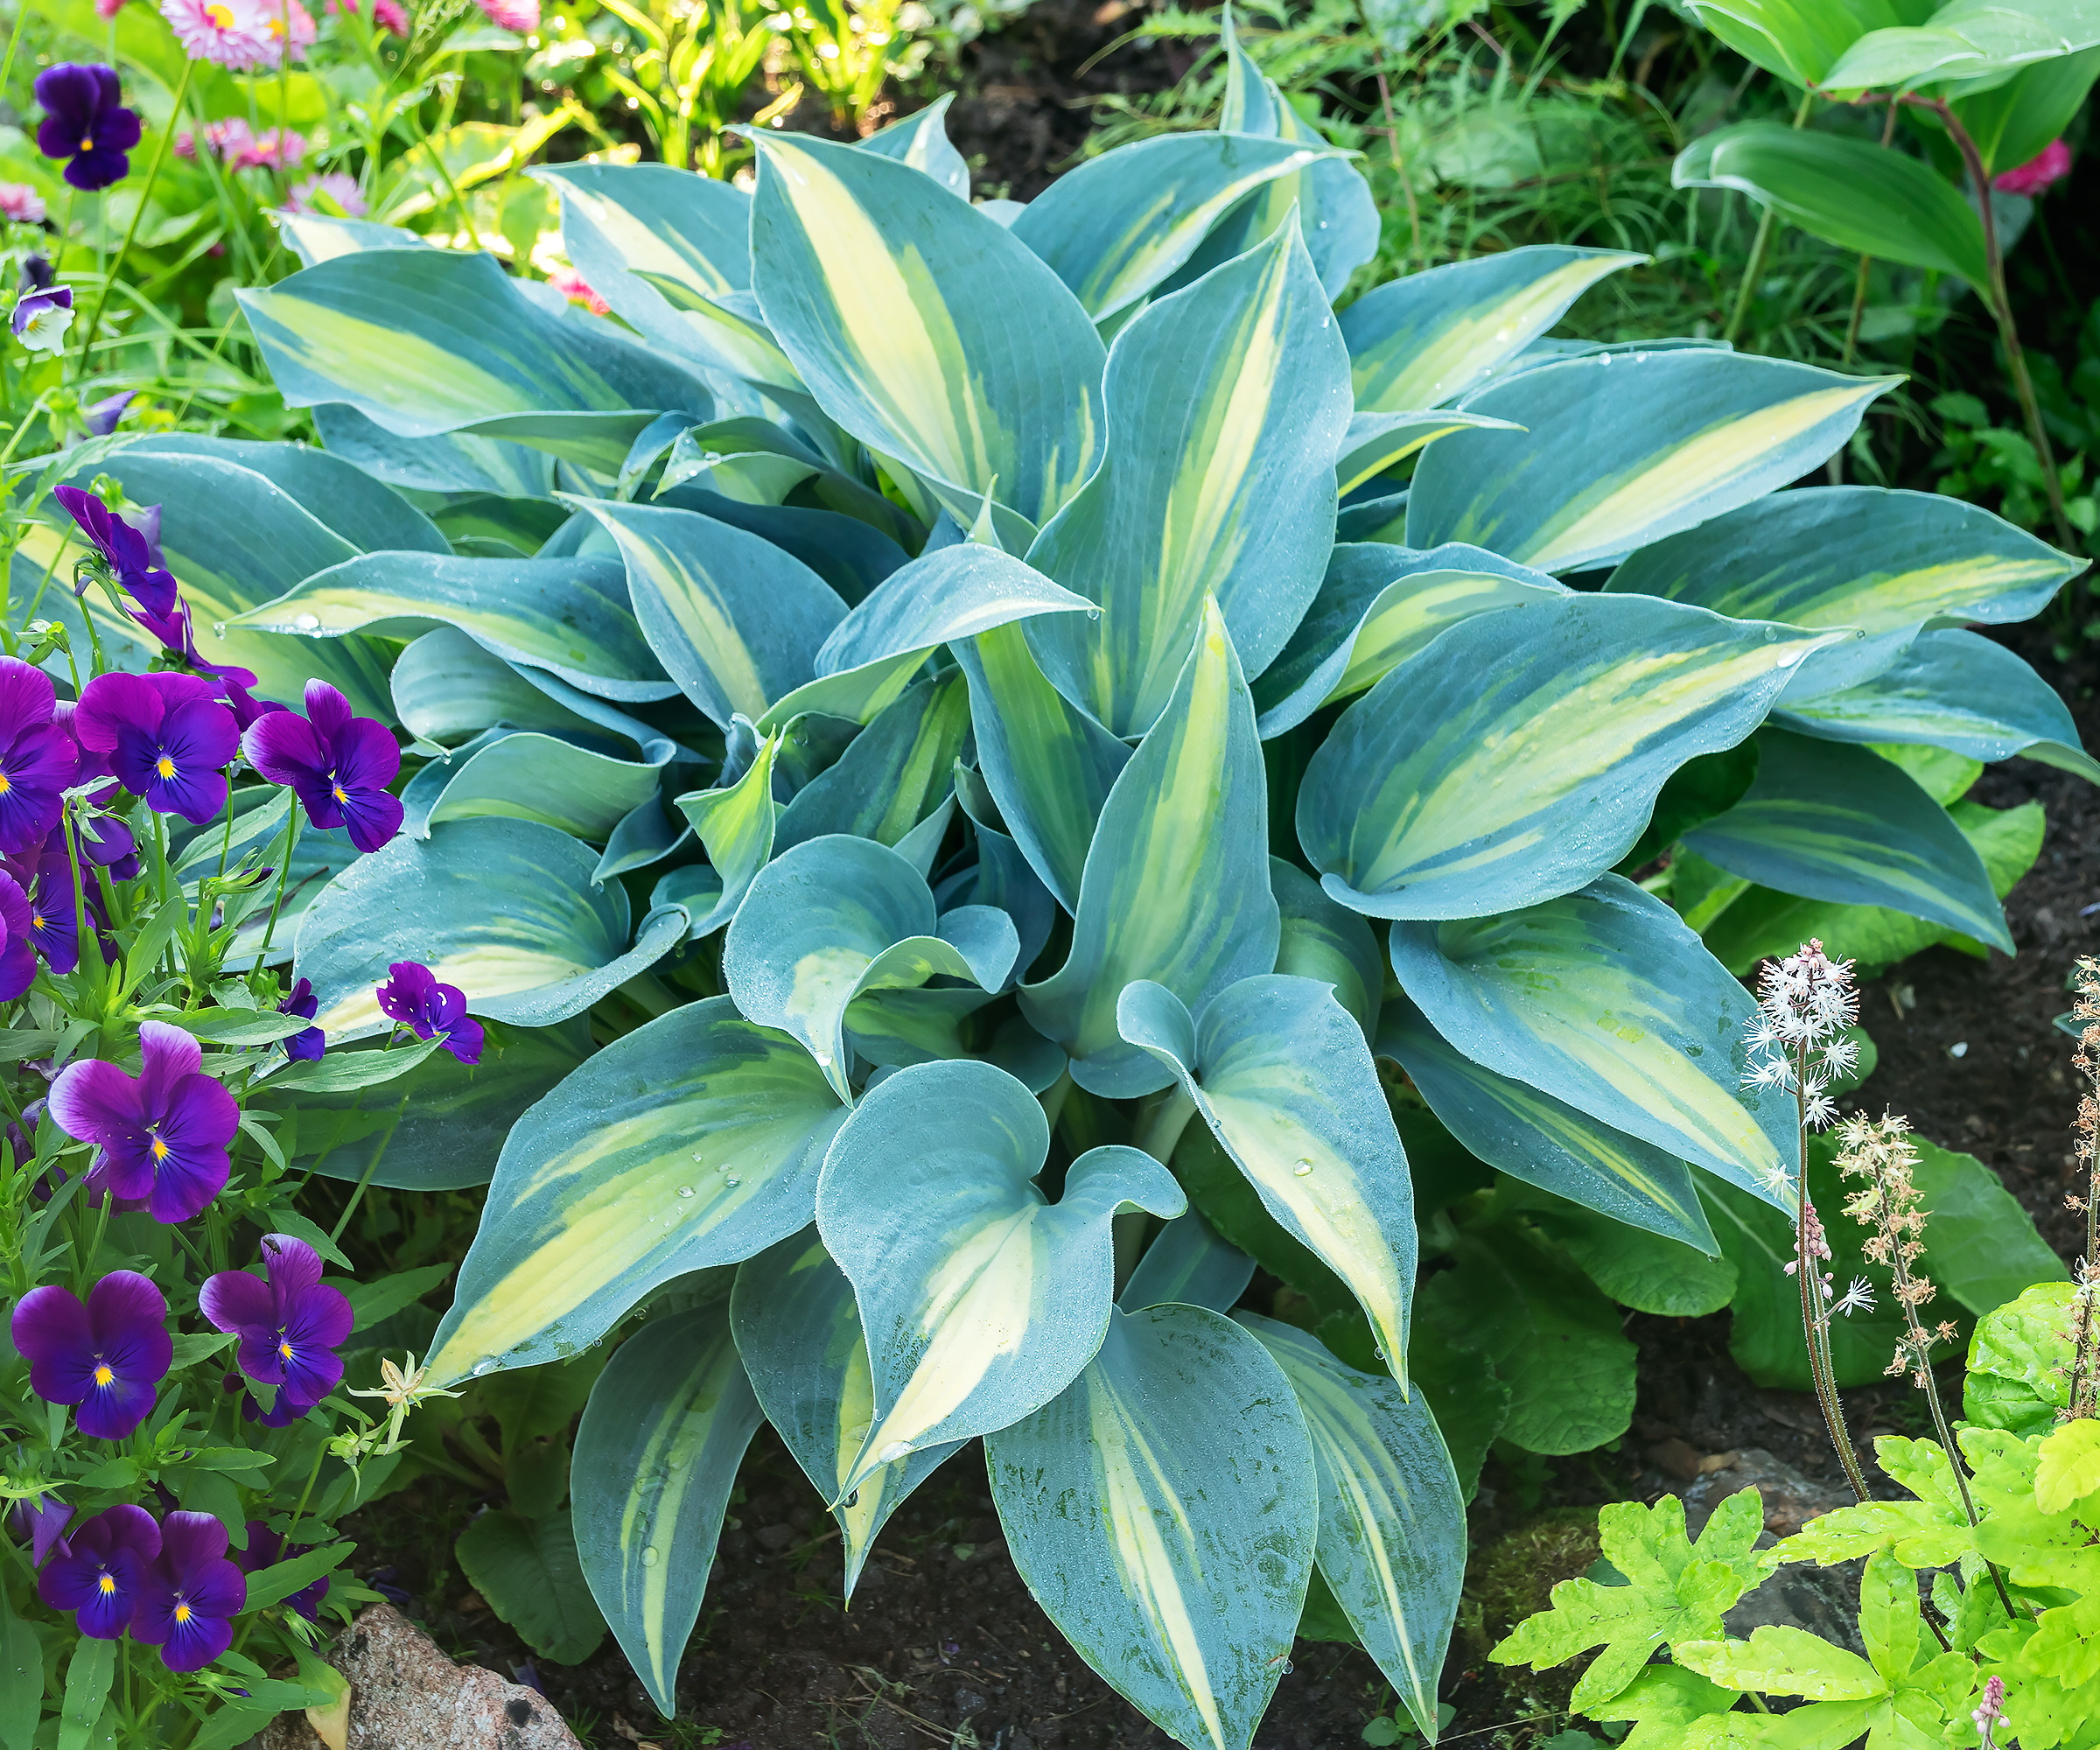
You do not need to cover hostas in advance of winter. Hostas can tolerate temperatures down to -40ºF. However, it is worth covering hostas if spring frosts are threatened and if your hostas are no longer dormant.
You will be able to tell if the hostas aren't dormant as they will have started to grow their new leaves. These new leaves will be extremely vulnerable to frosts so will benefit from covering. You can use frost fleece or plastic cloches – like these from Amazon – once the temperatures start to go down to the 20s, but be sure to remember to remove them once the threat of frost has passed.
6. Protect young hostas
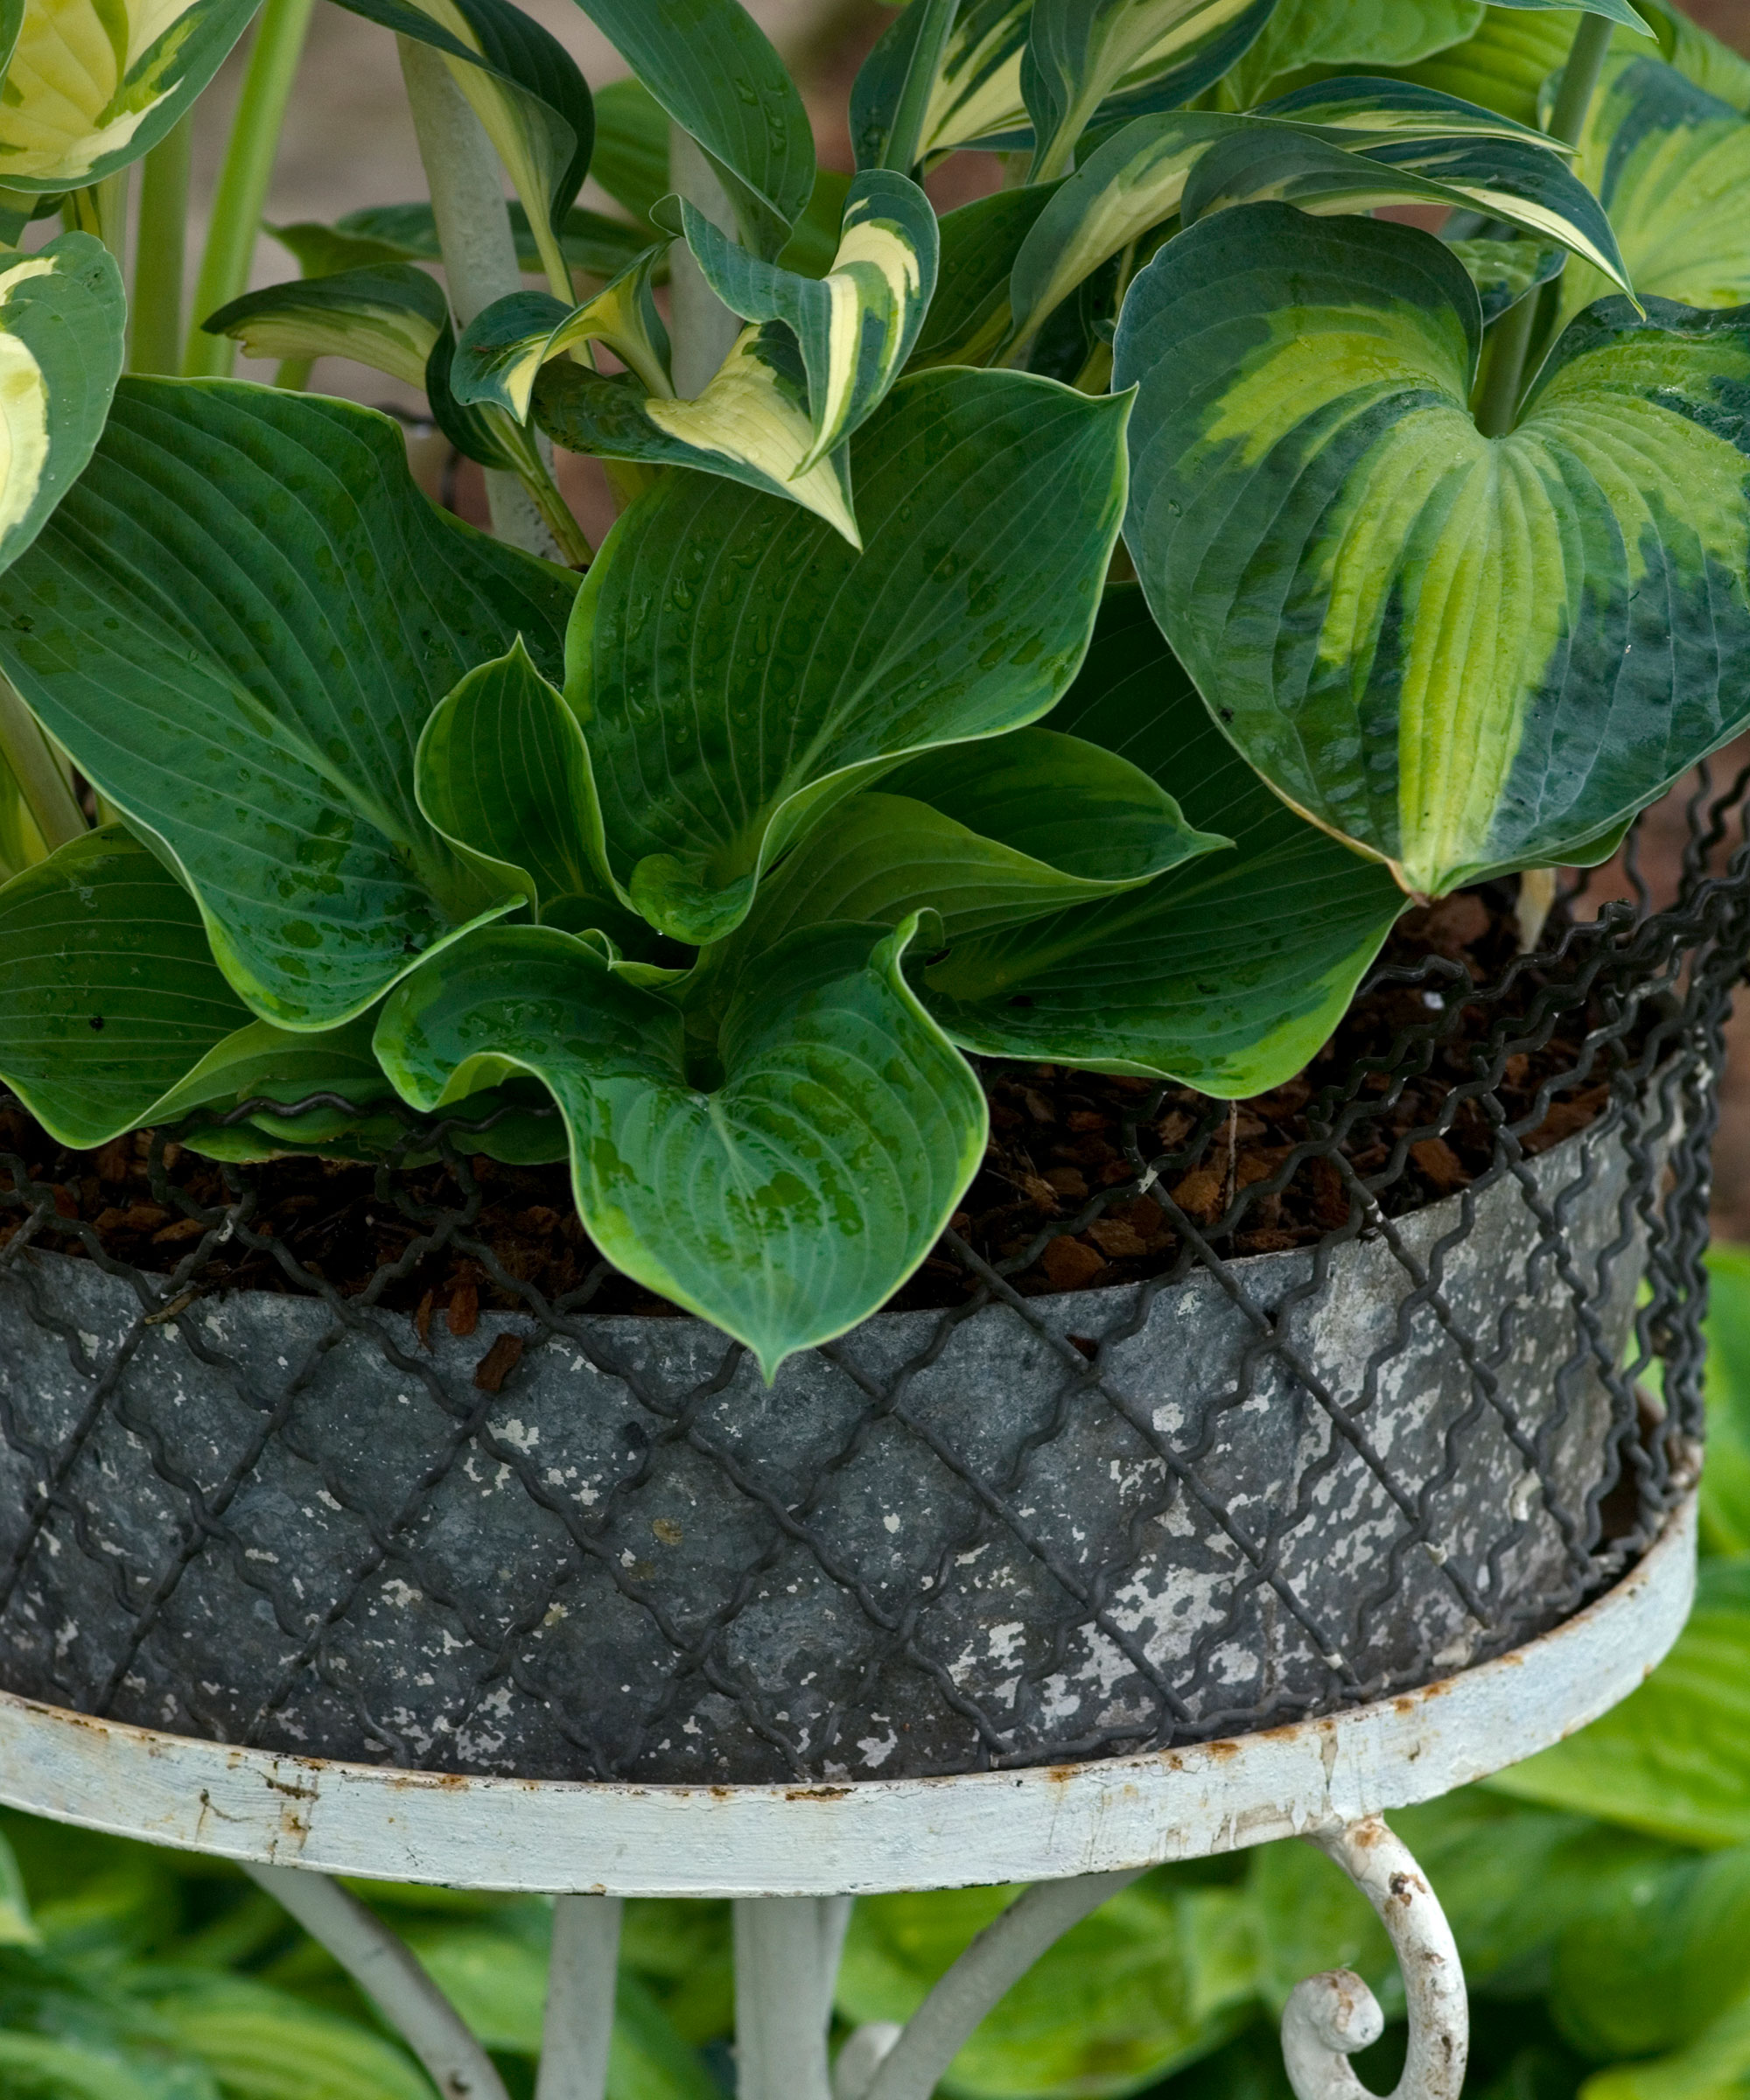
If you have very young hostas in pots – possibly cuttings taken in fall or those grown from seeds – then it is a good idea to protect them as they are more vulnerable.
One of the easiest ways to protect young hostas is to put them in an unheated shed or garage in late fall. Hostas need temperatures of below 41°F to enter their winter dormancy which is vital to ensure vigor the following season. Alternatively, put your pots on their sides, this stops them from filling with water and freezing.
FAQs
Do you cut back hostas for winter?
There is no right or wrong answer to the question, should you cut back hostas in the fall? Hosta leaves die back at the end of fall and therefore, you don't need to cut back hostas for winter. However, dead or dying leaves can be cut off if desired from an aesthetic point of view, however, it will make little difference to the well-being of the plant.
Can I plant hostas in winter?
If you are hoping to grow hostas, then it is best to hold off planting them until winter has passed. If planted in mid-winter your new plants will fail to thrive. Instead, spring and fall are good times to plant hostas.
Similar to overwintering begonias and winterizing salvias, there are lots of quick and simple things you can do now to make sure these stunning perennials grow and bloom even brighter in the yard next season.


