At the time of writing, some Nikon users have reported severe problems when installing Nikon firmware while third-party optics are attached to the camera. See third paragraph (below) to find out more.
Watch video (above): How to add the latest Nikon firmware update
There’s a school of thought that says ‘if it ain’t broke, don’t fix it’. If your camera is working properly, it’s tempting to leave well alone, but that’s not the whole story. Digital cameras are highly complex and sometimes unexpected problems might come to light further down the line. For example, I remember an issue where, in rare circumstances, Nikon's Z5, Z6 II and Z7 II cameras wouldn’t turn on if they hadn’t been used for a considerable time. Nobody wants that! Thankfully, firmware fixed the problem.
It’s not just about fixing bugs. Firmware 3.00 for the Nikon Z8 has upgraded the camera’s capabilities, introducing new features such as Pixel Shift shooting with AE Bracketing or Pixel Shift, and an in-body focus limiter. Plus a plethora of quality-of-life upgrades to boot. Heck, the good old Nikon Z6 and Nikon Z7 once received a firmware update that essentially revolutionized the cameras’ average autofocus capabilities. But firmware updates aren't always plain sailing...
WARNING: Make sure that you remove any third-party lenses before updating your Nikon Z-Series camera. The latest wave of updates for the Nikon Z8, Nikon Zf, Nikon Z6 III, Nikon Z5 II and Nikon Z50 II have prompted reports that you could brick your gear if a third-party lens is attached during the update. The worst cases claim that the electronic link between optic and camera has been severed, so the optic is no longer recognized by the camera.
The following warning now appears on some Nikon Z camera firmware pages: “Do not update the camera firmware with lenses other than Z-mount NIKKOR lenses or mount adapters other than FTZ II/FTZ attached; failure to observe this precaution could result in camera malfunction.” I'm not willing to take any chances, so no matter what Nikon Z-Series camera you have, I recommend ensuring that third-party lenses stay well away when you’re updating your pride and joy.
Download and install
You can apply firmware updates for some of the latest Z-series cameras via the Nikon SnapBridge app on your smartphone but, to cover all the bases (and cameras) I'm going to stick with the tried-and-tested method of downloading them via a computer and copying them to a camera’s memory card.
To download the latest firmware update for your Nikon camera, head to your regional Nikon website. Next, go to the Support section and look for the Download Center. Search for your camera by product name, click the Firmware tab, select your operating system and download the latest version to your computer.
The downloaded file will have a ‘.bin’ extension with a full filename of, for example, ‘Z_8_0300.bin’ for the V3.00 firmware for the Nikon Z8. If your PC or Mac is set to not show filename extensions, simply look for the ‘Z_8_0300’ file (sticking with this example), then follow my step-by-step guide on the next page to install it in your camera.
Format a card
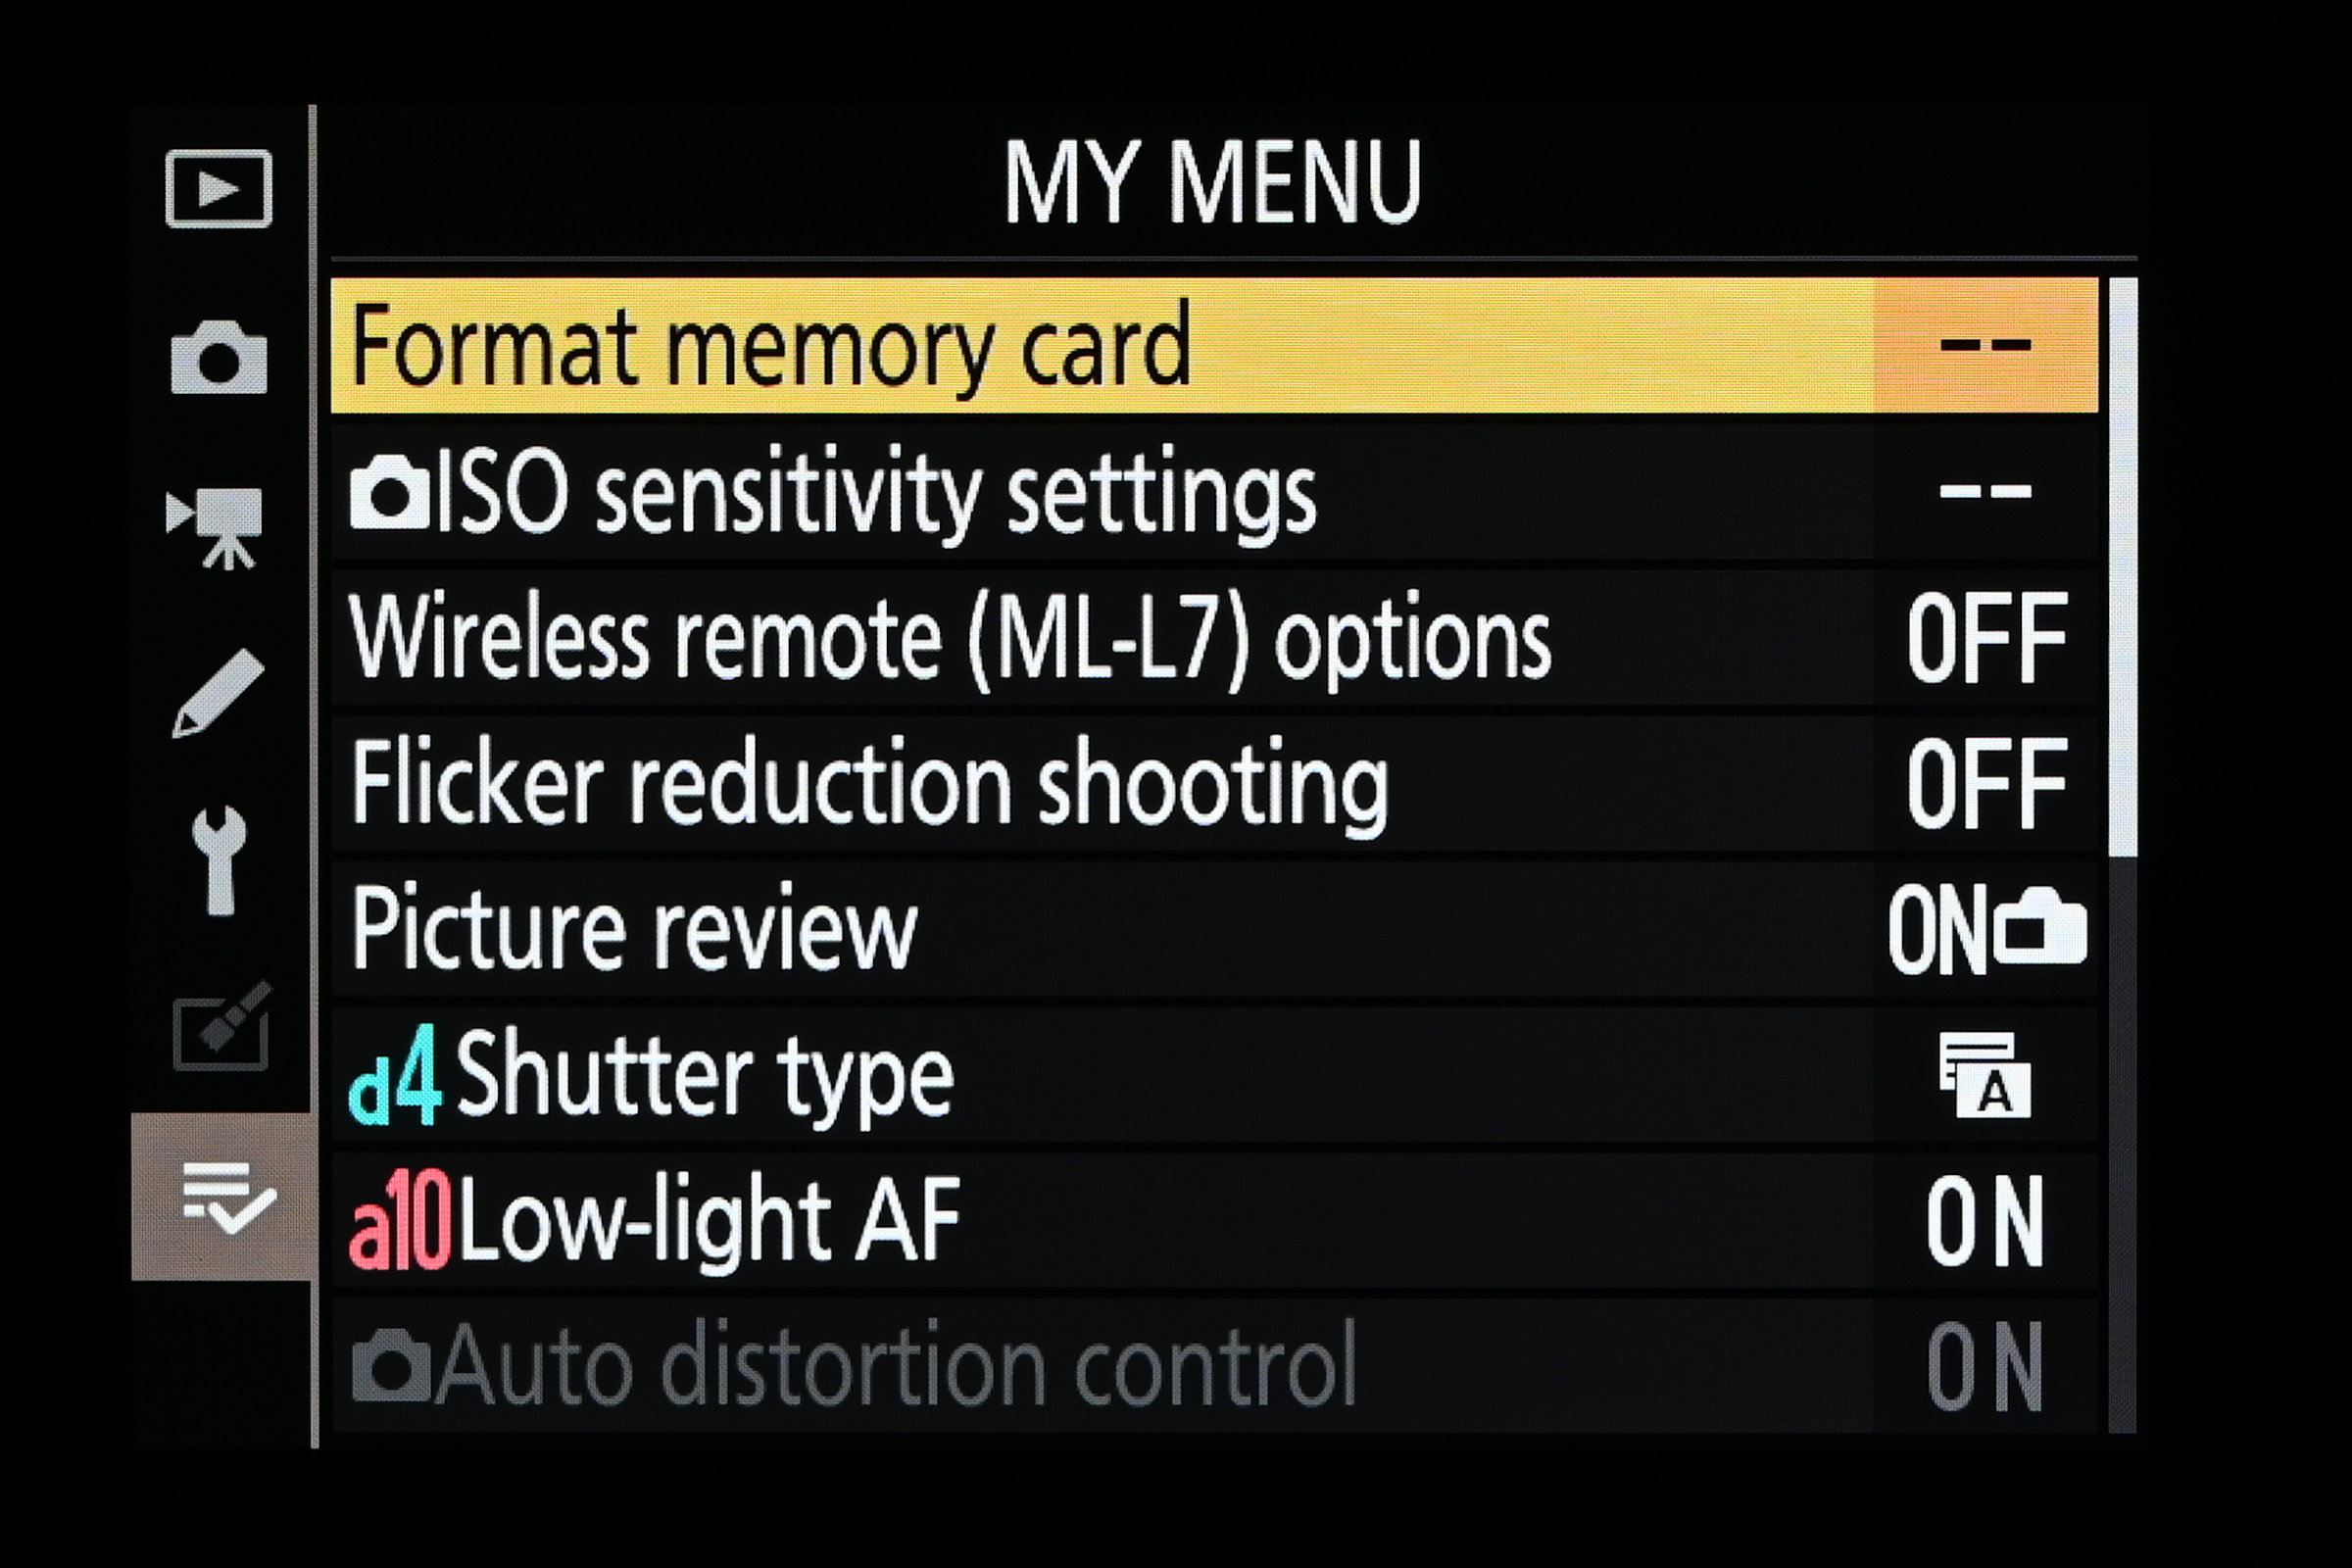
Format a spare memory card in the camera itself, via the Setup Menu. If you already have a camera-formatted card inserted, you can use this if it has sufficient spare space for the update file, so you don’t need to reformat it, which deletes all images and video clips. If your camera has dual memory card slots of different types, you’ll need to set the ‘Primary slot selection’ for the type of card you’re using, in the Photo shooting menu.
Copy the file
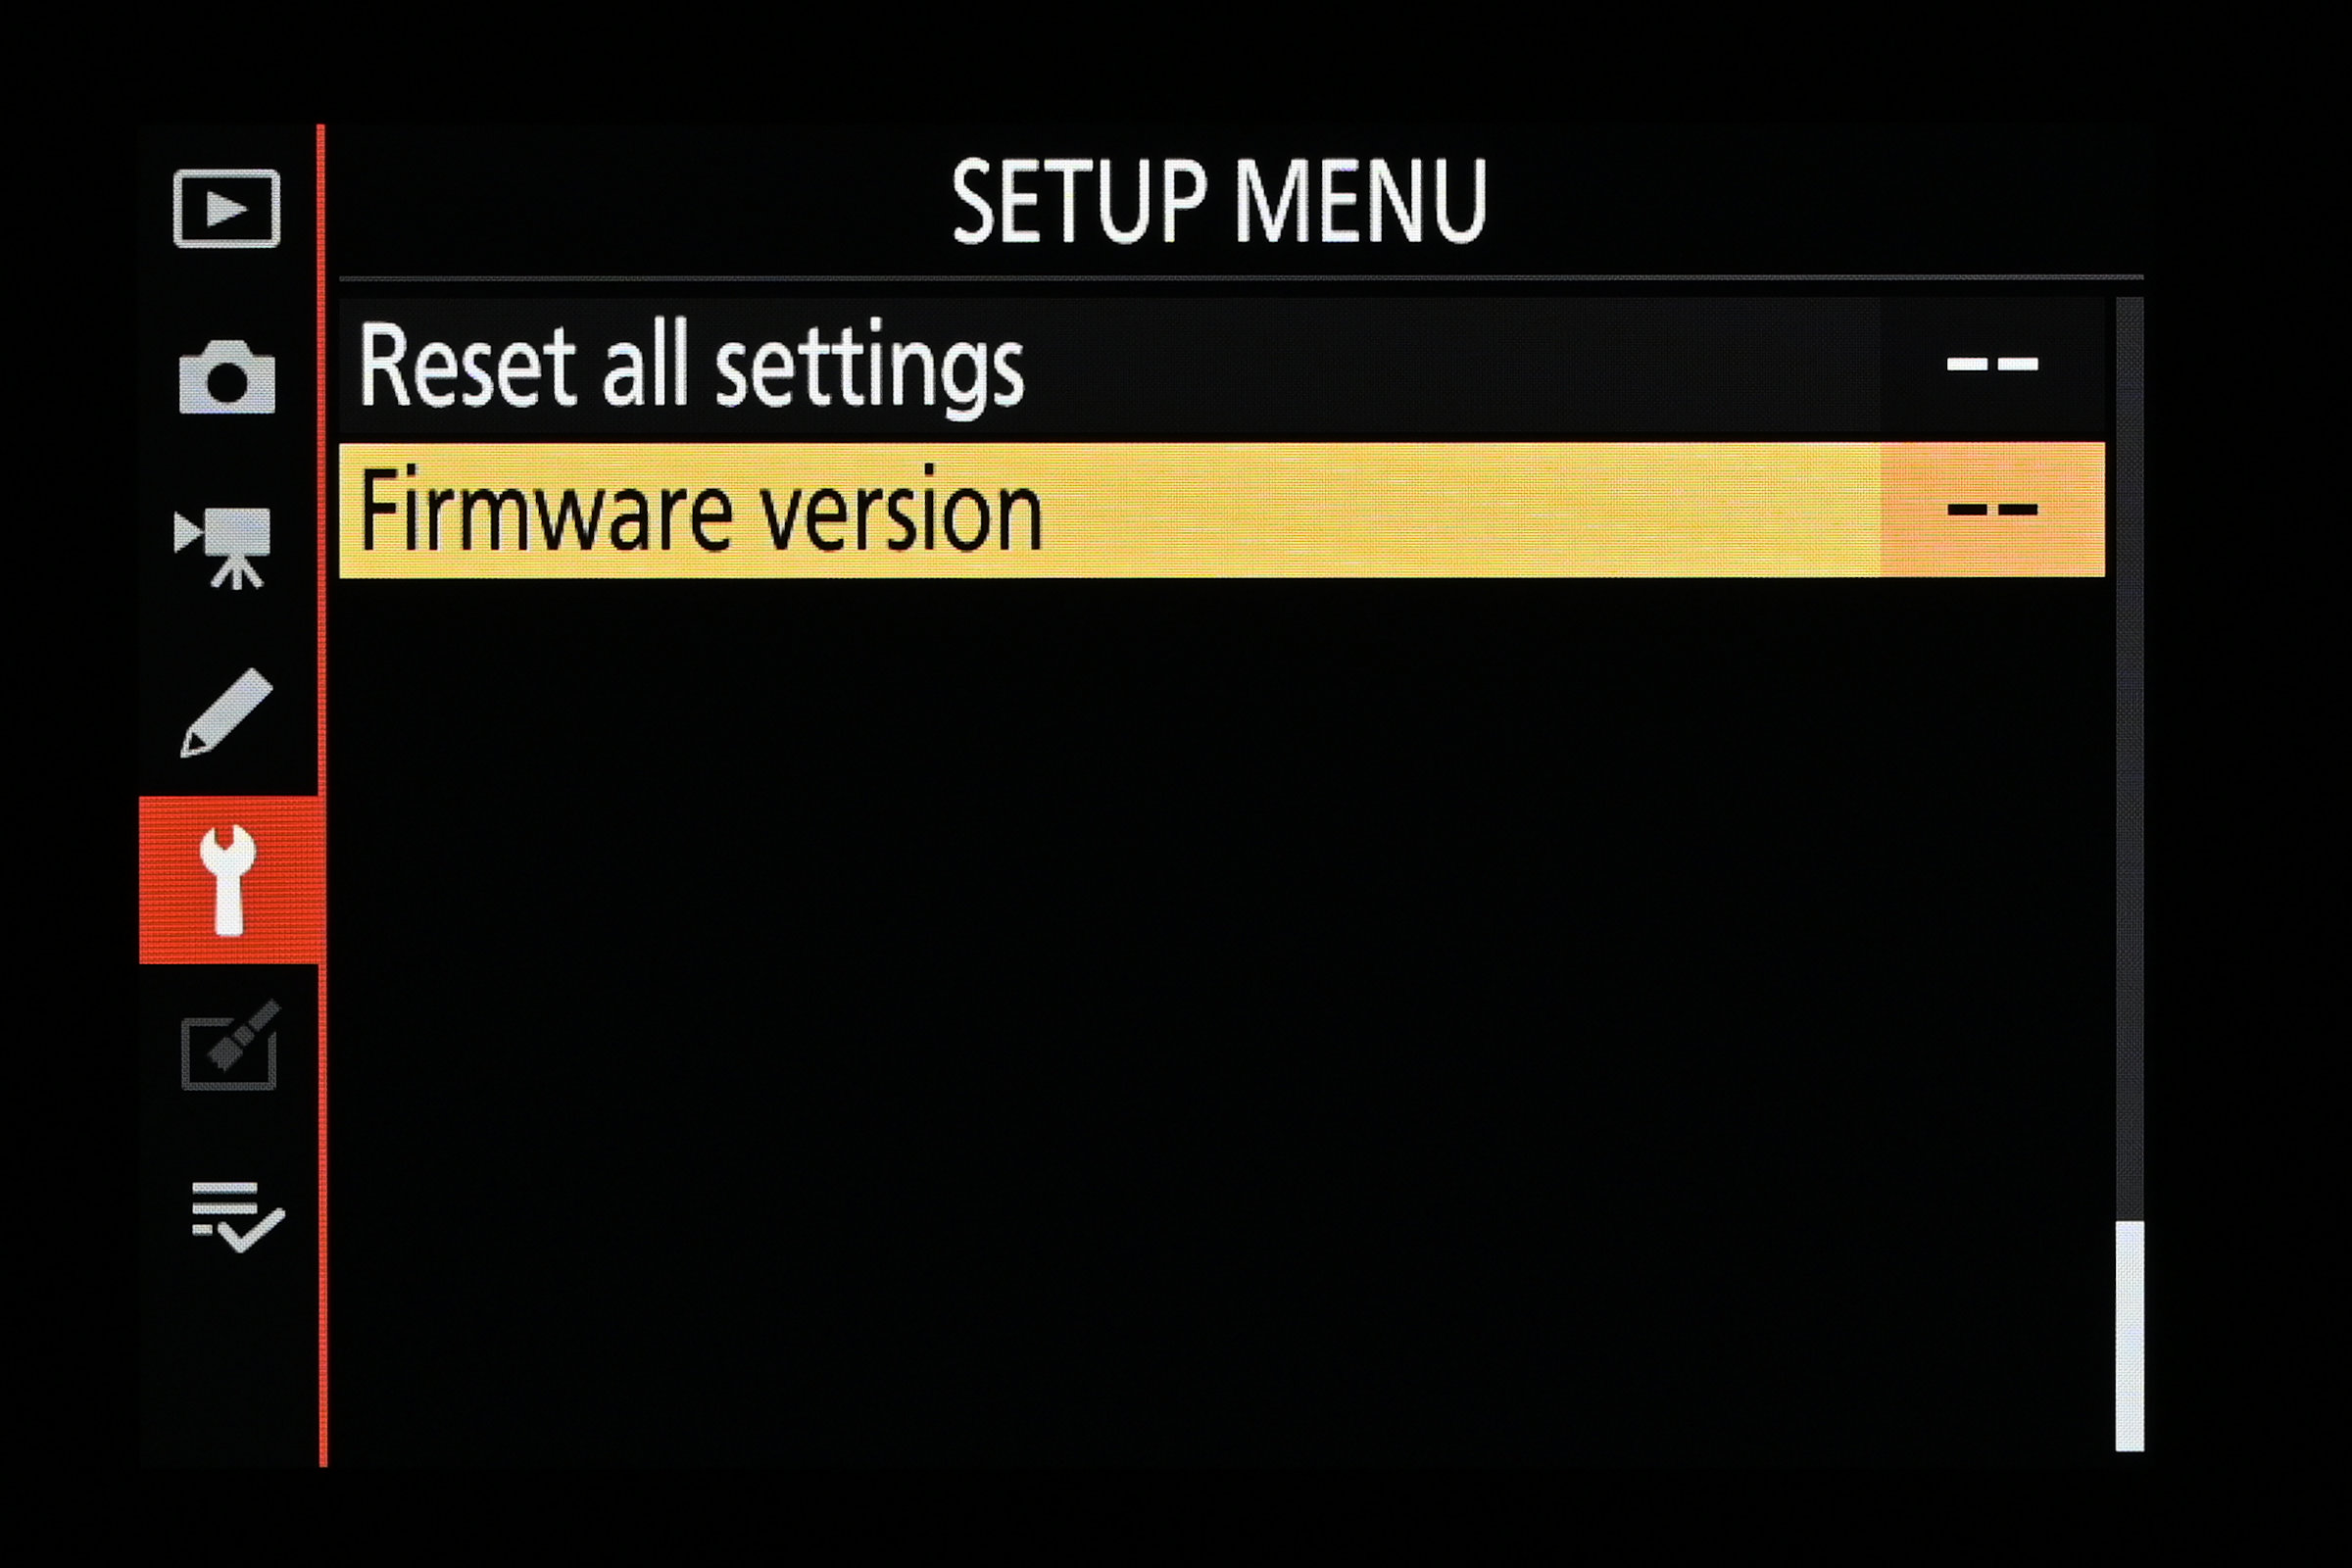
Using a plug-in card reader, or connecting your camera to your computer via a USB cable, copy the ‘.bin’ firmware installation file that you downloaded from the Internet to the root directory or folder of the memory card. You’ll notice that once you’ve formatted the card in the camera, sub-directories will include DCIM and NIKON folders. Don’t copy the .bin file into either of these. Next, head to the ‘Firmware version’, shown here at the bottom of the camera’s Setup Menu.
Firmware version
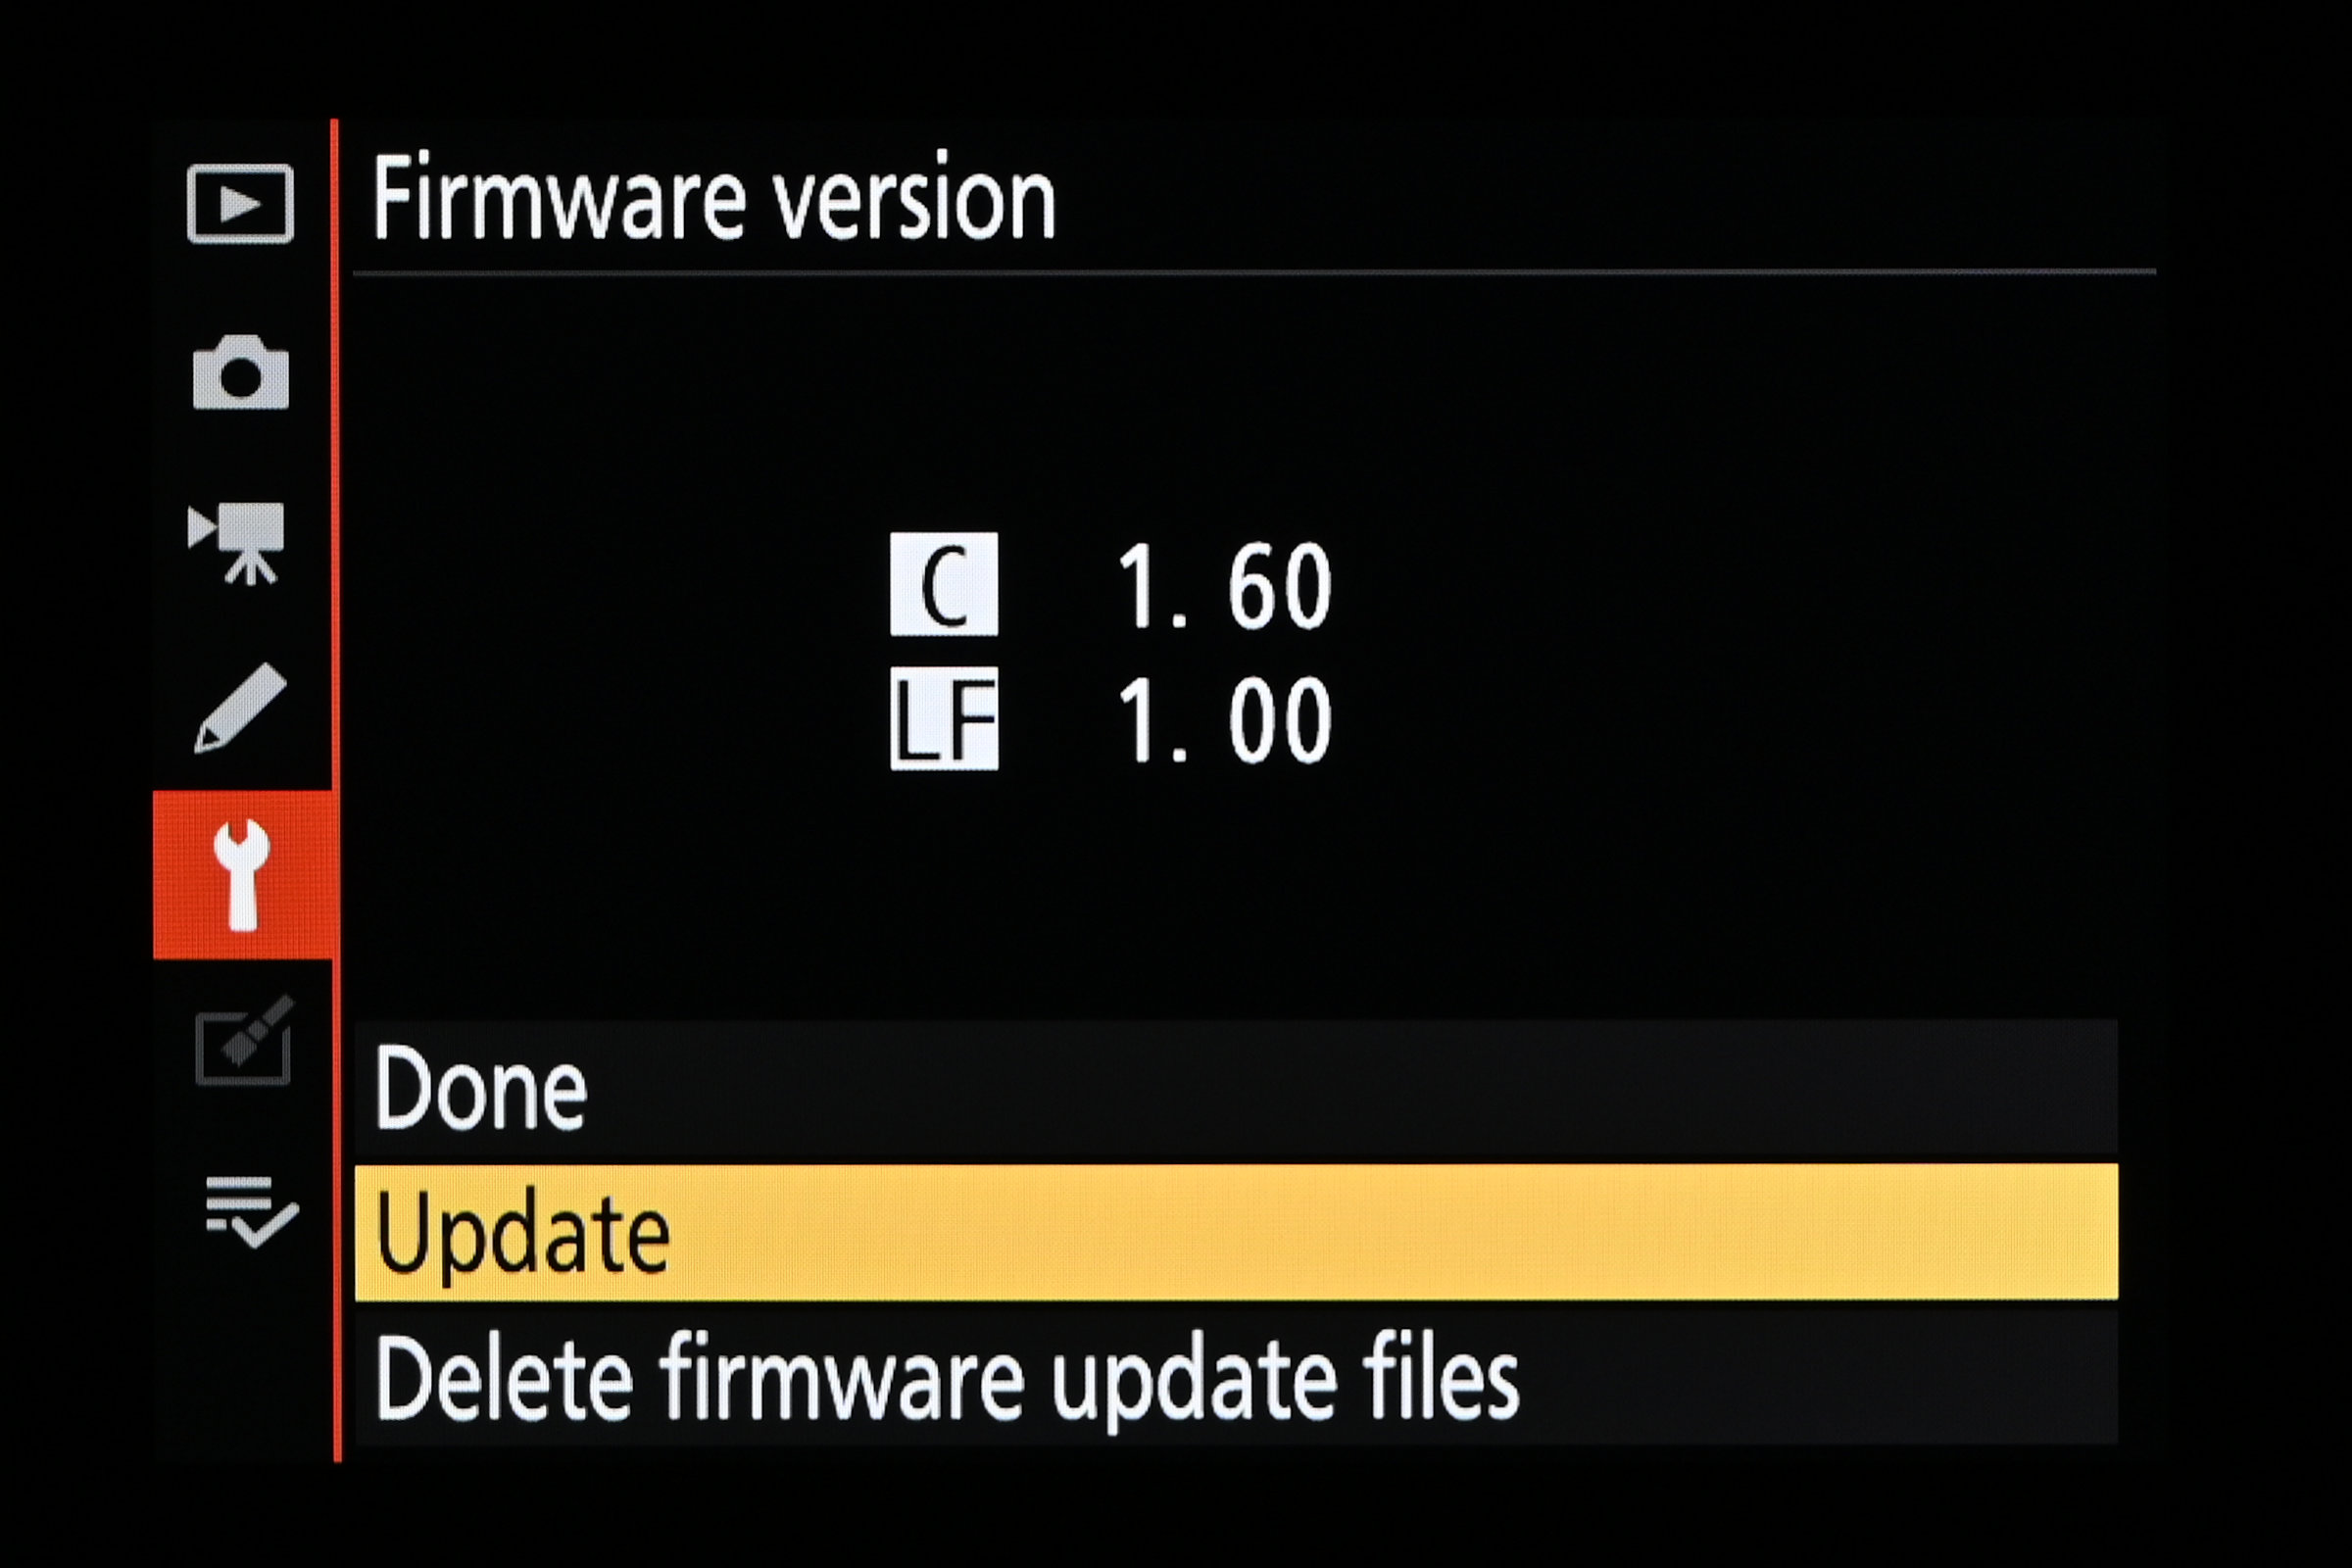
After highlighting ‘Firmware version’ in the Setup Menu, press the OK button or the right arrow, and this screen will be displayed. It shows the camera’s current firmware version and lists options for ‘Update’ and ‘Delete firmware update files’. You need to select the Update option to apply the firmware update, and can come back to the latter option once you’ve completed the whole process, to delete the .bin file.
Are you sure?
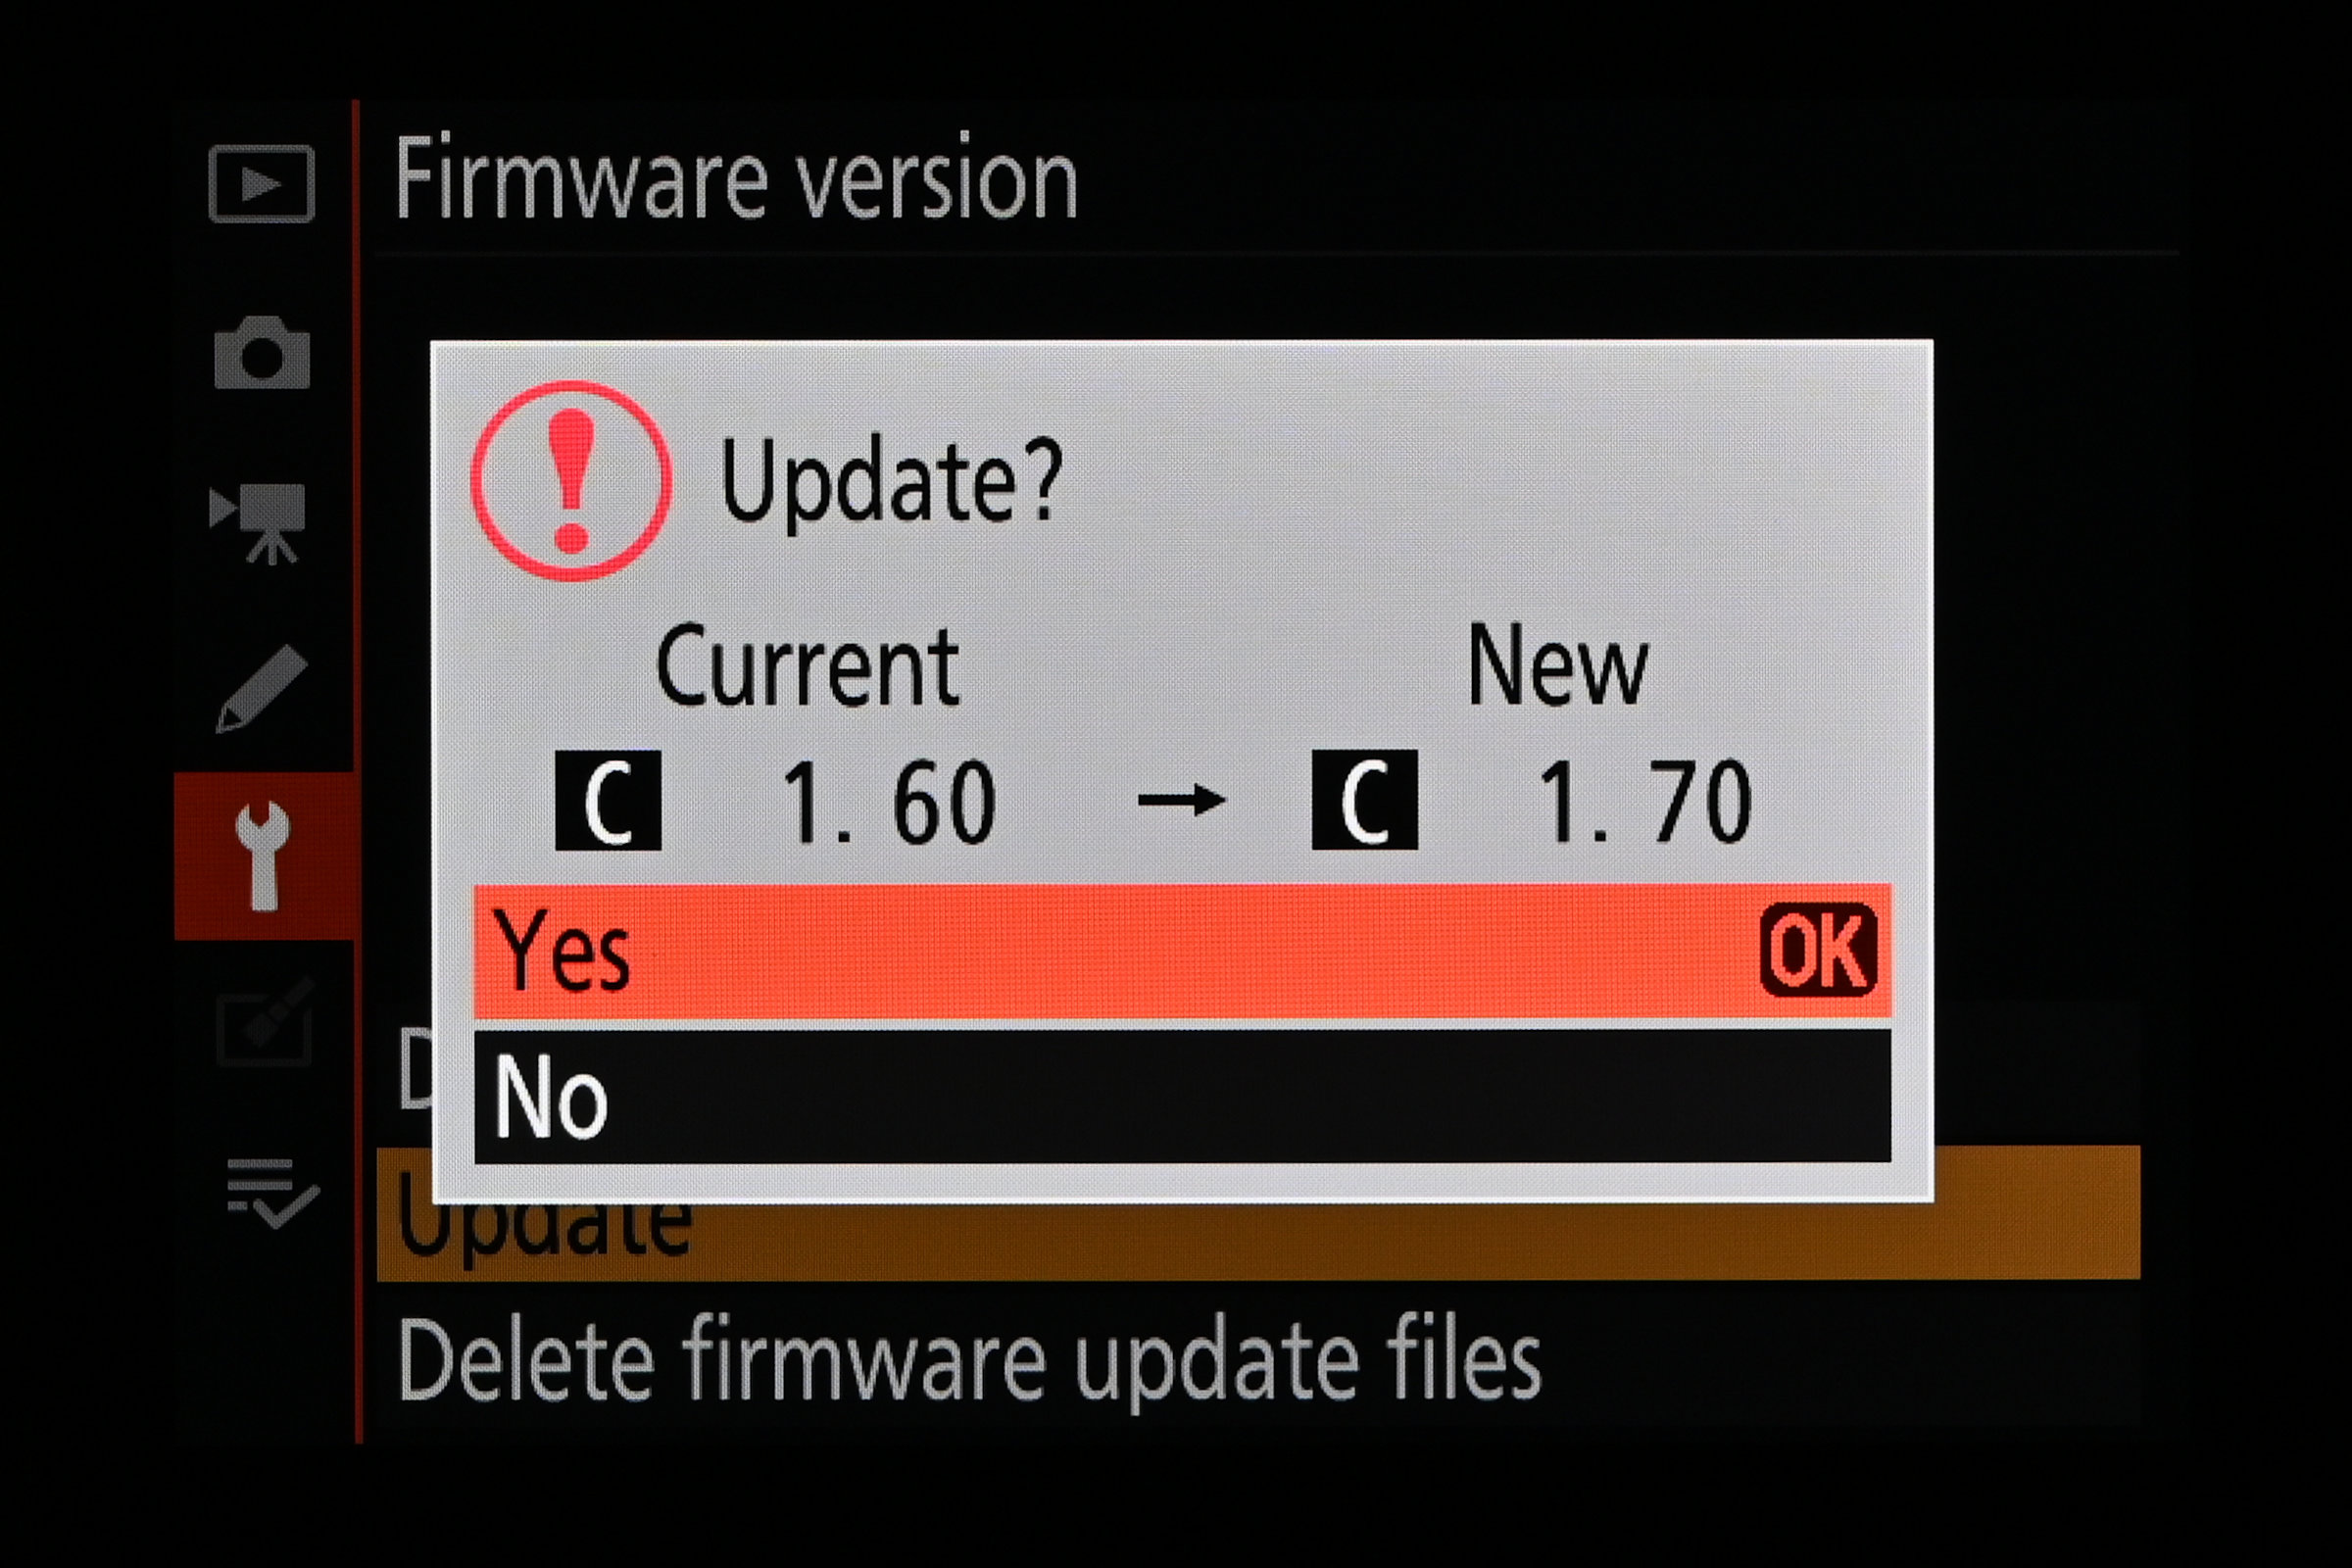
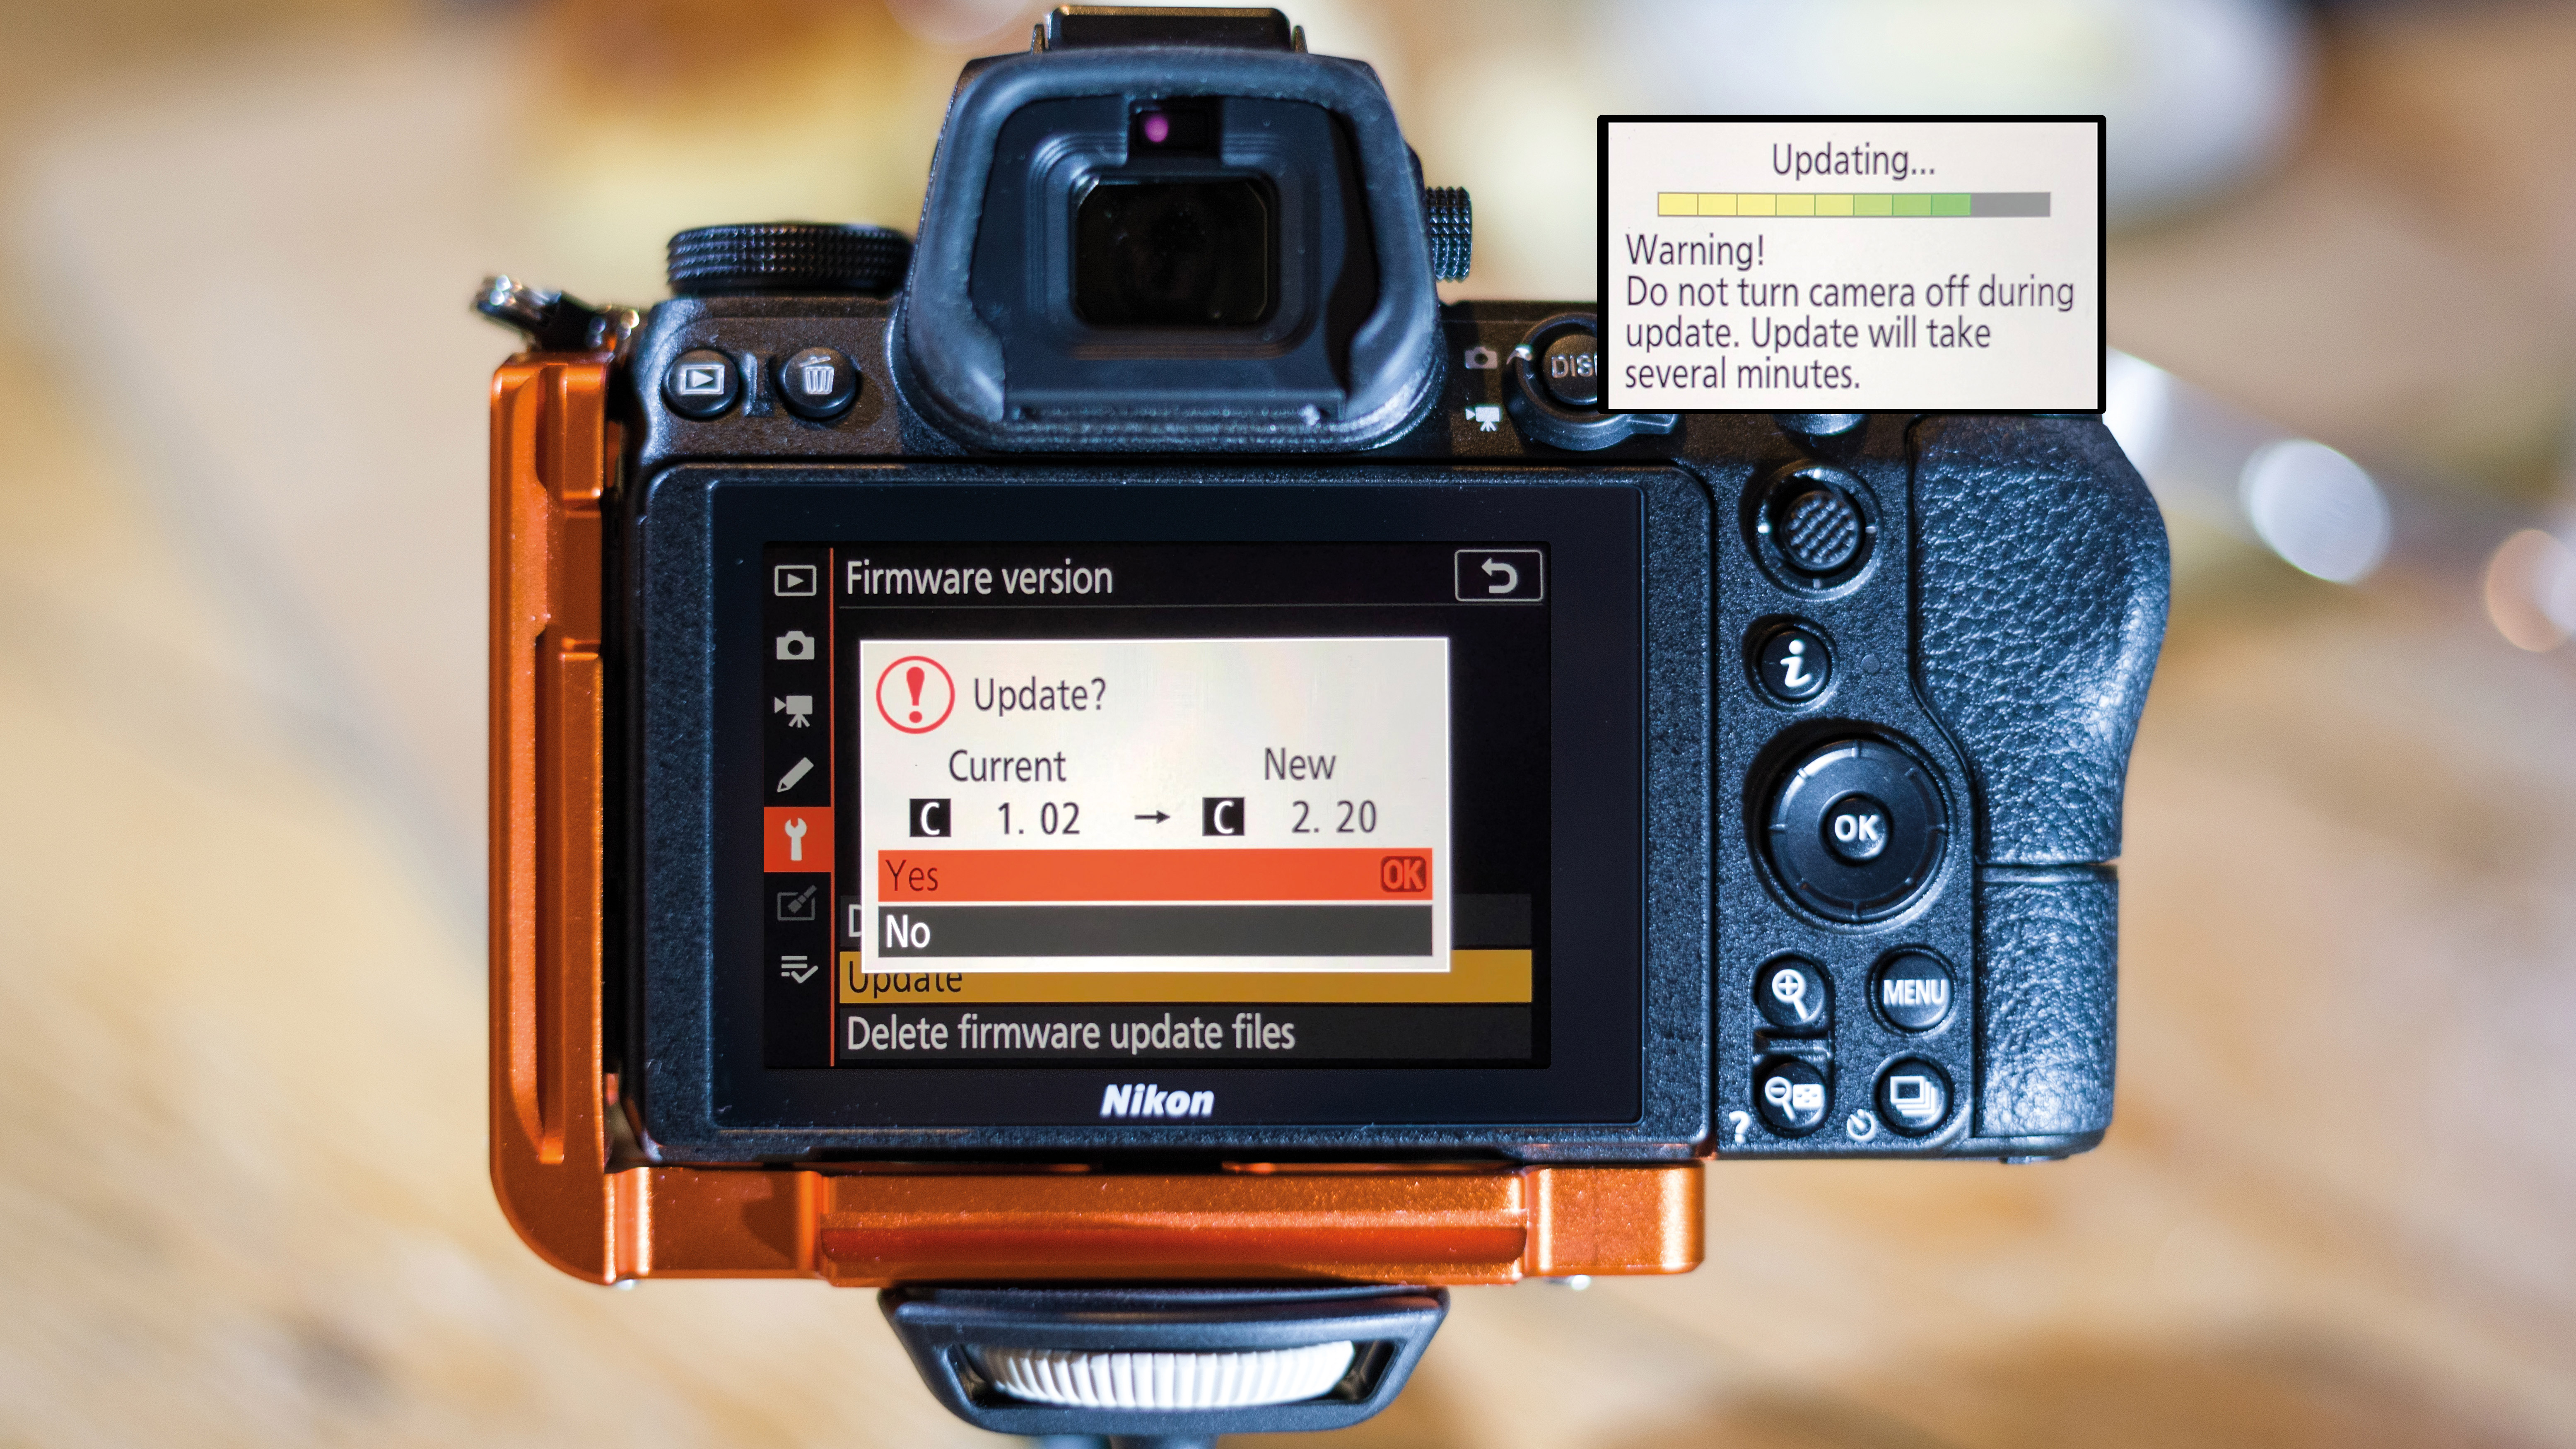
As an added safety measure, once you’ve selected the Update option in the previous step, you’ll see a screen similar to this one. It displays the camera’s current firmware version on the left, and the new firmware version to which you’re upgrading on the right. To go ahead with the update, select ‘Yes’ and press the OK button. If your camera’s battery is low on charge, you’ll need to charge it up first.
Updating...
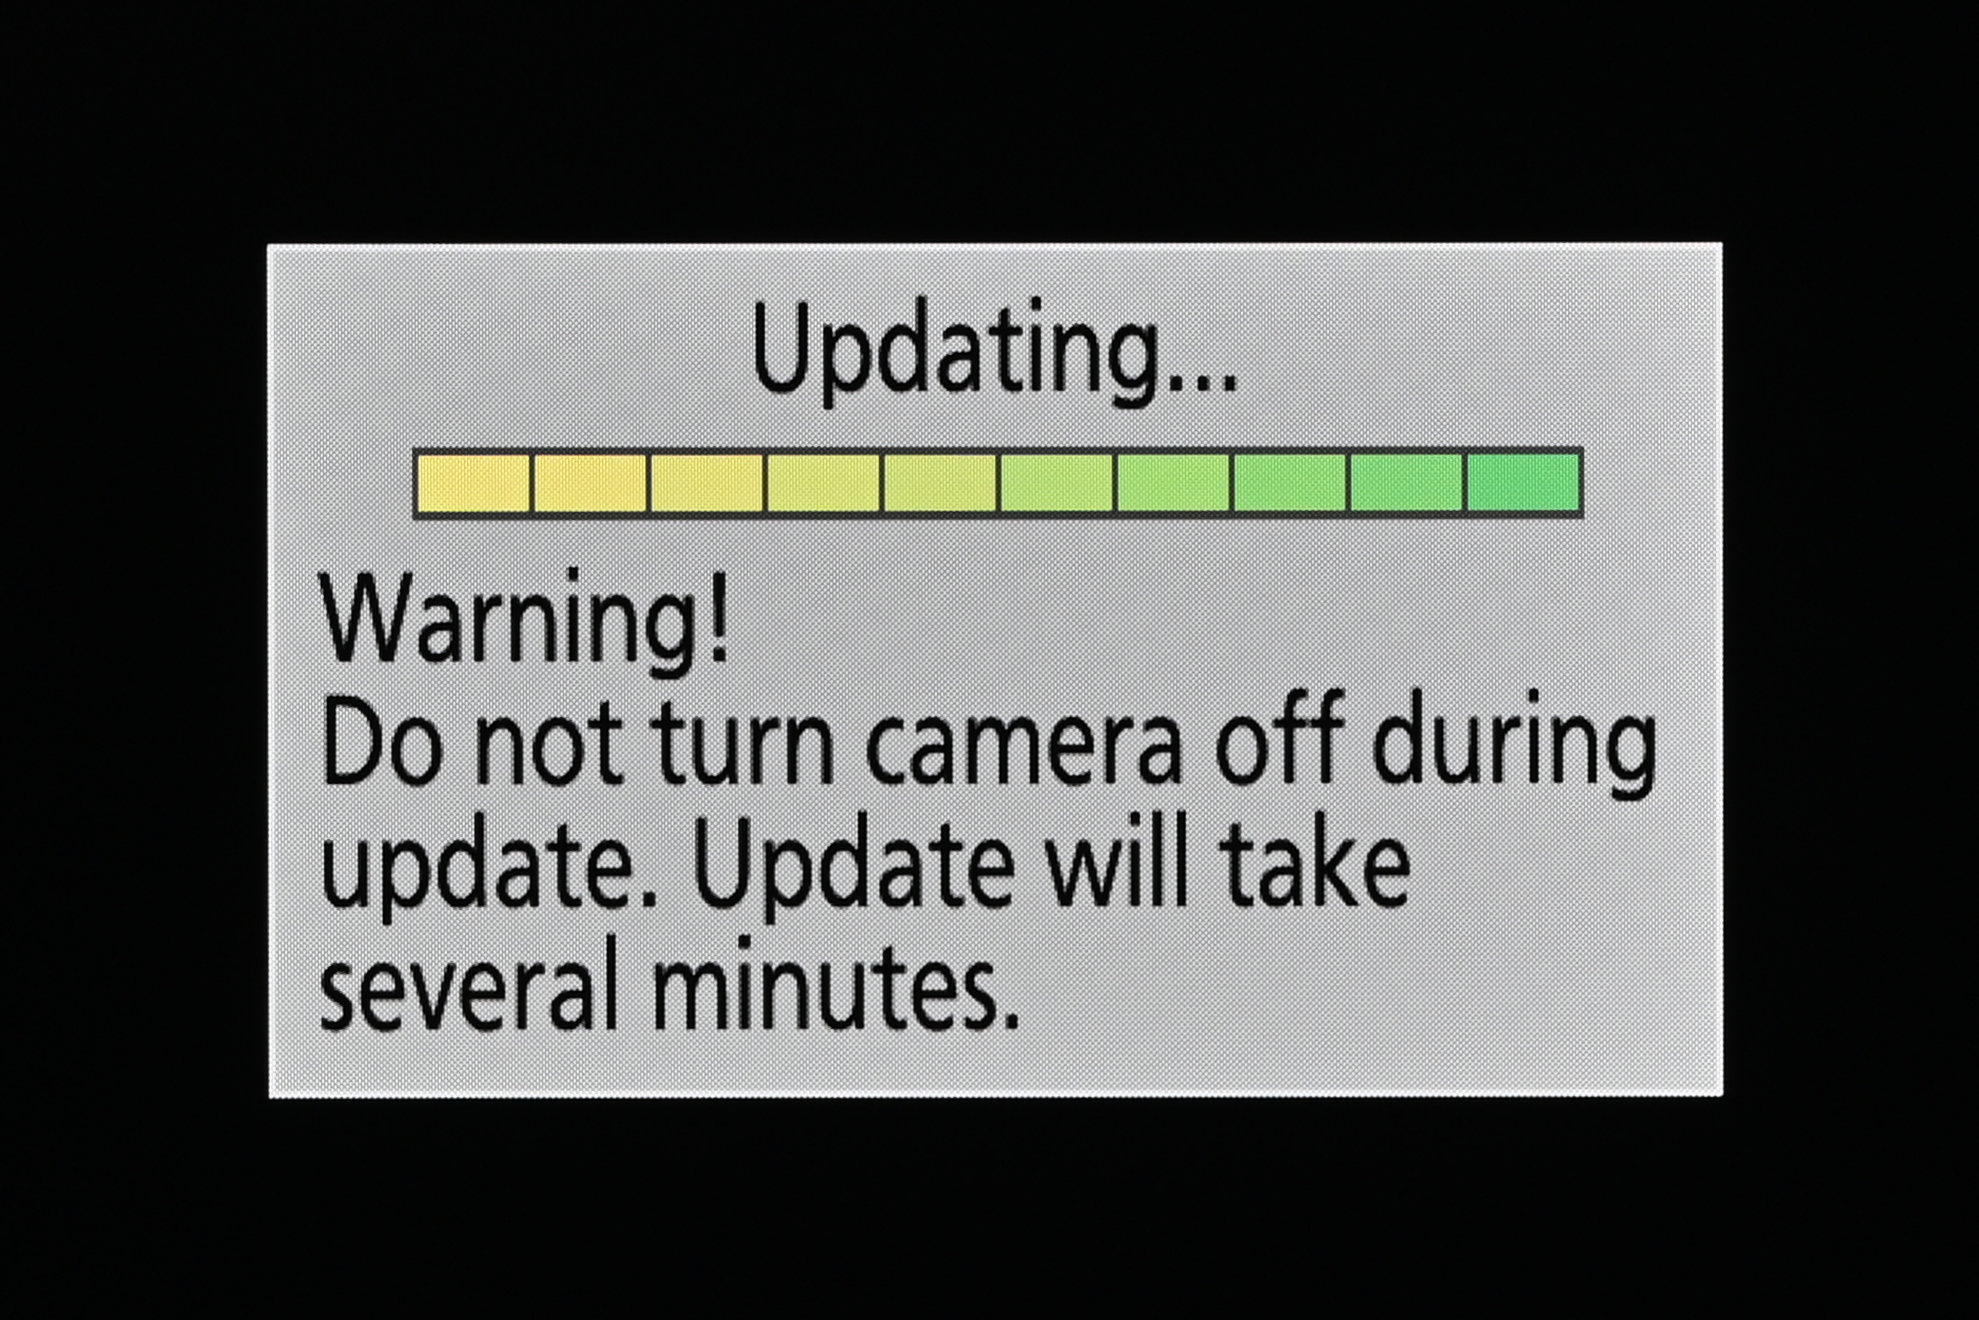
It’s really important not to switch off the camera while the update is in progress. You’ll see a progress bar that illuminates in segments from left to right as the procedure is underway. In this example image, the update is almost finished. To avoid any mishaps, it’s best to put the camera down and not touch any of its buttons or controls while the firmware is updating. Just hang tight and wait until it’s finished.
Job done
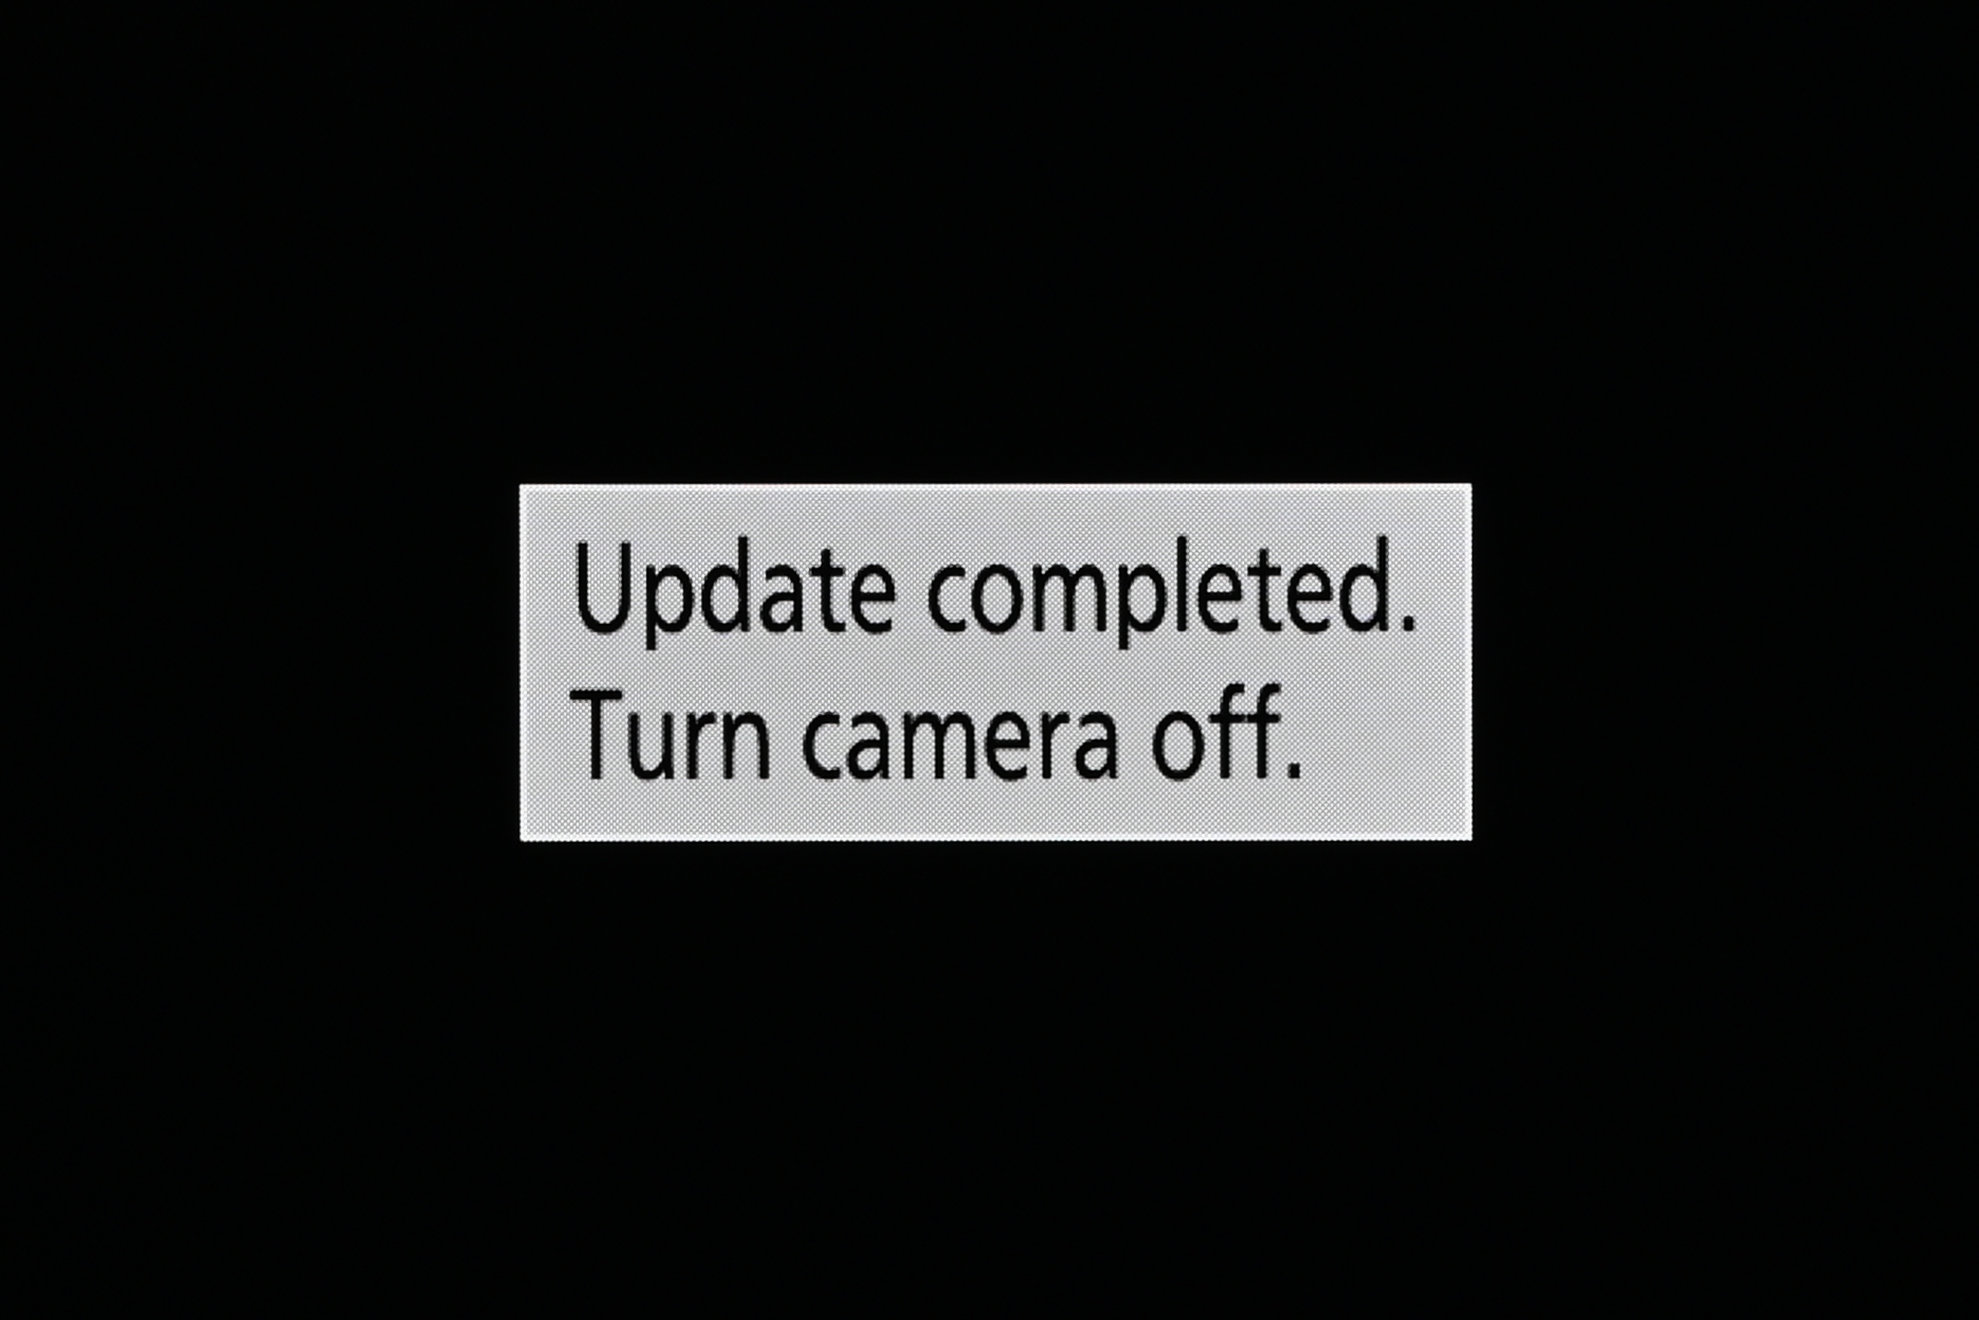
Once your camera has finished updating the firmware, you’ll see this screen. It confirms that the update is complete, and instructs you to turn off the camera. As we’ve mentioned, it’s very important to wait until you see this screen before switching off the camera. After turning the camera off and back on again, you can use the ‘Firmware version’ option in the Setup Menu to confirm that the camera is now running on its updated firmware.
You might also like...
For more on firmware, find out: What are firmware updates and do I really need them? If you're looking to upgrade your Nikon kit, check out the best Nikon Z lenses and the best Nikon cameras.


