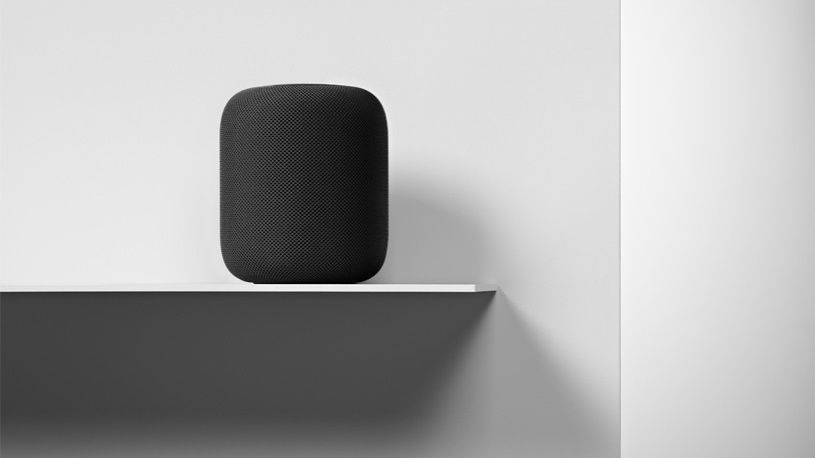
If you own an Apple HomePod or HomePod Mini, you need to know how to update it. If you don’t, you might miss out on new features that Apple rolls out, not to mention possibly introduce connectivity or compatibility issues when trying to use it.
After all, Apple speakers like the Apple HomePod 2 are the best smart home devices if you live in a HomeKit ecosystem, so the last thing you want is for your speaker to be out-of-date. Luckily, it’s a straightforward process – just make sure to bring an iPhone or iPad with HomeKit on it (and make sure those devices are up-to-date as well).
With that in mind, we’ll take you through the necessary steps to make sure you have your HomePod or HomePod Mini in up-to-date and working condition. And, if you have other devices connected through HomeKit, updating those requires basically the same handful of steps.
Steps for how to update HomePod
- Open the Home App
- Press on the More icon
- Go to Software Update
- Select Update
- Follow on-screen instructions
Tools and Requirements
- HomePod or HomePod Mini
- Smartphone or tablet with HomeKit app installed
Step by step guide
1. Open Home App
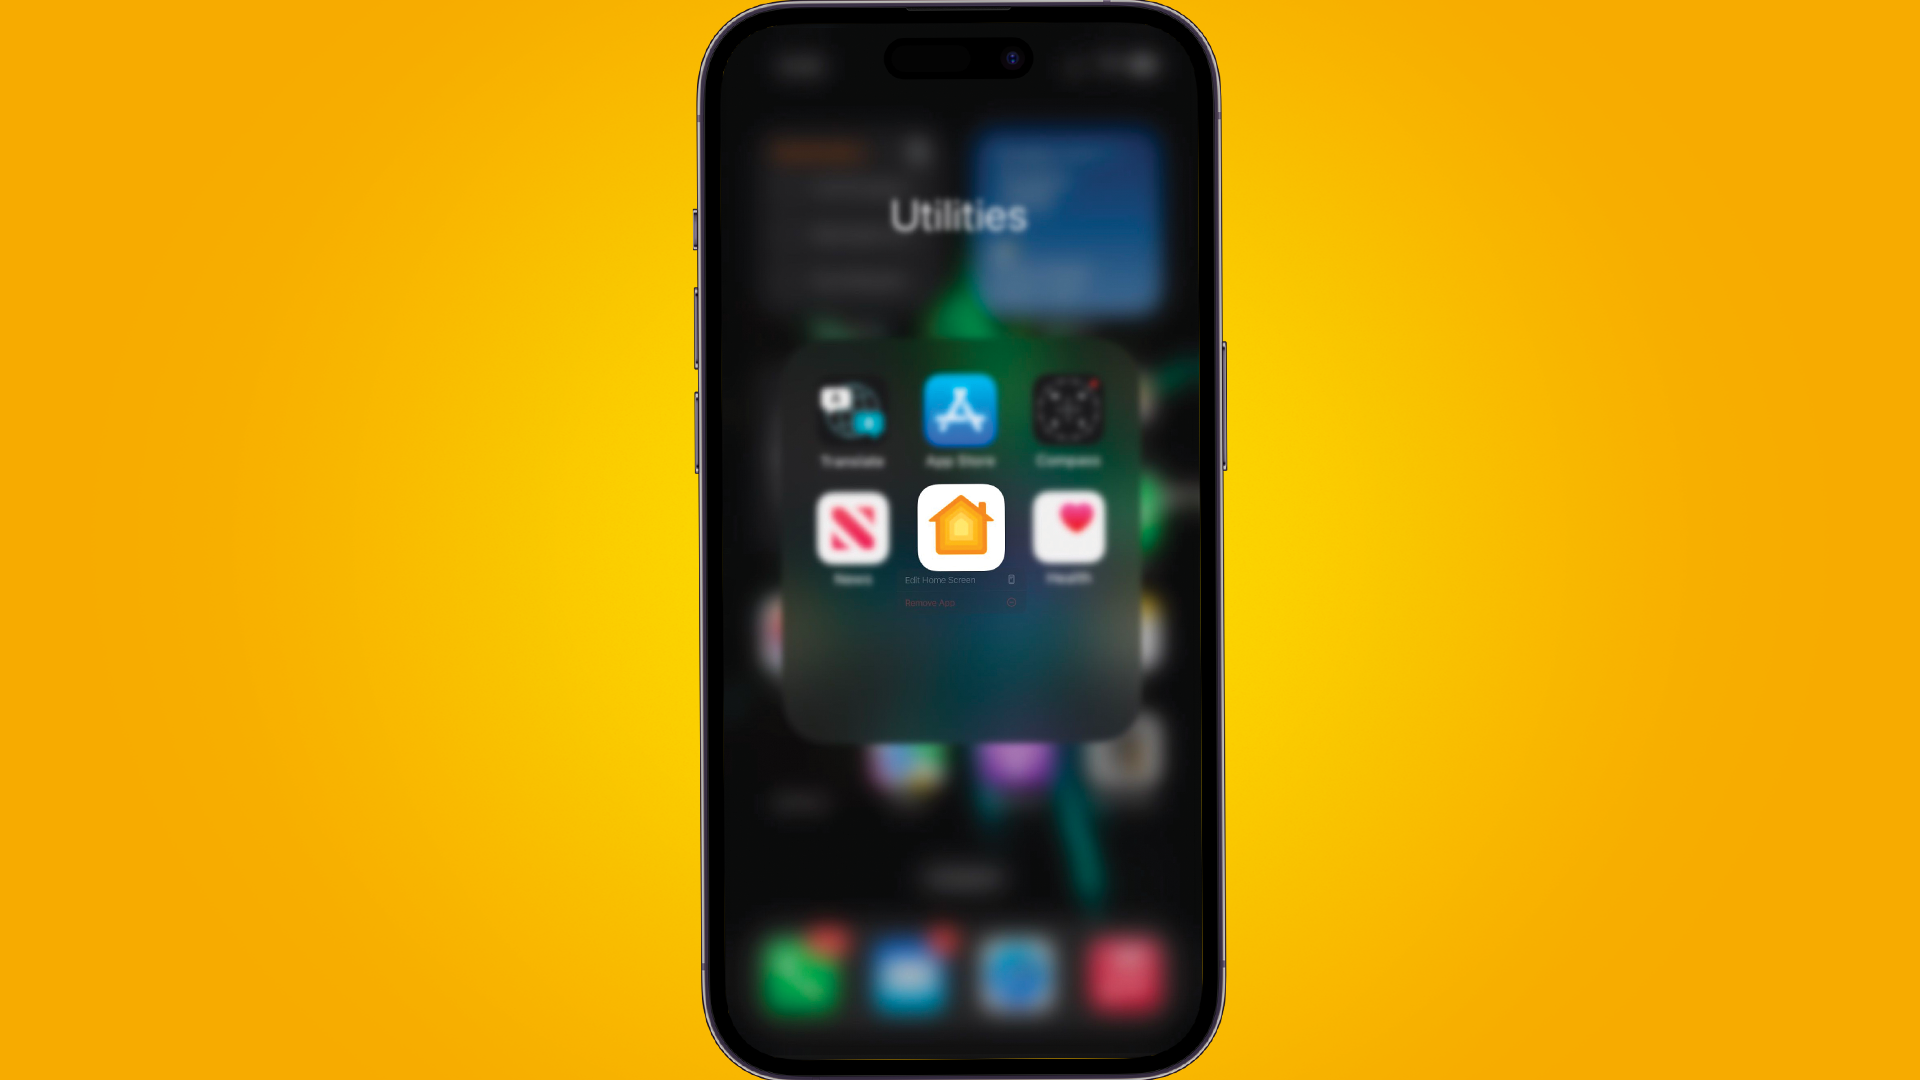
Find and open the Home app from your iPhone or iPad's home screen or App library.
2. Press on the More icon
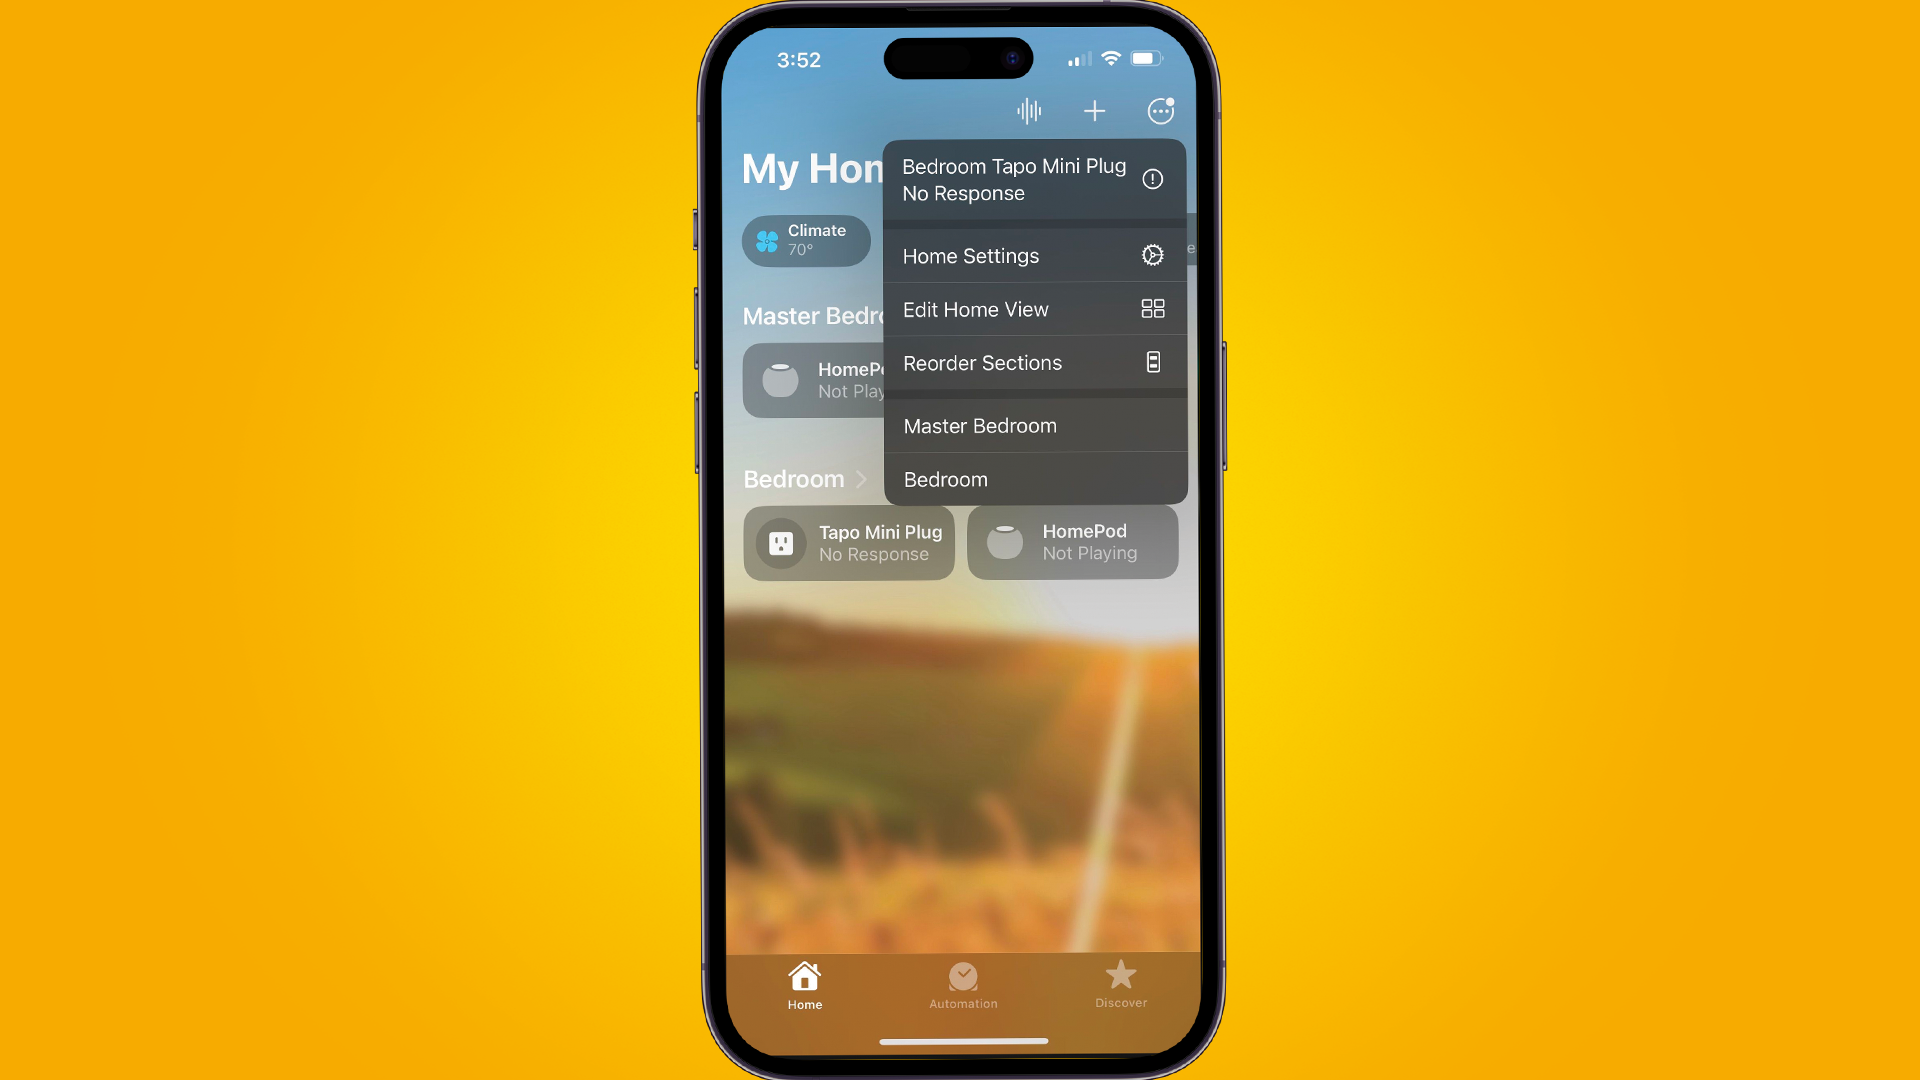
Press on the More icon > Home Settings. You’ll find the More icon in the top right corner, indicated by three dots inside a circle.
3. Go to Software Update
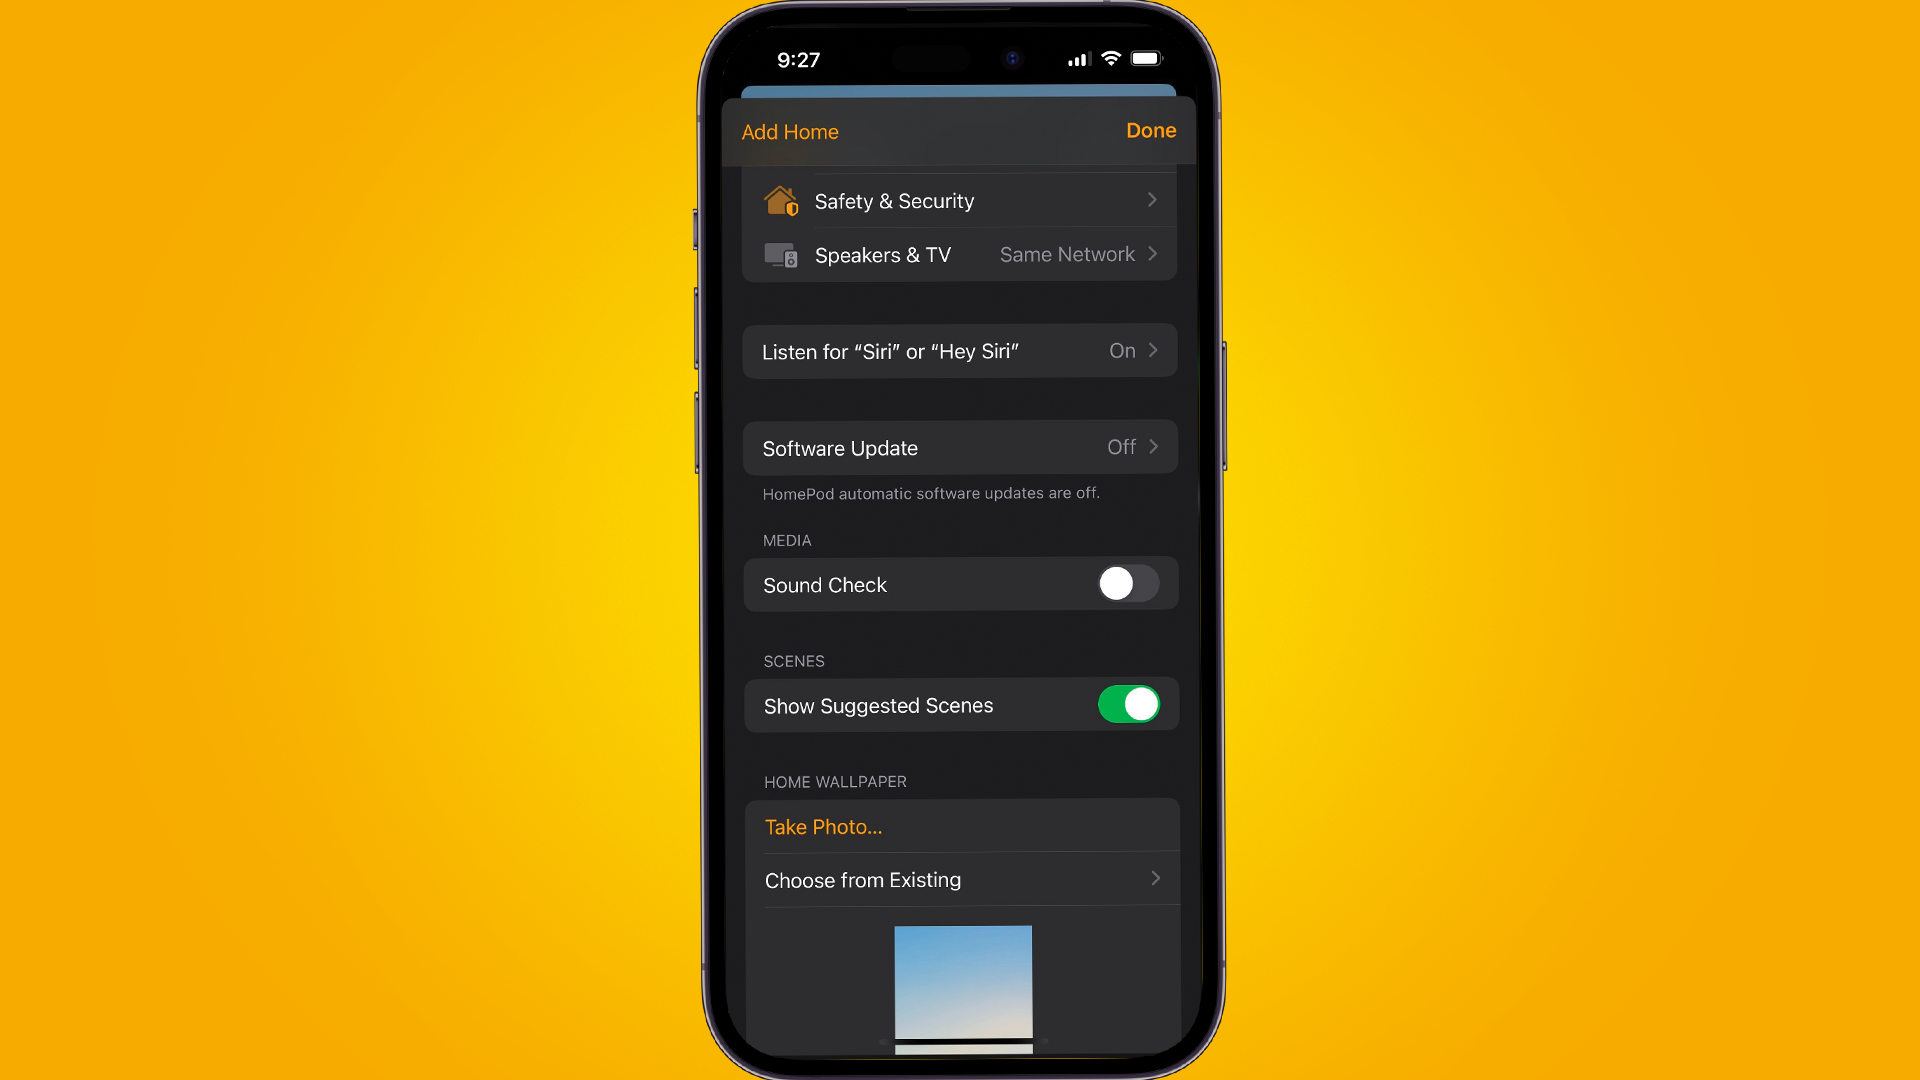
Scroll down and tap the Software Update menu.
4. Select Update
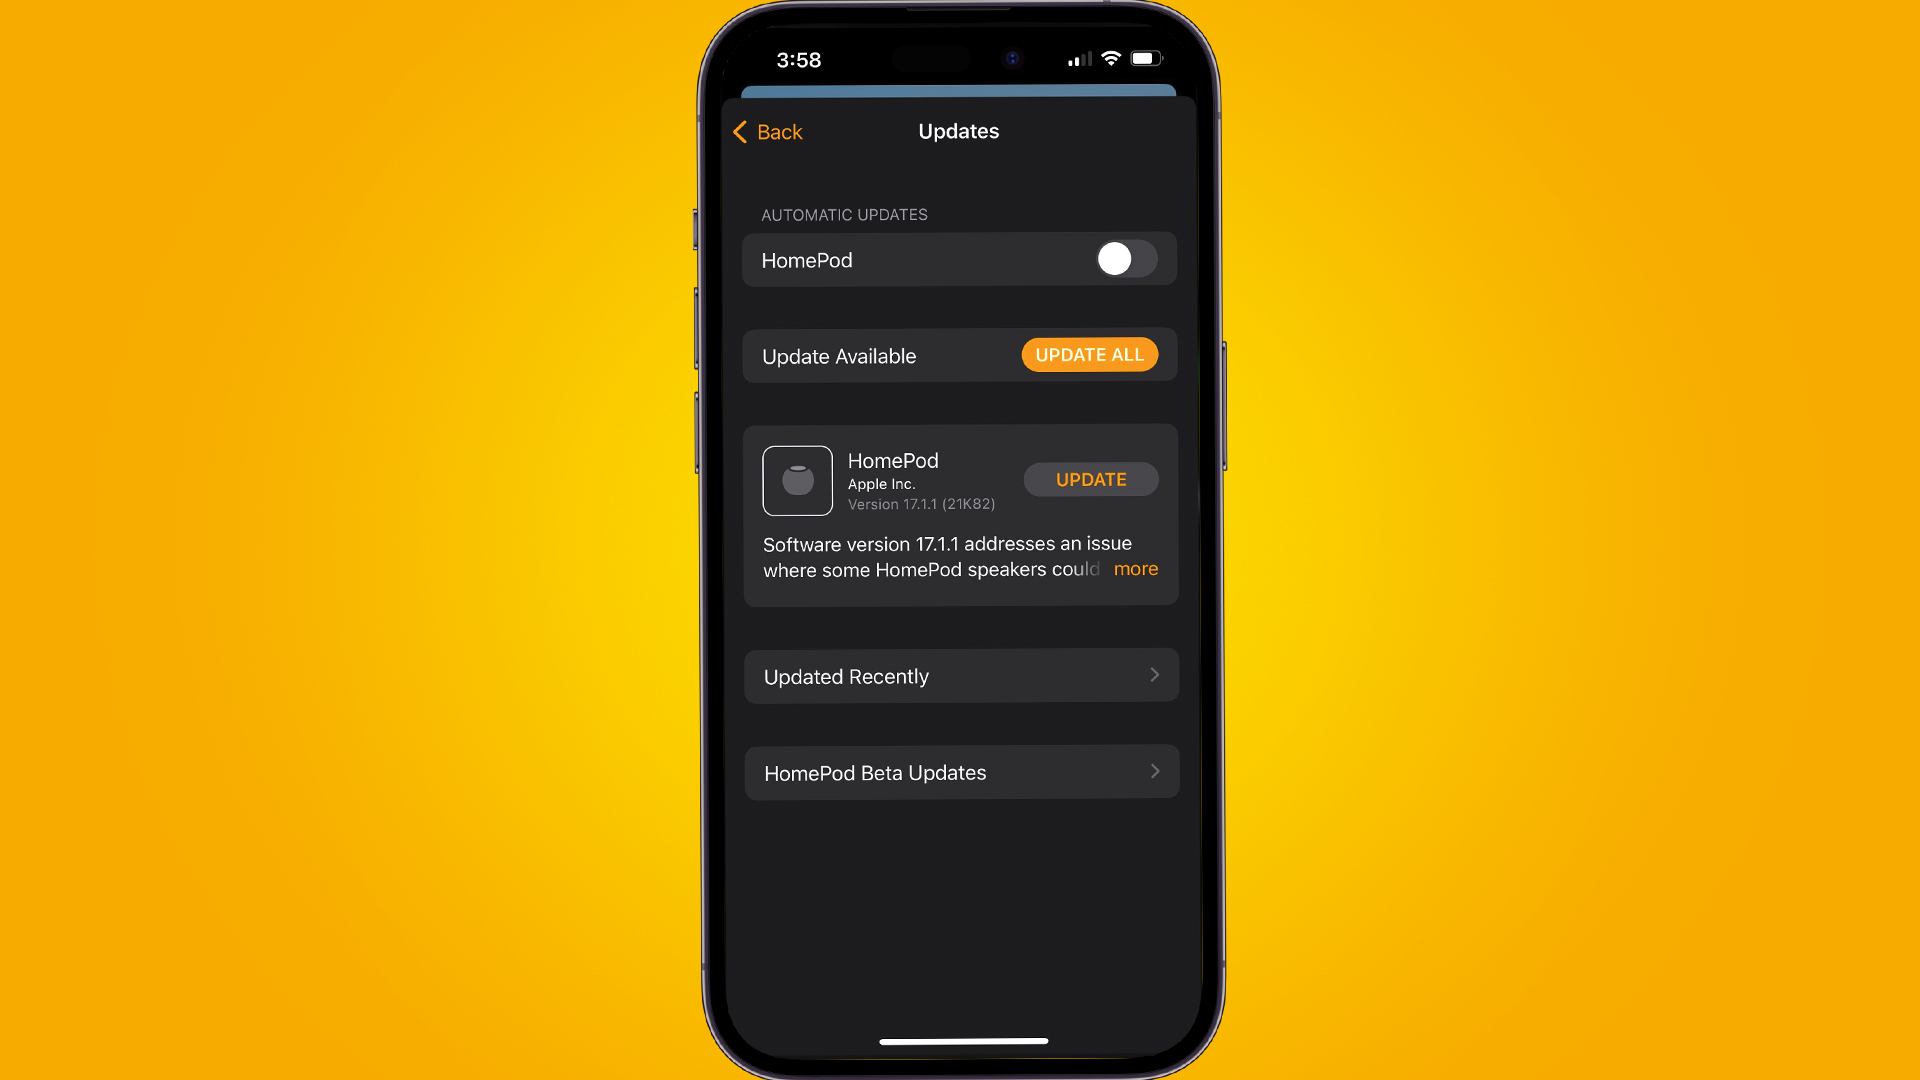
Once the Updates screen is open, you’ll see if an update is available. If one is, then tap Update. It might take a little time and you should see a spinning white light at the top of your Apple HomePod speaker.
5. Wait and follow on-screen instructions

Once you’ve pressed Update, you’ll want to press Agree to the terms and conditions. Then give the app and HomePod time to update. You’ll be unable to do anything regarding updates until the process has been finished.
Final thoughts
It’s important to remember to update your HomePod whenever you get a new HomeKit-enabled device. We'd generally highly recommend that you turn on automatic updates so you don’t have to regularly update your device manually, though.
Luckily doing so is incredibly easy. Just follow all the same steps until you get to the Update page. Near the top of the page, you’ll see a section labeled Automatic Updates with a list of devices below it. Just press on the slider next to the desired device to enable it.


