
The Adamantine Forge is found near the end of the first act of Baldur's Gate 3, assuming you chose to travel through the Underdark to get to the Moonrise Towers, that is. If you went via the Mountain Pass instead, you won't find it naturally during your playthrough but you can go back that way if you want to see for yourself what's there.
Once you reach Grymforge, you'll be able to see the Adamantine Forge off in the distance. It seems impossible to reach, and the way to get there isn't exactly obvious, so I'll explain everything you need to know to get started, including tips to beat the boss you'll encounter.. With that in mind, here's how to unlock the Adamantine Forge in Baldur's Gate 3.
How to unlock the Adamantine Forge
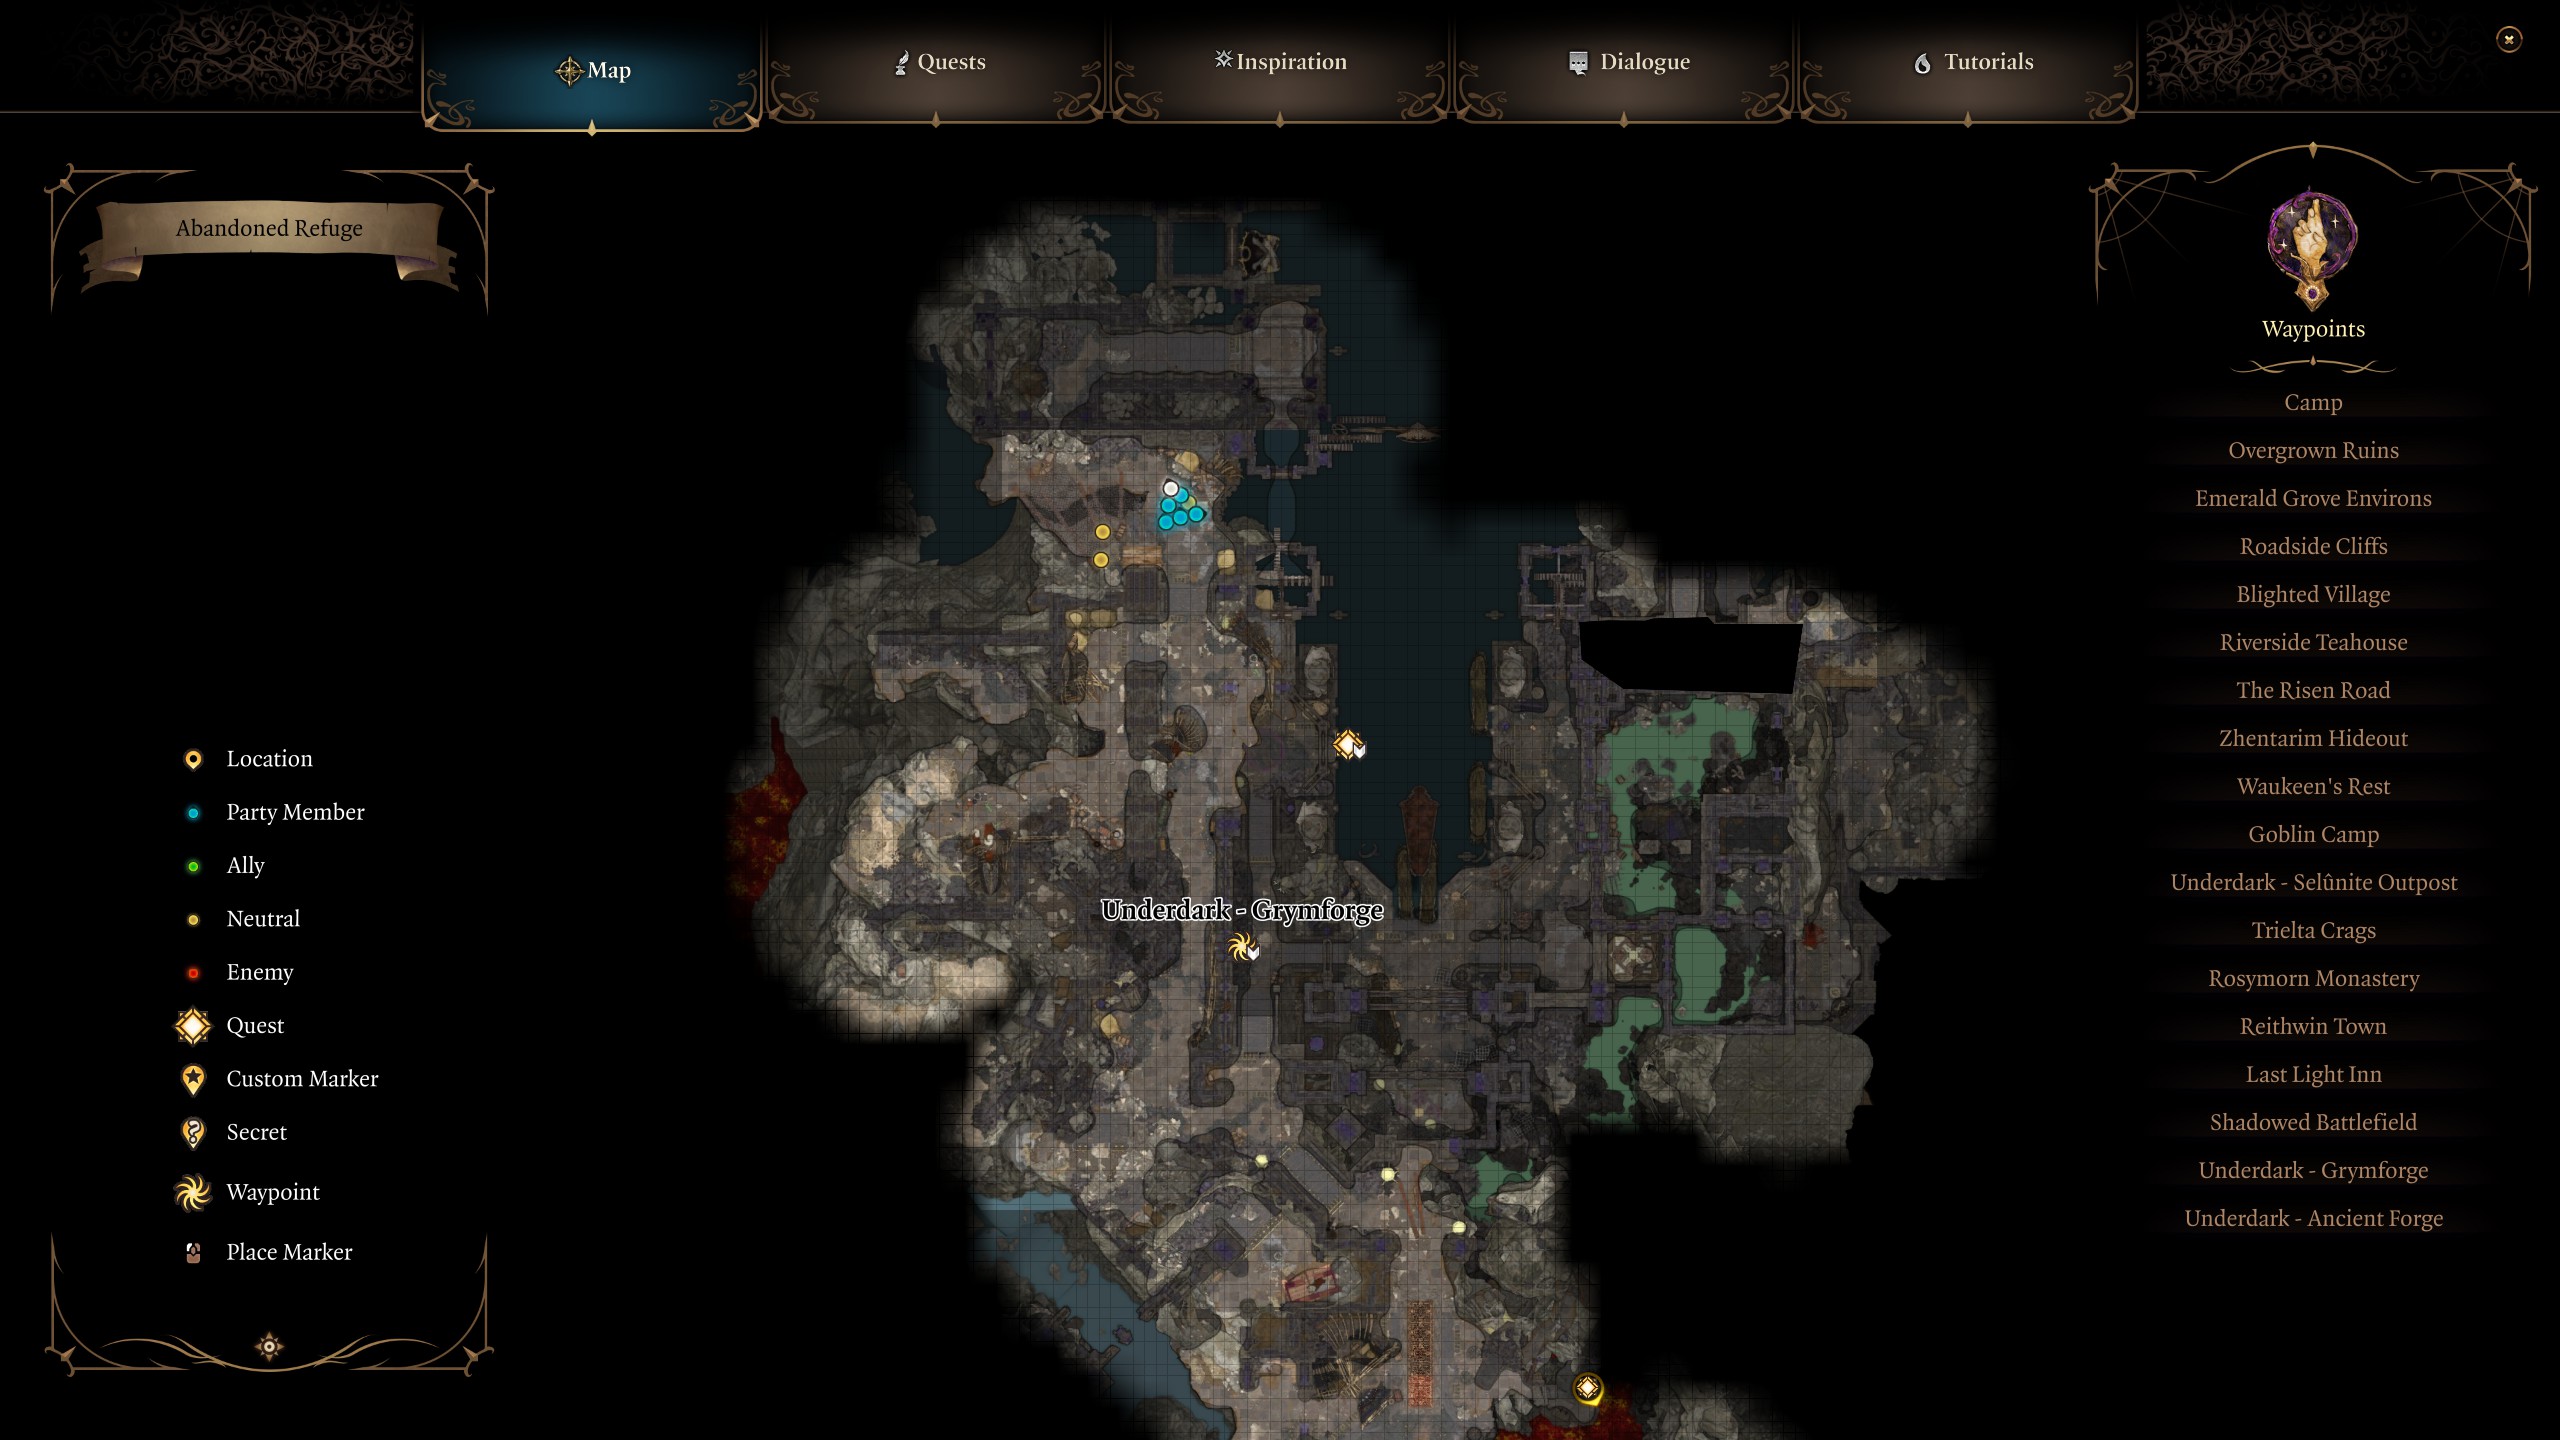
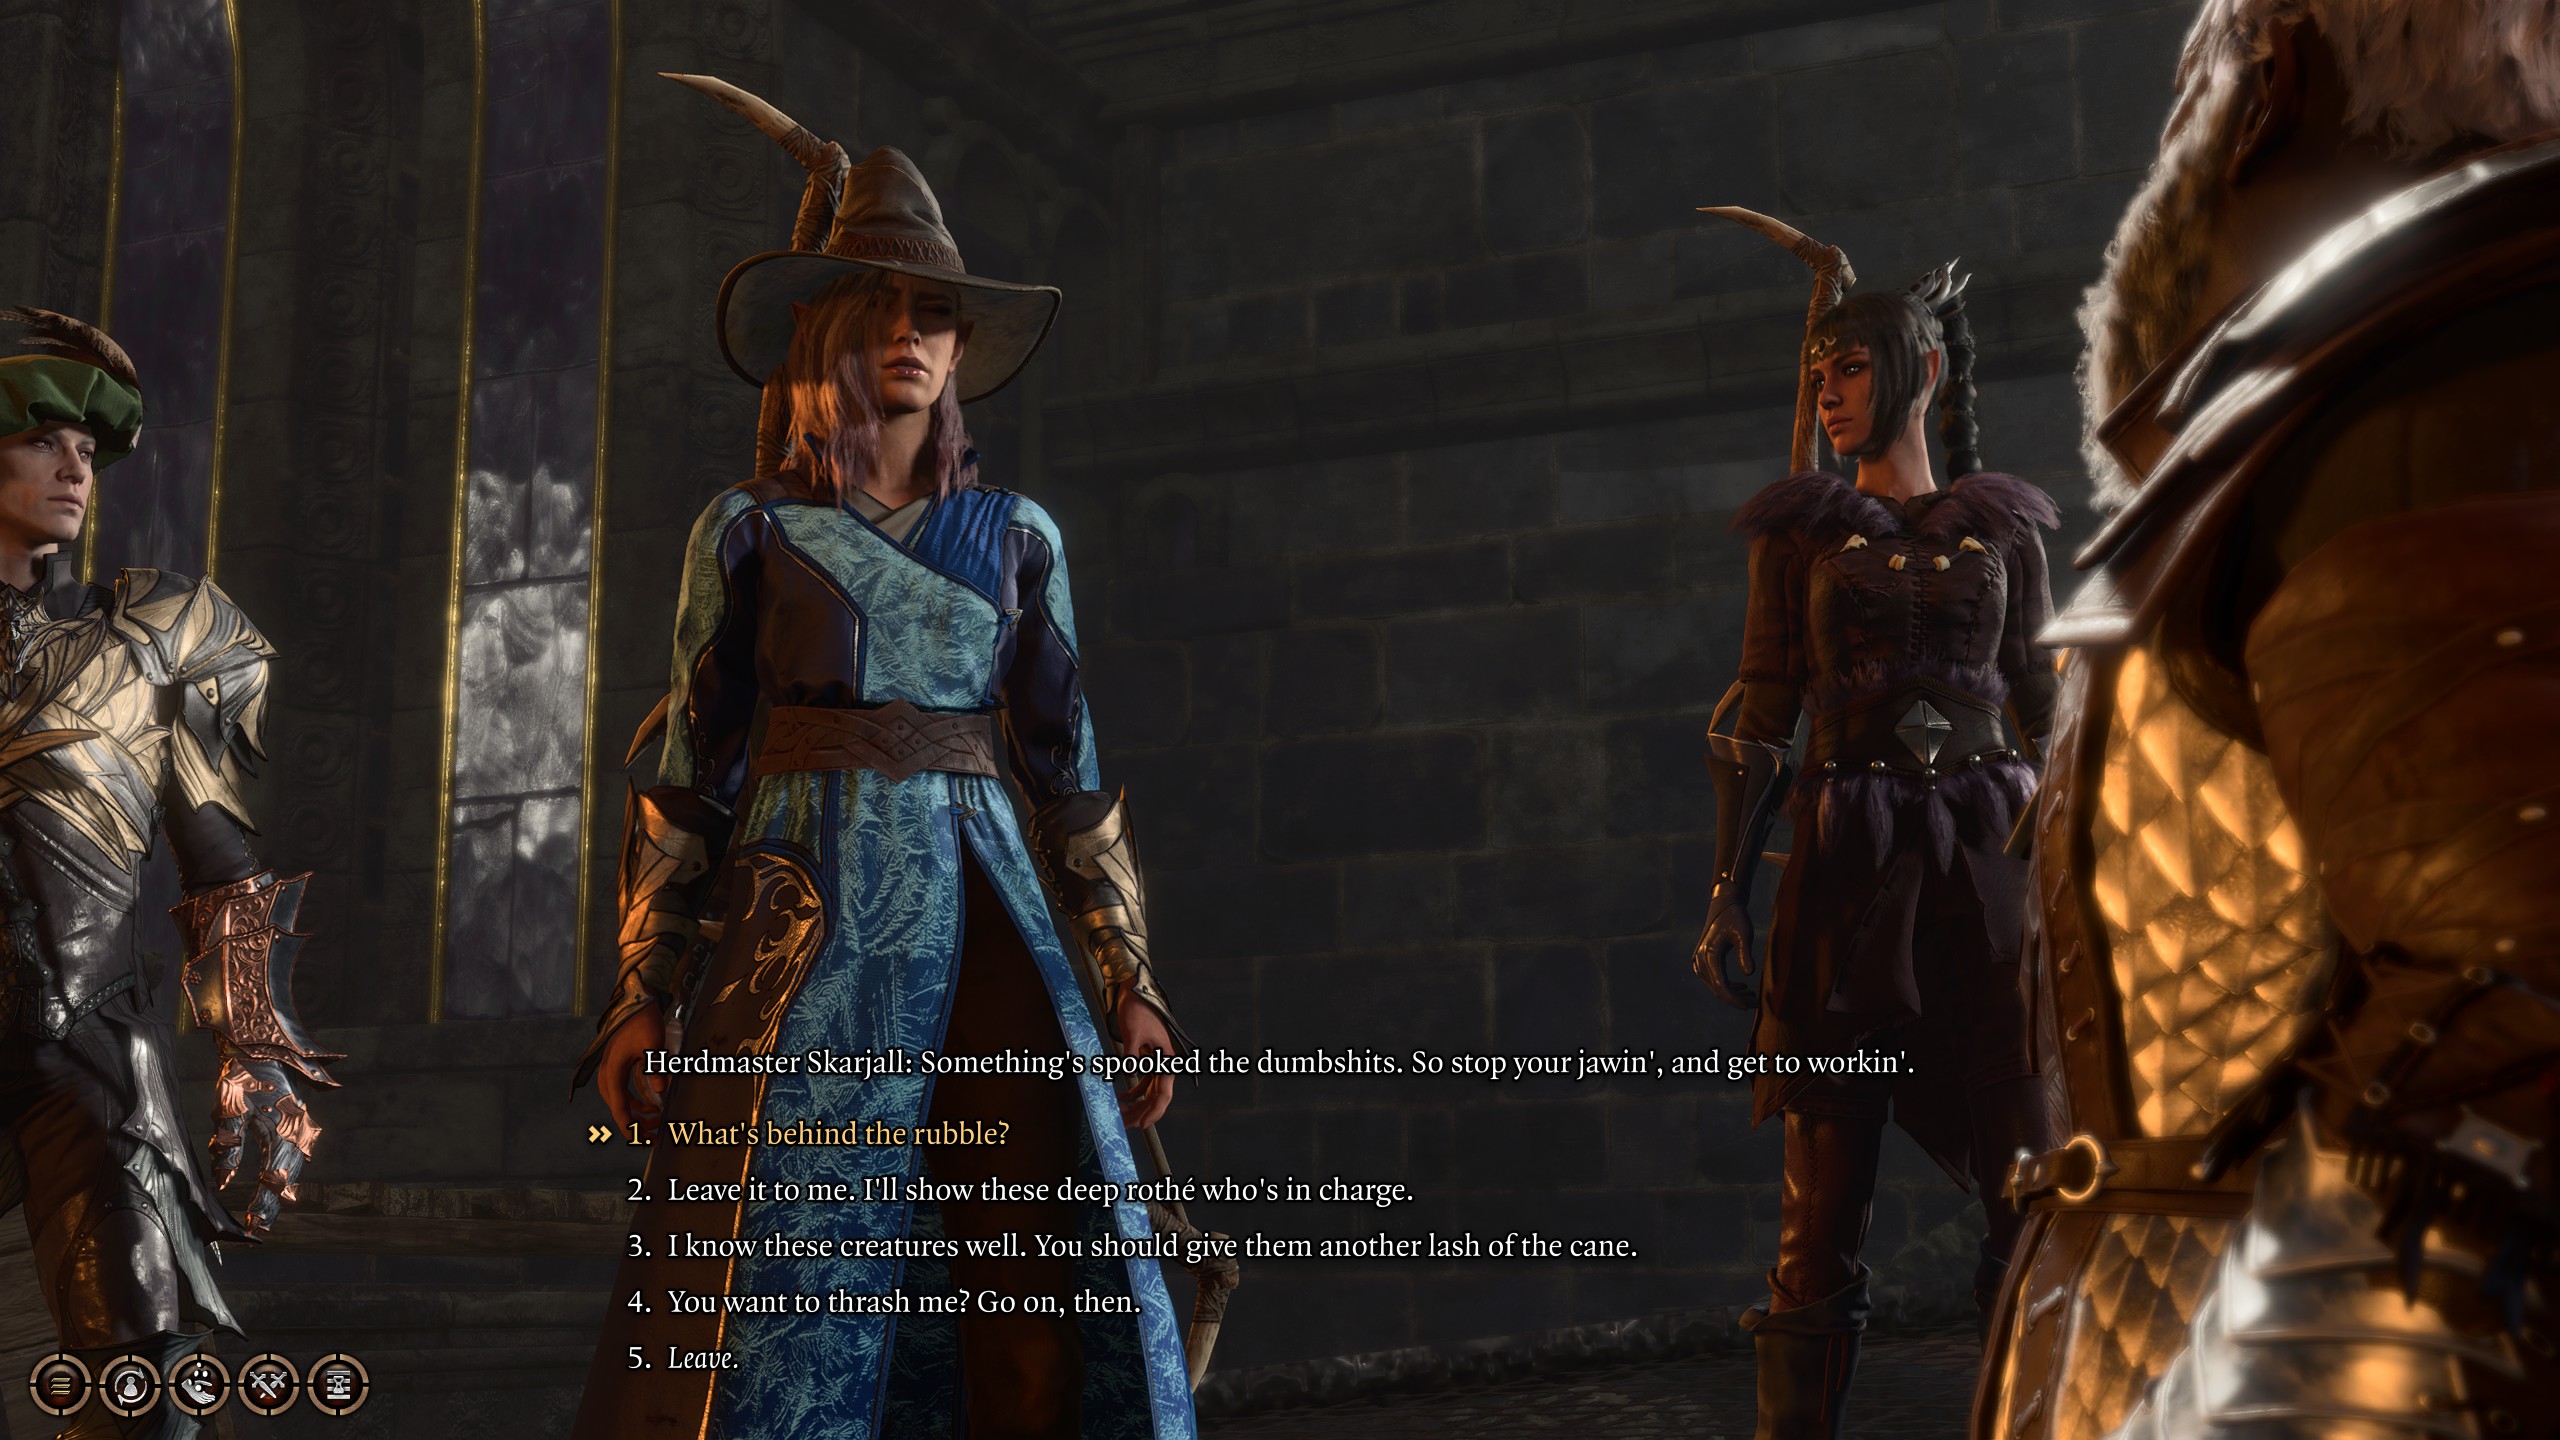

From the Grymforge waypoint, head up the steps to the left, then double back on yourself at the top so you're heading the opposite way. If you pass two Rothes, you're going in the right direction. At the end, head up more steps and look for Skarjall. Ask what's behind the rubble when prompted. If you use persuasion he'll tell you that it's adamantine, and that it's made and not mined.
You can use the Speak to Animals spell to persuade the Rothe to clear the rubble. When you do, Skarjall will attack, so be ready to fight. The Rothe will be on your side if you choose this route so make sure not to target them and the fight should be relatively easy. Once the fight is over, you can make your way to the Adamantine Forge by following these steps:
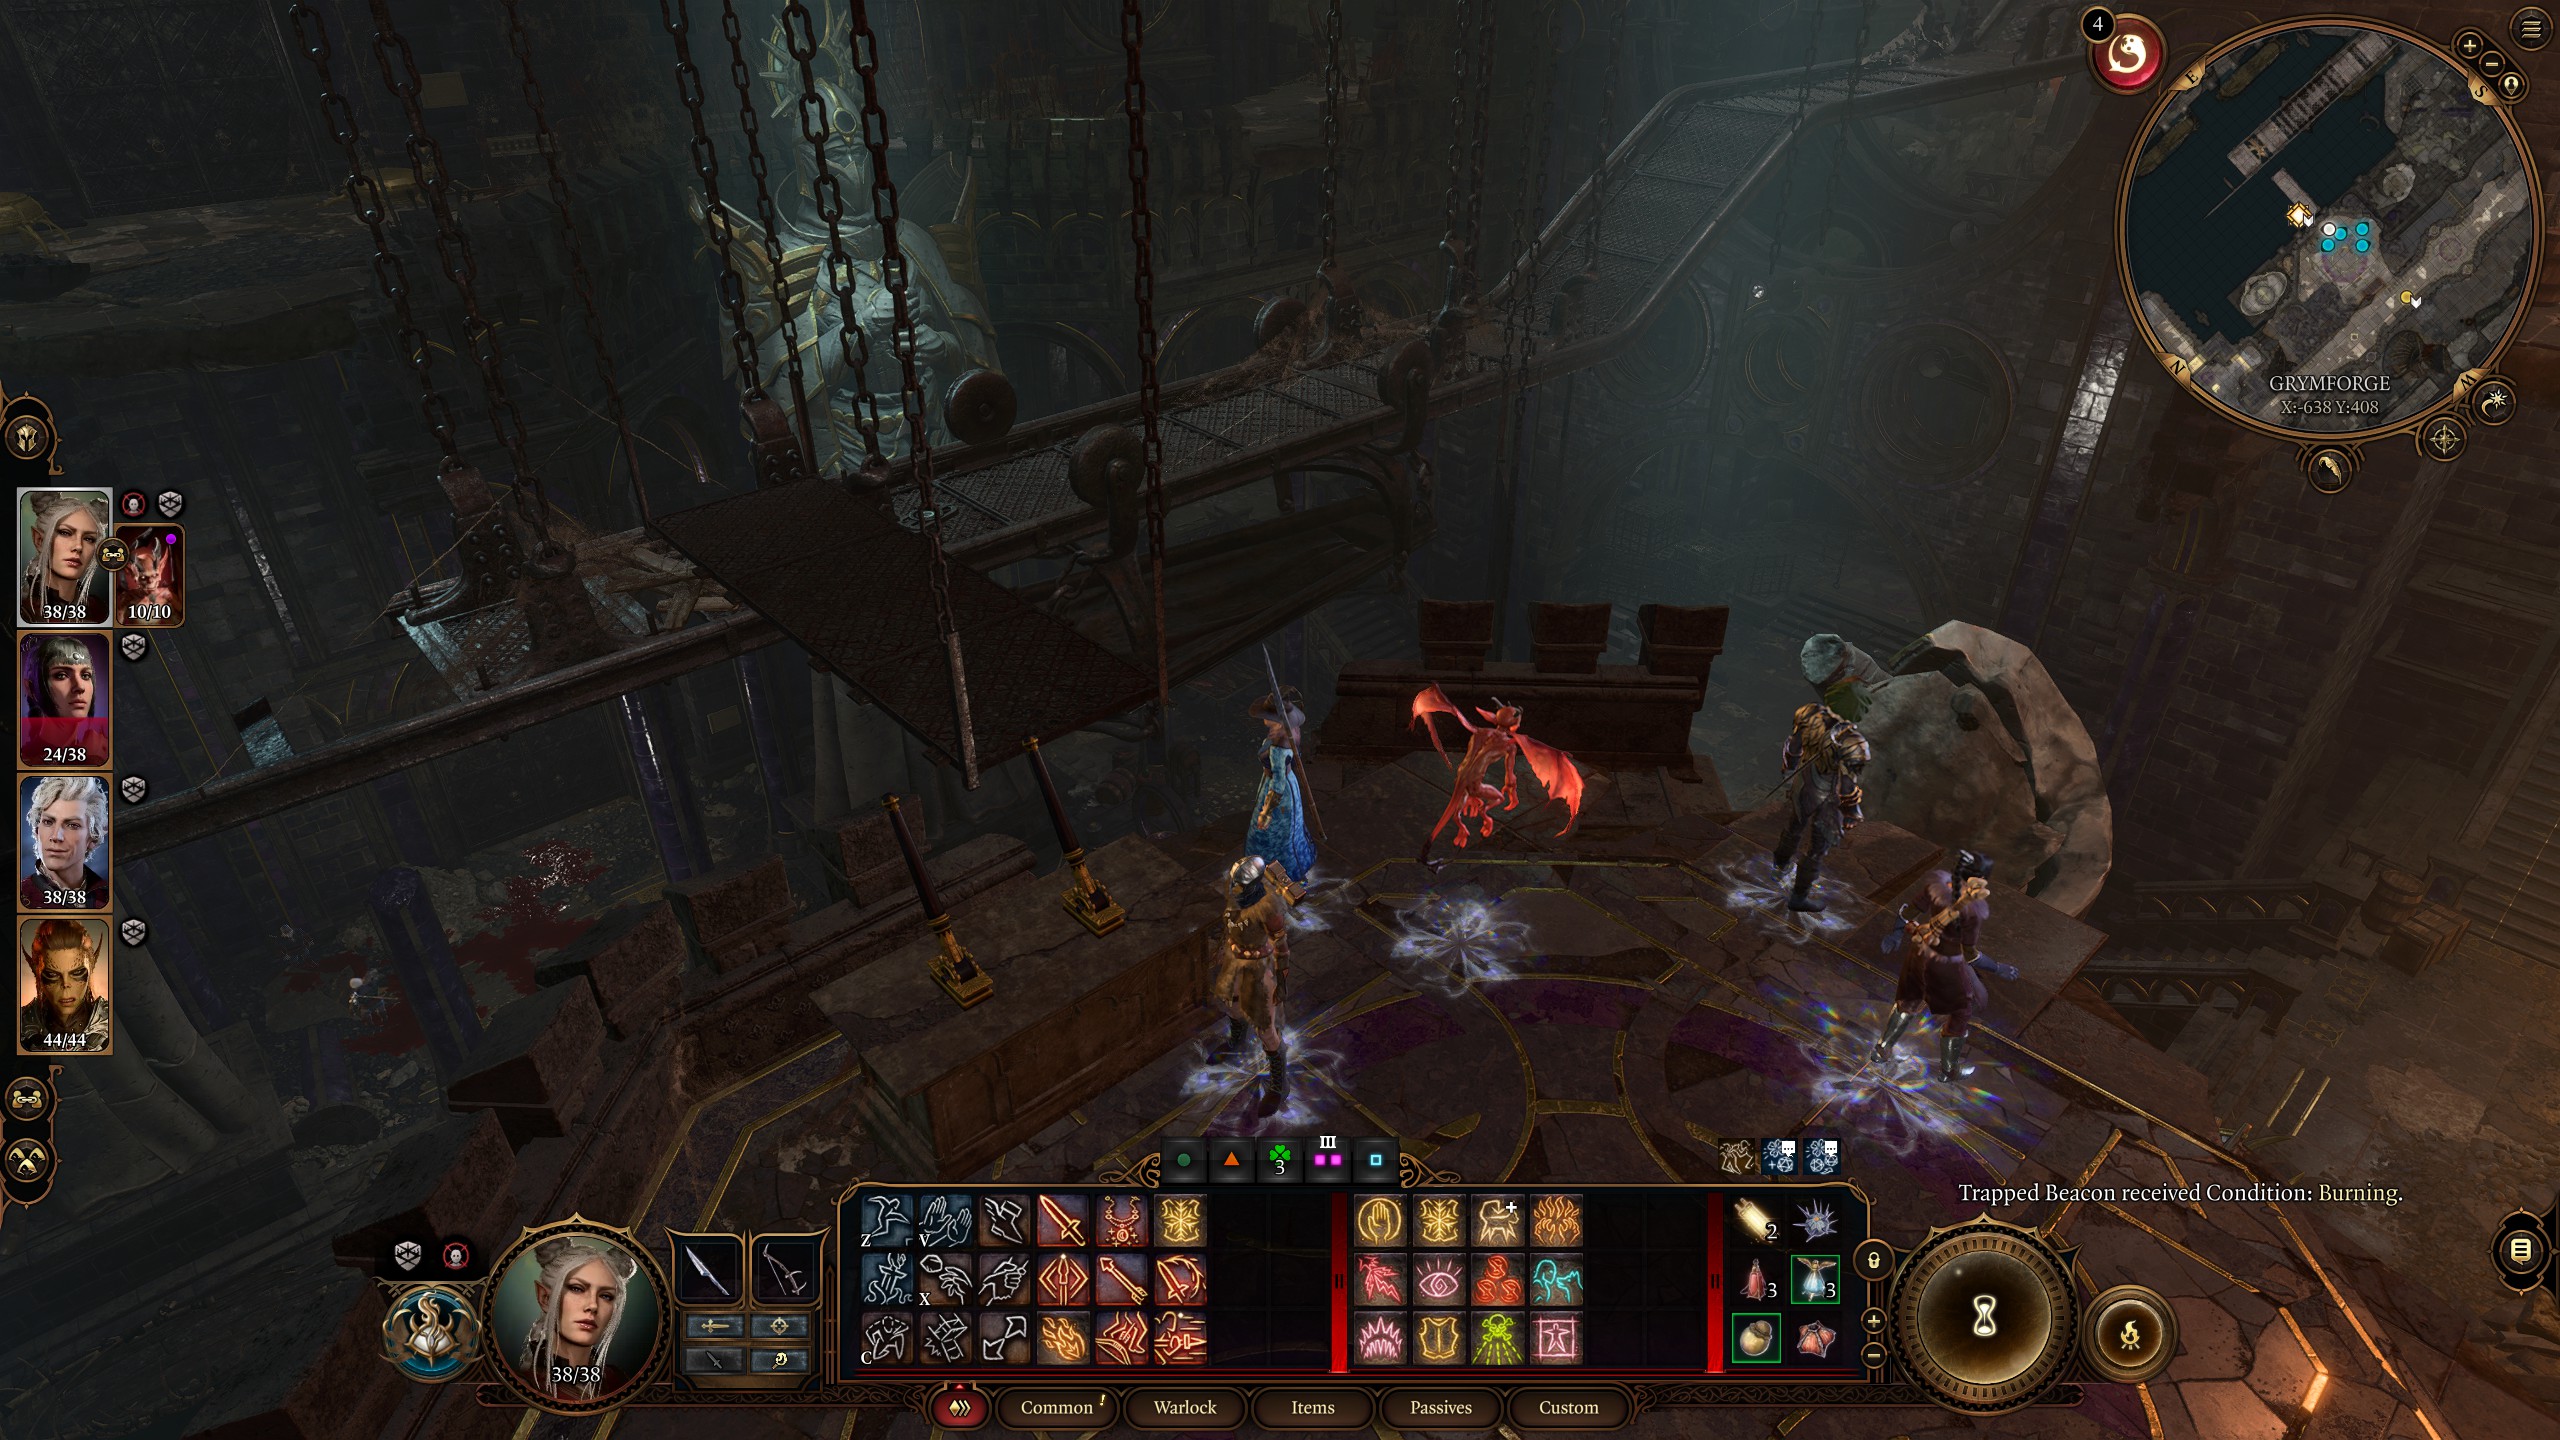
- Head through the newly made opening and follow the stairs up. Be careful at the top as you'll find a gargoyle trap to the right that you can disarm and more traps further on, though they do stop spewing fire long enough for you to get past.
- When you're past the first trap, take the ladder to your left as soon as you reach it. You'll find two levers at the bottom—feel free to test these to see what they do. You want to jump onto the platform, then over onto the walkway on the other side.
If you want to take a detour to grab the Shield Mould, before getting off, use a ranged attack to hit the lever on the right if you have your back to the ladder, before jumping off on the other side and lockpicking the large door. You'll find a Shield Mould on a skeleton at the top of the stairs here.
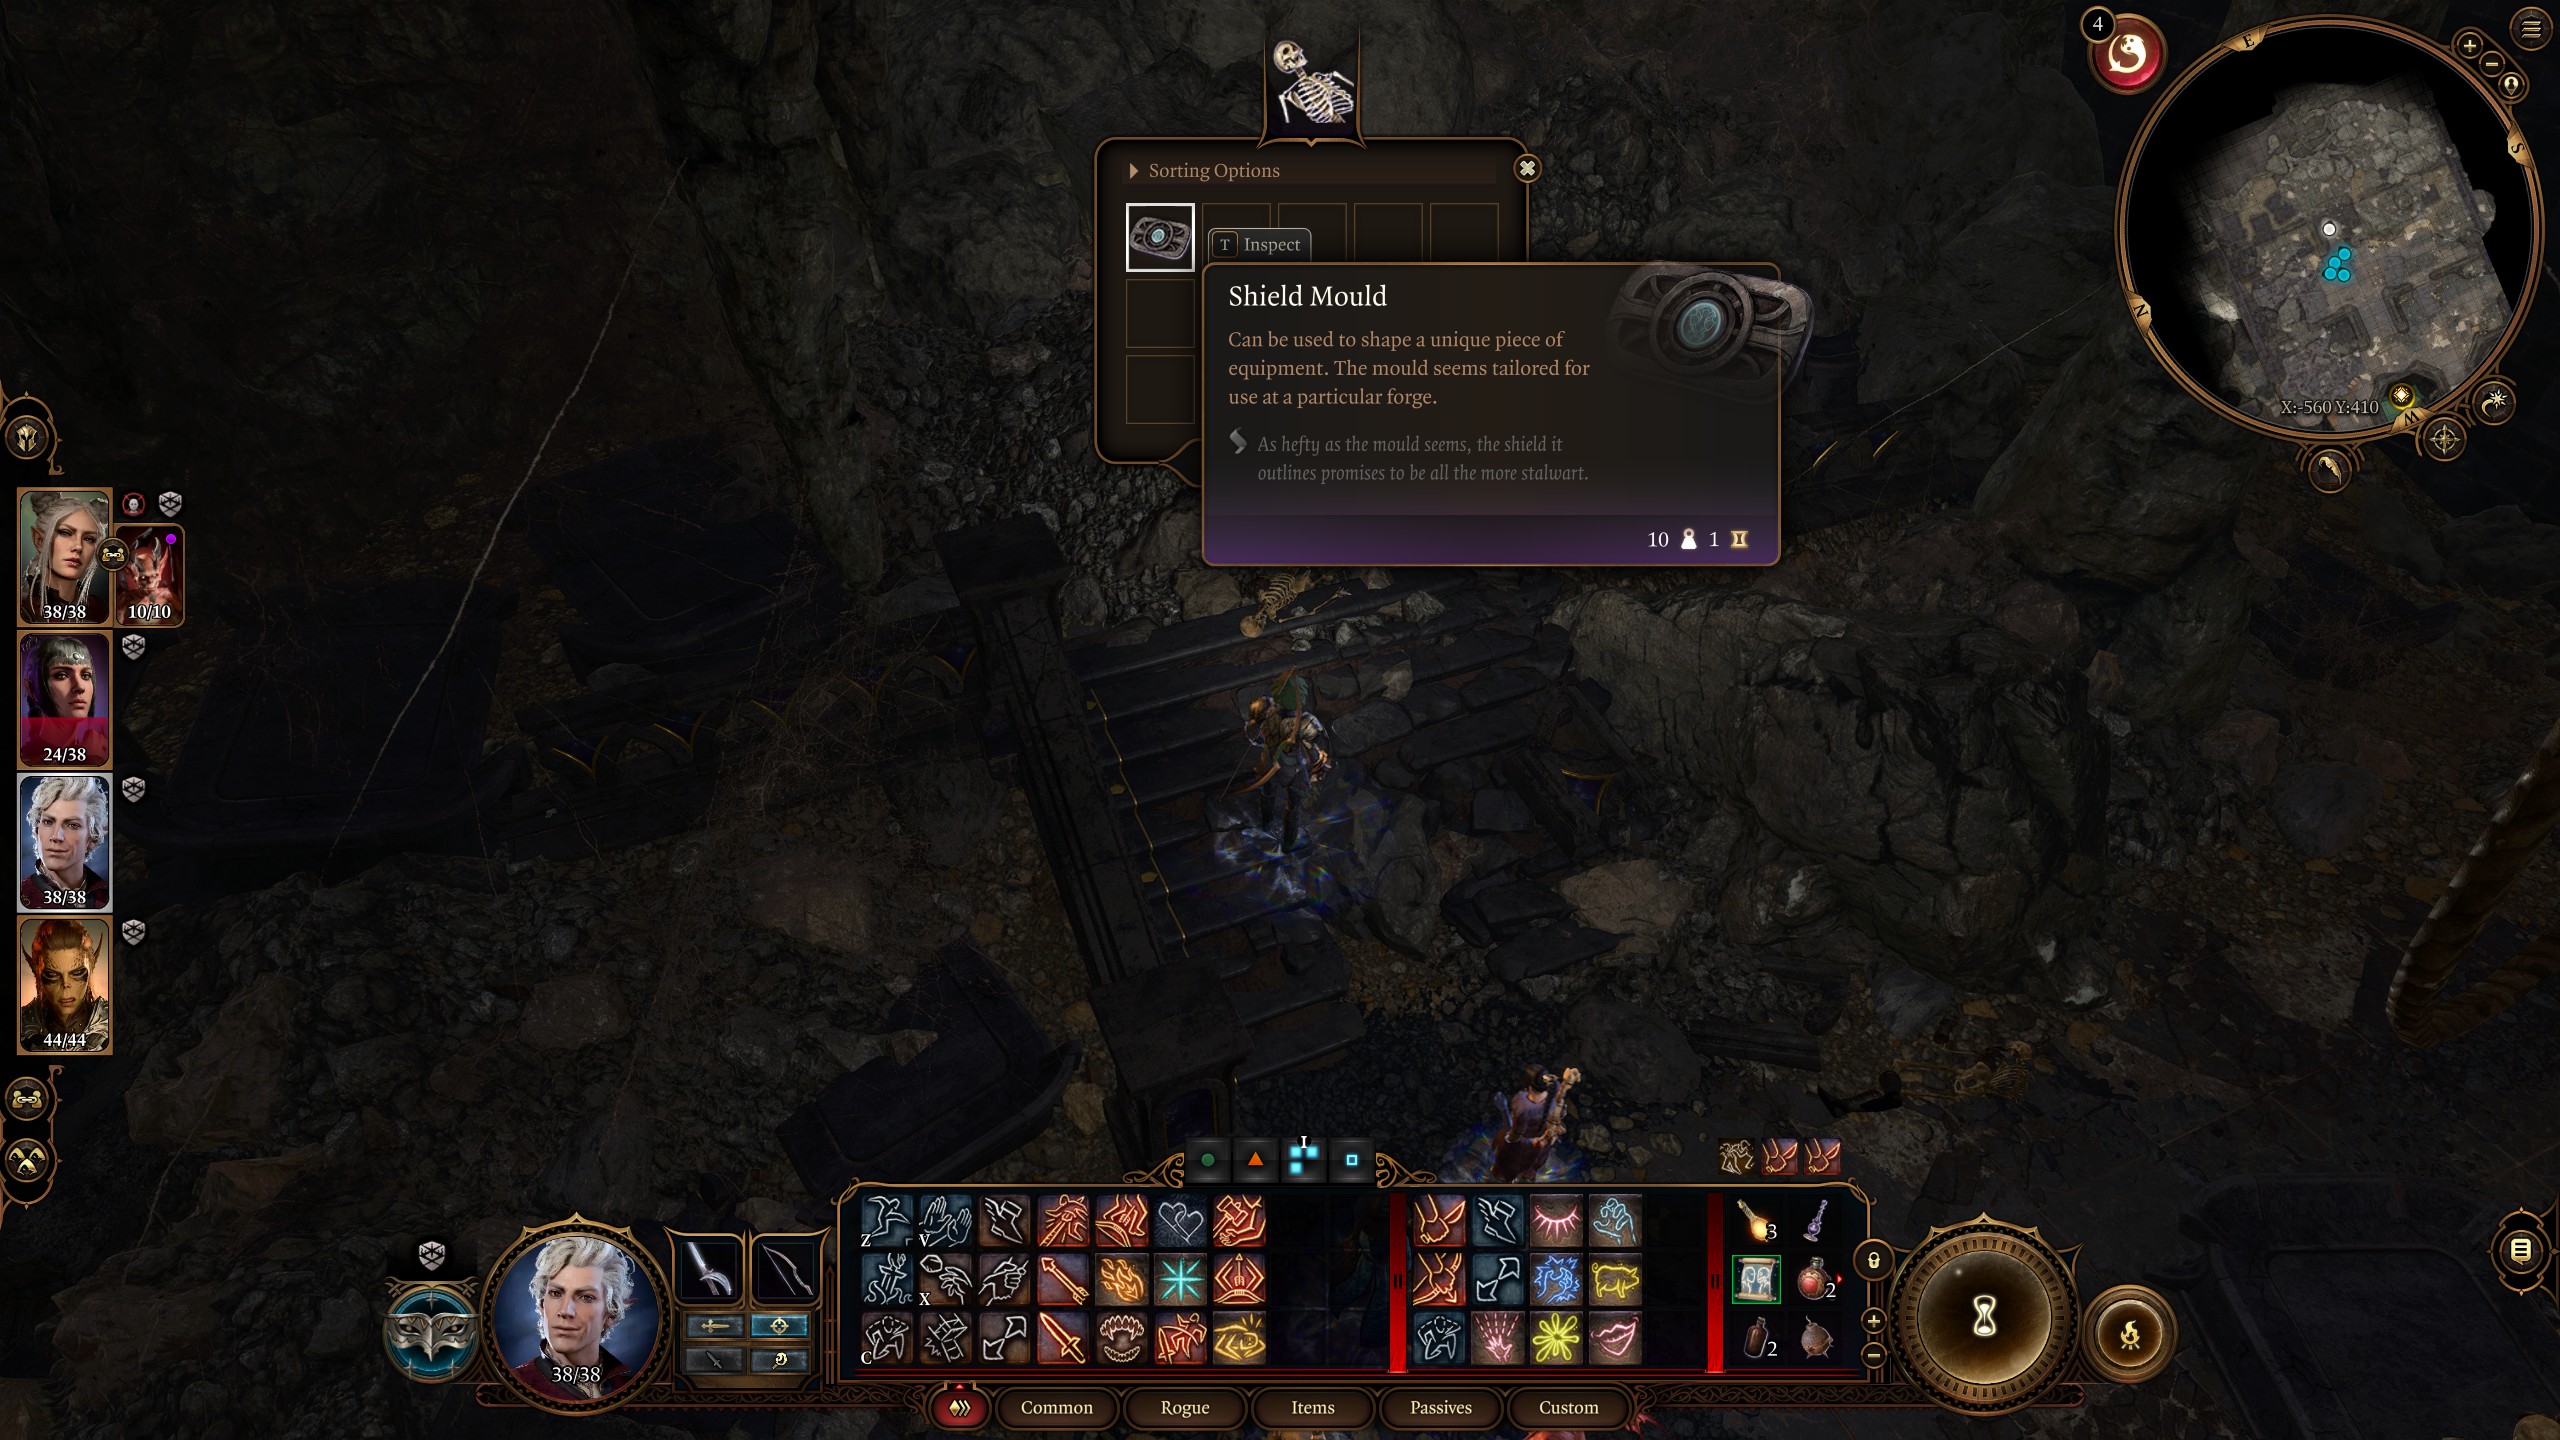
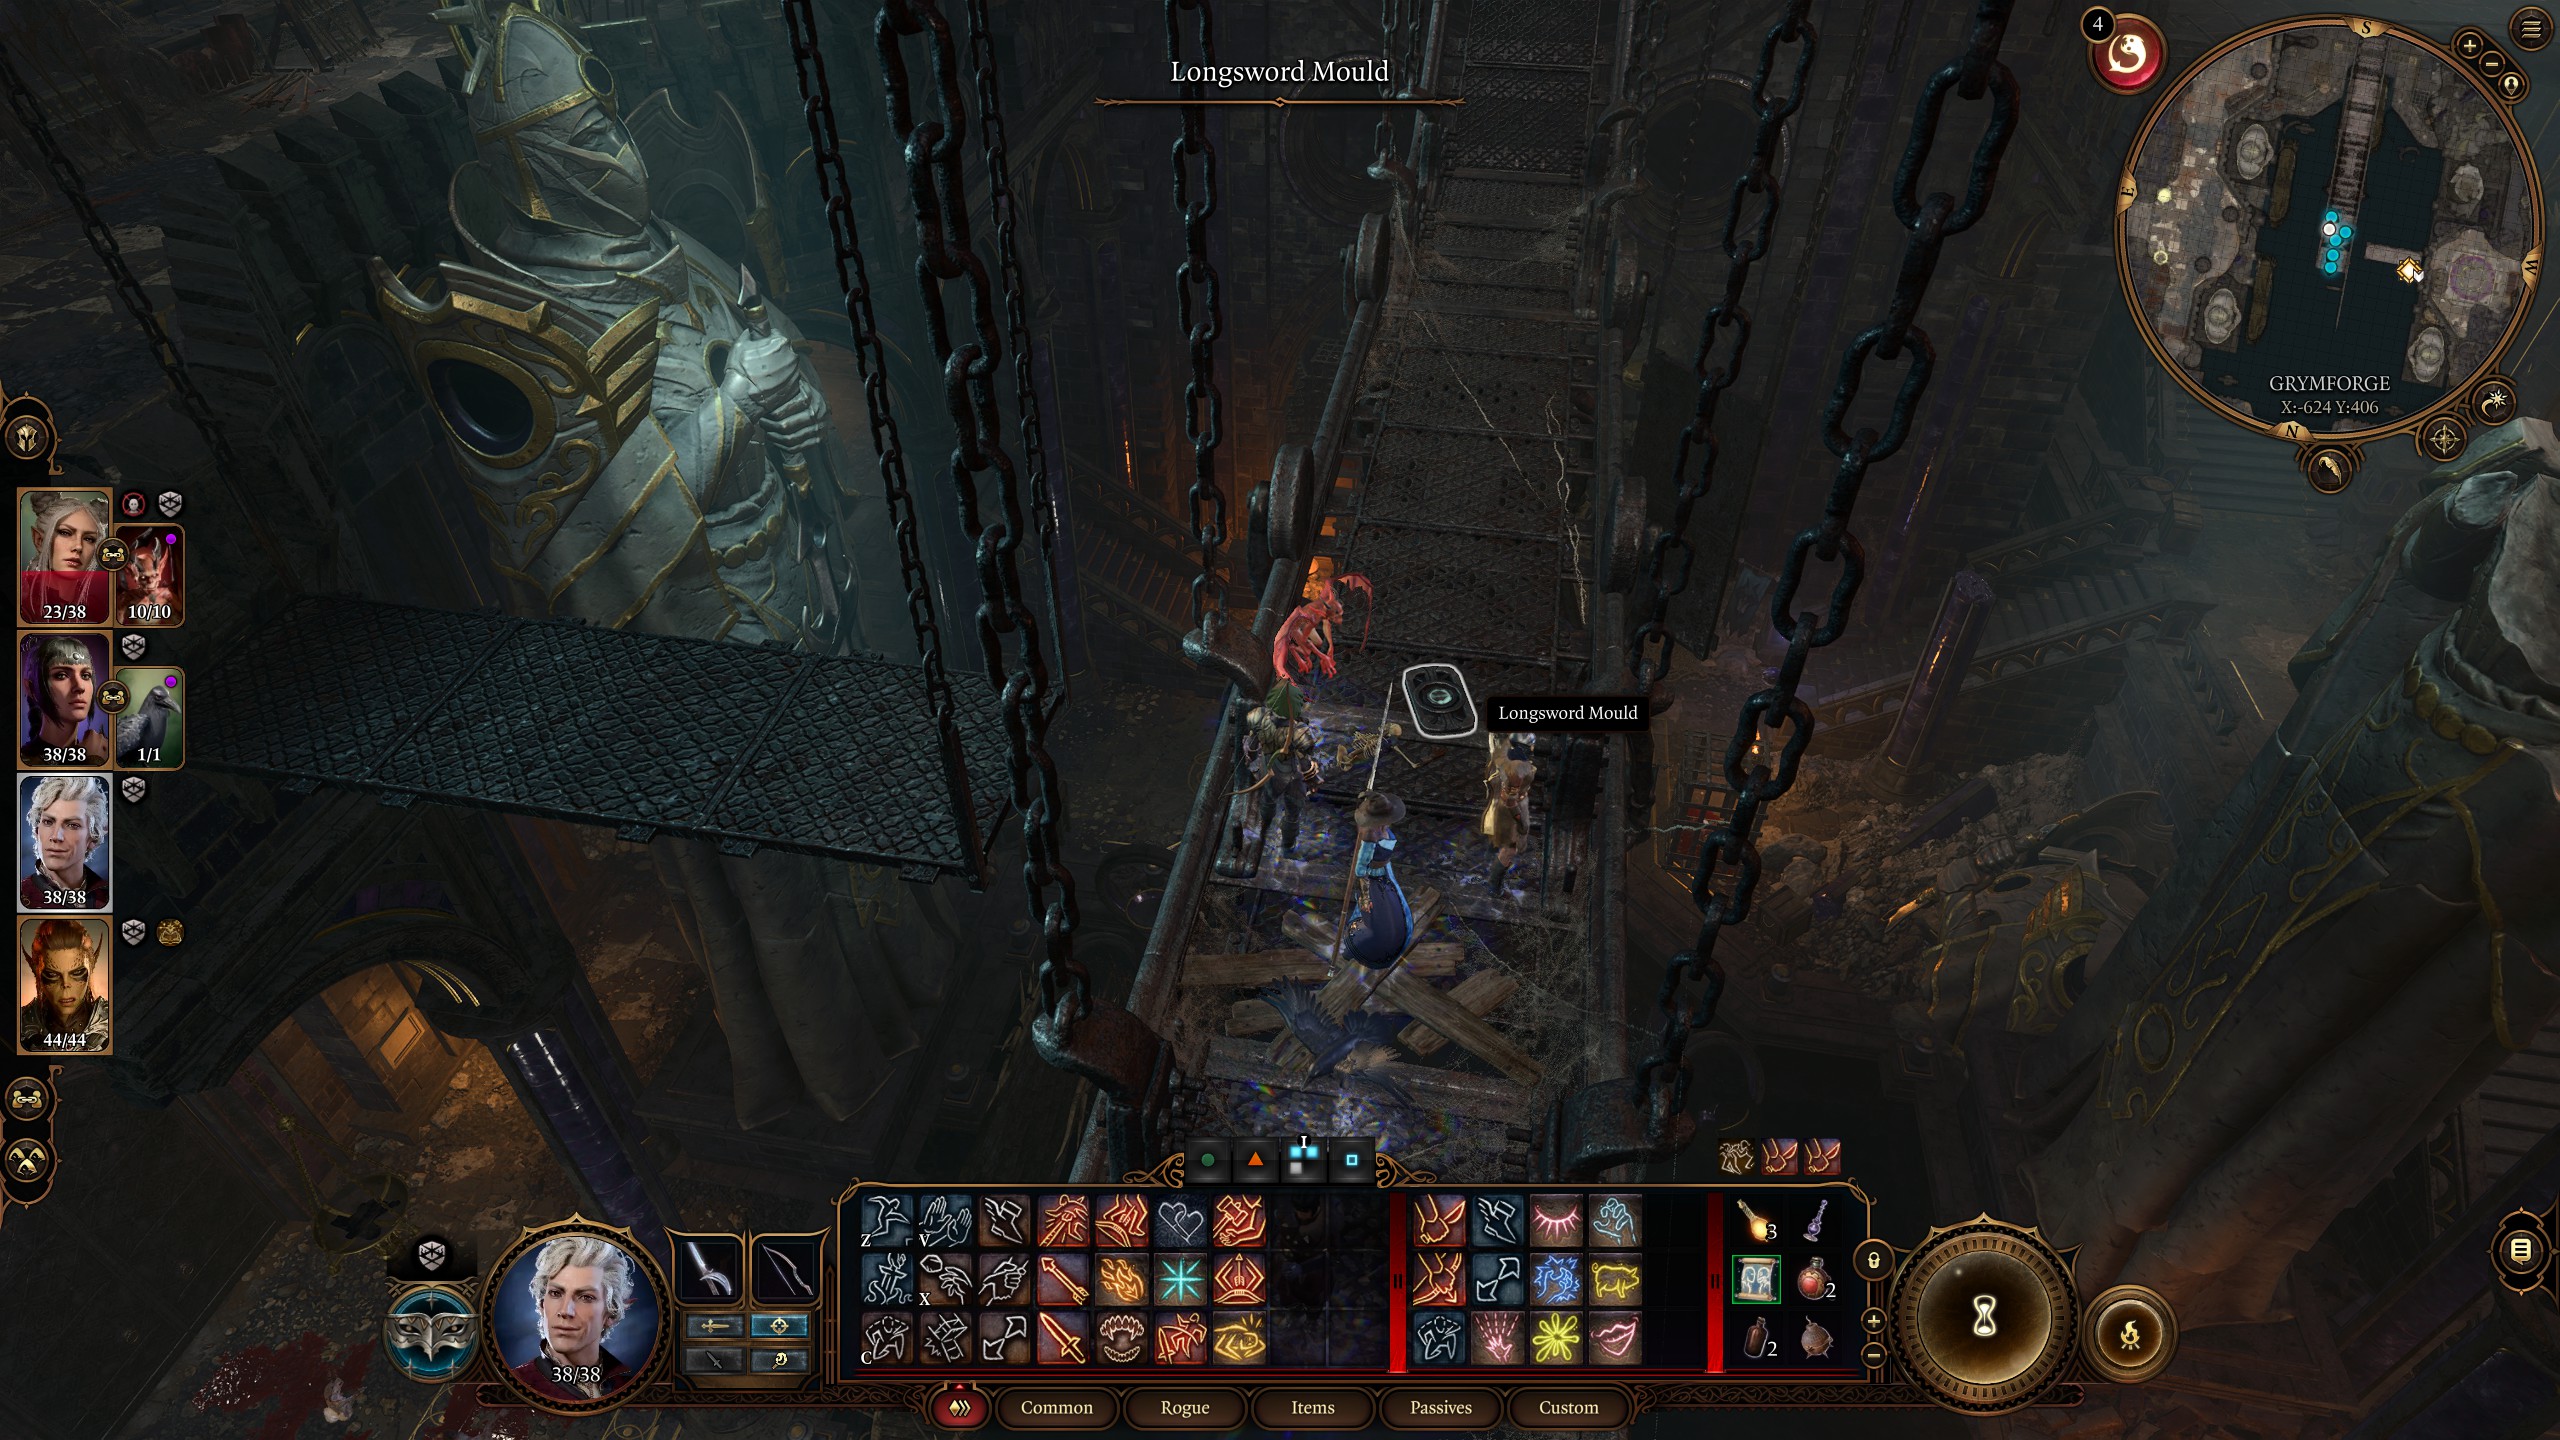
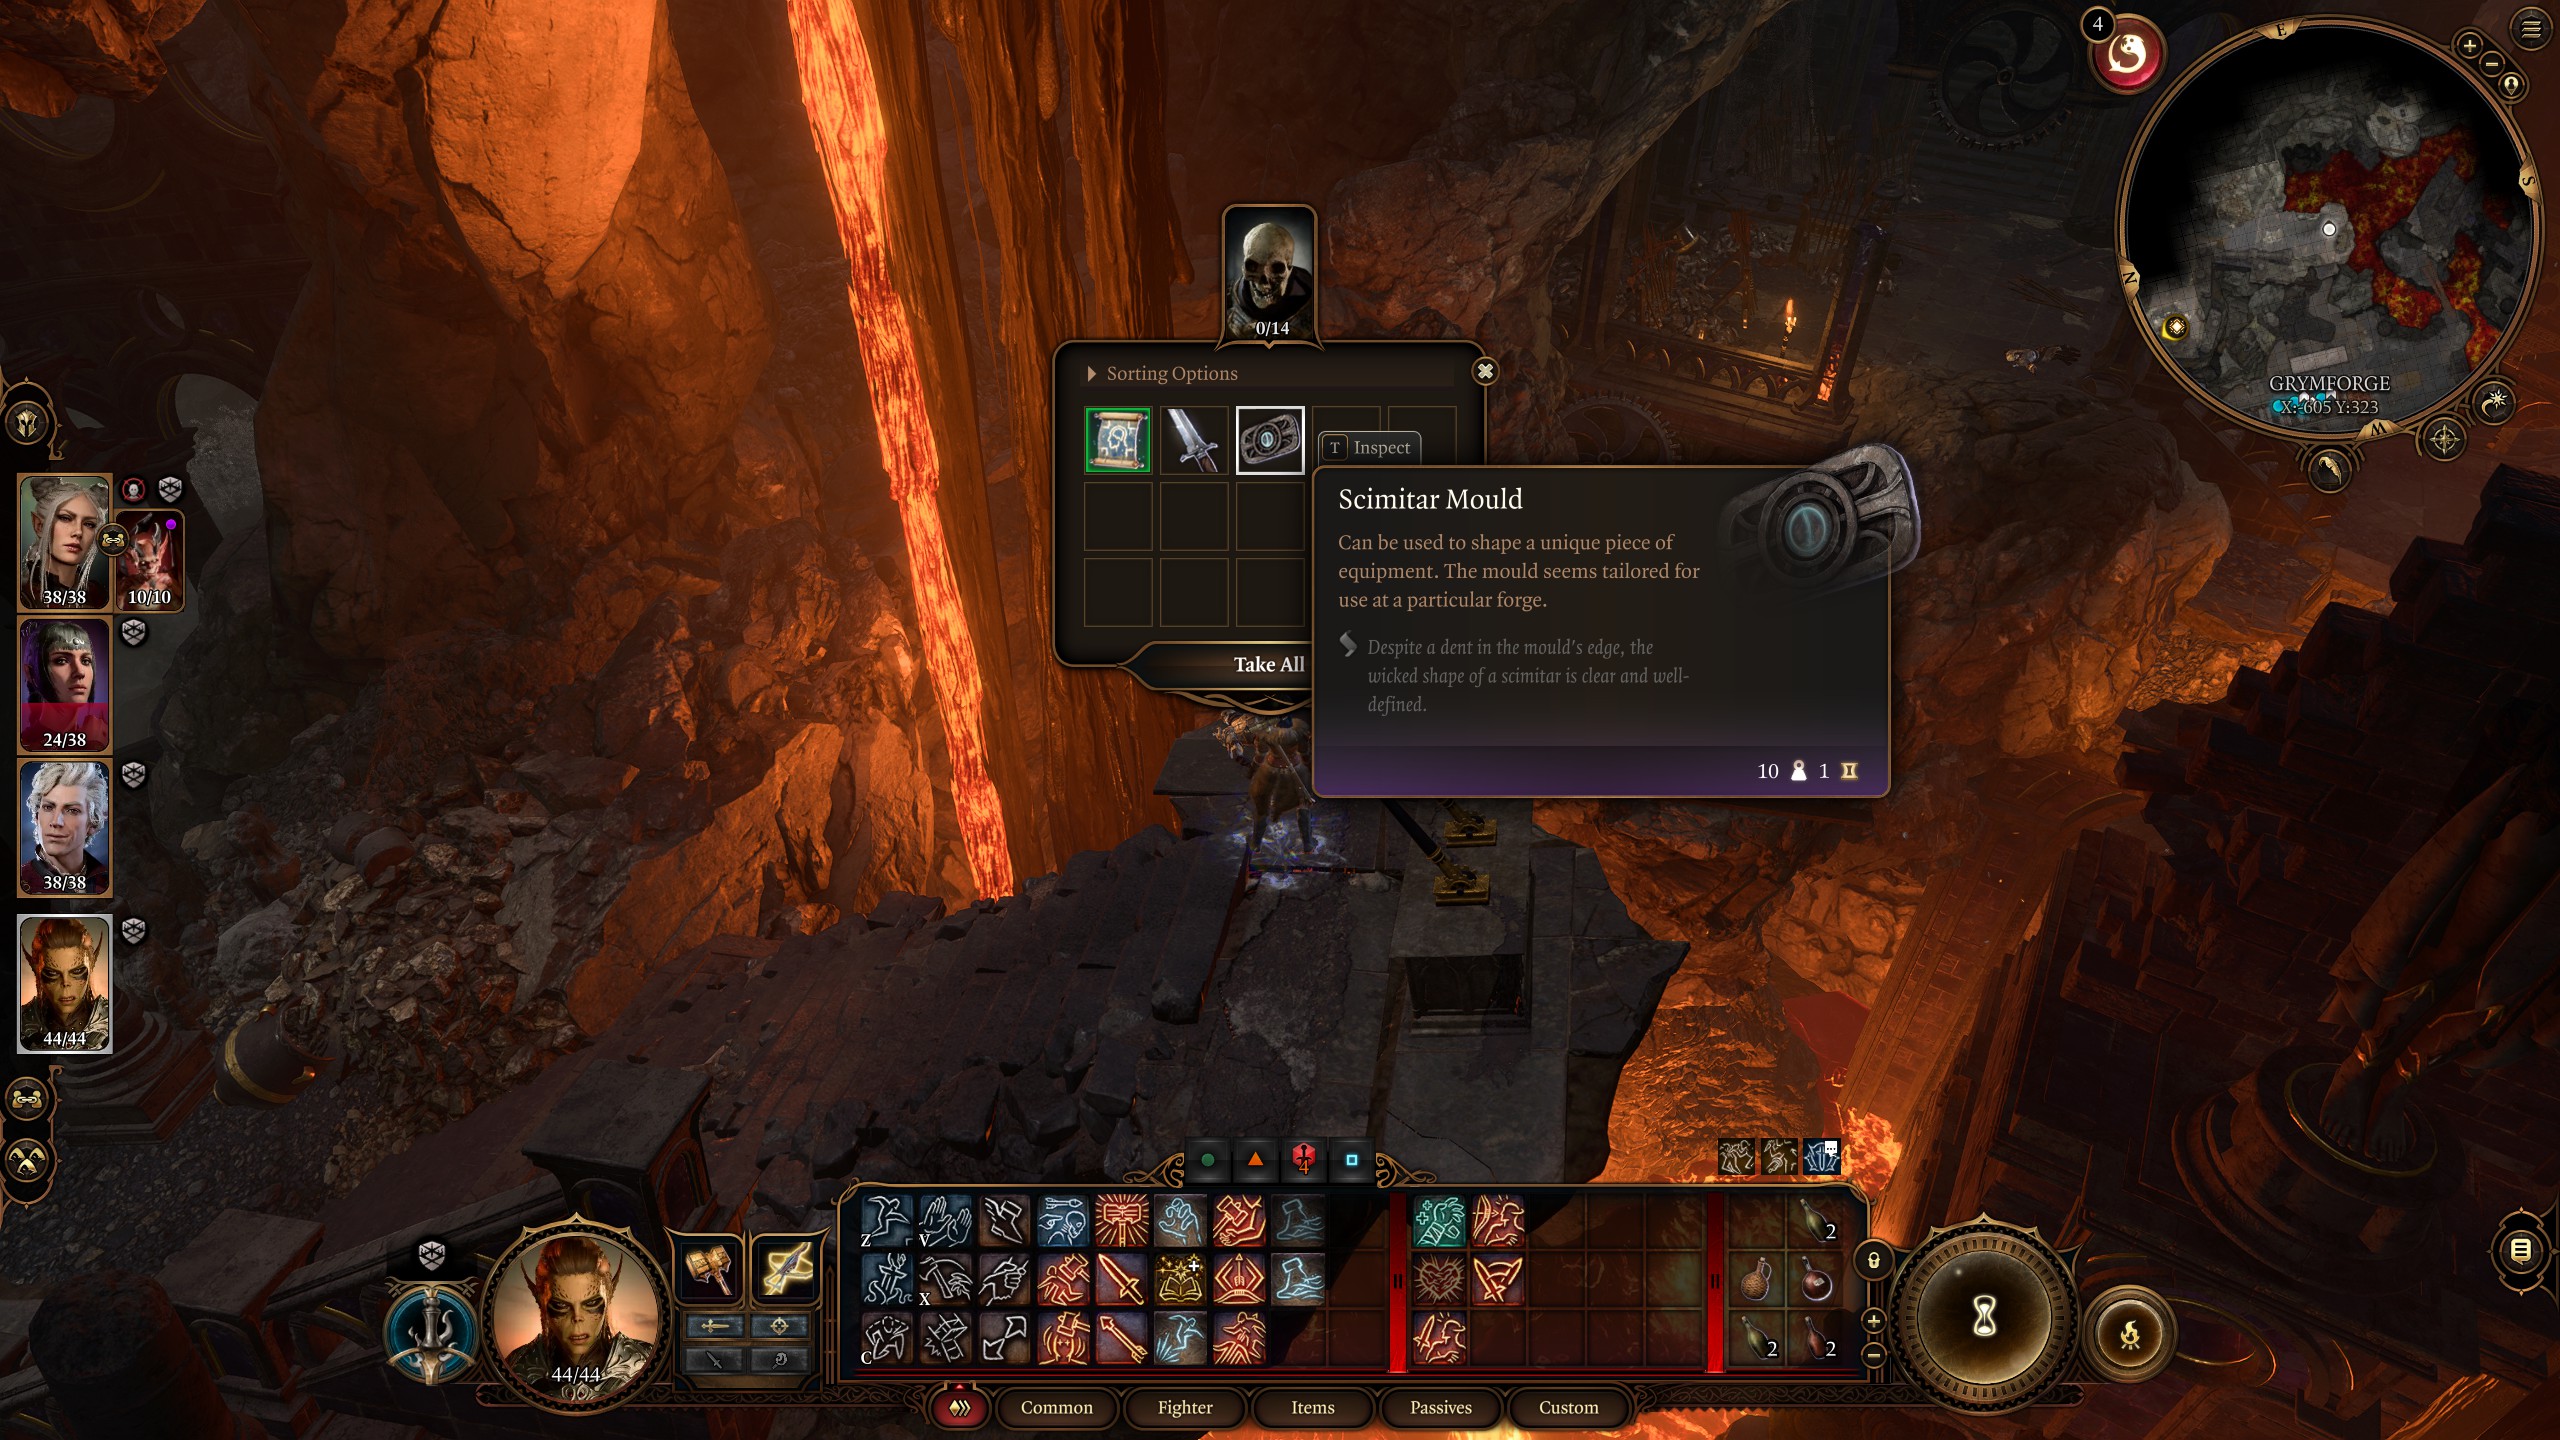
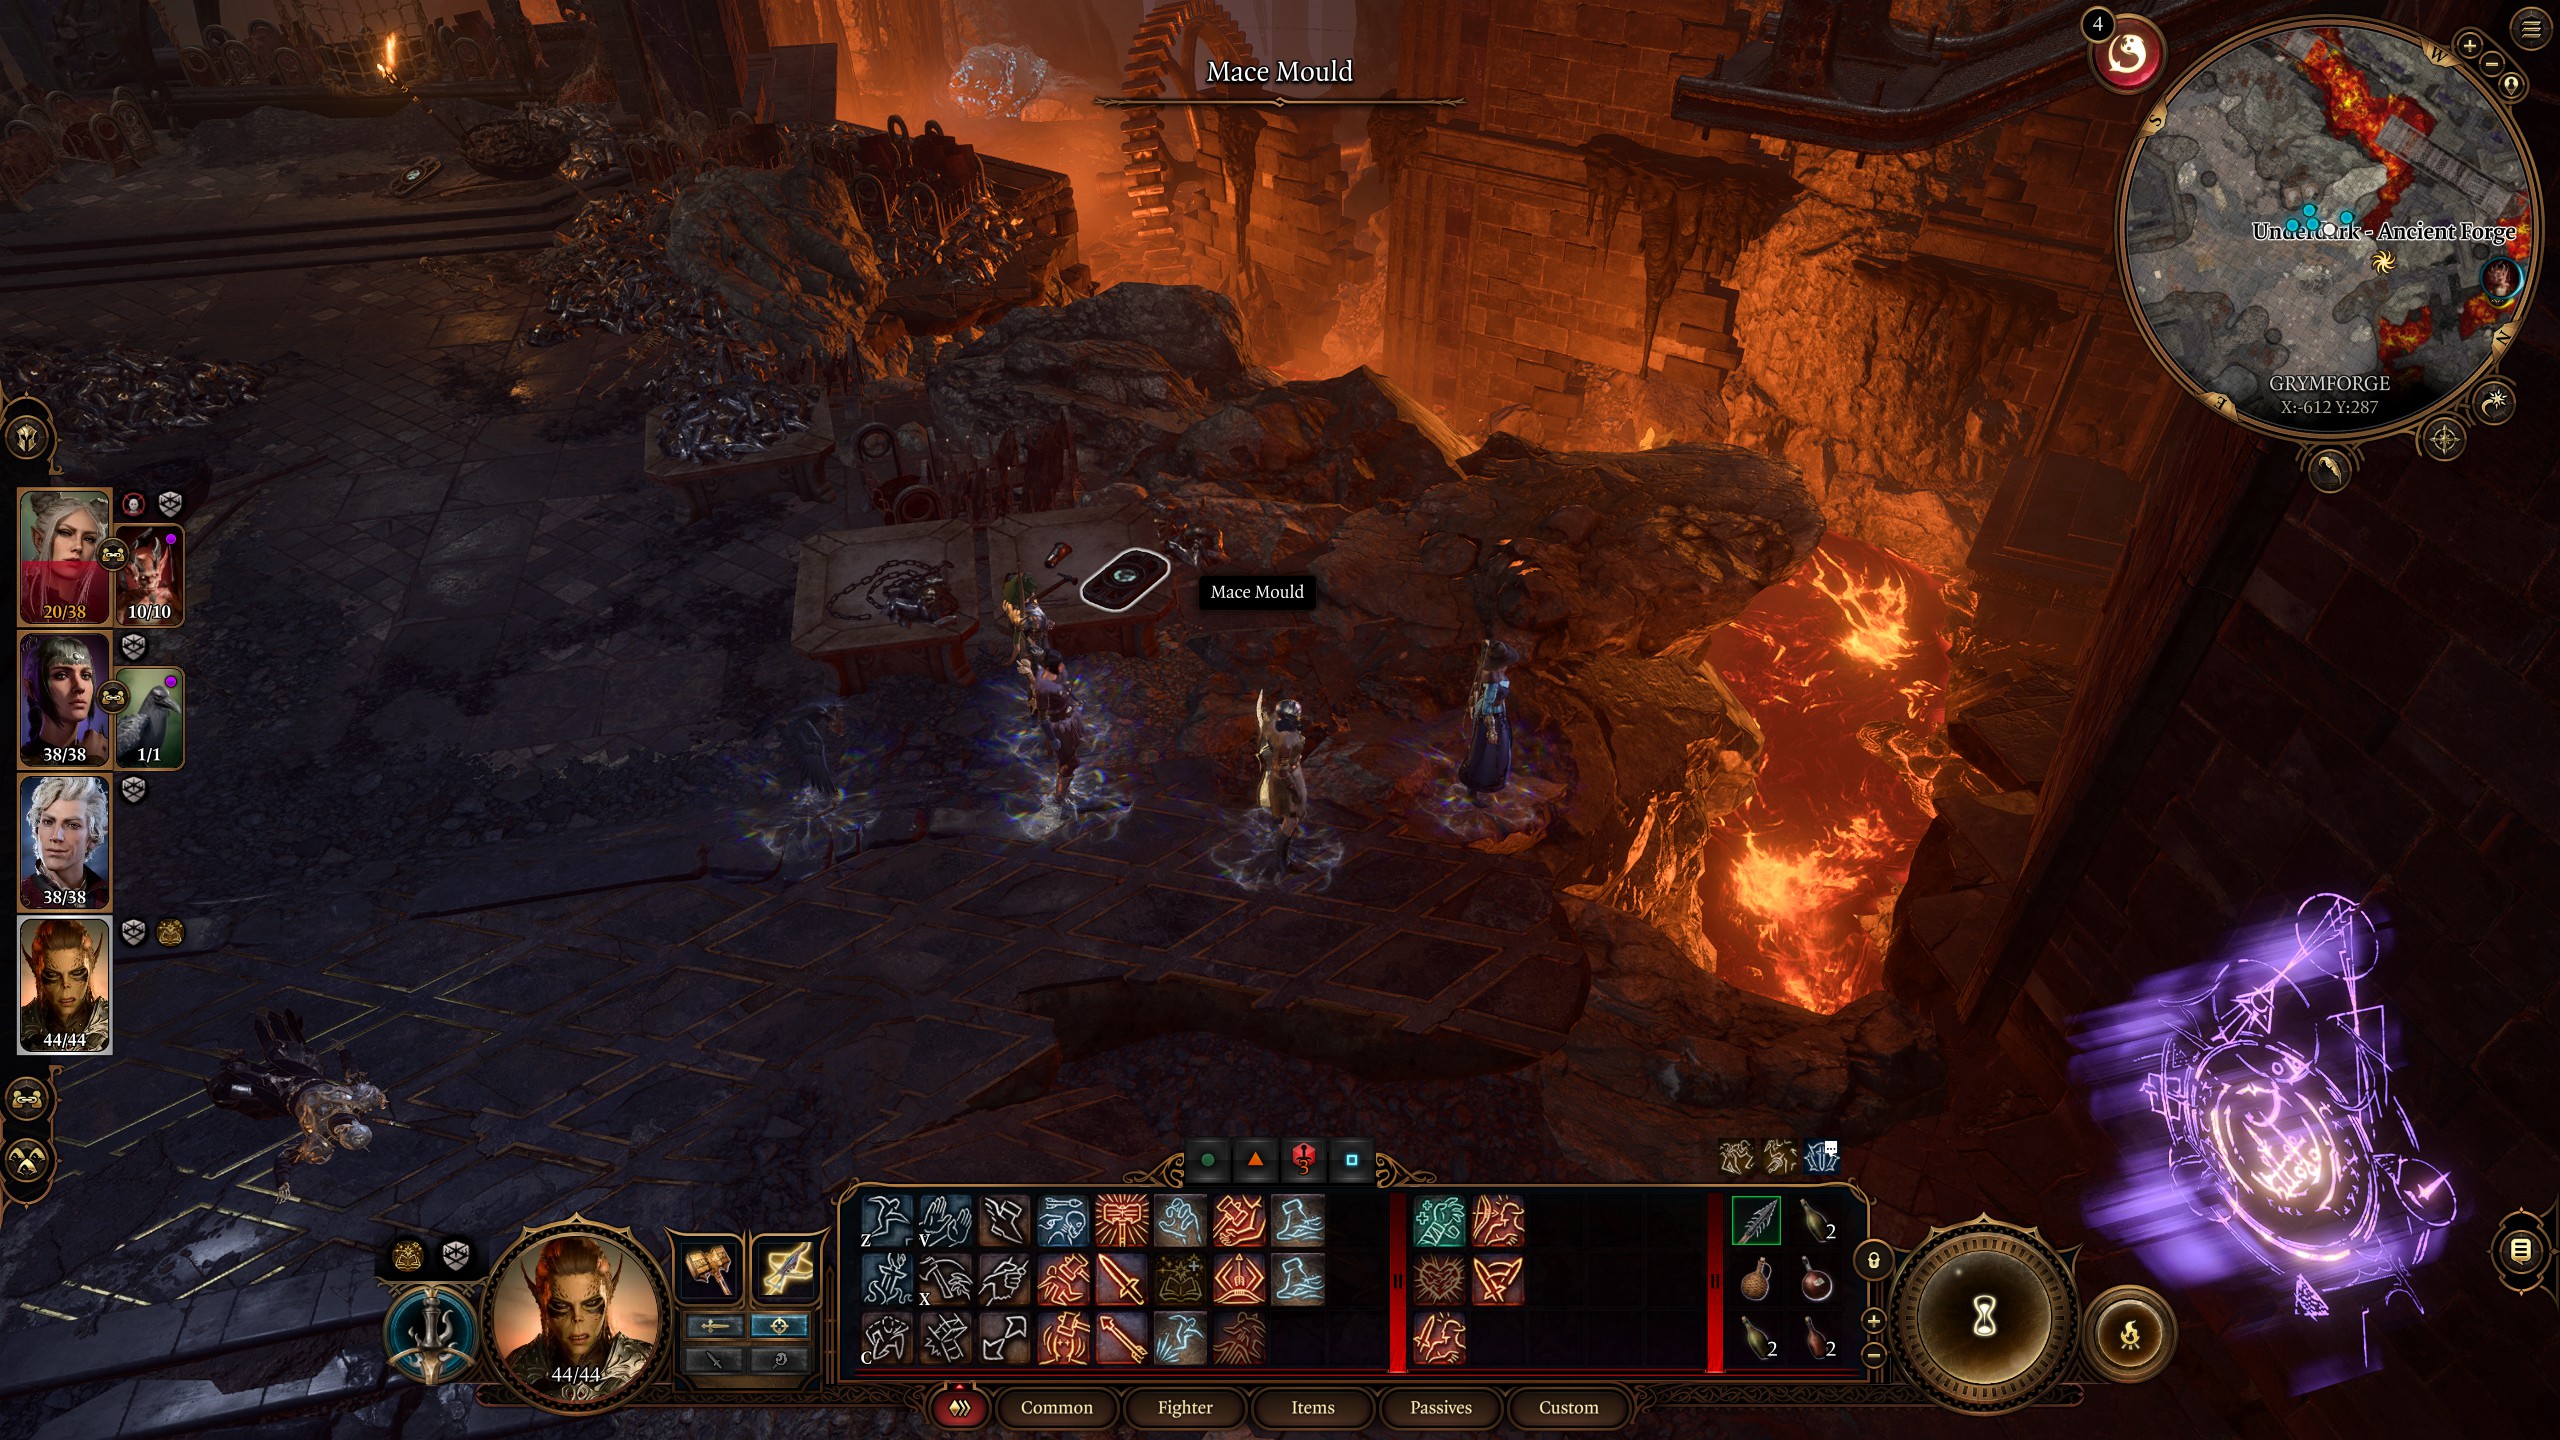
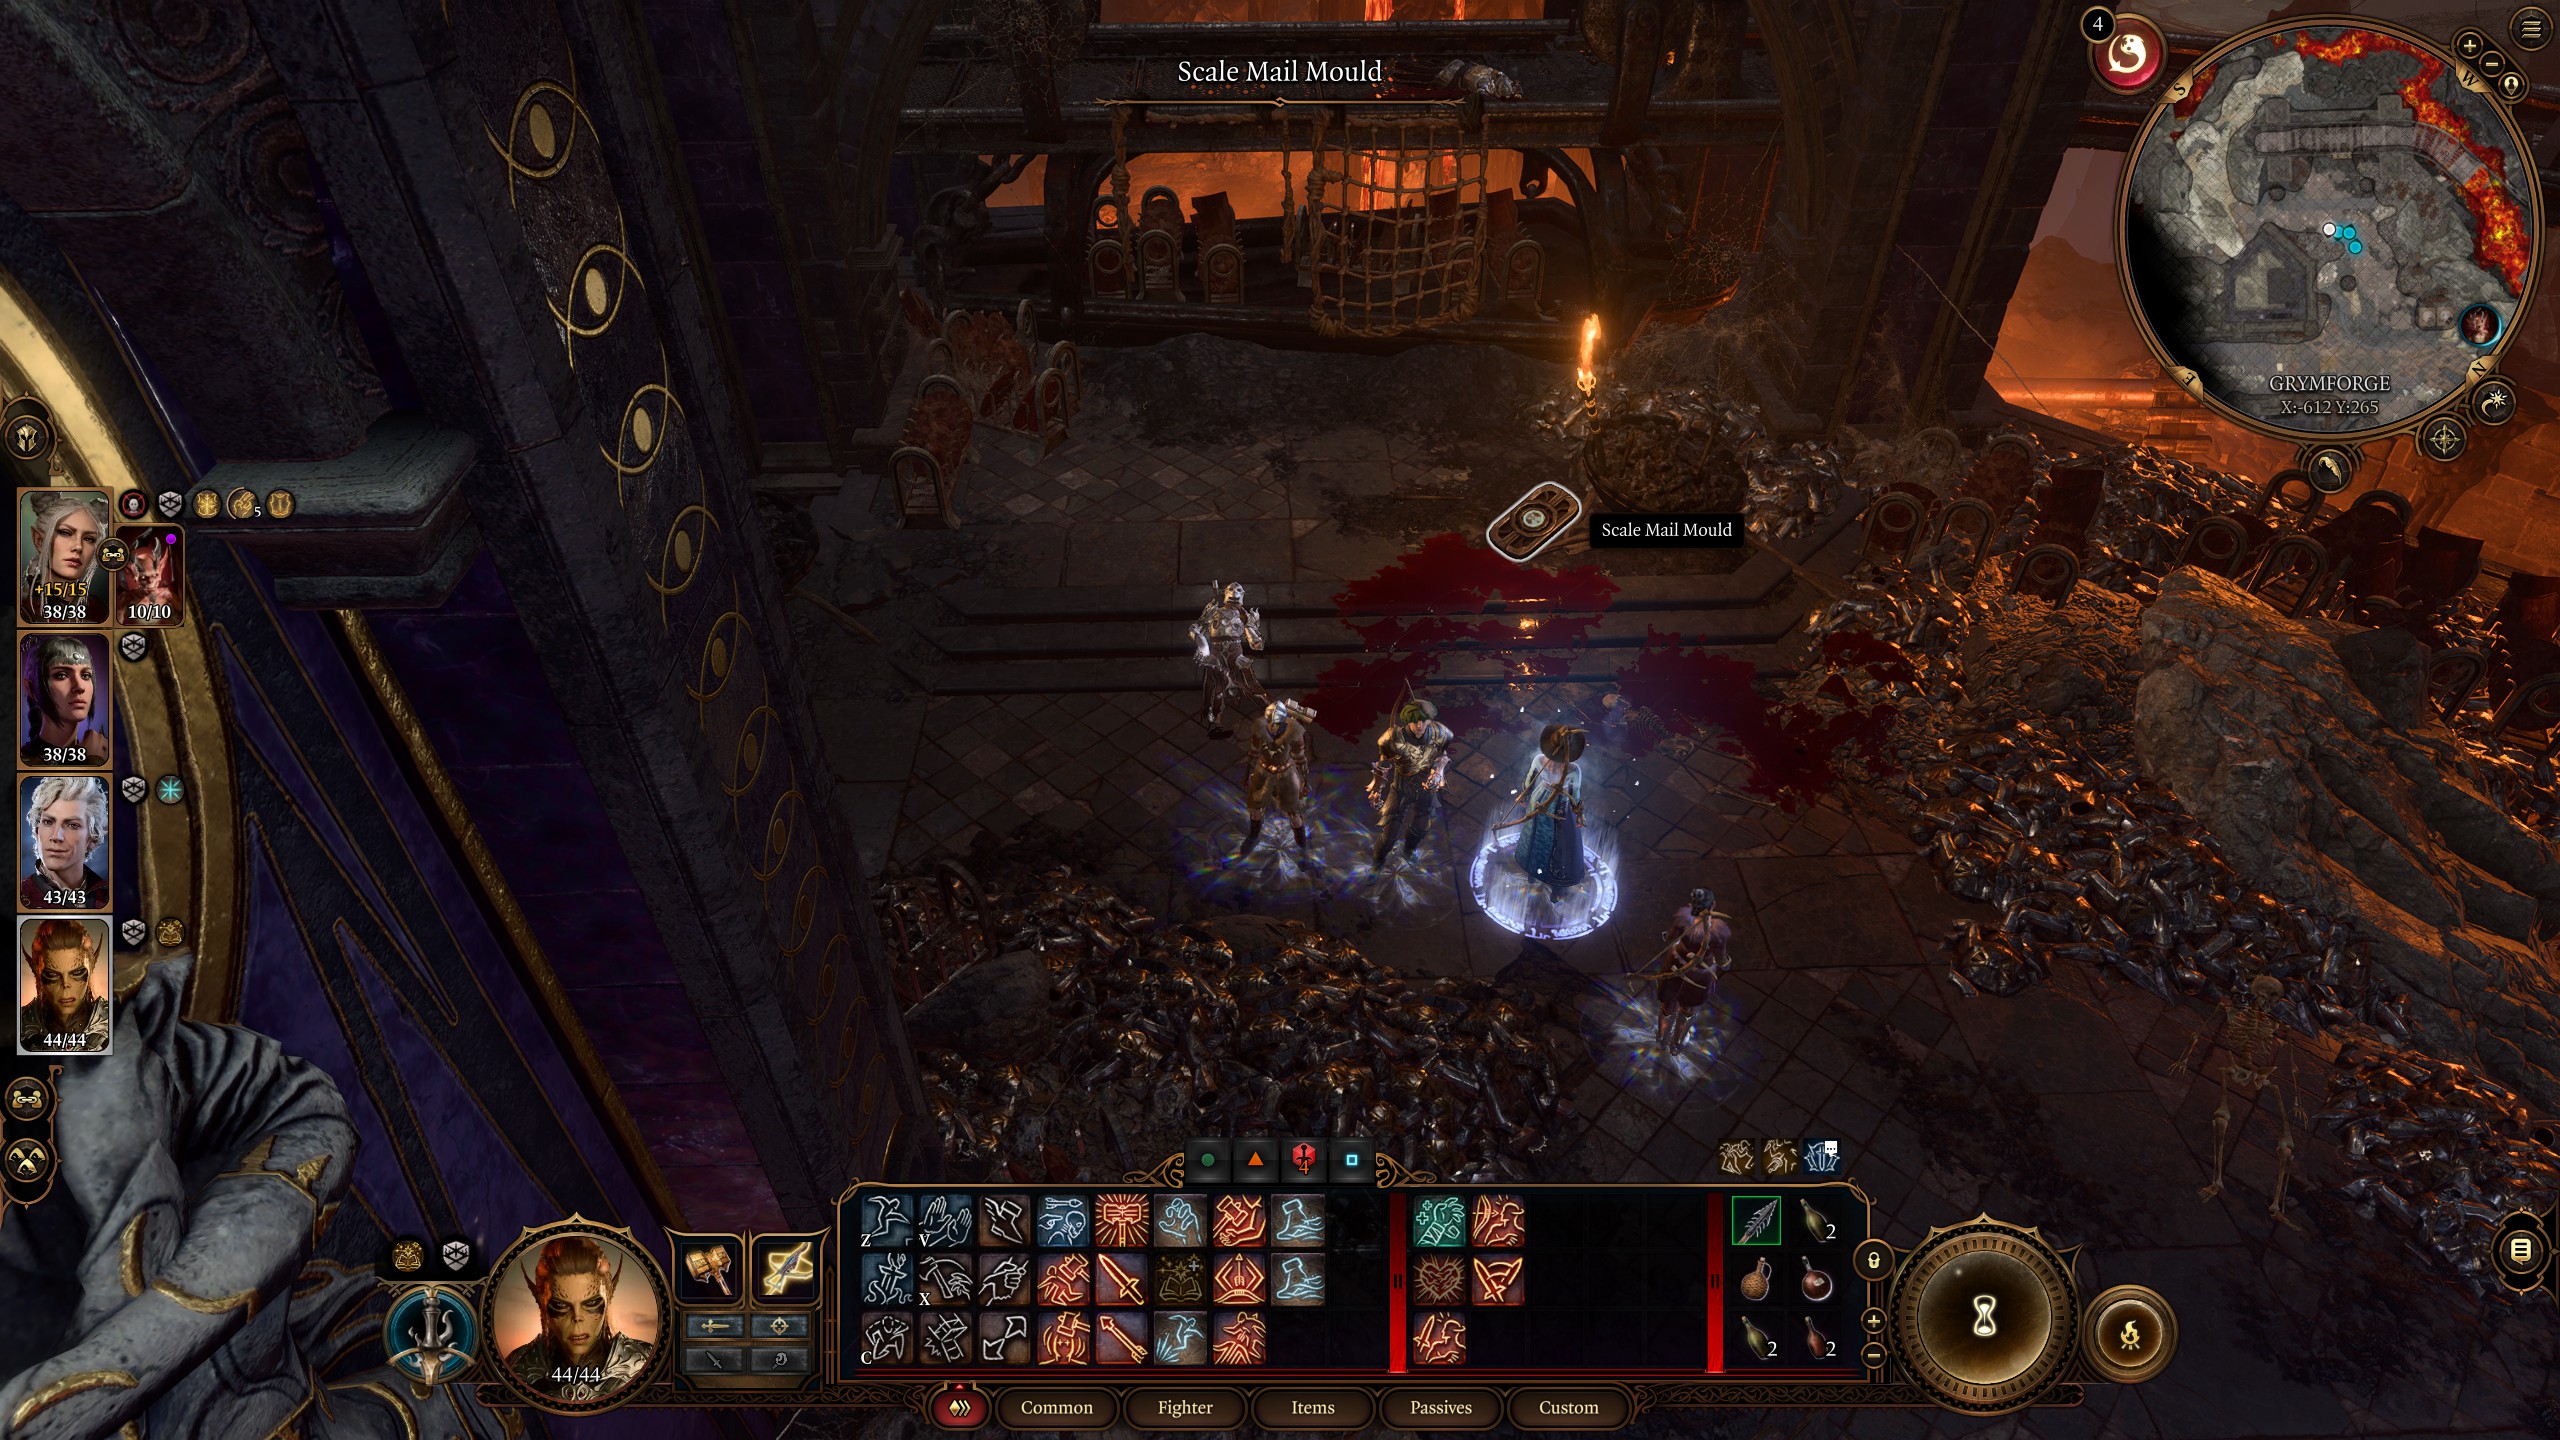
- Back at the central walkway, you'll find a Longsword Mould near where you jump off, so pick this up too. Keep heading along the walkway until you reach the end, then look down to the left and you'll see another moveable platform.
- Look for the two levers opposite—there's a skeleton next to them holding the Scimitar Mould. You can use the moveable platform to get over there but it's much easier to use Misty Step. Once you've got the mould, jump to the platform, then shoot the lever furthest away from you to get it to move.
- Hop over to the next platform, then down to the rock on the other side. You should automatically unlock the Underdark: Ancient Forge waypoint when you land. If you don't, you can find it just around the corner to the left.
You'll find the Mace Mould on the table to the right of where you land, and you'll see the Scale Mail Mould on the floor to the right. As you approach that side of the room, you'll be thrown into a fight with several Animated Armors, but once you've taken care of them, you're ready to grab what you need for the forge.
How to use the Adamantine Forge
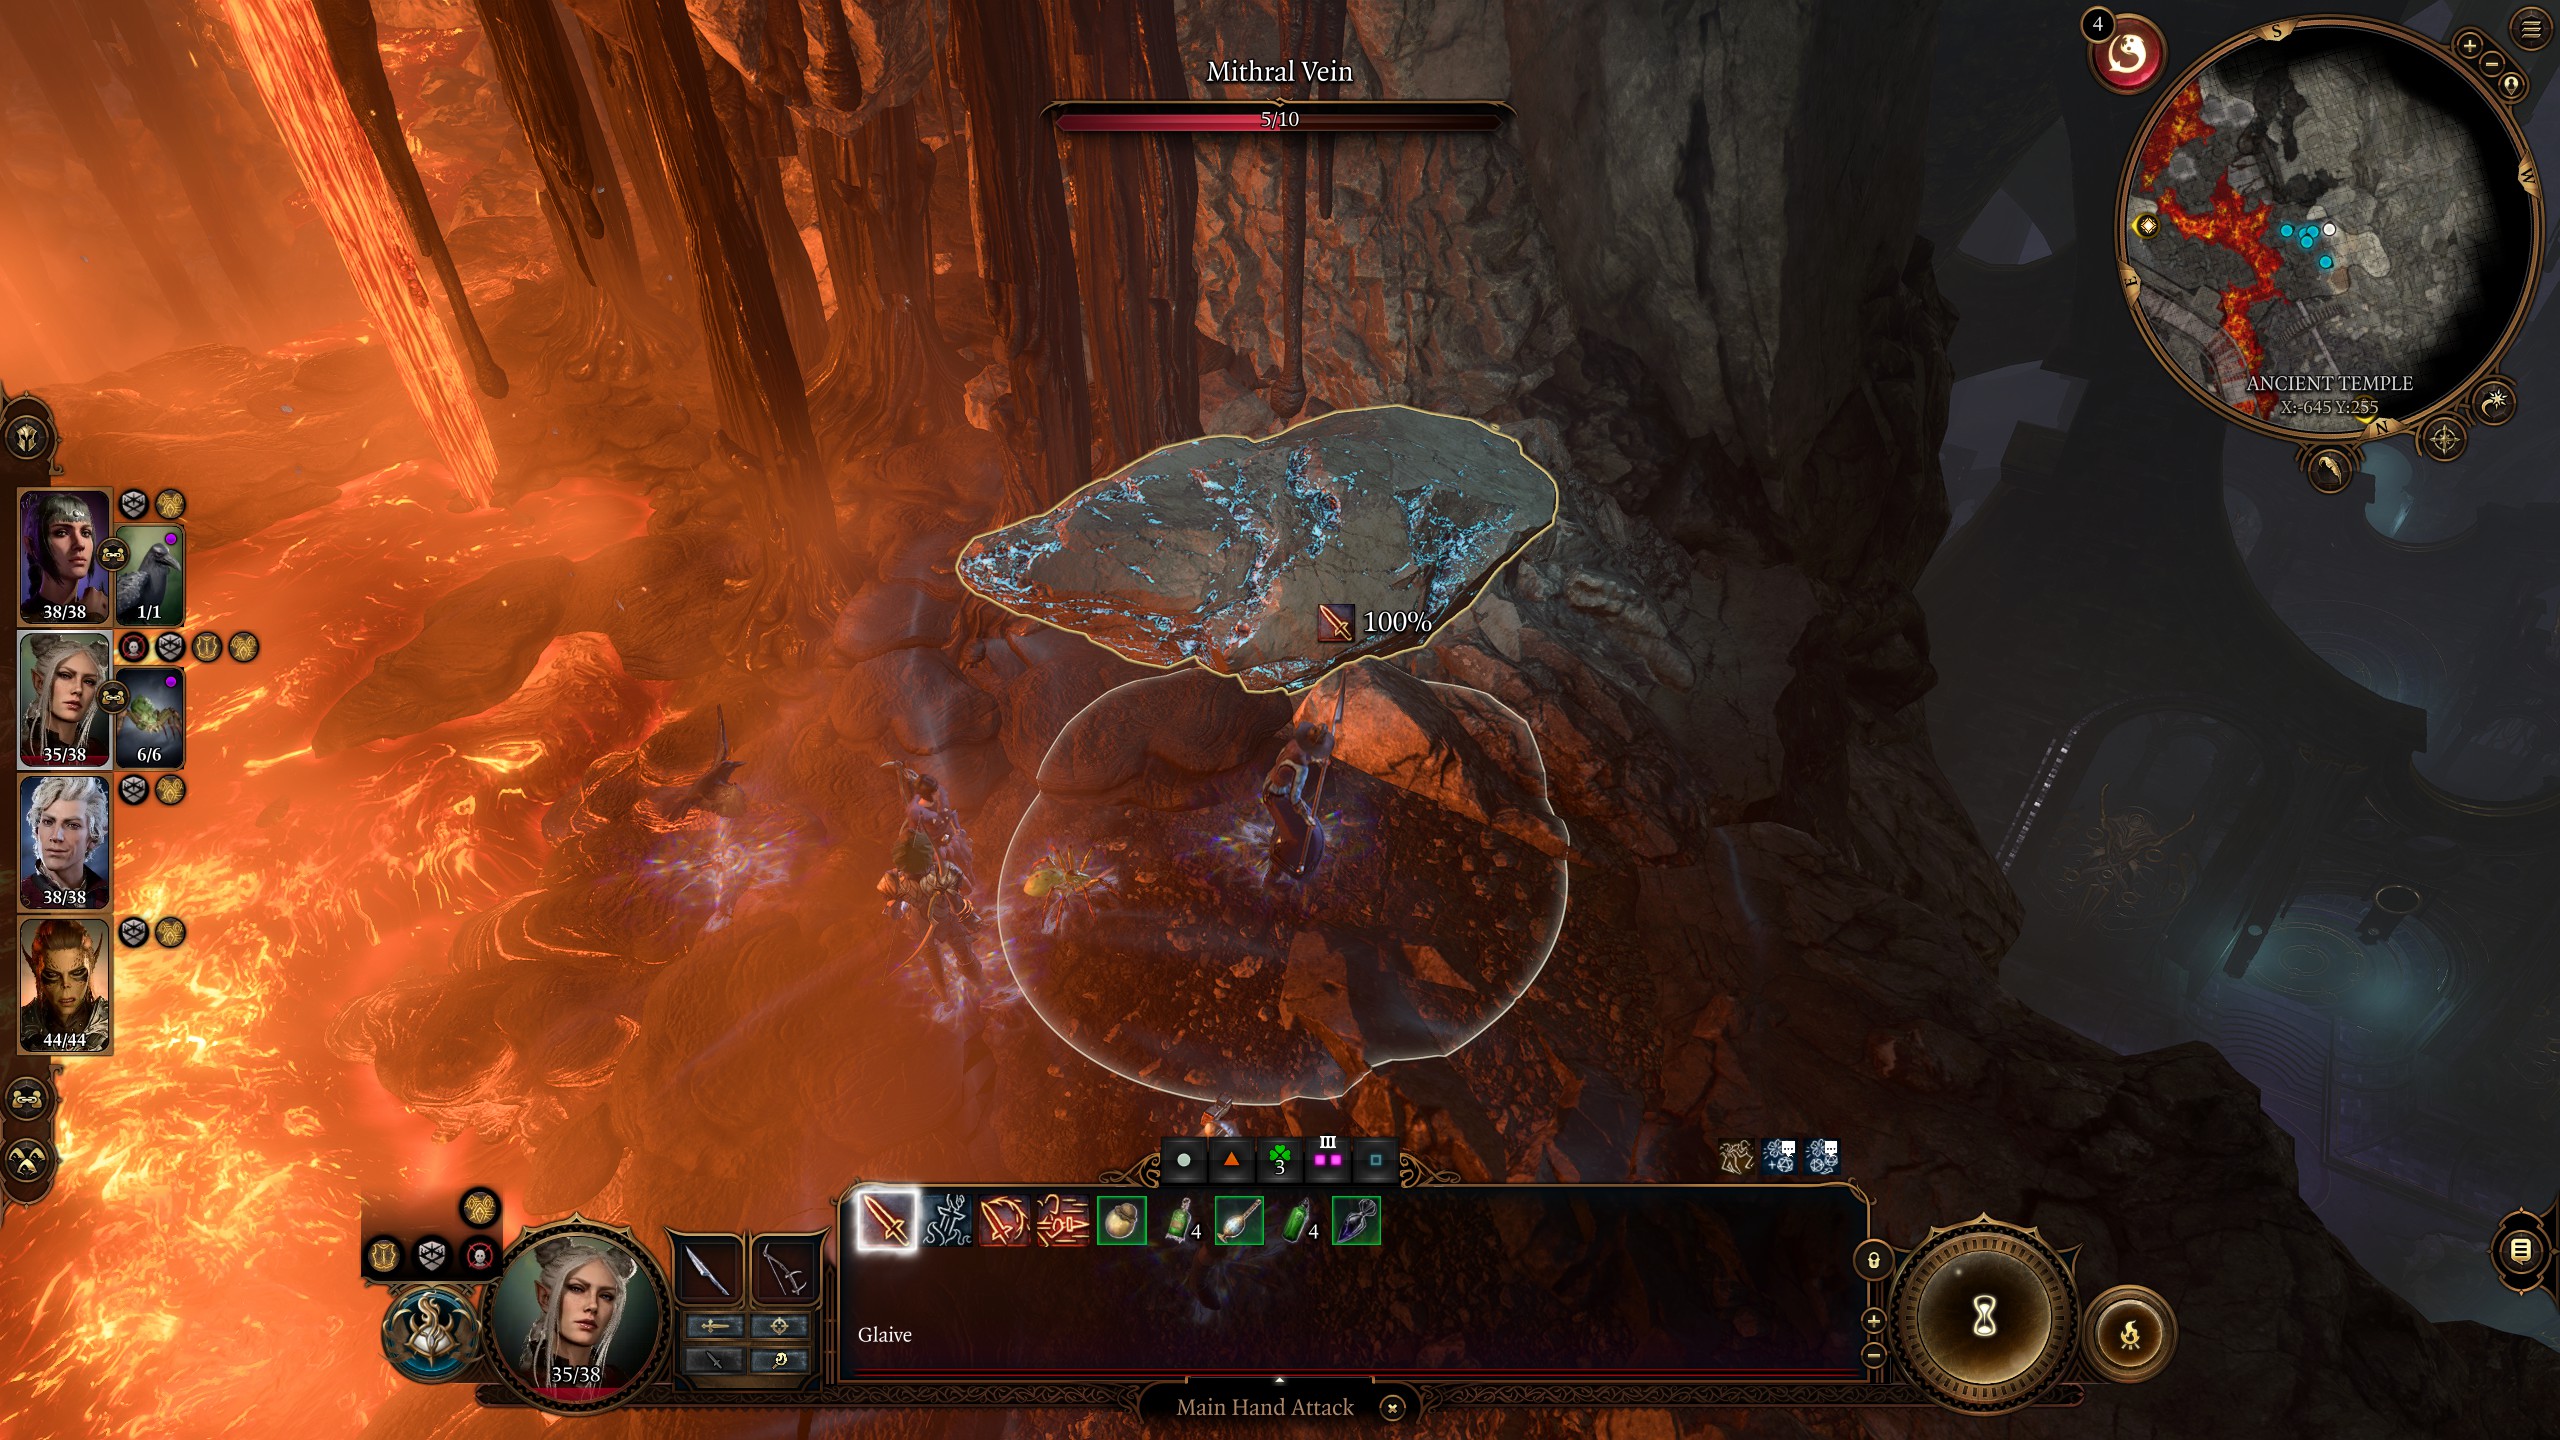
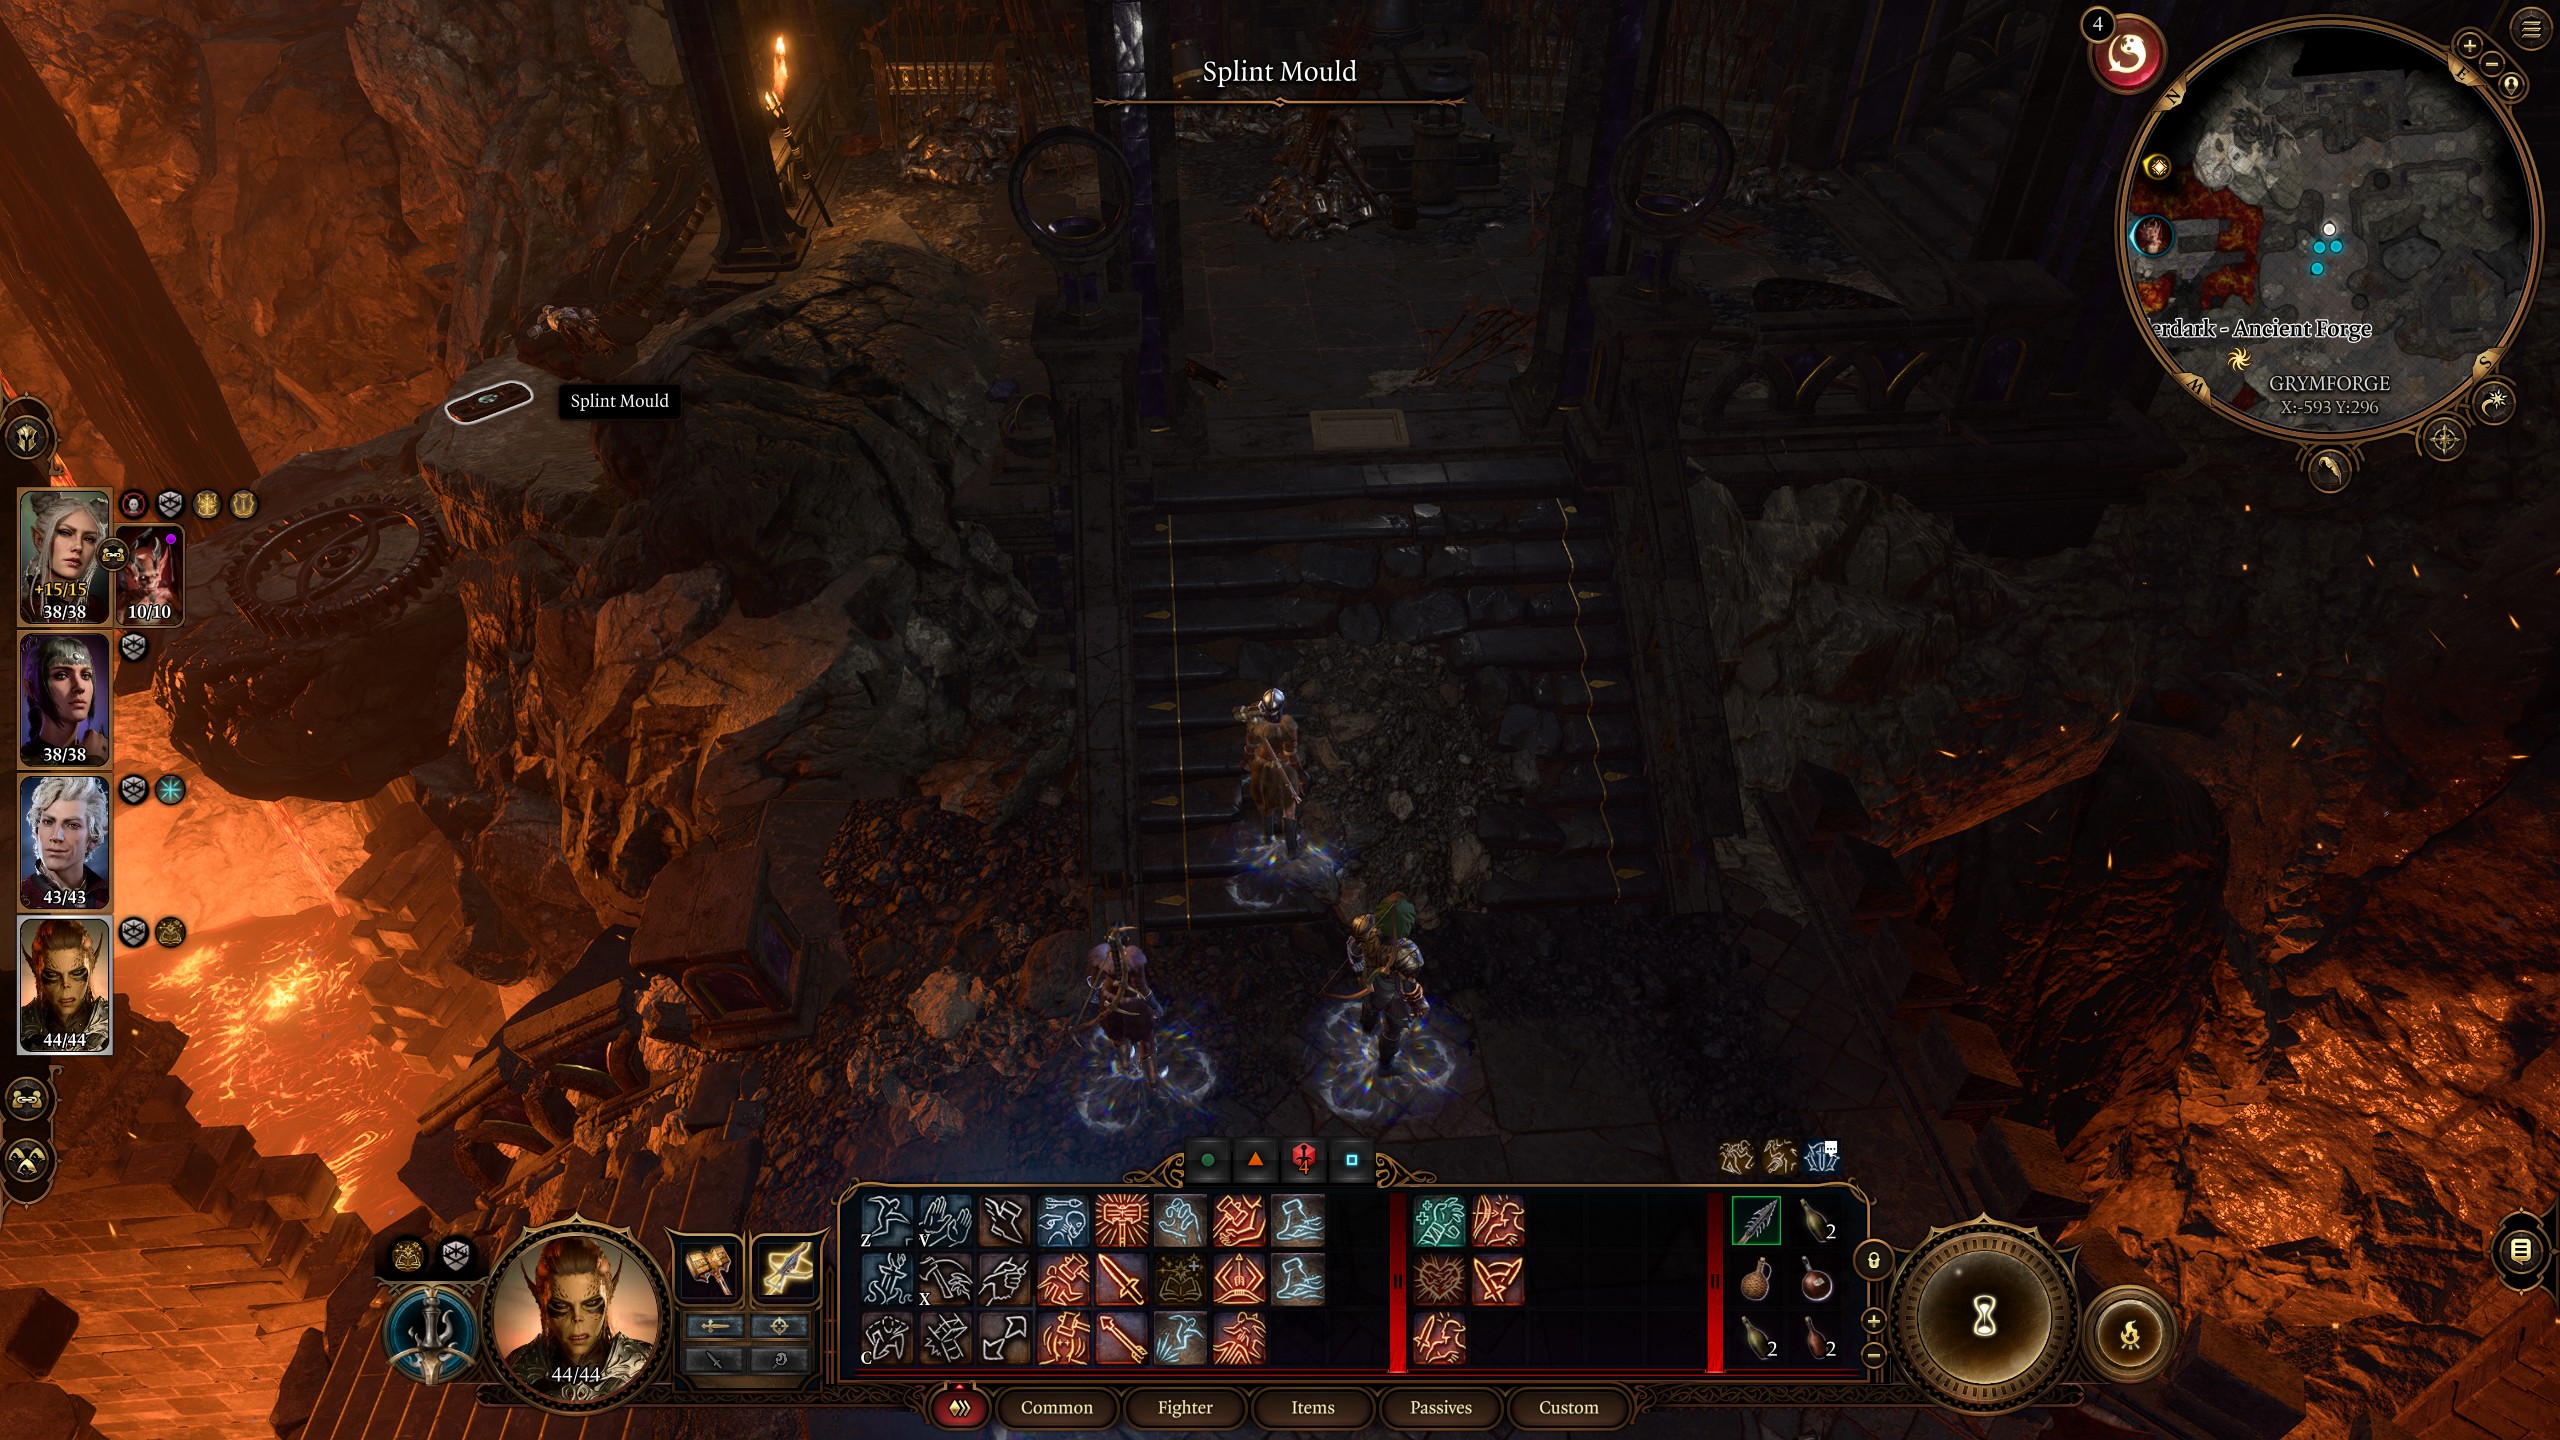
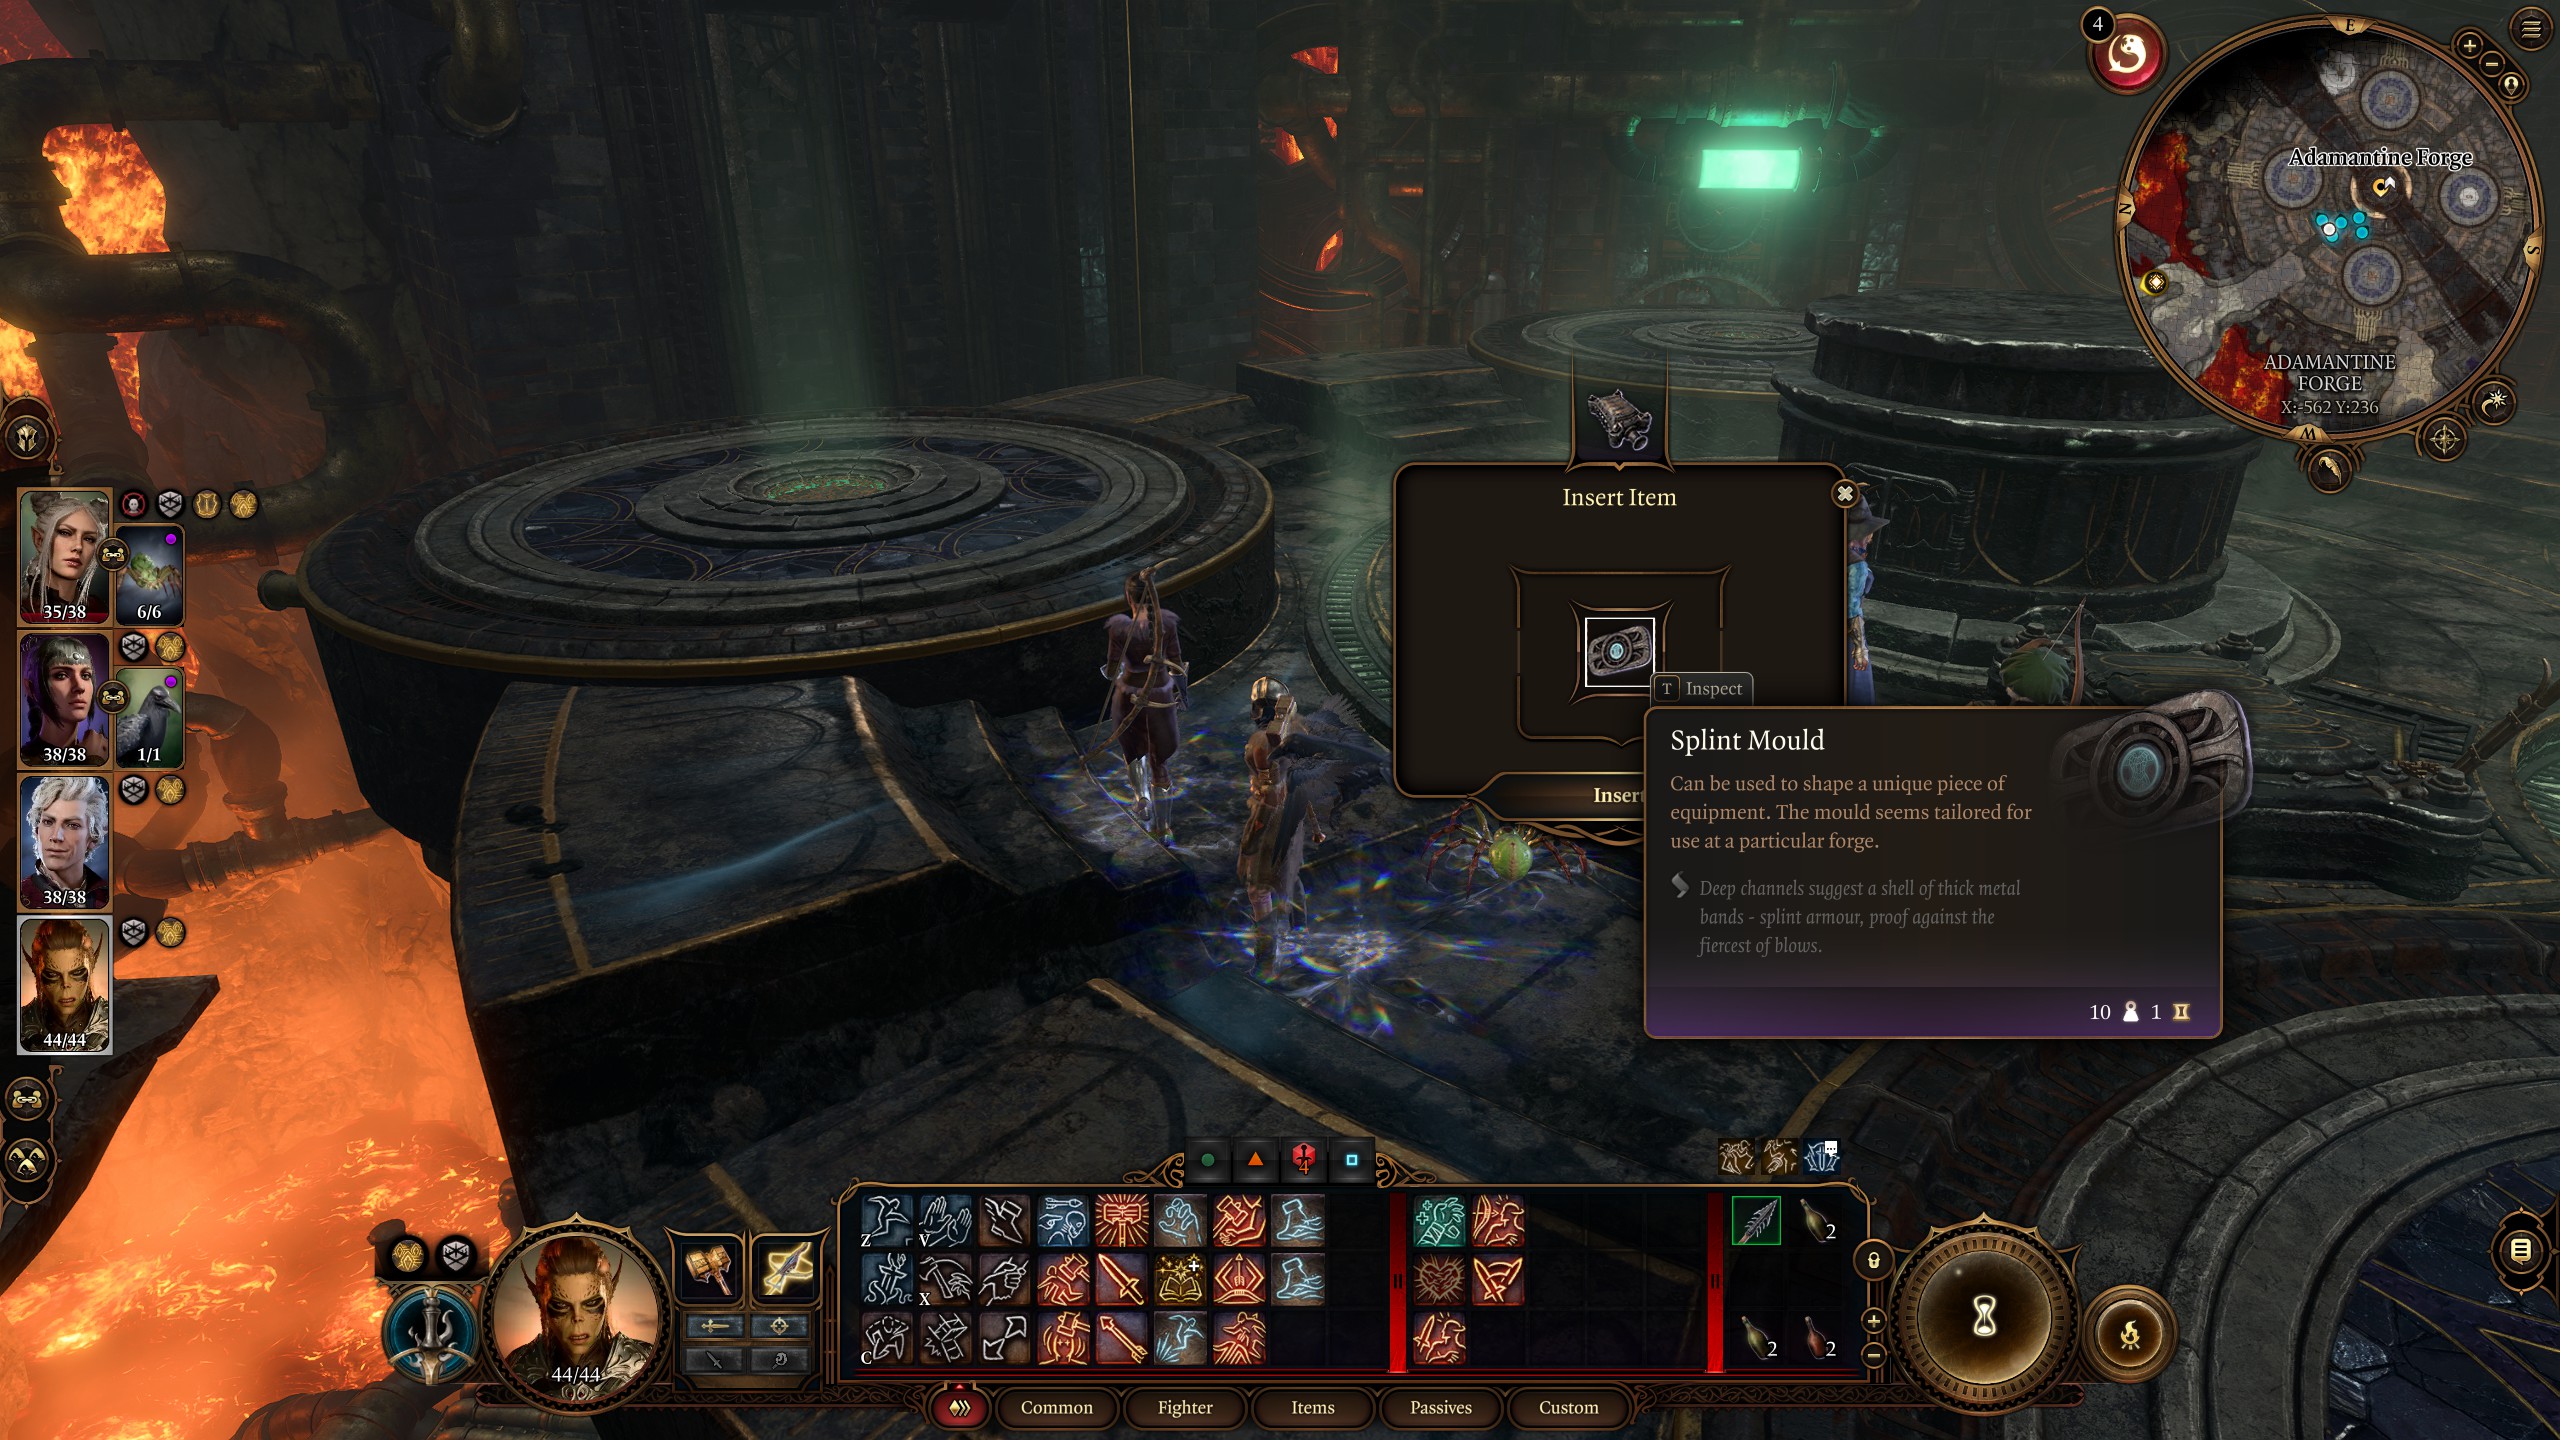
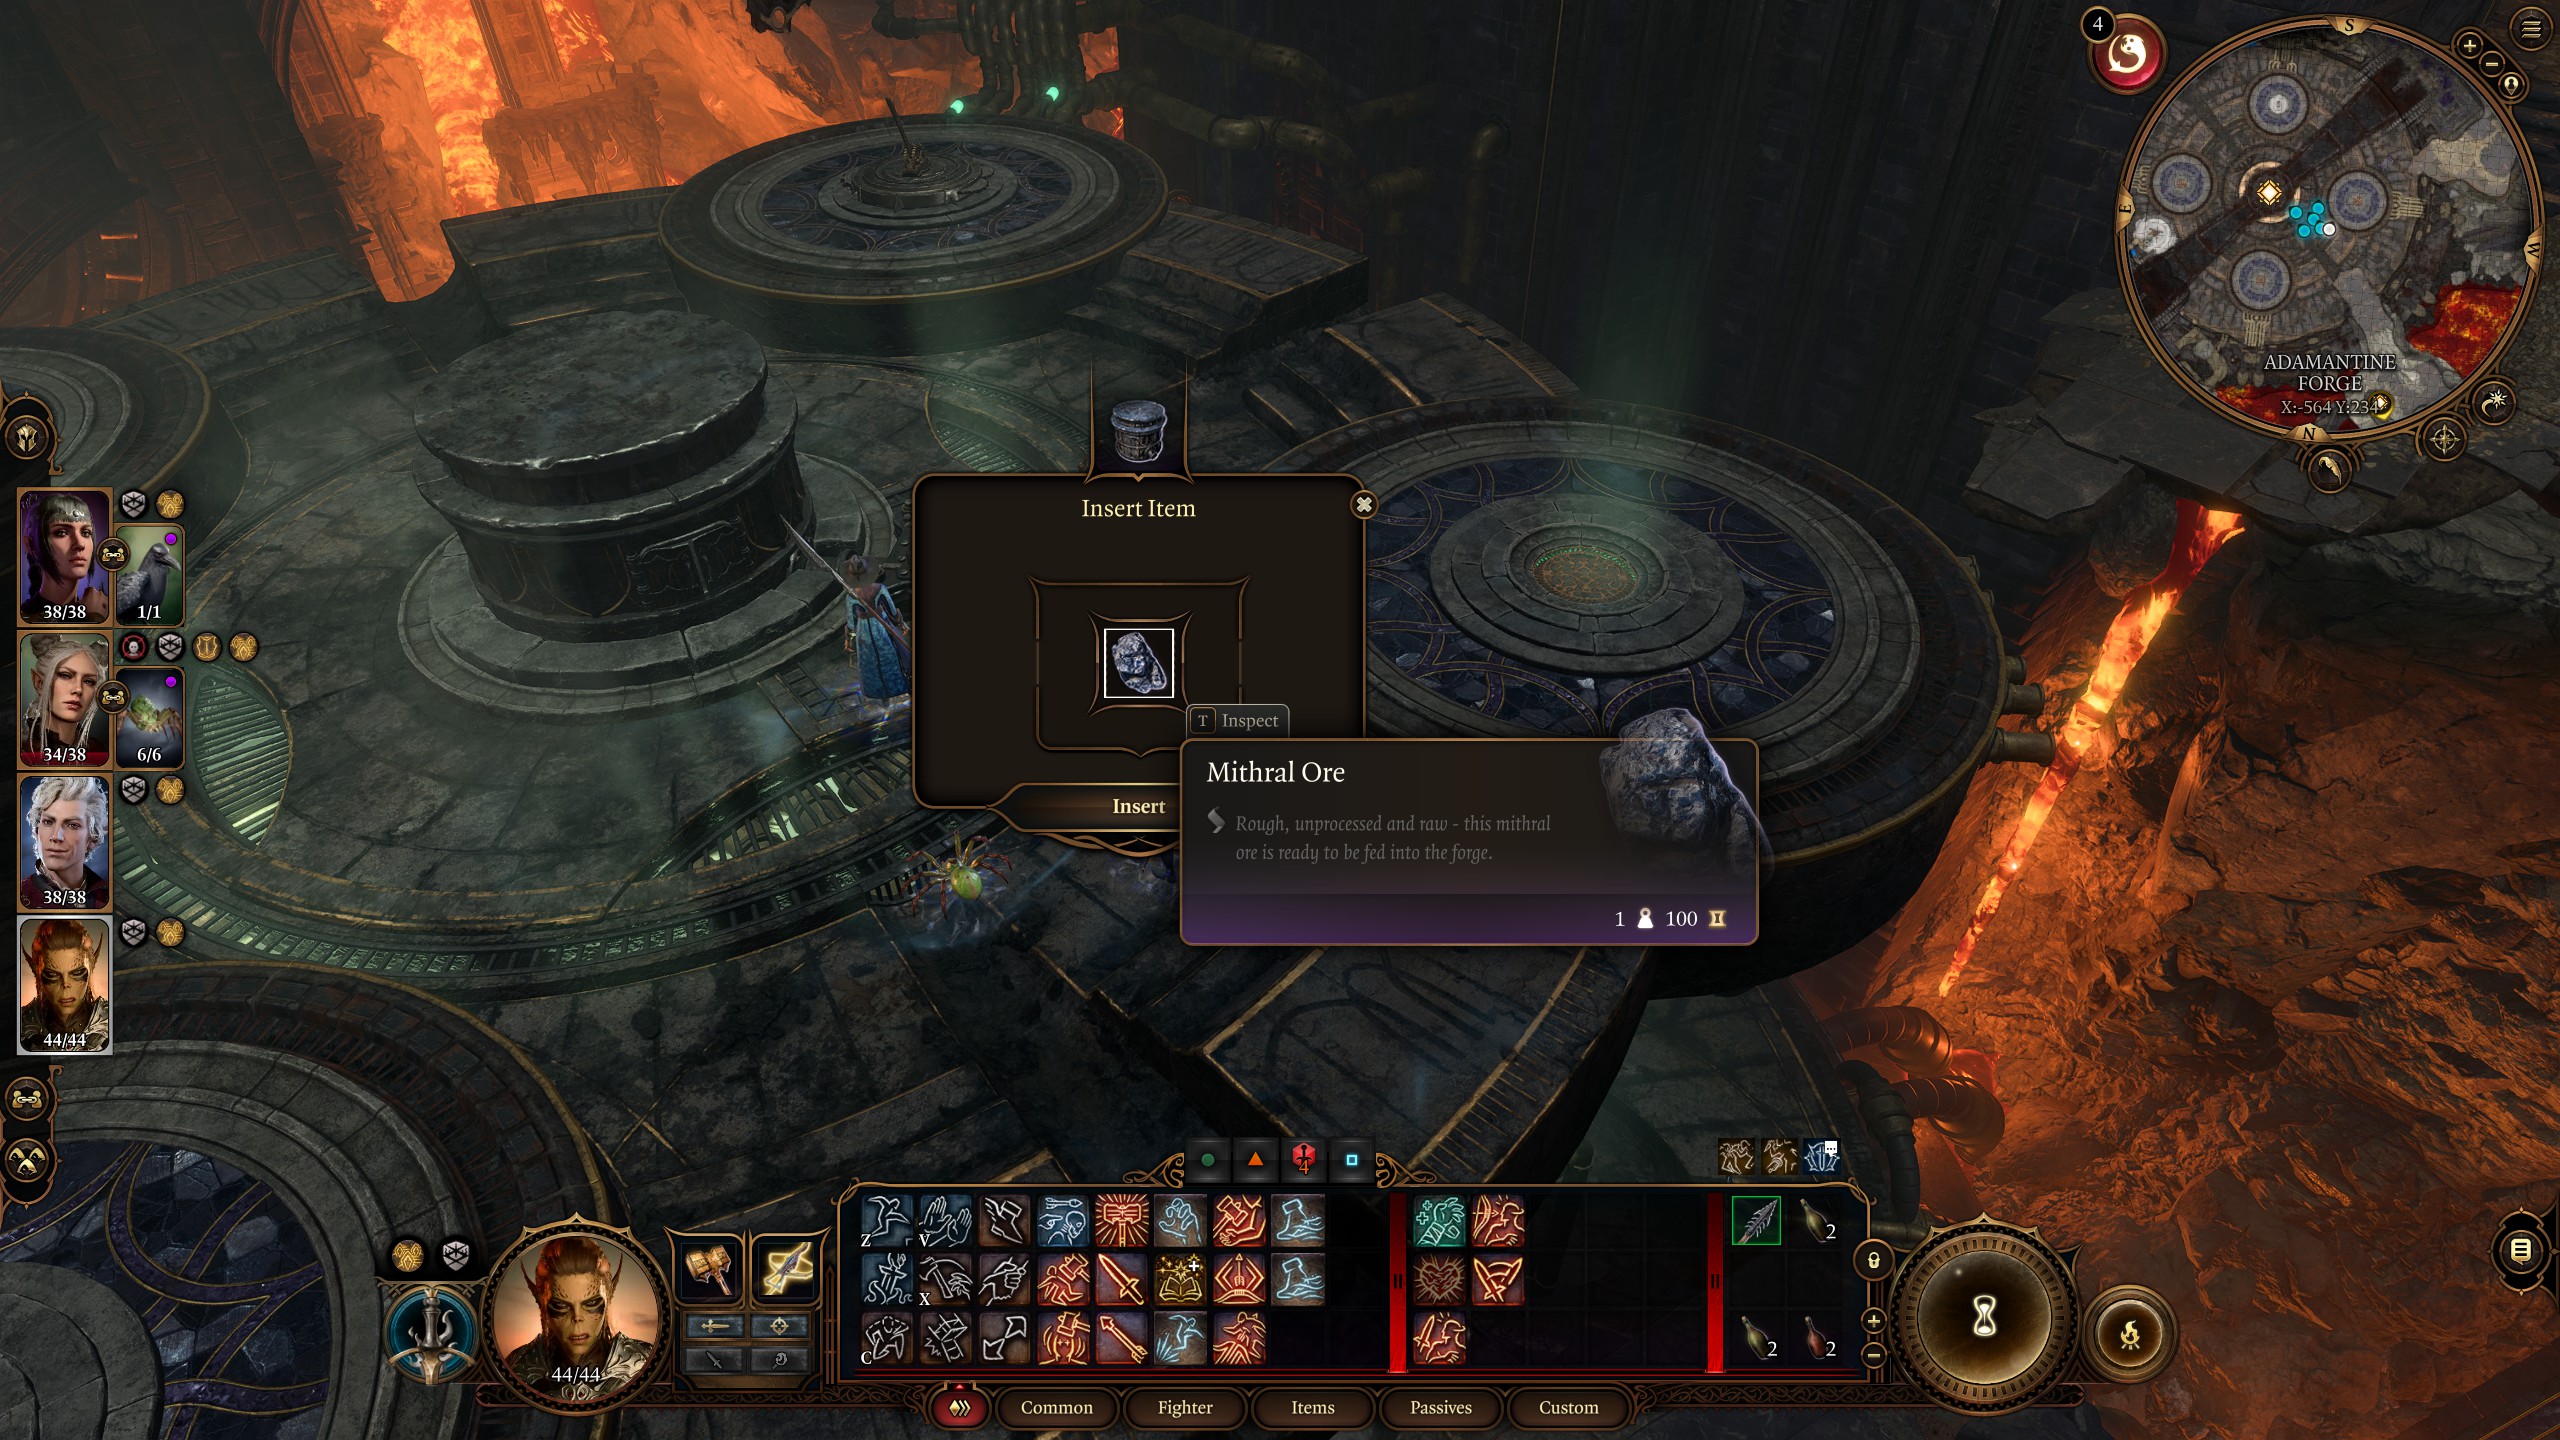
To actually use the Adamantine Forge and all of the moulds you've been picking up, you're going to need some Mithral. Head down the slope towards the lava, next to where you fought the armor, and you should see a big vein of Mithral on the opposite side.
Jump across and don't worry if you don't have a pickaxe as any weapon damage should start to break it up. Once you've got some, head back up and to the right of the room—if you're facing the waypoint—and look for the Splint Mould on a platform up the stairs and down to the left. Now you can make your way to the forge itself from the broken stairs near the waypoint. Make sure you save, since you're heading towards a boss.
The process of using the forge is pretty straightforward. You've got to:
- Insert one of the moulds, depending on what you want to make
- Insert the Mithral
- Use the forge lever to activate the Forge Hammer and lower the platform
- Use the lava valve to release lava into the room
- Use the forge lever to activate the Forge Hammer once more
Usually, this would make you a weapon, but the first time you turn the lava valve on the lower level, you'll need to fight the Grym boss. before you can continue forging your first adamantine weapon or armour piece.
How to beat Grym

Grym might look tough, and you'd be right. If it gets a hit off on any of your characters, you're going to die, or be very close to death—ideally, you don't want that to happen. In short:
- Use the lava to make Grym superheated otherwise he won't take damage
- He takes big damage from Bludgeoning attacks
- Trade aggro between characters to lure him to the Crucible in the centre and use the Forge Hammer to deal big damage
- Keep the floor covered in lava by using the lava valve whenever it disappears
- Use ranged attacks to activate the levers when needed
- Avoid standing in lava yourself—seriously, it hurts
You'll likely need plenty of healing for this fight, and buffs are also welcome, to help you survive longer and deal more damage. It might take a few tries to work out his attacks and where you want to position everyone—the lava will deal a tremendous amount of damage to characters that touch it, so it's helpful to plan out positioning beforehand.
Aside from bludgeoning him to death with a hammer or mace-wielding character, you can also put the Forge Hammer to good use. If you can lure Grym to the middle of the room, you can use the other lever to bring the forge hammer down and smash him. It might sound complicated but this is made much easier by the fact that you can use ranged attacks to flip the levers. You can also tell who Grym's primary target is by the red glow above their heads, so you can use this to help lure him to his death. If you choose this method, using a character with Misty Step and some sort of taunt, like Lae'zel, helps tremendously.
Once you've beaten Grym, you'll gain proper access to the forge where you can create items as many times as you like, providing you have the Mithral Ore to spare.

.png?w=600)


