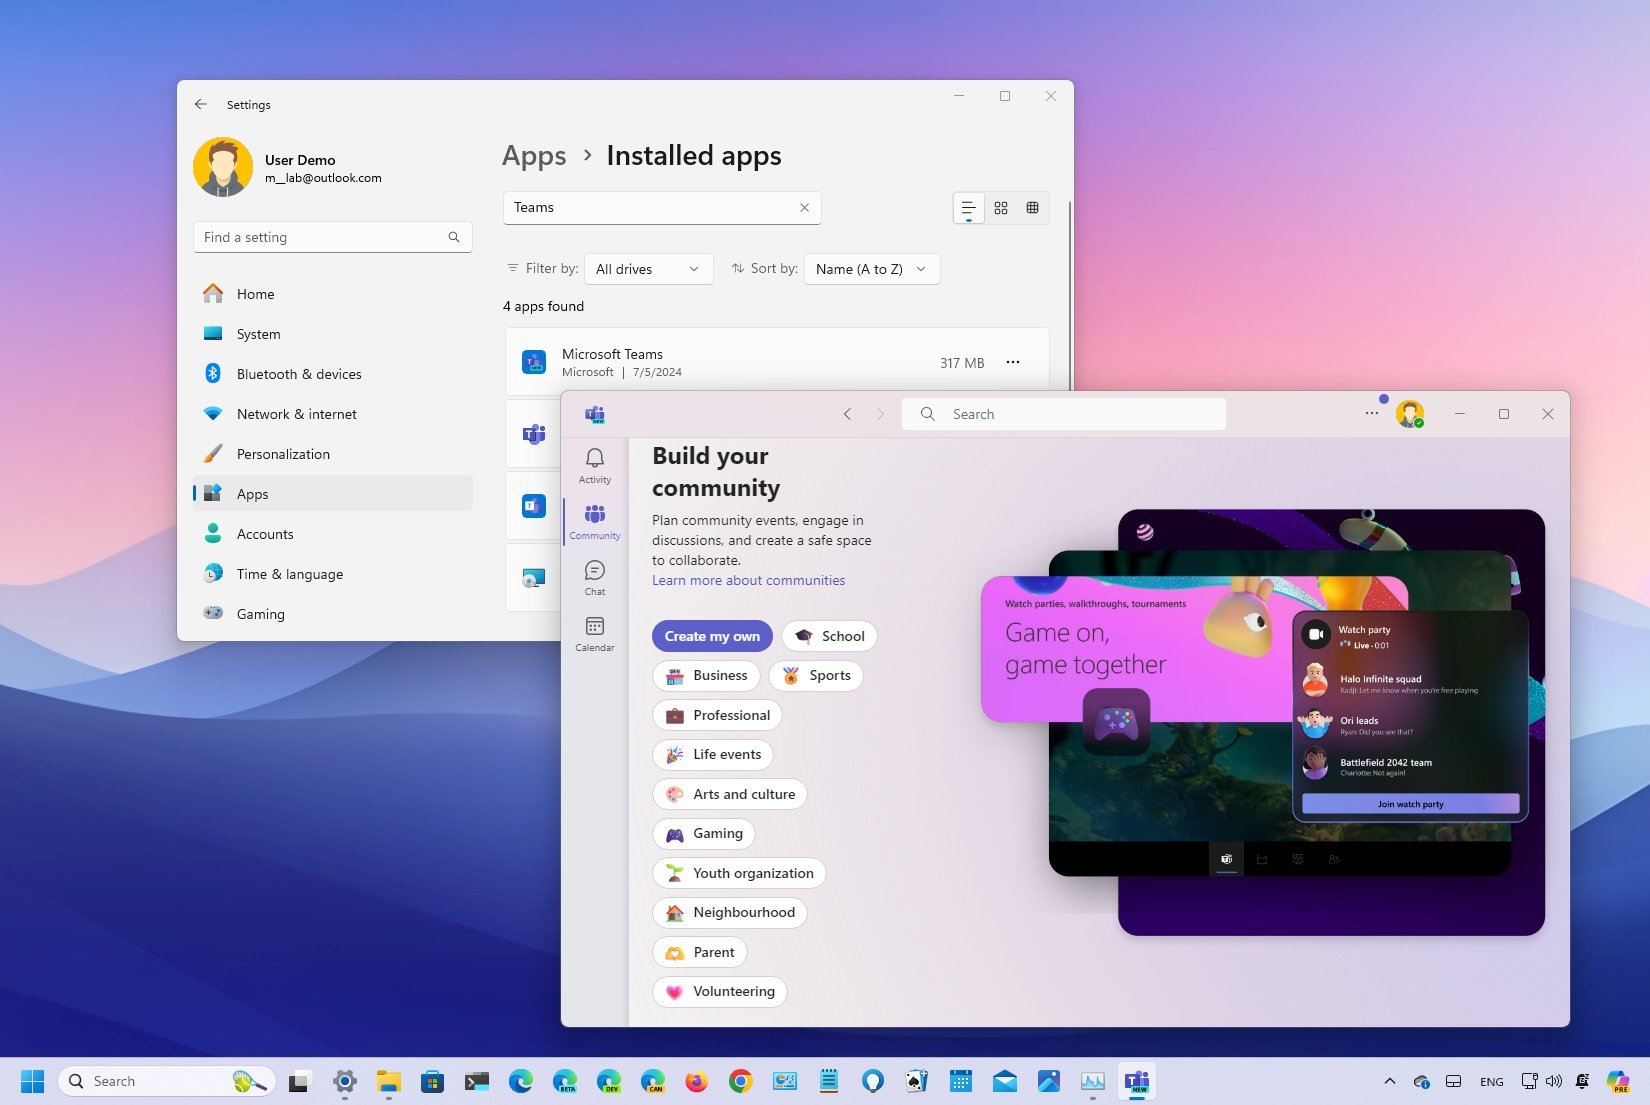
Windows 11 comes with a slew of default apps, one of which is the Microsoft Teams app. This collaboration app is designed to help you communicate and work with others through voice, video, and chat. However, if you don't use it, and it keeps launching automatically at startup, you can remove it like any other app. In this guide, I will explain how to complete this task.
It's important to note that Microsoft has two Teams apps, one for home that's available for free and one for work and school that requires a paid subscription. The free version comes pre-installed with the operating system, while the paid version is an app you must download and install manually. In addition, the company is also working on another app that unifies the current apps into a single experience.
Regardless of the version of the app installed on your computer, if you won't be using Teams or don't trust it because of privacy or other concerns, Windows 11 lets you uninstall it in two ways through the Settings app and commands through PowerShell or Command Prompt.
In this how-to guide, I will walk you through the different ways to get rid of the Teams app on Windows 11.
How to remove Microsoft Teams app from Settings
To uninstall the Teams apps on Windows 11, use these steps:
- Open Settings.
- Click on Apps.
- Click the Installed apps page on the right side.
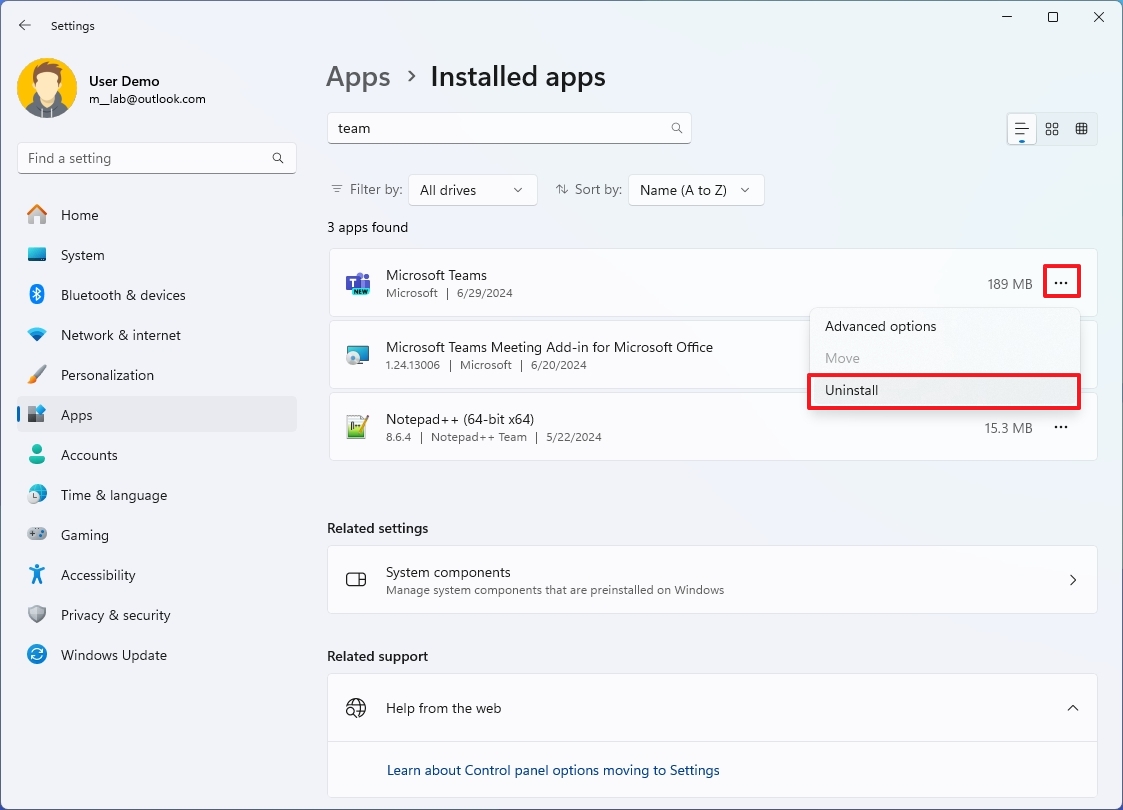
- Click the three-dot menu next to the app.
- Quick note: The new app is labeled "Microsoft Teams" with a "New" badge, the free version is labeled "Microsoft Teams (personal)," and the paid version is labeled "Microsoft Teams (work or school)."
- Click the Uninstall button.

- Click the Uninstall button again.
Once you complete the steps, the Microsoft communication app will be removed from your computer.
If you want to install the Teams app again, you can download it from the Microsoft Store. At the time of this writing, you can only reinstall the new version of Teams through the Windows Package Manager (see instructions below).
How to remove Microsoft Teams app from Command Prompt
To uninstall the Teams app with commands, use these steps:
- Open Start.
- Search for Command Prompt (or PowerShell), right-click the top result, and choose the Run as administrator option.
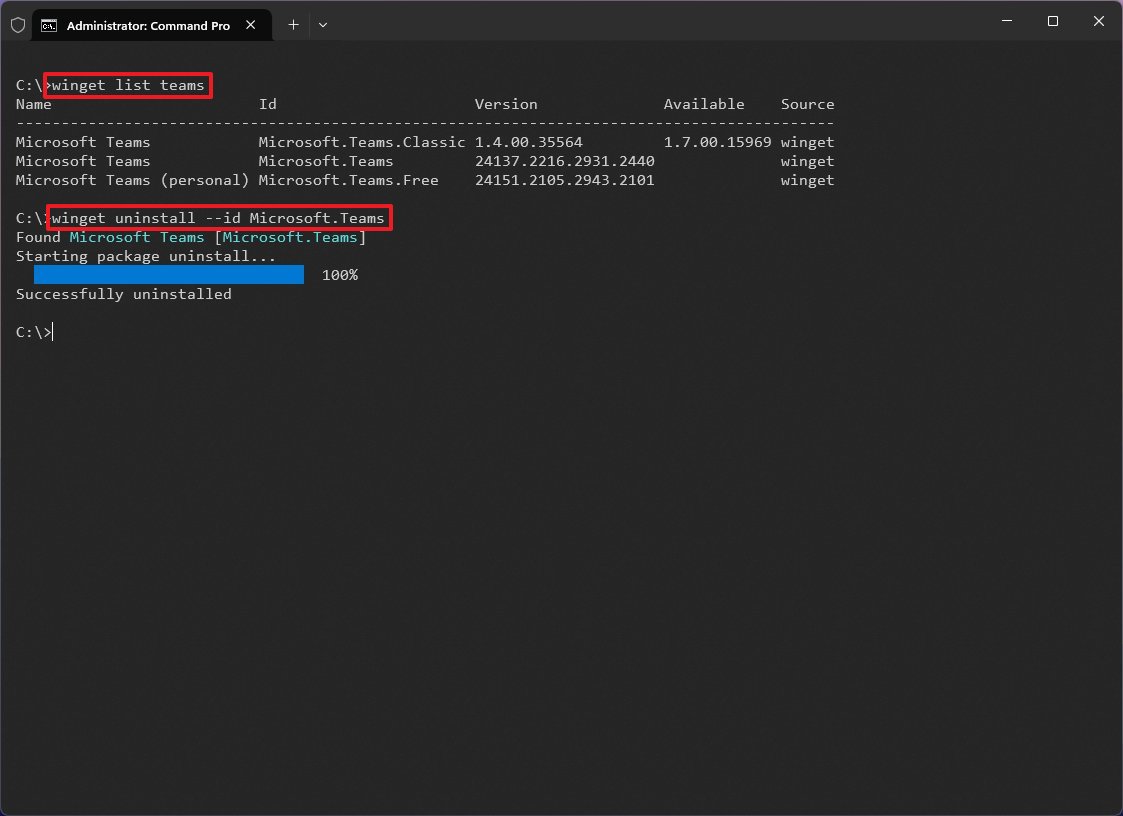
- (Optional) Type the following command to confirm the app ID and press Enter: winget list teams
- Type the following command to uninstall the Teams (preview) app and press Enter: winget uninstall --id Microsoft.Teams

- Type the following command to uninstall the Teams (personal) app and press Enter: winget uninstall --id Microsoft.Teams.Free
- Type the following command to uninstall the Teams (classic) app and press Enter: winget uninstall --id Microsoft.Teams.Classic
After you complete the steps, the command will proceed to remove the Teams app from Windows 11.
In the case you want to reinstall the app with the Windows Package Manager command tool, you can use the winget install --id Microsoft.Teams.Free command to install the personal version of the app and the winget install --id Microsoft.Teams.Classic command to install the classic version of the app. Also, you can use the winget install --id Microsoft.Teams command to install the new unified version of the app.
More resources
For more helpful articles, coverage, and answers to common questions about Windows 10 and Windows 11, visit the following resources:


