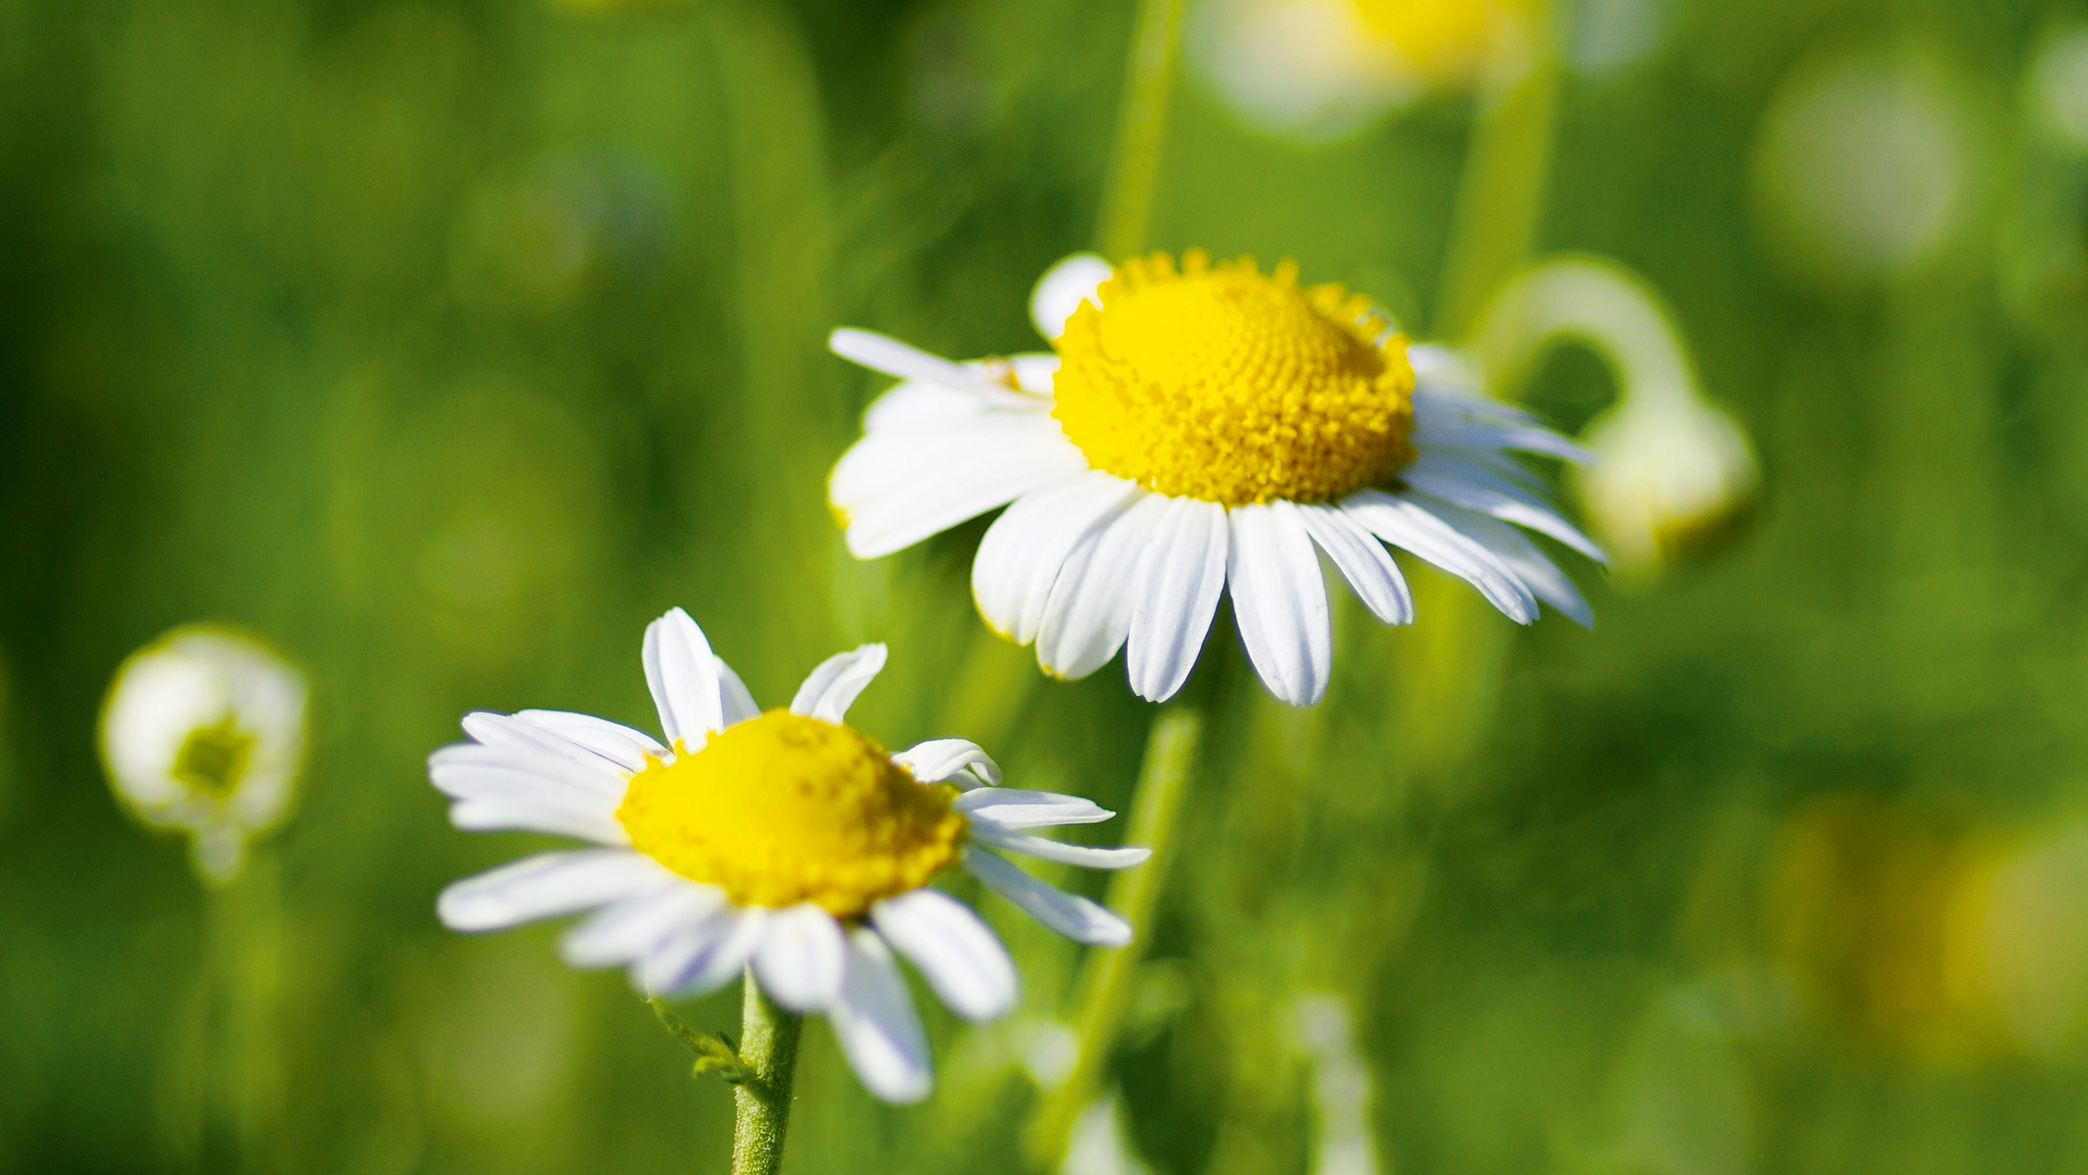
To master harsh summer light, a polarising filter is a helpful tool to maintain dynamic range and enhance color intensity. This is especially useful when photographing around midday when the sun is at its highest point and there are usually fewer clouds in the sky. When aiming for a wider landscape shot, achieving a pleasing result can be challenging in these conditions.
That is why many photographers avoid shooting landscapes at this time of day. The sun’s position creates a flat look overall and the direct, undiffused light causes a lack of shadows. However, this light creates an opportunity to shoot tighter nature frames with more detail by including foreground subjects, including flowers. When doing so, lower your camera position, aim the lens at a 90°-degree angle to the sun and position the sky behind your subject for maximum effect.
One experimental approach to introduce more dynamism is to intentionally overexpose the landscape scene. For this, you may want to avoid looking at your camera’s histogram, which shows when highlights or shadows are clipped due to overexposing or underexposing the frame.
In most cases this is not a good sign, as those elements will not contain much image information even when shot in RAW and are therefore hard to recover in post-processing. However, when following this photographic technique, clipping highlights or shadows is desirable. Here, a popular approach is to convert those frames into monochrome scenes in post-processing, as the focus then shifts from color to shapes and textures.
Control The Exposure
1. Test the light
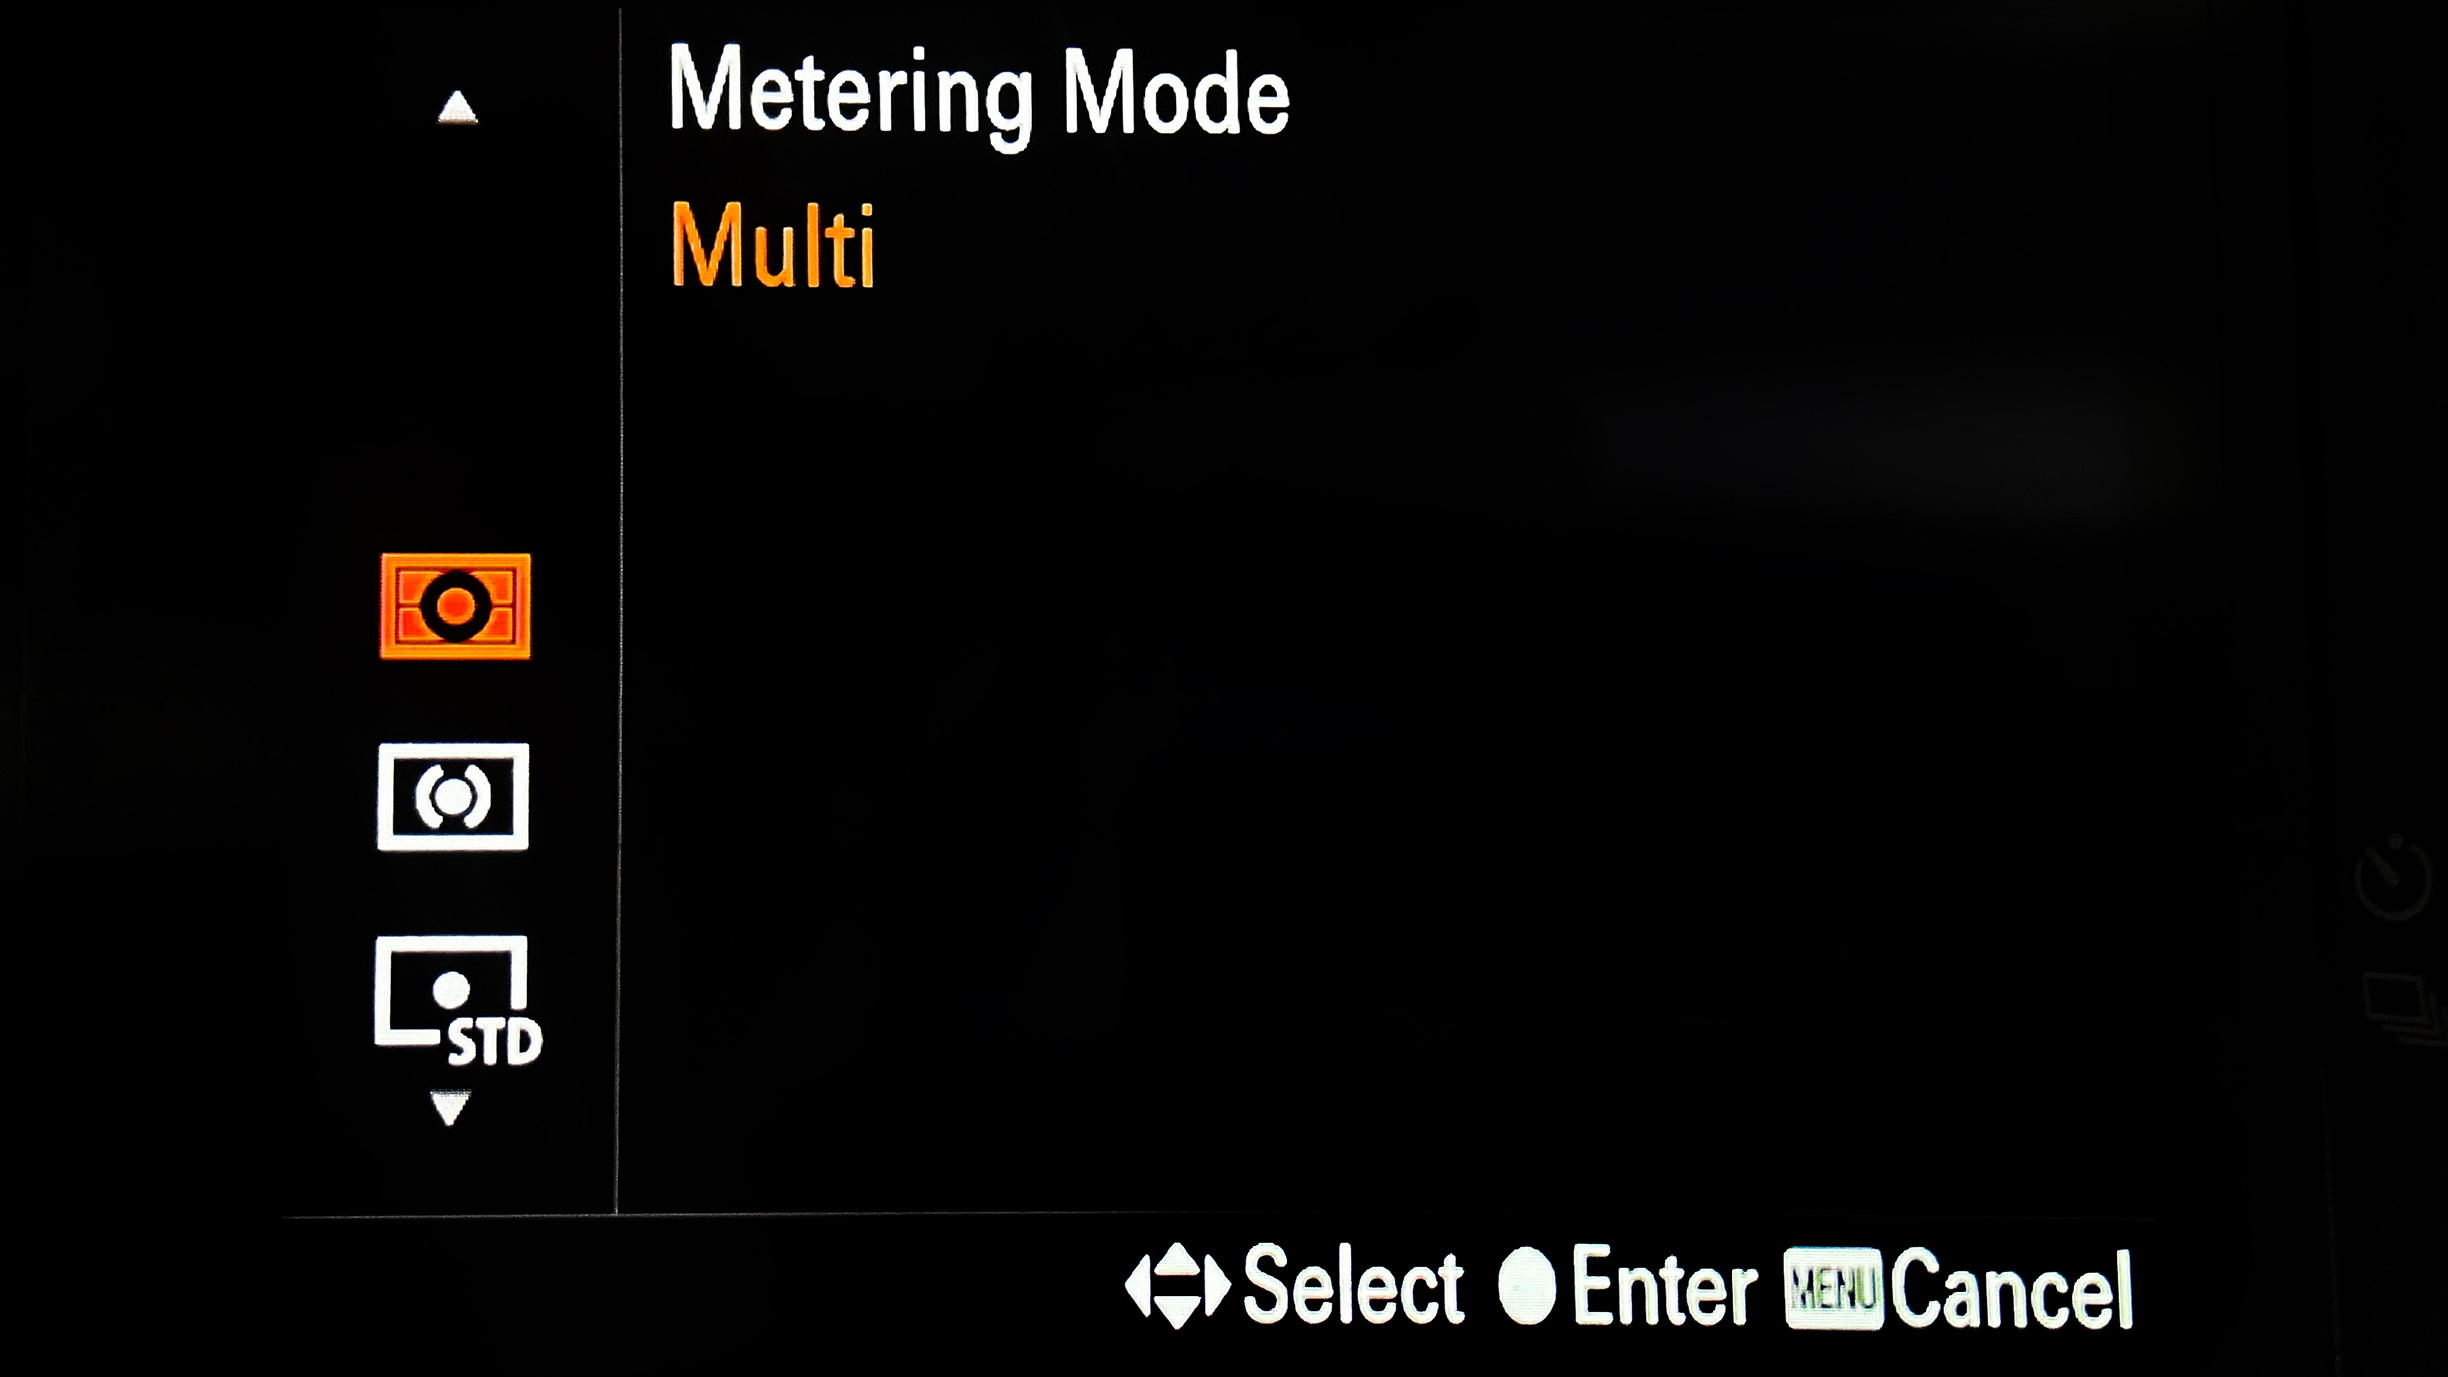
Shoot in Evaluative metering mode. Analyze the camera’s histogram and note any signs of overexposure. When many areas are clipped, it might be best to reconsider your composition or to use supporting tools, for example, a gradient ND filter so that you can better manage the exposure.
2. Be precise
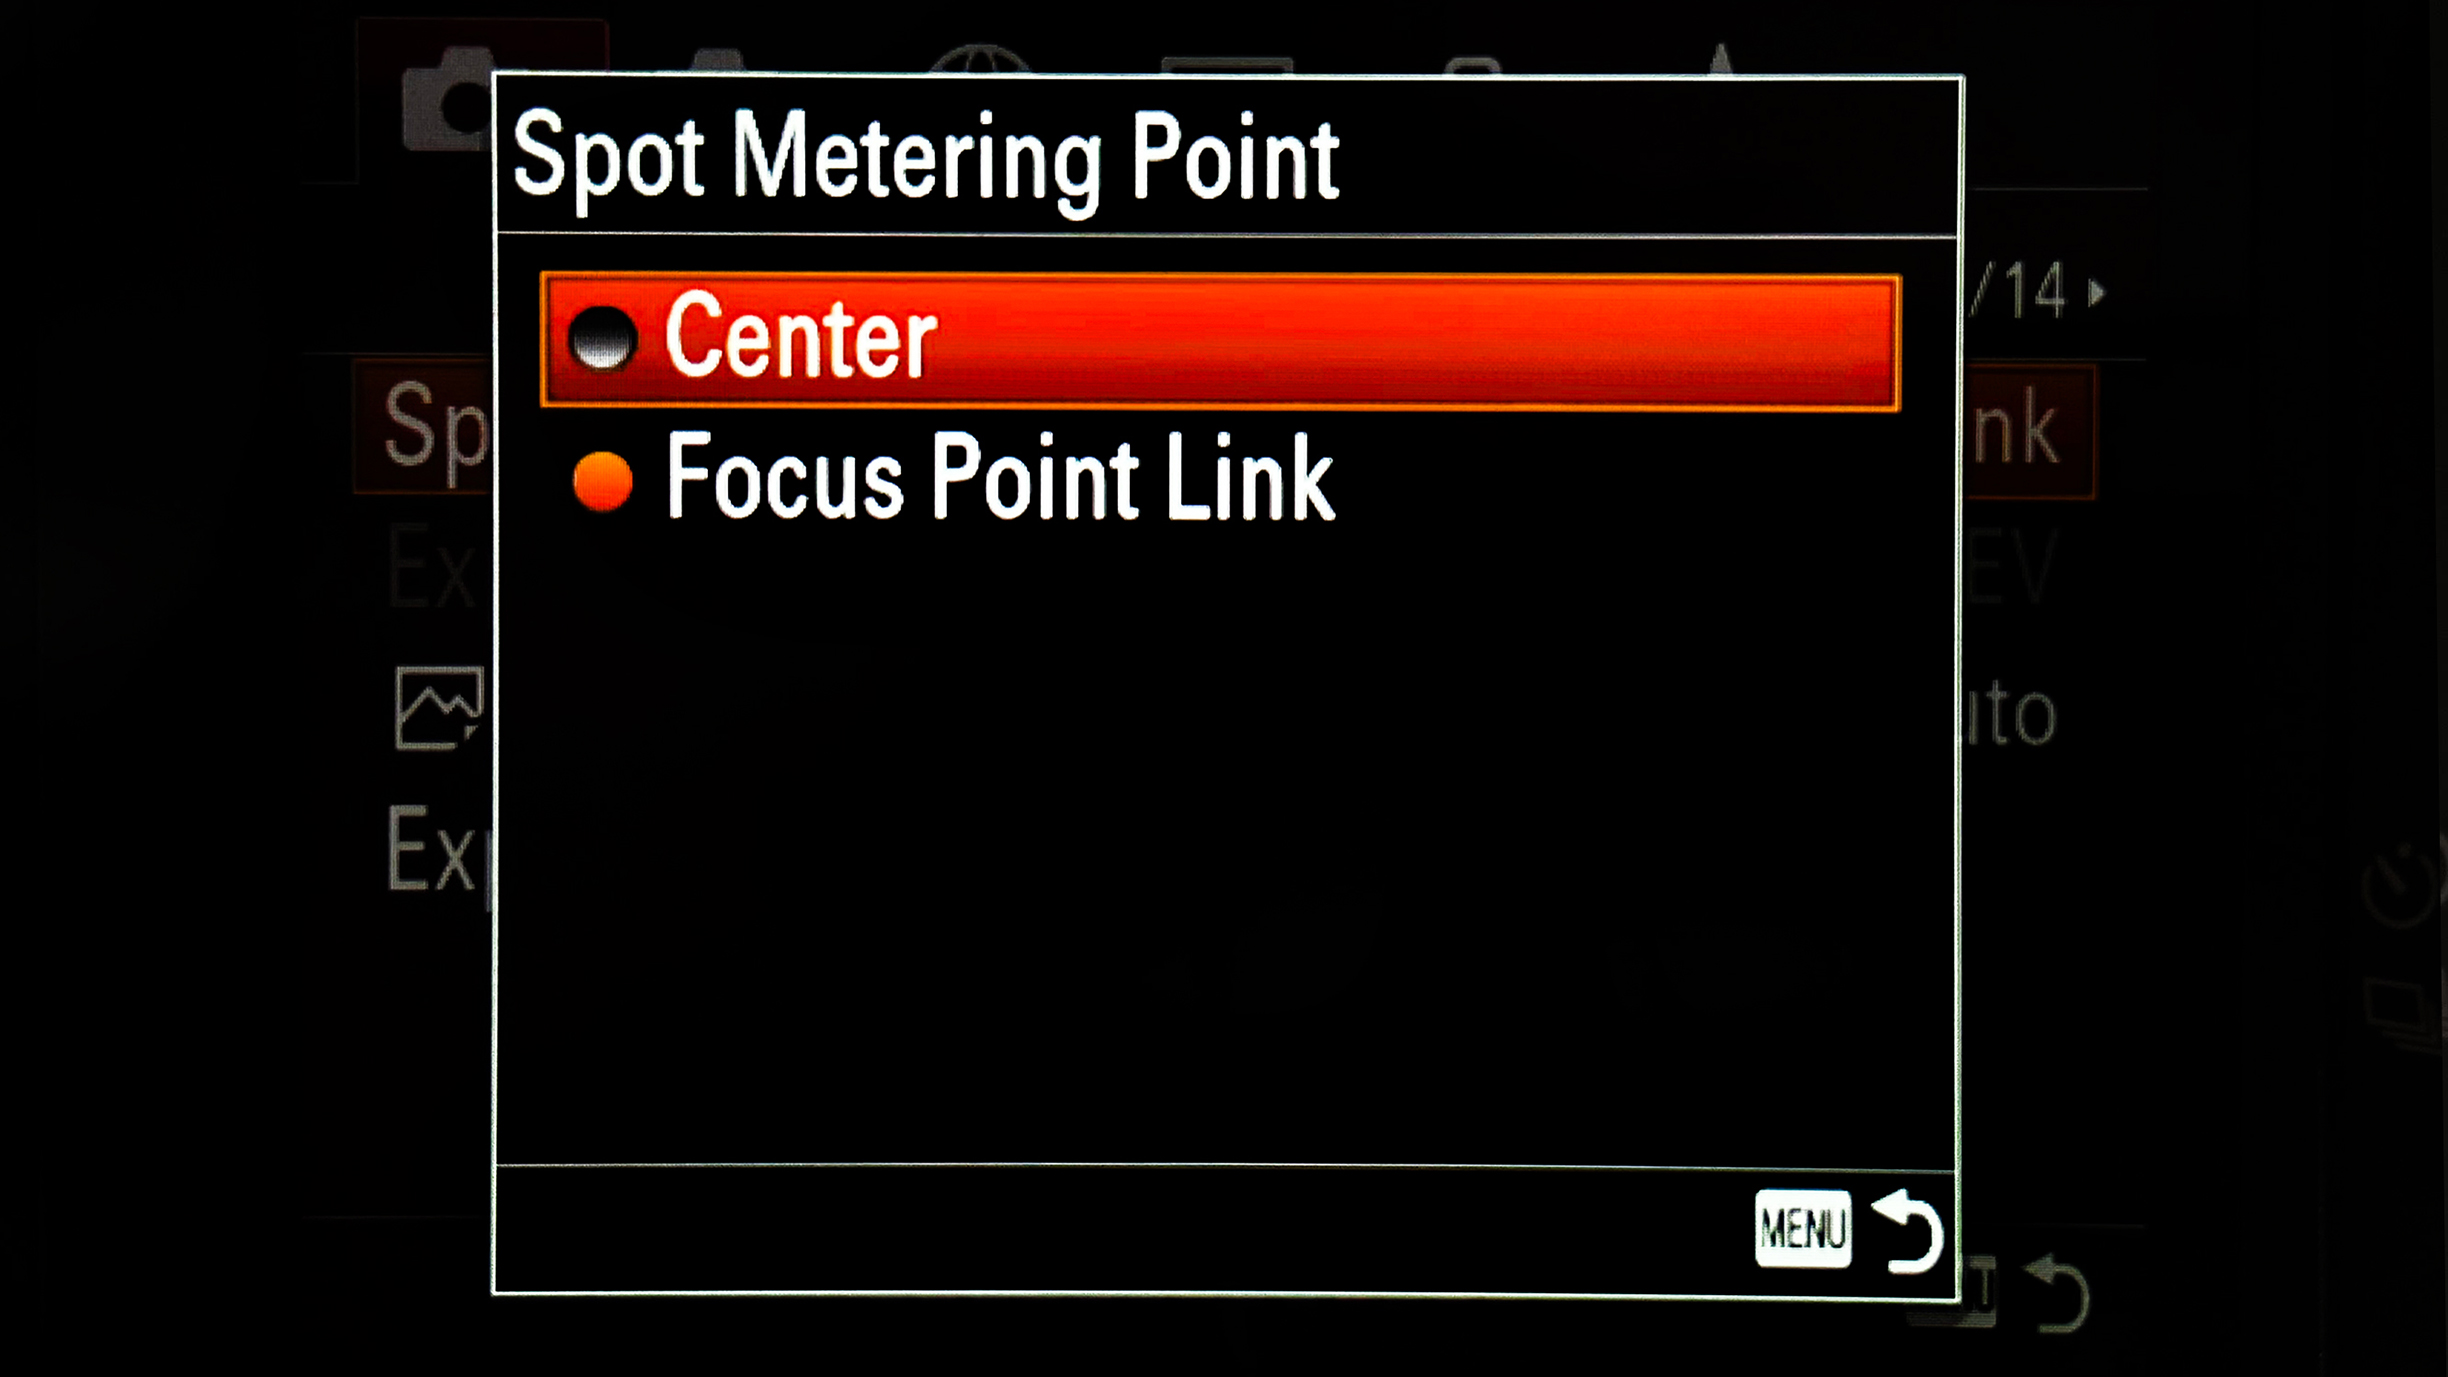
To master challenging lighting, you need to work precisely. To create measurements from smaller areas of highlights or shadows, switch the Metering Mode to Spot or Partial Metering. Both of these settings typically ignore the edges of the frame and minimize the exposure reading area.
3. Compare
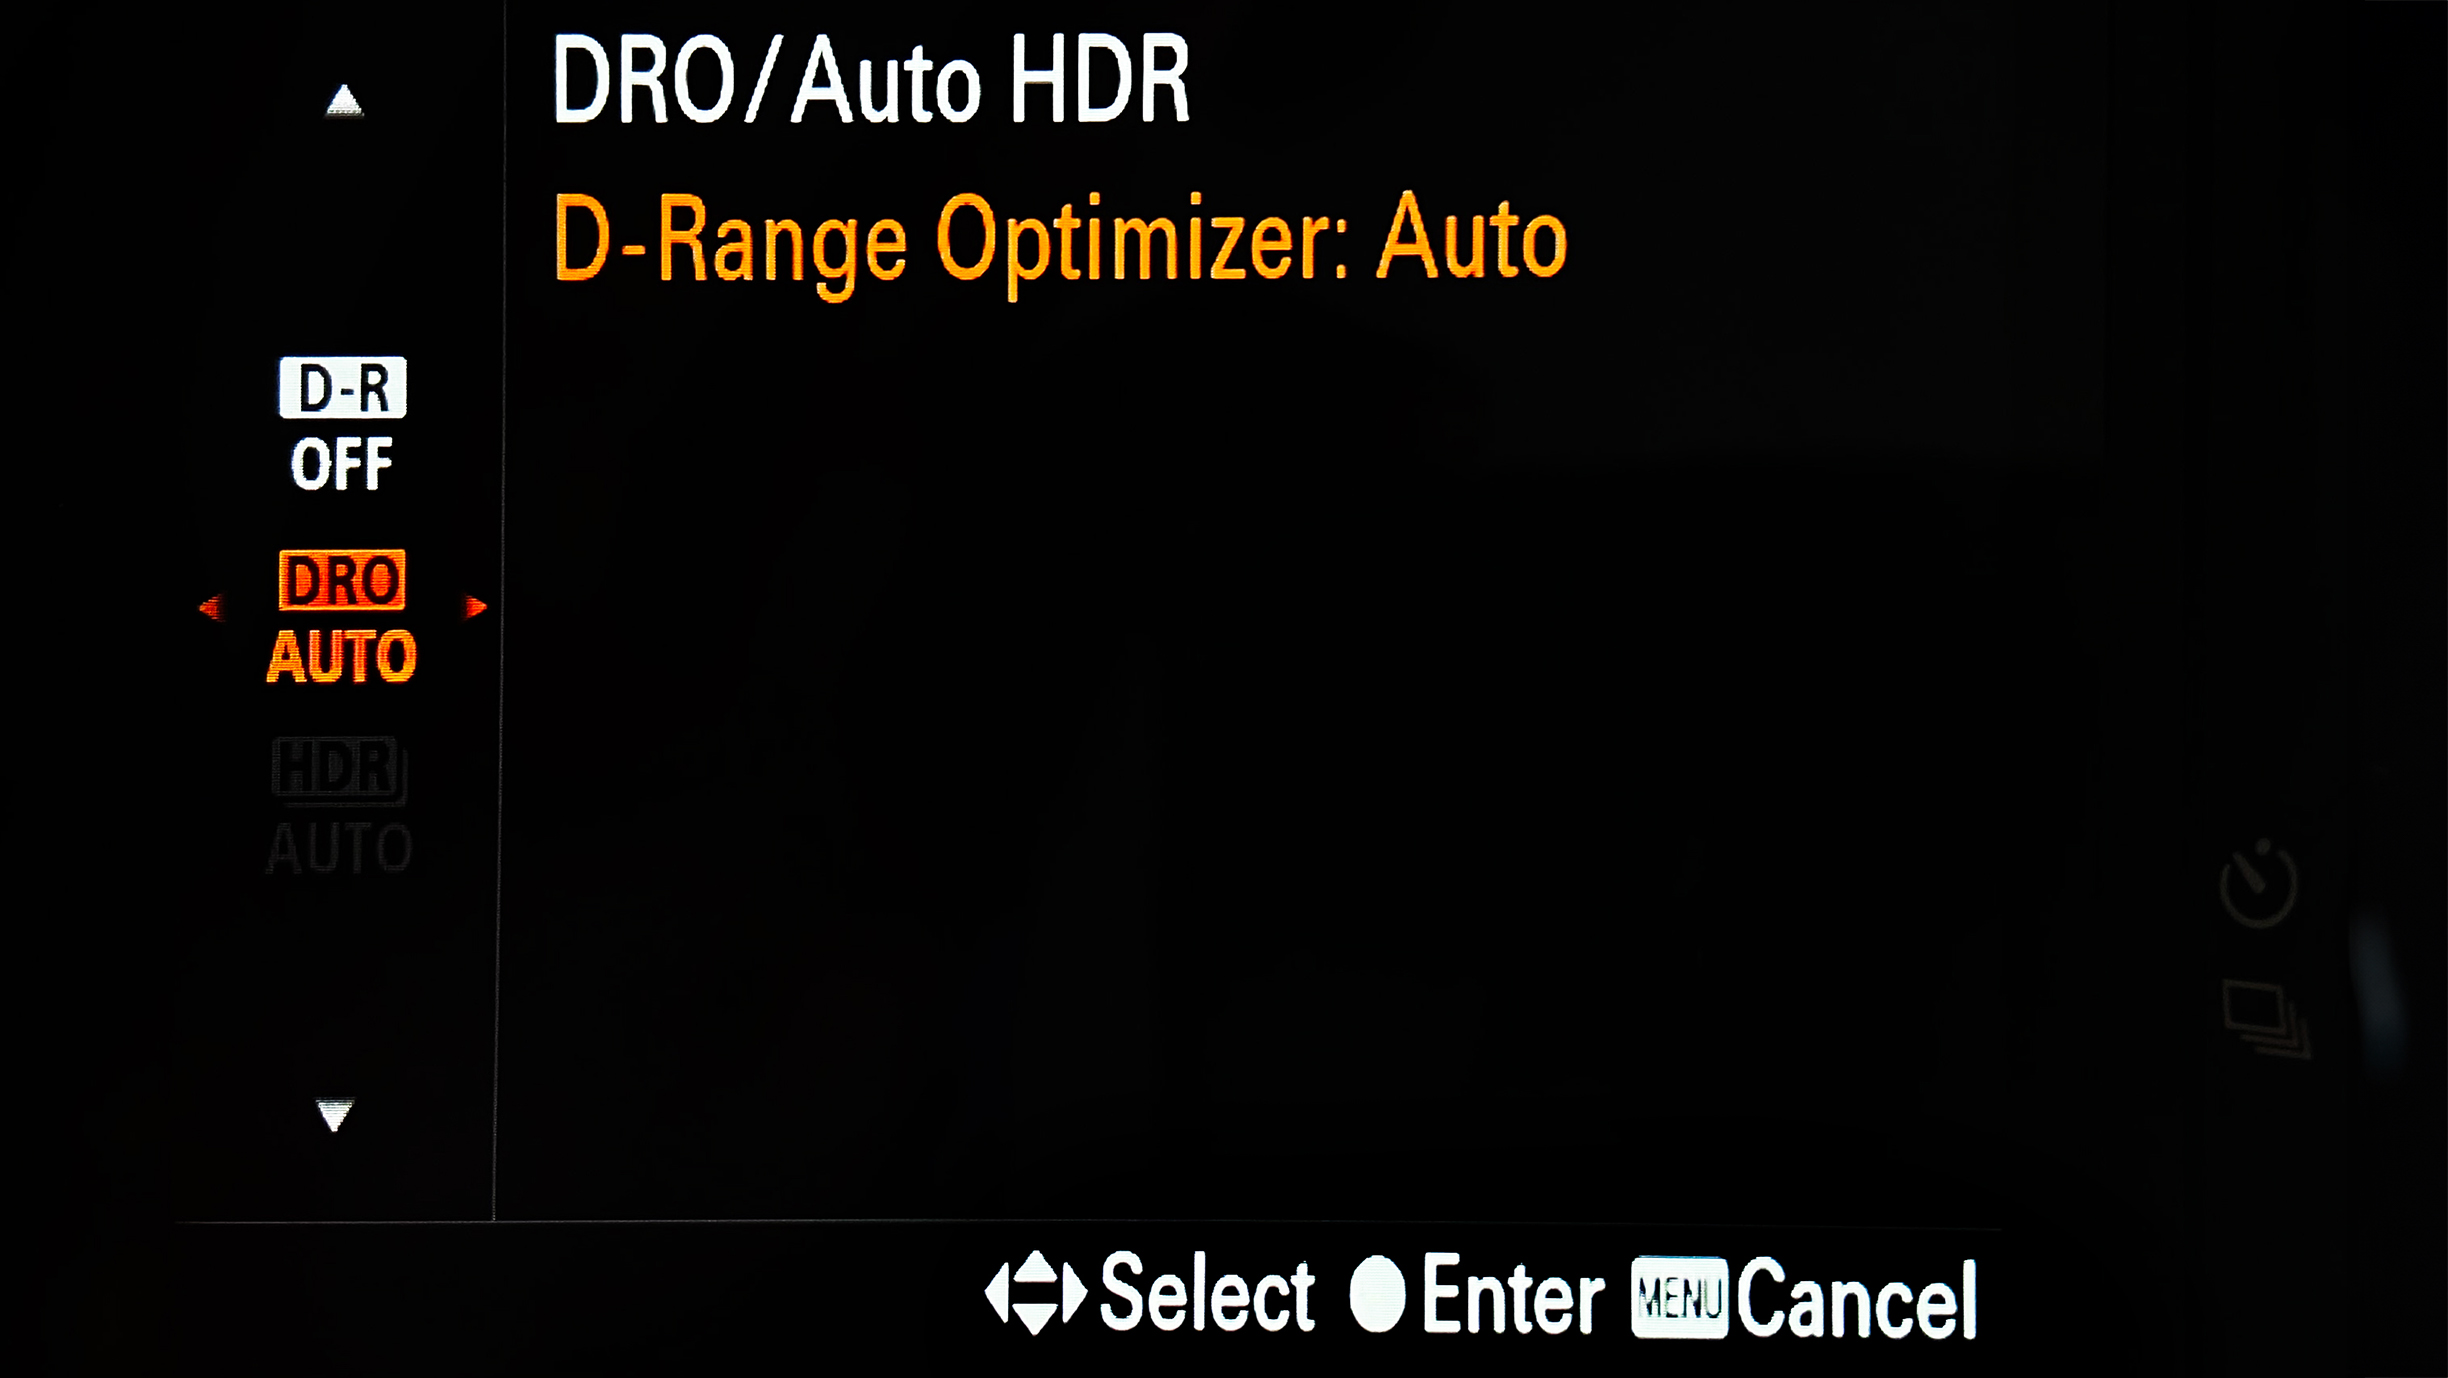
Take a reading from both the darkest and the brightest elements and the camera will suggest exposure settings (in EV stops). If tones are one EV out of range, activate the in-camera Dynamic Range Optimization. If the range goes over three EV stops, then you may need to attach an ND filter.
4. Bracket exposure
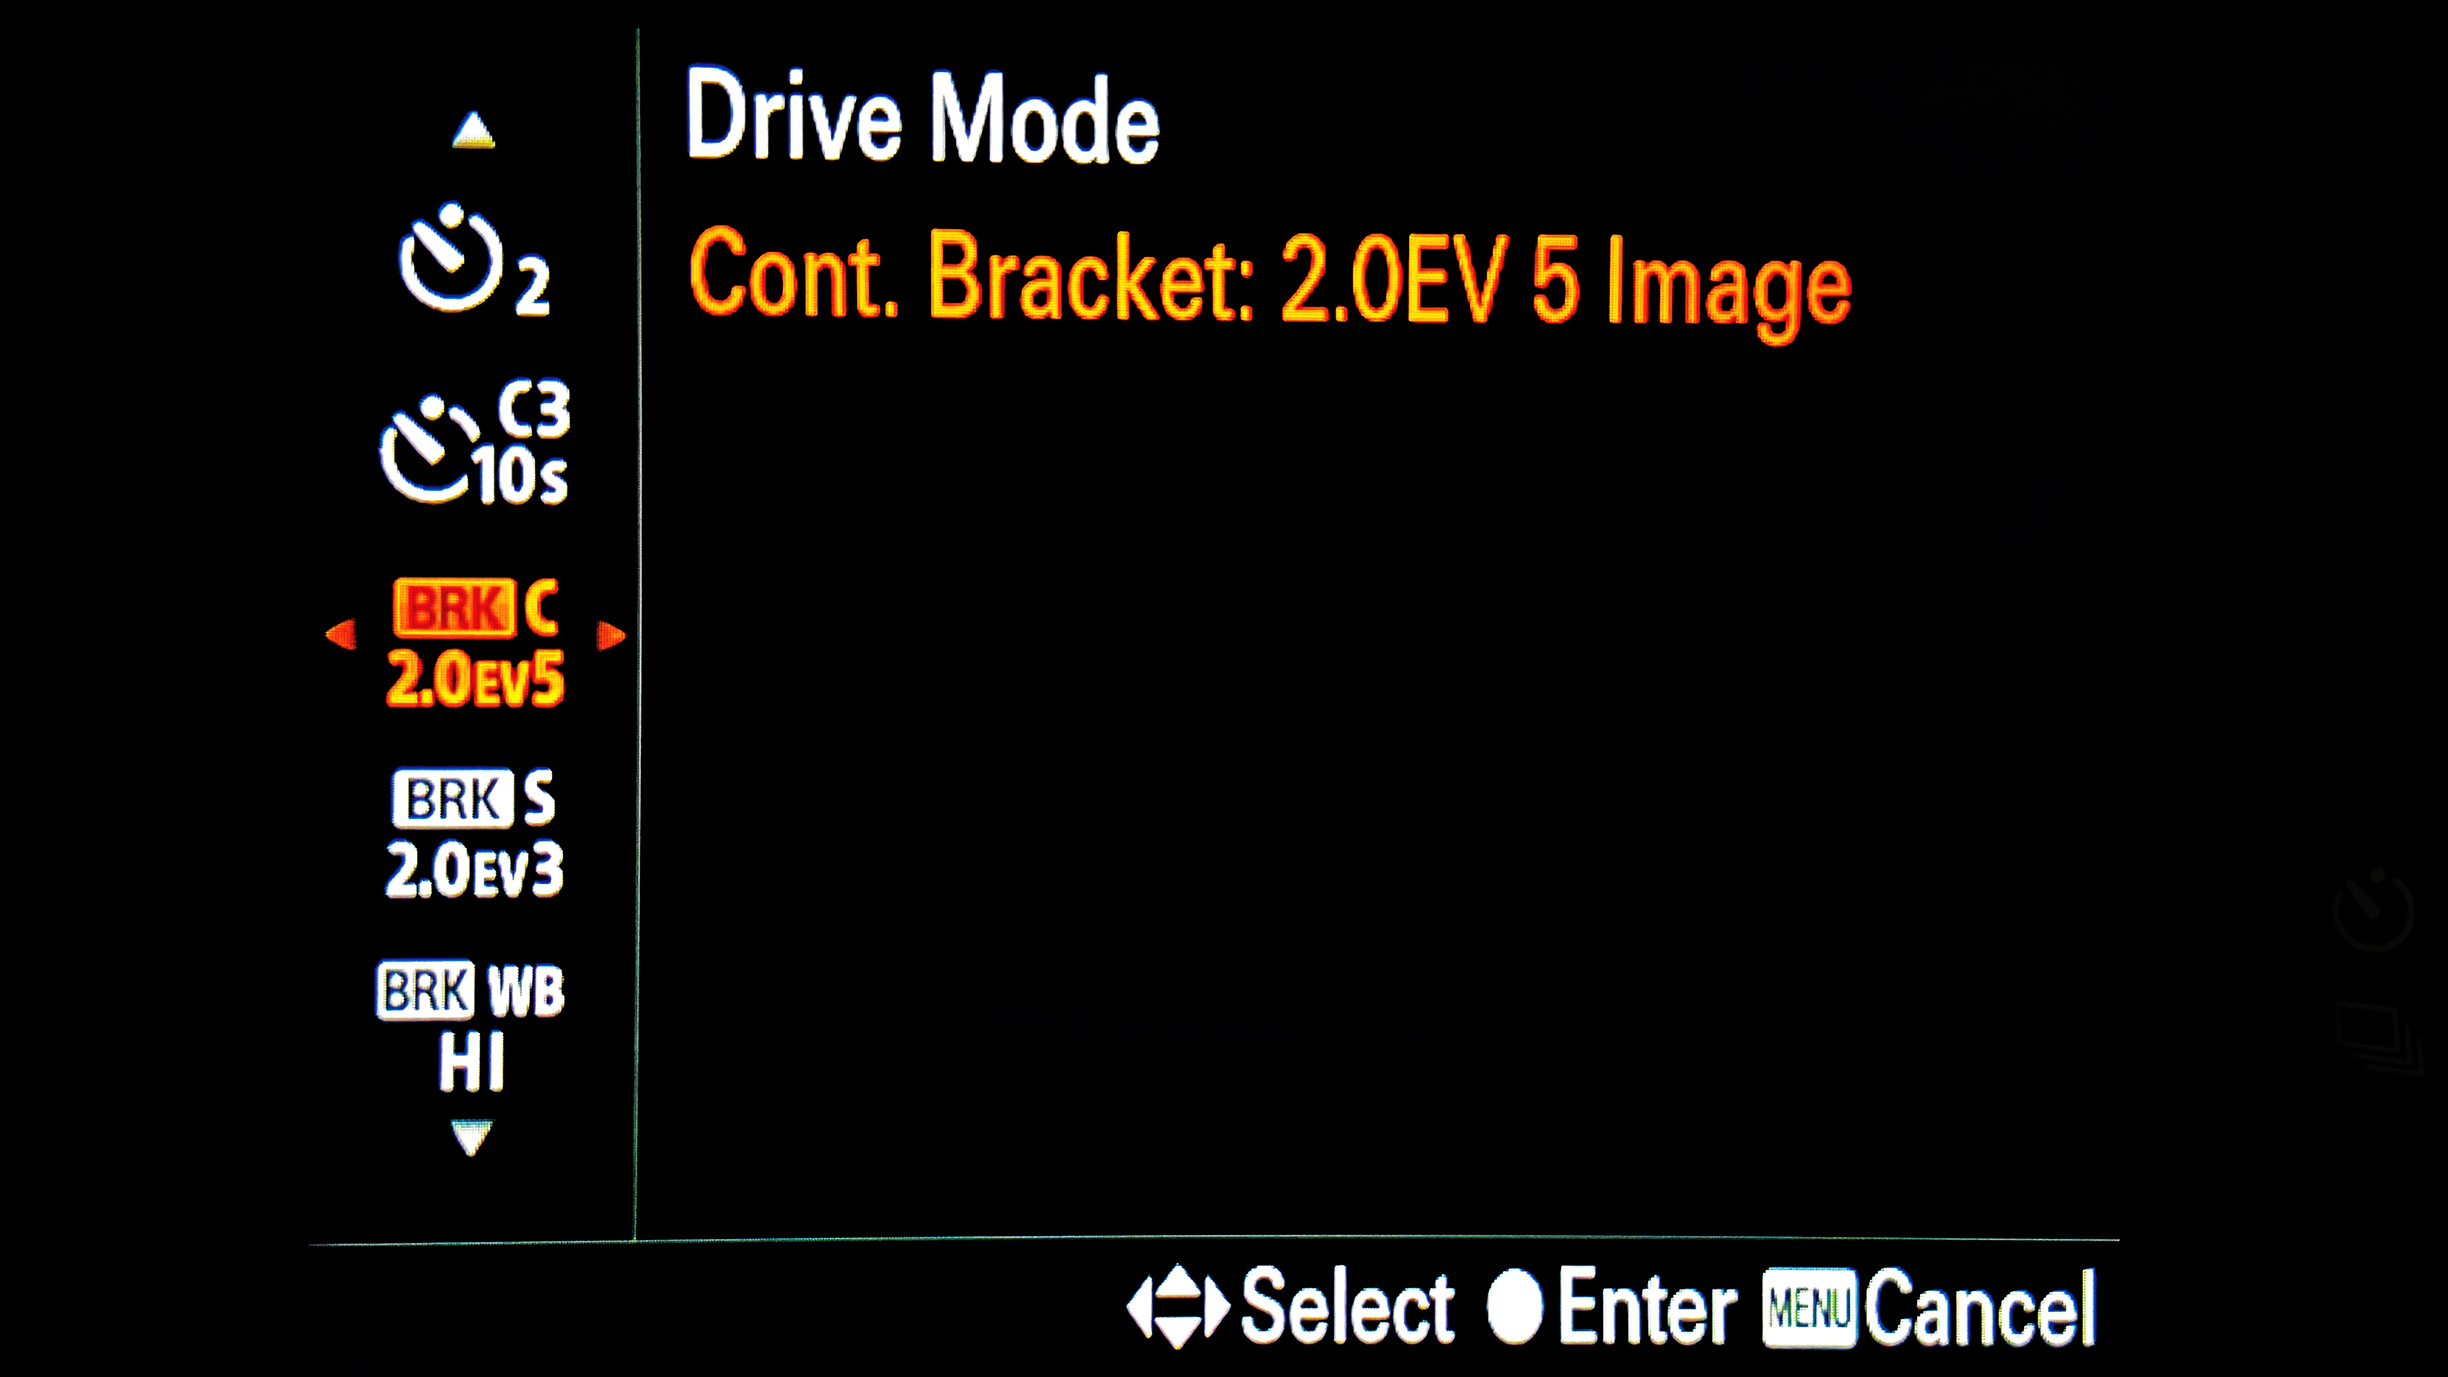
If you are unsure about the ideal exposure, activate the Exposure Bracketing feature. Select Cont. Bracketing of five images +2.0EV. By pressing the shutter slightly longer, you now shoot three frames with variable EVs, so that you can create a High Dynamic Range image in post-processing.
Use Lens Flair
Ditch your lens hood
Advanced kit and modern lenses are usually the way to go, but when it comes to using creative lens flare, see if you can use an older lens instead. Up-to-date optics feature coatings like spectral or nanocrystal, which are made to eliminate lens flare even in bright and harsh conditions. Older lenses don’t have those and as a consequence, you can create a much stronger effect.
To create a lens flare, get into a position where the sun is approximately 45° degrees to the camera. To avoid overexposing the sun itself, think about a composition that excludes the sky, or incorporates elements such as trees that can partially hide the sun. This way, you underline the atmospheric factor while keeping the focus on the landscape. By doing this, you create a tonal variance throughout the frame. While this technique adds visual depth to the scene, the shadows appear lightened and reduced in contrast.
Create an airy mood
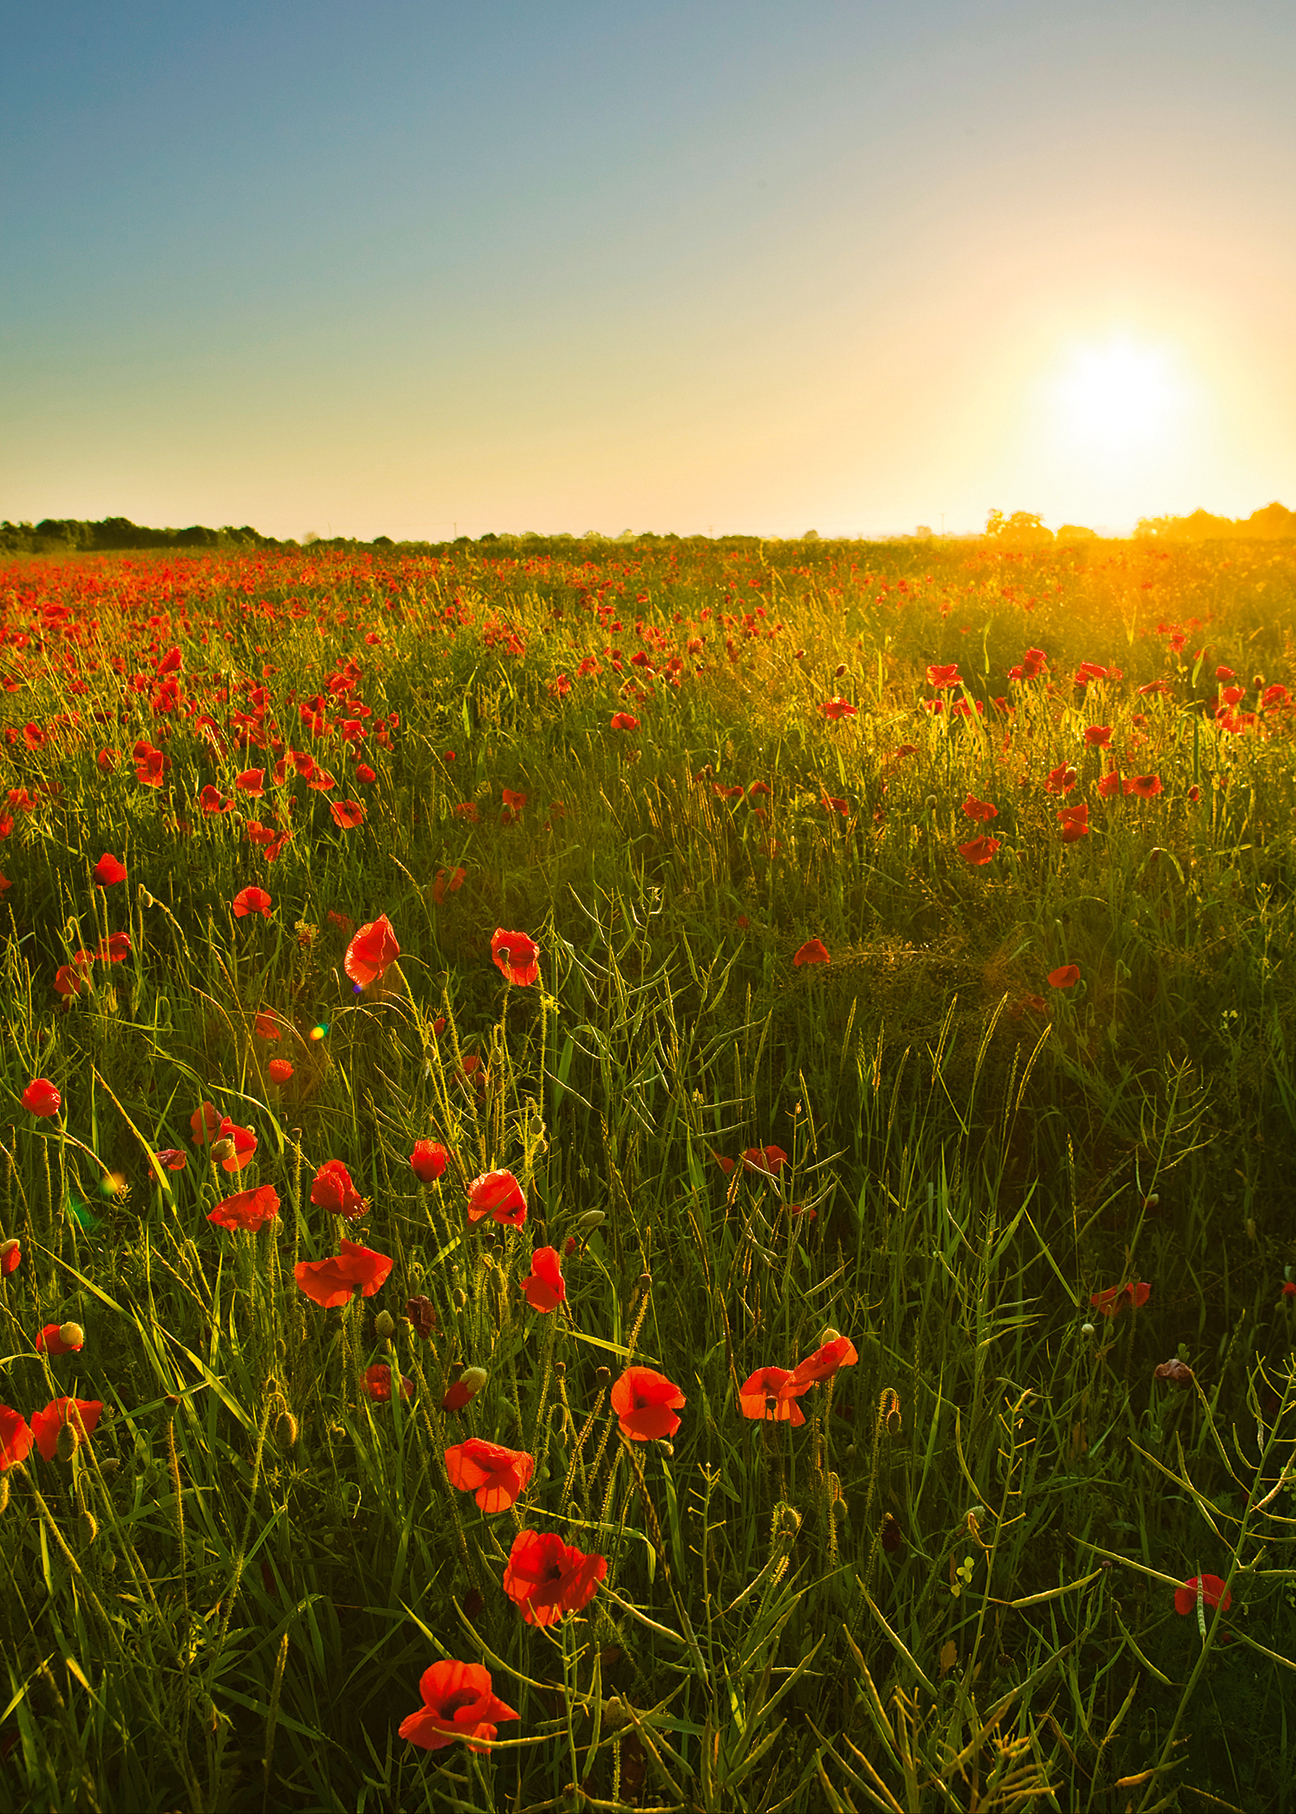
To capture a warm summery atmosphere in your landscape shots, you might not think that varying the aperture setting makes all the difference. However, by working with open apertures (low f/stop numbers), you can visually spread the light, making it appear less defined and blending it into the landscape to create a moody frame.
Shoot a starburst
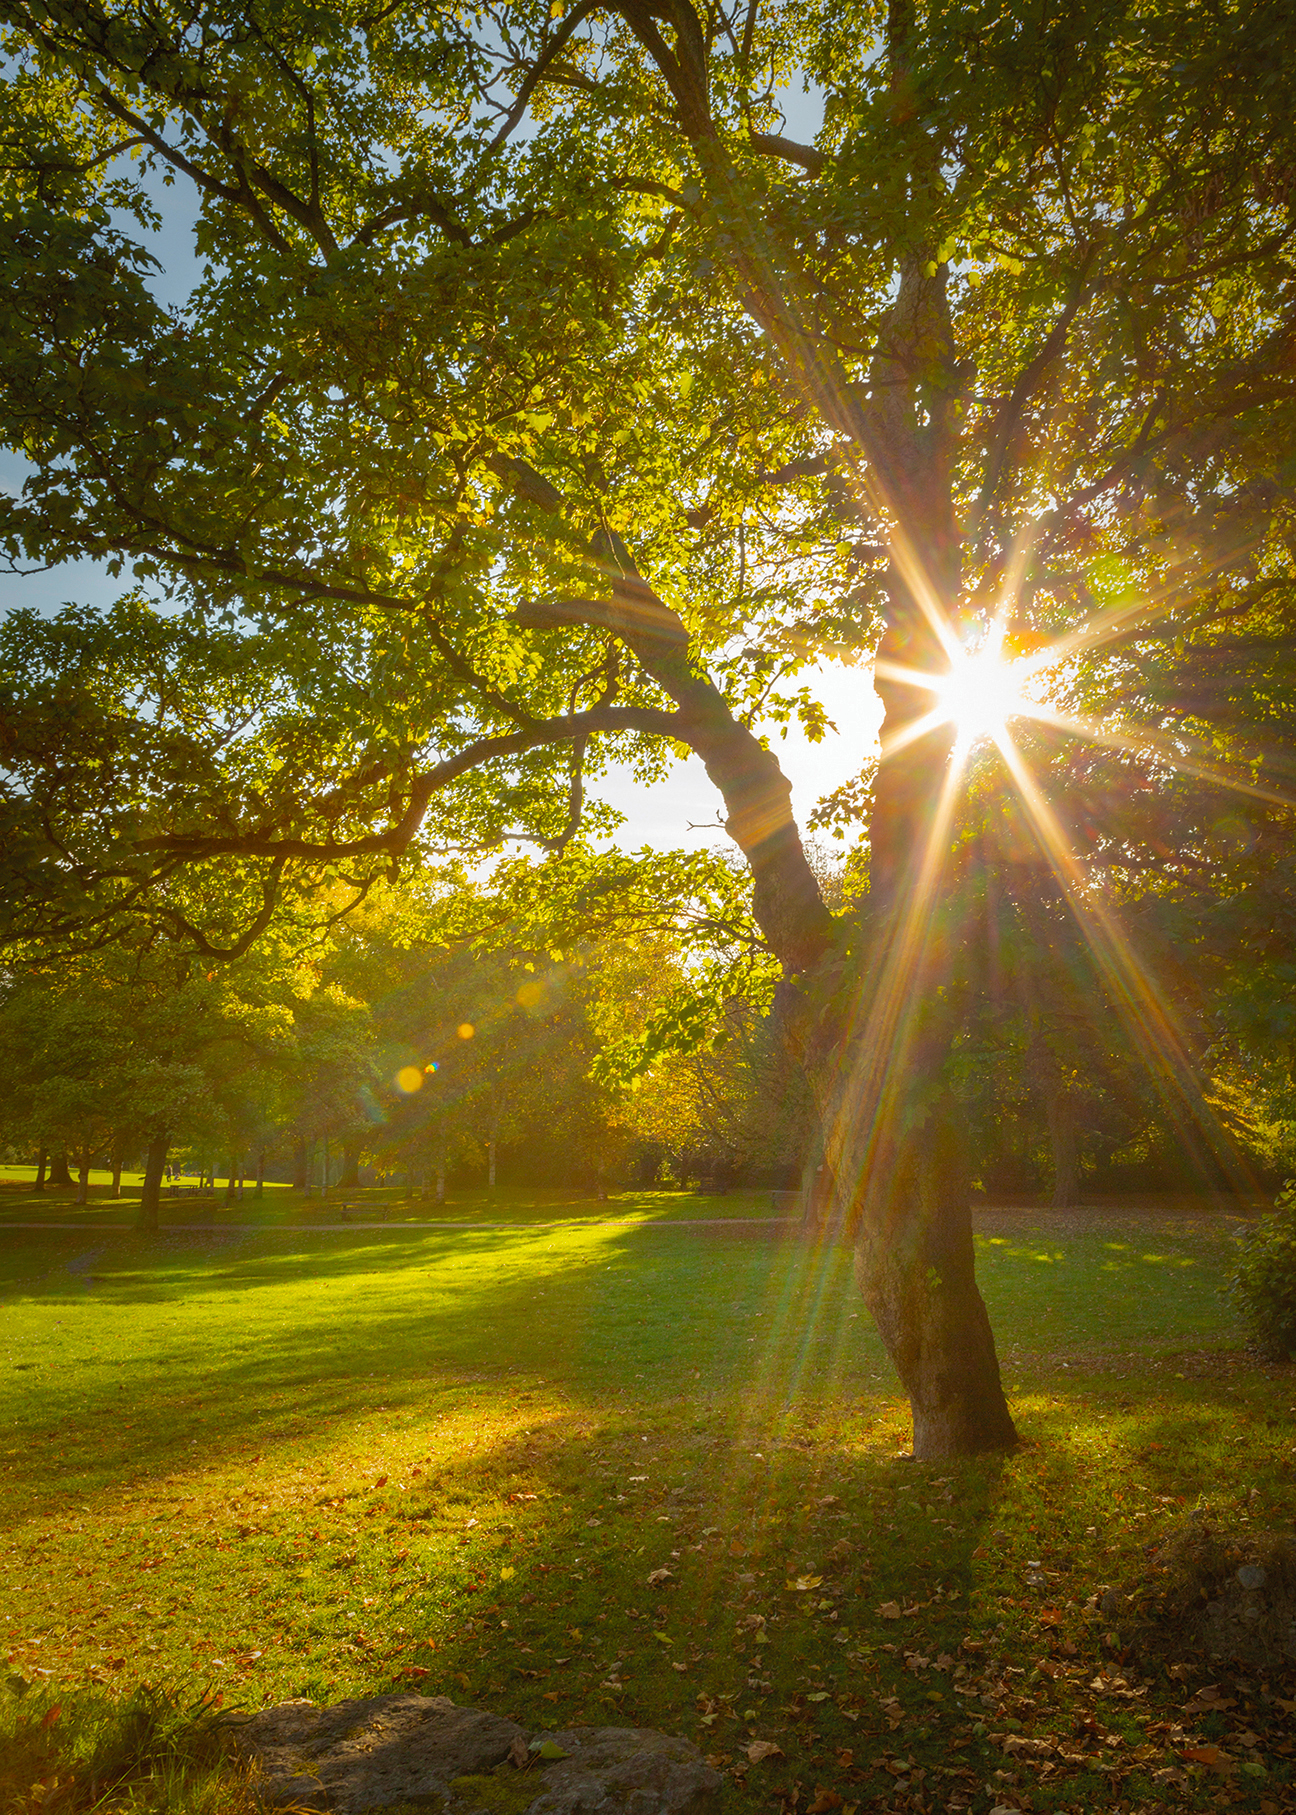
On the other hand, when working with apertures of around f/16 or above, you create defined rays of light. When doing so, the sun itself will transform into a starburst, adding visual appeal to the photographic frame. This is also a great technique to use when capturing artificial light like street lamps in cityscapes at night.


