There’s nothing quite like looking up at the night sky. It’s always brought me a deep sense of peace and wonder, especially during difficult times.
One of my favorite tools to help me identify the stars as I journey through them from the ground is Sky Guide, an augmented reality app that overlays the sky to show constellations.
I often plan my evenings around events that it highlights, like when the International Space Station passes overhead (I always wave)! And, like many people, I’ve developed a strong connection to the Moon. I like to stare up at it when it’s just a sliver, when it’s round and full, and when it looks like a big smile suspended in the sky.
But as much as I’ve loved using apps to enhance my stargazing, I’ve been yearning for something more. A few years ago, a very kind friend gave me a telescope for my birthday.
Though I never made much use of it while living in a basement flat in London, UK, I’m now up in Yorkshire with darker skies – and I’m ready to make 2025 the year I truly up my astronomy game.
How to choose the right telescope for stargazing
If you’re considering taking your stargazing to the next level, the first step is finding the right telescope.
“The best telescope is the one you’ll actually use." This is what amateur astronomer and astrophotographer Nazmus Nasir, known as Naztronomy online, tells me. “For most people, it's the one that's easiest to set up and takes the least amount of time to maintain.” Otherwise it’ll just end up gathering dust – as mine has been doing for two years.
Photographer Rebecca Douglas shares her top tips:
1. Night mode or long exposure:
Use a 3- to 10-second exposure with night mode, or set ISO to 800-3200 in manual mode to balance light and noise.
2. Stabilize your phone:
Use a tripod or prop it against a sturdy surface. Or hold it steady with both hands, elbows tucked in, and press the button while holding your breath.
3. Focus on the sky:
Lower screen brightness to adjust your eyes to the dark and give the camera time to focus in low light.
4. Edit your photos:
Use built-in tools to enhance saturation, contrast, and sharpness for more detail.
To get to grips with what kind of telescope might work for you, Thomas Burbine, visiting assistant professor in Astronomy at Mount Holyoke College, offers practical advice. “Visit an amateur astronomy club or a star party. Talk to people who already have telescopes. If they have observing nights, try viewing a few objects through them. Too many people buy expensive telescopes they never use. It’s best to get as much hands-on information as you can before making a purchase.”
For beginners, Naz recommends tabletop Dobsonian telescopes. “They’re a really great starter type of scope,” he explains. “They’re small reflectors that you can put on a table and they give you the best bang for your buck.” He recommends taking a look at popular models, which include the Orion Starblast 4.5, Zhumell z114, and Sky-Watcher Heritage 130p. They're easy to set up and can provide excellent views of celestial objects.
You could also consider a refractor telescope. Naz suggests starting with a small, wide-field scope. “These are easier to use, require almost no maintenance, and are ideal for taking photos,” he explains.
Naz warns to steer clear of cheap telescopes that seem too good to be true, as their optics often disappoint. Instead, look for reputable brands, like Celestron, Apertura, Astro-Tech, and Sky-Watcher. While some of these can be pricey, their quality is leagues ahead of budget options.
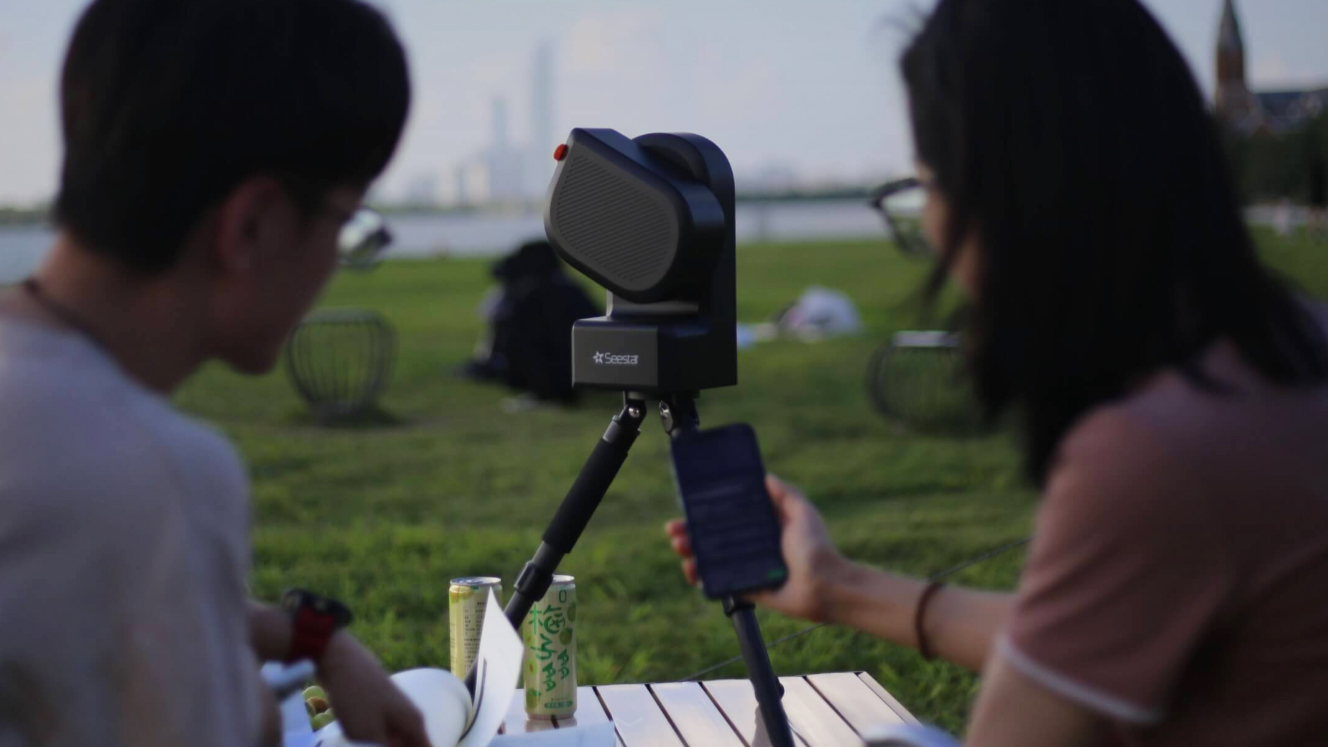
Once you’ve chosen a telescope, consider upgrading your setup with a sturdy mount or tripod. “A mount with slow-motion controls makes it easier to track objects,” says Naz. For even more precision, a tracking mount with “go-to” capabilities is a game-changer. “You can tell it what to find and it’ll also keep the object in view so you don’t have to fidget with the gear,” Naz explains. He recommends models like the Sky-Watcher AZ-GTi and Star Adventurer 2i; by keeping objects in view, they open up possibilities for better imaging.
If you’re interested in instant gratification, smart telescopes, like the Seestar S50, are worth exploring. These compact, automated devices handle everything for you, from locating celestial objects to taking and stacking photos. “The only downside is that they don’t have eyepieces, so you can’t look through most of them like a traditional telescope,” Naz says. But they’re perfect for beginners looking for quick results.
How to take photos with your telescope
Seeing the wonders of the night sky is incredible, but what if you want to capture them to share or revisit later? Luckily, you don’t need a lot of new gear to get started. With just a smartphone and a few clever accessories, you can take impressive astrophotography shots right alongside your telescope.
For telescope users, Naz suggests getting a phone mount, which allows you to attach your device to the eyepiece. Once you’ve secured it, you can play around with what works best for the objects you want to photograph. “For moon and planets, a single exposure would be fine. For deep sky objects, you can do exposures that are several seconds long,” Naz says.
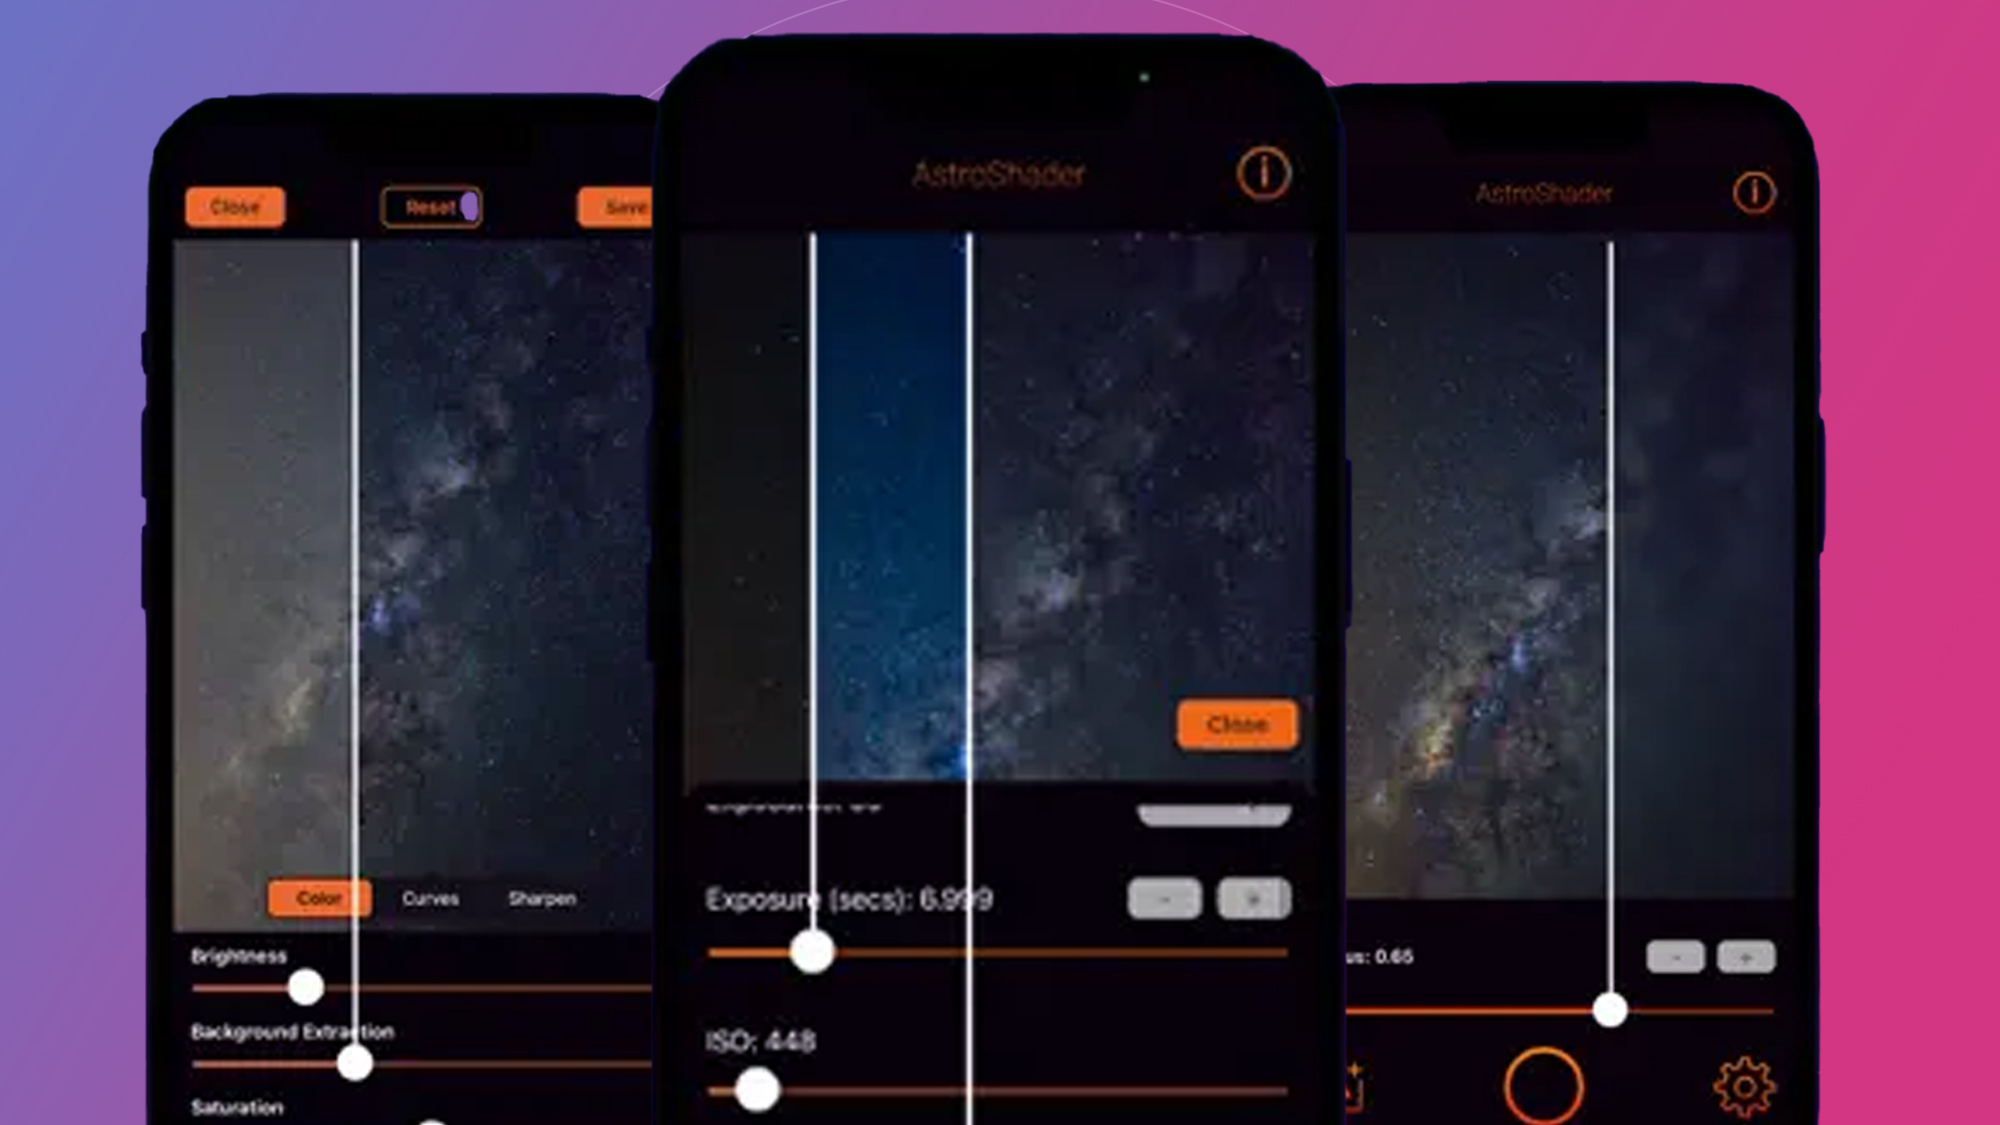
He suggests starting with an intervalometer app to take regular photos, or using apps like Deep Sky Camera and AstroShader(above) to capture stunning night shots – especially of star trails or meteor showers. You can also check out our guide on how to take night sky images with your phone.
If you’re ready to move beyond your phone, consider investing in one of the best DSLRs or best mirrorless cameras. “Learn to use the manual mode,” Naz advises. “Experiment with ISO settings and exposure times to achieve different results.” Some good starting settings and tips can be found in our guide to photographing the Blue Moon and Milky Way.
Dedicated t-adapters can also connect your camera to your telescope. “This essentially turns your telescope into your camera's lens,” Naz explains.
How to take photos with your phone
Not ready to invest in a telescope? Binoculars are an excellent alternative. “Even a small pair can enhance your view of the night sky,” says Naz. “The Moon looks spectacular through binoculars. You may also be able to see the core of the Andromeda Galaxy more easily or even the Galilean moons of Jupiter..”
Even without advanced equipment, the night sky offers plenty of opportunities for capturing its beauty. Thanks to advancements in smartphone technology, creating stunning photos is more achievable than ever.
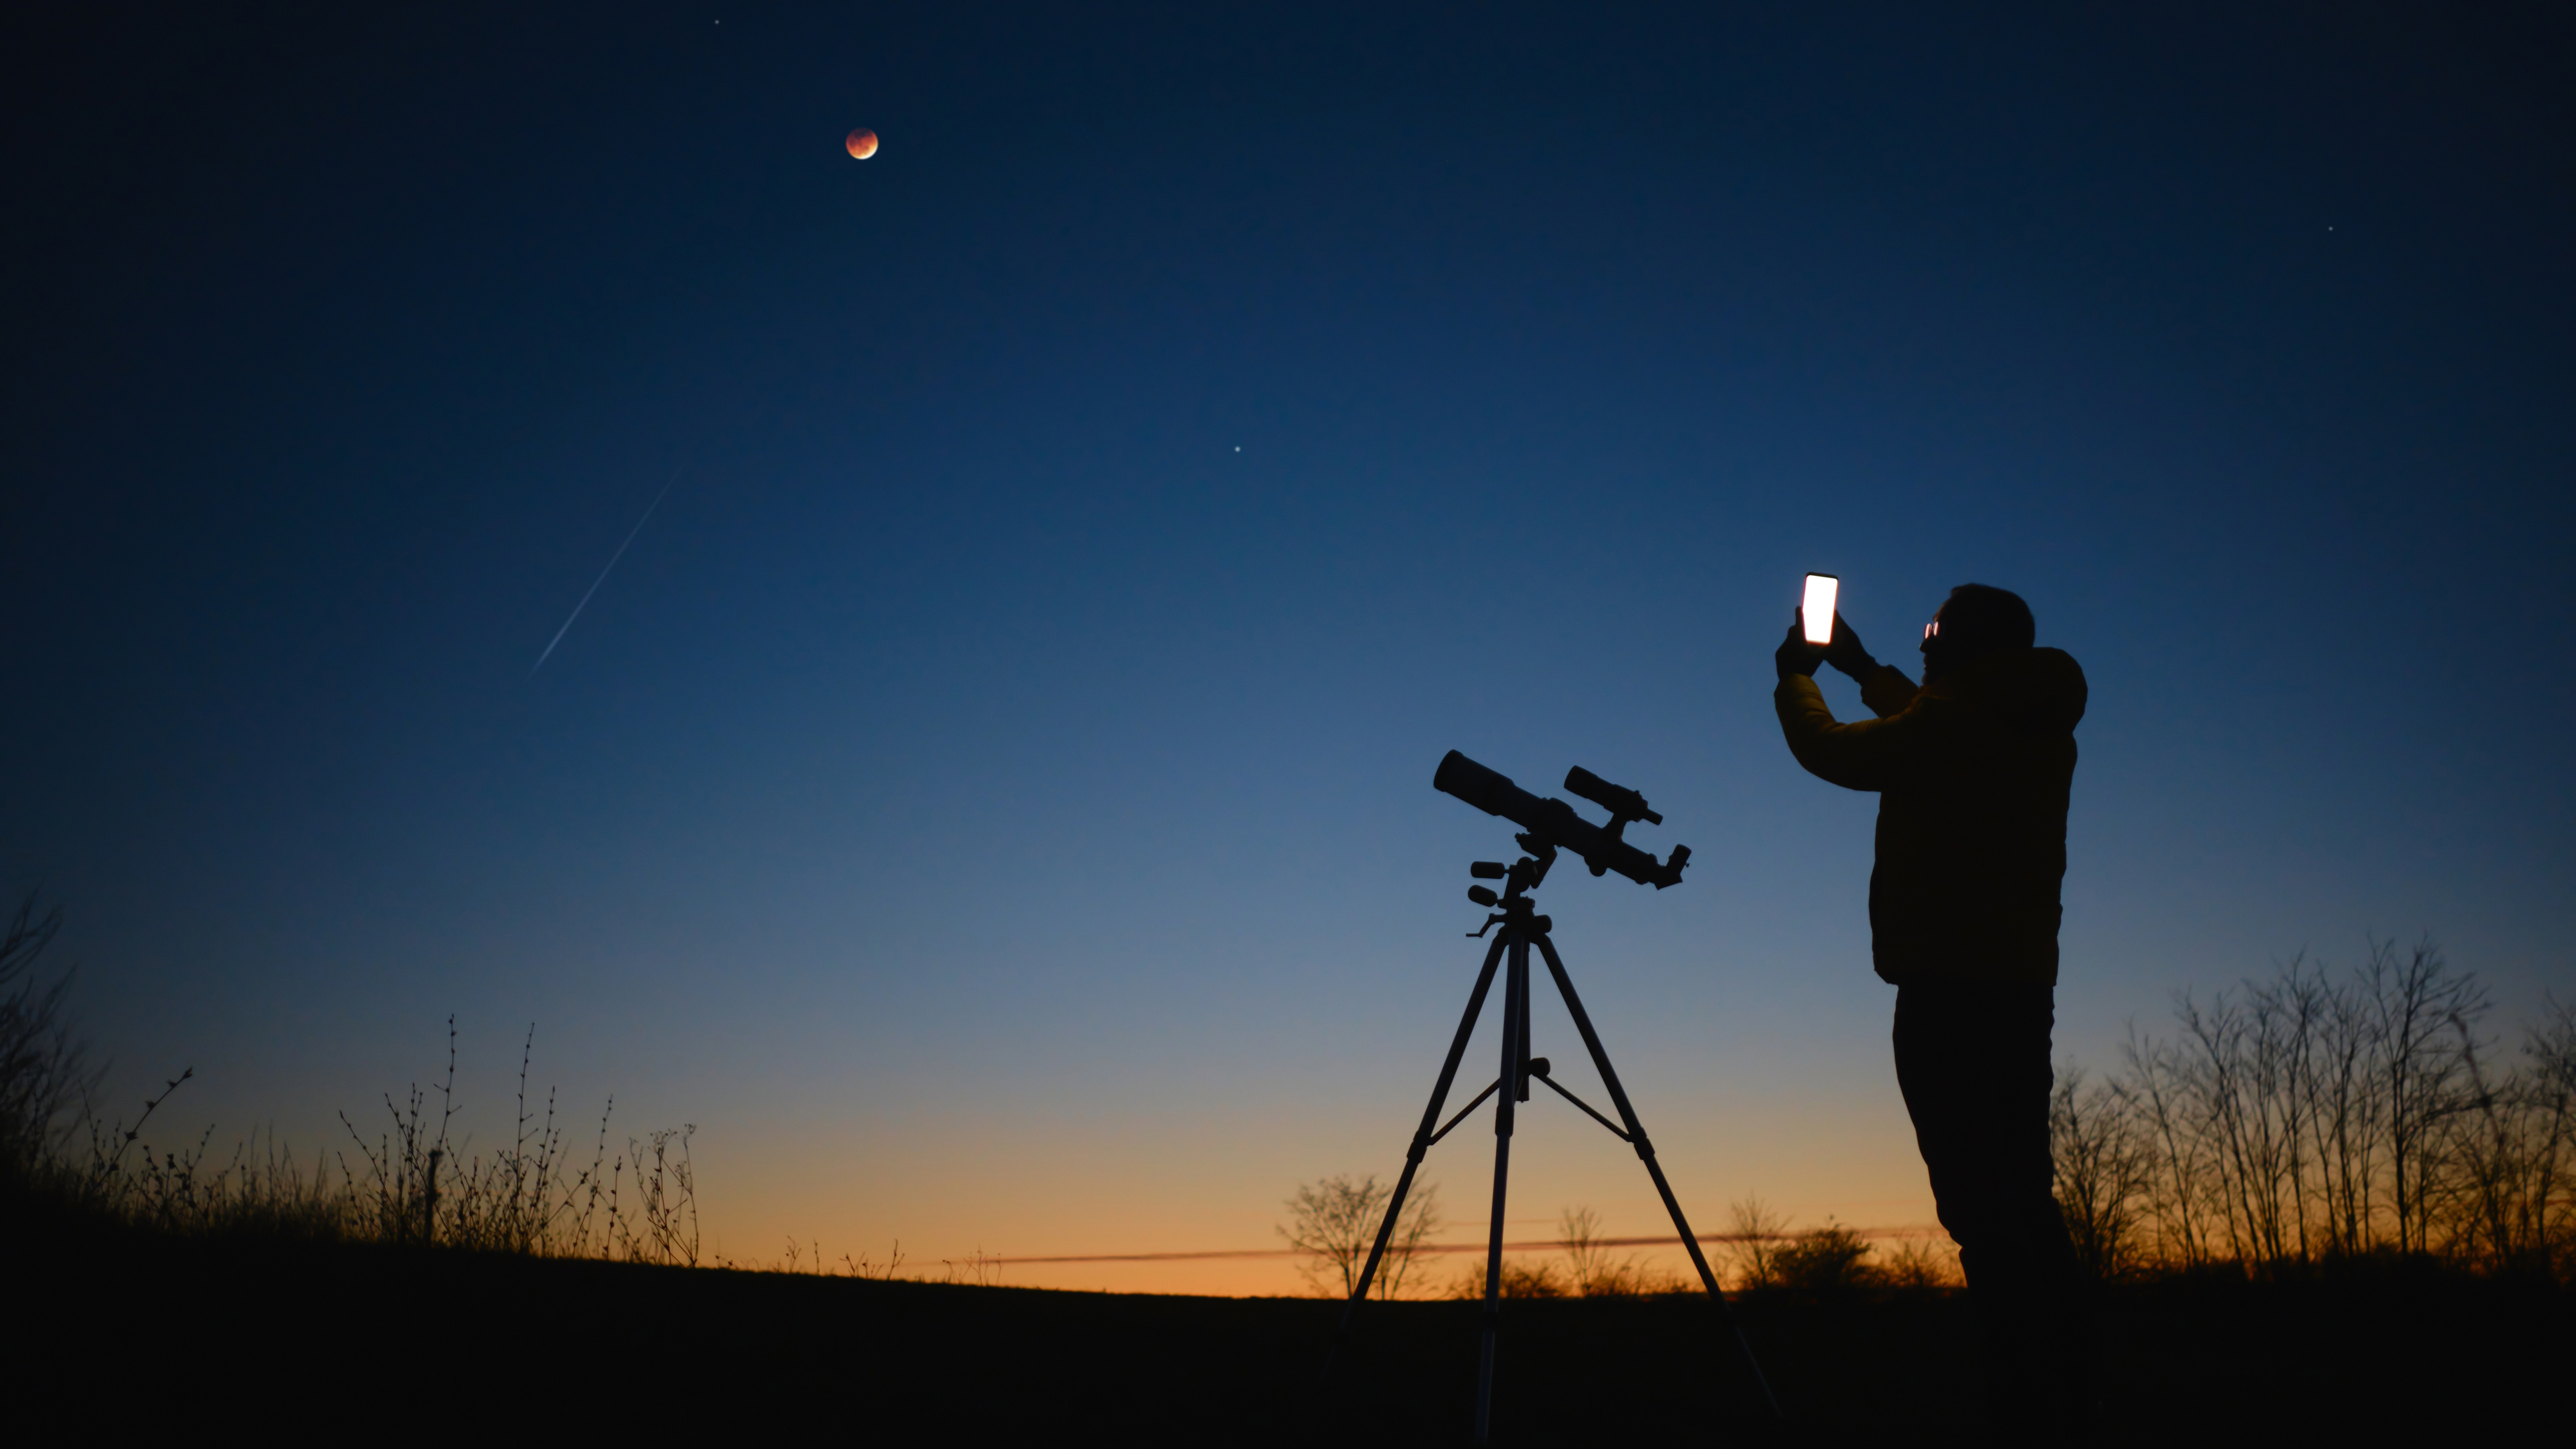
Photographer Rebecca Douglas explains just how far we’ve come. “10 years ago when I started shooting the night sky, it was impossible to capture anything on a phone,” she says that’s changing. “But there are quite a few things you need to know to be able to capture images that resemble the majesty you’re seeing with your eyes.”
She recommends using apps like Star Walk 2 for celestial identification and PhotoPills for planning your shots. She also tells me that a tripod and remote trigger are must-haves for reducing any motion blur.
But I love that Rebecca reminds me that astrophotography isn’t just about technology. “The night sky connects us to something much bigger than ourselves,” she says.
Whether you’re using a phone, binoculars, or a telescope, she says that stargazing offers a profound sense of awe. “Whether it’s ancient starlight, the swirling colors of an aurora, or the Milky Way’s vast ribbon across the sky, there’s a little magic waiting for you up there every time.”
You might also like...
- I shot the northern lights with Google Pixel's Astrophotography mode and a mirrorless camera – here's which one did best
- This luxury smart telescope will have you in awe of stars, solar systems, galaxies and nebulae in minutes
- I review cameras for a living – and this app has made me a better photographer
