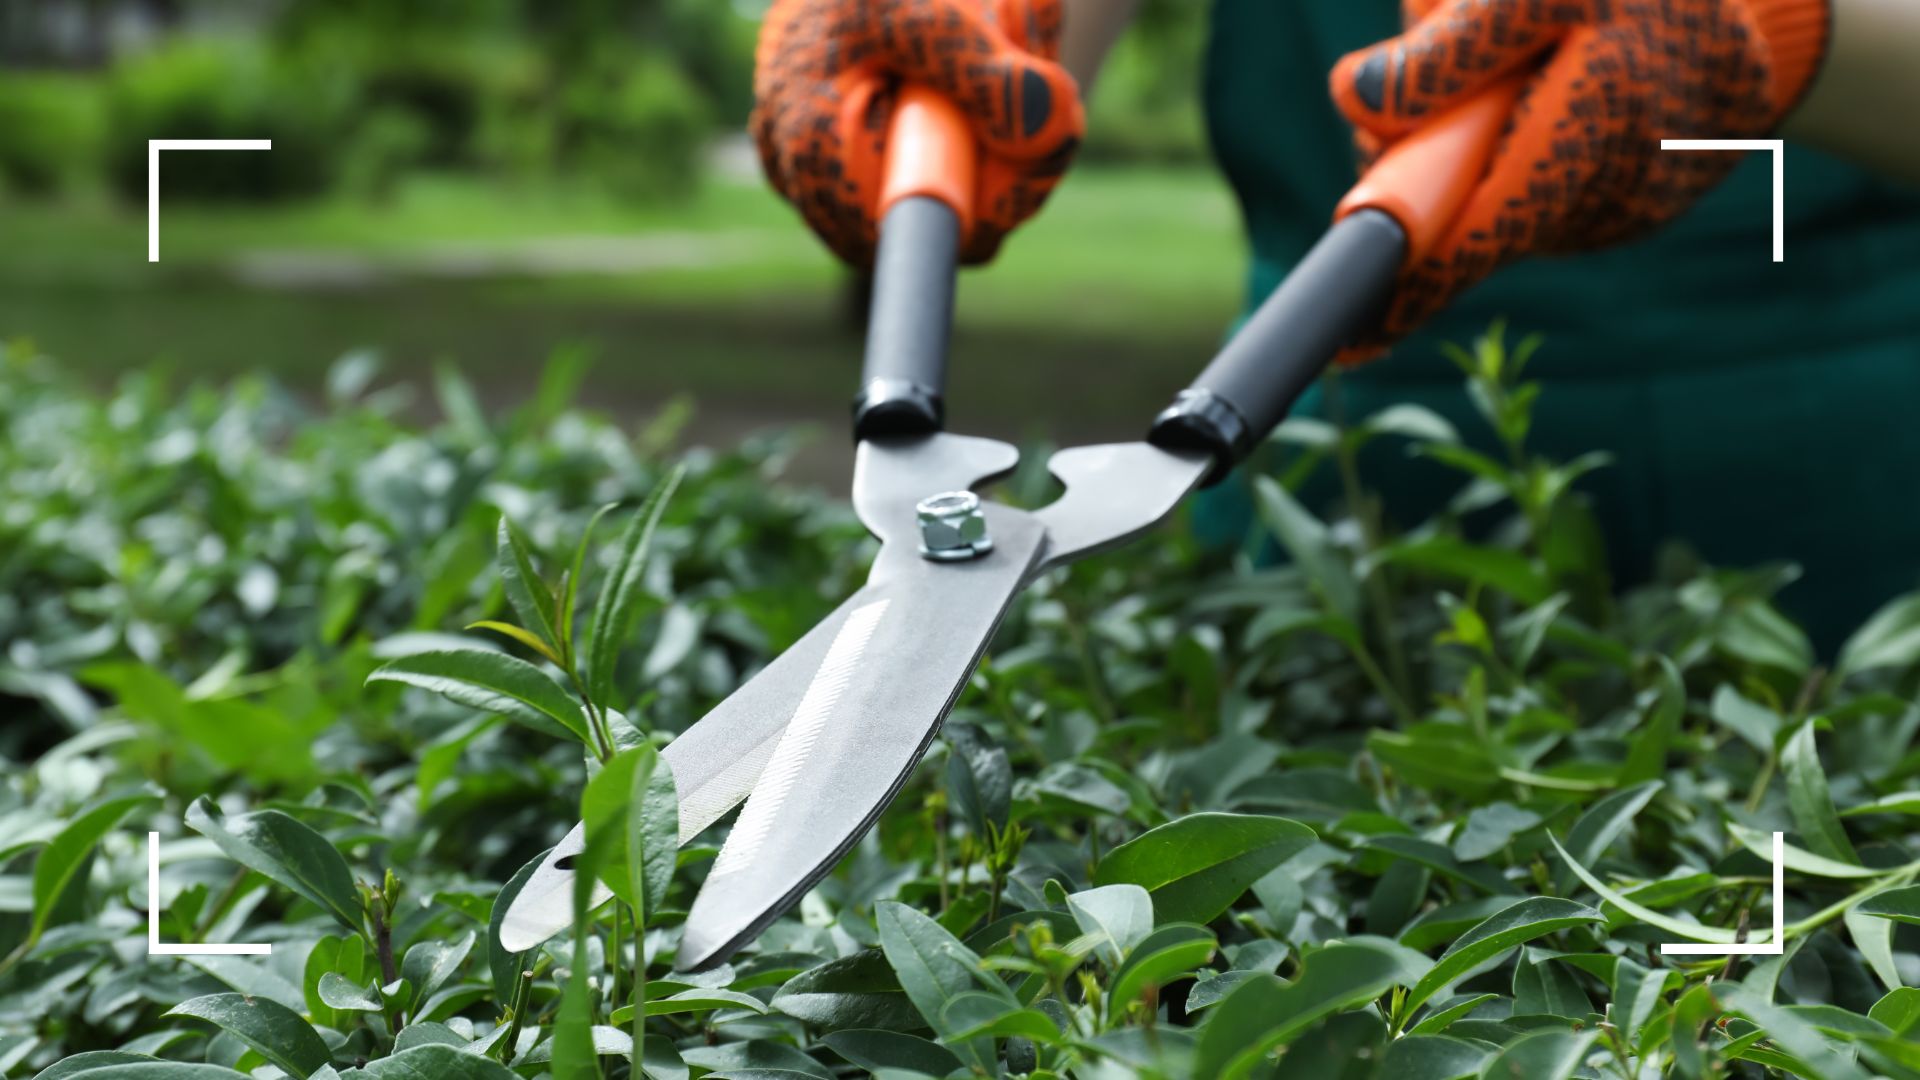
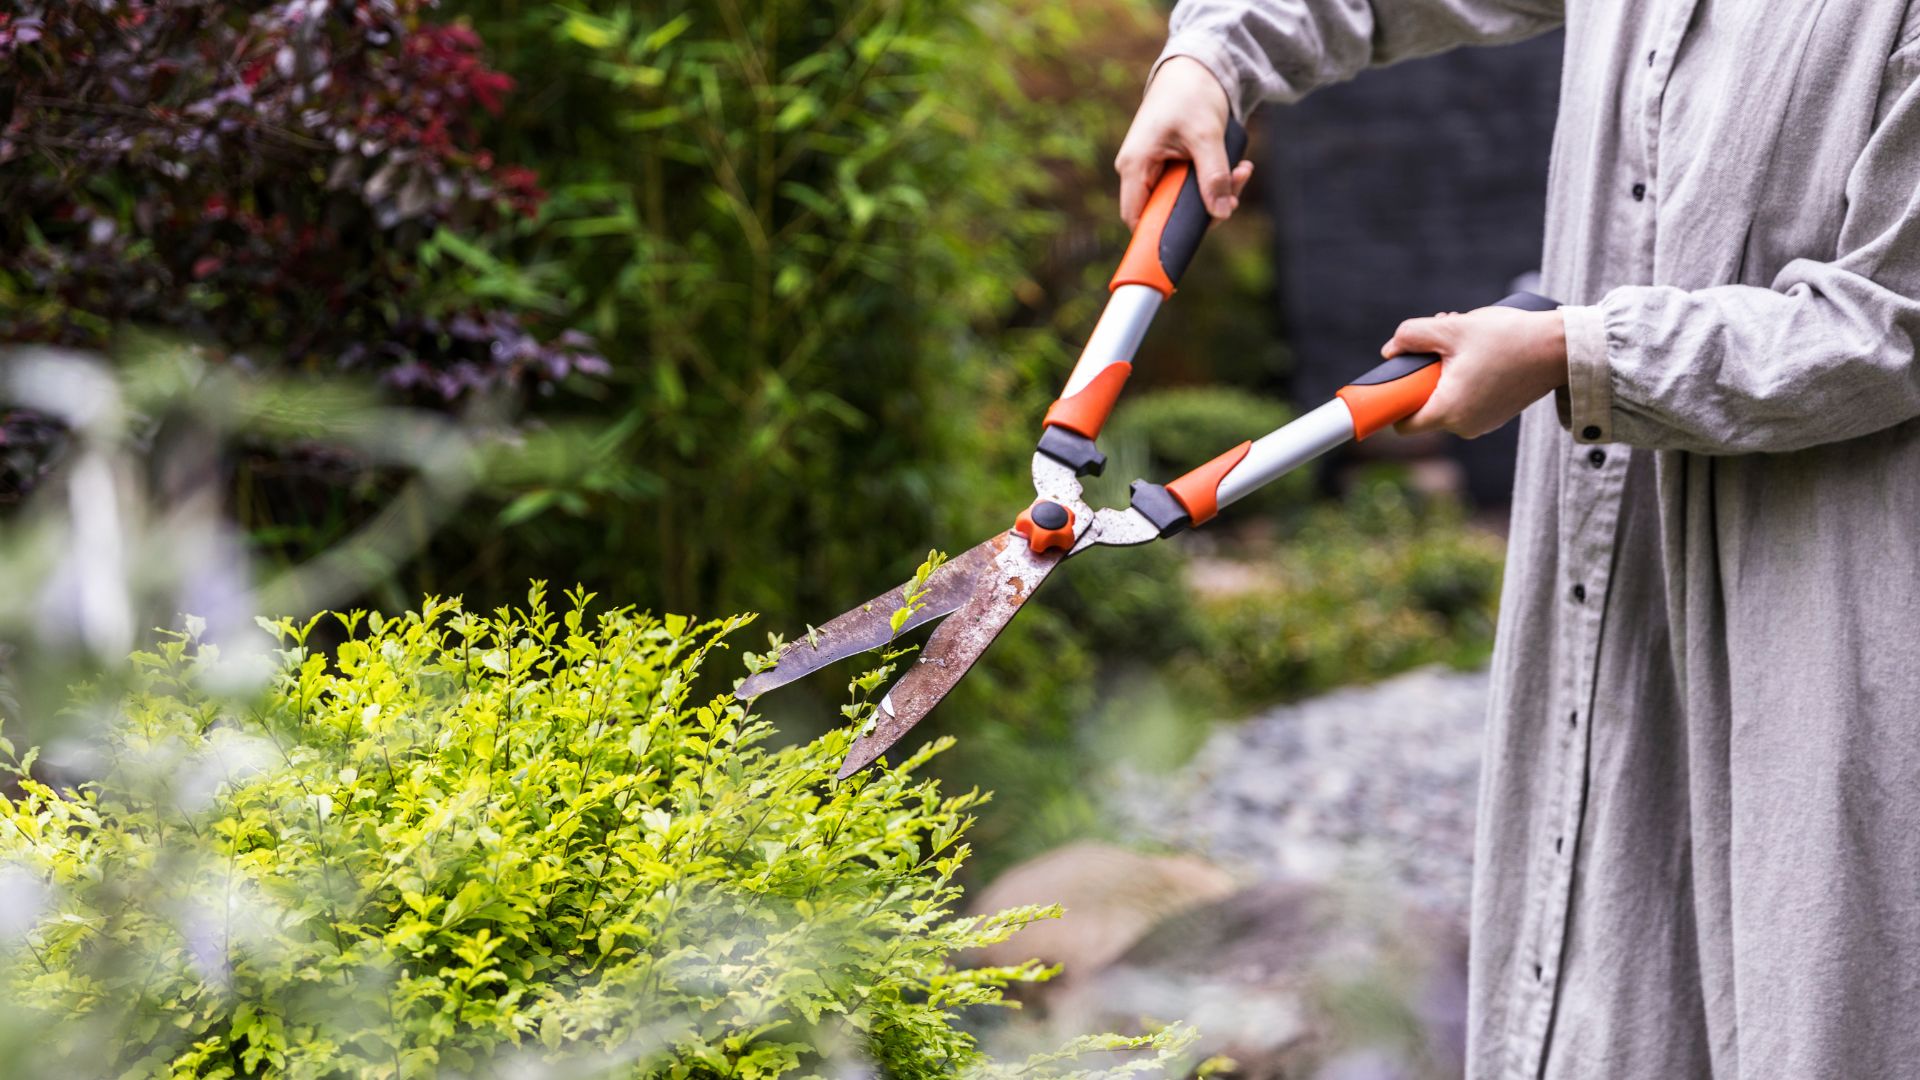
Garden maintenance is a hard enough job without adding unsatisfactory tools into the mix. That's why keeping on top of shear sharpening is key to making seasonal shaping and pruning jobs much easier.
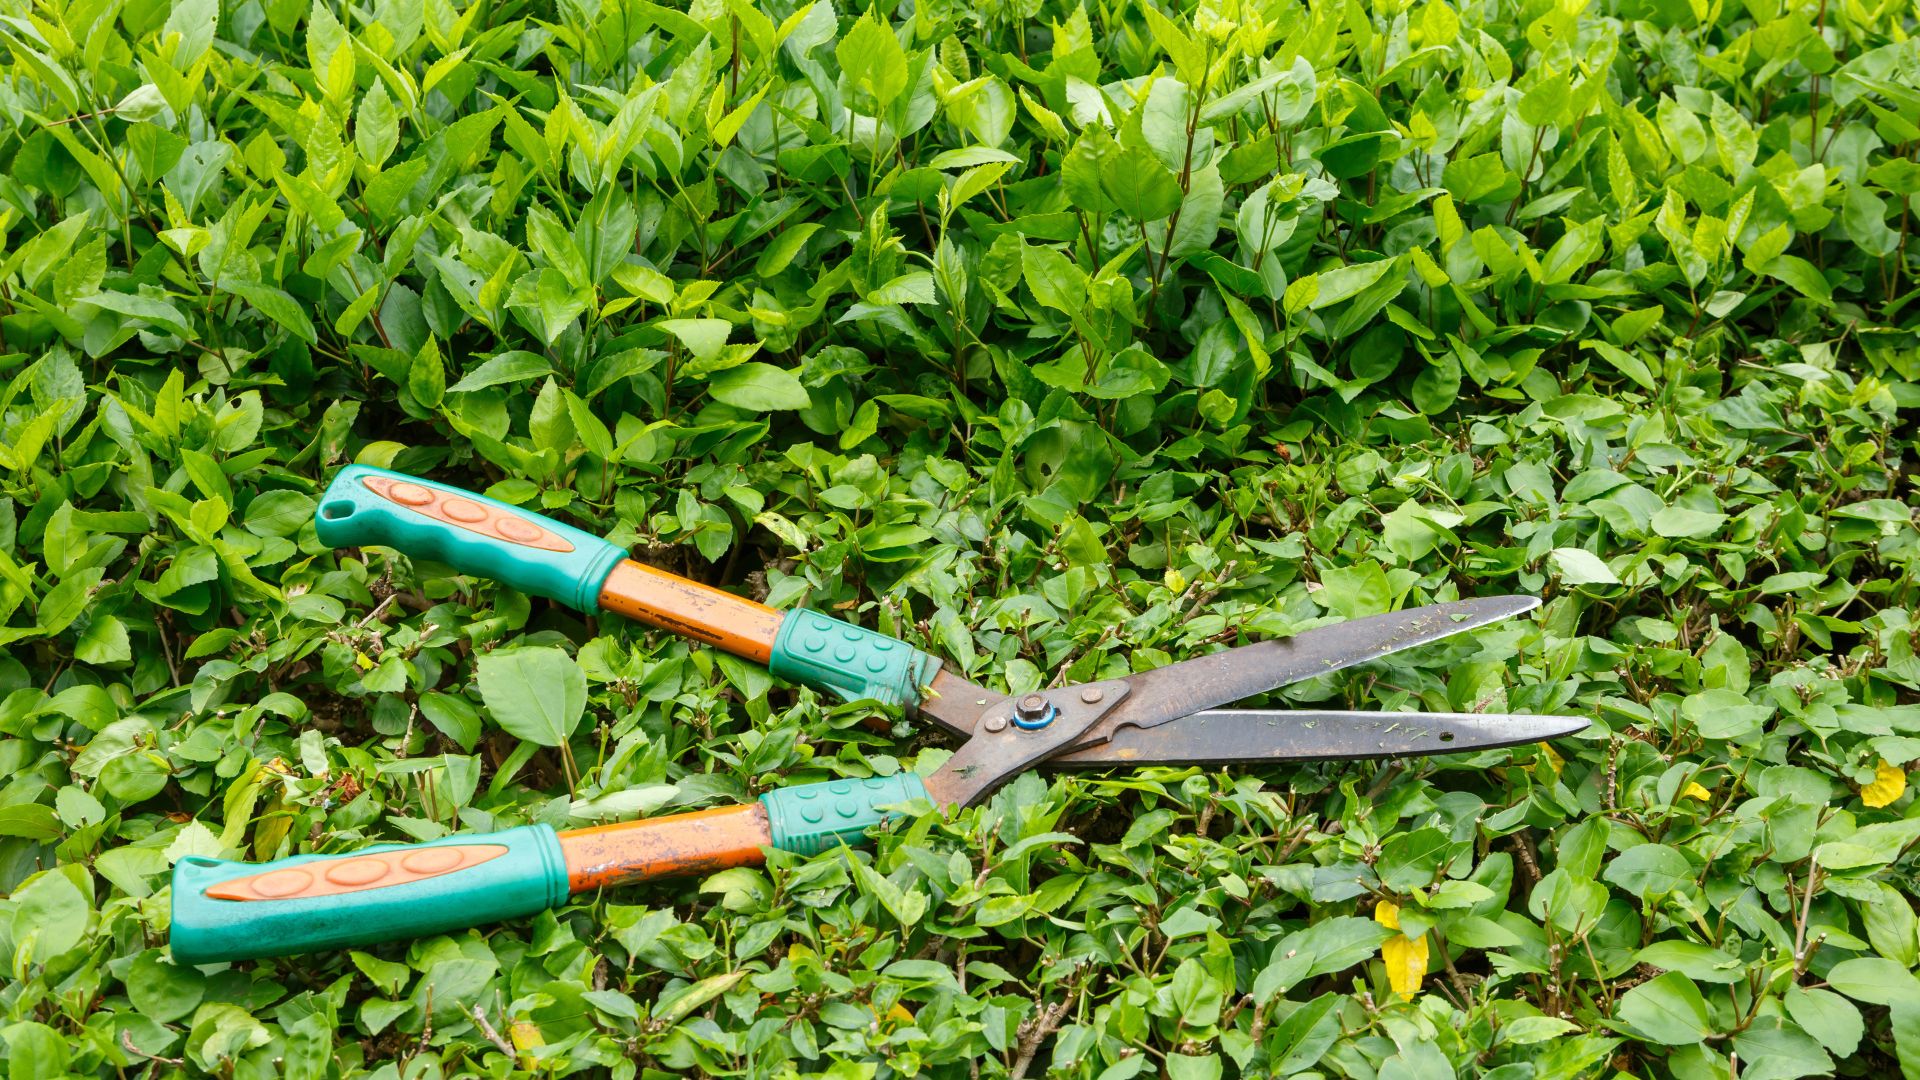
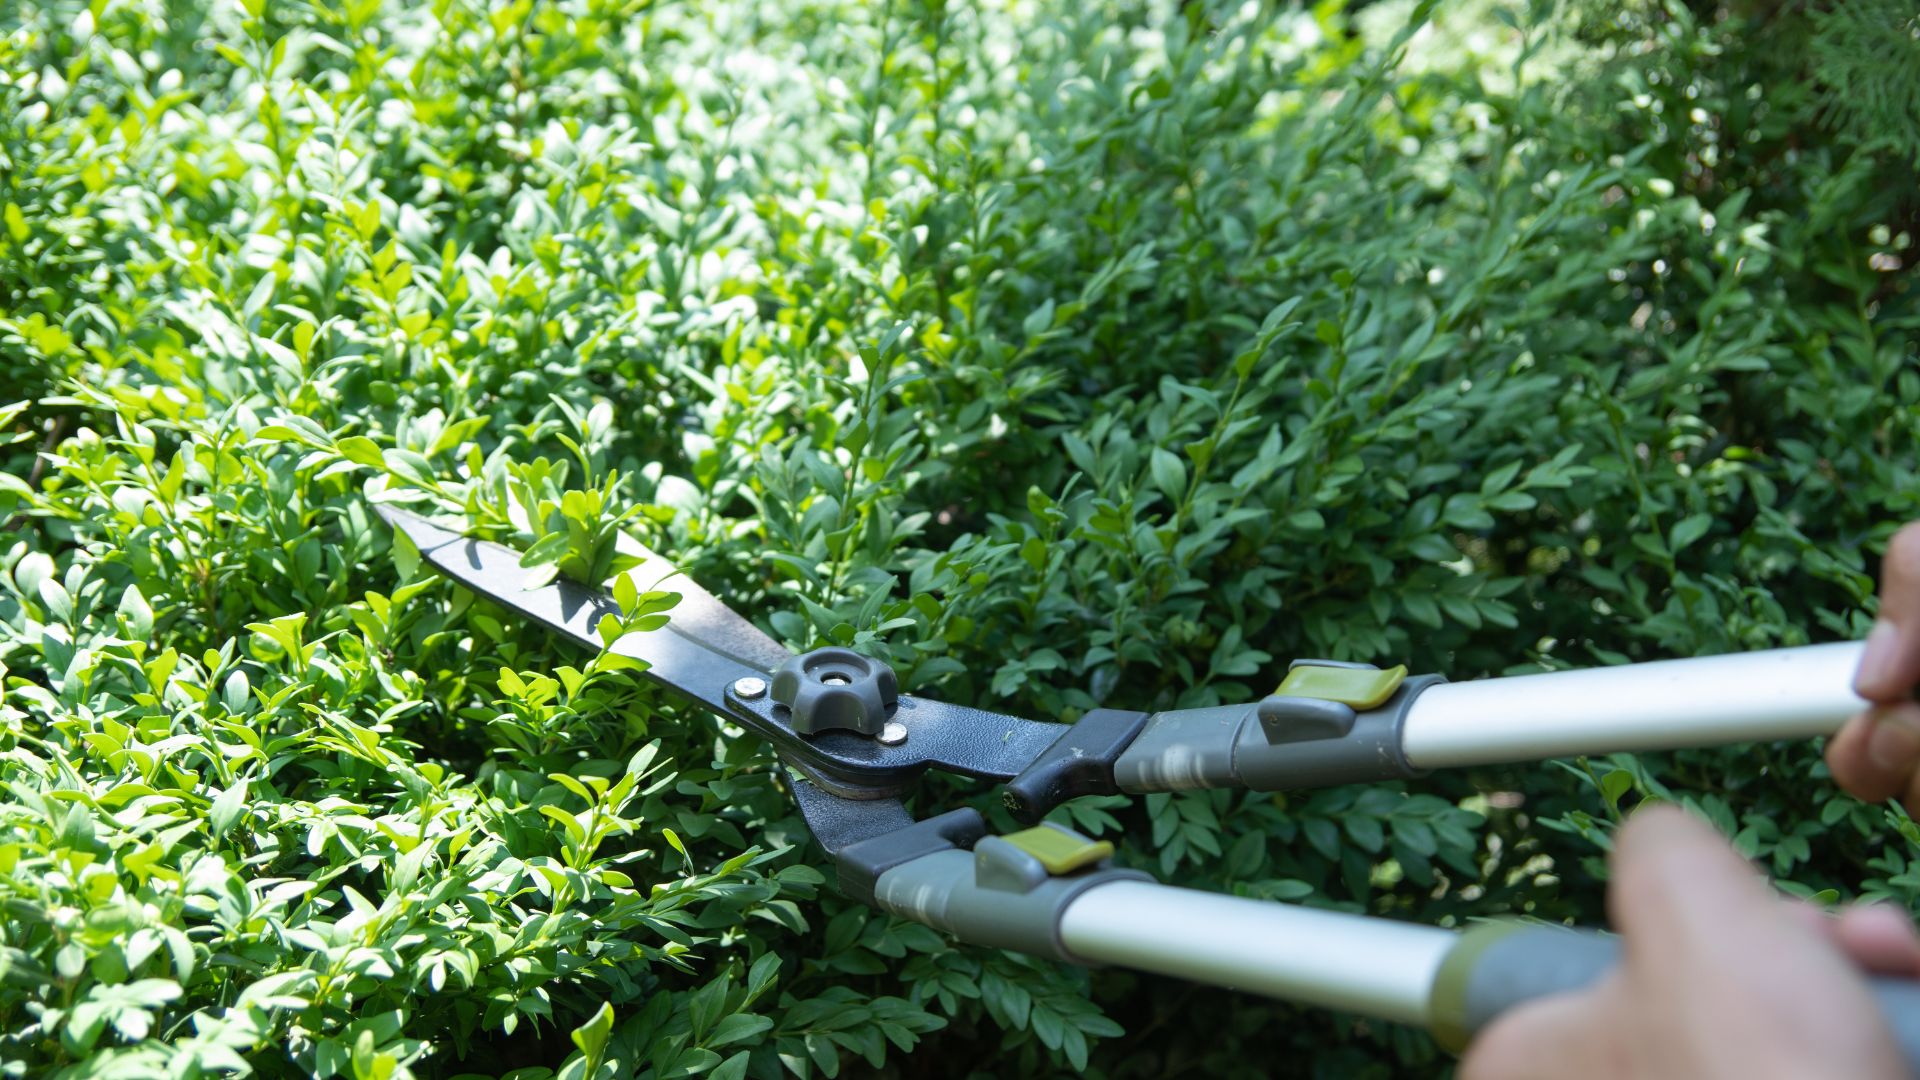
No matter what garden trend you are tending to, shears are one of the most essential tools every gardener needs. But due to the nature of their job more often than not they can be rendered useless as the blades become blunt.
Staying on top of your tool maintenance is a great way of prolonging their life as well as getting more out of them with each use.
So if you're collecting budget garden ideas and want to get more for your money, knowing how to sharpen your shears is a great place to start.
How to sharpen garden shears: An expert guide
Although it's a relatively simple task most gardeners won't know the best method for sharpening gardening shears. Whether you're pruning roses or tidying up your garden to deter squirrels from your garden then you'll certainly want your shears performing at their best.
Here's what you'll need...
- Whetstone or file
- A vice
- Cloth/towel
- Sponge scourer
- Fine grit sandpaper
- Lubricant spray or oil (optional)
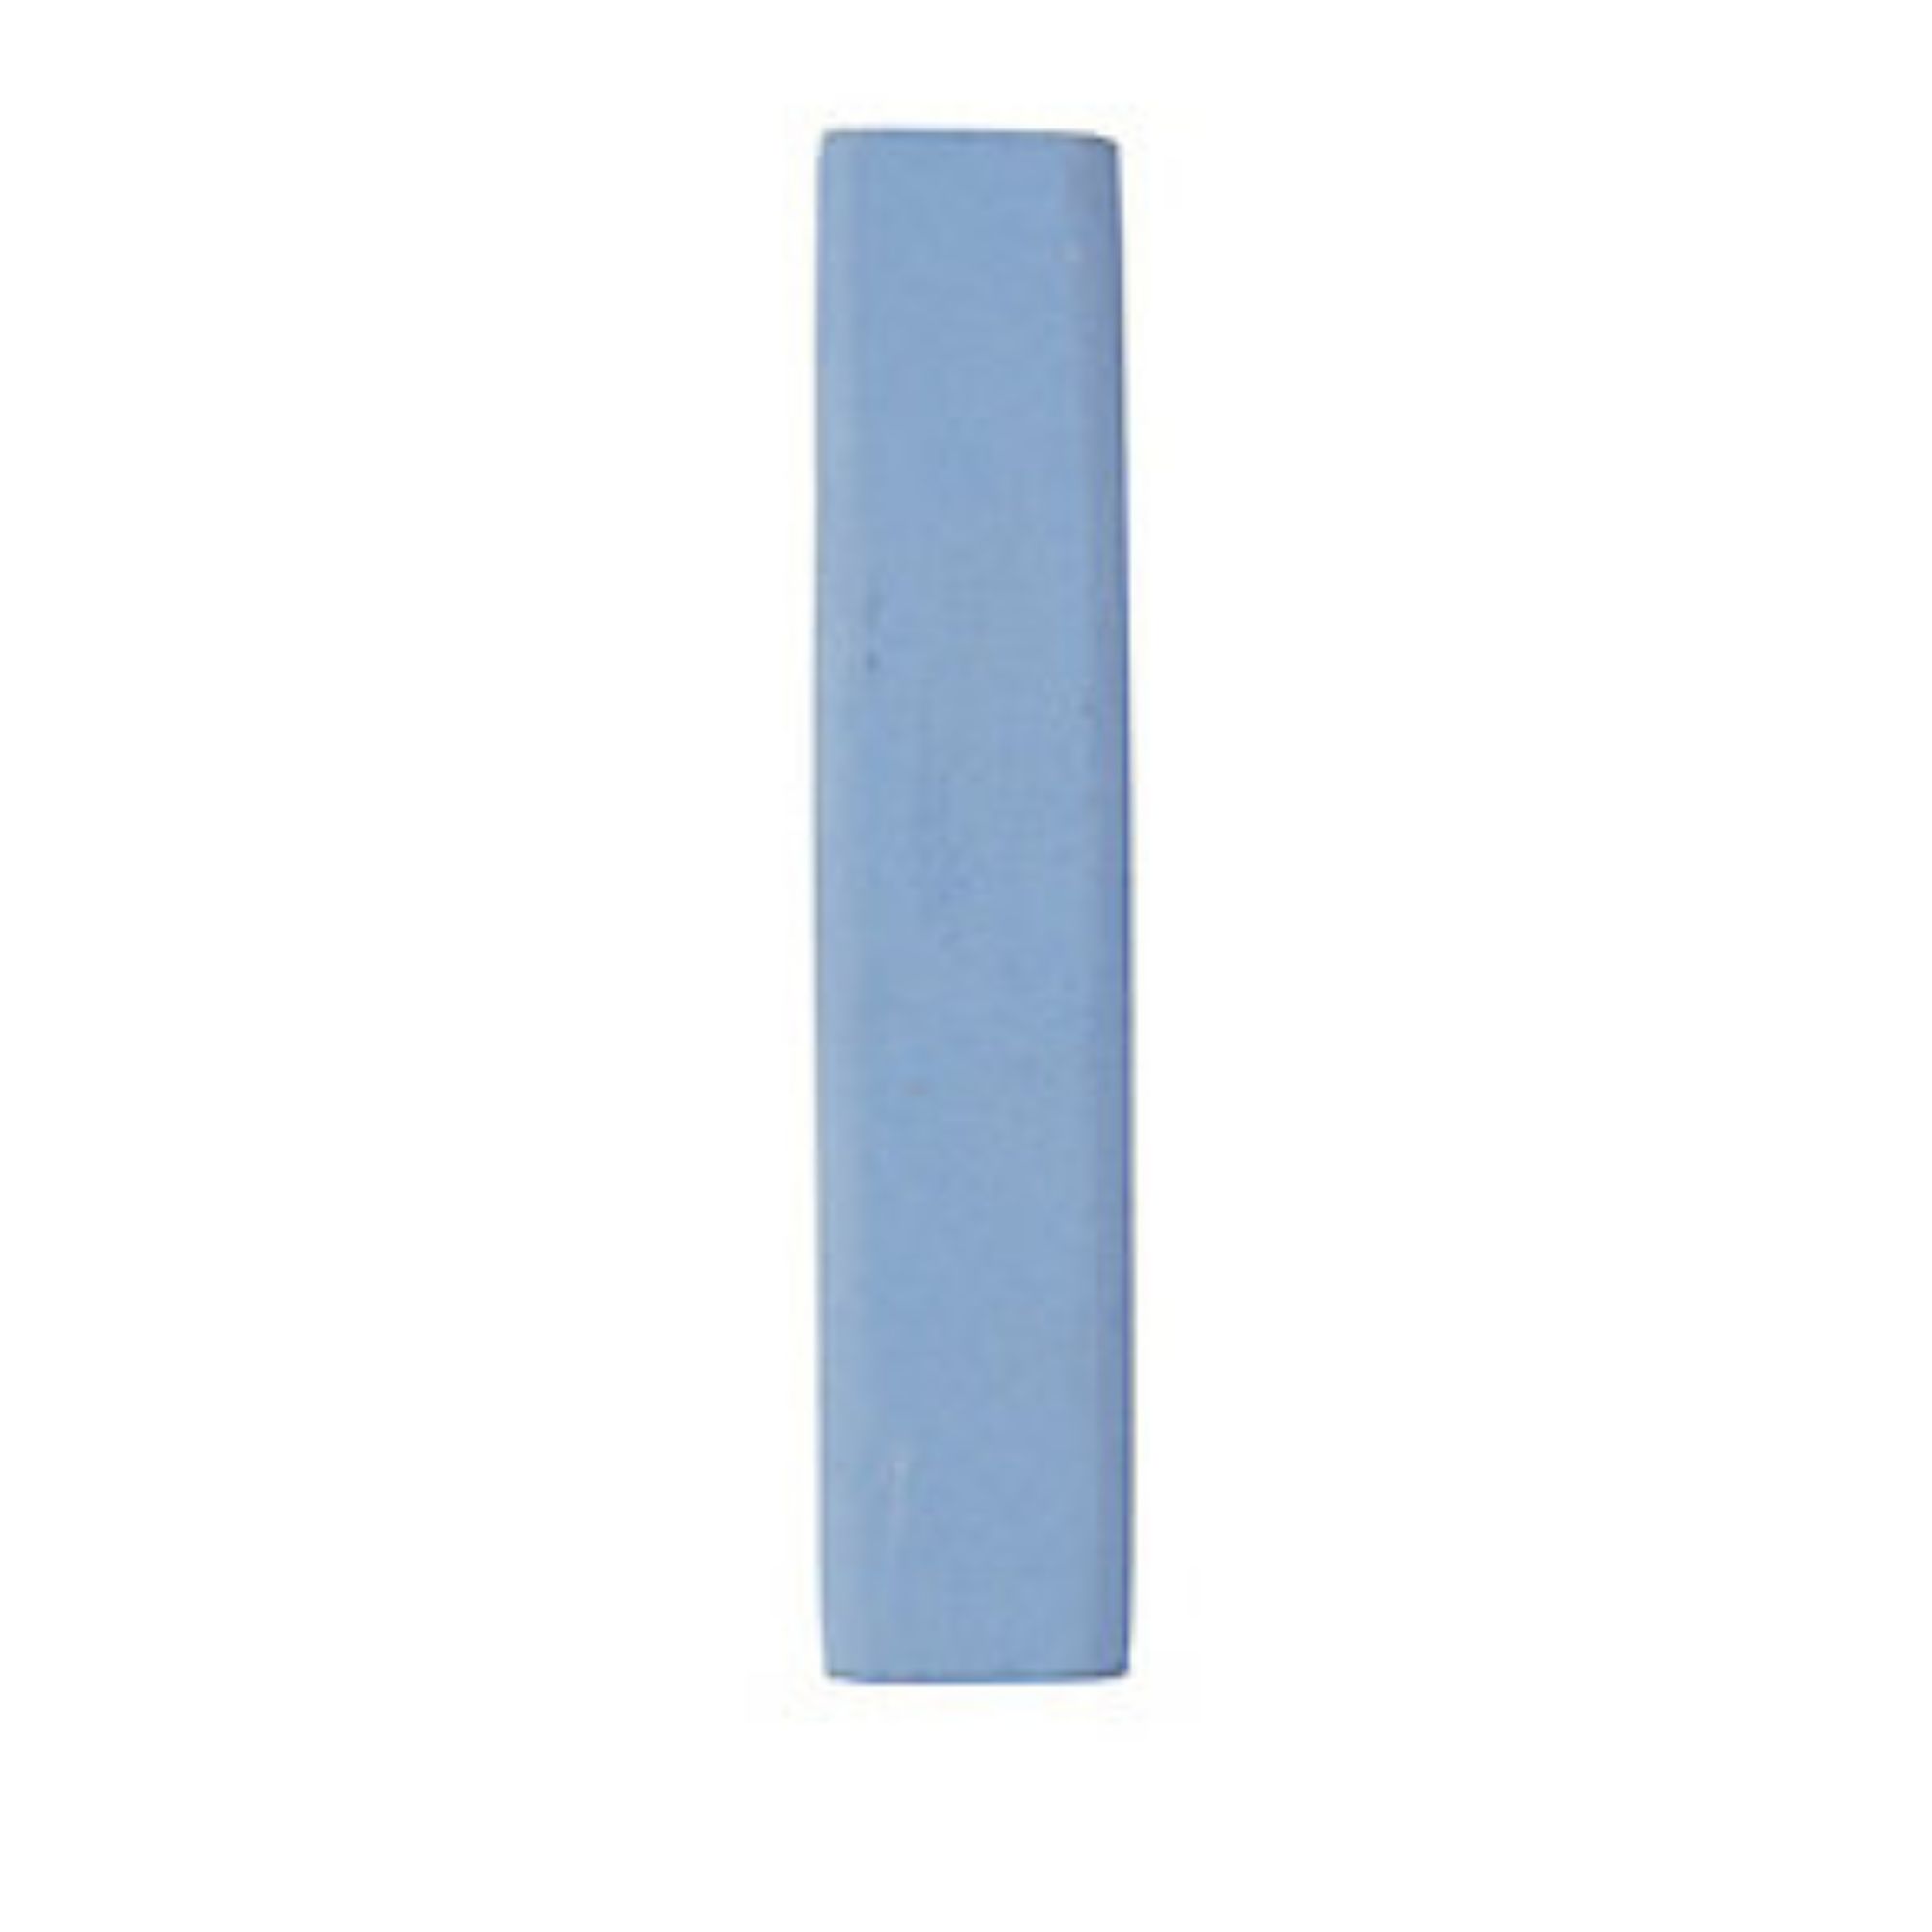
RRP: £5 | Looking for an easy-to-use sharpening stone? This durable ceramic sharpener has a slimline shape and is great for reaching all areas of the blade.
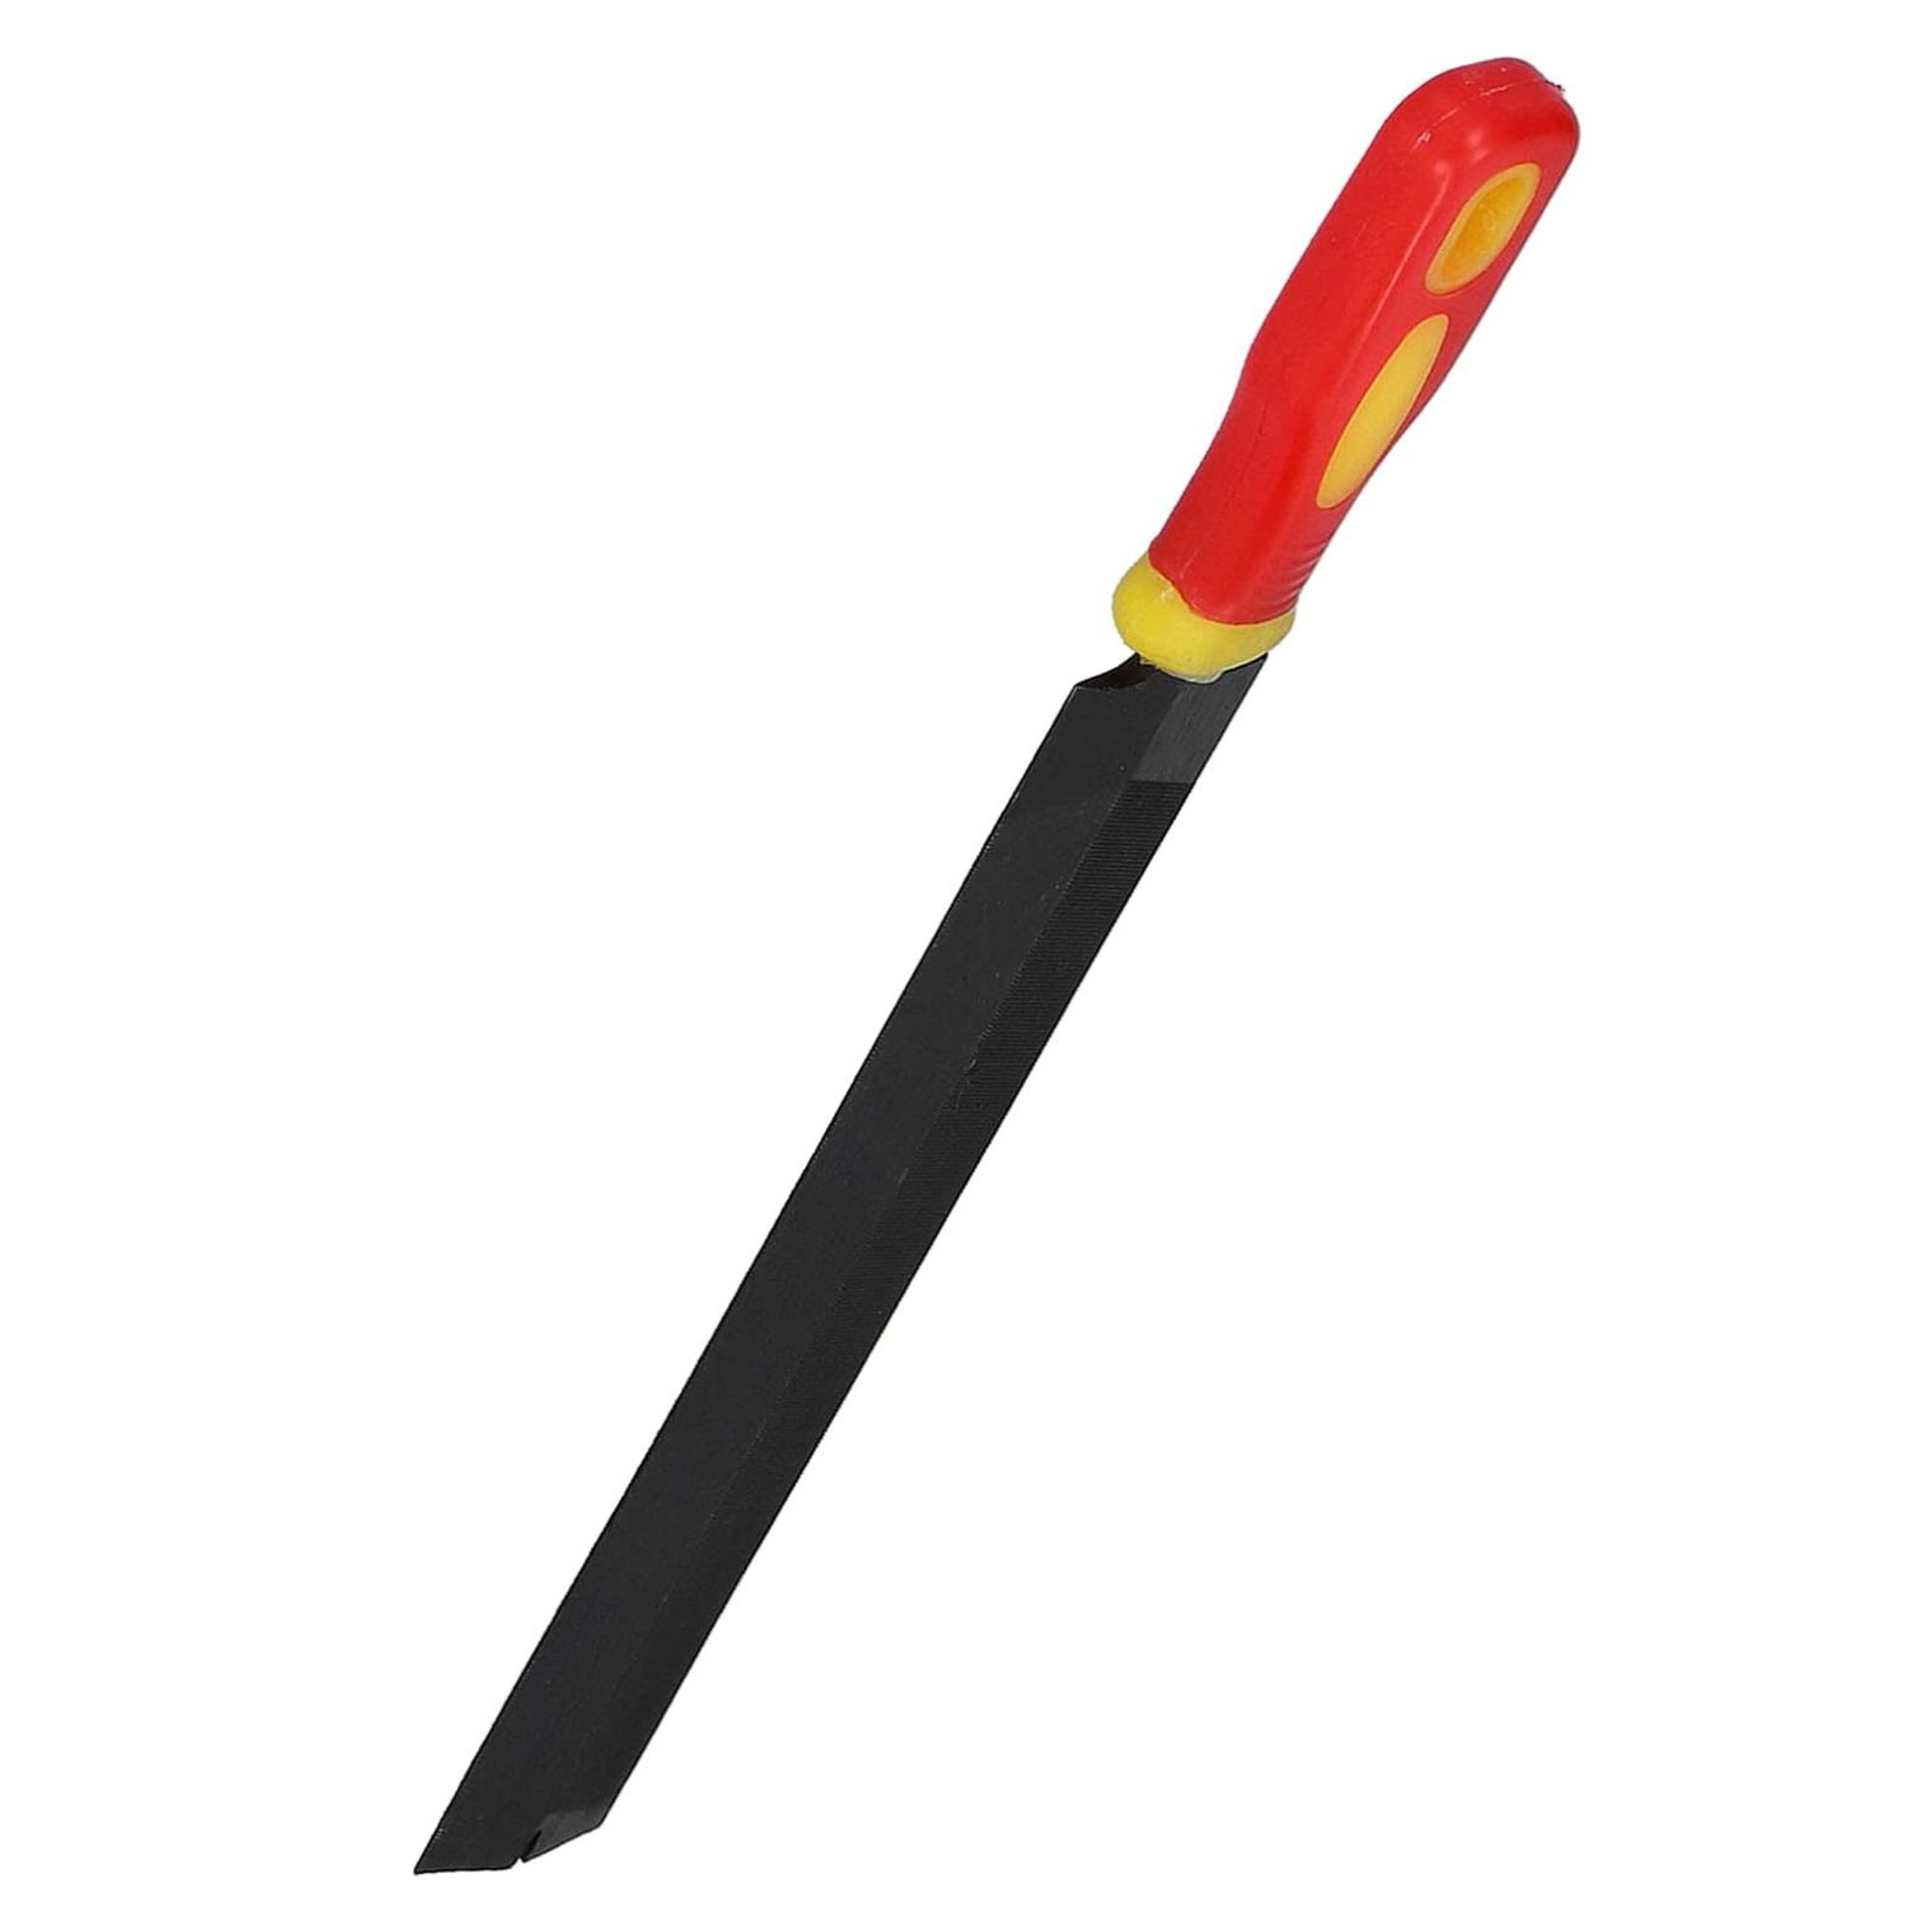
RRP: £8.36 | Wanting to try out the file method? This one has a non-slip handle for ease of use and is perfect for sharpening knives of any sort. It's made of high-quality steel that makes quick work of the job at hand.
RRP: £4.99 | This is a hero product every cleaner should have in their home. This eight-pack will make any clean-up job that much easier - even cleaning garden shears.
1. Clean your shears
Before you can even think about sharpening the blades of your shears, you'll first need to clean them. They might still be covered in sap or leaves from when you pruned your lilac bush earlier in the month.
Graham Smith MClart, gardening expert from LBS Horticulture, says, "Before sharpening the blades you should clean the shears with a sponge scourer and warm soapy water. For any stubborn marks, use a fine grit sandpaper to remove these."
This is also a good time to undo the bolt holding the shears together and separate the blades, just make sure you put the bolt in a safe space and nowhere it could fall.
2. Prep your file or whetstone
Whether you decide to use a whetstone or a file to sharpen your shears you'll need to get it prepped and in the right position for the task.
"Set the whetstone atop a firm, flat surface, and you can place a cloth or towel underneath to prevent it from sliding around," suggests Graham. "When using a file to sharpen shears, you should first fix them in a vice for safety, the shears need to be secure, but you should still be able to access the part of the blade that you want to sharpen."
Either way, it's a good idea to wear protective gloves even if your shears seem extremely dull they can still cause cuts when handled. We can recommend these Burgon & Ball Flora & Fauna Gardening Gloves at John Lewis.
3. Sharpen the blades
Now it's time to actually sharpen the blades. Georgina O'Grady, managing director at Evergreen Direct says, "I advise you to hold the shears firmly and at a consistent angle, then stroke the stone or file along the bevelled edge of the blade.
You should repeat this process until the blade is sharp, testing it out by cutting a piece of paper or cardboard."
If you've opted for the whetstone then you can also leave it on the cloth and move the shears to create the stroke movements.
4. Reassemble and spray
Once the blades are sharpened to your satisfaction, it's time to reassemble. This is where you can go the extra mile and prep them for more garden work.
"After you’ve sharpened your garden shears, apply a very light oil coating to the metal parts with the rag and reassemble them. Be very careful with the newly sharpened blade to avoid injury," says Radek Babicek, a professional gardener from Fantastic Gardeners.
Radek also points out that when you're reassembling be careful not to tighten the bolt on the shears too much or it will make disassembling the next time even harder.
An over-tight bolt can also make your garden shears much more difficult to work with, and you don't need that when you're trimming your best plants for privacy.
FAQs
How often should you sharpen your garden shears?
While you may know how often you should fertilise your lawn, knowing the best time to give your shears a sharpen isn't considered common knowledge. But luckily there is a low-maintenance timeline you can stick to.
Radek says, "How often you use your garden shears will dictate how often they should be sharpened. Well-maintained shears will typically only need sharpening every six weeks, even with heavy use. Gardeners who spend 4 hours a week pruning will usually need to sharpen them once or twice a year."
How do you know when to sharpen your garden shears?
As well as a simple timeline, there are a few signs that your shears will show which means it's time for a sharpen. Similar to the ways you'll know it's time to clean your pizza oven, the shears functionality will start worsening.
"You'll know it's time to sharpen your garden shears if the blades crush or chew plant stems instead of making clean cuts. You might also notice increased strain when cutting, or visible nicks and rough spots on the blades. Regularly inspecting your blades for signs of wear and tear will help you identify the right time for sharpening your tools," says Georgina.
Something important to remember is that your shears may need sharpening more often depending on their use, if you have used them lots or for a big project the chances are they'll need a refresh sooner than later.
Always take care when handling any sharp garden tools to avoid accidents and always store them away safely when not in use.