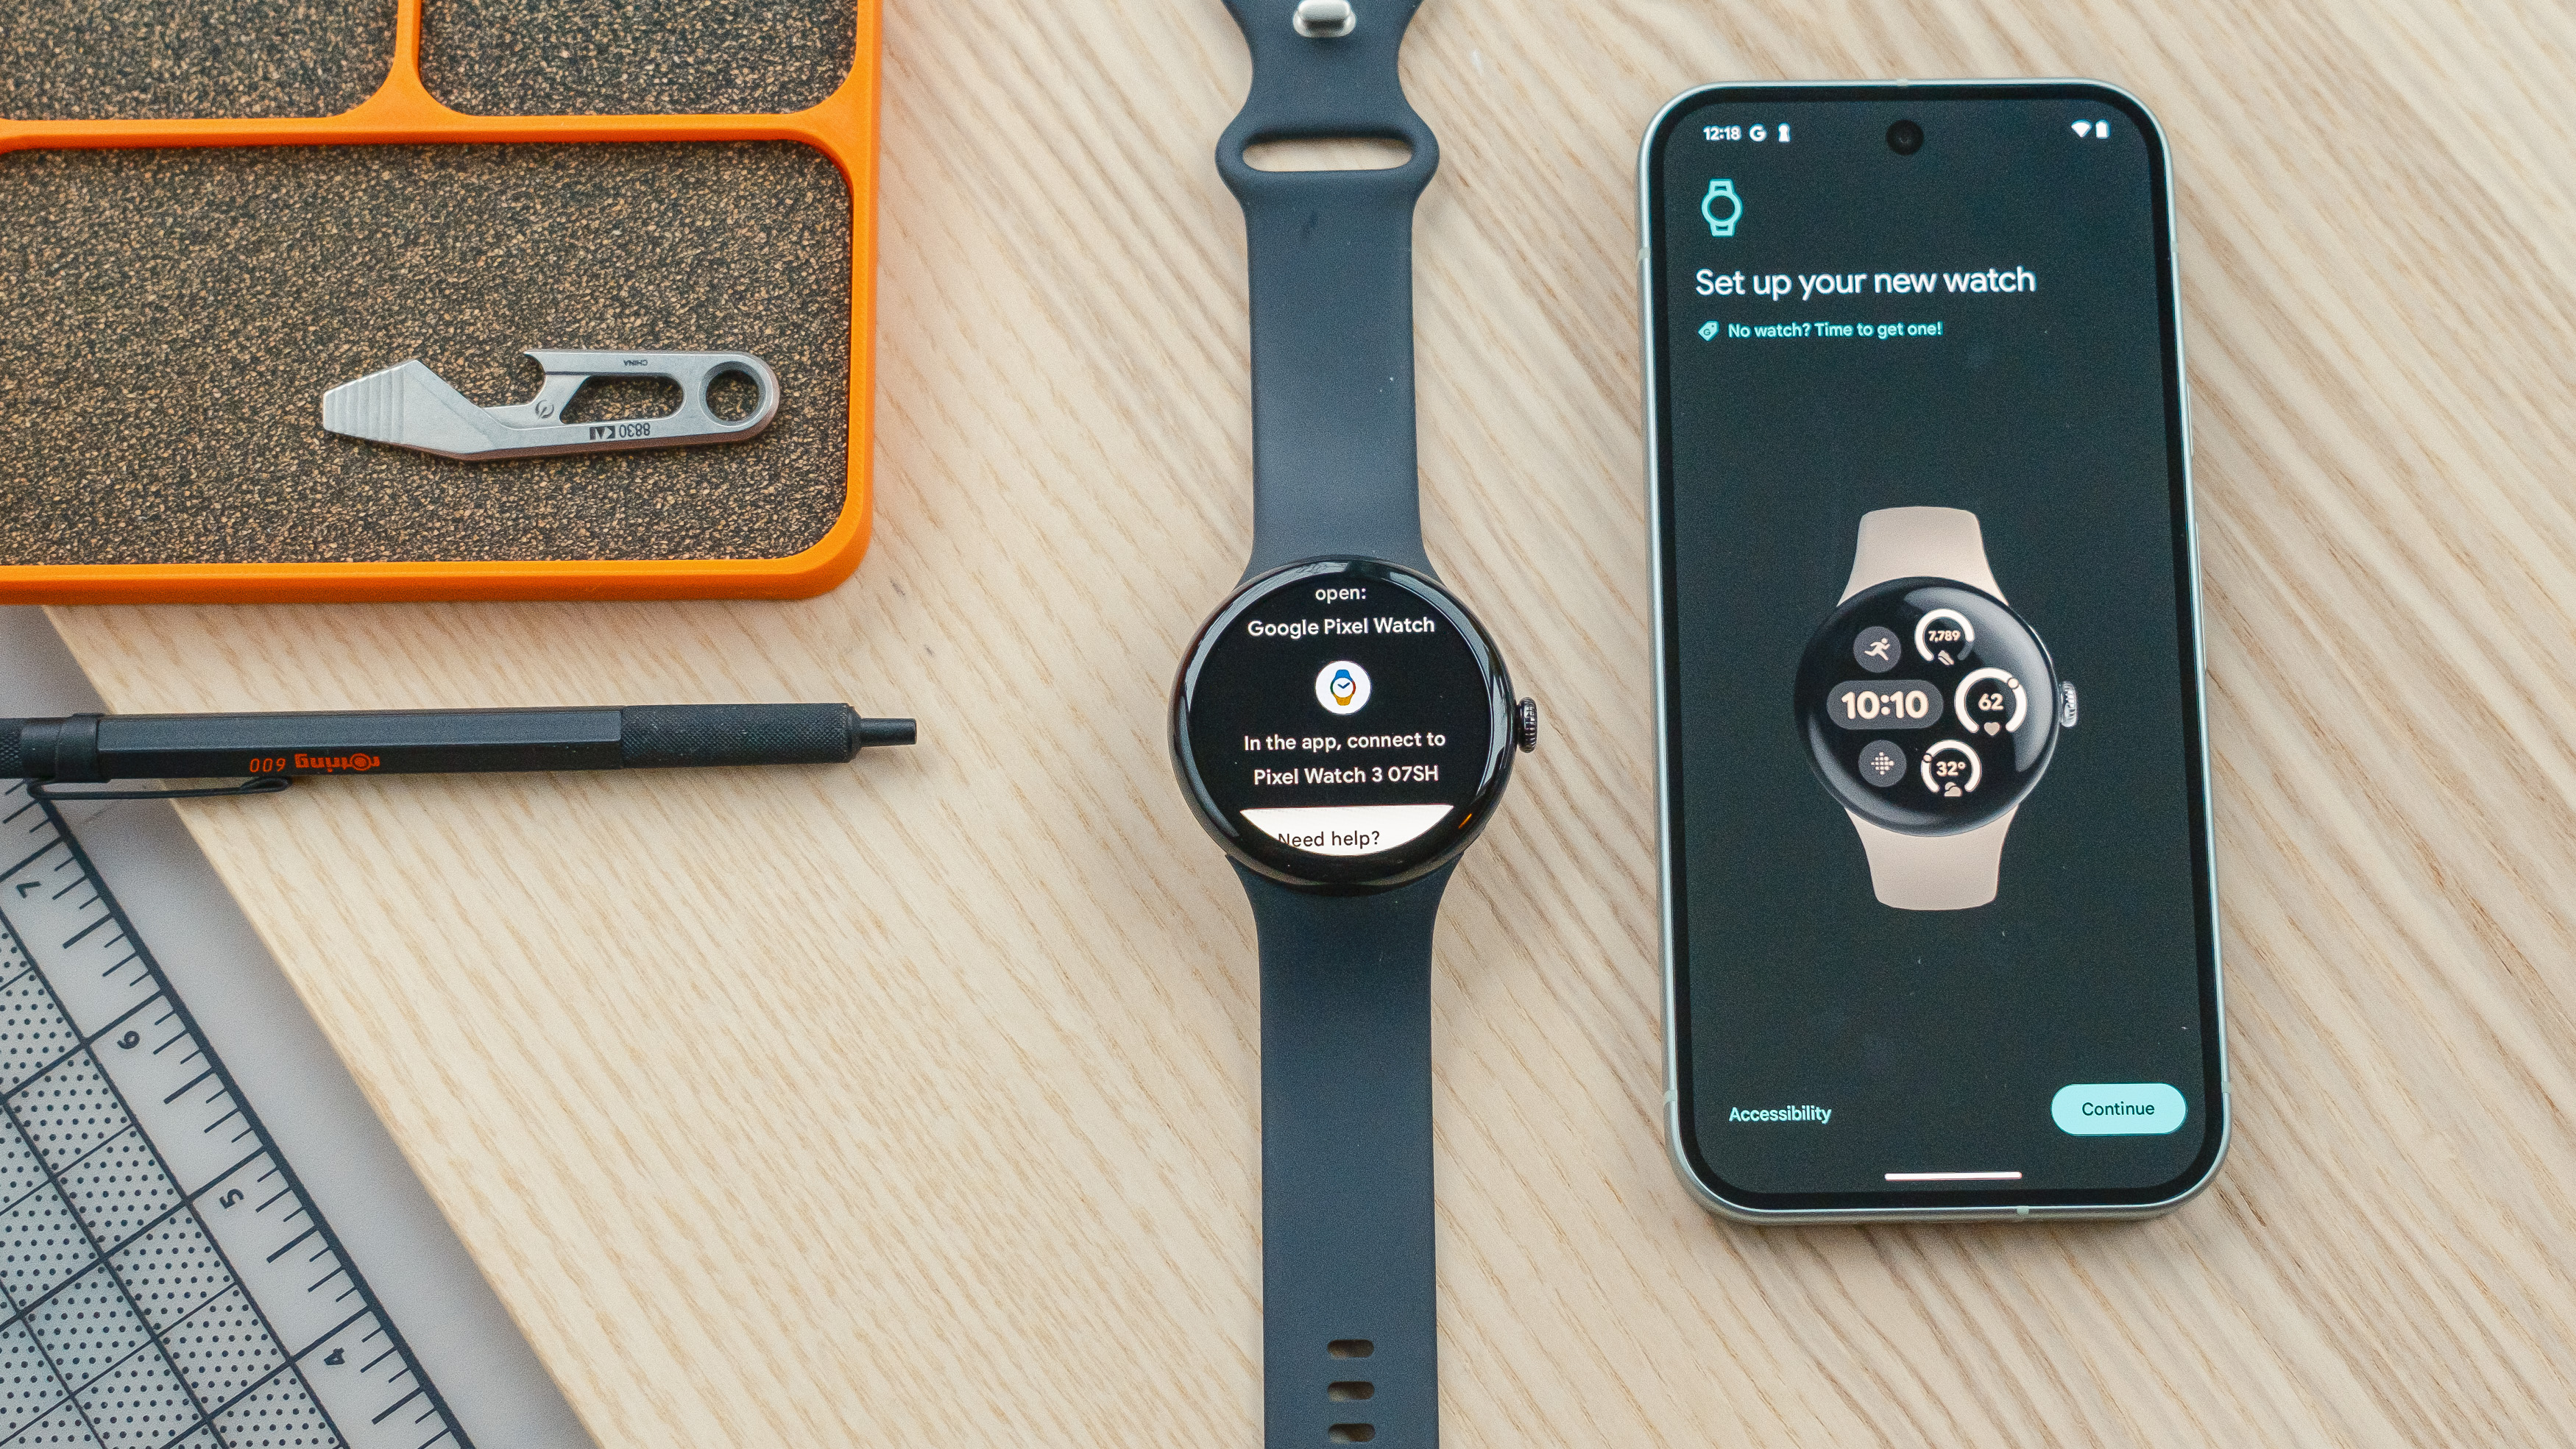
So, you just got a brand-new Google Pixel Watch 3 or, perhaps a slightly less new but still fantastic Pixel Watch 2. Congratulations! You now own one of the best smartwatch models on the market today.
You’re likely asking yourself, ‘How do I set up my new Pixel Watch?’ Assuming you have it unboxed and have an Android smartphone on hand to pair it with, the process is quite straightforward. I should know — I just set up a new Pixel Watch 3 for personal use.
To help make the process easier, I’ve cataloged all the steps below with the most important bits in bold. Follow these seven easy steps to get your Google Pixel Watch up and running without breaking a sweat.
How to set up your Google Pixel Watch
- Hold the crown to turn your watch on; select your language
- Open the Watch app on your phone and tap ‘Add watch’
- Sign in and set up your Google account
- Select your wrist and crown orientation preferences
- Setup optional health-tracking features via Fitbit
- Setup optional Google Assistant and safety features
- Setup Google Wallet and choose your apps
Read on for more detailed instructions and illustrations.
1. Hold the crown to turn your watch on; select your language
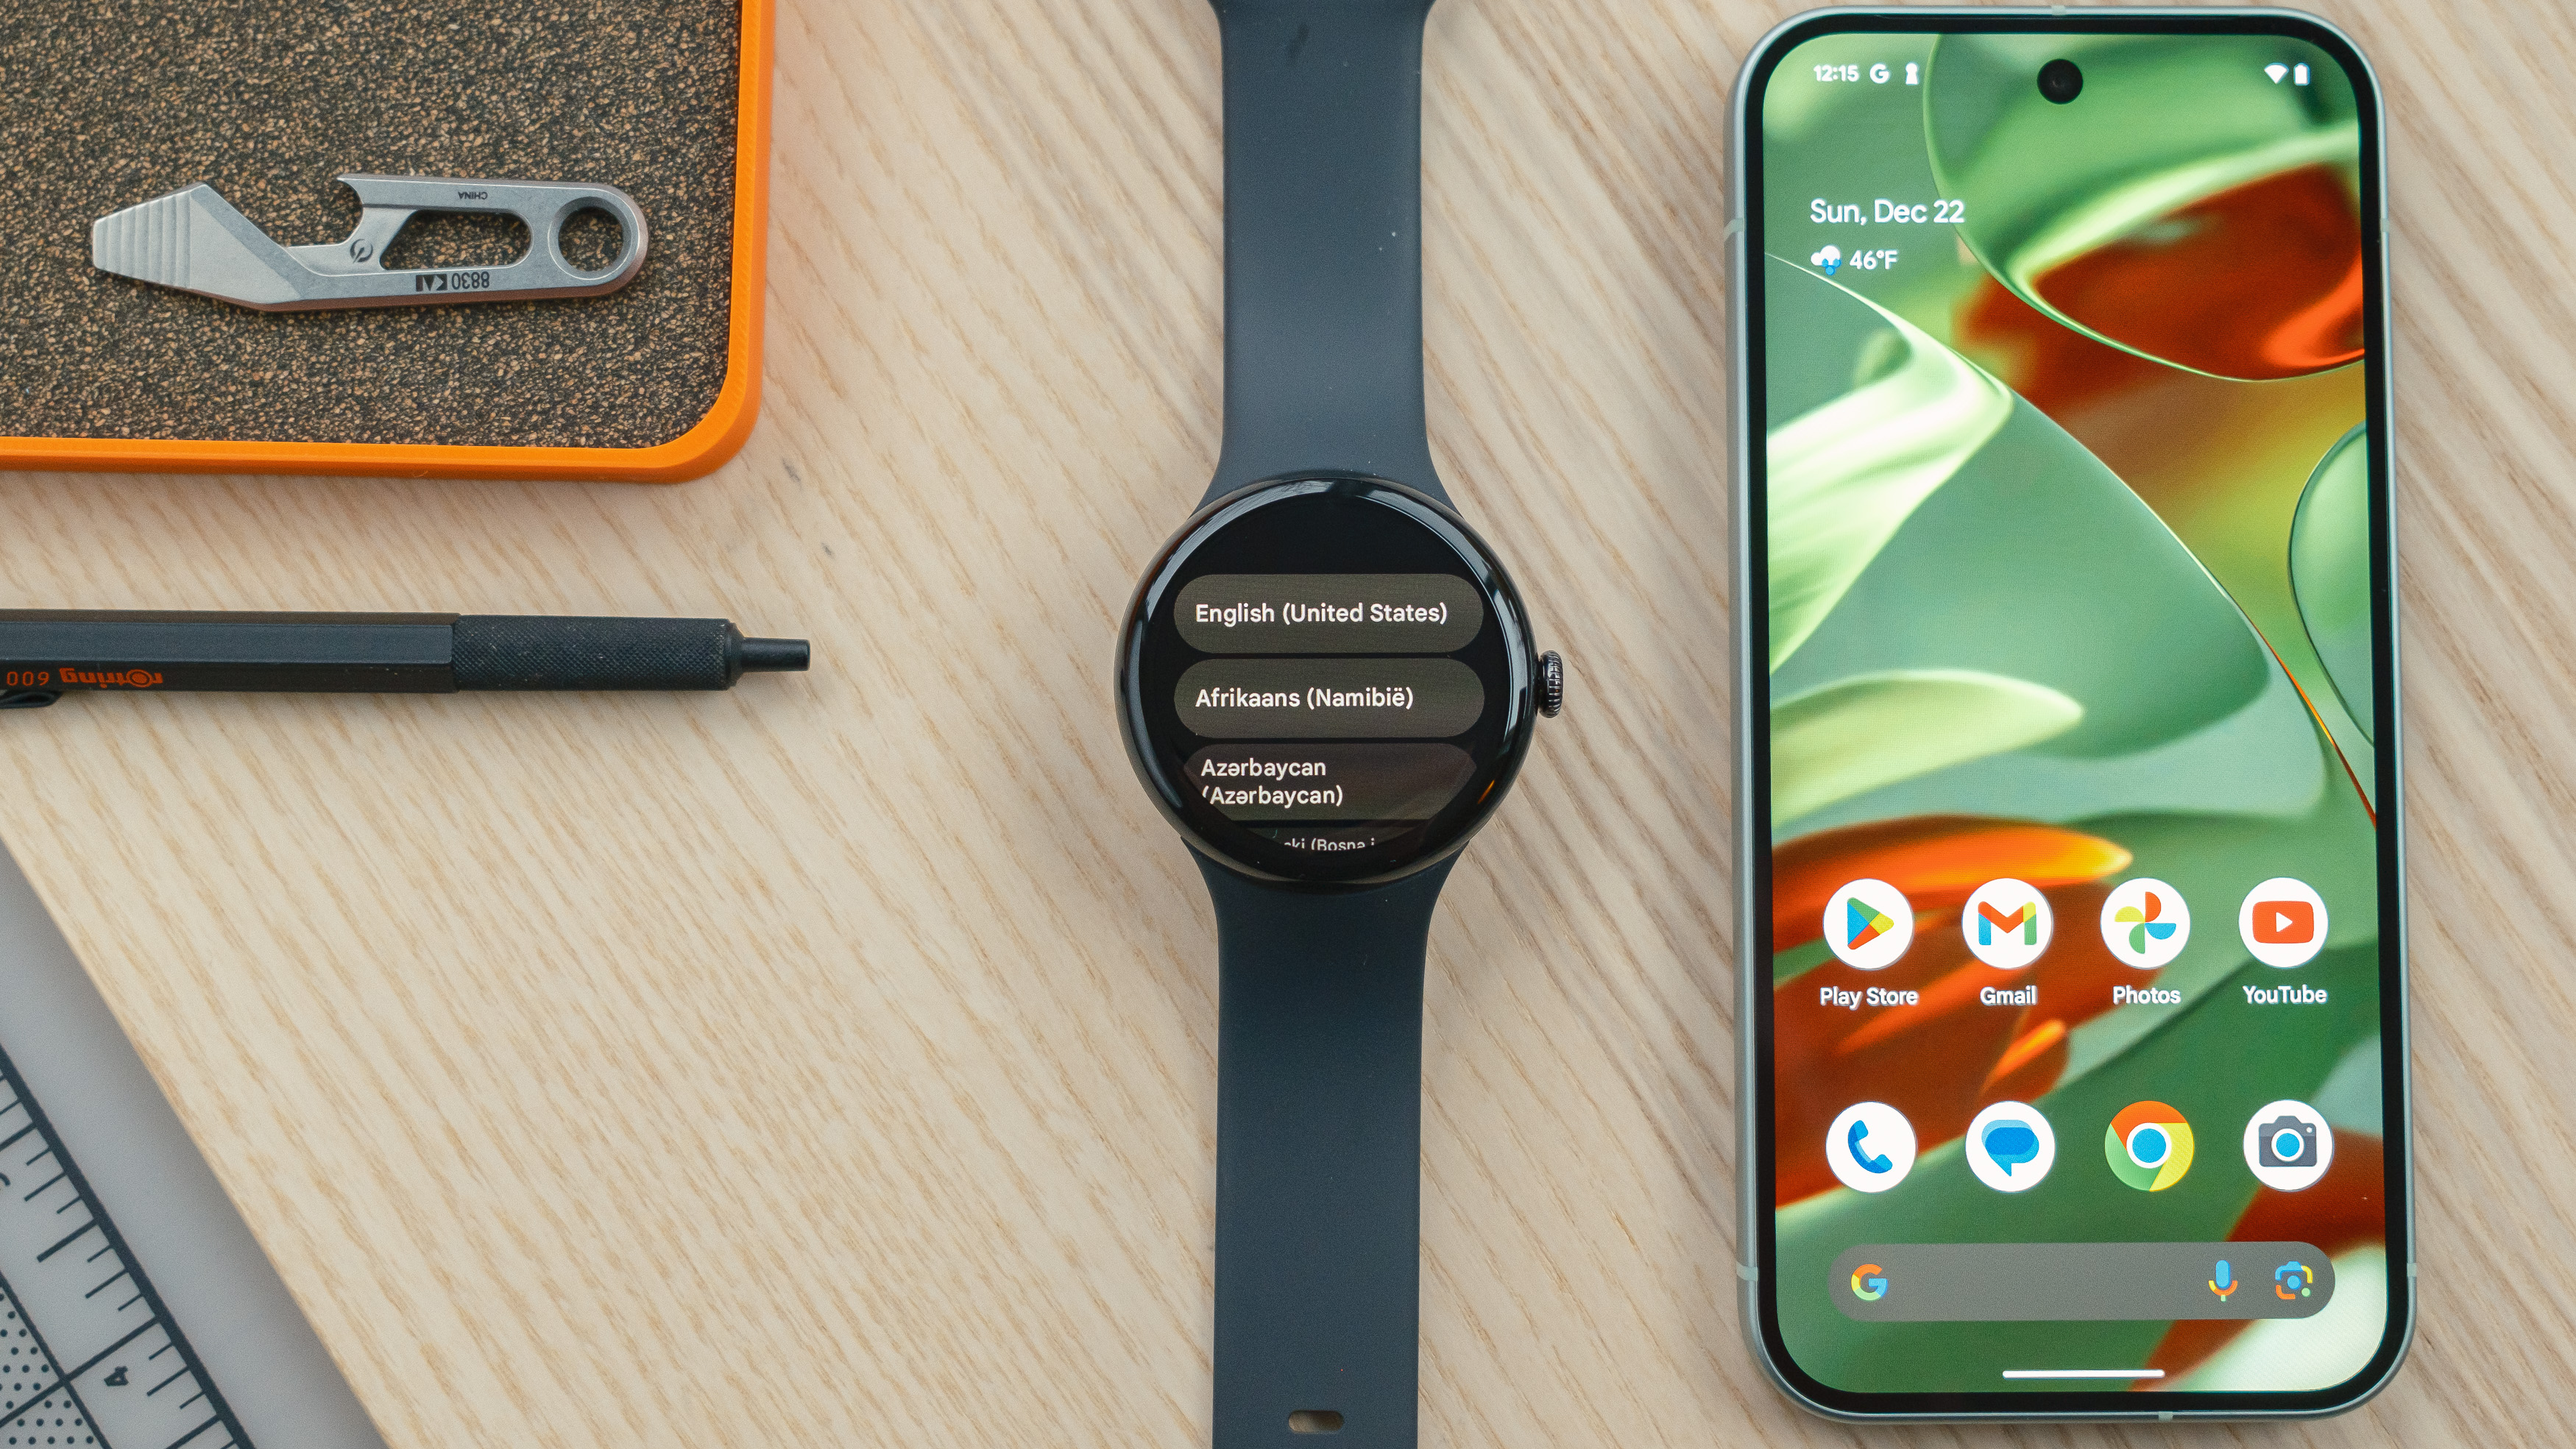
Before starting the Pixel Watch setup process, it’s a good idea to ensure that your new watch and smartphone are fully charged. You'll also want to ensure that your phone's operating system is up to date; here's everything you need to know about the latest Android 15 release.
Hold the crown on the side of the Pixel Watch for about three seconds to turn it on. Next, select your language of choice on the watch screen.
2. Open the Watch app on your phone and tap ‘Add watch’
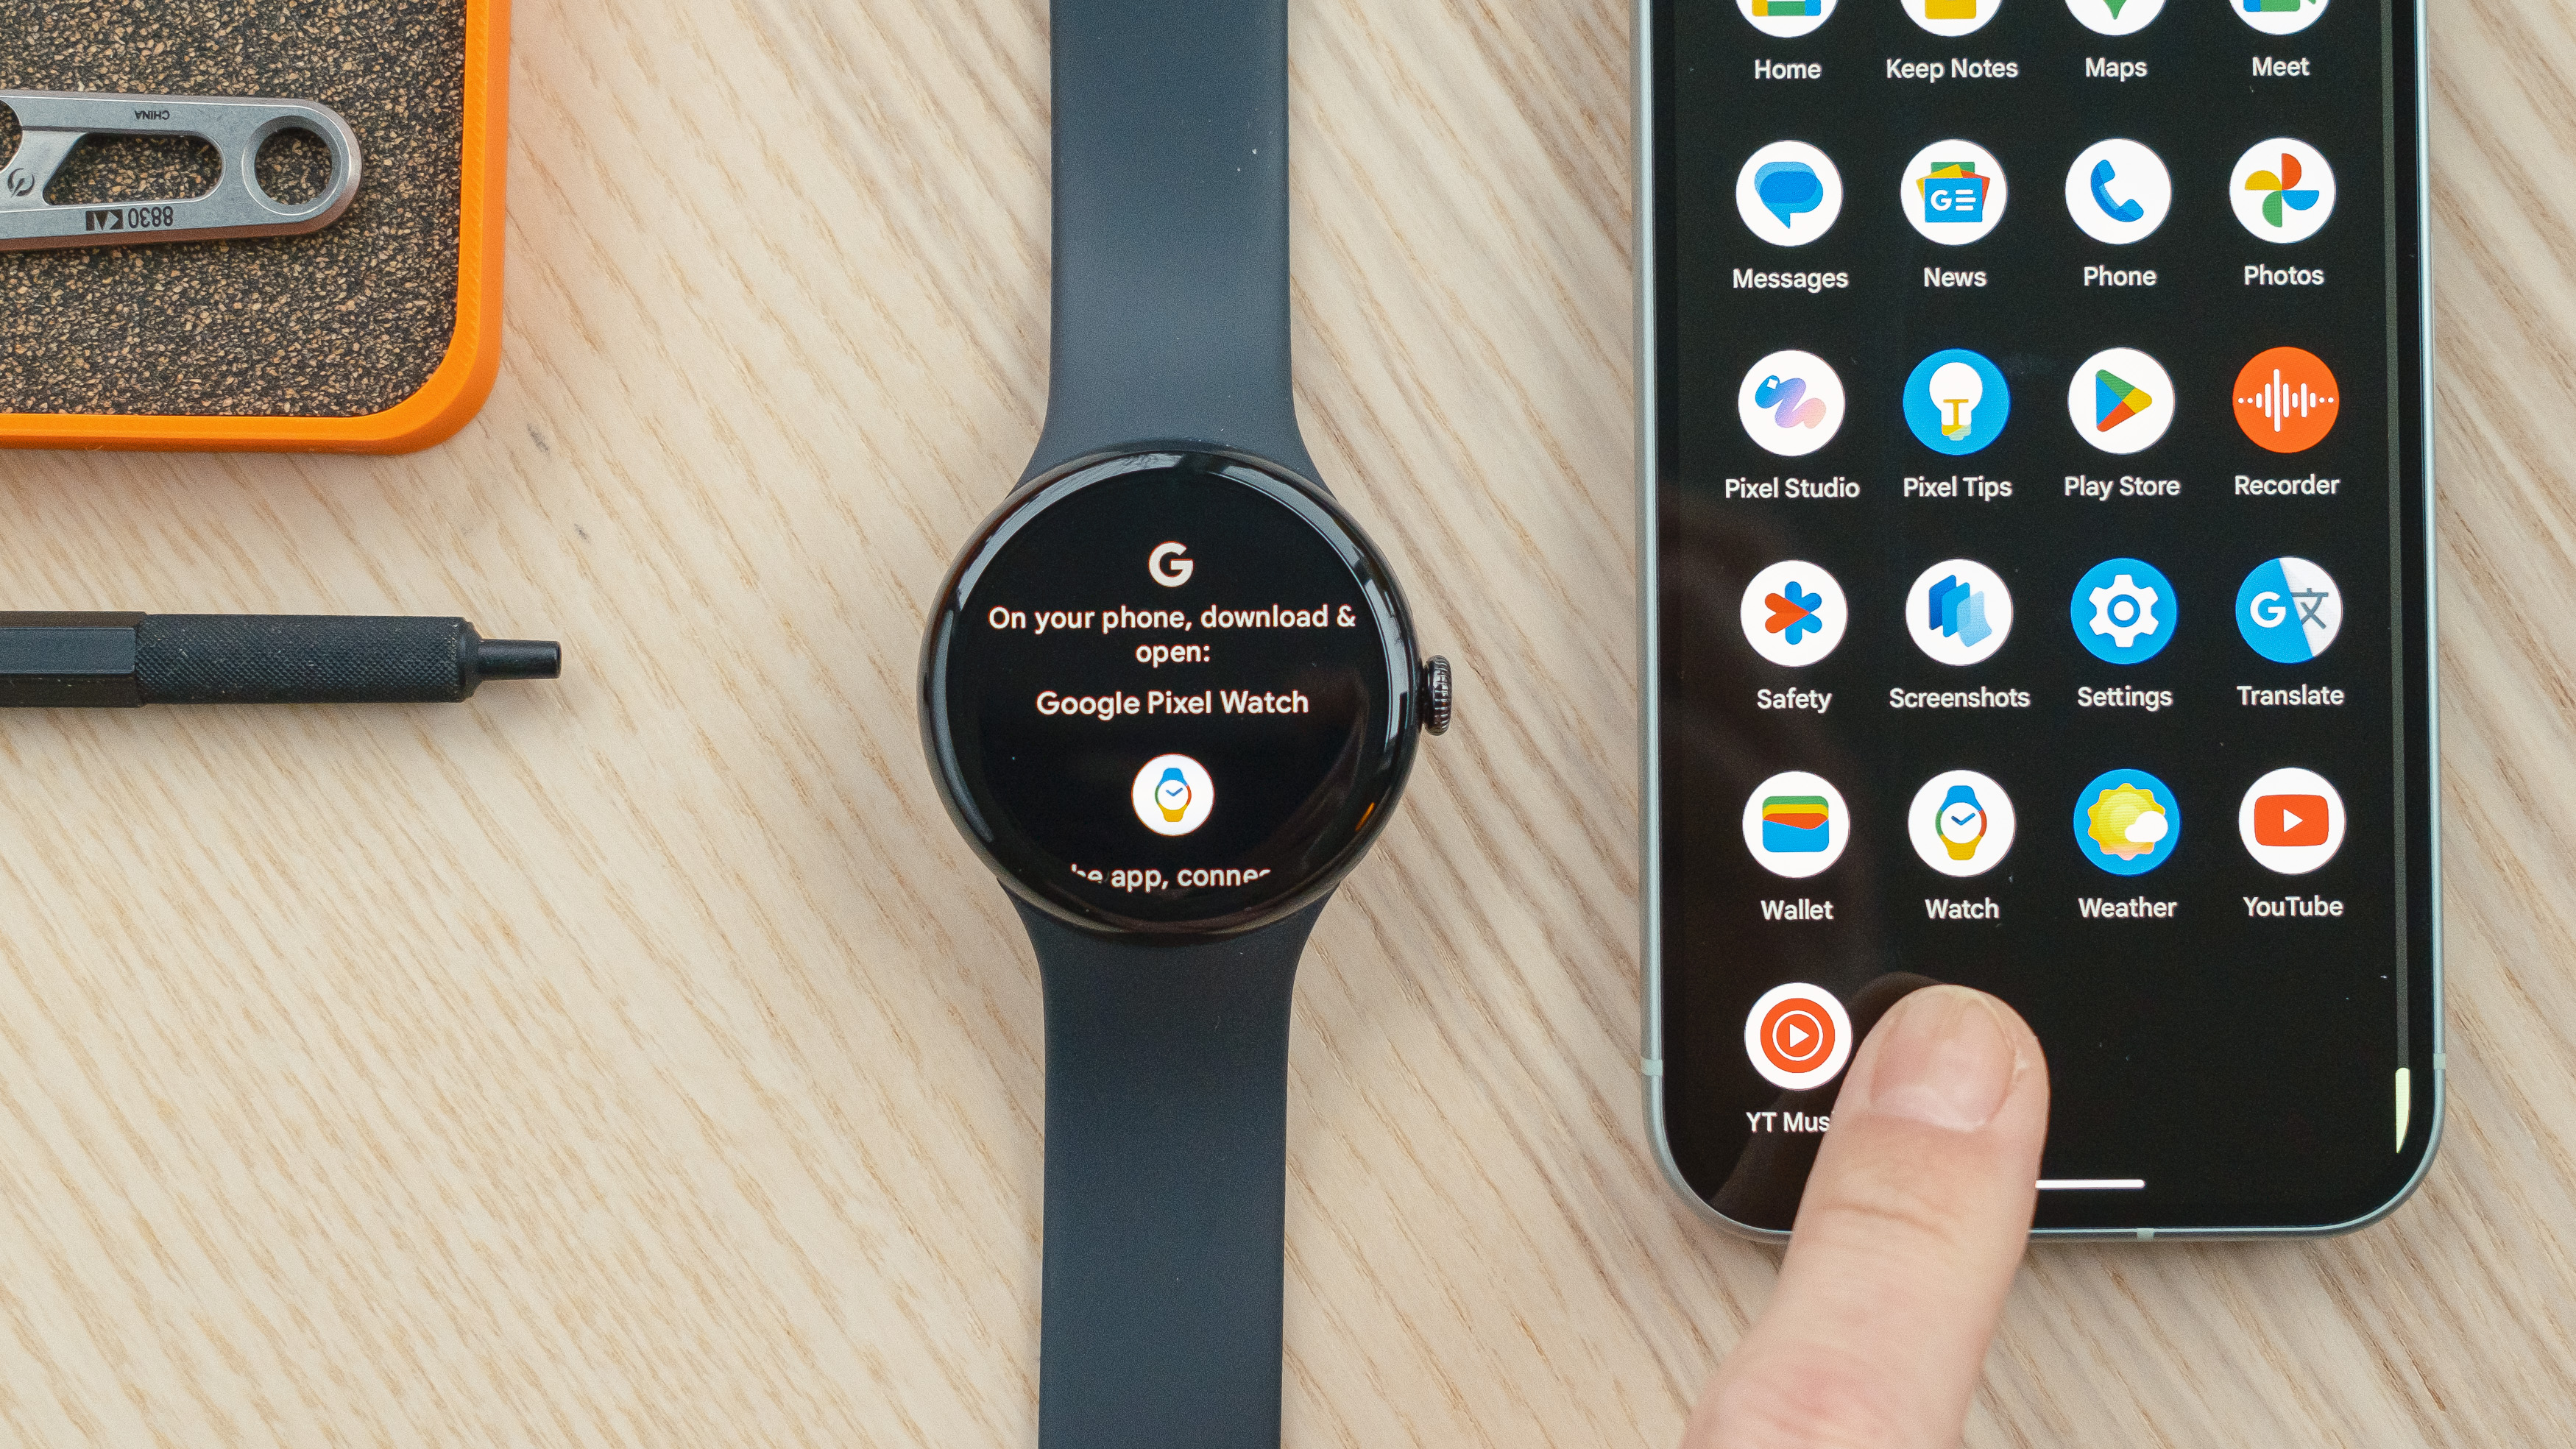
At this point, a message may pop up on your phone’s screen announcing the discovery of a new pairable device. However, if that doesn’t happen, you can alternatively open the Watch app on your phone and select ‘Add watch.’
Your watch should appear on the following screen. However, if it doesn’t, try closing out of the app and restarting. Assuming your watch did pop up, go ahead and tap ‘Pair.’ Next, both devices will display a pin. Make sure the numbers match before continuing.
3. Sign in and set up your Google account
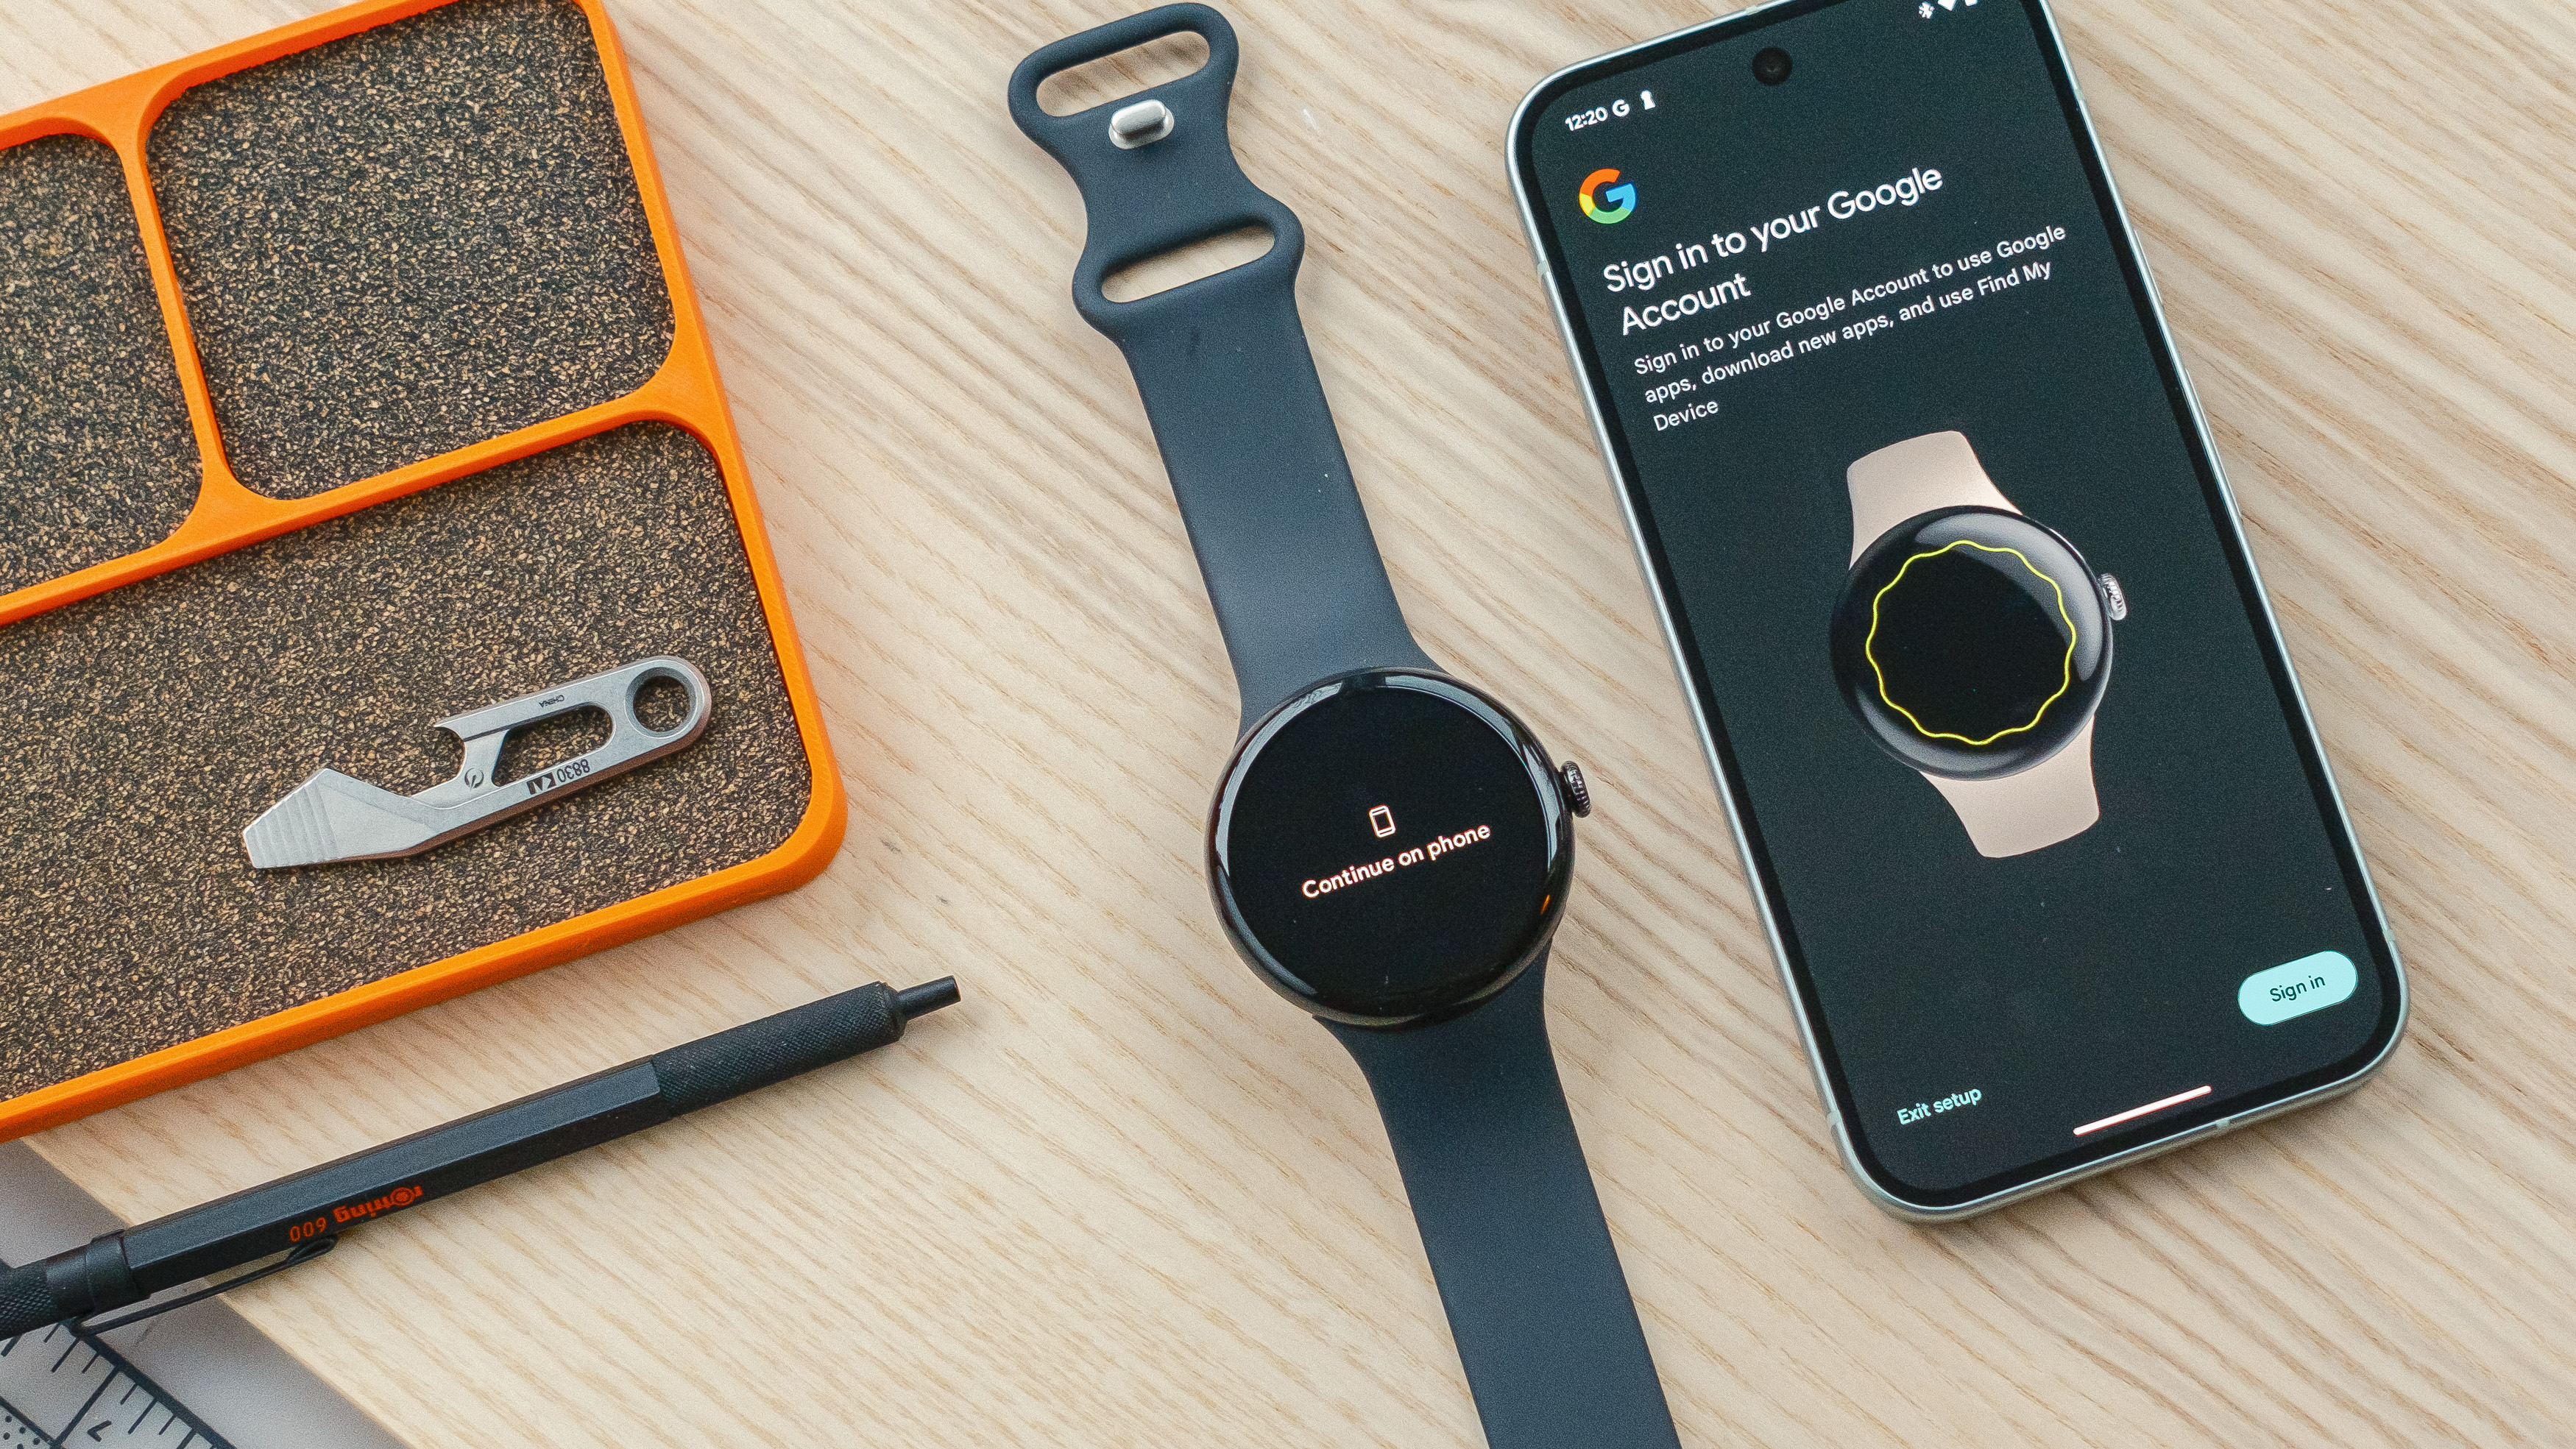
After that, you’ll be prompted to sign into your Google account. Go ahead and enter your account info and choose whether or not you’d like to copy the contents of your Google account — including contacts and apps — over to your smartwatch. I find doing so makes life easier.
Once you agree to Google’s terms of service and accept the warranty info, you’ll be asked if you’d like to restore your smartwatch from a backup. If you’ve never owned a Pixel Watch before, go ahead and move on to the next step.
If you choose to restore from a backup, you’ll be asked to place the watch on its charger before the process can begin. In my case, it took less than a minute to install my backup.
4. Select your wrist and crown orientation preferences
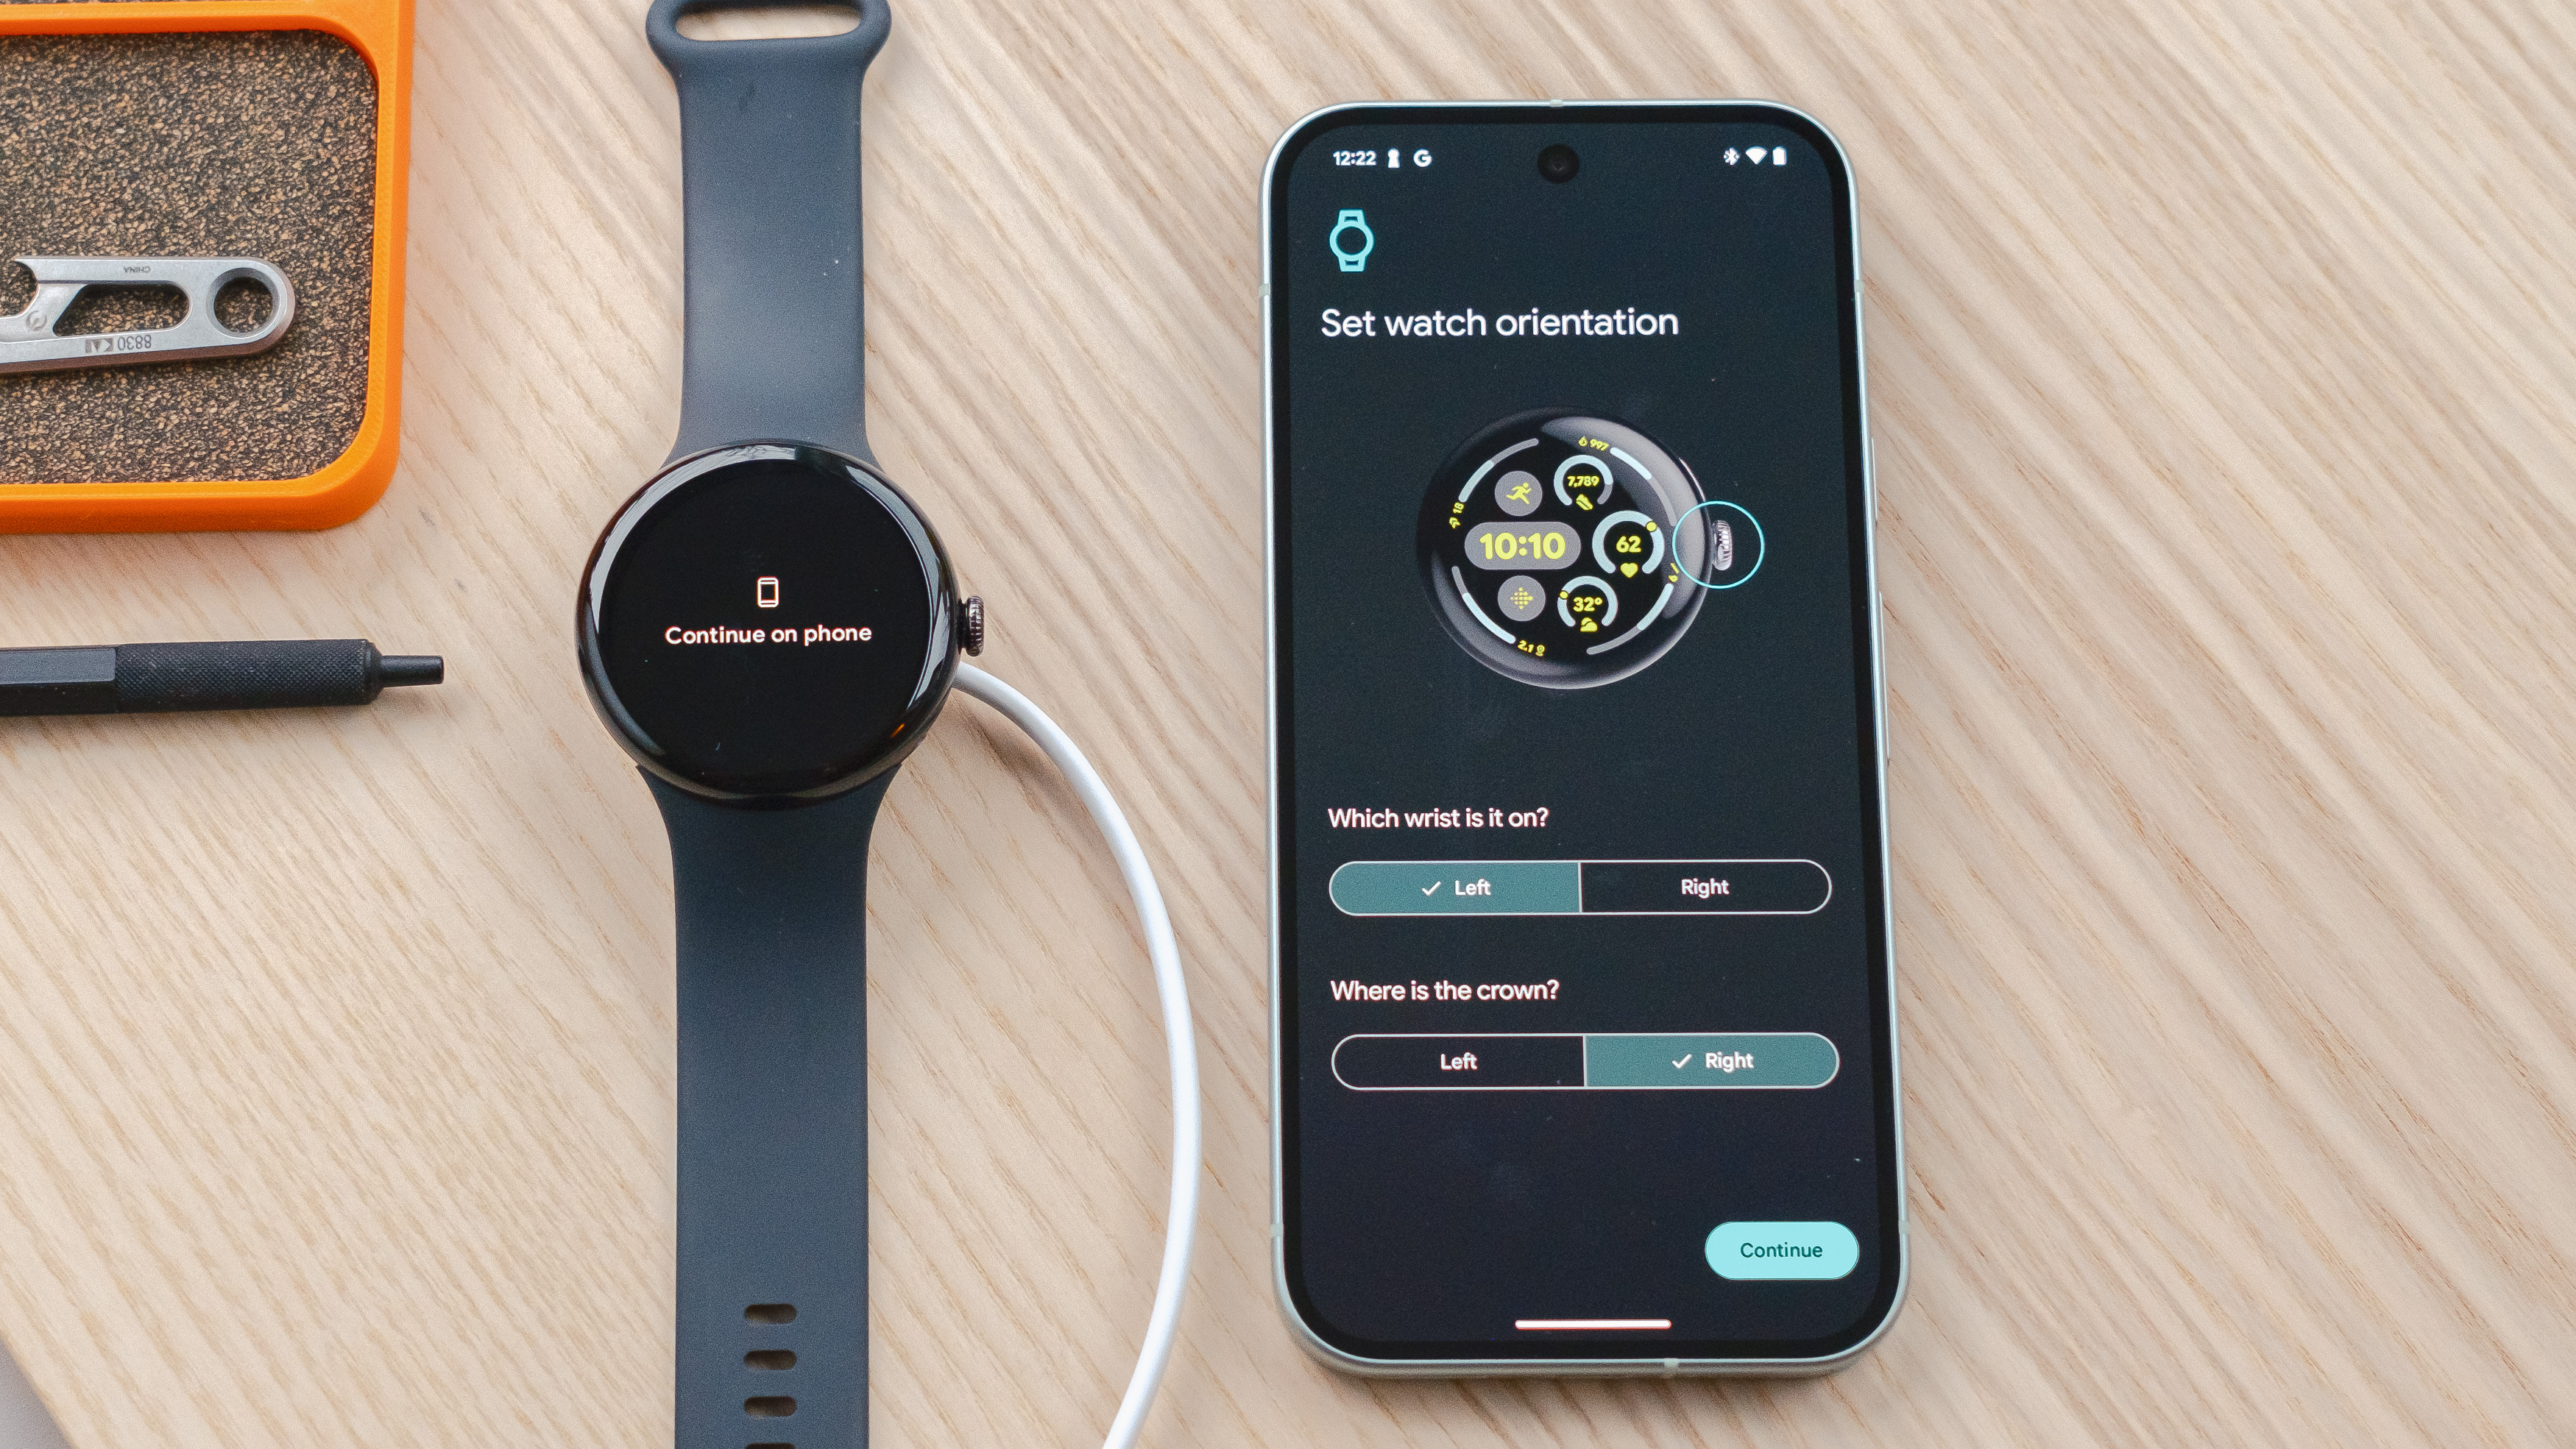
Your new Pixel Watch can be worn in a variety of configurations. Go ahead and choose whether you want to wear it on your left and right wrist and with the crown pointed to the left or right.
5. Setup optional health-tracking features via Fitbit
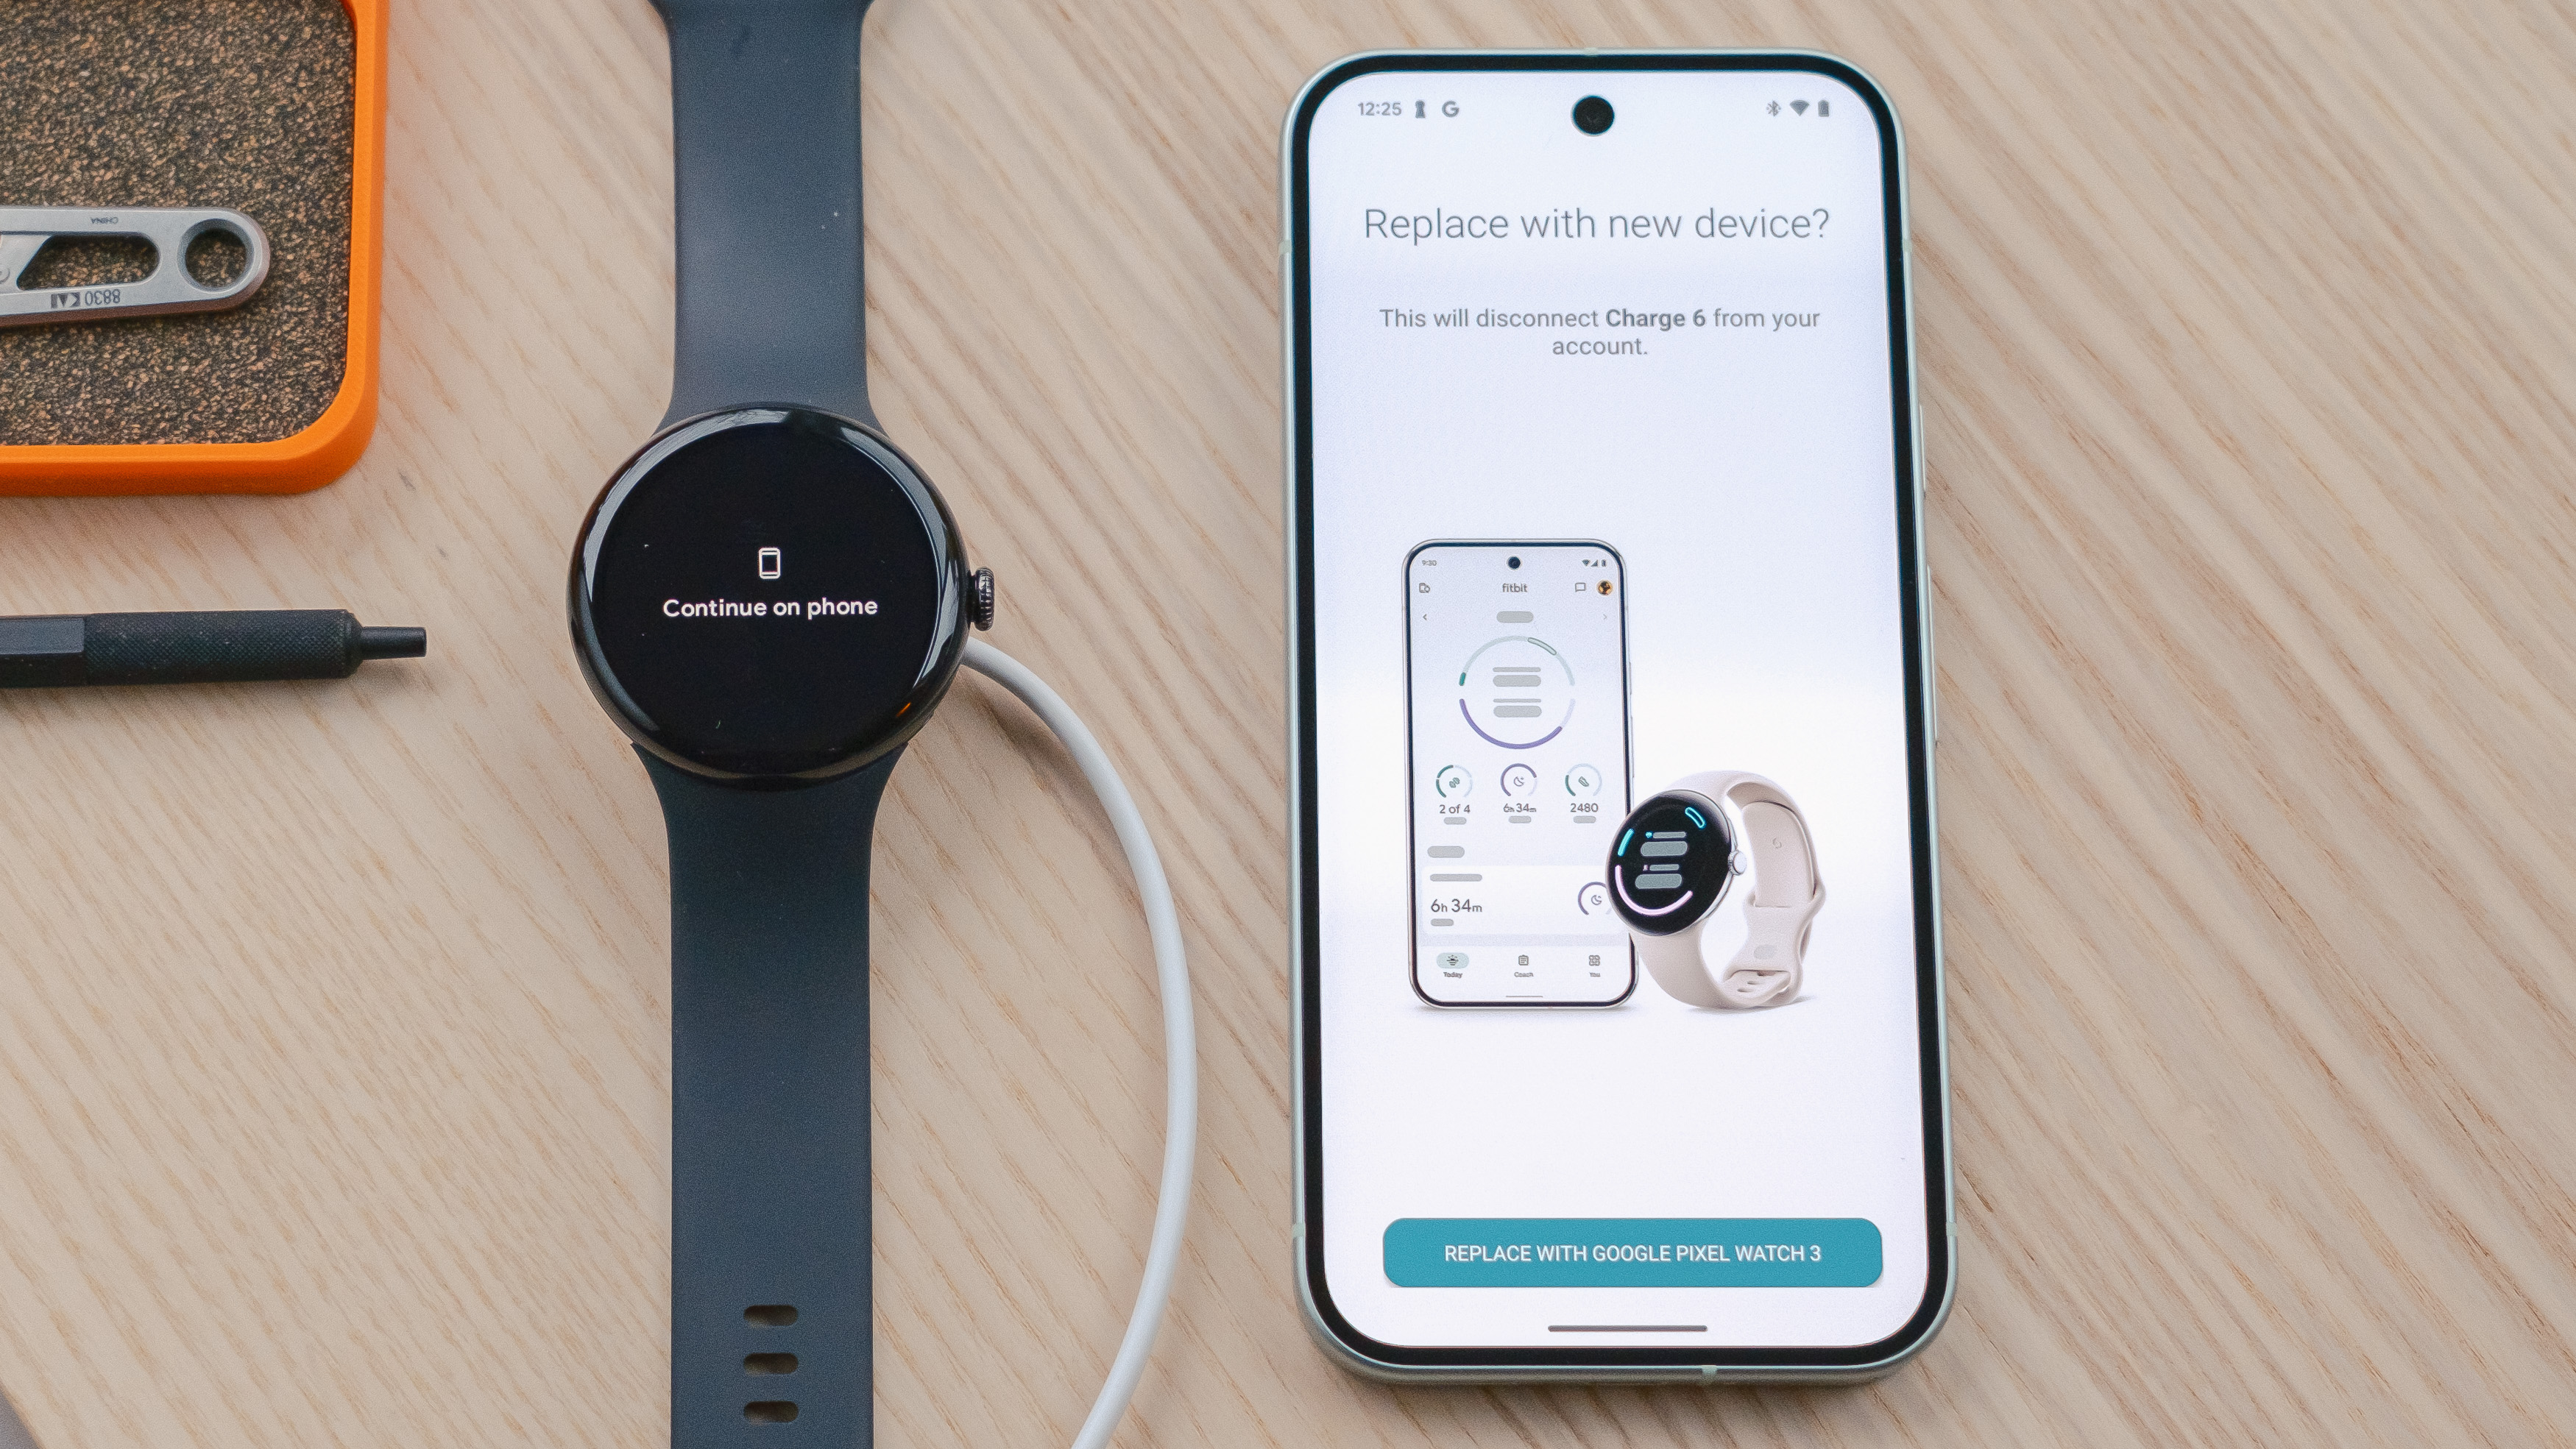
The next few steps are all about health tracking. Click 'Next' to advance through several slides summarizing your new smartwatch’s holistic features until you get to one that asks if you’d like to set up Fitbit now or later. I’d recommend tackling the setup now, however, it does add an extra five to ten minutes to the whole process.
If you choose to set up the health features now, the Fitbit app will automatically open. If you’ve previously or currently own a Google Pixel Watch or Fitbit device, go ahead and confirm that you’d like to make your new smartwatch your primary wearable for tracking. Next, the setup will seemingly freeze up. Don’t panic.
Eventually, Fitbit’s Terms of Service will pop up, asking for your confirmation.
Next, Google will try to sell you a Fitbit Premium subscription. If the answer is no — you can always sign up later — tap the X in the top left of the screen to continue.
6. Setup optional Google Assistant and safety features
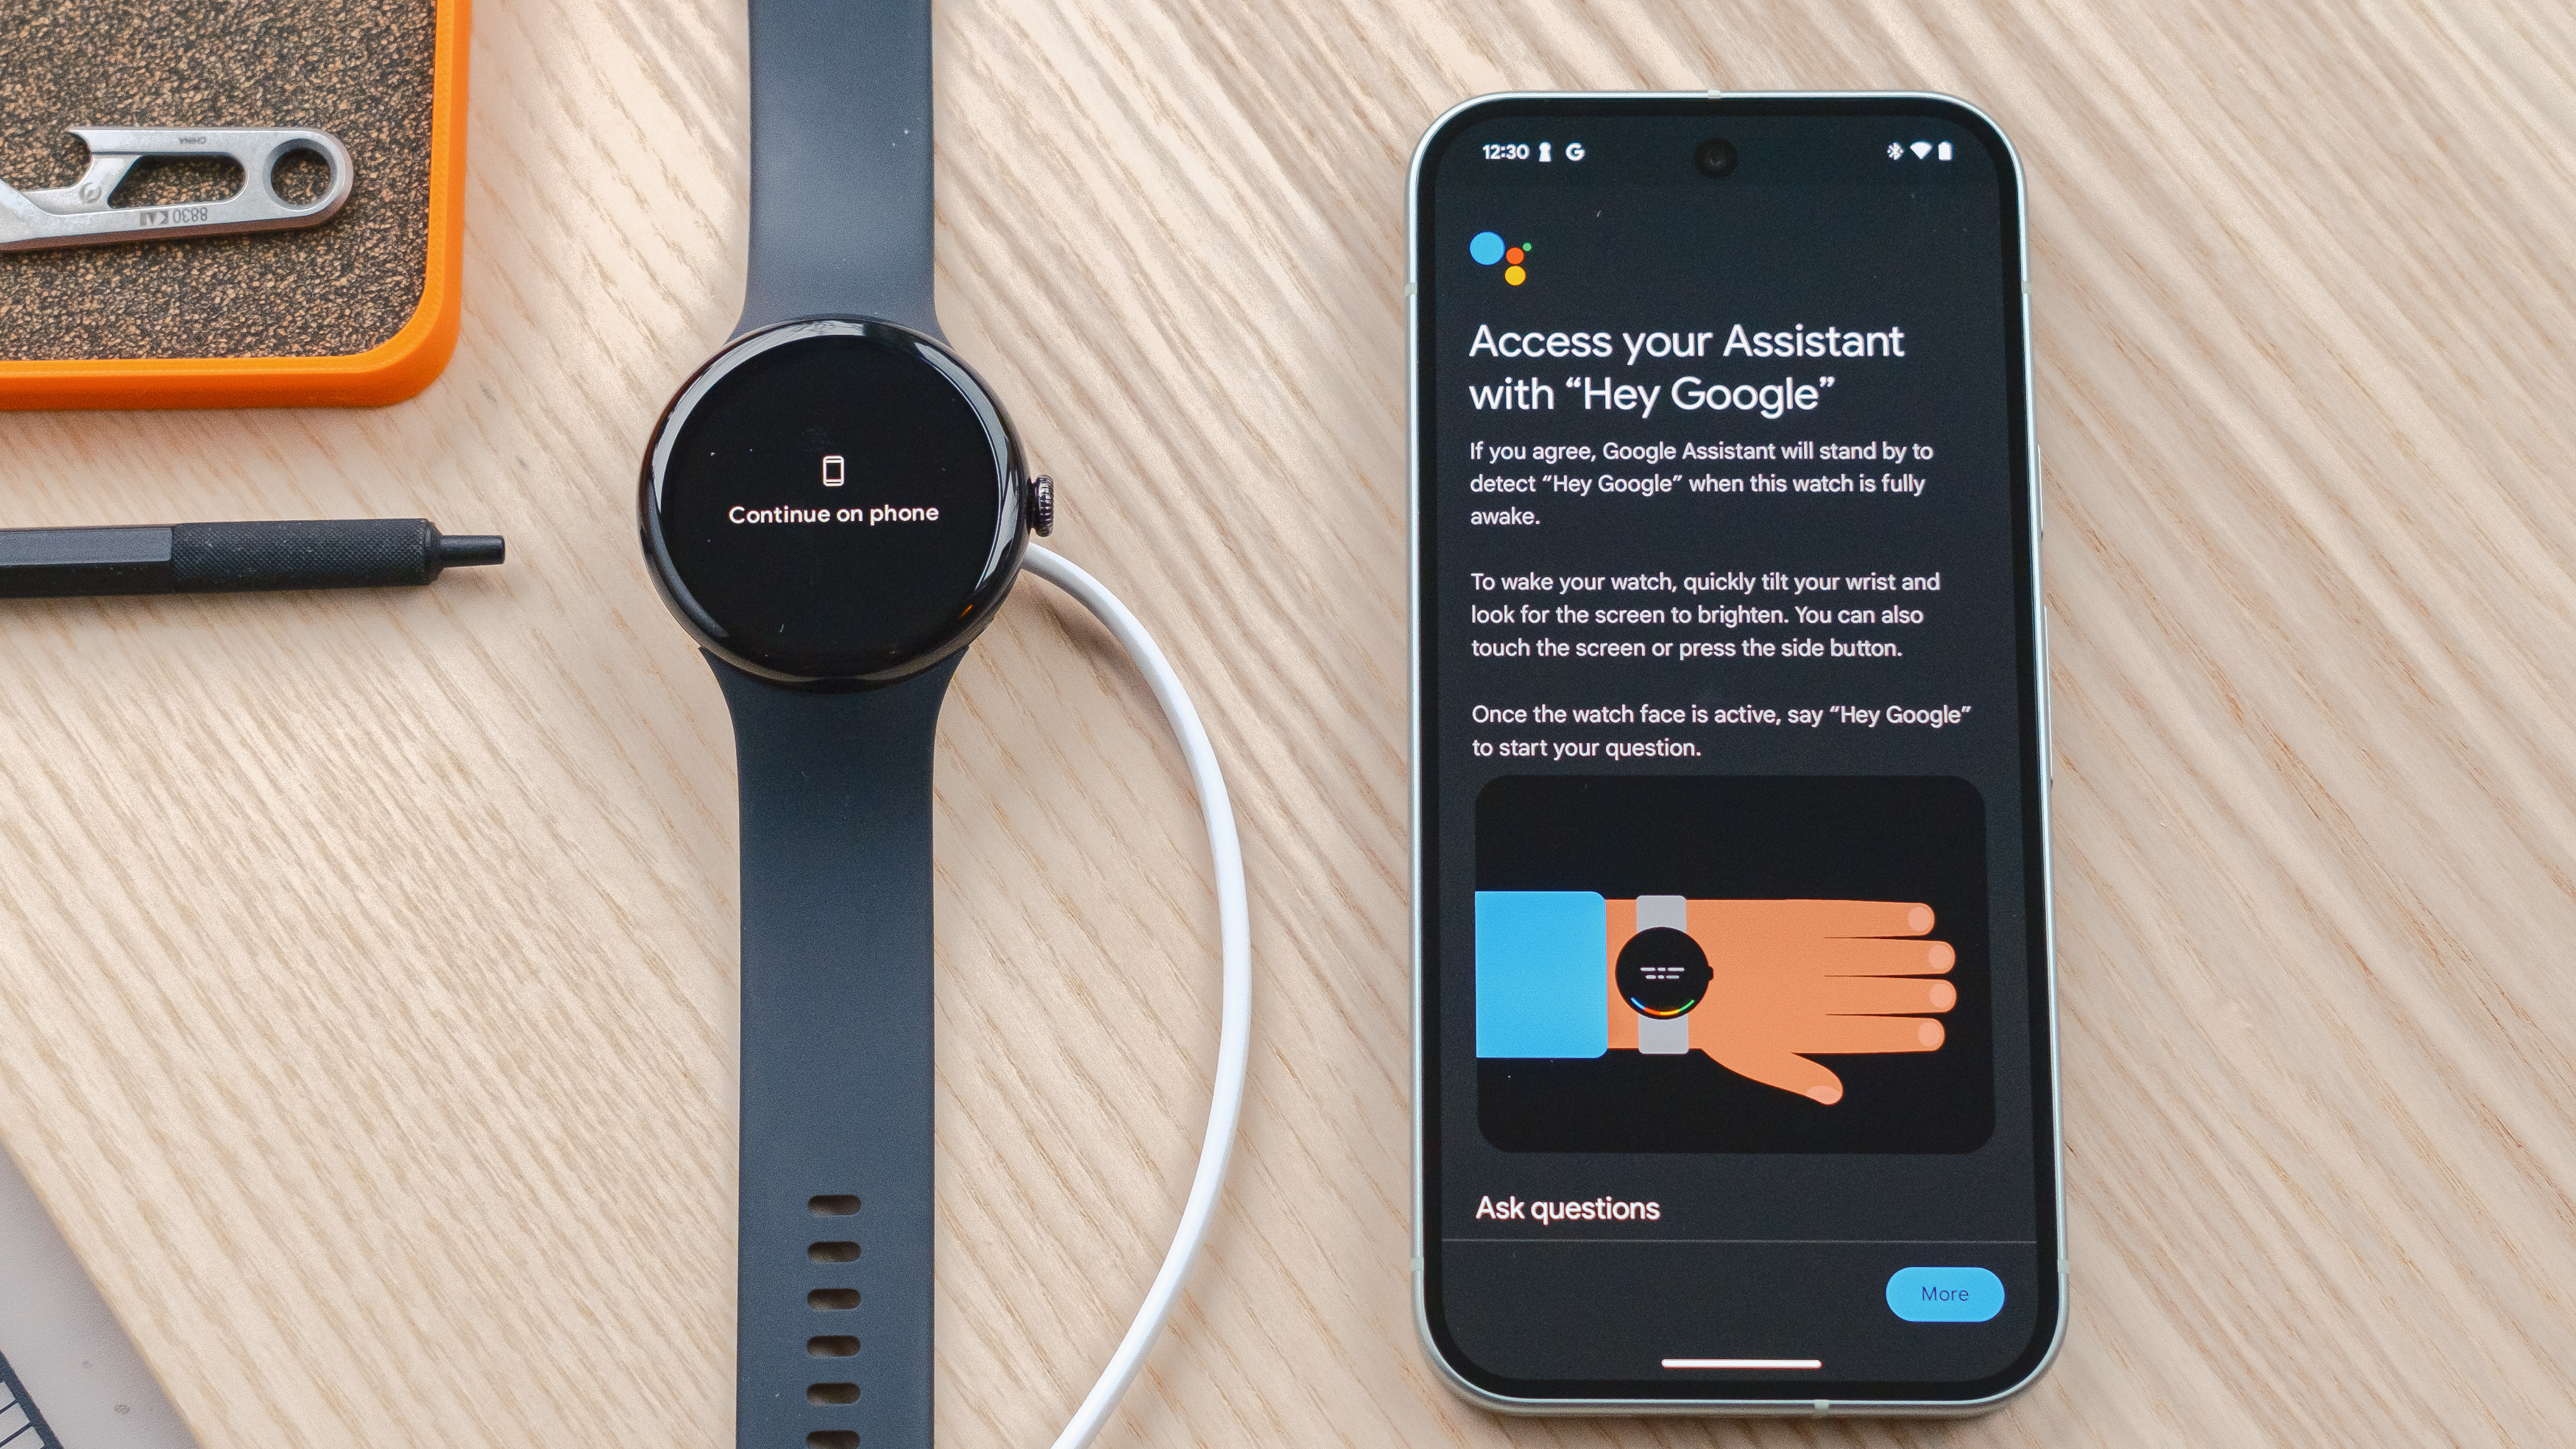
If you’re still with me, good news. We’re nearly done with the process. The Watch app setup has several more rounds of informative slides for you to click through, including ones describing safety features. Go ahead and tap 'More' and 'Next" to advance through.
The next step involves programming Google Assistant to recognize your voice. You can skip this one if inclined but it’s a pretty handy feature. To program it, simply follow the audio prompts presented; there are about five and the process takes less than thirty seconds. Once done, click ’next.’
If you’d like your smartwatch to remain locked when not in use, you can set a screen unlock pin or pattern at this junction by selecting which and following the on-screen prompts. However, if such security measures tend to slow you down/annoy you, you can always skip this step.
7. Setup Google Wallet (or not) and choose your apps
The penultimate step is to add an optional credit card or other means of payment to the Pixel Watch’s virtual wallet. This is one I tend to skip until later but if you do decide to add a credit or debit card, the process takes less than thirty seconds and involves just a few steps. You can also add other things, later, like transit passes.
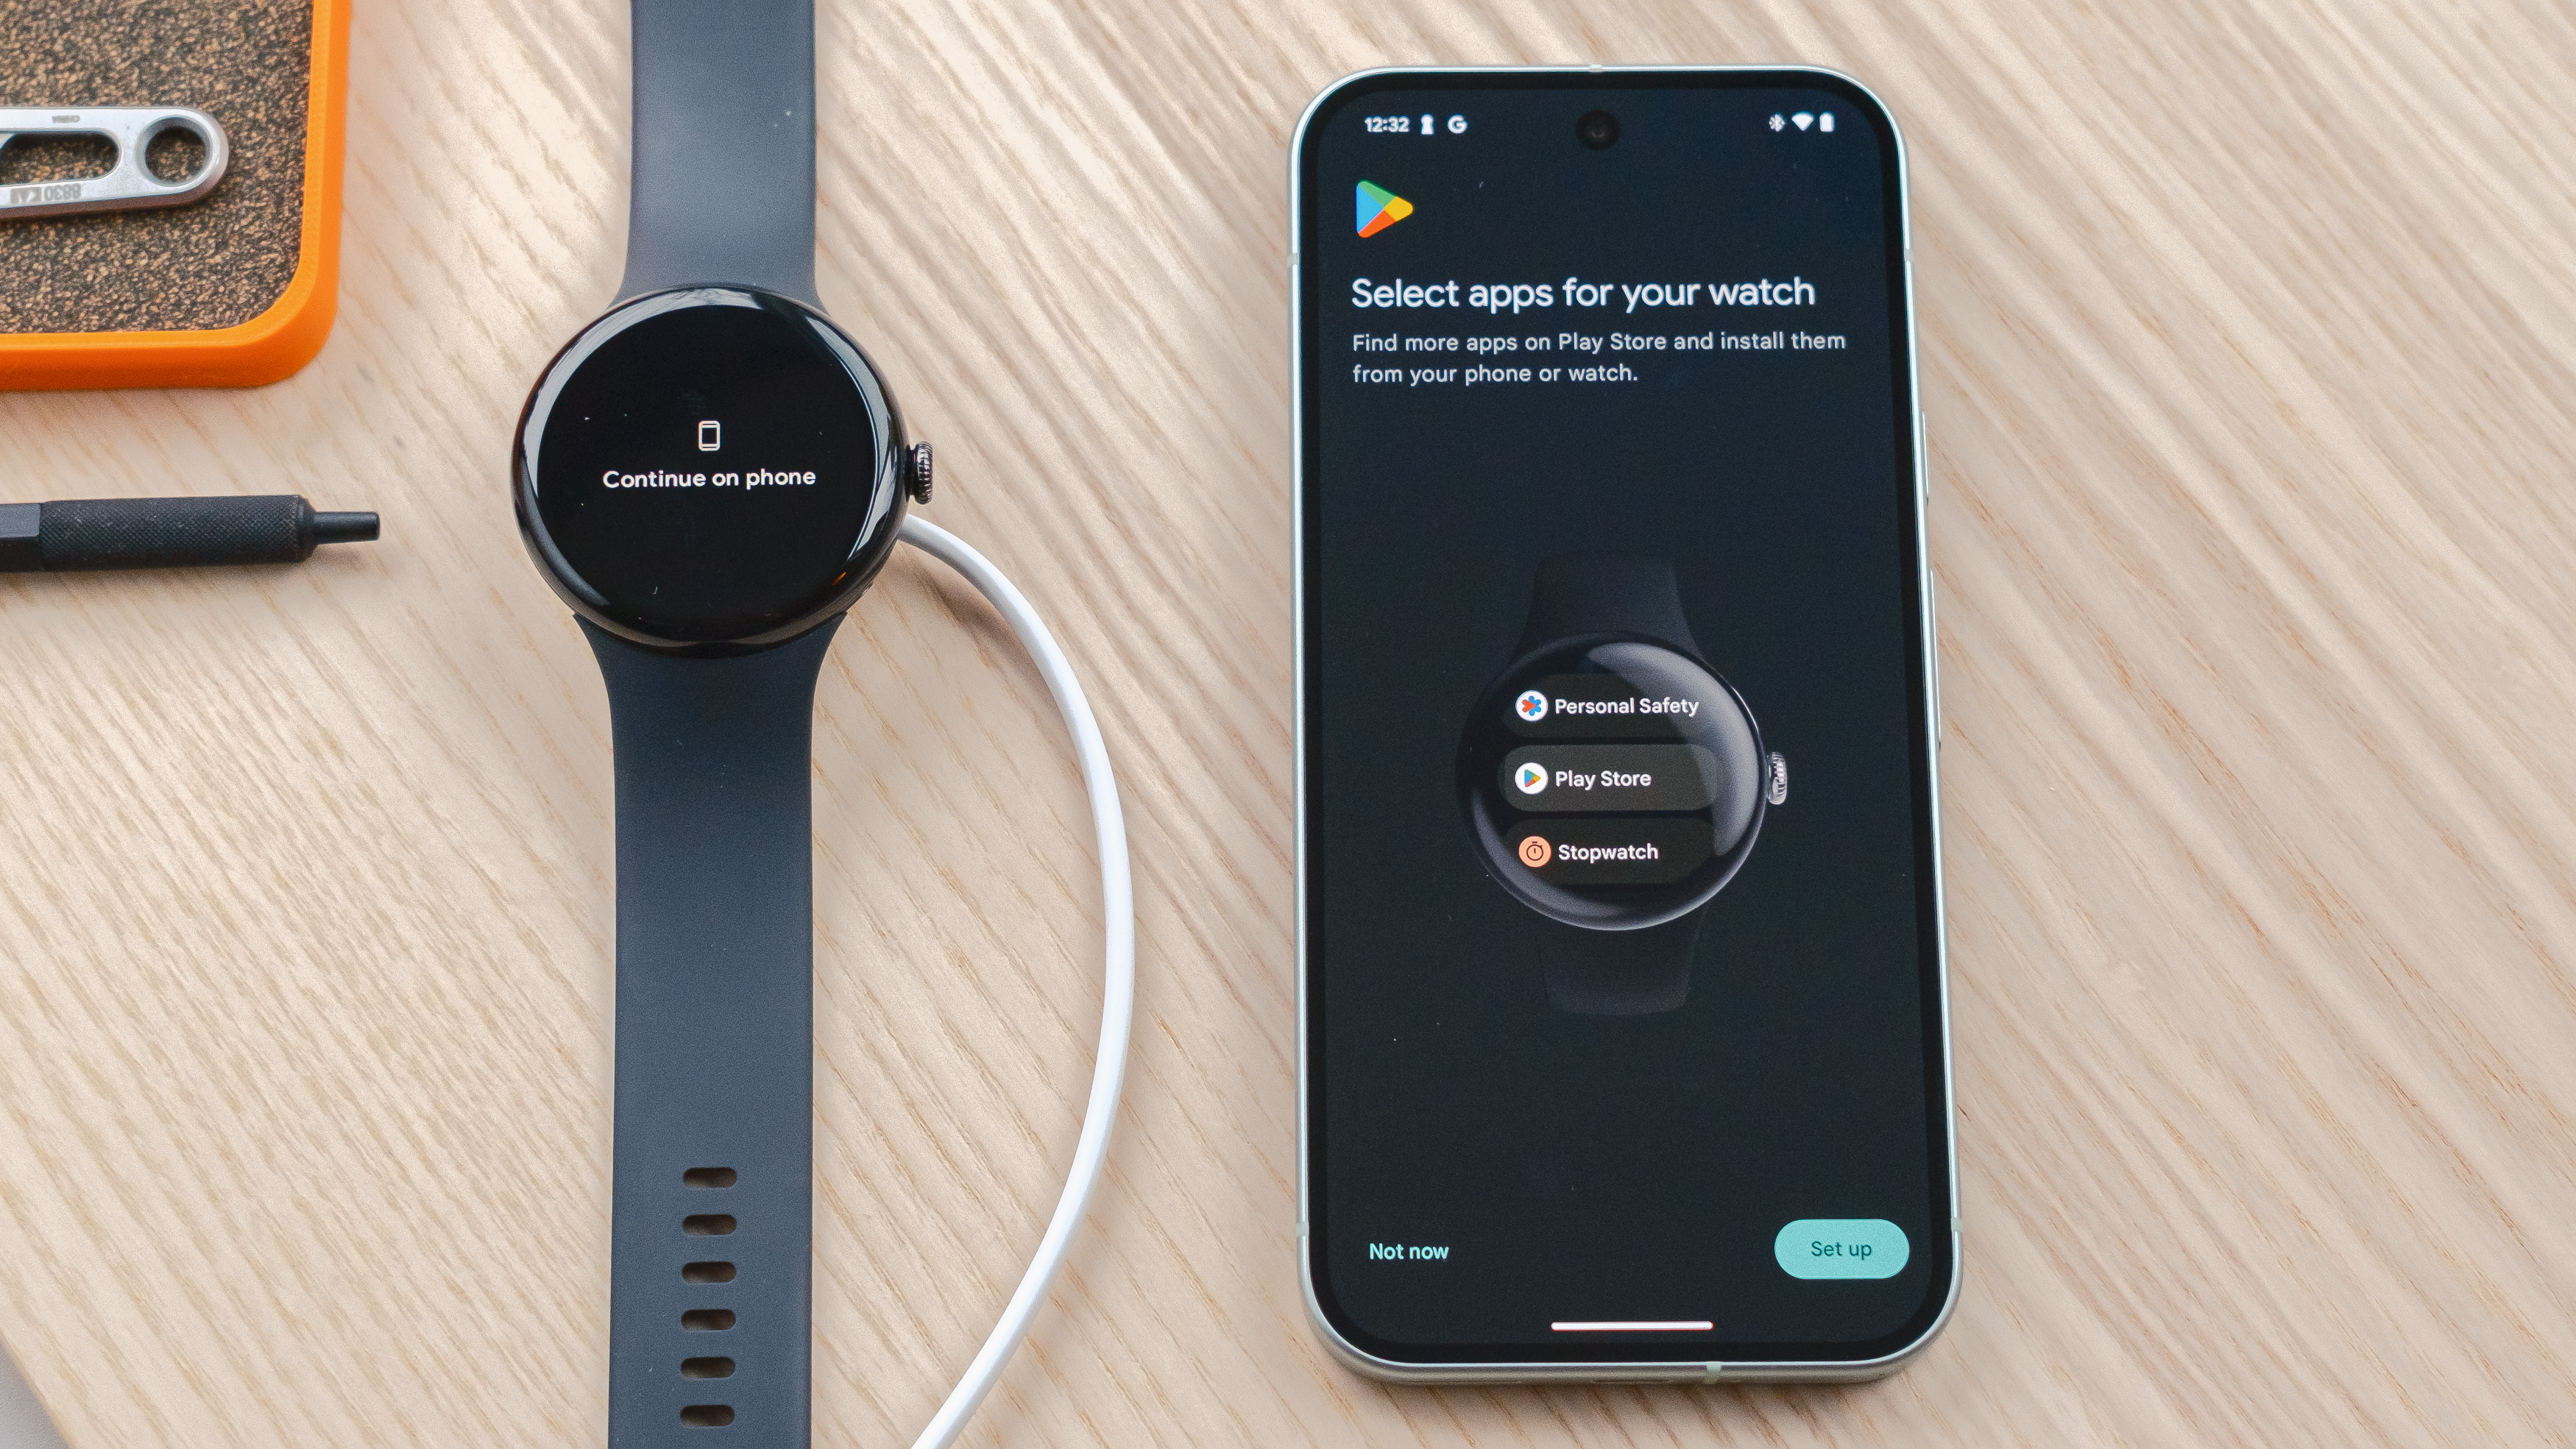
Finally, your new Pixel Watch will ask you to choose which apps should be preloaded on the device. This is another one you can skip until later if you like or don't know, however, I find it’s nice to have my go-to’s like Spotify and YouTube Music ready to roll out of the gate.
Once you’ve made your preloaded app selection, the watch will take several extra minutes to install everything and tidy itself up before you’ll see a note announcing the setup's success!
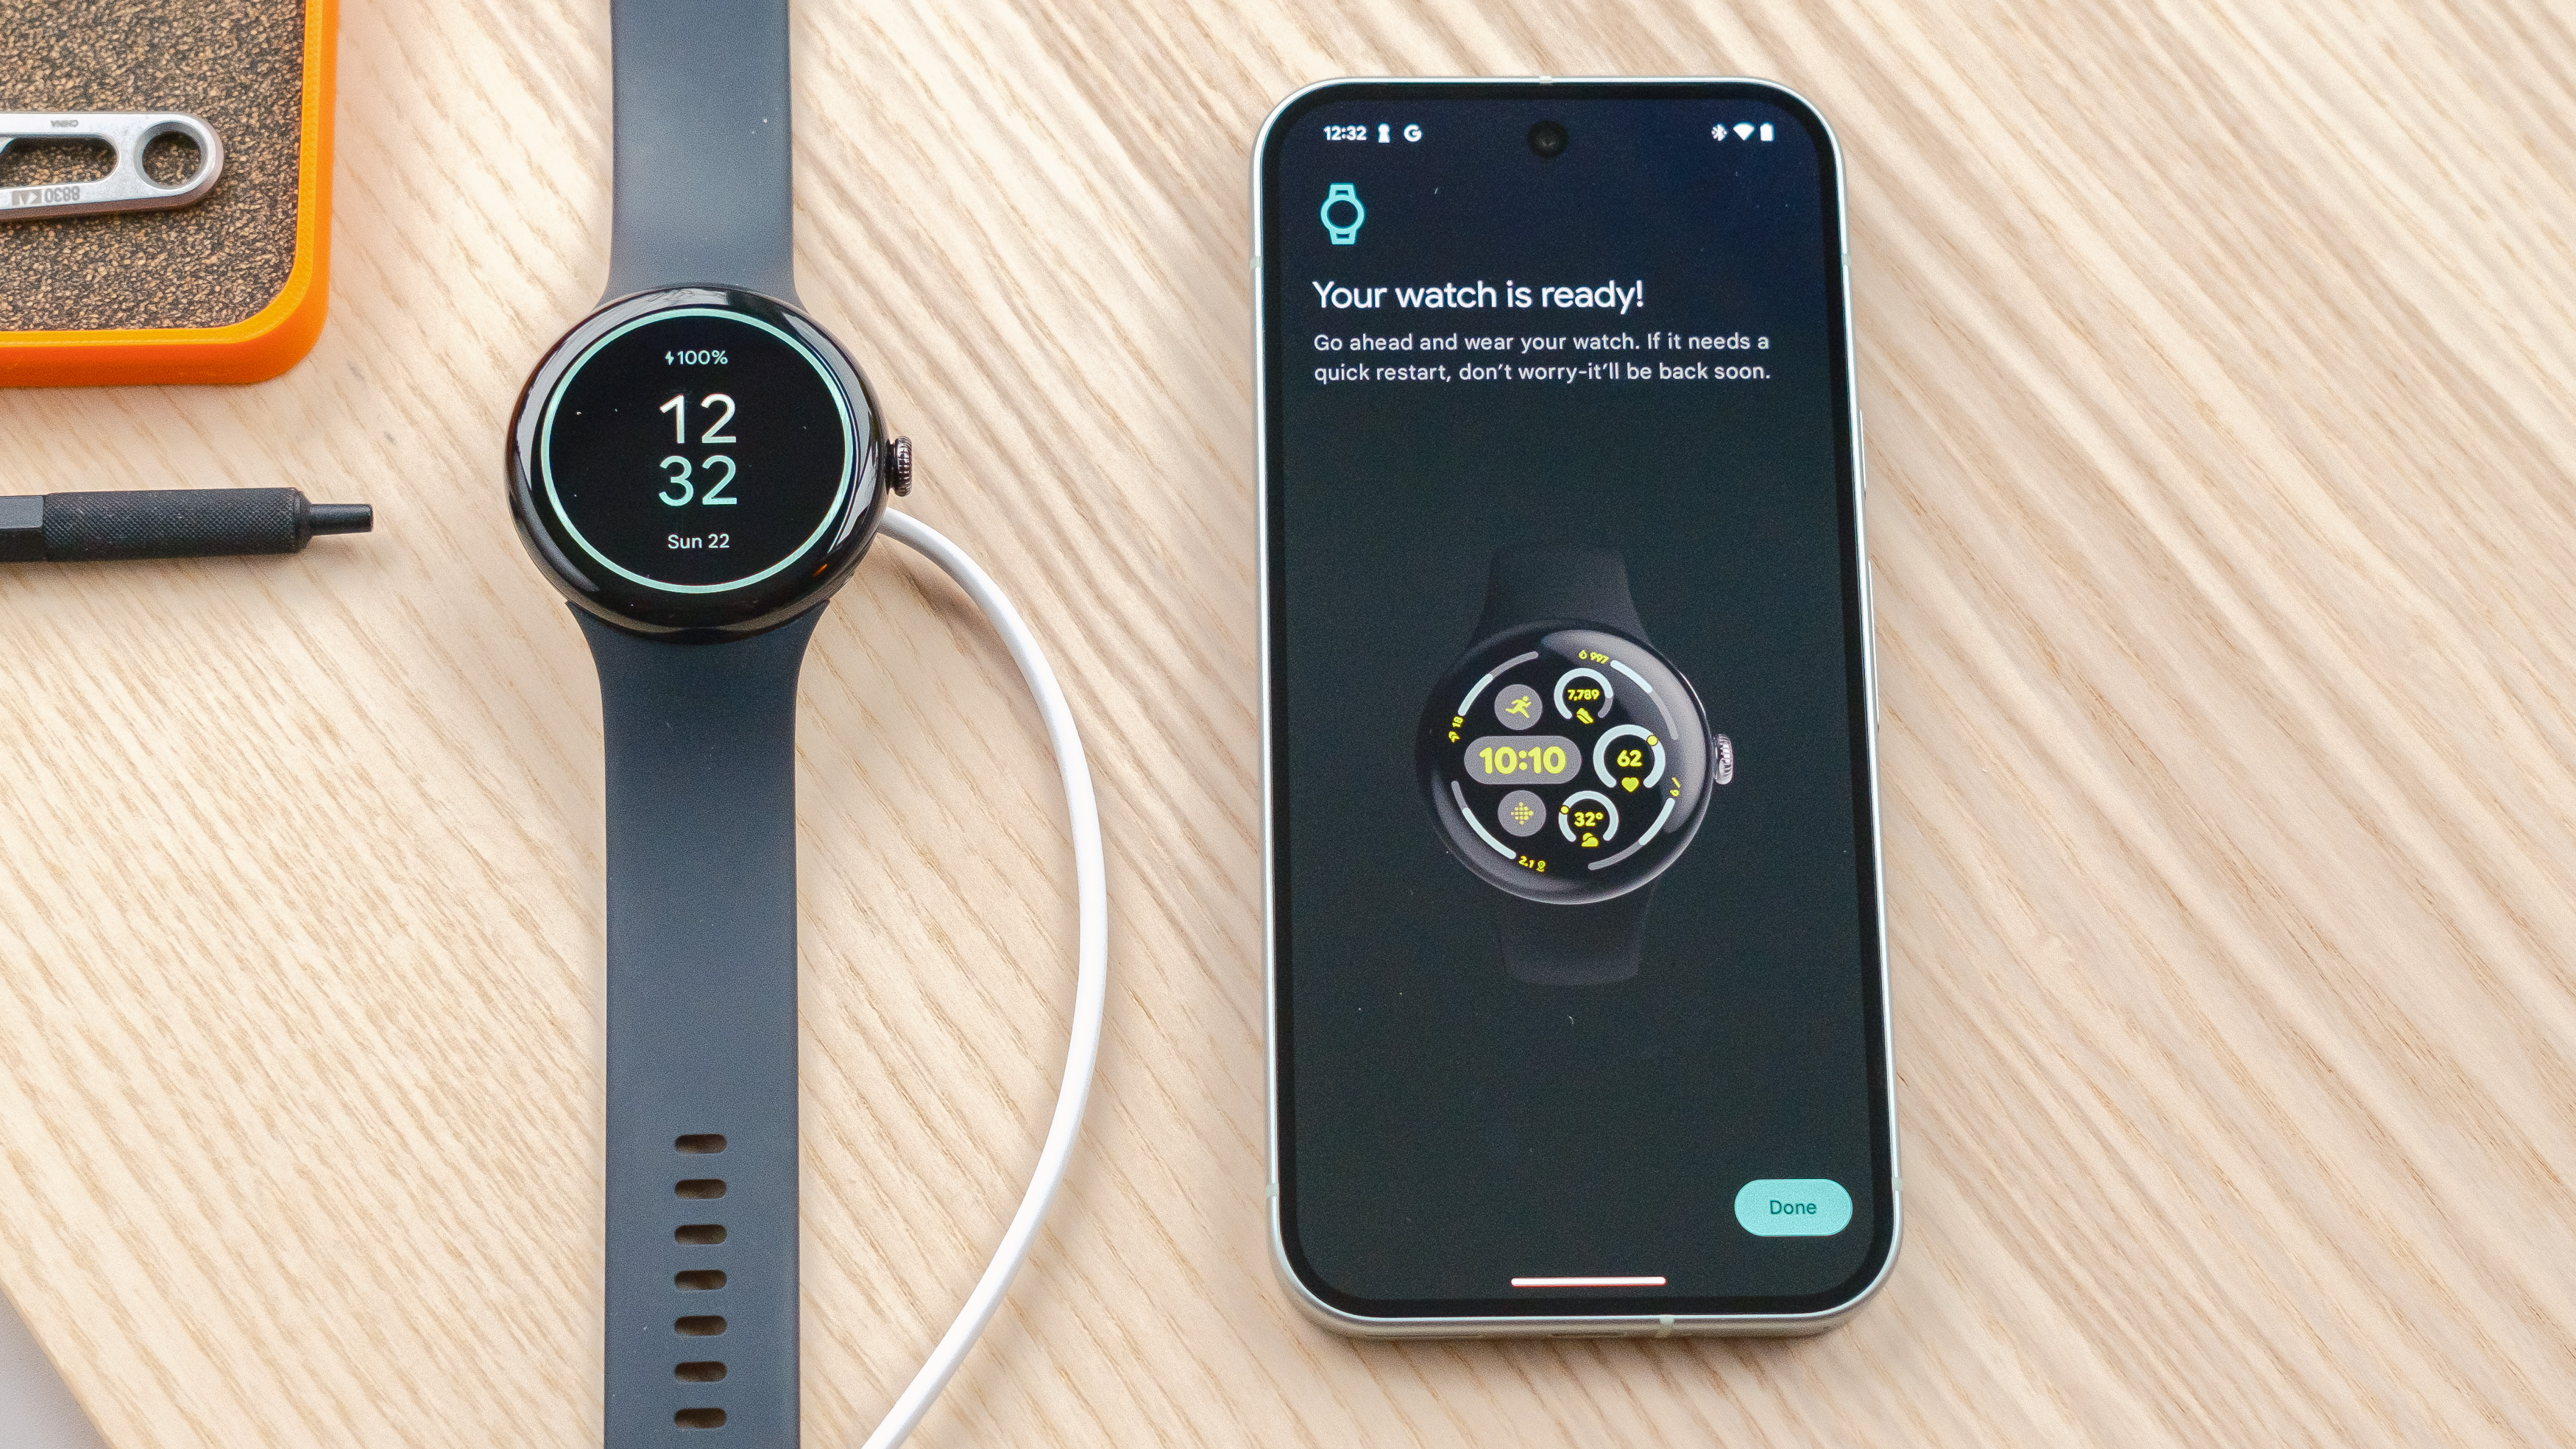
And that’s it! You’ve successfully set up your new Google Pixel Watch like a pro. Now you’re ready to try out all its cool holistic, safety, entertainment, workout and connectivity features.
Once on the wrist, you’ll be presented with a quick navigational demo before being prompted to set up the above-mentioned safety features, including crash detection, loss of pulse detection and more. Read more on the Google Pixel Watch safety features here.
All in all, expect this entire process to take anywhere from thirty minutes — which was my experience — to an hour.


