Kiosk mode on Windows 11 is a long-standing feature that transforms a standard device into a single-purpose machine, running only one application. This feature is often used to set up a computer as a kiosk for guests to access the internet, complete forms, or display content like product demos or business promotions.
Regardless of the scenario, Kiosk mode automatically signs the user in and launches a single app in full-screen mode, using a restricted user account. This ensures that no one can access the desktop, change settings, or switch to another app.
In this how-to guide, I'll show you how to enable, configure, and disable Kiosk mode on your device.
How to enable Kiosk mode on Windows 11
To enable Kiosk mode on Windows 11, use these steps:
- Open Settings.
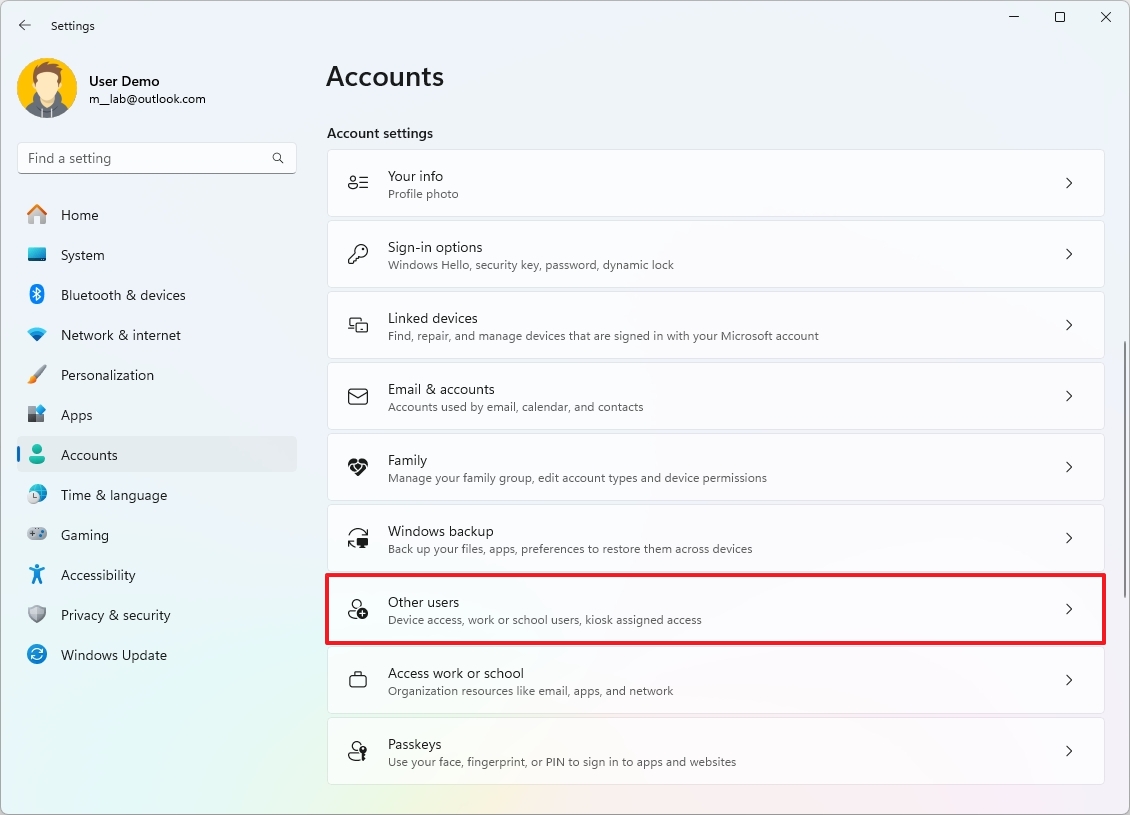
- Click on Accounts.
- Click the Other users page on the right side.
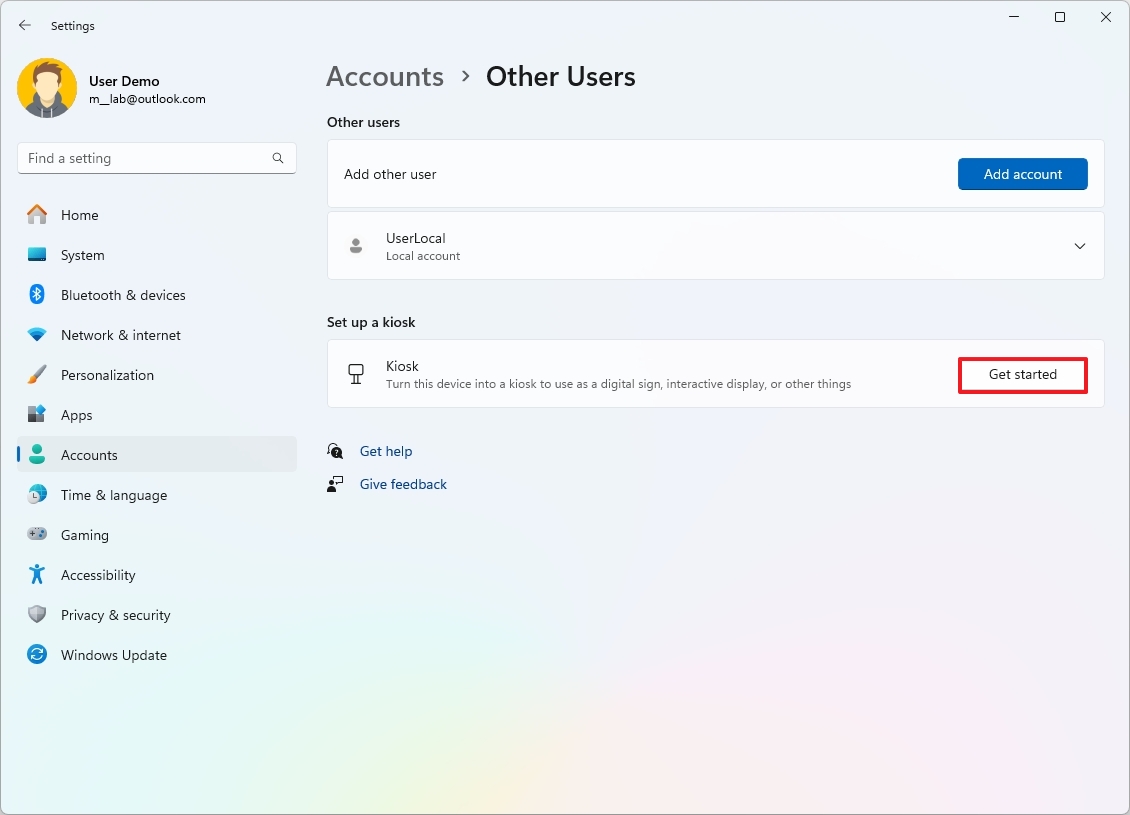
- Click the Get started button under the "Set up a kiosk" section.
- Add a name to create a Kiosk profile. For example, office_kiosk.
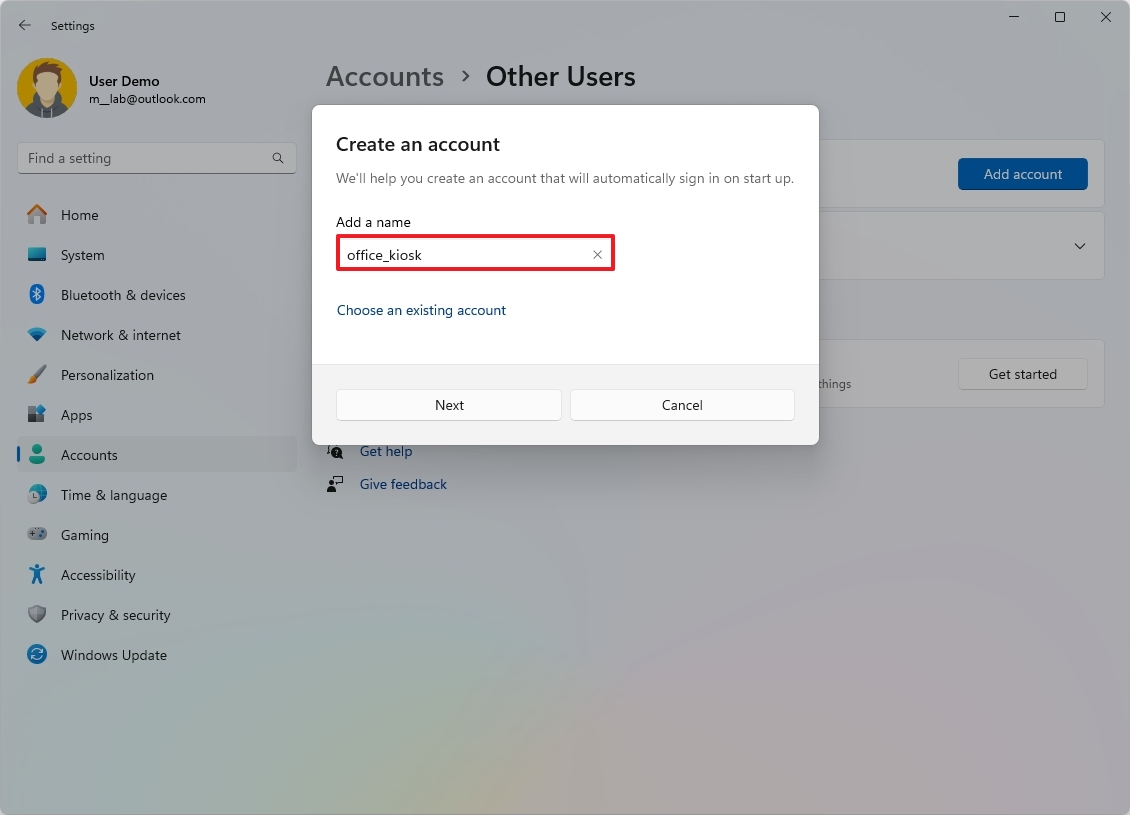
- Click the Next button.
- Select the app to load in Kiosk mode.
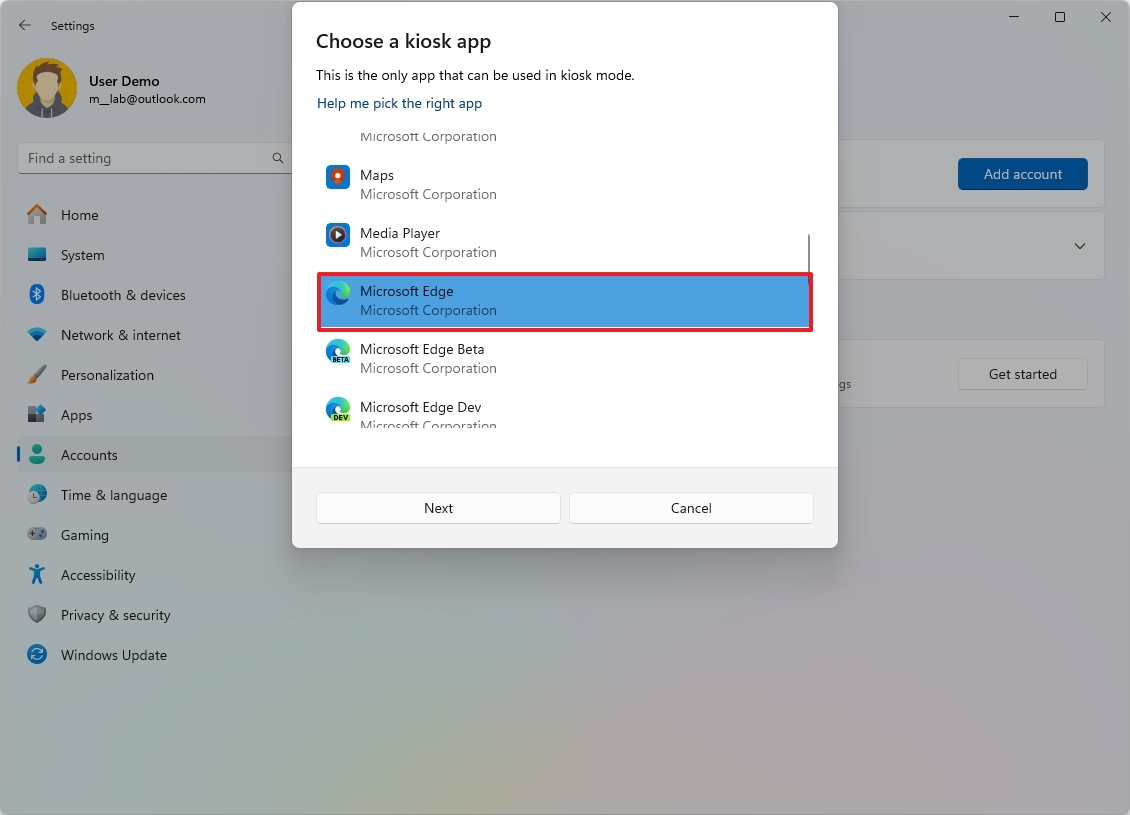
- Click the Next button.
- Choose how the app will run (if applicable).
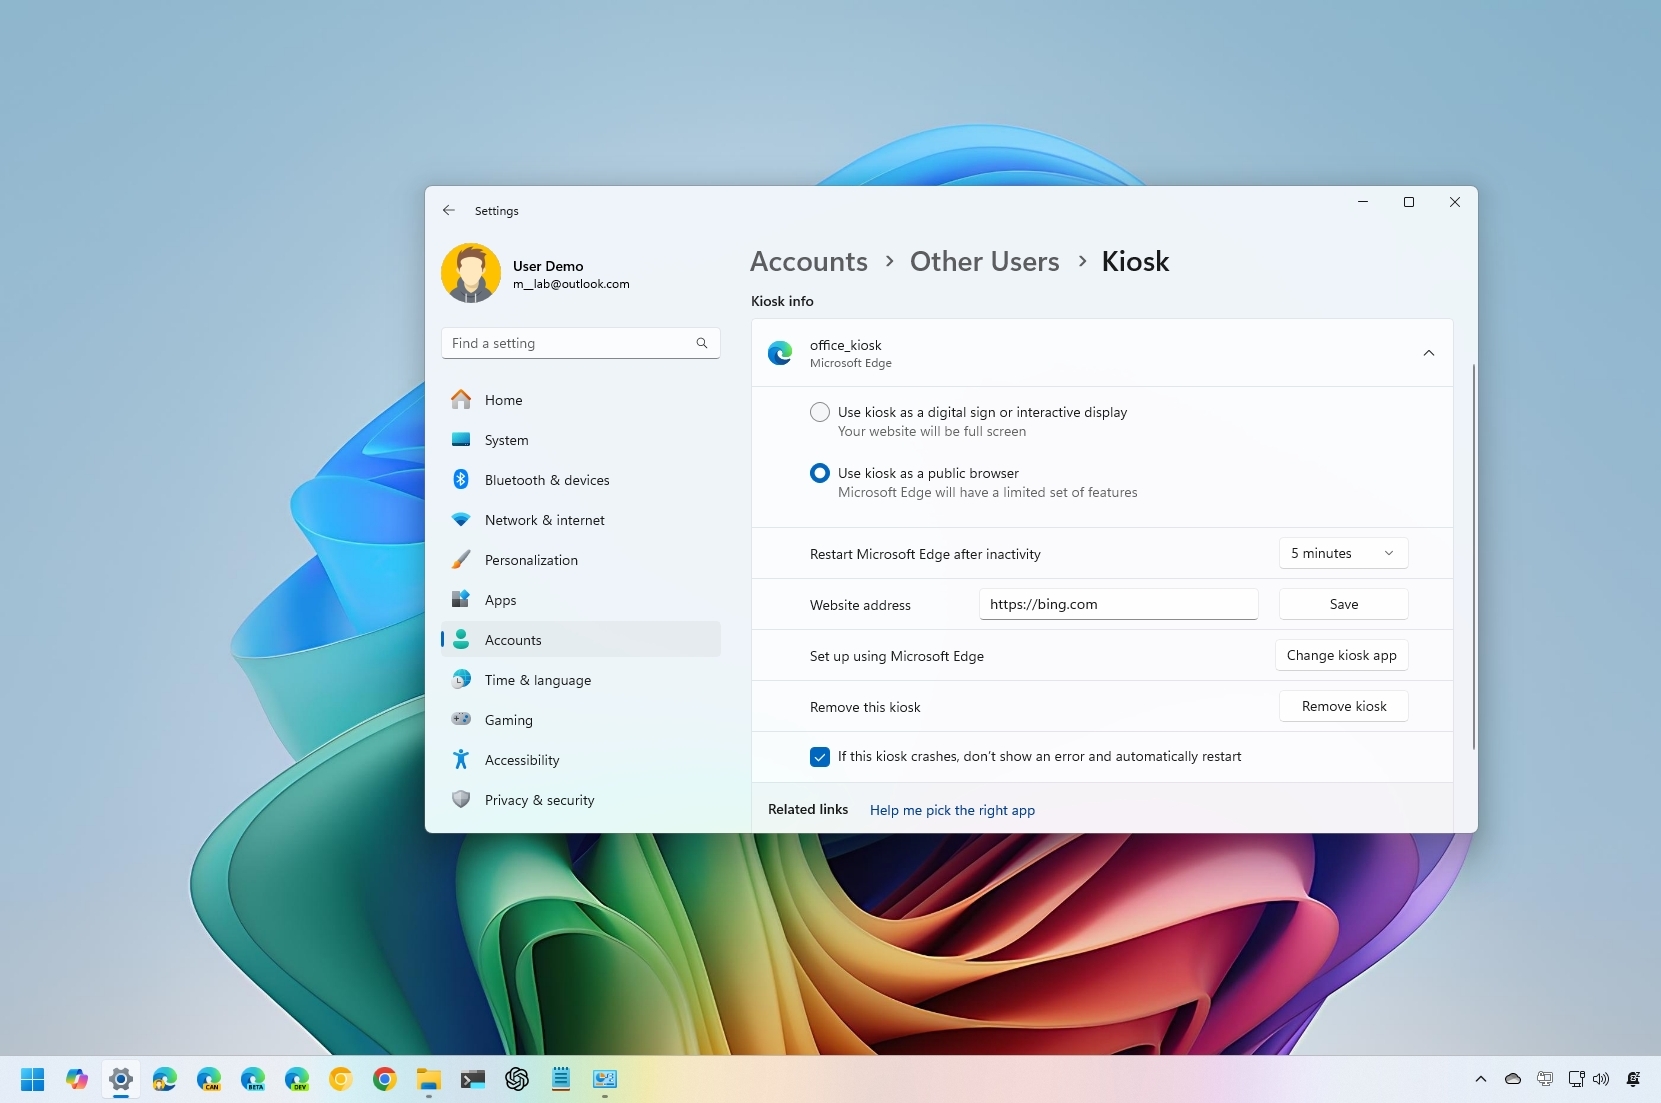
- Quick note: This setting will differ depending on the app. In this case, I'm selecting the "As a public browser" option because I'm setting up a computer that will be used to browse the internet.
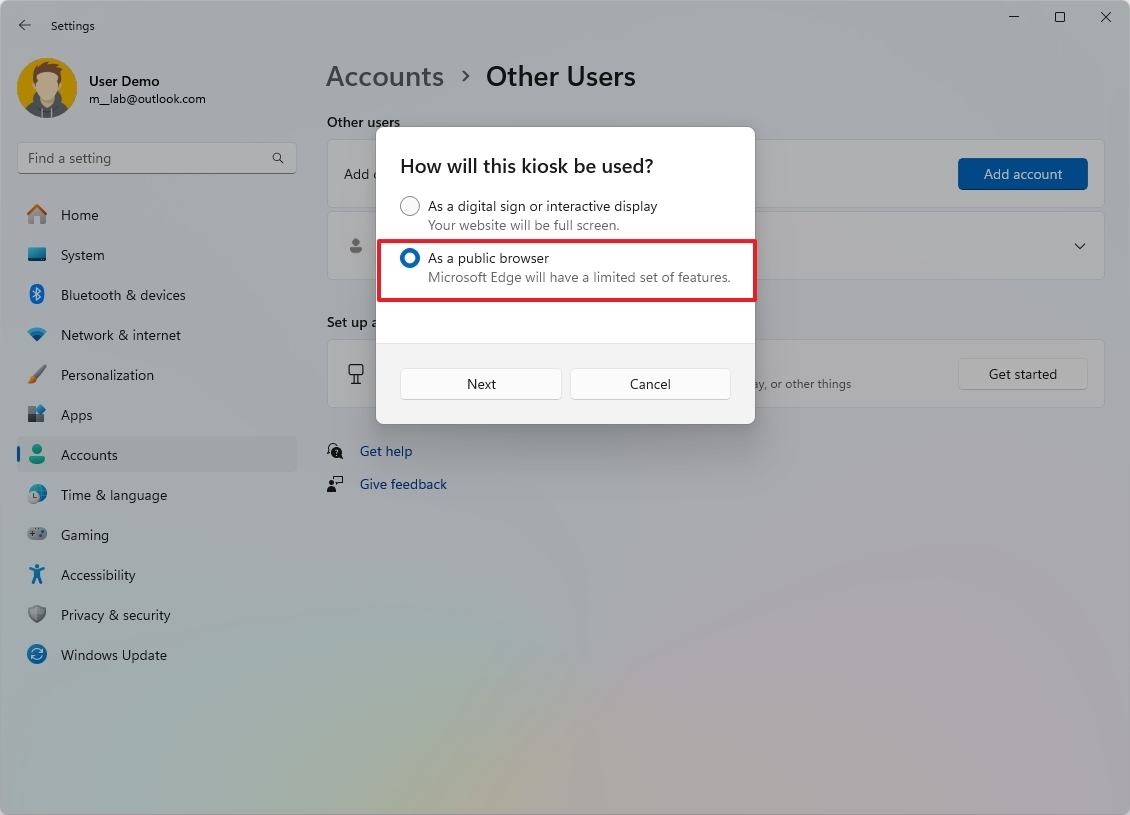
- Click the Next button.
- Confirm the website to load with Microsoft Edge in Kiosk mode.

- Select the minutes of inactivity before restarting the application (if applicable).
- Click the Next button.
- Click the Close button.
Once you complete the steps, sign out of the primary account and sign in with the Kiosk account to load the application.
If you want to exit the session to shut down, restart the device, or sign in with another account, you will need to use the "Ctrl + Alt + Del" keyboard shortcut to bring up the options to sign out.
How to customize Kiosk mode on Windows 11
On Windows 11, you can change the settings of the current Kiosk configuration or the application as needed.
Change Kiosk settings
To change the Kiosk settings on Windows 11, use these steps:
- Sign in with the administrator account.
- Open Settings.
- Click on Accounts.
- Click the Other users page on the right side.
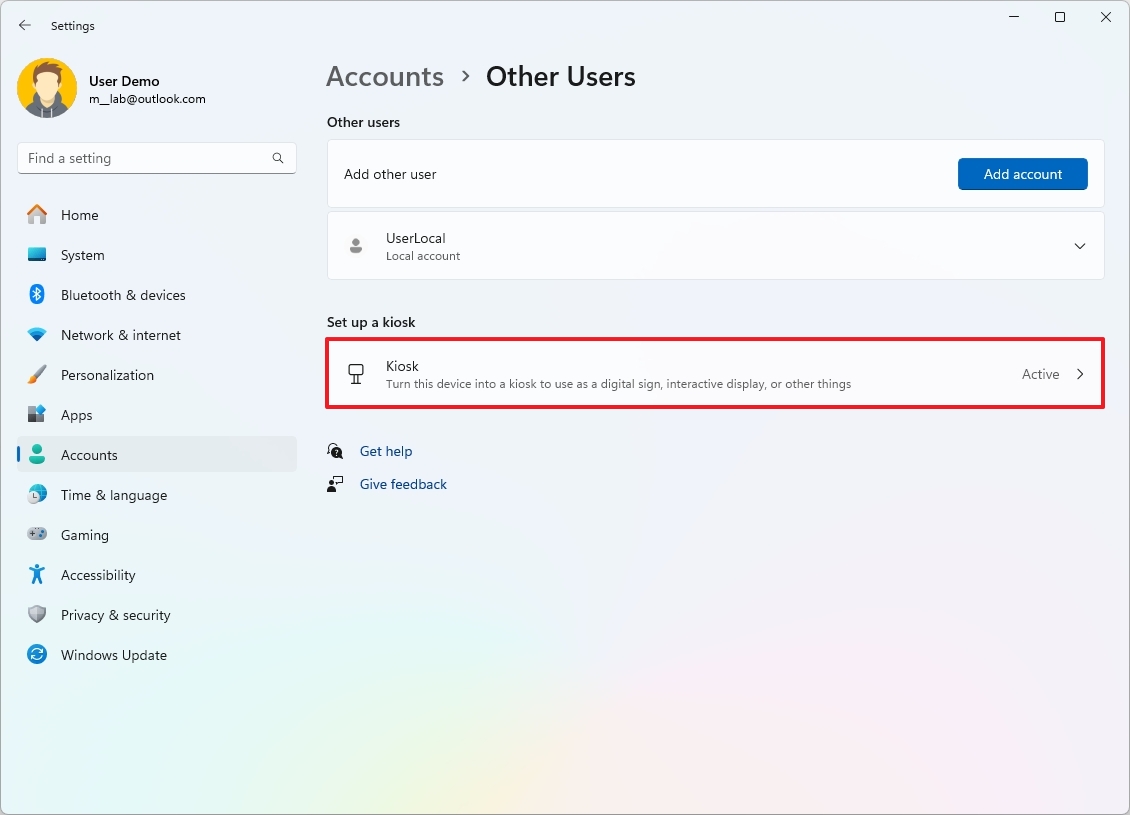
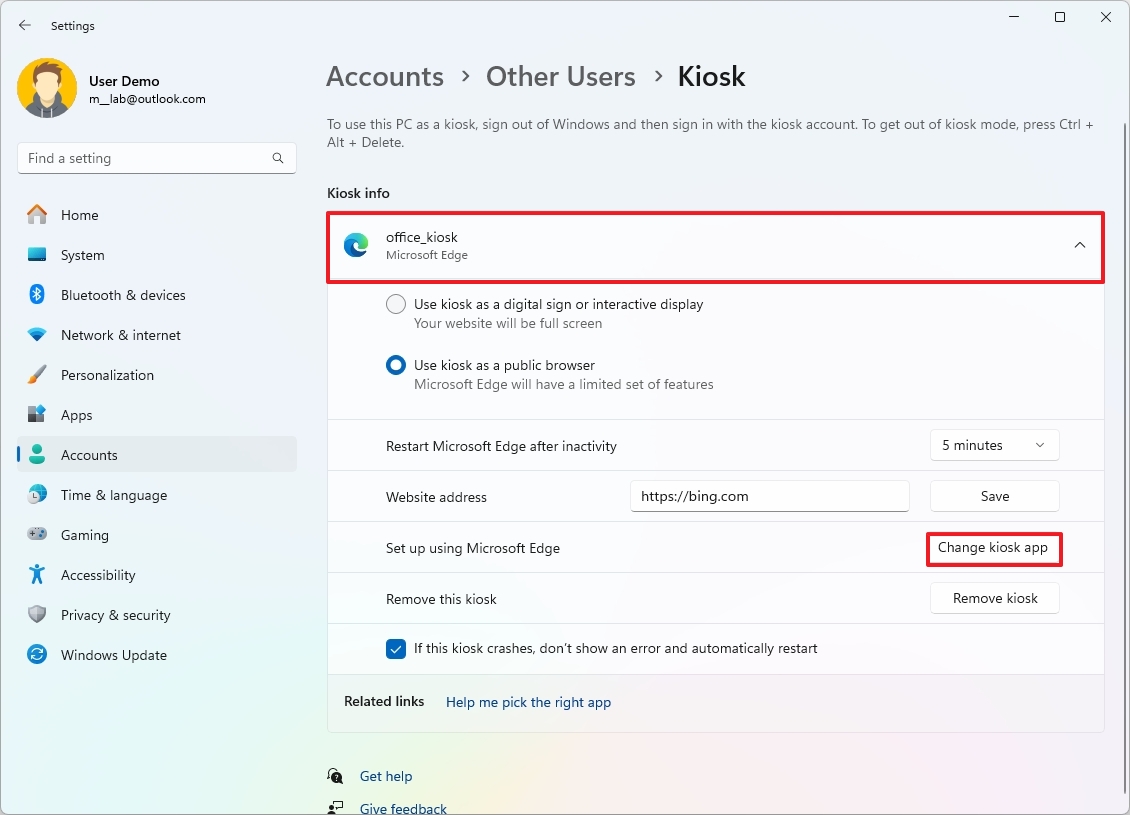
- Click the Kiosk (active) setting under the "Set up a kiosk" section.
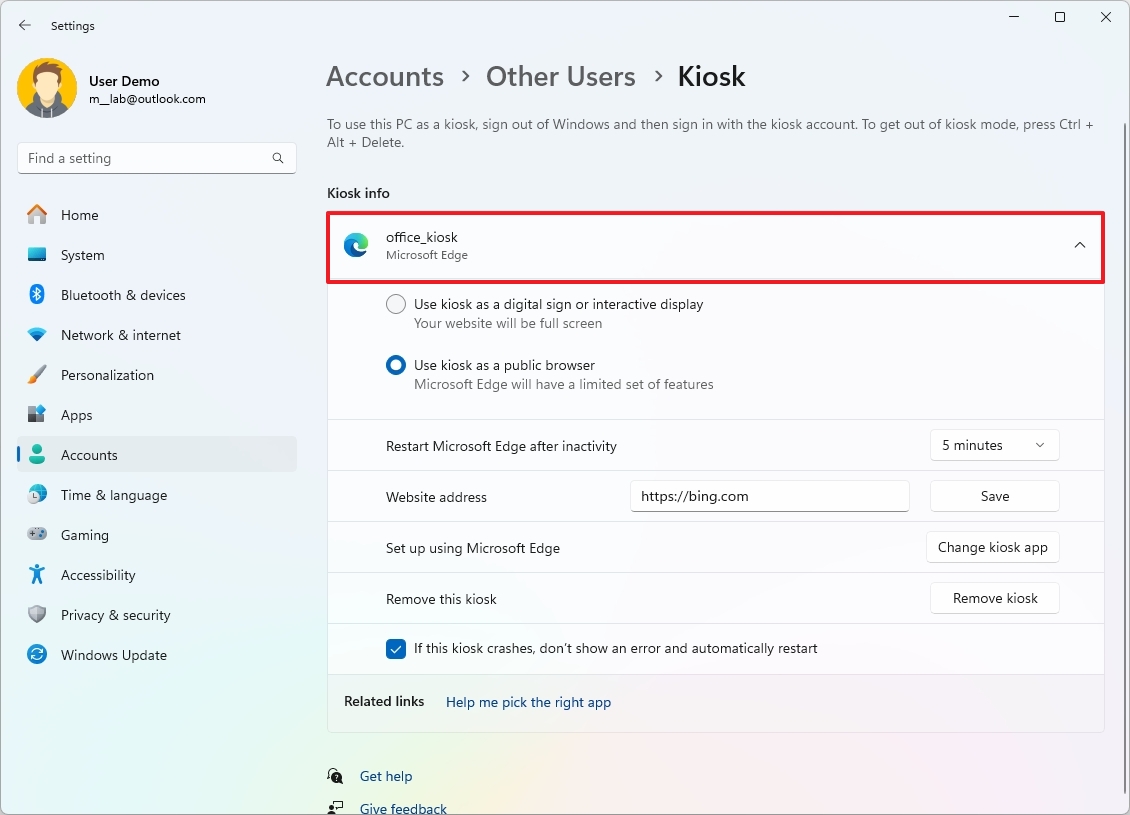
- Click on the application.
- Change the settings as needed.
After you complete the steps, the new settings will apply the next time to load the Kiosk account on the computer.
Change Kiosk app
To change the app of a current Kiosk configuration, use these steps:
- Sign in with the administrator account.
- Open Settings.
- Click on Accounts.
- Click the Other users page on the right side.
- Click the Kiosk (active) setting under the "Set up a kiosk" section.
- Select the application.
- Click the "Change kiosk app" button.
- Select the new app
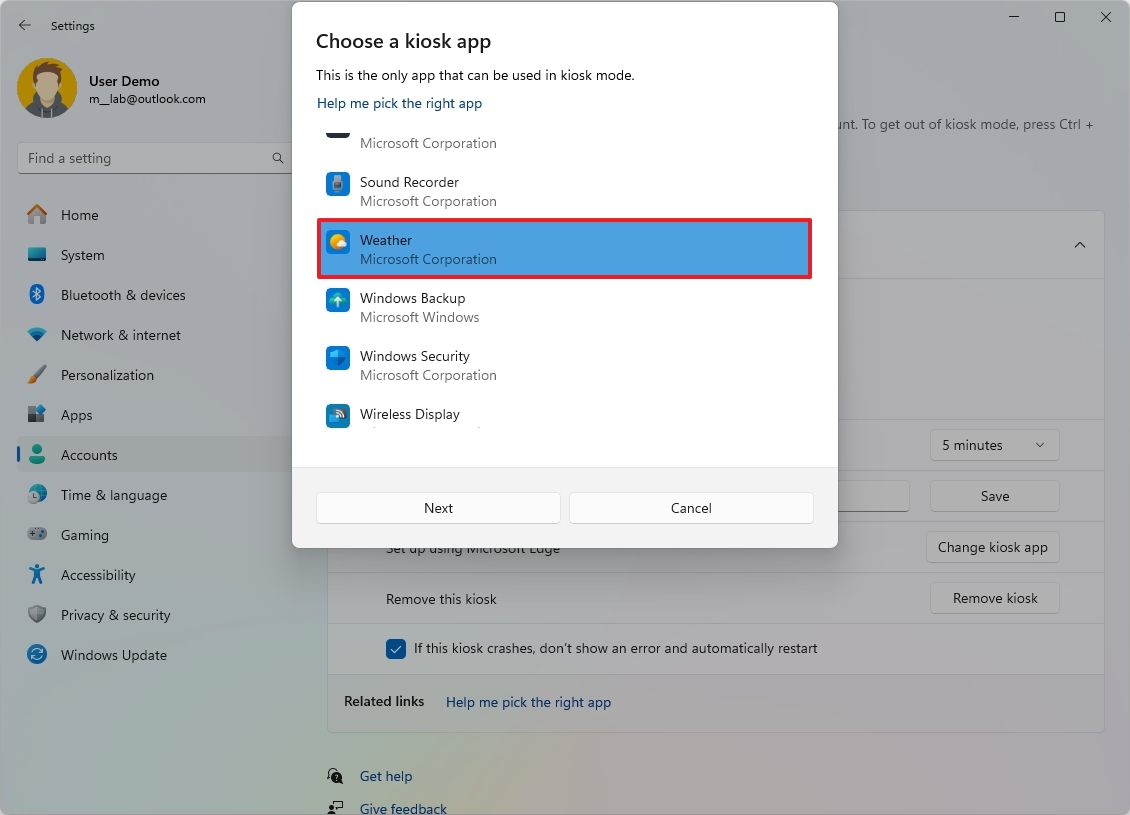
- Click the Next button.
- Click the Cancel button (if applicable).
Once you complete the steps, the new app will load the next time you access the Kiosk account.
How to disable Kiosk mode on Windows 11
To disable the Windows 11 Kiosk mode, use these steps:
- Sign in with the administrator account.
- Open Settings.
- Click on Accounts.
- Click the Other users page on the right side.
- Click the Kiosk (active) setting under the "Set up a kiosk" section.
- Select the application.
- Click the Remove kiosk button.
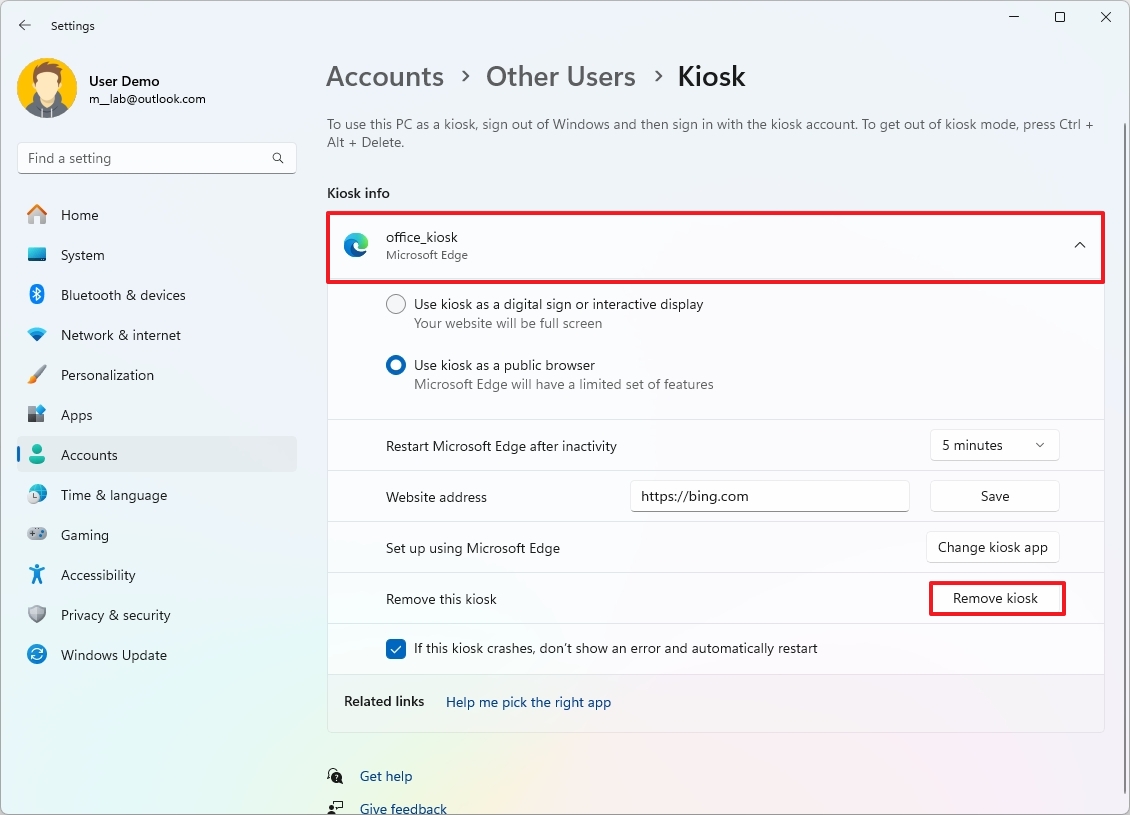
- Click the Remove button.
After you complete the steps, the Kiosk mode will be removed from Windows 11.
More resources
Find in-depth guides, troubleshooting tips, and the latest updates on Windows 11 and 10 here: