Knowing how to set up a green screen is quite a useful thing if you want to make any streaming or content creation that fair bit more presentable.
If done correctly, ne of the best green screens can make you appear seamlessly within the scene you're creating and add much more in the way of production value.
Depending on the application you're using, making your background disappear can range from simple to a bit of a faff. It's much the same method for Windows or MacOS, and is more application-specific than based on your chosen operating system.
Whether you're using a green screen or another form of sheeting such as a blue screen or magenta one, the steps in this guide are much the same. You'll just have to change the colour you want to key out, depending on your setup.
Tools and requirements
- A decent webcam, integrated or standalone
- A green screen, wall, or sheet
- Good lighting
- Video editing software or capture software - e.g. OBS, Final Cut Pro, or DaVinci Resolve
Steps for setting up your green screen
- Prepare your setup
- Ensure you have as much light as possible
- Ensure you have a decent webcam
- Decide on how you want to use your green screen
- Key out your green screen in software
Step by step guide
1. Prepare your setup

The first part of getting a green screen working is to prepare your setup. If you haven't got a green screen, then there are purpose-built kits that you can purchase with a screen in a colour you can key out, be it green, blue, or something else.
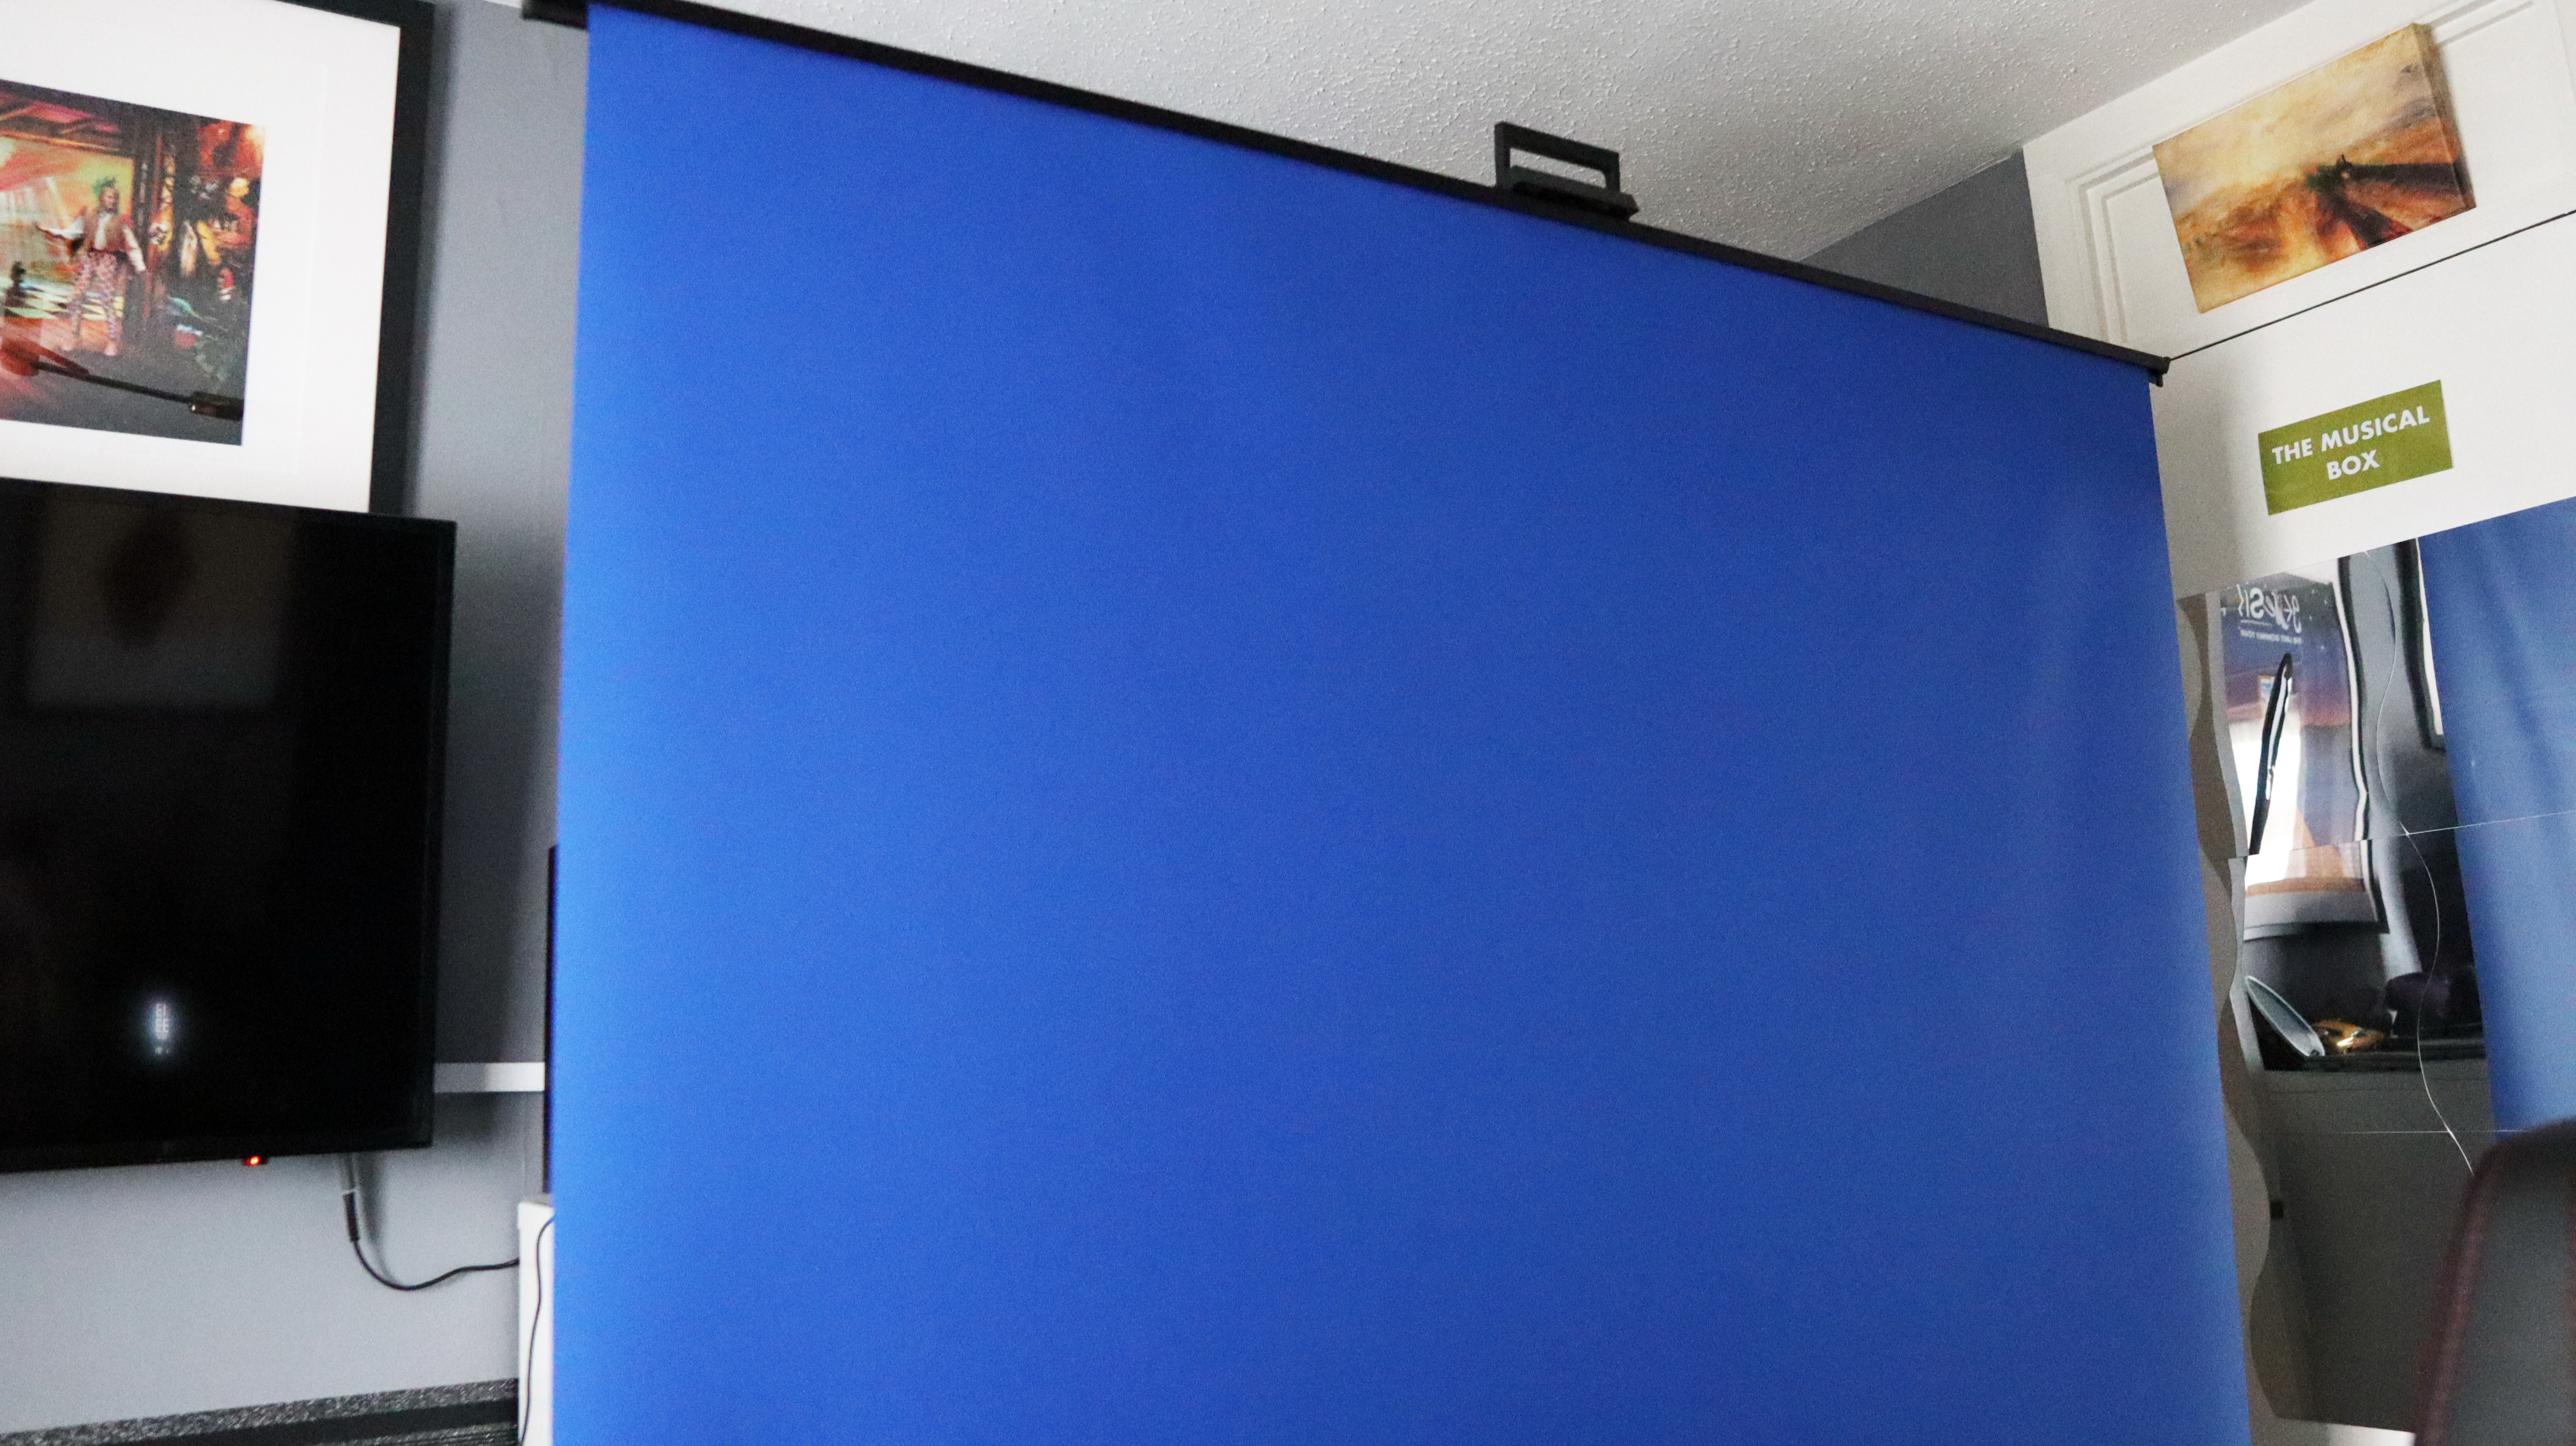
Otherwise, you can use a green sheet that has been suspended from a stand, or use a green wall, for instance. For the purposes of this guide, I'm using the Razer Blue Screen, which simply slides up out of its enclosure to provide a blue background that you can sit in front of.
2. Ensure you have as much light as possible
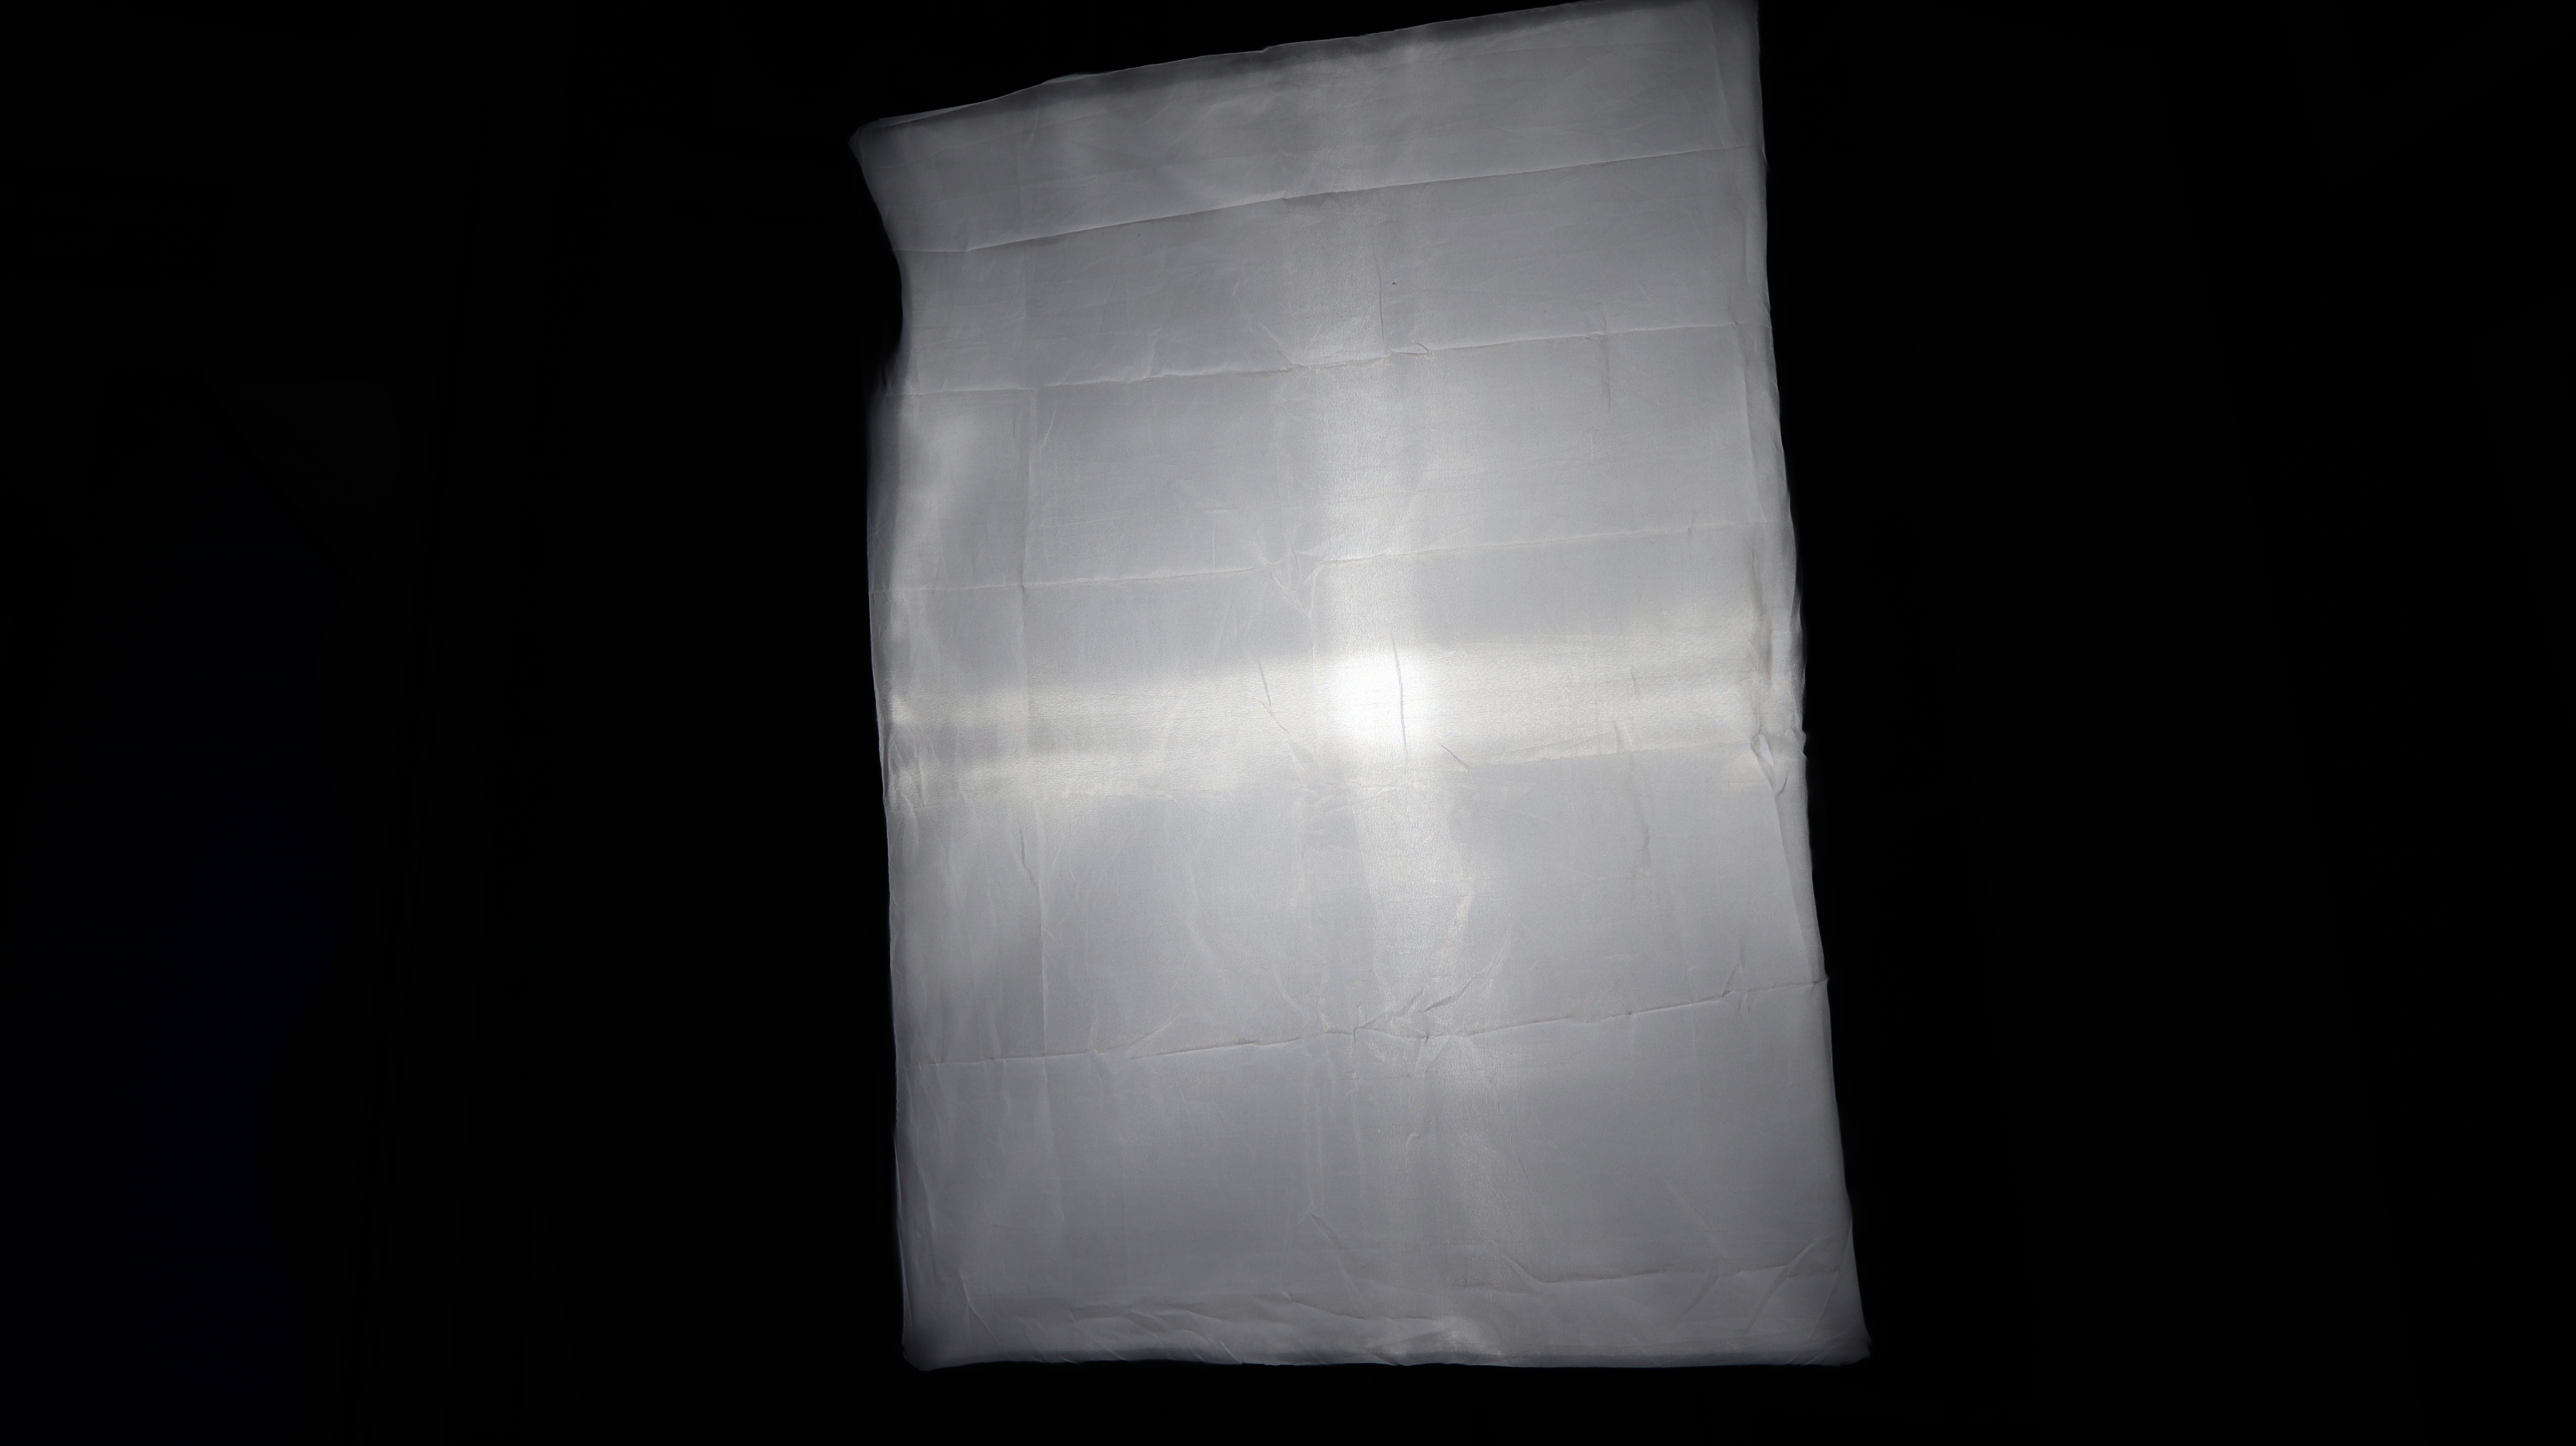
The key to getting a good effect with your green screen is to have as much light as possible. Recording in a bright room may not be enough, so it's advisable to have key lights for streaming or photography that can illuminate your setup brightly. This ensures that your screen won't be grainy when you come to set it up in software.
Due to space limitations, I set up one of my softbox lights to the left of my desk, and used an LED desk lamp on the other side, which emanates a similarly bright white light to the softbox. It may not give the best effect possible, but it's a good approximation of what the correct thing to do is.
3. Ensure you have a decent webcam

For capturing yourself in front of the green screen, you're going to want to have a good webcam that captures as much light as possible in a high resolution. Many of the best webcams can capture high frame rates at either Full HD or 1440p, or capture at 4K for optimal quality.
My testing involved using a 1440p laptop webcam found on the new 16-inch Acer Aspire Vero, and the built-in 1080p option inside my 16-inch M1 MacBook Pro, which resulted in images of a decent quality.
4. Decide on how you want to use your green screen
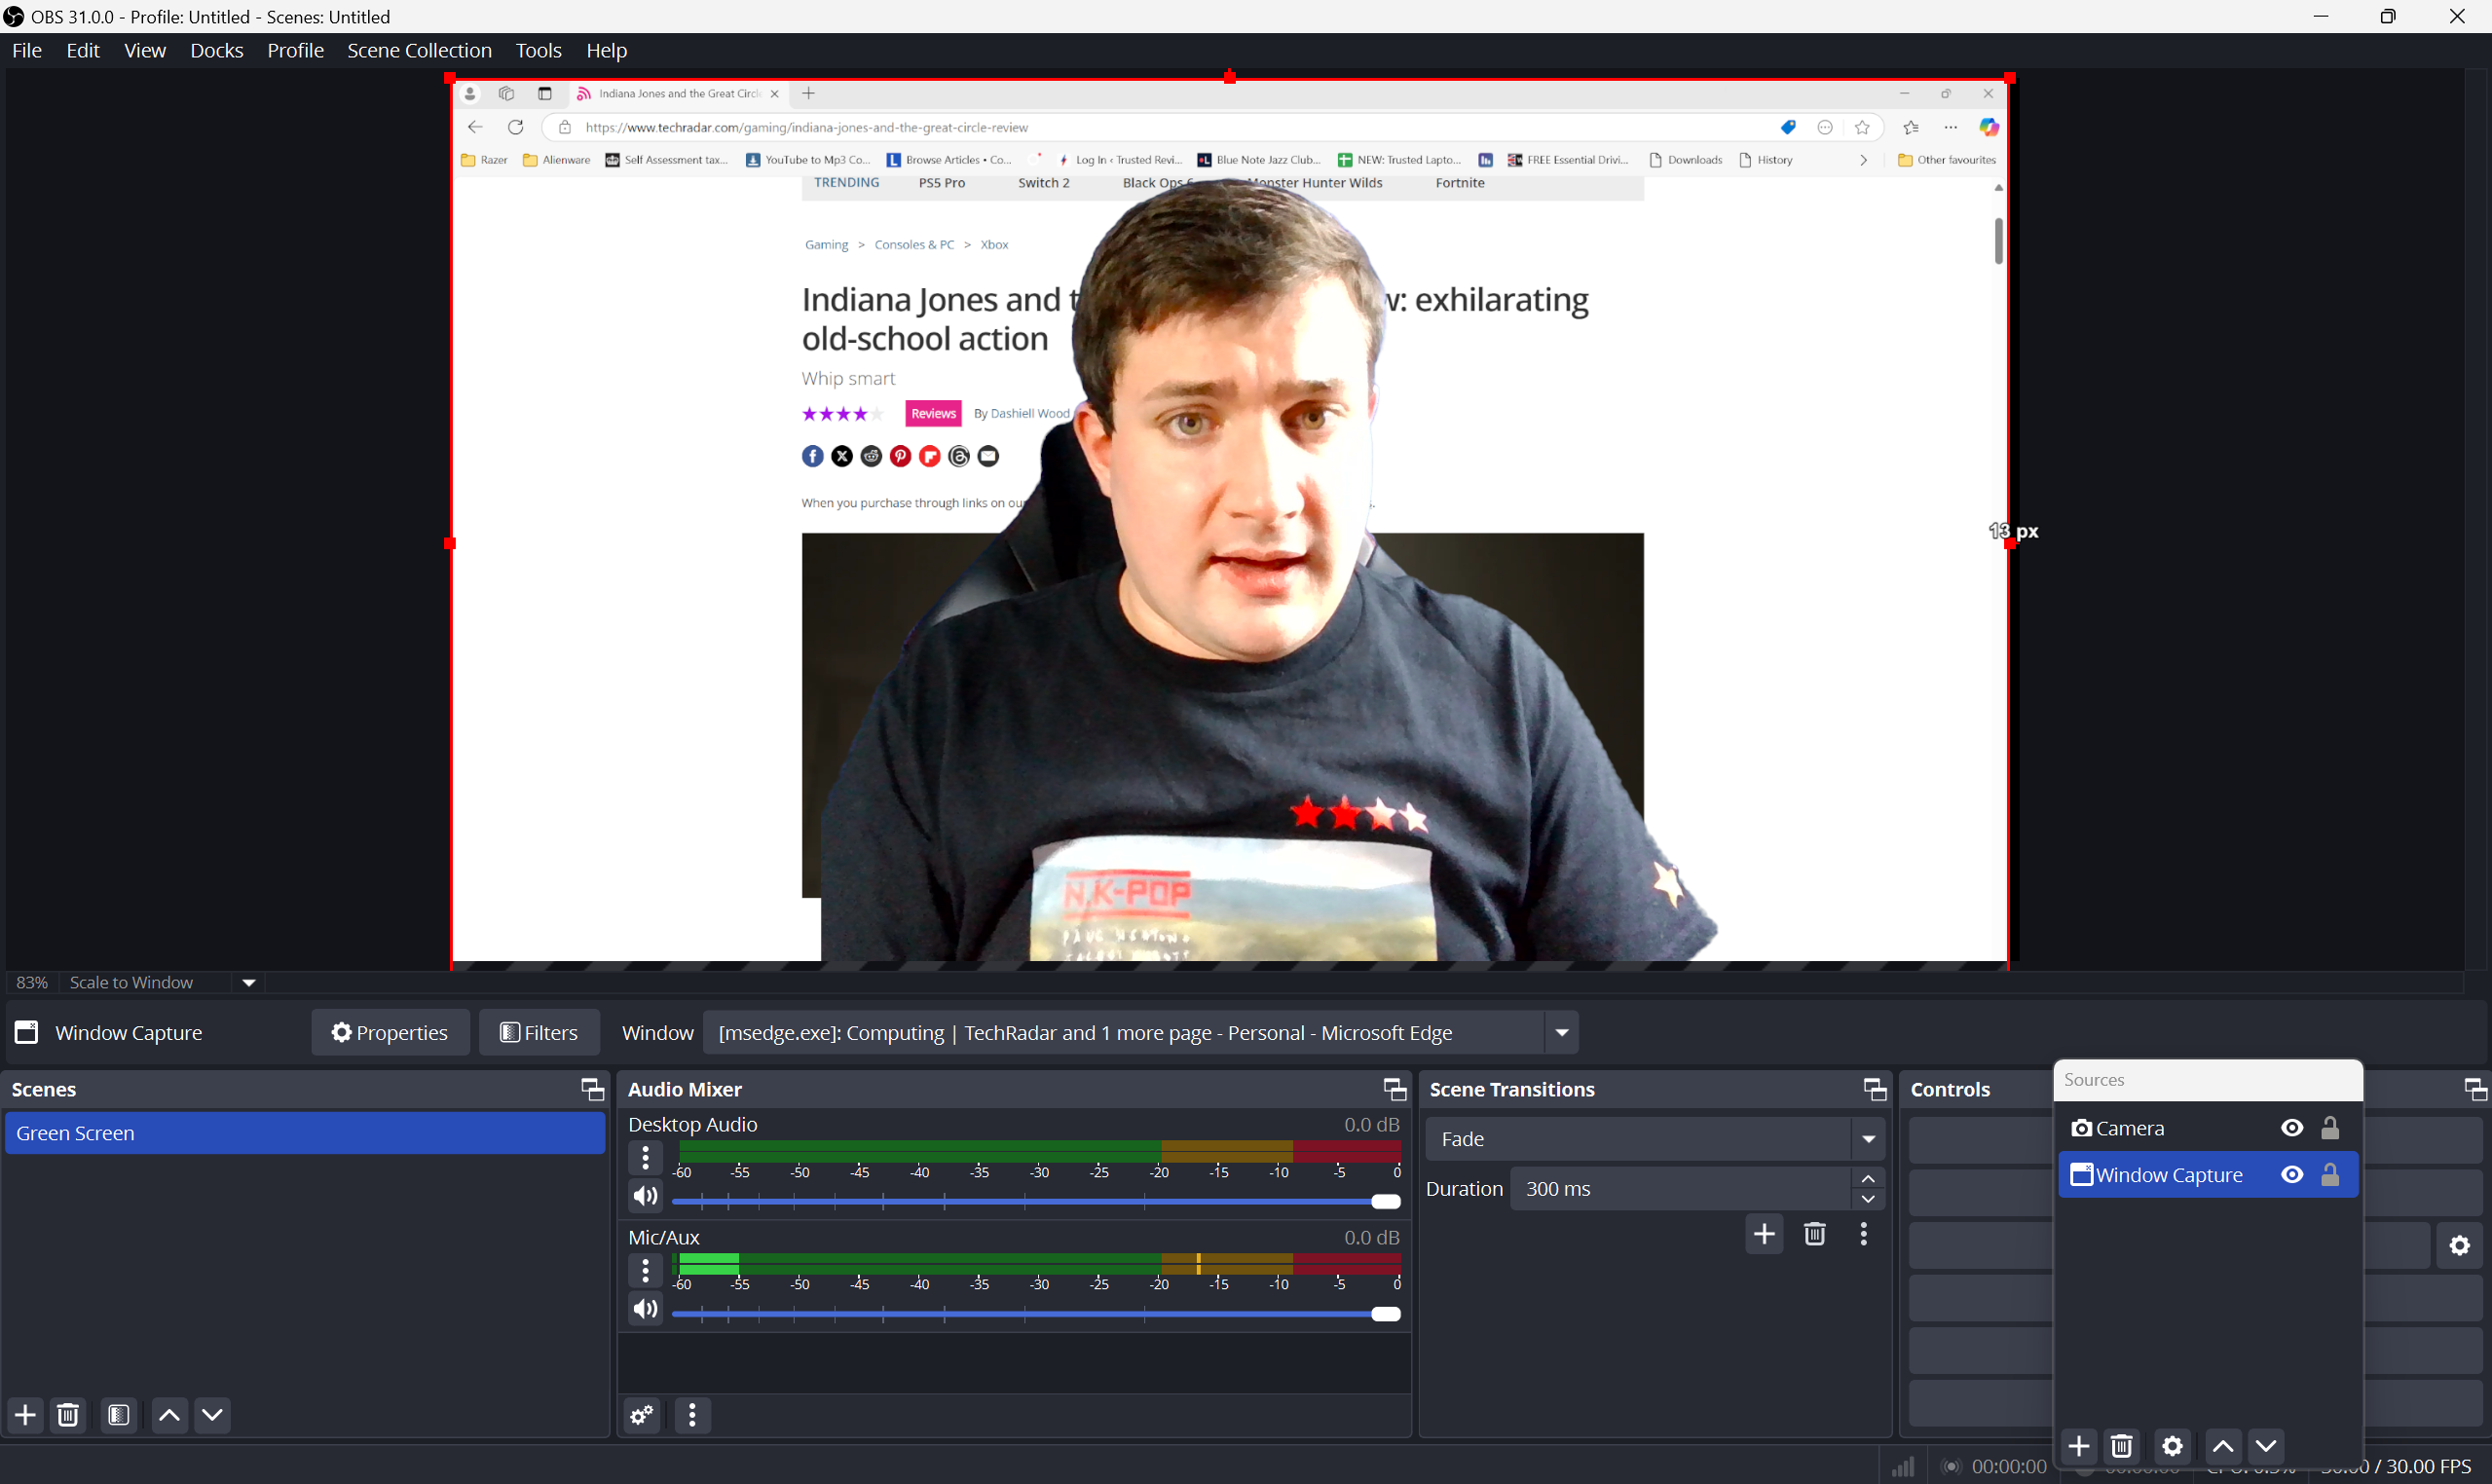
This might seem like an odd step, but it's worth working out how you want to use your green screen, whether you're live-streaming through OBS or using editing software such as Final Cut Pro or DaVinci Resolve. This is because the method of keying the background out differs slightly between each one.
I've tested OBS Studio for the live-streaming application on Windows, as well as the free DaVinci Resolve video editing suite. For MacOS, I've used Final Cut Pro just to give you an idea of what to expect.
5. Key out your green screen in software
Here's everything you need to know about the process of keying out your green screen using three of the most popular editing programs.
How to key out a greenscreen in OBS Studio
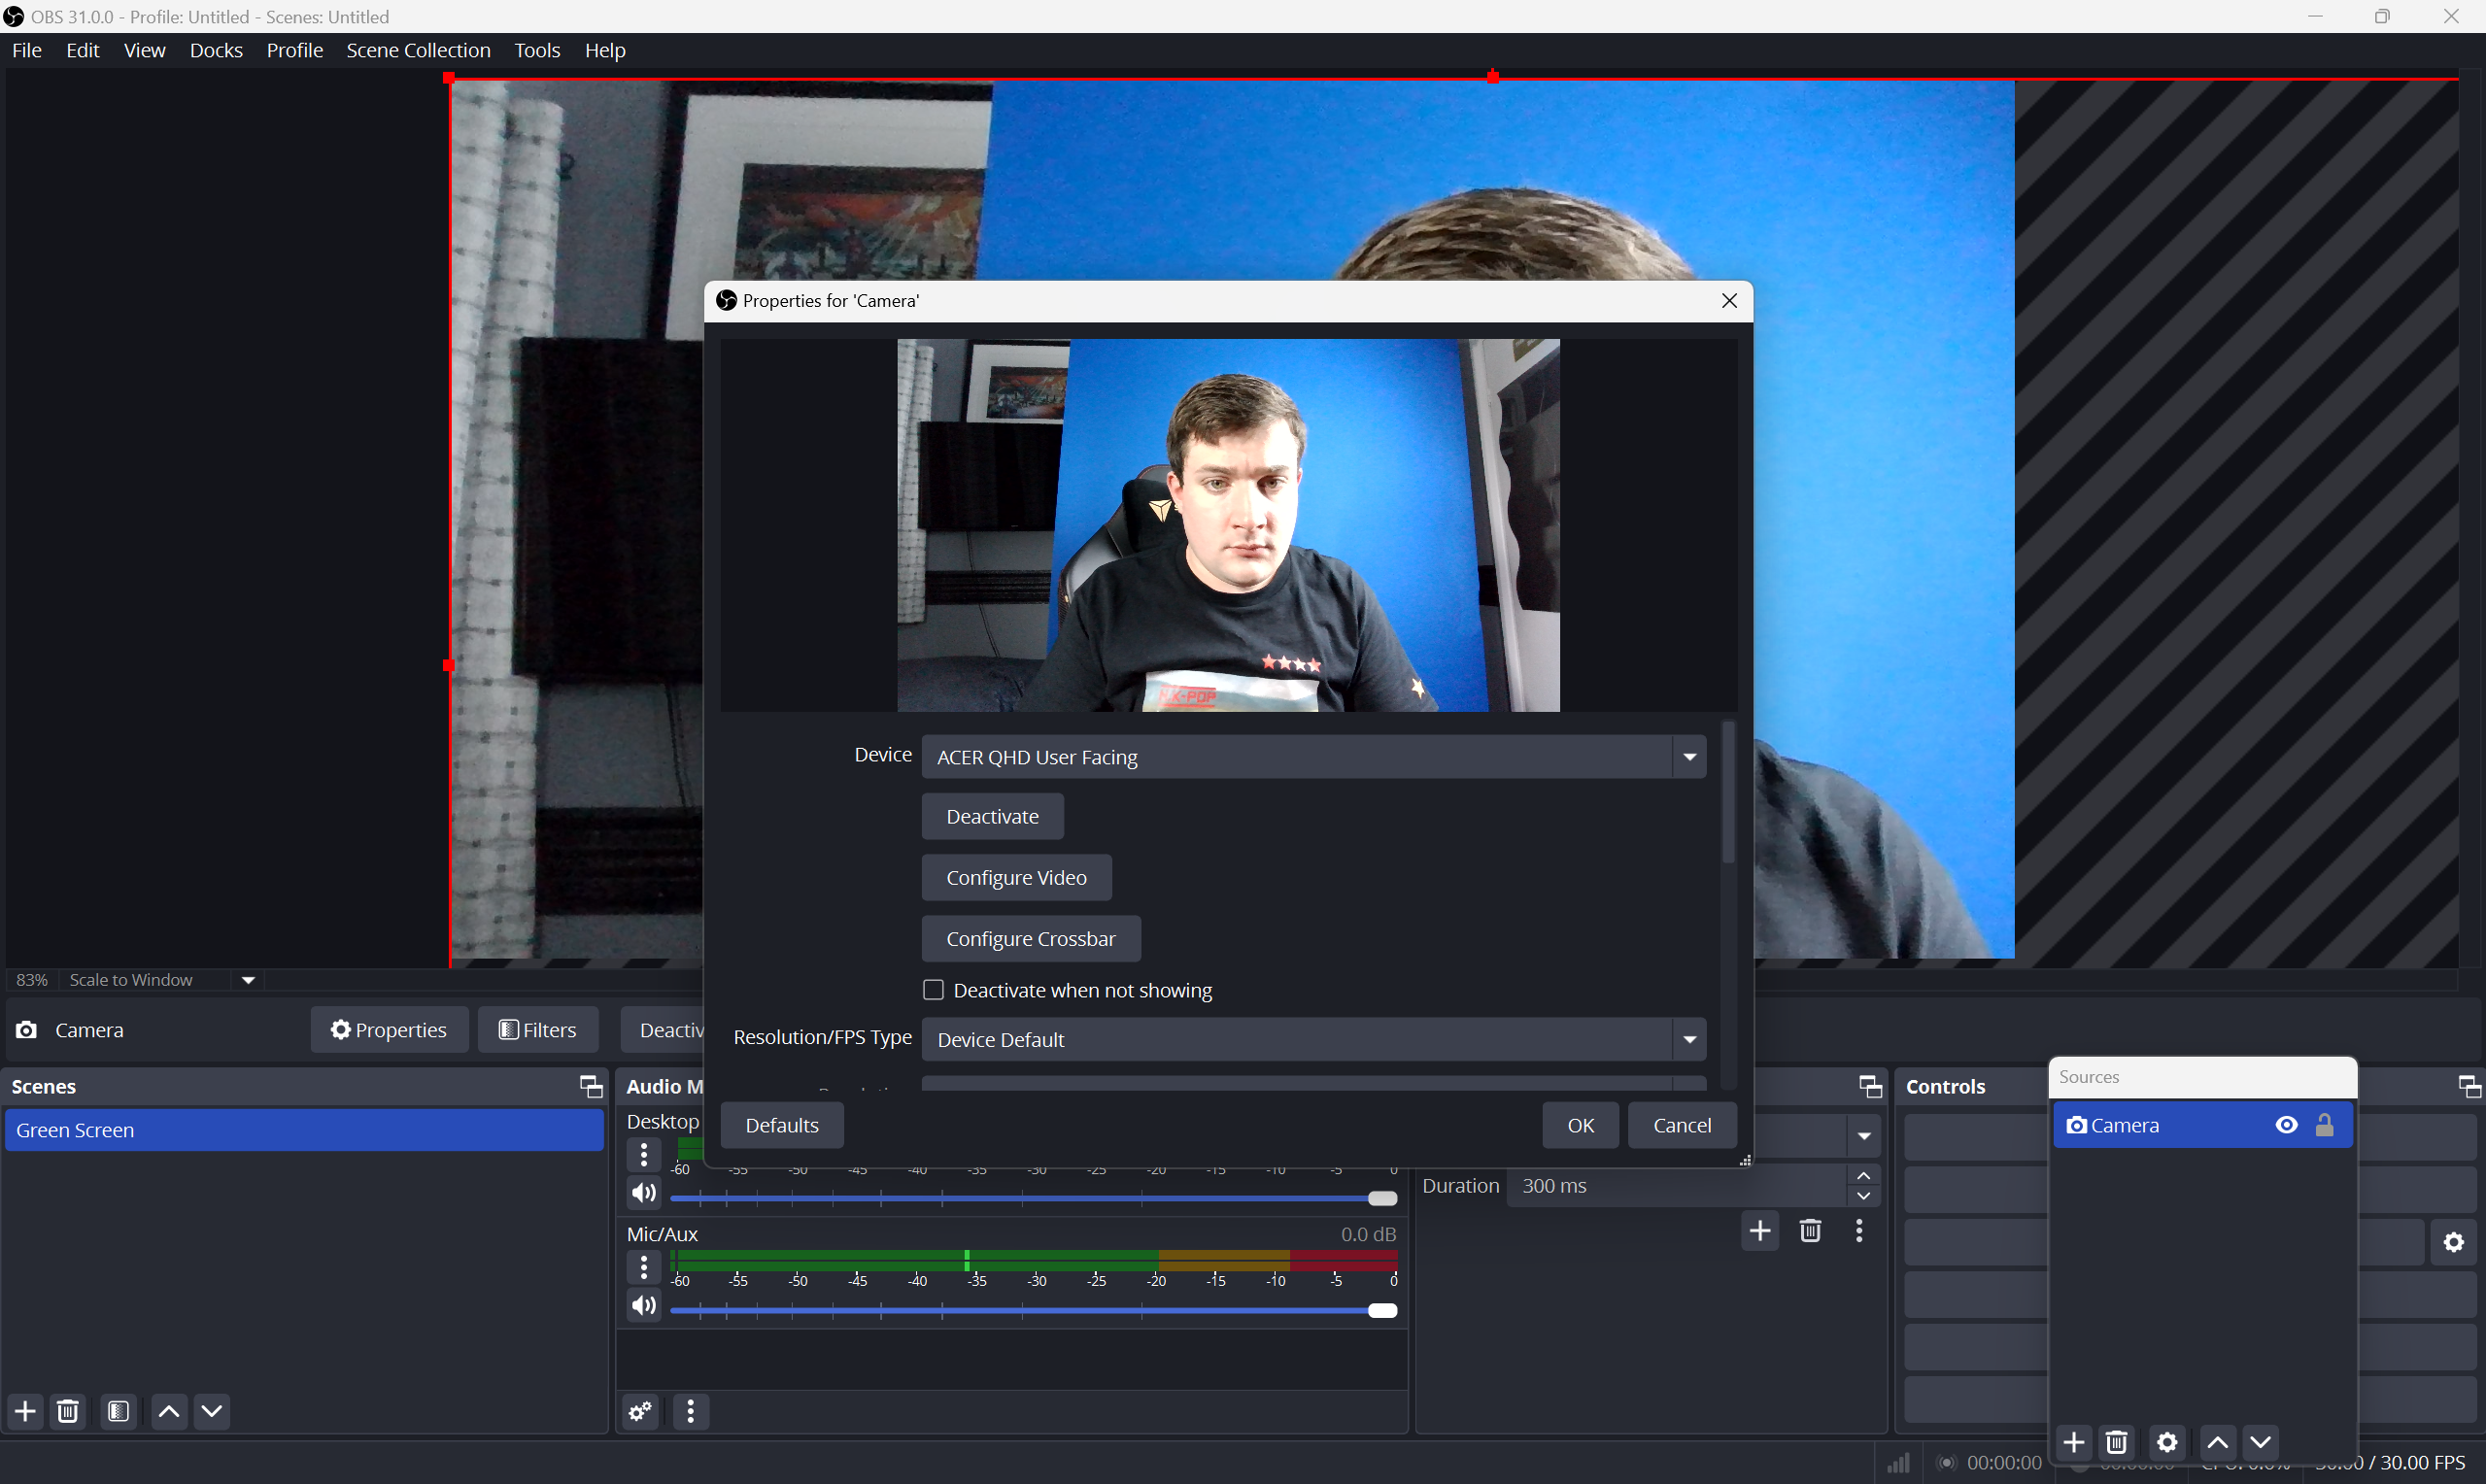
First, go to the Sources menu, select 'Video Output Device' and add the webcam or camera you're using to capture your face. You can also add a 'Scene' to the respective menu labelled 'Green Screen' to save your configuration.
Then, to condense the image down to just your face and the screen behind you, hold down the Alt key and drag the sides of the image in.
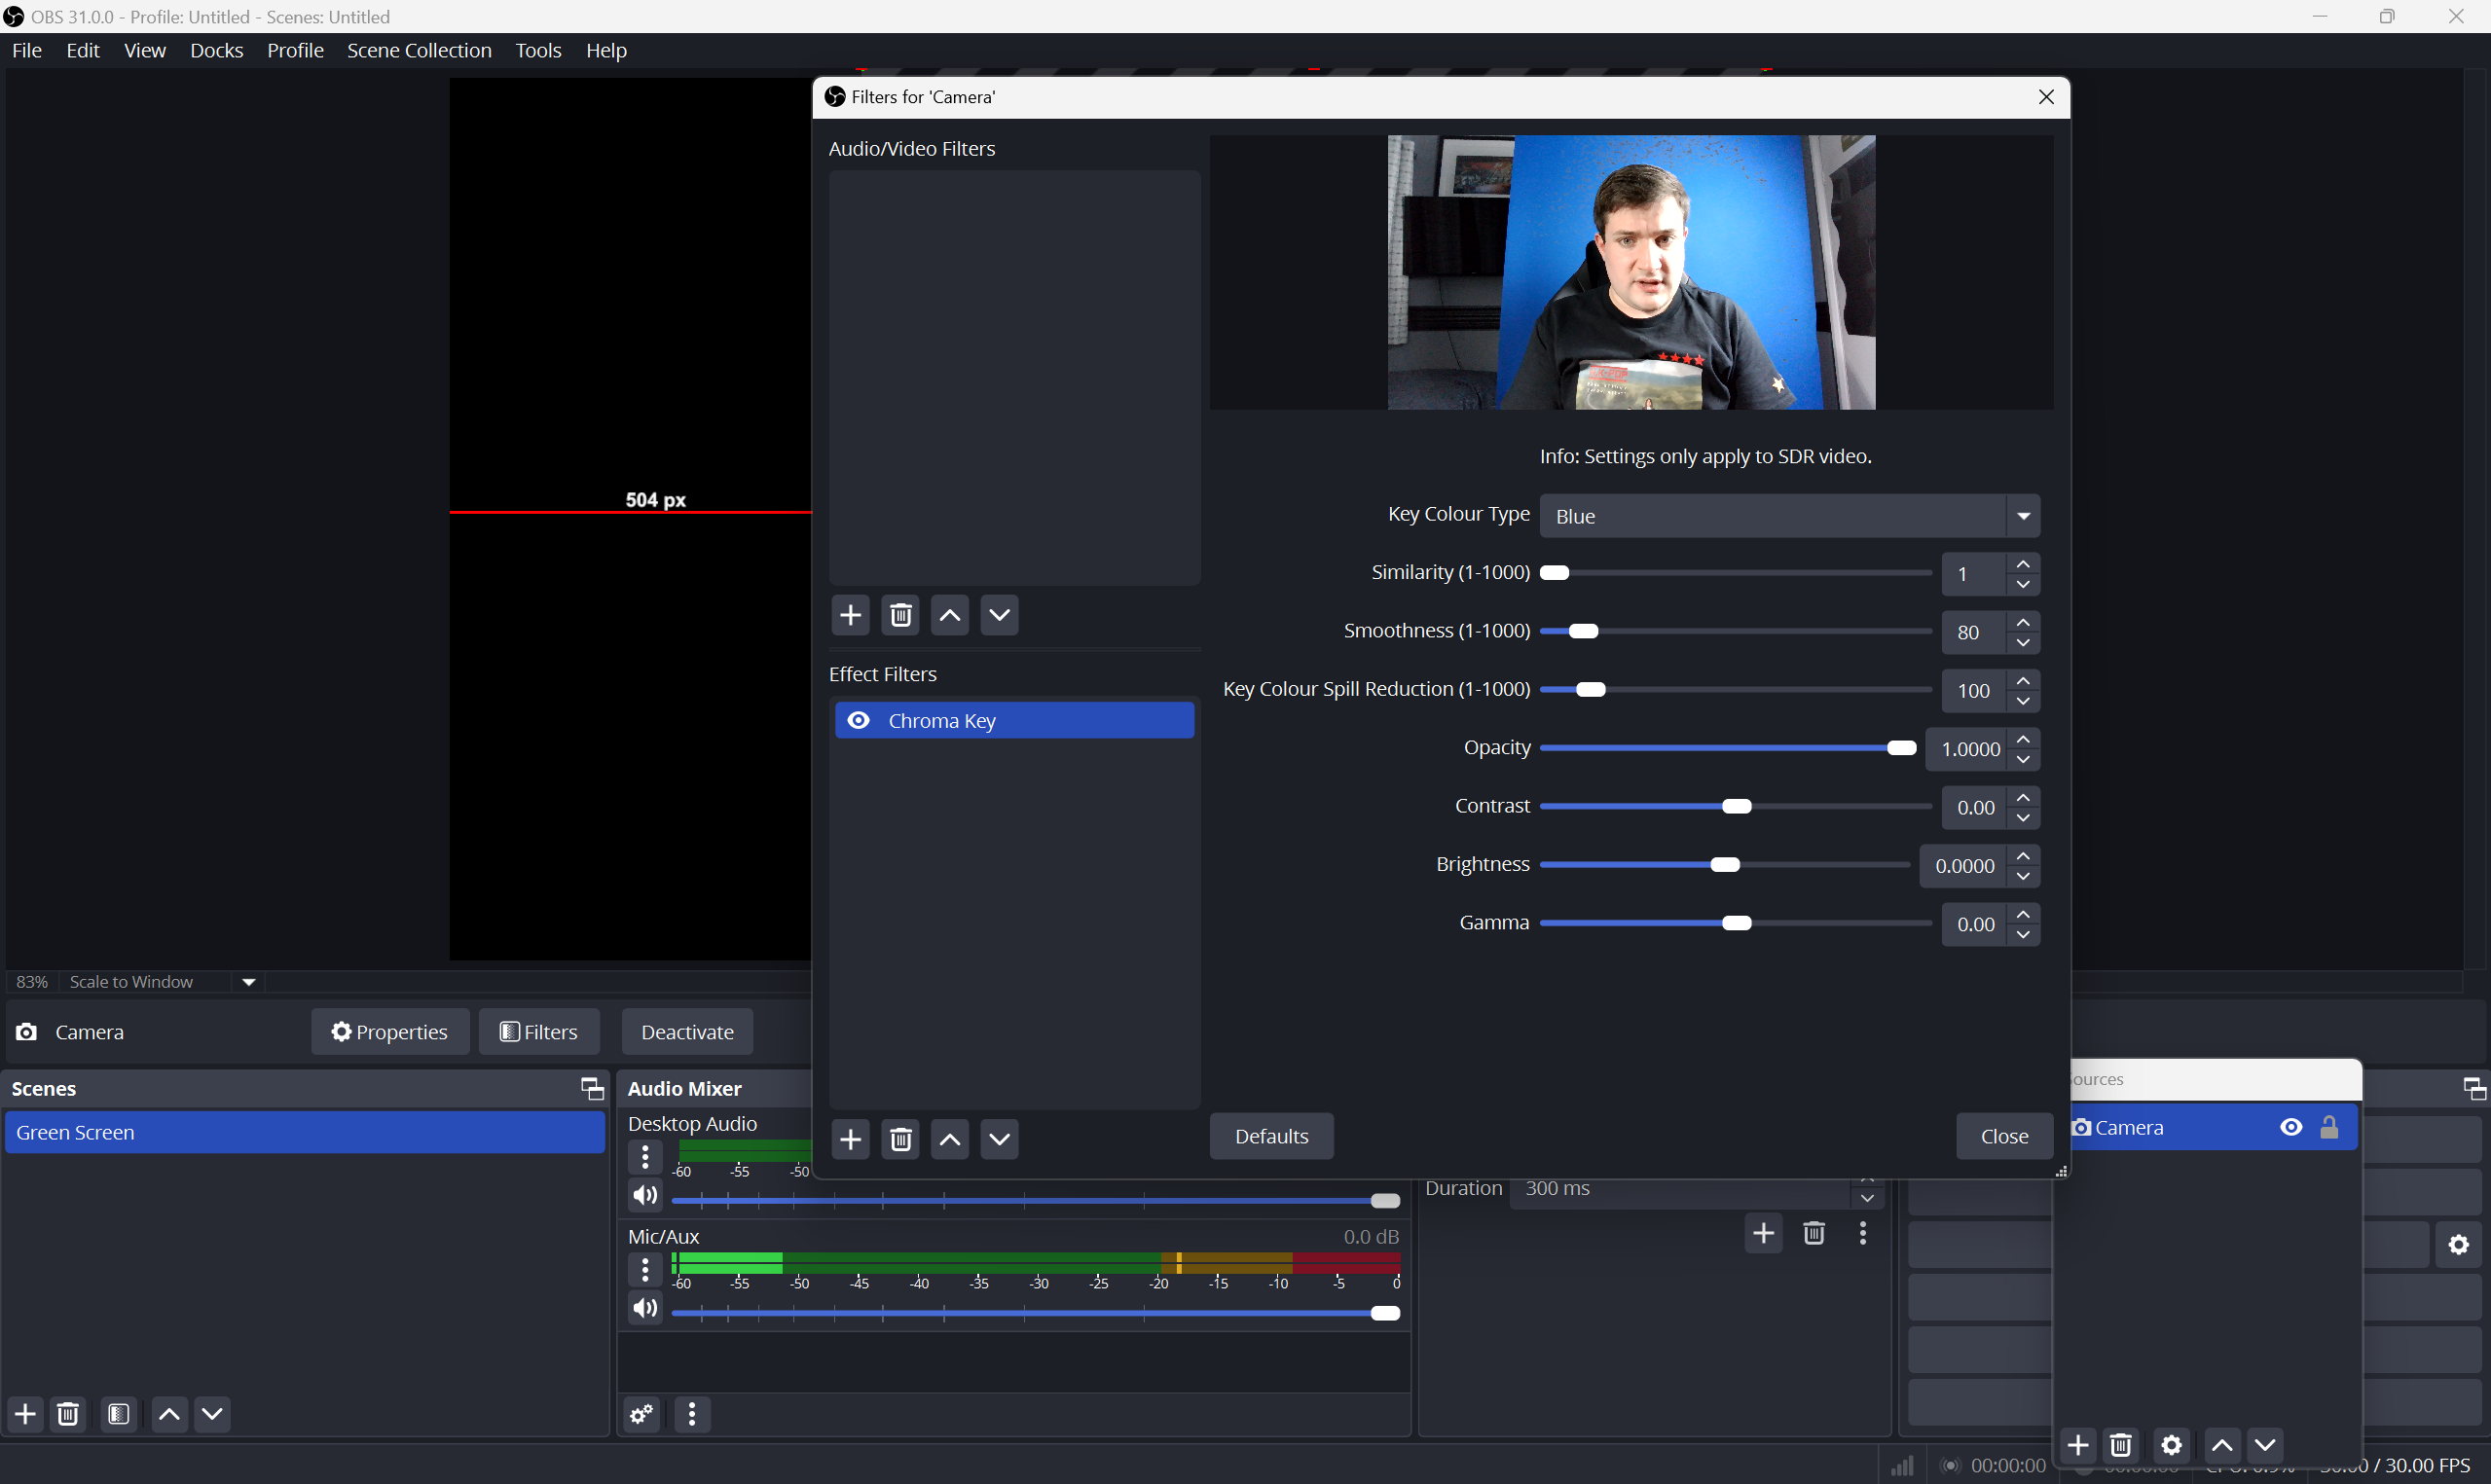
With the Camera source selected, right-click and press on the 'Filters' section. Then, under the 'Effects' tab, press 'Chroma Key'. This is where you can key out the background color.
In the 'Chroma Key' menu, you can select from preset colors for Green, Blue, or Magenta.
You can also select a custom color if you want a more accurate result using the 'Pick Screen Color' button and the eye-dropper tool that emerges.
In picking a custom color, you may find that you are suddenly gone from the image. With this, dial back the 'Similarity' slider until the background behind you is black on either the small image, or in the main OBS window.
Close the 'Chroma Key' tab, and add the 'Color Correction' effect.
You can then configure the gamma and saturation sliders to balance out colors and definition if you wish.
Once done, press 'Close'. Now you can add a background in OBS, such as using 'Window Capture' in 'Sources' if you want to test your green screen.
How to key out a greenscreen in DaVinci Resolve
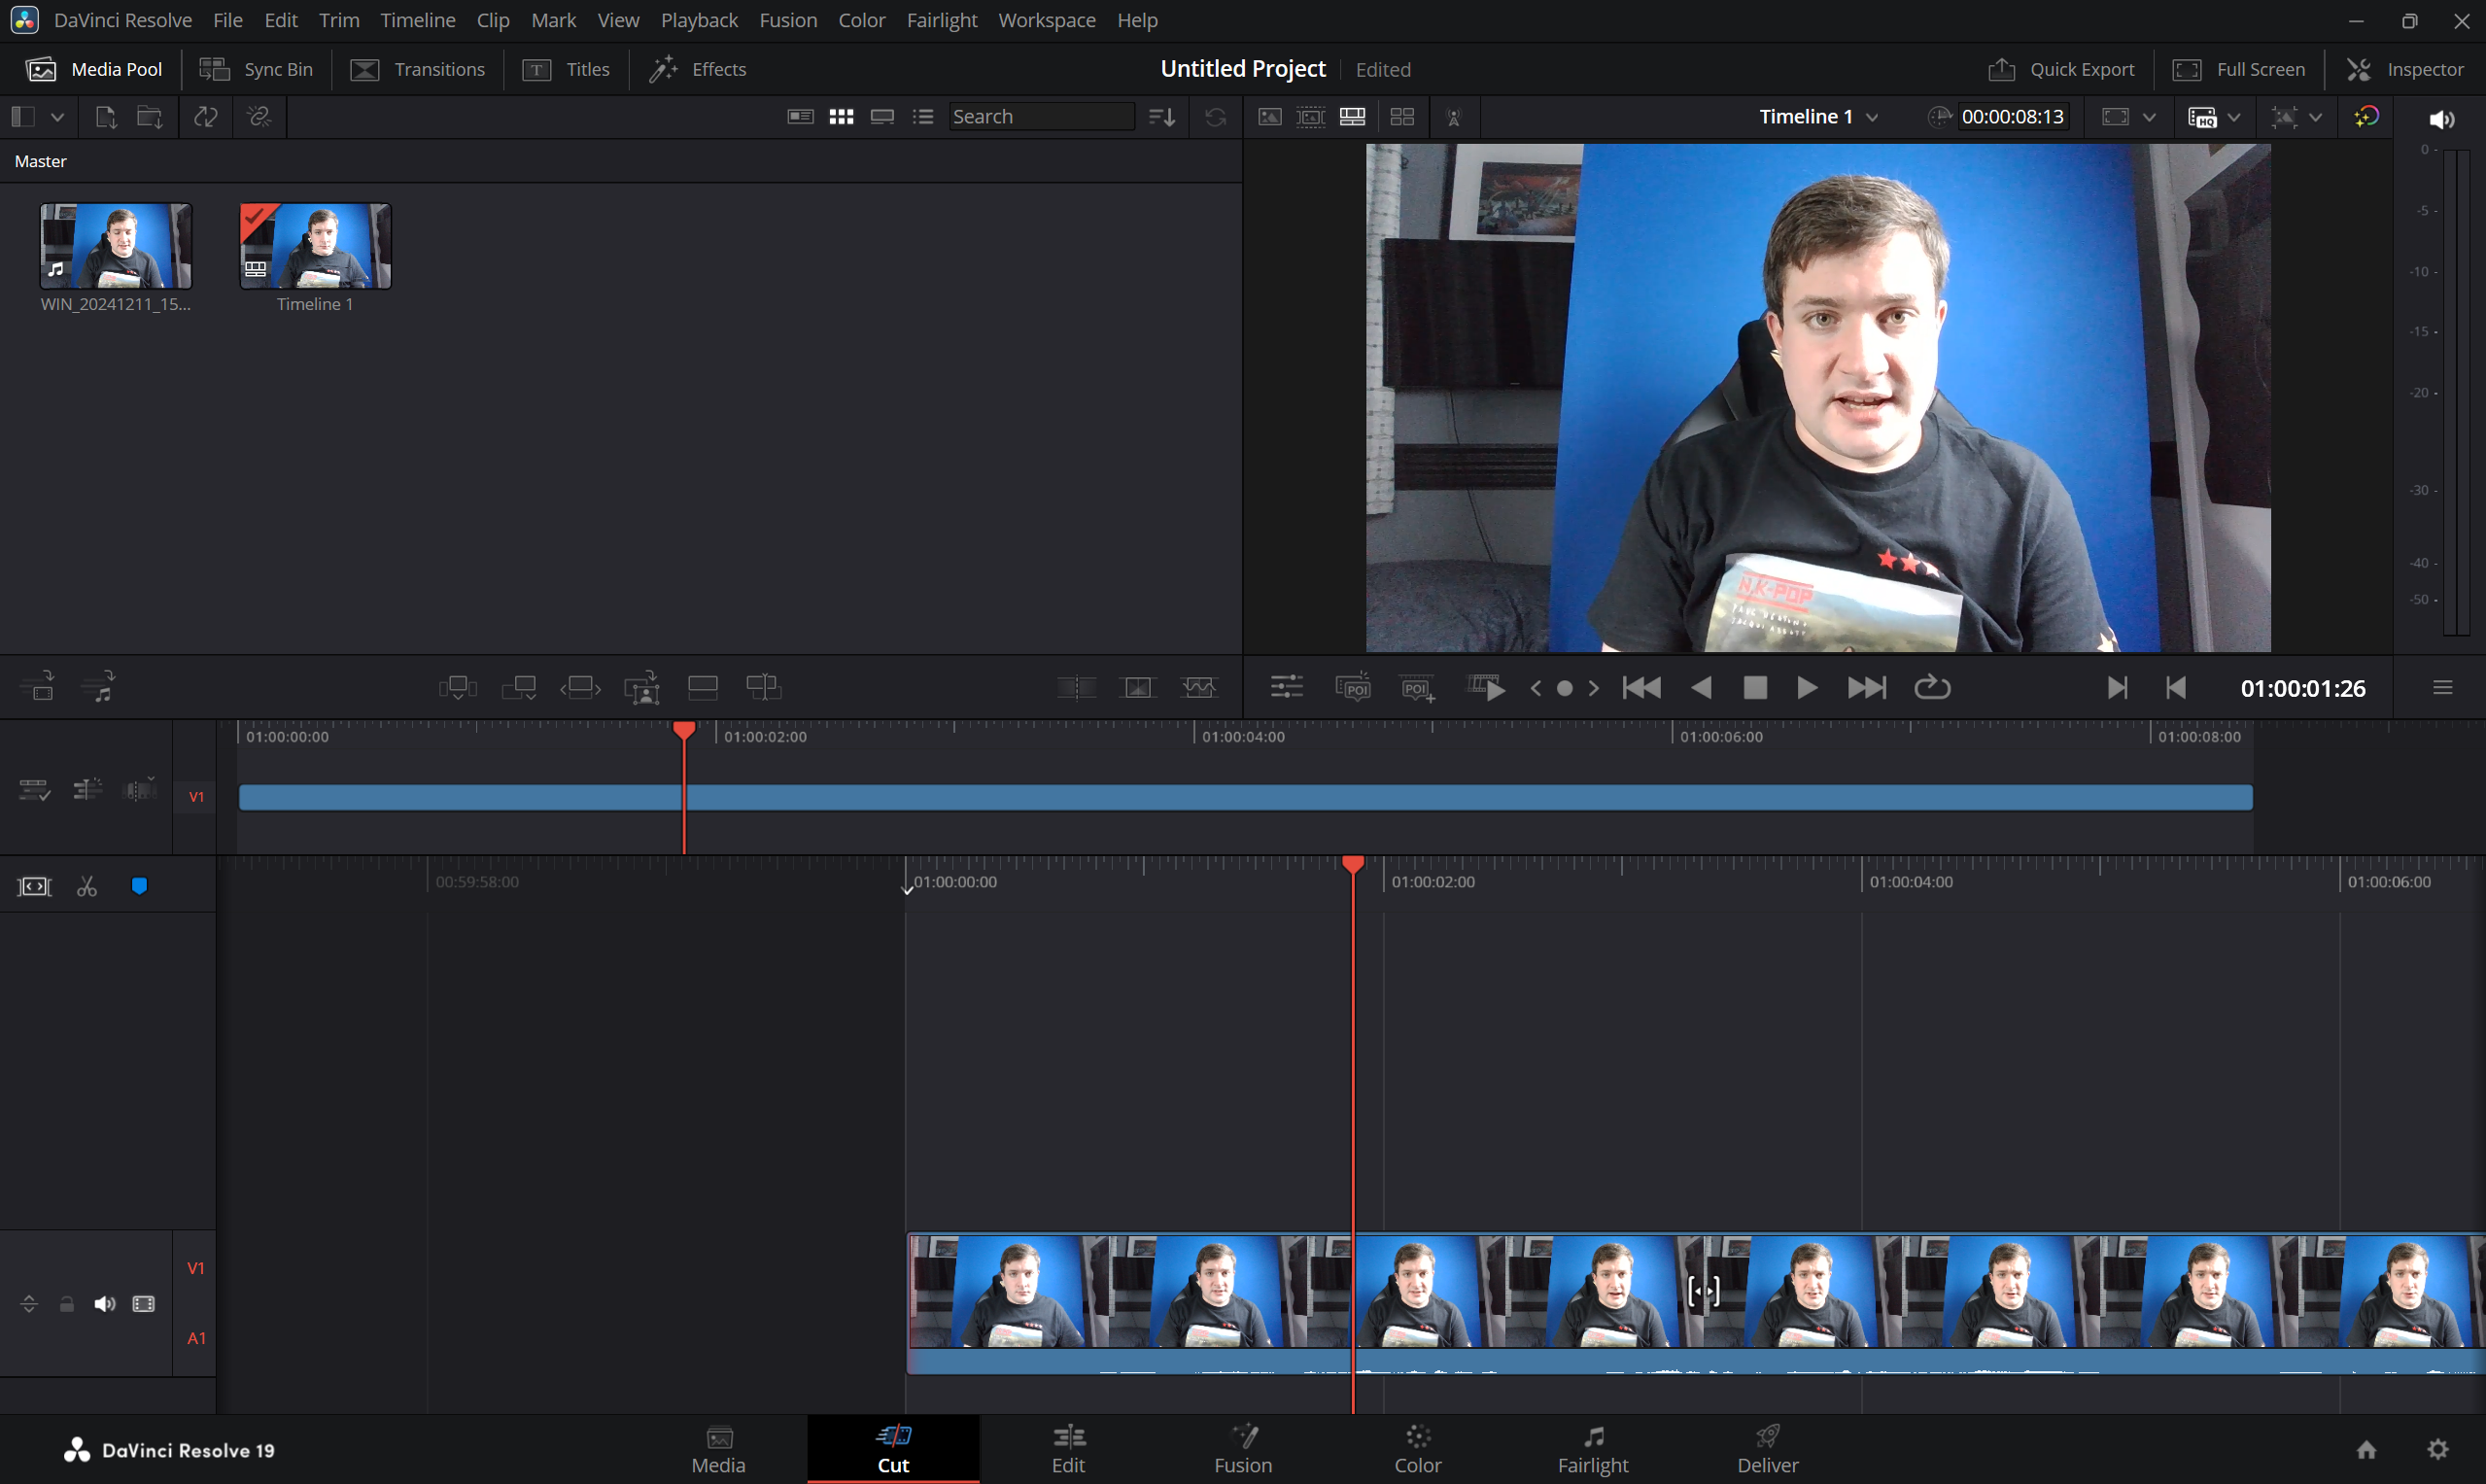
First, import any footage you've filmed in front of your greenscreen by pressing Control+I or navigating to the Import sub-menu under File.
Then, drag it into the timeline in the 'Cut' tab.
Navigate to the 'Fusion' tab, press Shift and the spacebar at the same time, and type 'Delta Keyer' into the ensuing text box.
Select a background color to key out in the right-hand tab. You can either use a preset, or pick a custom color with the 'Pick Screen Color' option.
Use the sliders on the right-hand-side to fine-tune the effect if needed.
Navigate back to the Edit tab, and add a Generator, or background to put yourself behind. Drag this into the timeline into the 'Video 1' option so it's 'behind' the video of you.
Use the sliders back in the Fusion tab again on the right-hand-side to fine-tune the effect if needed.
With the resulting image, you can then crop your own video in the Edit tab to fit into the background seamlessly.
How to key out a greenscreen in Final Cut Pro
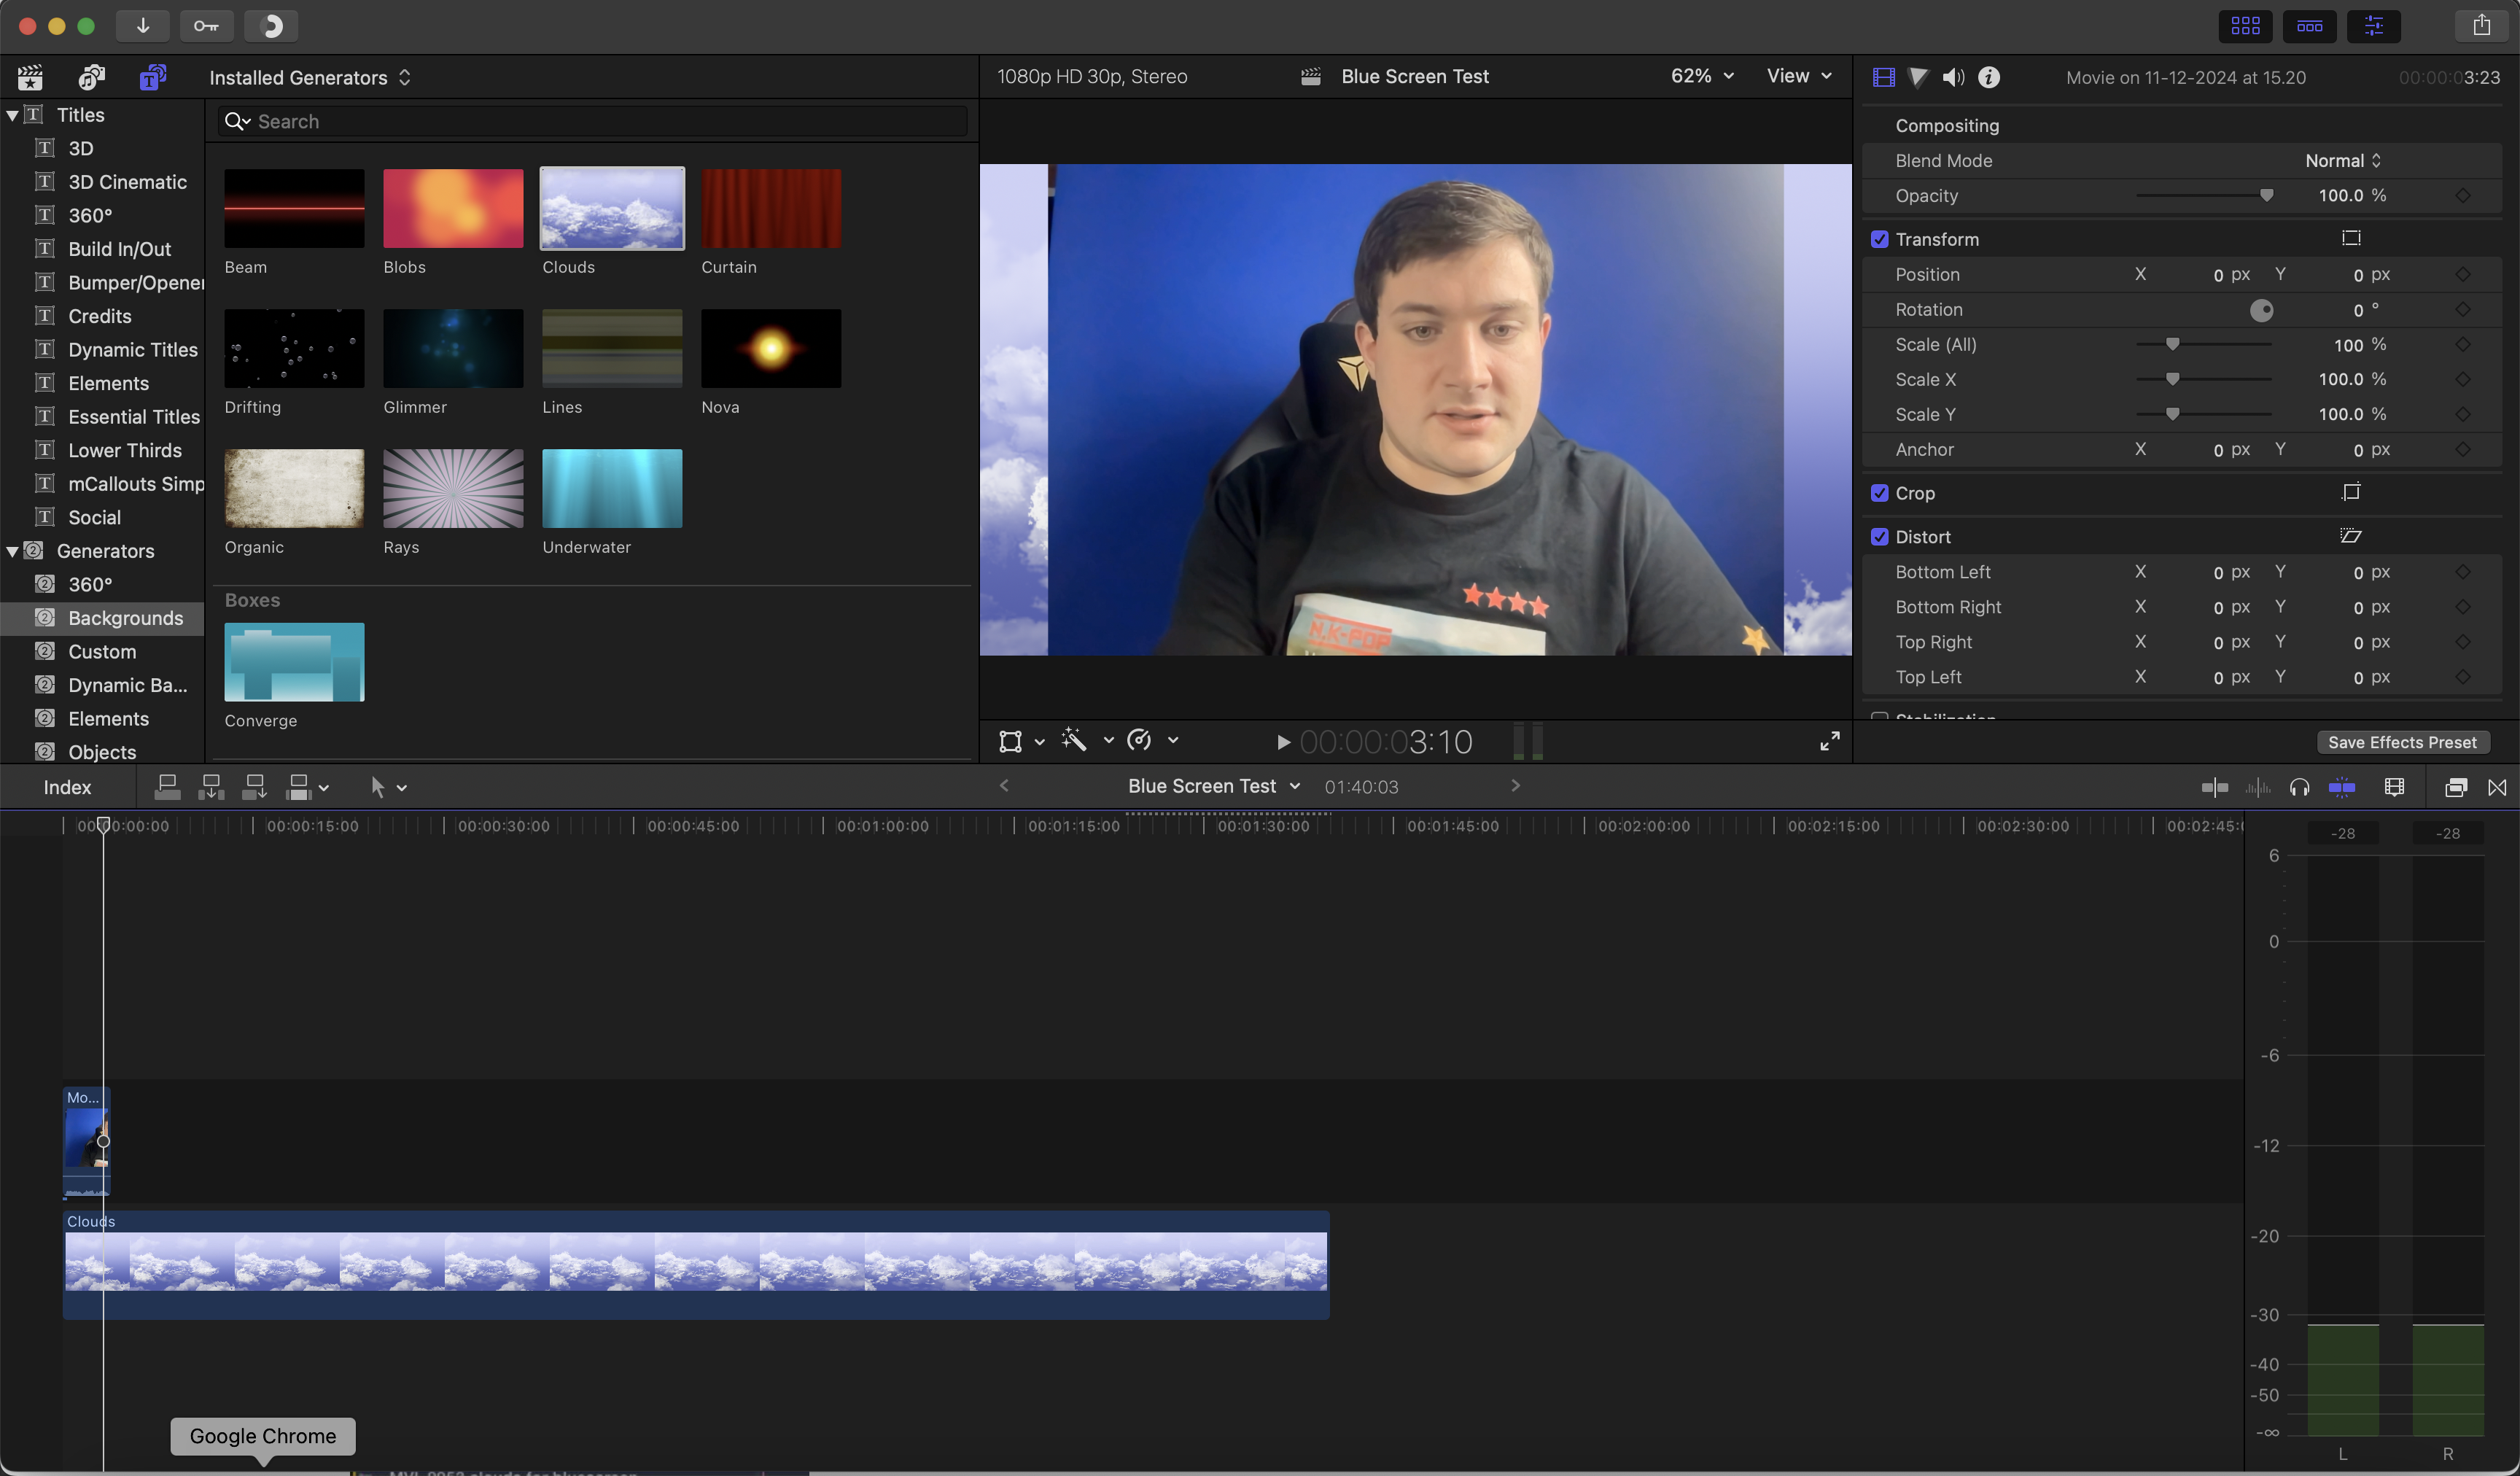
Import your video into Final Cut Pro by pressing Cmd+I or navigating to the Import tab. Then, drag it into the timeline, and add a Generator to sit behind you. These can be found below the arrow icon in the top left of the screen.
Navigate to the bottom right corner in the Effects tab, and scroll down to select 'Green Screen Keyer'. This can be found under 'Masks and Keying' in the Video tab.
With this effect applied by dragging and dropping it onto the video of yourself, you can then fine-tune the effect using the various sliders on the right hand side. To crop yourself into an image, use the Crop tab once you've deselected the 'Green Screen Keyer'.
FAQs
Do you need a PC to use a green screen?
A powerful PC or laptop will serve you well with enough grunt for running the necessary editing or capture software to efficiently allow you to set up a green screen and get it working.
What can I wear in front of a green screen?
When sitting in front of a green or blue screen, you want to ensure the colors you're wearing don't clash with the background behind you.
Otherwise, parts of you could be lost when you key it out in software. So try and avoid wearing green or blue for the best results.
How do you set up a green screen without a stand?
If you don't have a stand for your green screen, you can improvise with the likes of a curtain rail or rods to drape your fabric from and use as a greenscreen. A purpose-built setup is likely to give you a more consistent and better effect, though.
Final thoughts
You now know everything there is to know about how to set up a green screen. From the physical requirements such as optimal lighting conditions and a good quality webcam to the software trickery required. It is easier than you might think, as long as you're patient.
Having a correctly set up and balanced greenscreen can make your content look a lot sharper and more professional than a potentially cluttered backdrop, too.
If you're wanting even more of a step-up in your content creation journey, then you'll also want one of the best microphones for streaming to ensure fantastic vocals, and one of the best webcams to make sure you look your best.


