On Windows 11, you can take screenshots in multiple ways with different apps. However, the Snipping Tool is perhaps the best option for most users since it includes the tools to capture the screen in different ways, including the ability to screenshot a selected area of the screen.
Technically, using the Snipping Tool app, you have at least three ways to take a screenshot from a region. You can use the rectangle, freeform, and the option to screenshot a specific window.
In this how-to guide, I'll explain the steps to take screenshots but only from a selected area, not in full-screen, on Windows 11.
How to take screenshots from a region of the screen
The instructions below will help you take screenshots using the rectangle and freeform, as well as the option to screenshot a specific window.
Rectangle screenshot
To take a screenshot from a selected area on Windows 11, use these steps:
- Open Start.
- Search for Snipping Tool and click the top result to open the app.
- Quick tip: You can use the "Windows key + Shift + S" keyboard shortcut to bring up the app tools.

- Choose the Rectangle option.
- Click the New button.
- Select the area to take the screenshot using the mouse pointer.
Freeform screenshot
To screenshot part of the screen with the freeform option, use these steps:
- Open Start.
- Search for Snipping Tool and click the top result to open the app.
- Choose the Freeform option.
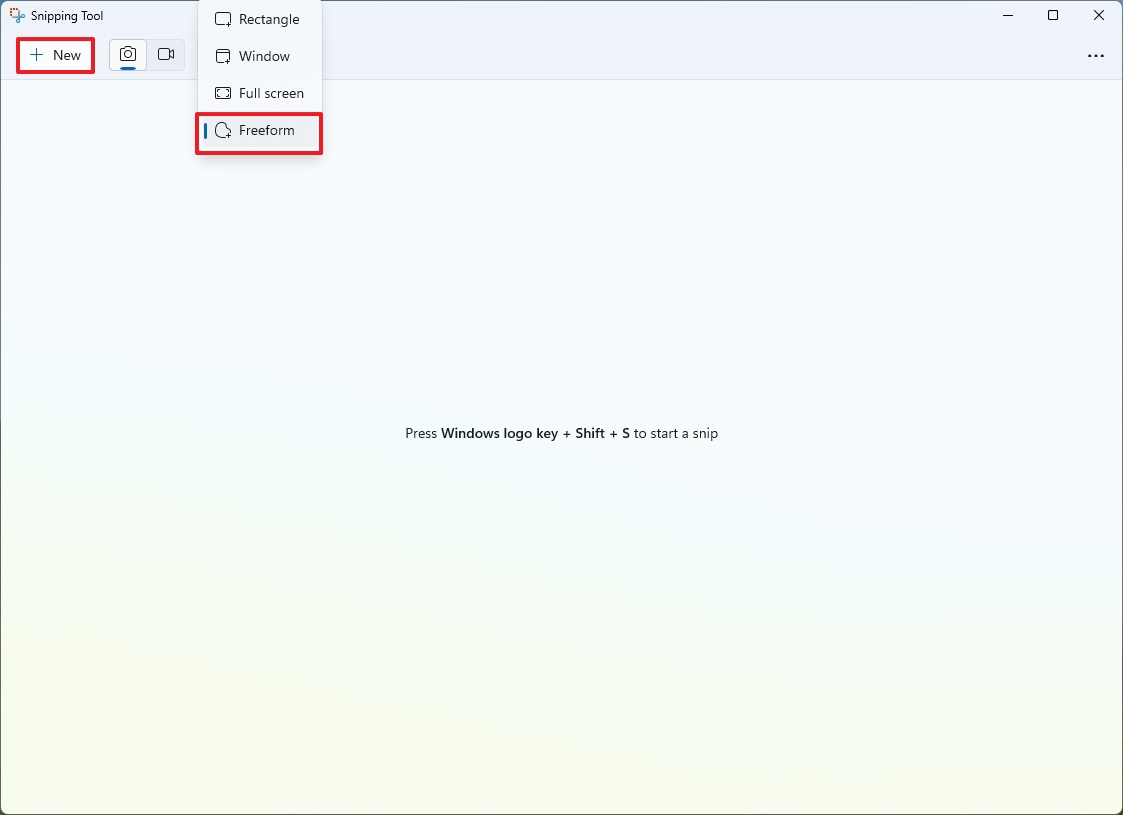
- Click the New button.
- Circle the area to take the screenshot using the mouse pointer.

Window screenshot
To take a screenshot of a window on the screen, use these steps:
- Open Start.
- Search for Snipping Tool and click the top result to open the app.
- Choose the Window option.

- Click the New button.
- Choose the window to take the screenshot.
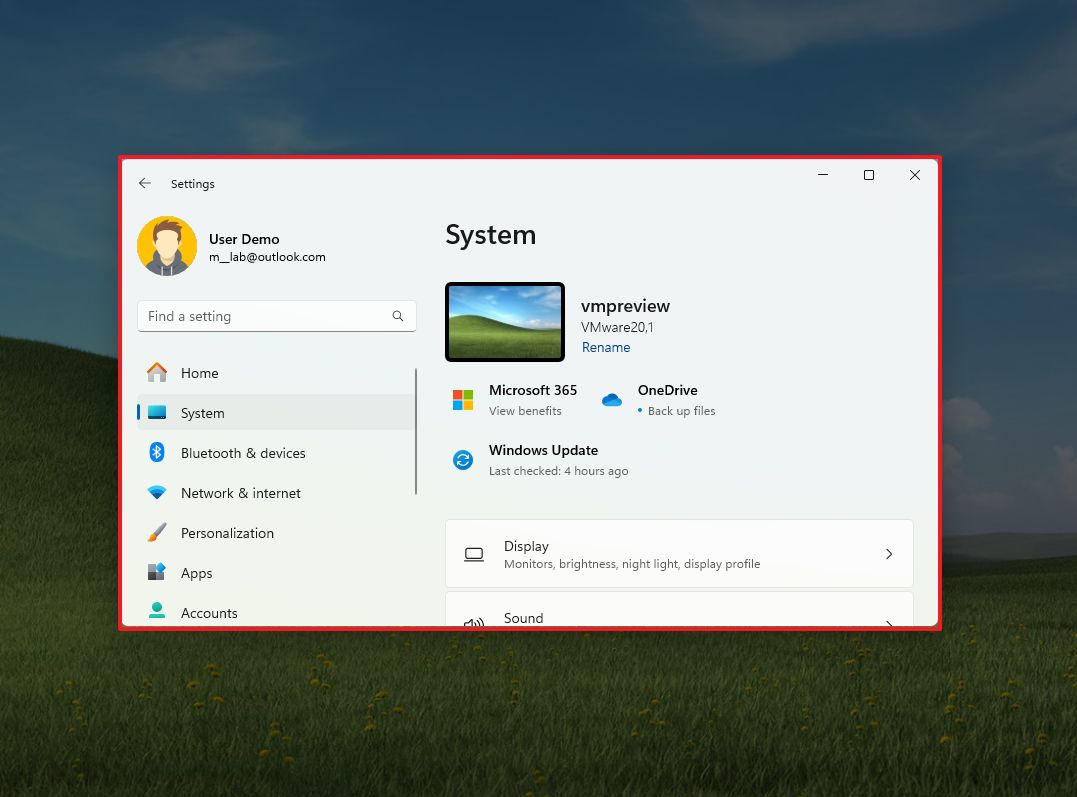
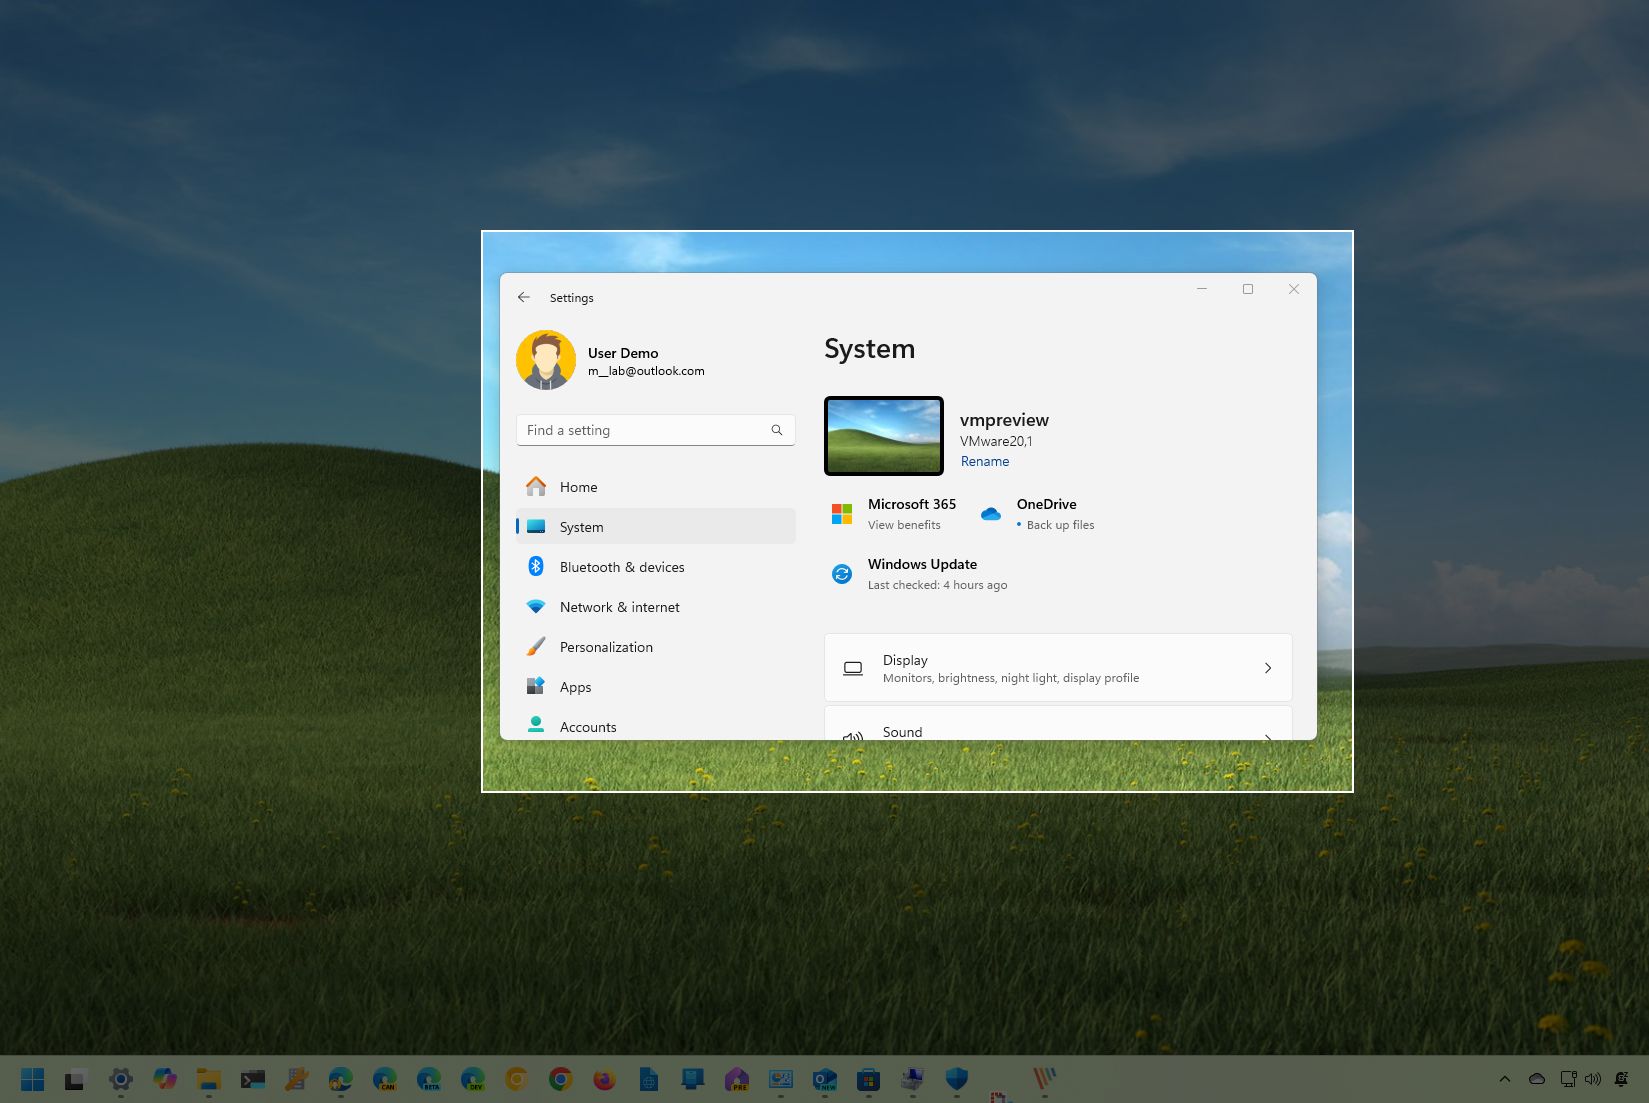
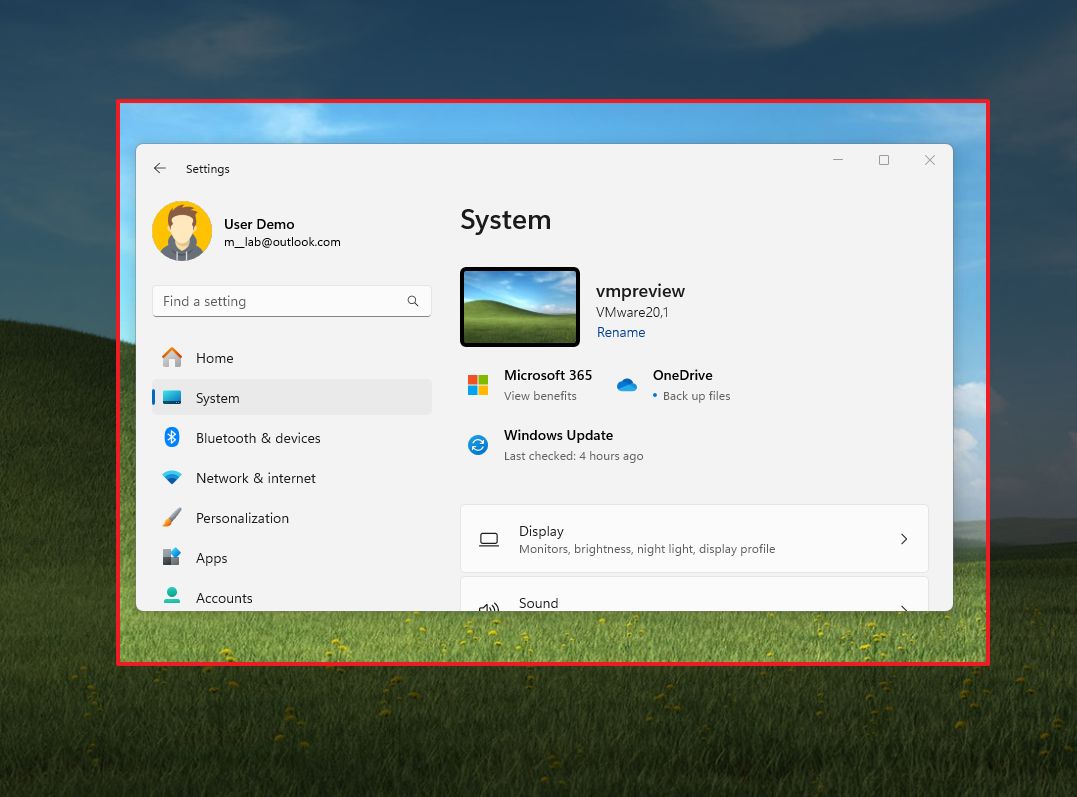
Once you complete the steps, you will end up with a screenshot that only covers a region of the screen.
You can now use the Snipping Tool features to annotate the screenshot. The app offers a pen and highlighter, and the "Shapes" tool lets you use shapes and emojis.
More resources
For more helpful articles, coverage, and answers to common questions about Windows 10 and Windows 11, visit the following resources: