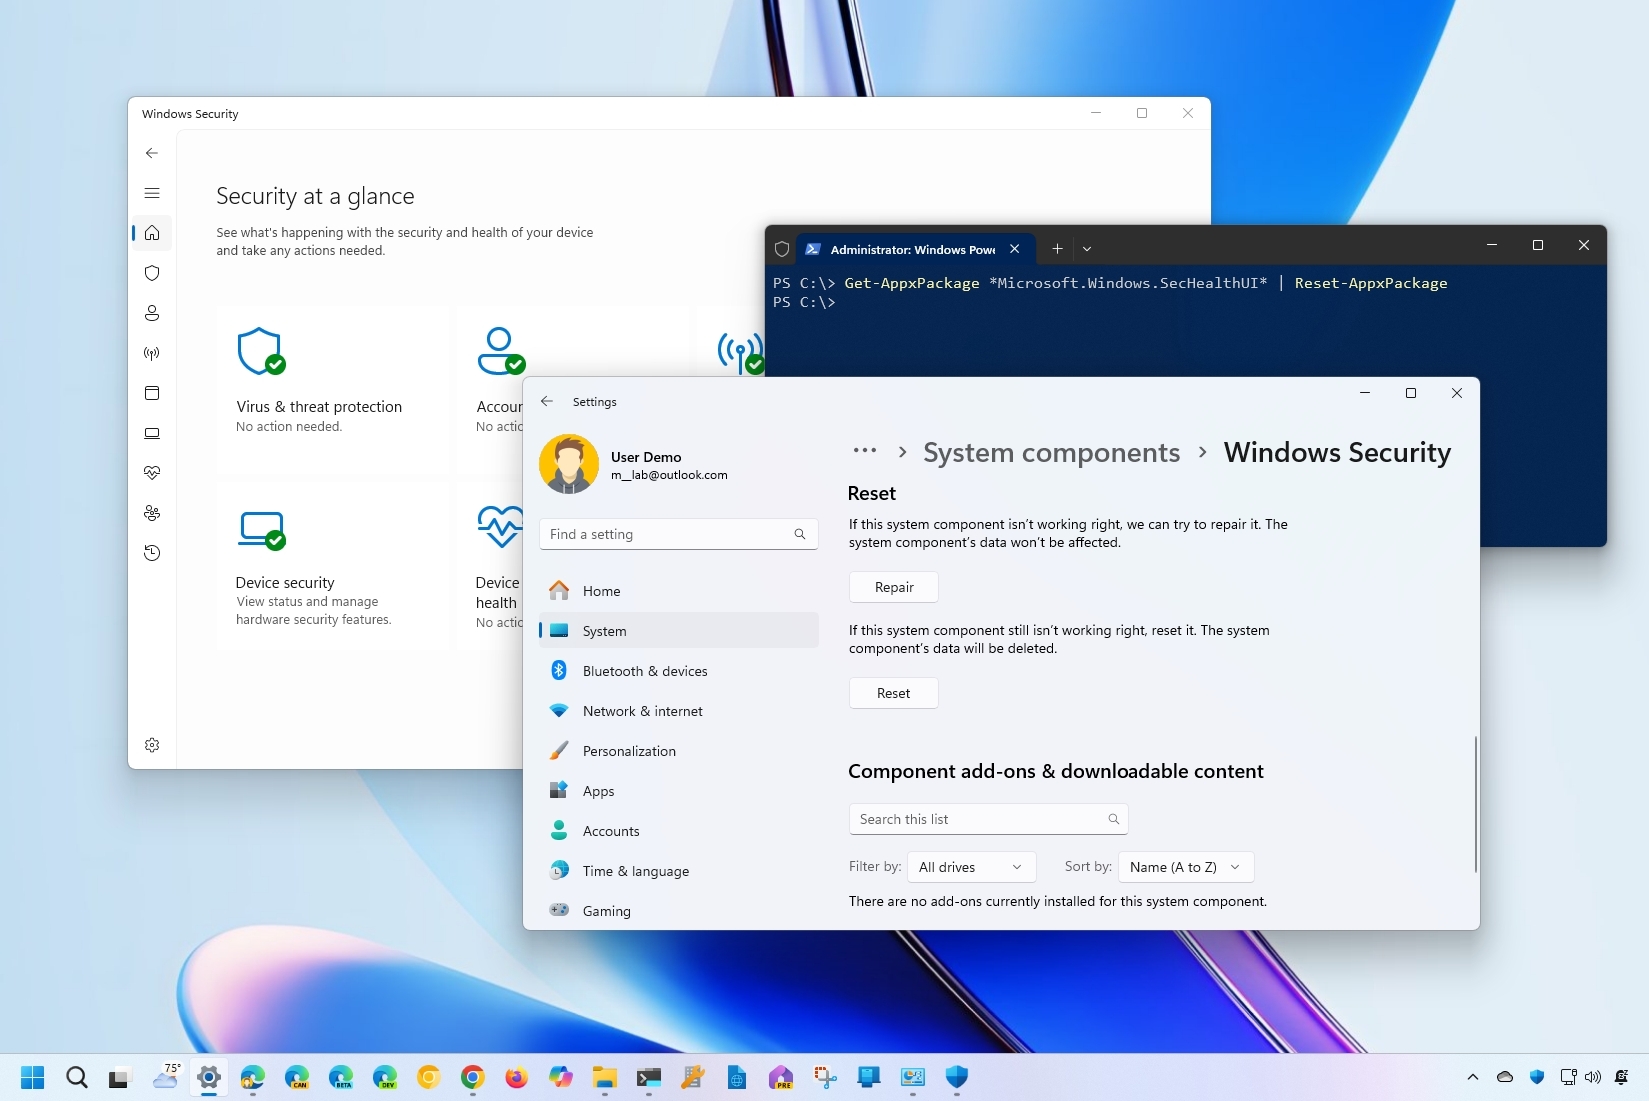
On Windows 11 (or 10), the Windows Security app provides a central dashboard to manage and configure many security features available with the operating system, such as Microsoft Defender Antivirus, Device Security, and Firewall.
If the app doesn't start correctly, constantly crashes, or shows an error, you can reset it to resolve most issues through the Settings app and PowerShell. However, the instructions will be slightly different depending on whether you have a Windows 10 or 11 computer.
In this how-to guide, I will walk you through the steps to repair problems affecting the Windows Security app on your computer.
How to reset the Windows Security app on Windows 11
On Windows 11, you can use the Settings app and PowerShell to fix problems with the Windows Security app.
From Settings app
To fix problems with the Security app on Windows 11, use these steps:
- Open Settings.
- Click on System.
- Click the "System components" page on the right side.
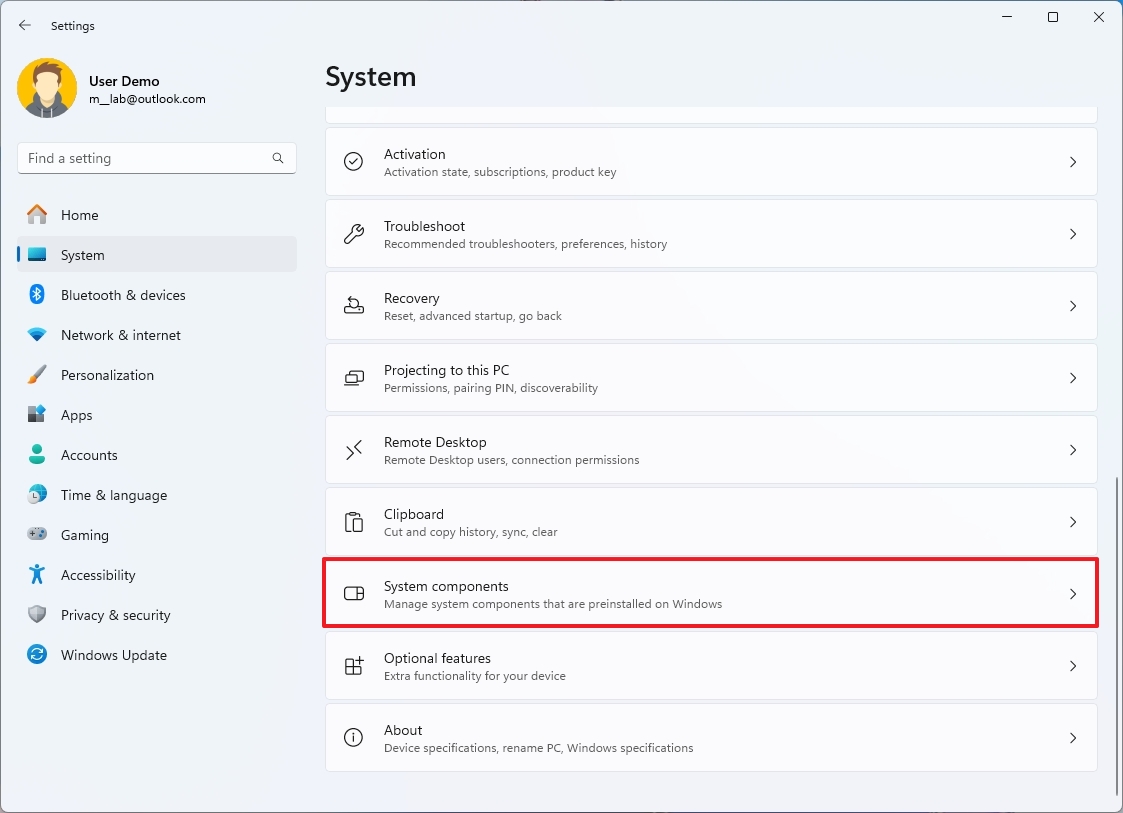
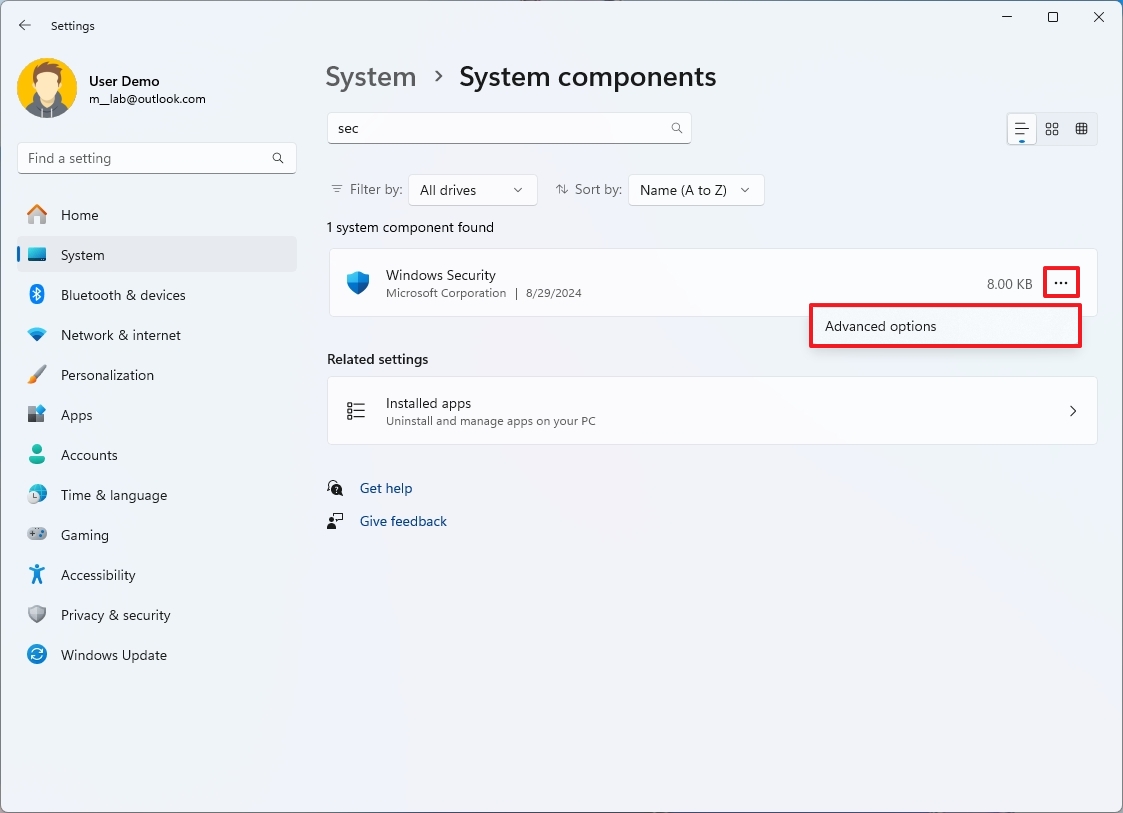
- Click the three-dot menu button next to the Windows Security app.
- Choose the "Advanced options" setting.
- (Option 1) Click the Repair button to reset the app without losing the app's data.
- (Option 2) Click the Reset button to reinstall the app.
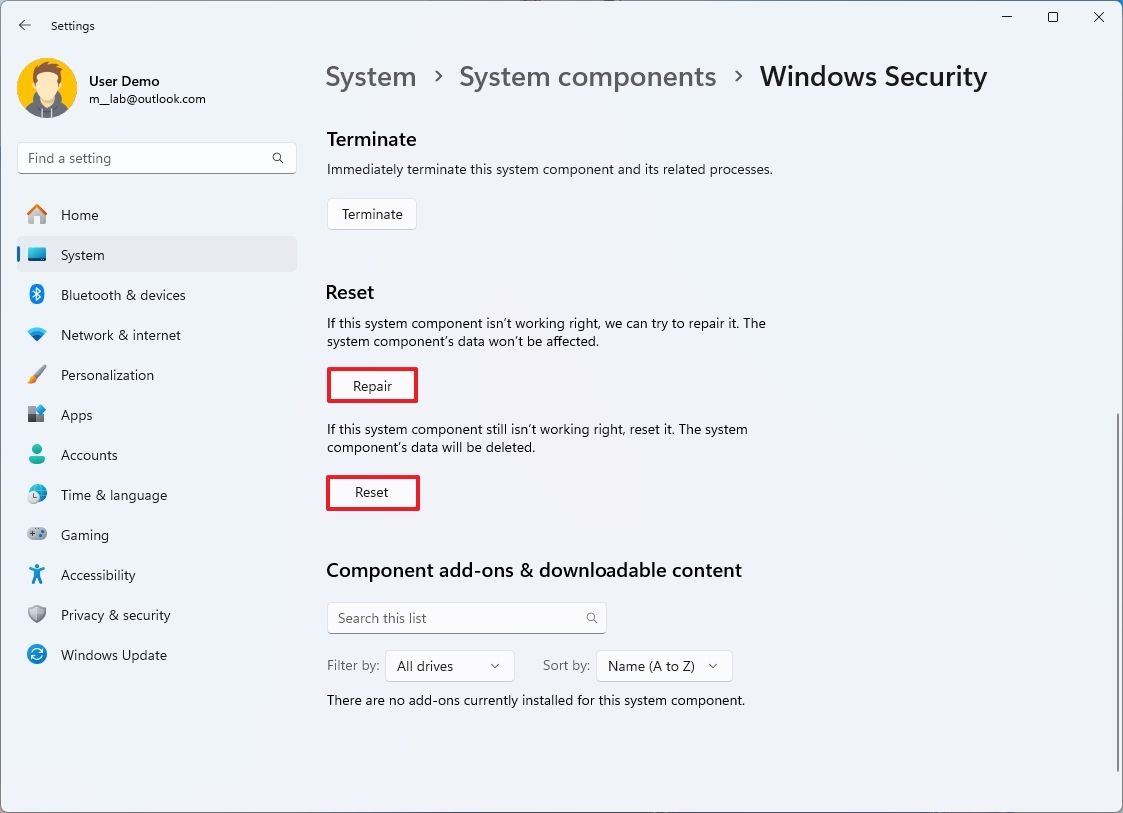
- Quick note: In my experience, this option doesn't delete the app's manually configured settings.
- Click the Reset button again.
Once you complete the steps, you should be able to relaunch the app without issues.
From PowerShell
To reset the Security app with PowerShell on Windows 11, use these steps:
- Open Start.
- Search for PowerShell, right-click the top result, and choose the Run as administrator option.
- Type the following command to reset the app and press Enter: Get-AppxPackage *Microsoft.Windows.SecHealthUI* | Reset-AppxPackage
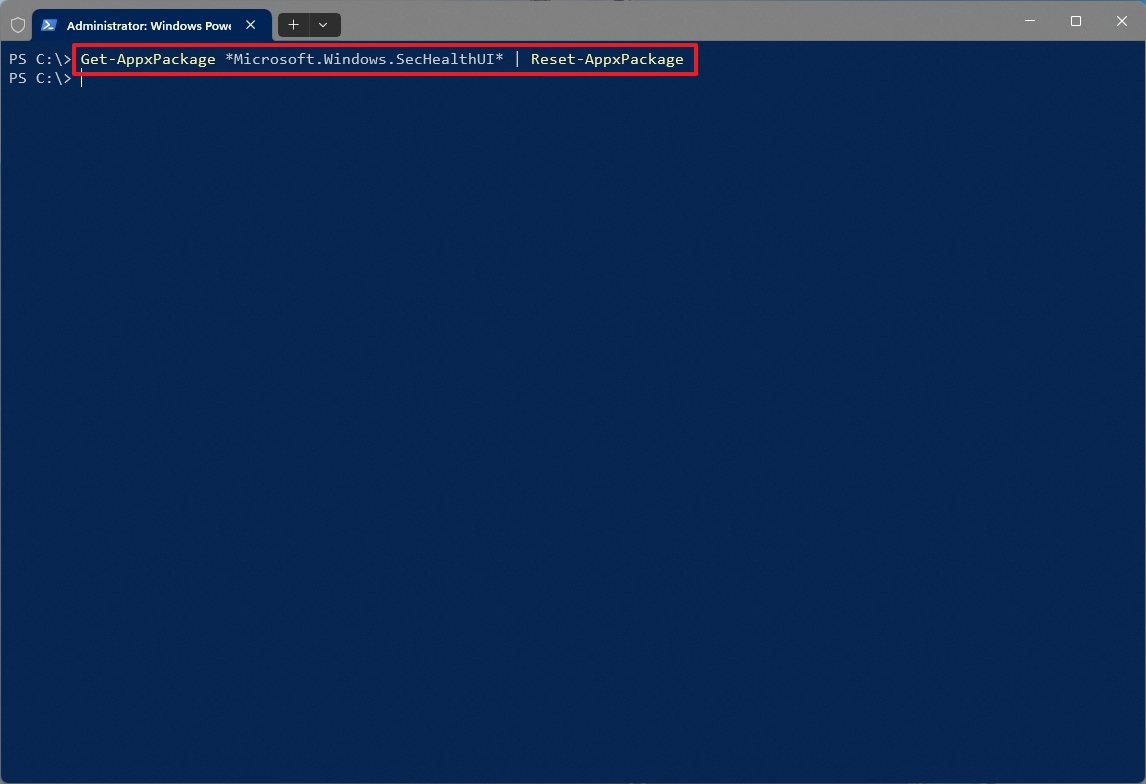
After you complete the steps, the PowerShell command will reset the app to resolve any issue.
In the command, I'm using the "Get-AppxPackage" to grab the app, and the "Reset-AppxPackage" instructs the system to reset the application.
How to reset the Windows Security app on Windows 10
On Windows 10, you can also use the Settings app and PowerShell, but the instructions will be slightly different.
From Settings app
To repair the Security app on Windows 10, use these steps:
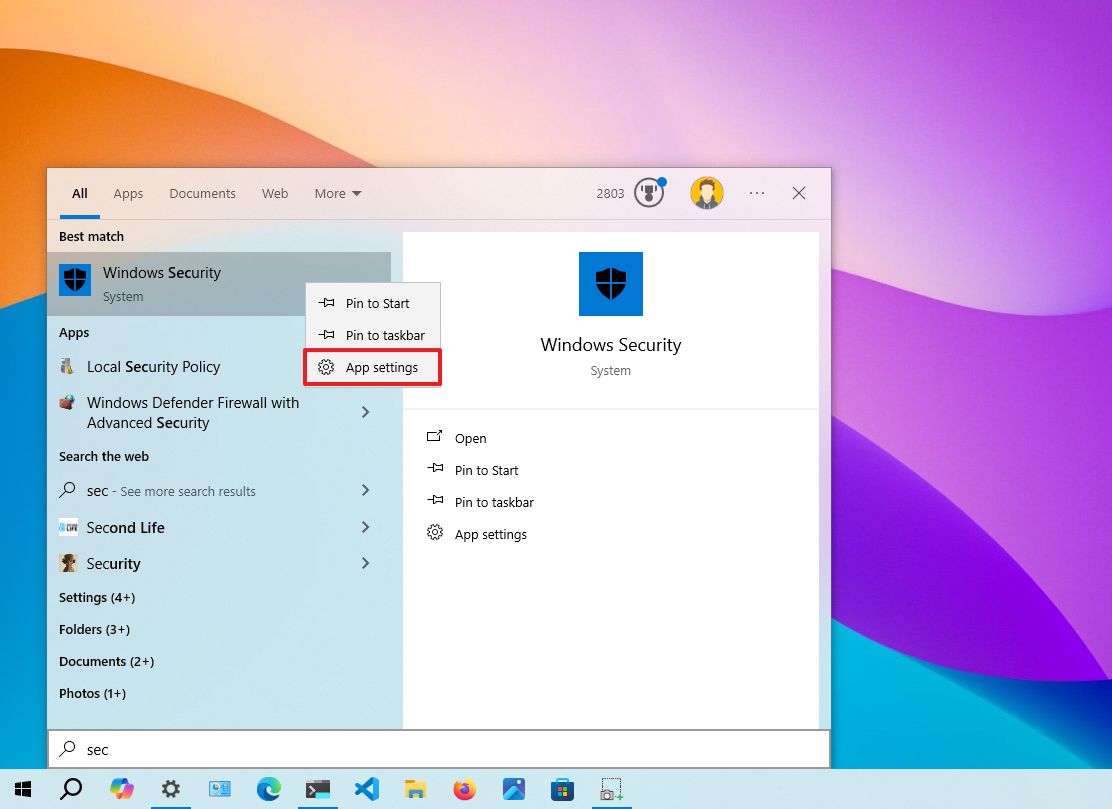
- Open Start.
- Search for Windows Security, right-click the top result, and choose the App settings option.
- Click the Reset button to reinstall the app.
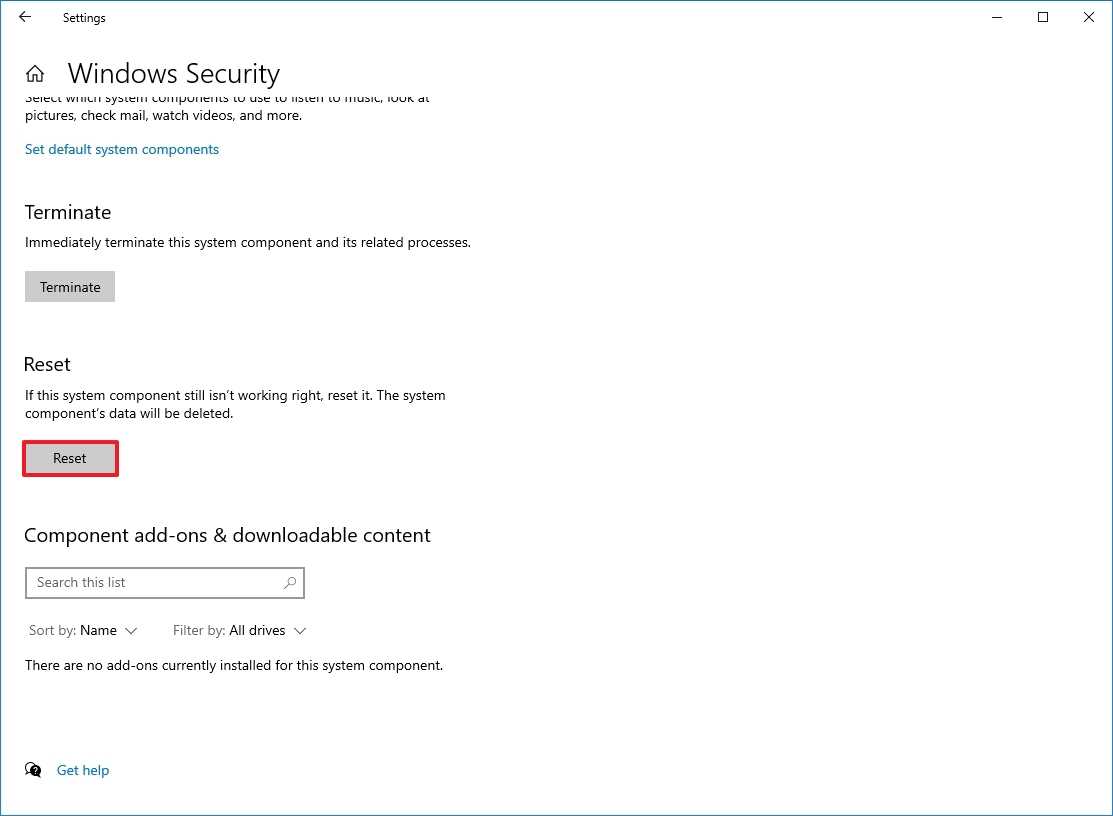
Once you complete the steps, the reset process should fix the most common problems with the Windows Security app.
From PowerShell
To reset the Security app on Windows 10 through PowerShell, use these steps:
- Open Start.
- Search for PowerShell, right-click the top result, and choose the Run as administrator option.
- Type the following command to reset the app and press Enter: $manifest = (Get-AppxPackage *Microsoft.Windows.SecHealthUI*).InstallLocation + '\AppxManifest.xml' ; Add-AppxPackage -DisableDevelopmentMode -Register $manifest
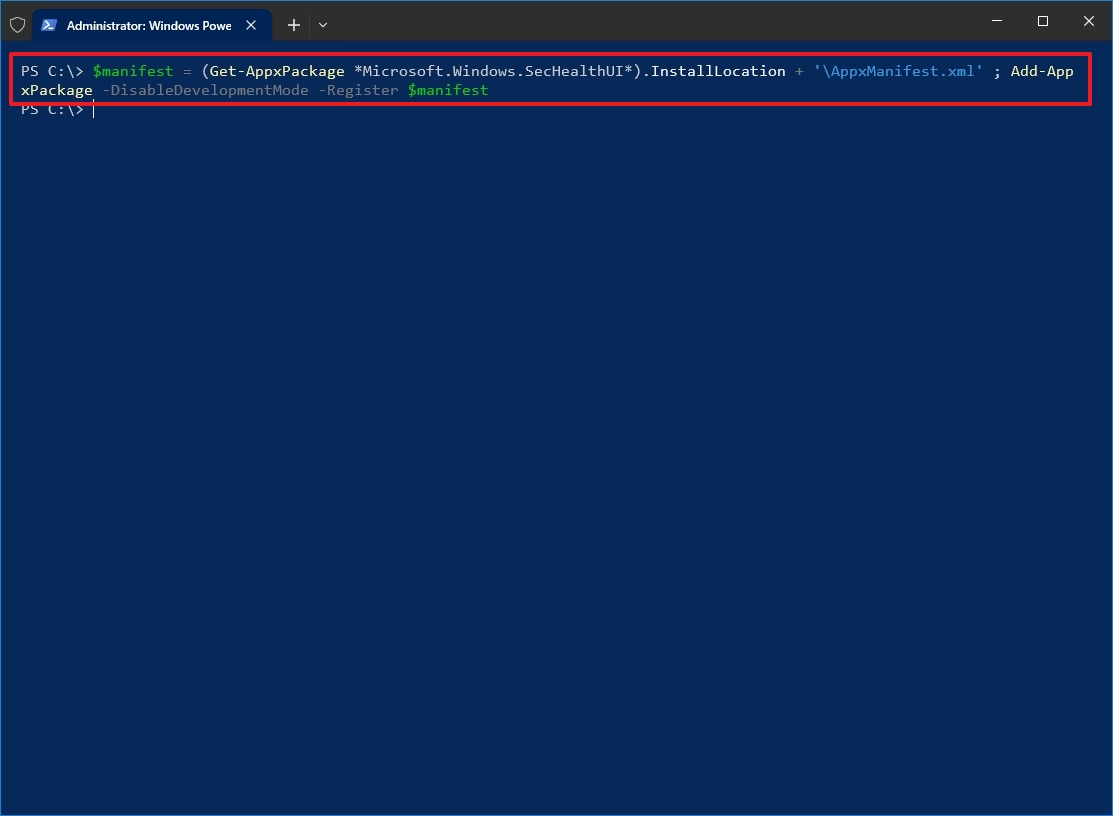
After you complete the steps, the PowerShell command will reset the app to resolve any issue.
Although Windows 10 doesn't include the "Reset-AppxPackage" option, you can use the "Add-AppxPackage" option to register the Windows Security app.
More resources
For more helpful articles, coverage, and answers to common questions about Windows 10 and Windows 11, visit the following resources:


