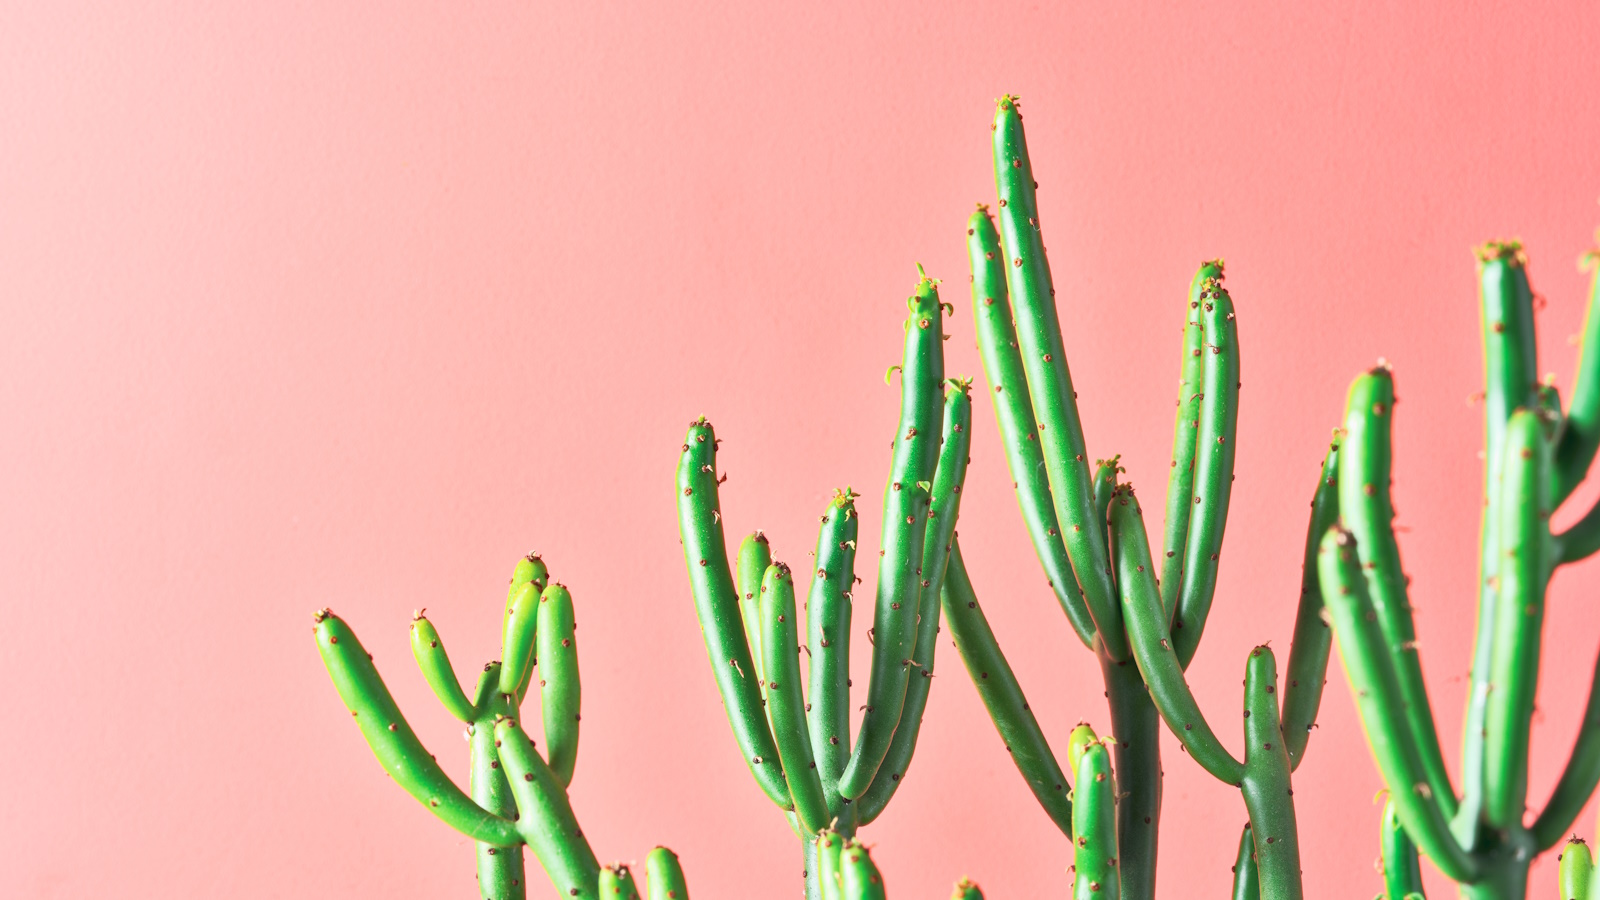
The pencil cactus, otherwise known as a 'milk bush' or euphorbia tirucalli, is a variety of cacti known for its signature, vertical pencil-like branches that grow in a candelabra pattern.
Native to Africa and best kept in temperatures not dipping below 25°C, the plant has become highly popularized as a house succulent in many parts of the world for its low maintenance nature and pleasing silhouette.
If you're seeking to grow a cactus from cuttings, the pencil cactus is one of the easiest out there. I spoke to two tropical plant experts to learn about the propagation process of a pencil cactus step-by-step, so you can grow many more of these lithe cacti.
Step 1: Take a cutting
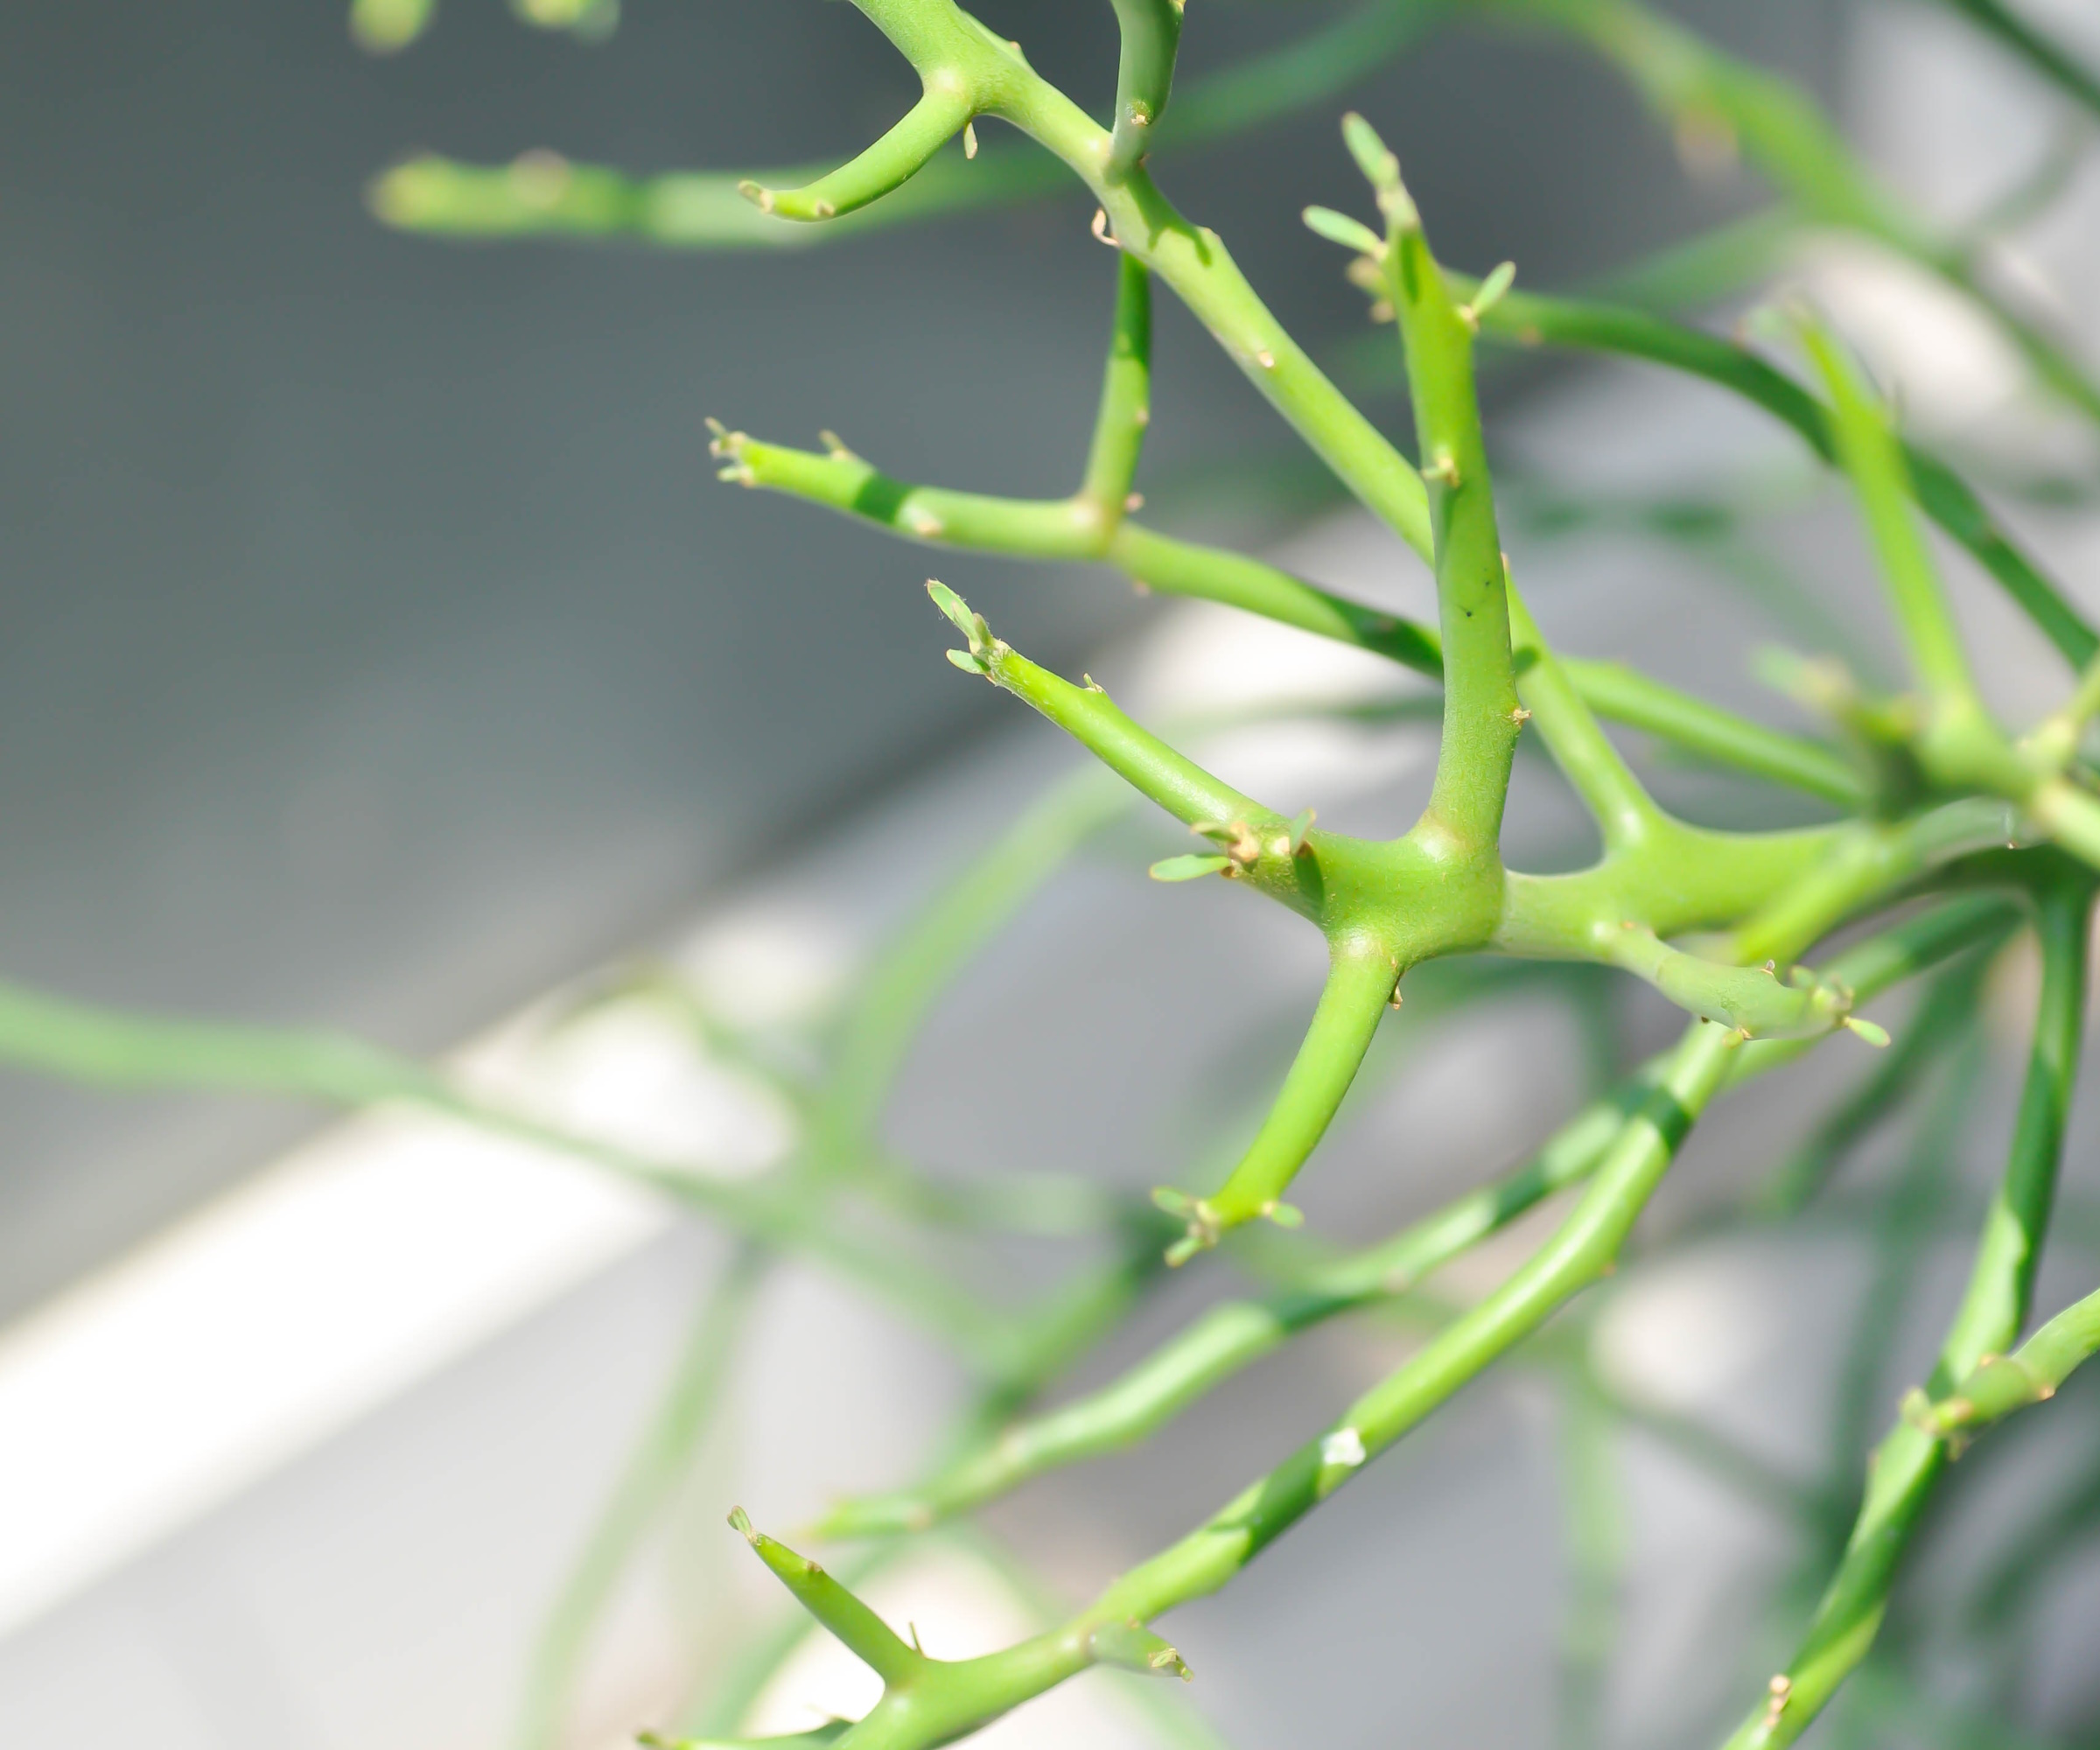
Pencil cacti are among the easiest houseplants to grow from cuttings. To propagate a pencil cactus, the first step will be to take a healthy cutting from a pencil cacti you already own or wish to use as a propagation plant.
Alexandra Moreno, tropical plant and palm expert at Atlanta Palms, says, 'When you approach taking a cutting from your pencil cactus, I recommend using pruning shears to remove a cutting that is about 6 inches long. Ensure you don't use a cutting that is too small or from an unhealthy-looking branch.'
Using a small or unhealthy cutting are a couple of the mistakes to avoid when taking plant cuttings. If you do this, it may result in your propagation process failing or in the development of a weaker new plant.
Jessica Mercer, senior content marketing coordinator of Plant Addicts, adds that it's a must to wear gloves when cutting a pencil cacti, as it will release sap that can harm your skin.
'The major challenge when propagating a pencil cactus is protecting your skin from the toxic milky sap that oozes from its cut stems,' says Jessica. 'The sap, called latex, can irritate the skin and mucous membranes, especially the eyes, so care should be taken when handling this plant.'
This 2pcs garden pruning shears set from Amazon is a good, affordable example of the gear you will need to obtain a clean cut through your pencil cactus for the best cutting. Both pairs of pruning shears are small, have grips to help you when holding, and there are two different sizes available to use depending on the width of what you need to cut.
Don't forget to combine this with a good pair of gardening gloves, such as the Cooljob gardening gloves from Amazon, specifically designed for safety when handling cacti.
Step 2: Clean the cutting
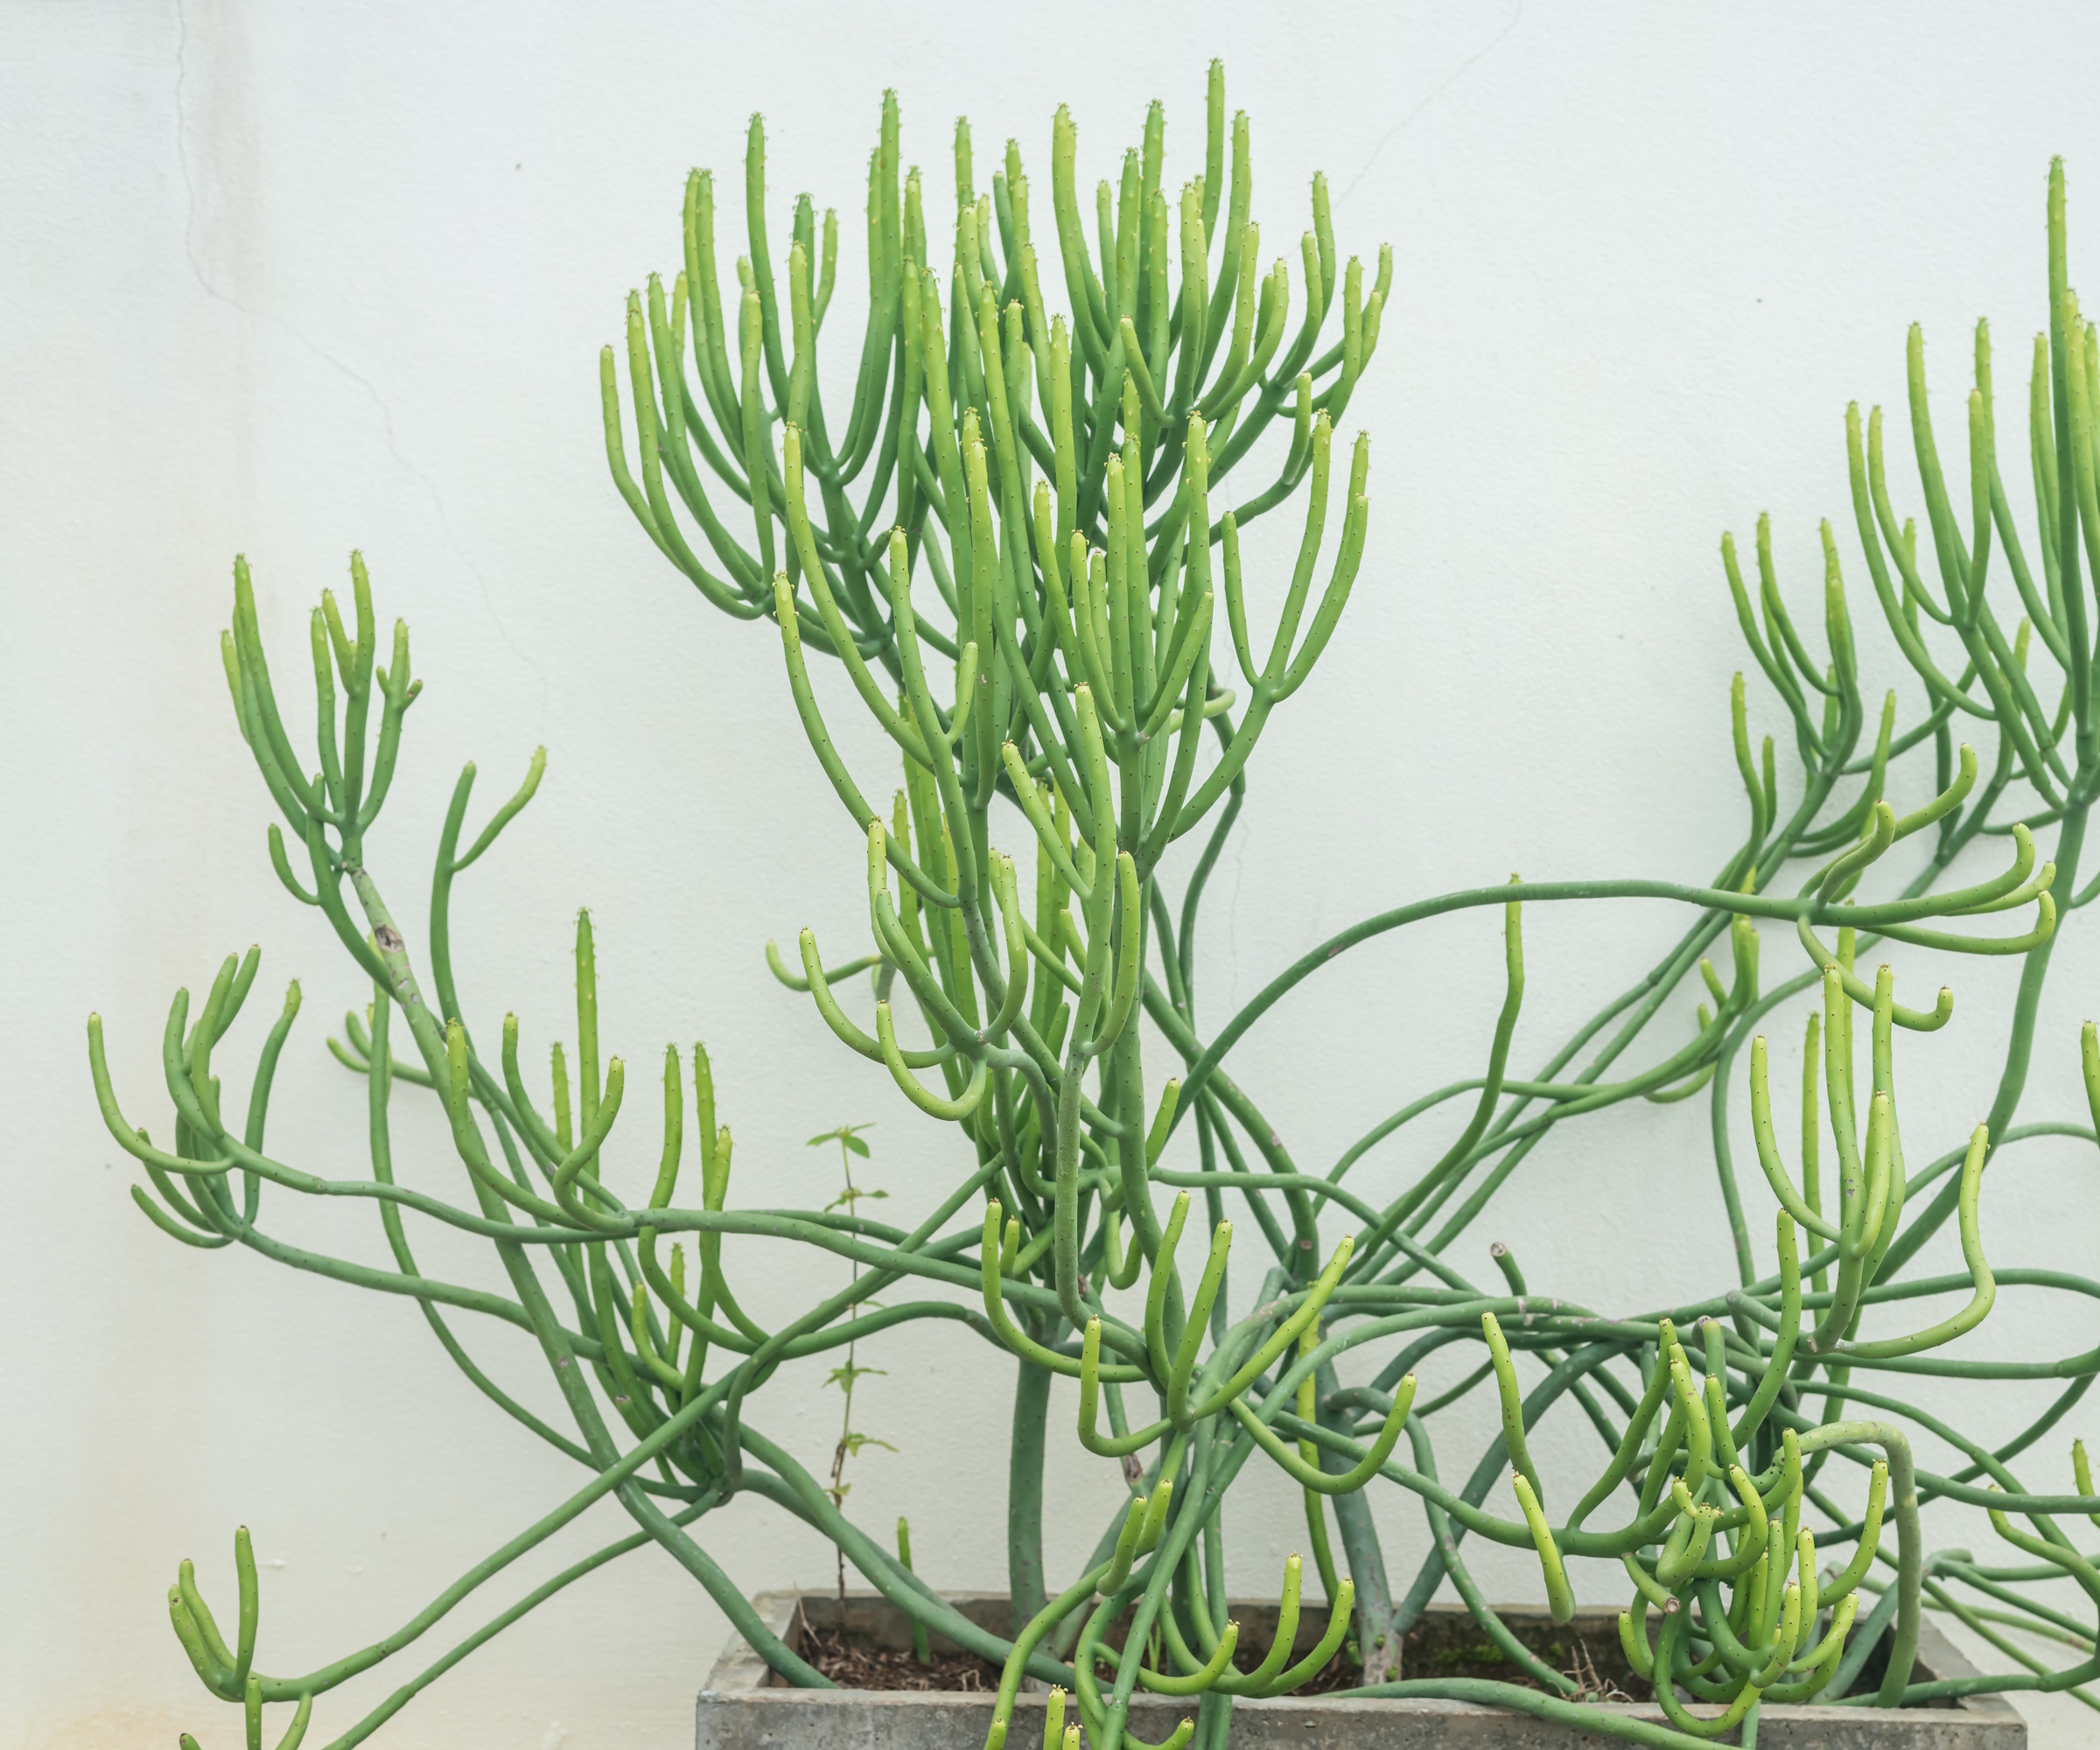
It's important to give your cutting a light wash in some water to prevent the aforementioned sap from sealing over the end of your cutting.
'This step is important because the sap can prevent the formation of a proper callus if left on the cutting,' adds Alexandra.
All you need to do is dip the end of your cutting in a cup of fresh water and gently move it around. Then, take it out and carefully dry it off using a clean paper towel. A paper towel is the best choice to dry off your pencil cactus cuttings with as it's disposable, so you won't risk transferring toxic chemicals from the sap to other areas of your home. Using a disposable cup for this same reason would be a good choice as well.
You can disinfect the sap off of your pruning scissors by using rubbing alcohol, such as the McKesson alcohol prep pads from Walmart.
Step 3: Allow the cutting to dry
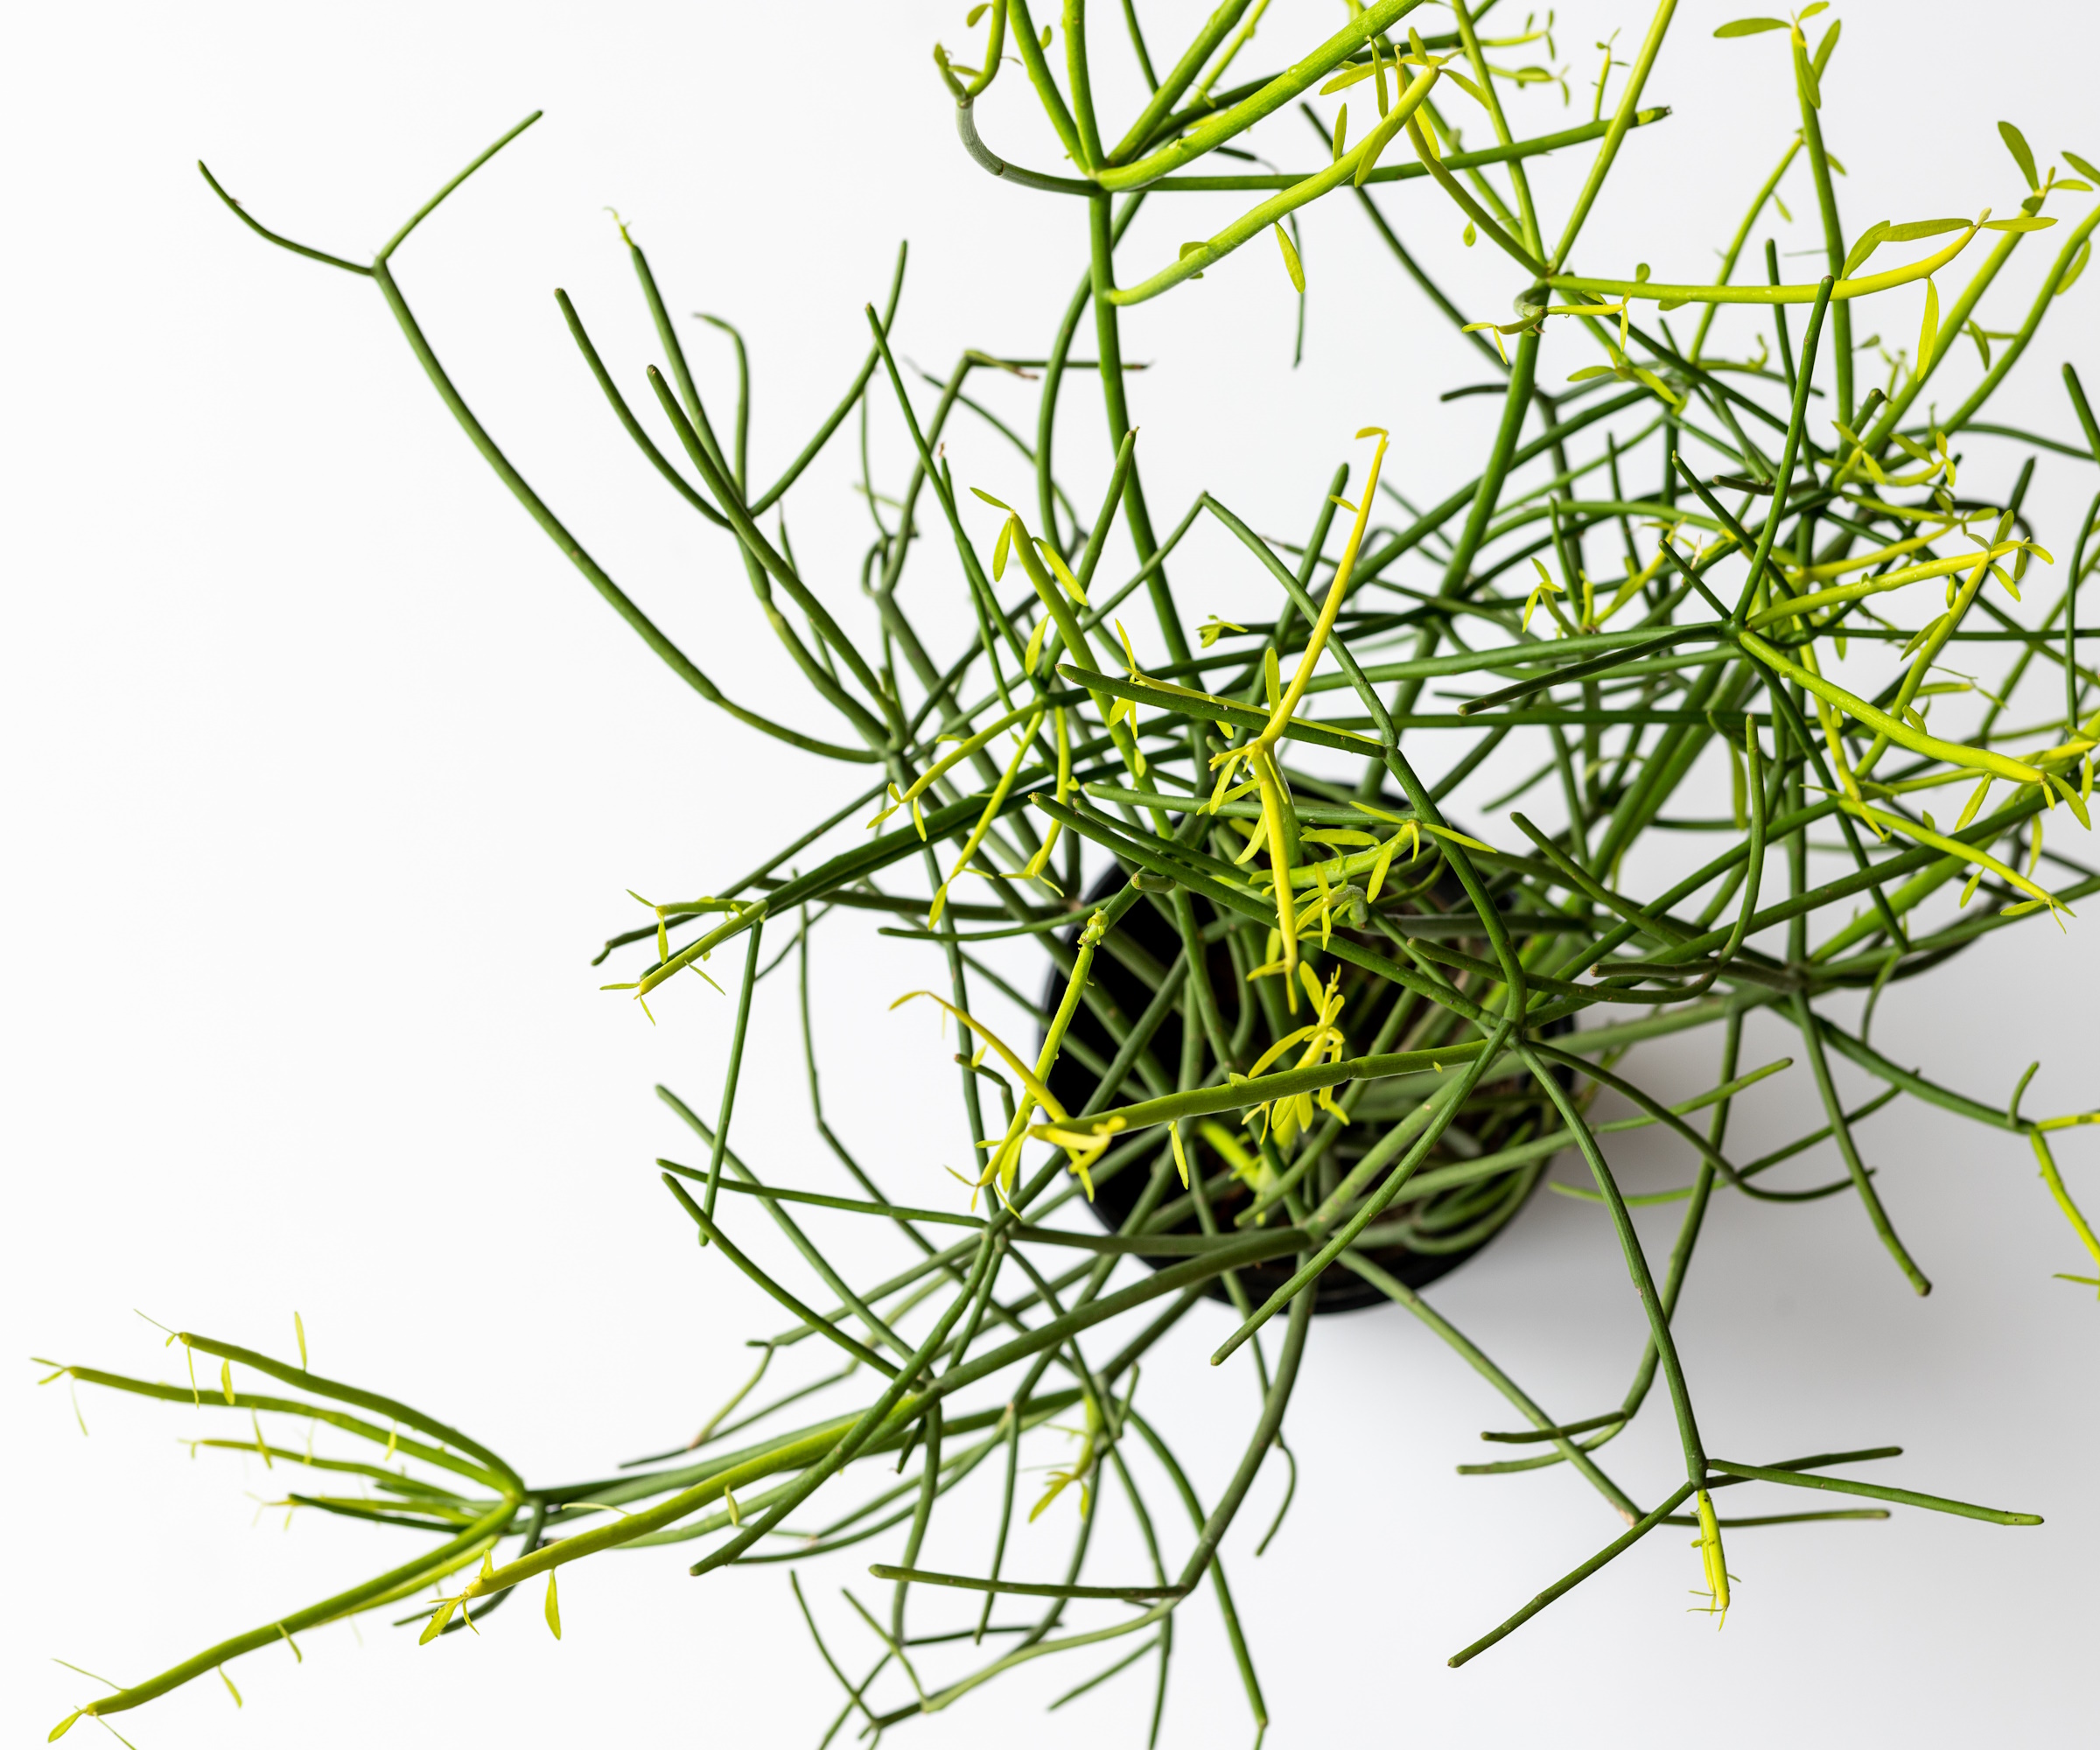
Drying off your cutting using paper towel is a good start but not enough to ensure that your pencil cactus is free from the risk of rot.
'It's best to leave your pencil cactus cuttings out to dry and callus over for a few days [up to a week on average] prior to planting to reduce their chance of rotting,' says Jessica.
We recommend leaving them in a shady place that isn't too cold, such as a shielded part of your porch or on a windowsill that isn't exposed to direct sunlight.
You will be able to tell that your cacti cutting has successfully calloused if the surface inside the cut begins to become brownish and covers itself shut with a protective layer.
Step 4: Plant the cutting(s) into a new pot
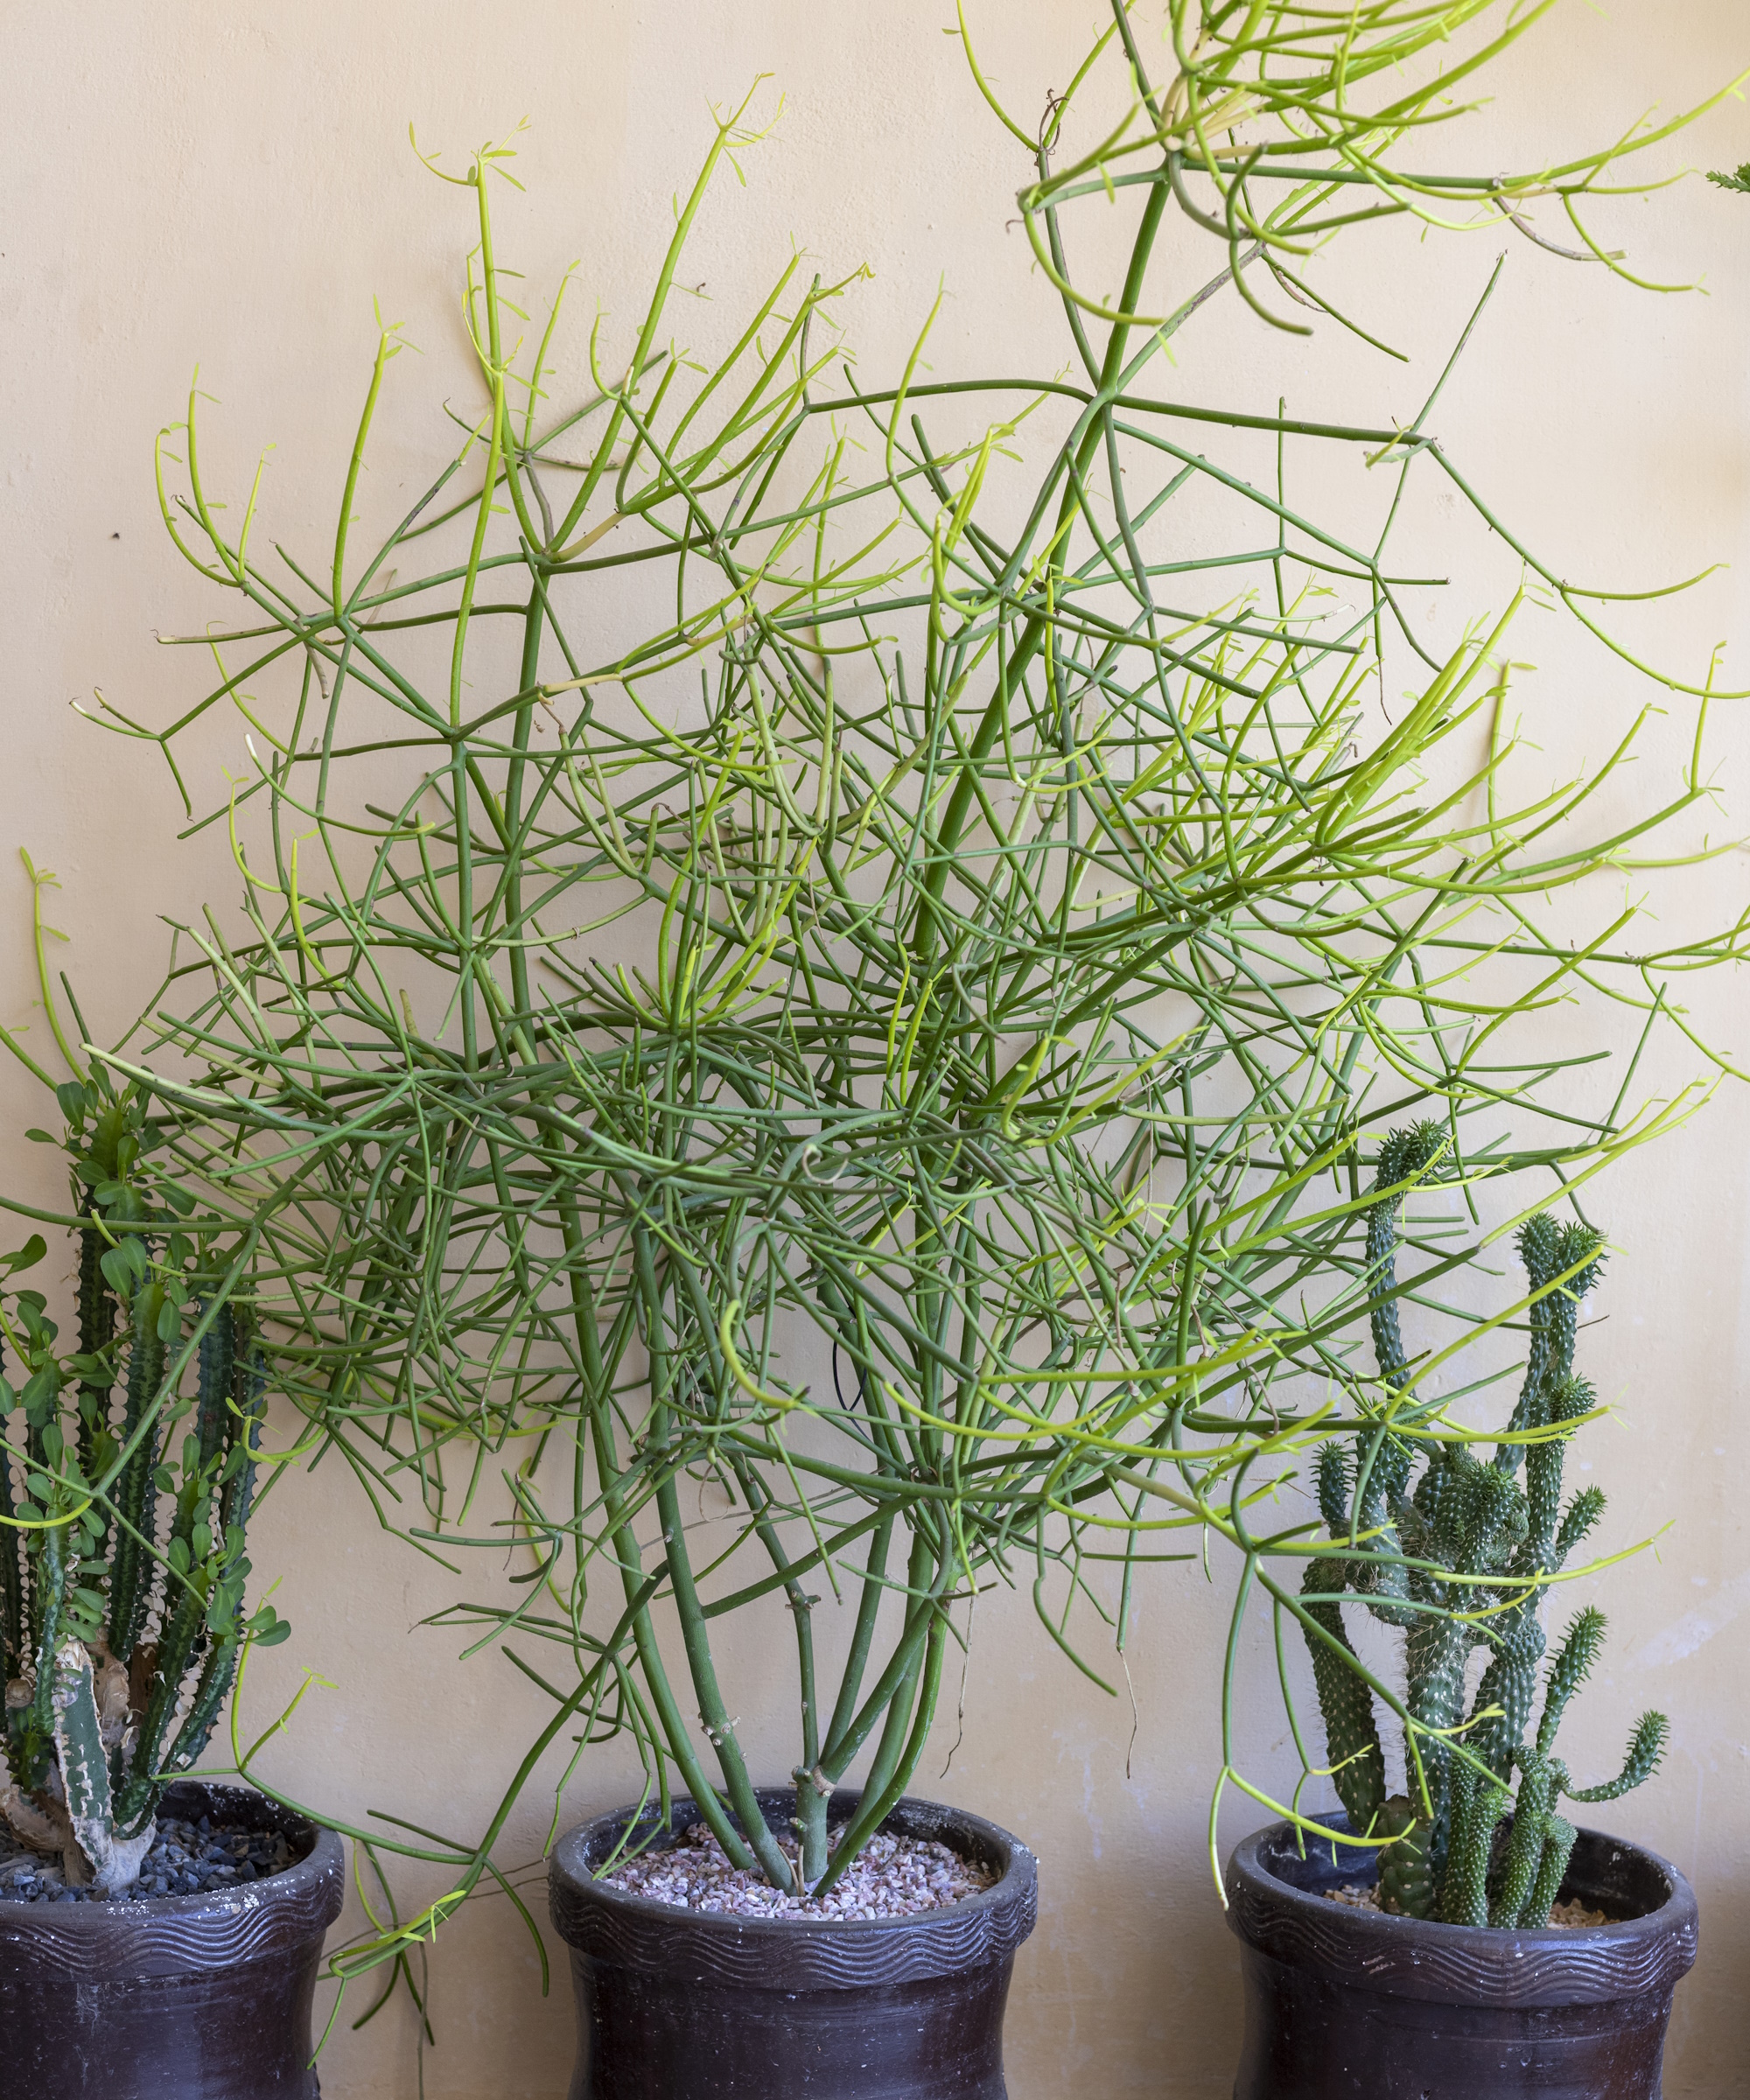
Once your pencil cactus cutting has calloused and dried, you're ready to plant it up. It's recommended to keep your new plant indoors for at least a few weeks to nurture its progress if your intention is to maintain it as an outdoor plant.
'Plant the cutting about an inch deep in a well-drained substrate like a cactus and succulent potting mix,' says Jessica.
Alexandra Moreno adds, 'Using a specialized soil will provide the perfect balance of organic and inorganic components needed for the plant to thrive.'
The Harris premium succulent and cactus potting soil mix from Amazon is praised for its ease to work with and its ability to drain excess water away fast.
Once your newly propagated pencil cacti has been potted up, lightly water it every two to thee weeks. Check the soil with your finger to see if it's dry to the touch, and if the plant begins to yellow, ensure that you know how to water a cactus, and that it isn't being exposed to too little or too much sunlight.
After around three weeks, the roots of your pencil cactus will have developed more solidly, making the plant increasingly robust.
FAQs
How long will my pencil cactus live?
Alexandra Moreno, tropical plant and palm expert at Atlanta Palms, says, 'Once rooted, the propagated plant will be a genetic clone of the mother plant and, if you know how to care for a cactus properly, it will grow into a mature cactus that can live for up to 60 years.'
Different plants thrive under different conditions, and it's more important than ever to get them right when propagating fragile, new succulents. Getting the correct type of potting medium is also crucial, be that specialist cacti mix, moss, bark or potting soil.


