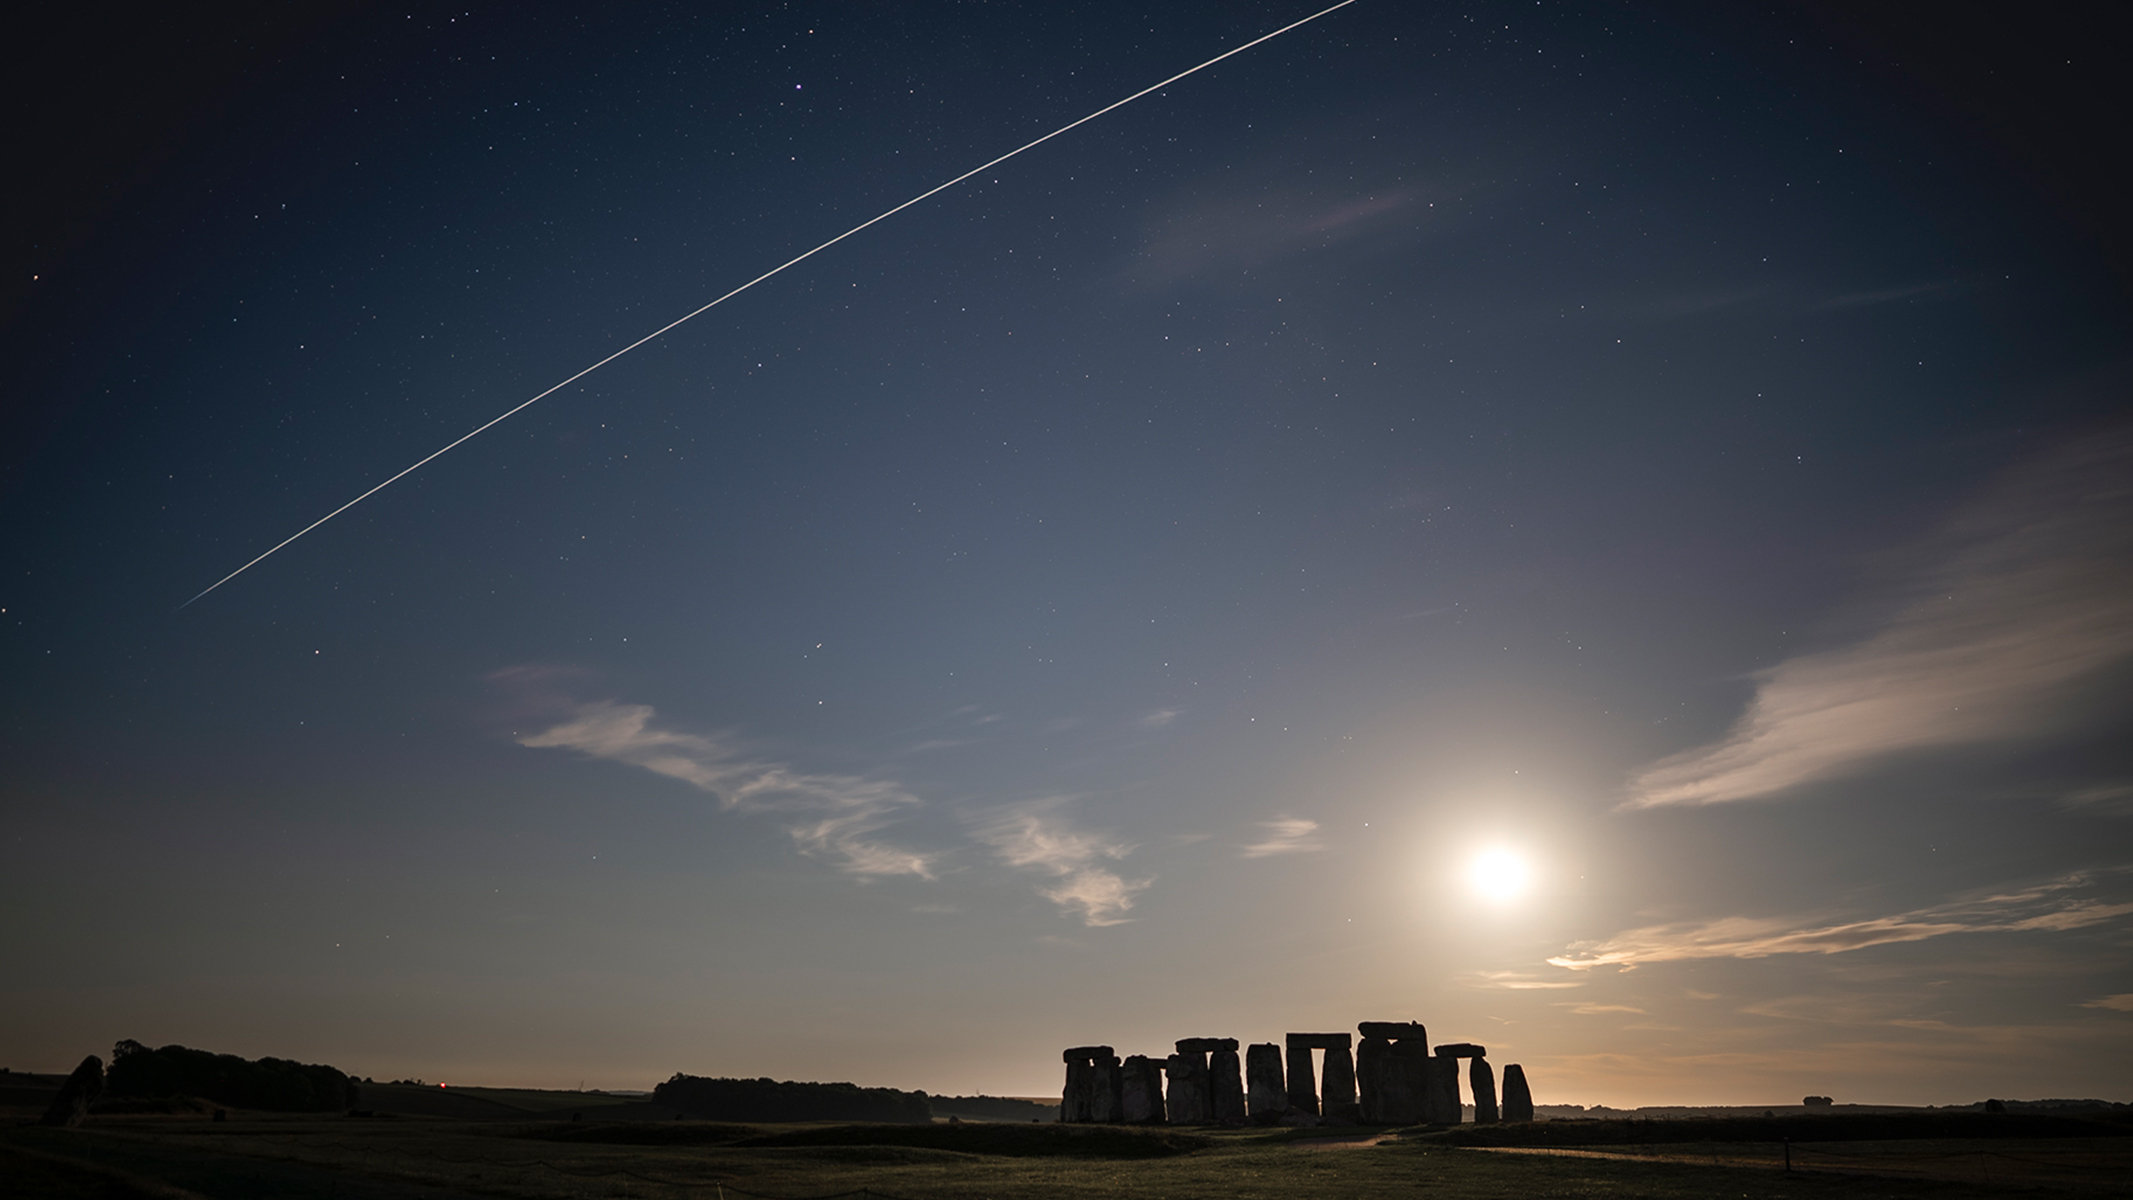
Just imagine, when you look up on a clear night, something catches the corner of your eye. It grows in brightness until it passes over head. That will most likely be the International Space Station (ISS). It's amazing to think there are astronauts onboard when you observe it pass overhead.
The famous laboratory orbits the Earth 400km above its surface at speeds of 27,000km/h. In other words, at that speed, the ISS completes a full orbit around the Earth in 90 minutes. Because it is a bright, fast-moving subject, learning how to photograph the ISS with your camera is relatively easy. It just requires planning and research to know where the ISS will rise and set, at what time, and most importantly, if the weather is clear enough to watch the ISS pass overhead.
From Earth, the ISS is observed as a distinguishable point of light moving as a silently traversing object at a moderate pace across the night sky. It is typically visible in the hours before sunrise and after sunset, when it is still lit by the Sun while the Earth remains in darkness. Harnessing some of the best stargazing apps and technologies, predicting when and where the space station will next be seen from your country is easier than ever.
How to find the ISS
See a Satellite Tonight
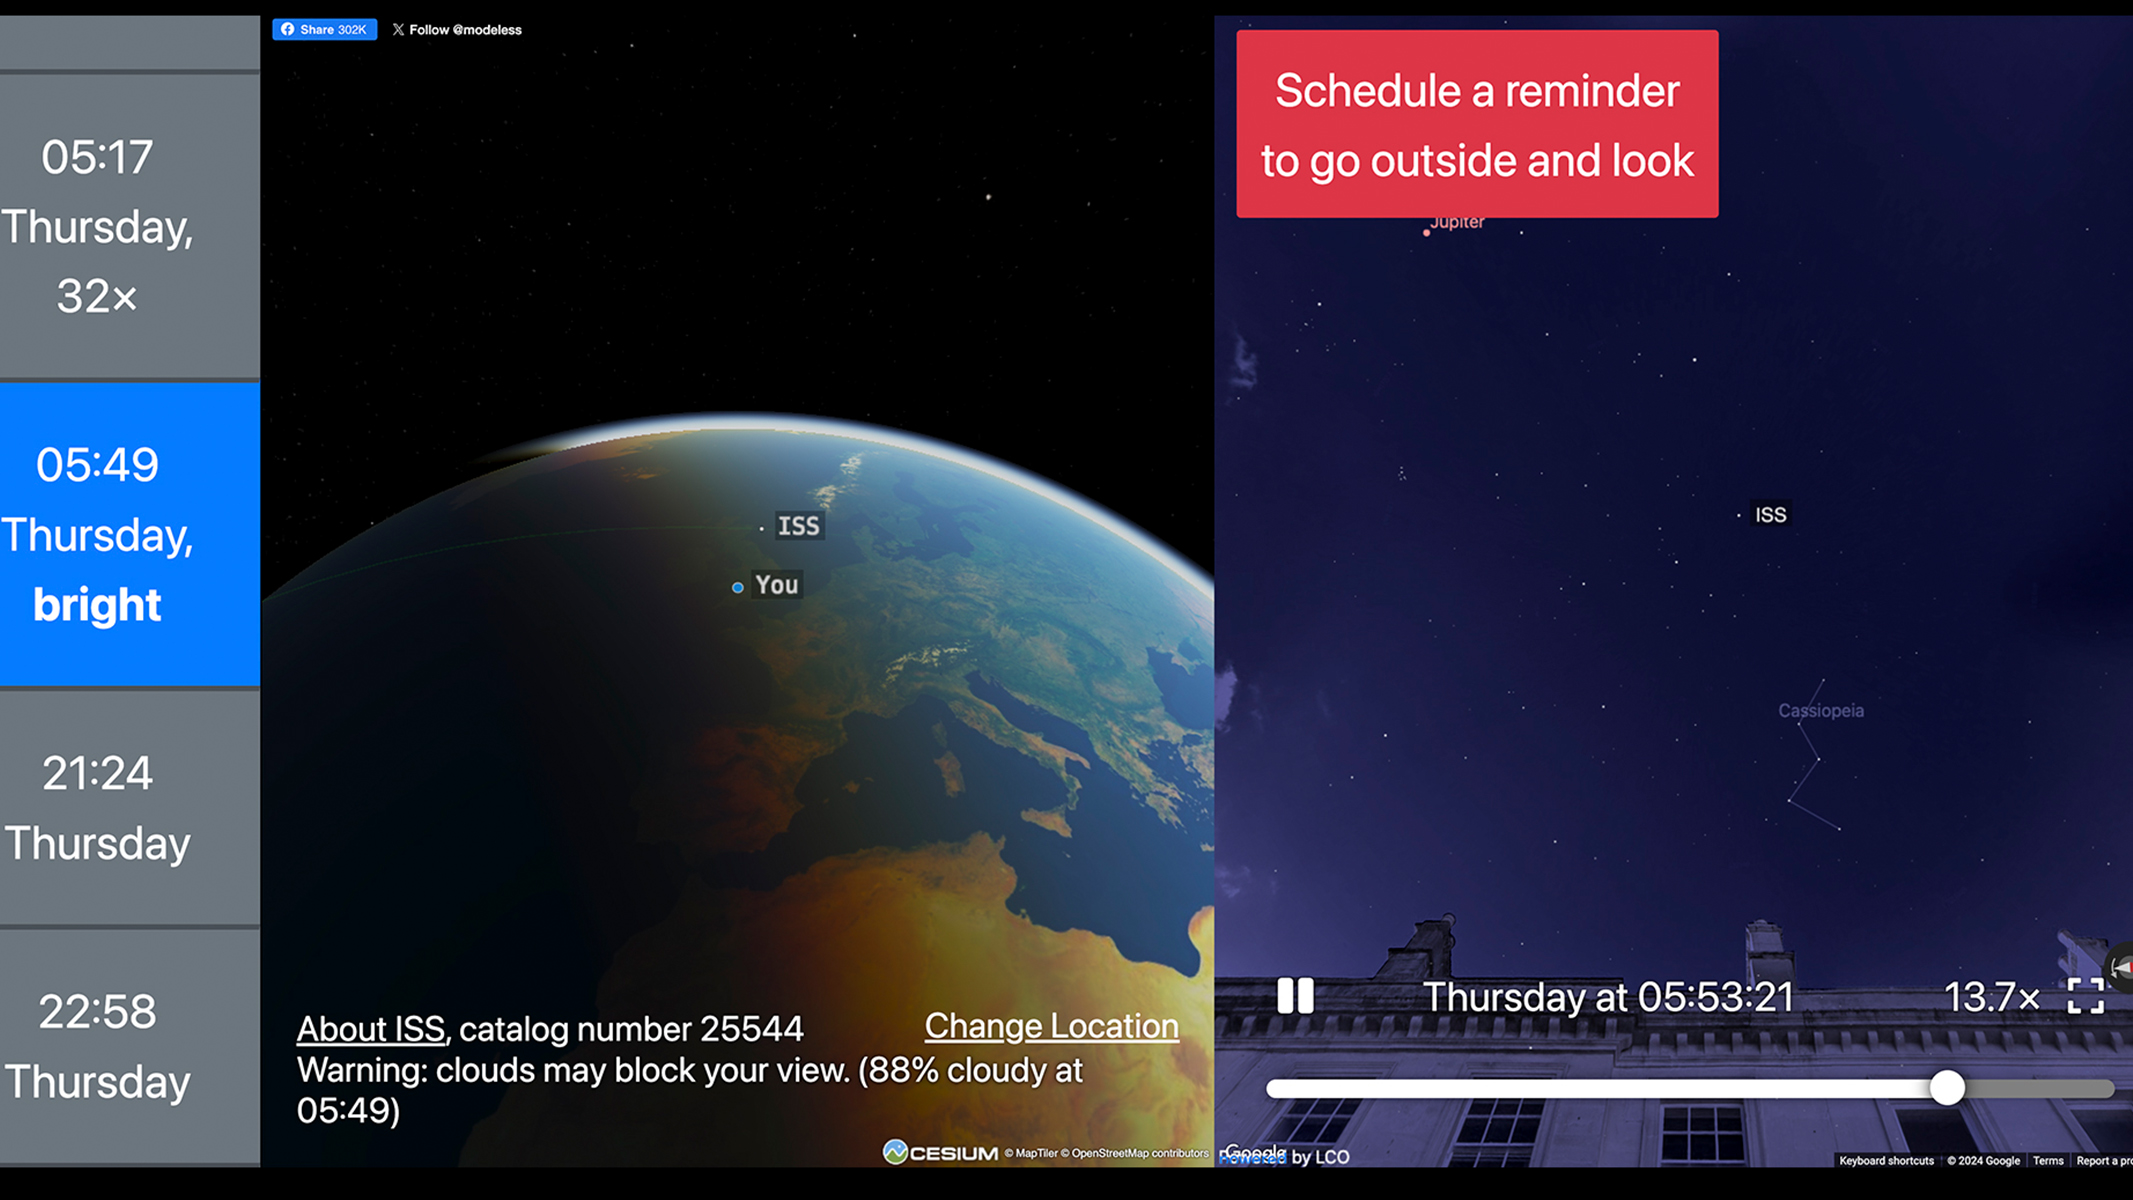
A really good option to help you find the ISS (and other satellites) is James Darpinian's See A Satellite Tonight. It is a brilliant piece of software that is simple to navigate and allows the user to use GPS coordinates and Google Earth imagery to simulate how the ISS (or other satellite passes will appear) from their location. It can do it automatically if you allow it access to your device's location. Therefore, it can be a useful resource to visualize your composition ahead of time.
Heavens Above
Heavens Above is the classic ISS tracker. The interface appears somewhat dated and basic, but it is relatively simple to navigate. On the landing page, you need to change your observing location. On the webpage, click the links under the words '10-day predictions'. If there are any, it will inform you of the time and direction of the pass.
Spot the Station
NASA’s own Spot The Station is an alternative that provides a simpler interface and a live tracking feature. This feature lets you see where the station is currently floating above the earth. It also has a handy alert service that will send you emails or texts when the station is visible from your location.
What equipment do you need to photograph the ISS?
You do not need expensive equipment to photograph the ISS. Most photographers will be delighted to capture the 'streak' of the space station passing overhead — so any lens can capture it. The faster the lens, the better. The minimum you will need is:
- A DSLR or mirrorless camera: Full-frame is typically recommended. You'll need to use manual controls to give you full flexibility with your camera settings.
- A lens at a suitable focal length, a wide to mid-range focus length is recommended.
- A tripod. The sturdier the better.
- A shutter release. These devices are plugged into your camera's port and allow you to input the exposure settings. It also acts as a 'trigger' to activate the shutter, so you don't need to touch the camera and potentially cause unwanted wobble.
- A dew heater. These inexpensive USB-powered devices prevent moisture (from ice, dew or fog) from forming on the front of your lens during your shoot. You are generally more likely to encounter this on longer shoots, such as capturing star trails, but you’d be surprised how quickly dew can form.
Planning the shot
Angles
First, consider the angle of the ISS pass. If it arcs close to the horizon, you may consider a wide-angle shot showing the arc juxtaposed with an interesting foreground. If the ISS passes directly overhead, you may want to capture it as it meets the horizon, creating a vertical band of light in the completed image.
Think about composition. If you're capturing a wide-angle arc, what can you include to anchor the image? If it's an overhead pass, can you line up the path of the ISS with a foreground interest? Get creative.
Weather
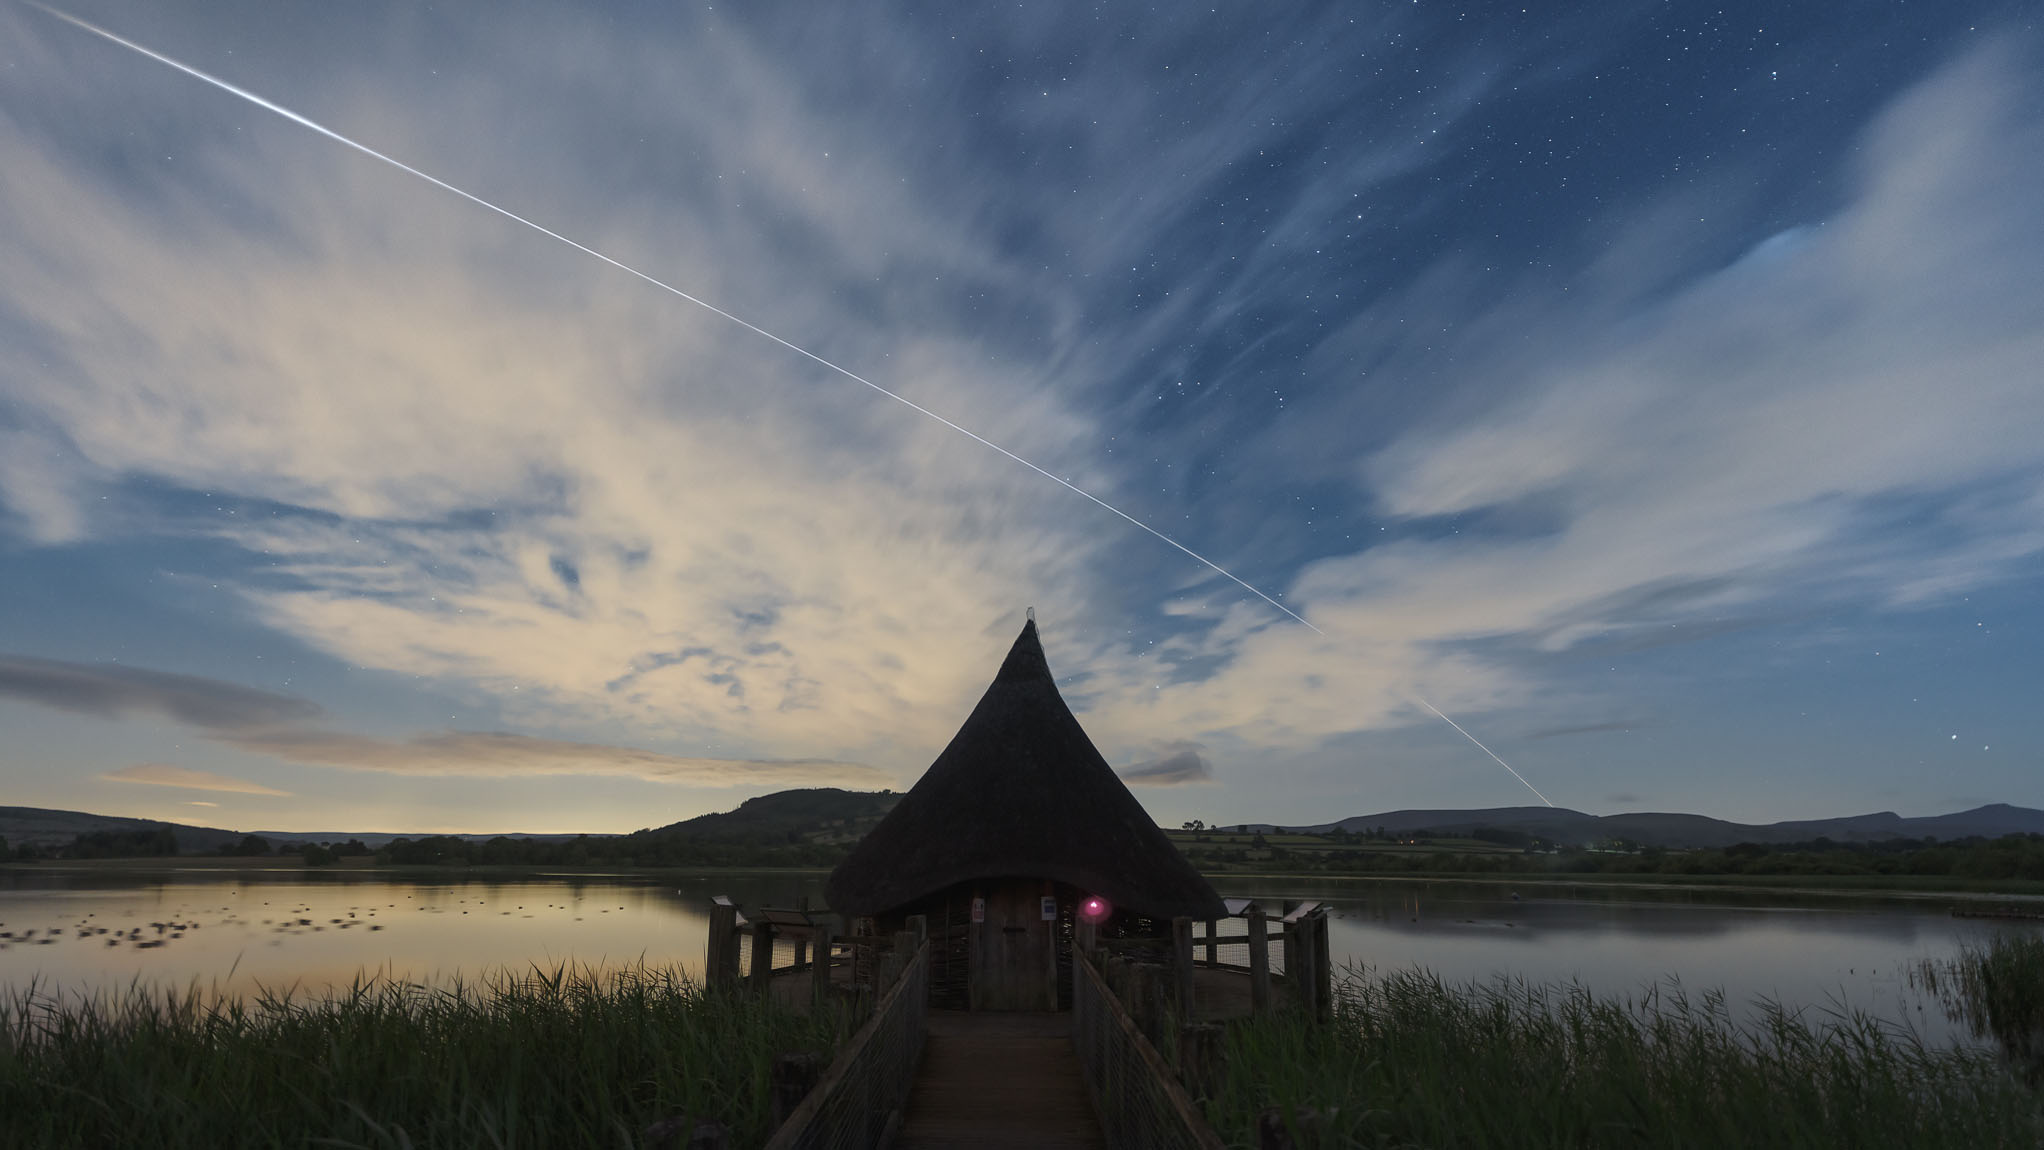
A full, clear night is ideal as is typical for any form of astronomy or astrophotography. That said, it does not need to be completely clear, and some clouds in your shot can actually provide another interesting 'layer' or perspective to your image.
Locations
Any location can be suitable as long as the weather is clear and not too severely light polluted. Inspiration for your next ISS shoot can come from books, online resources, news articles, and social media.
Google Maps has great coverage on Street View, which may allow you to visually compose your shot and do location scouting without even leaving the house. For any shoot, ensure you arrive in good time, take your test shots to dial in your desired settings and wait for the ISS to make its grand appearance
Settings for photographing the ISS
Photographing the ISS typically requires capturing a series of images, each lasting 8-20 seconds, depending on your focal length, combined to form one streak of light. This process is similar to photographing star trails.
Some photographers may feel it is worth keeping their shutter open for longer to capture the trail in a single image, but we would argue this isn't the best method. Your exposure is more difficult to predict, and you will begin to capture the effects of the earth's rotation, such as star trails, which may not be desired.
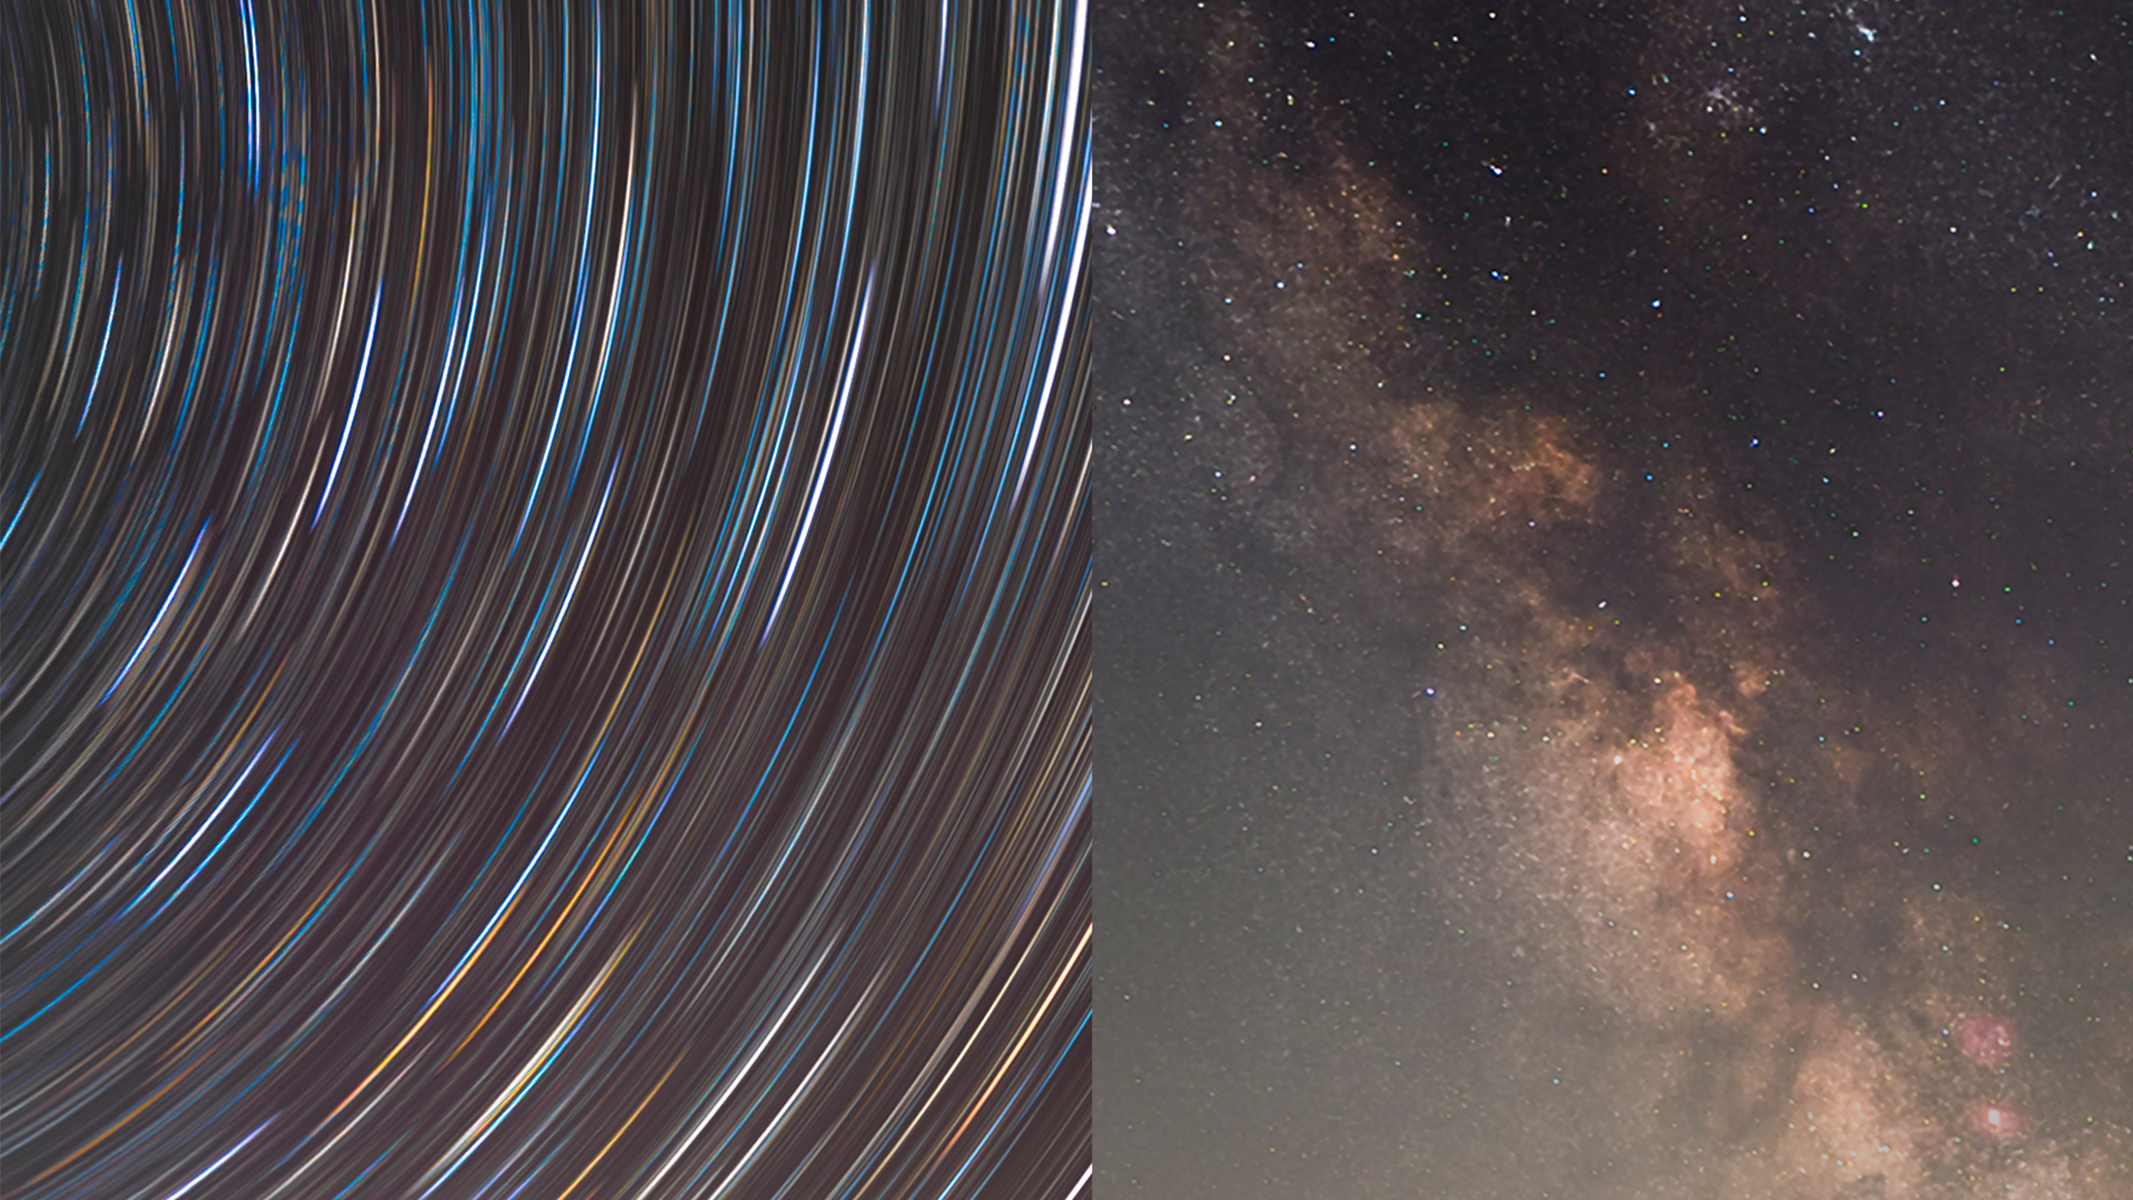
When you create your test shots, check your stars to ensure that they remain sharp points of light. Below, you can see a comparison—on the left is an image taken with a 150-second exposure, where the stars are trailing and overexposed, and on the right is an image taken with a 10-second exposure that has crisp, sharp stars.
Though there is no hard and fast rule regarding settings, here are some pointers to help you find one that works for you.
- Set your camera to manual mode which gives you full control over your camera.
- Aperture: This needs to be as wide (or low a number) as possible. Somewhere in the margin of F/2.8 is ideal, wider would be even better.
- Shutter speed should be as long as possible without seeing stars trailing. This is usually between 8 and 20 seconds.
- The ISO depends on your environment. Anywhere light polluted for an inner city or suburb, even when the moon may be visible, ISO 400 is advised. In a rural area with darker skies, you can push the ISO higher, possibly up to 3200, depending on your settings and how well your camera handles noise.
- Ensure continuous shooting is enabled, so your images are captured consistently during the shoot.
- Always shoot RAW as this allows you to capture better detail and more dynamic range from your camera sensor. It also gives you much more data to play with during the editing process using one of the best photo editing apps.
Editing your photographs of the ISS
Well done on capturing an ISS pass! Your work isn’t quite over yet. You still need to combine these images using a method called stacking. Adobe Photoshop makes this easy. Other software is available to blend ISS (and other star trail) images, such as Starstax (Mac and Windows) and Startrails (Windows). Below is our step-by-step guide for the Photoshop method.
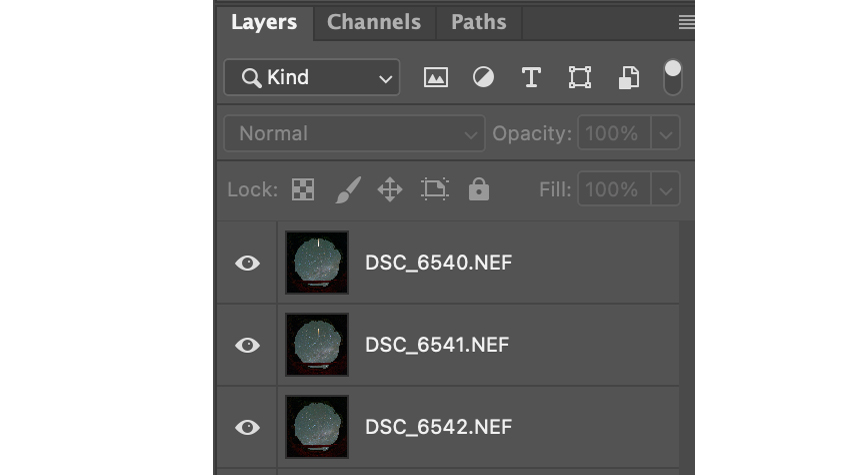
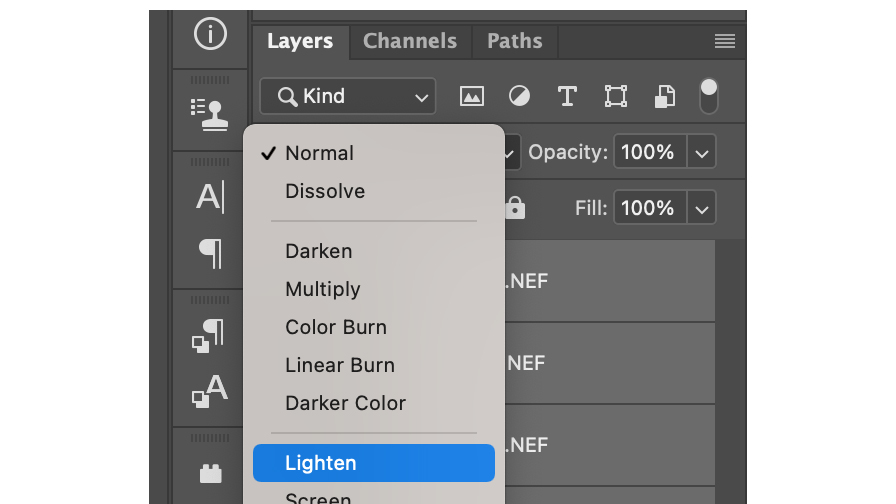
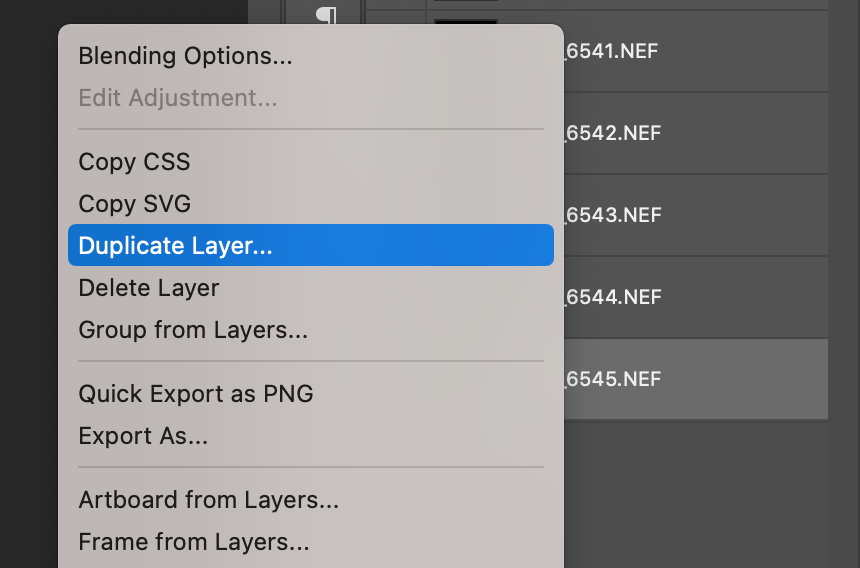
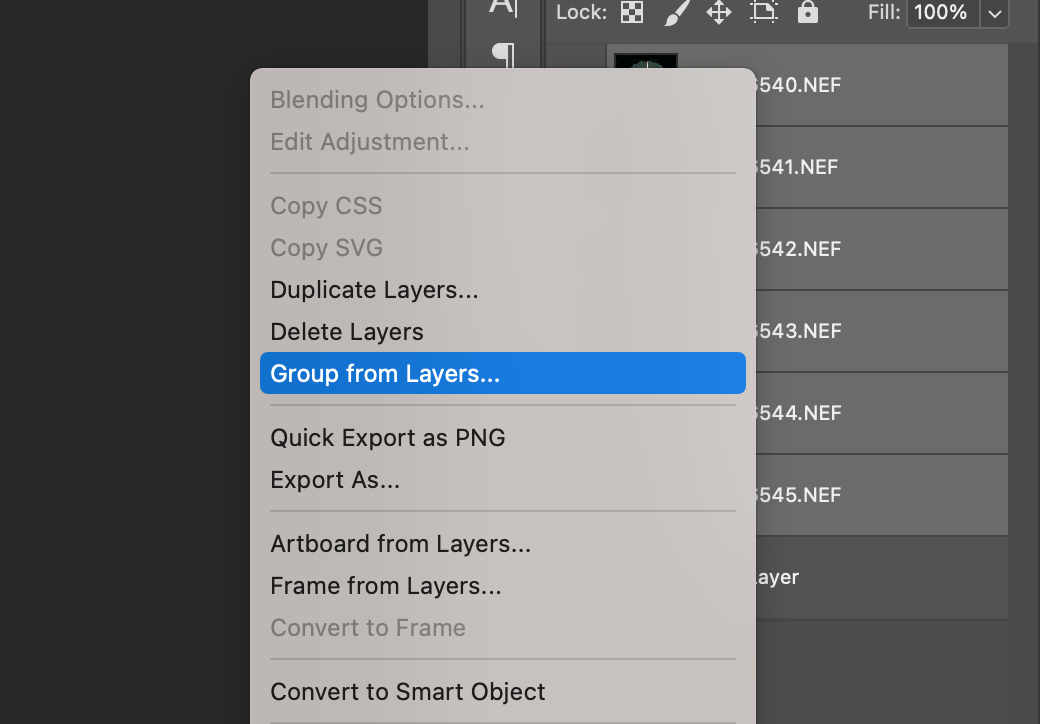
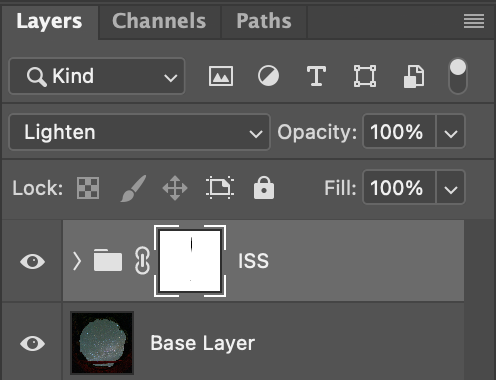
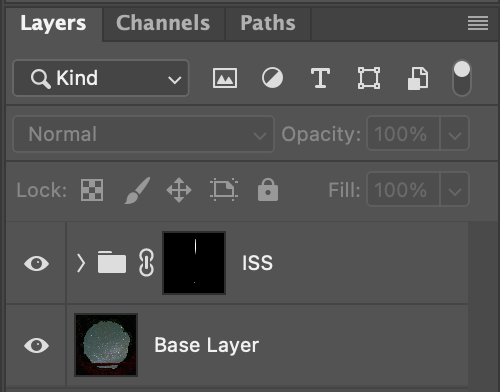
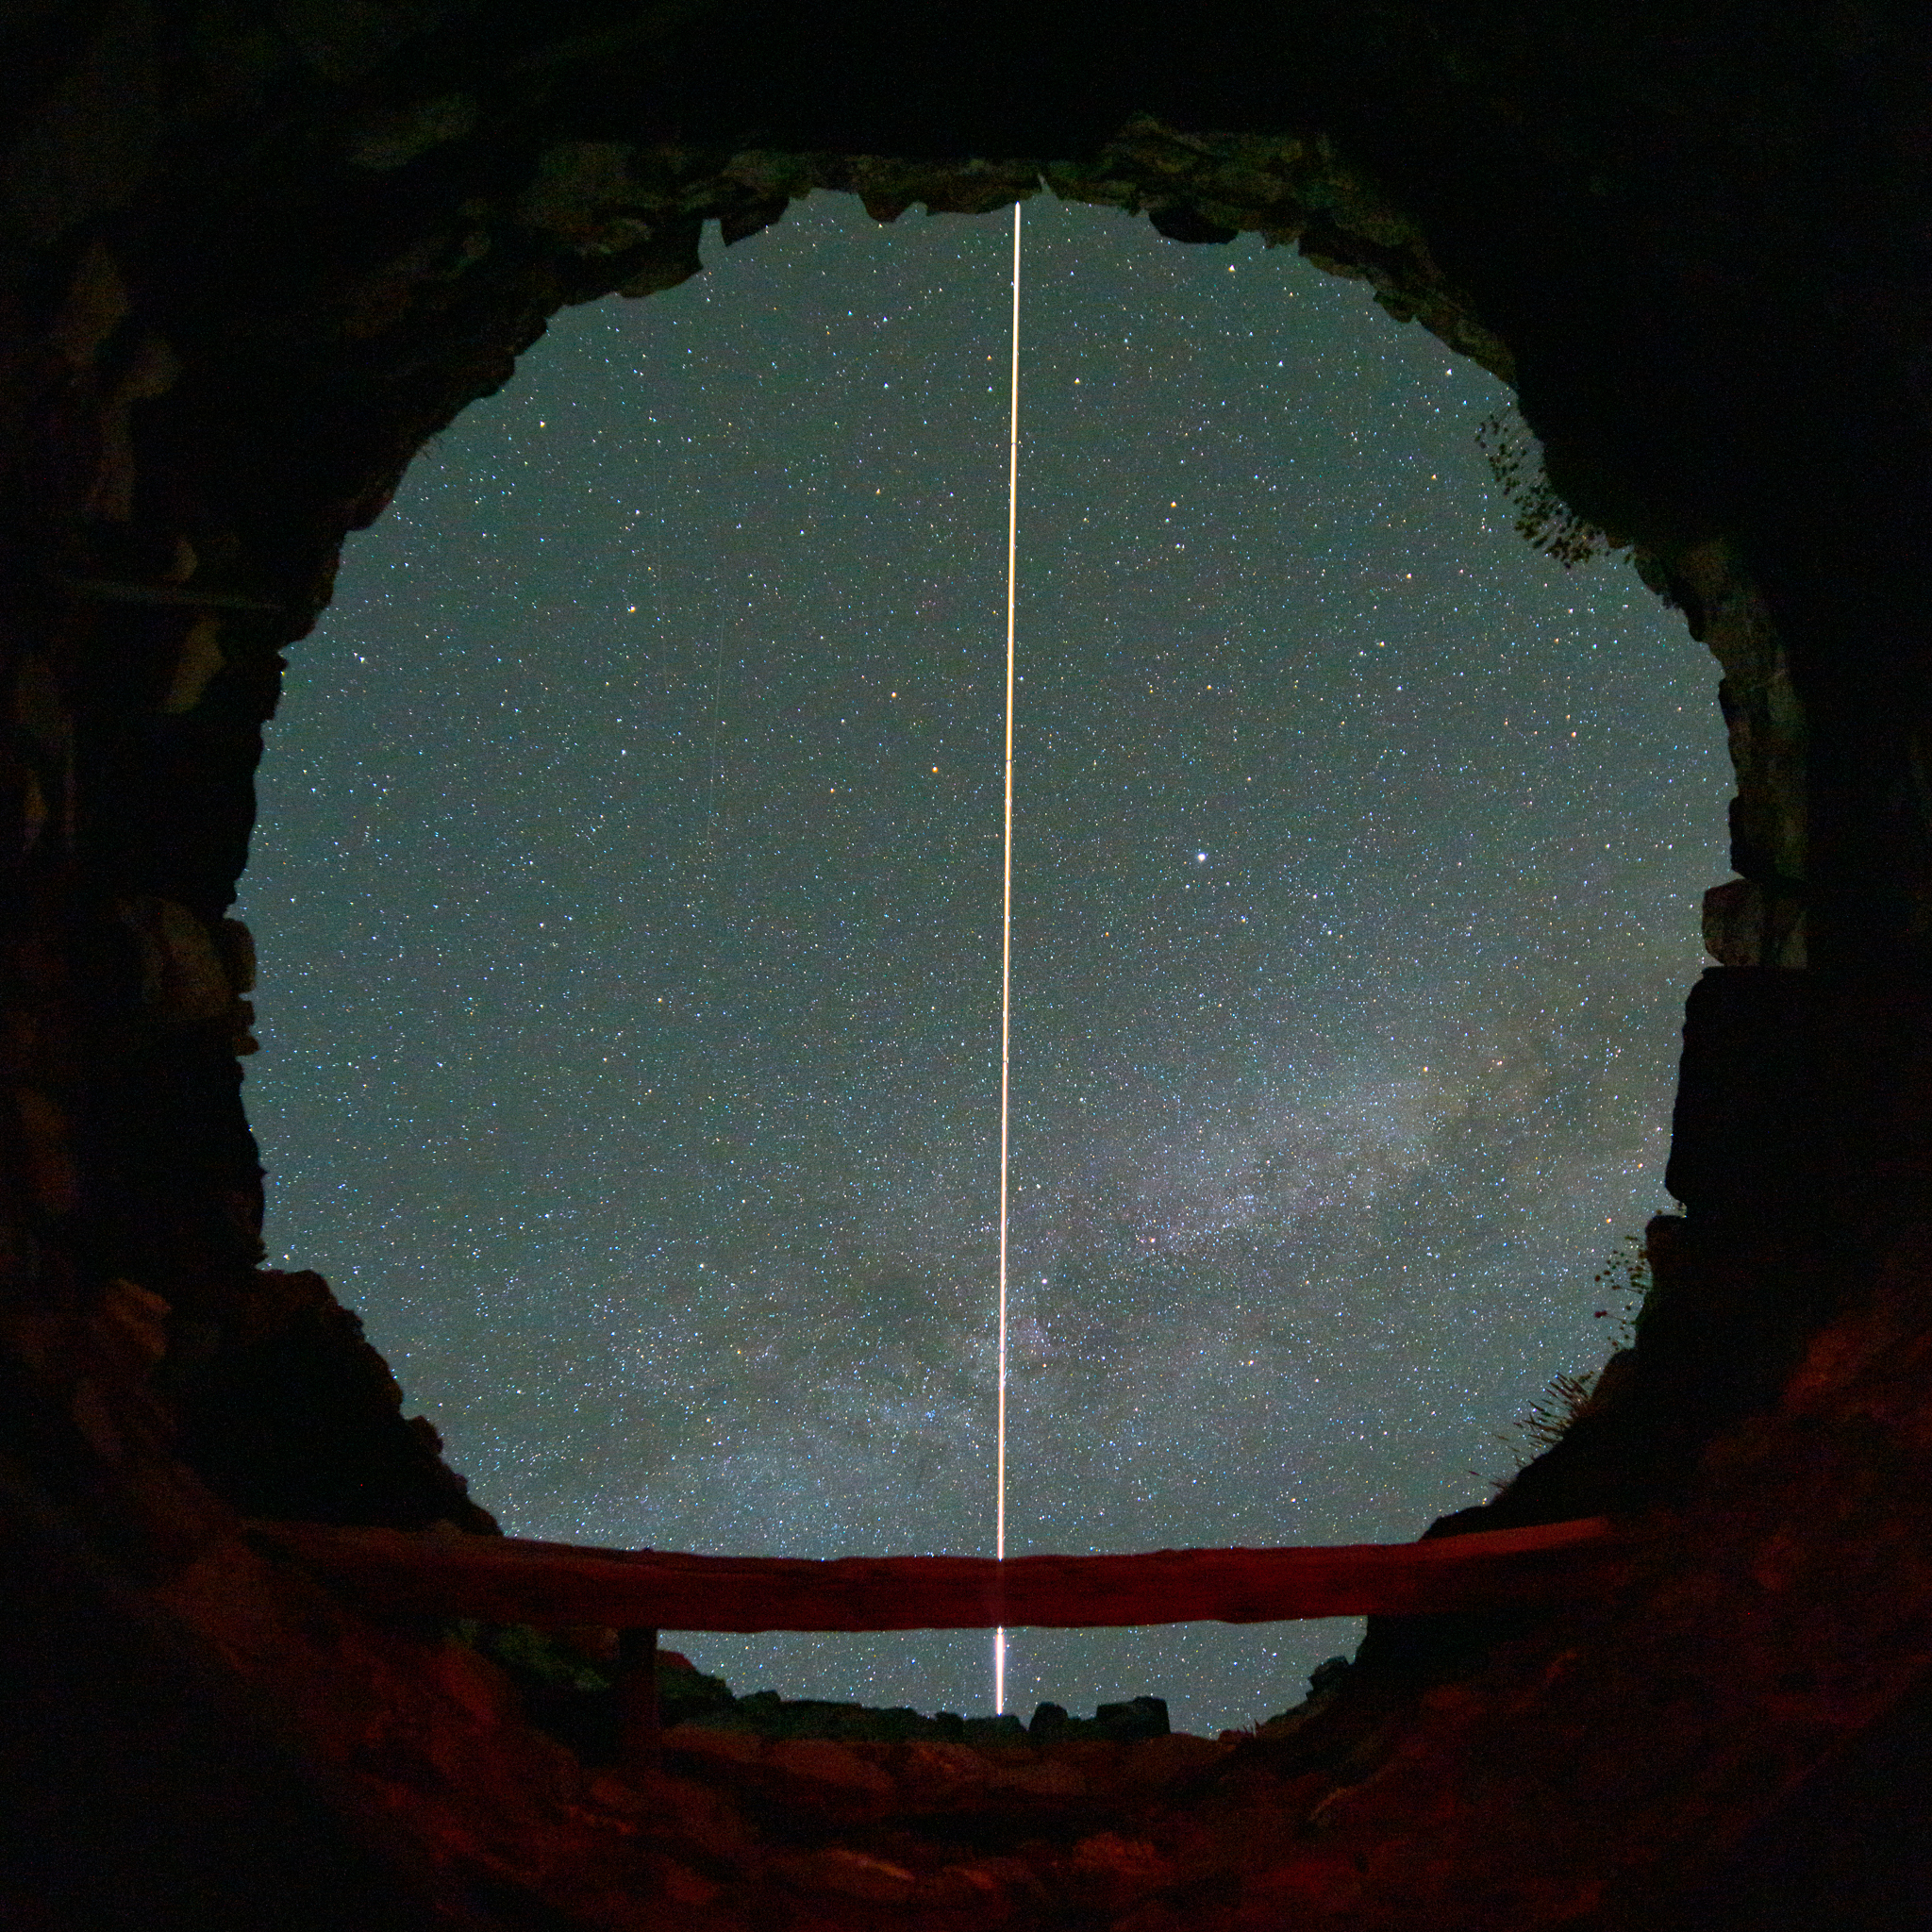
Review your images to see if you are happy with the visual aesthetic appearance. Are the colours right, have you got enough details present in your image? Color correction and contrast are just some examples to look out for when it comes to bringing in your final images and generating an output that you are satisfied with. You can continue to edit it in Photoshop or save it to process further using other image editors such as Lightroom or Luminar.
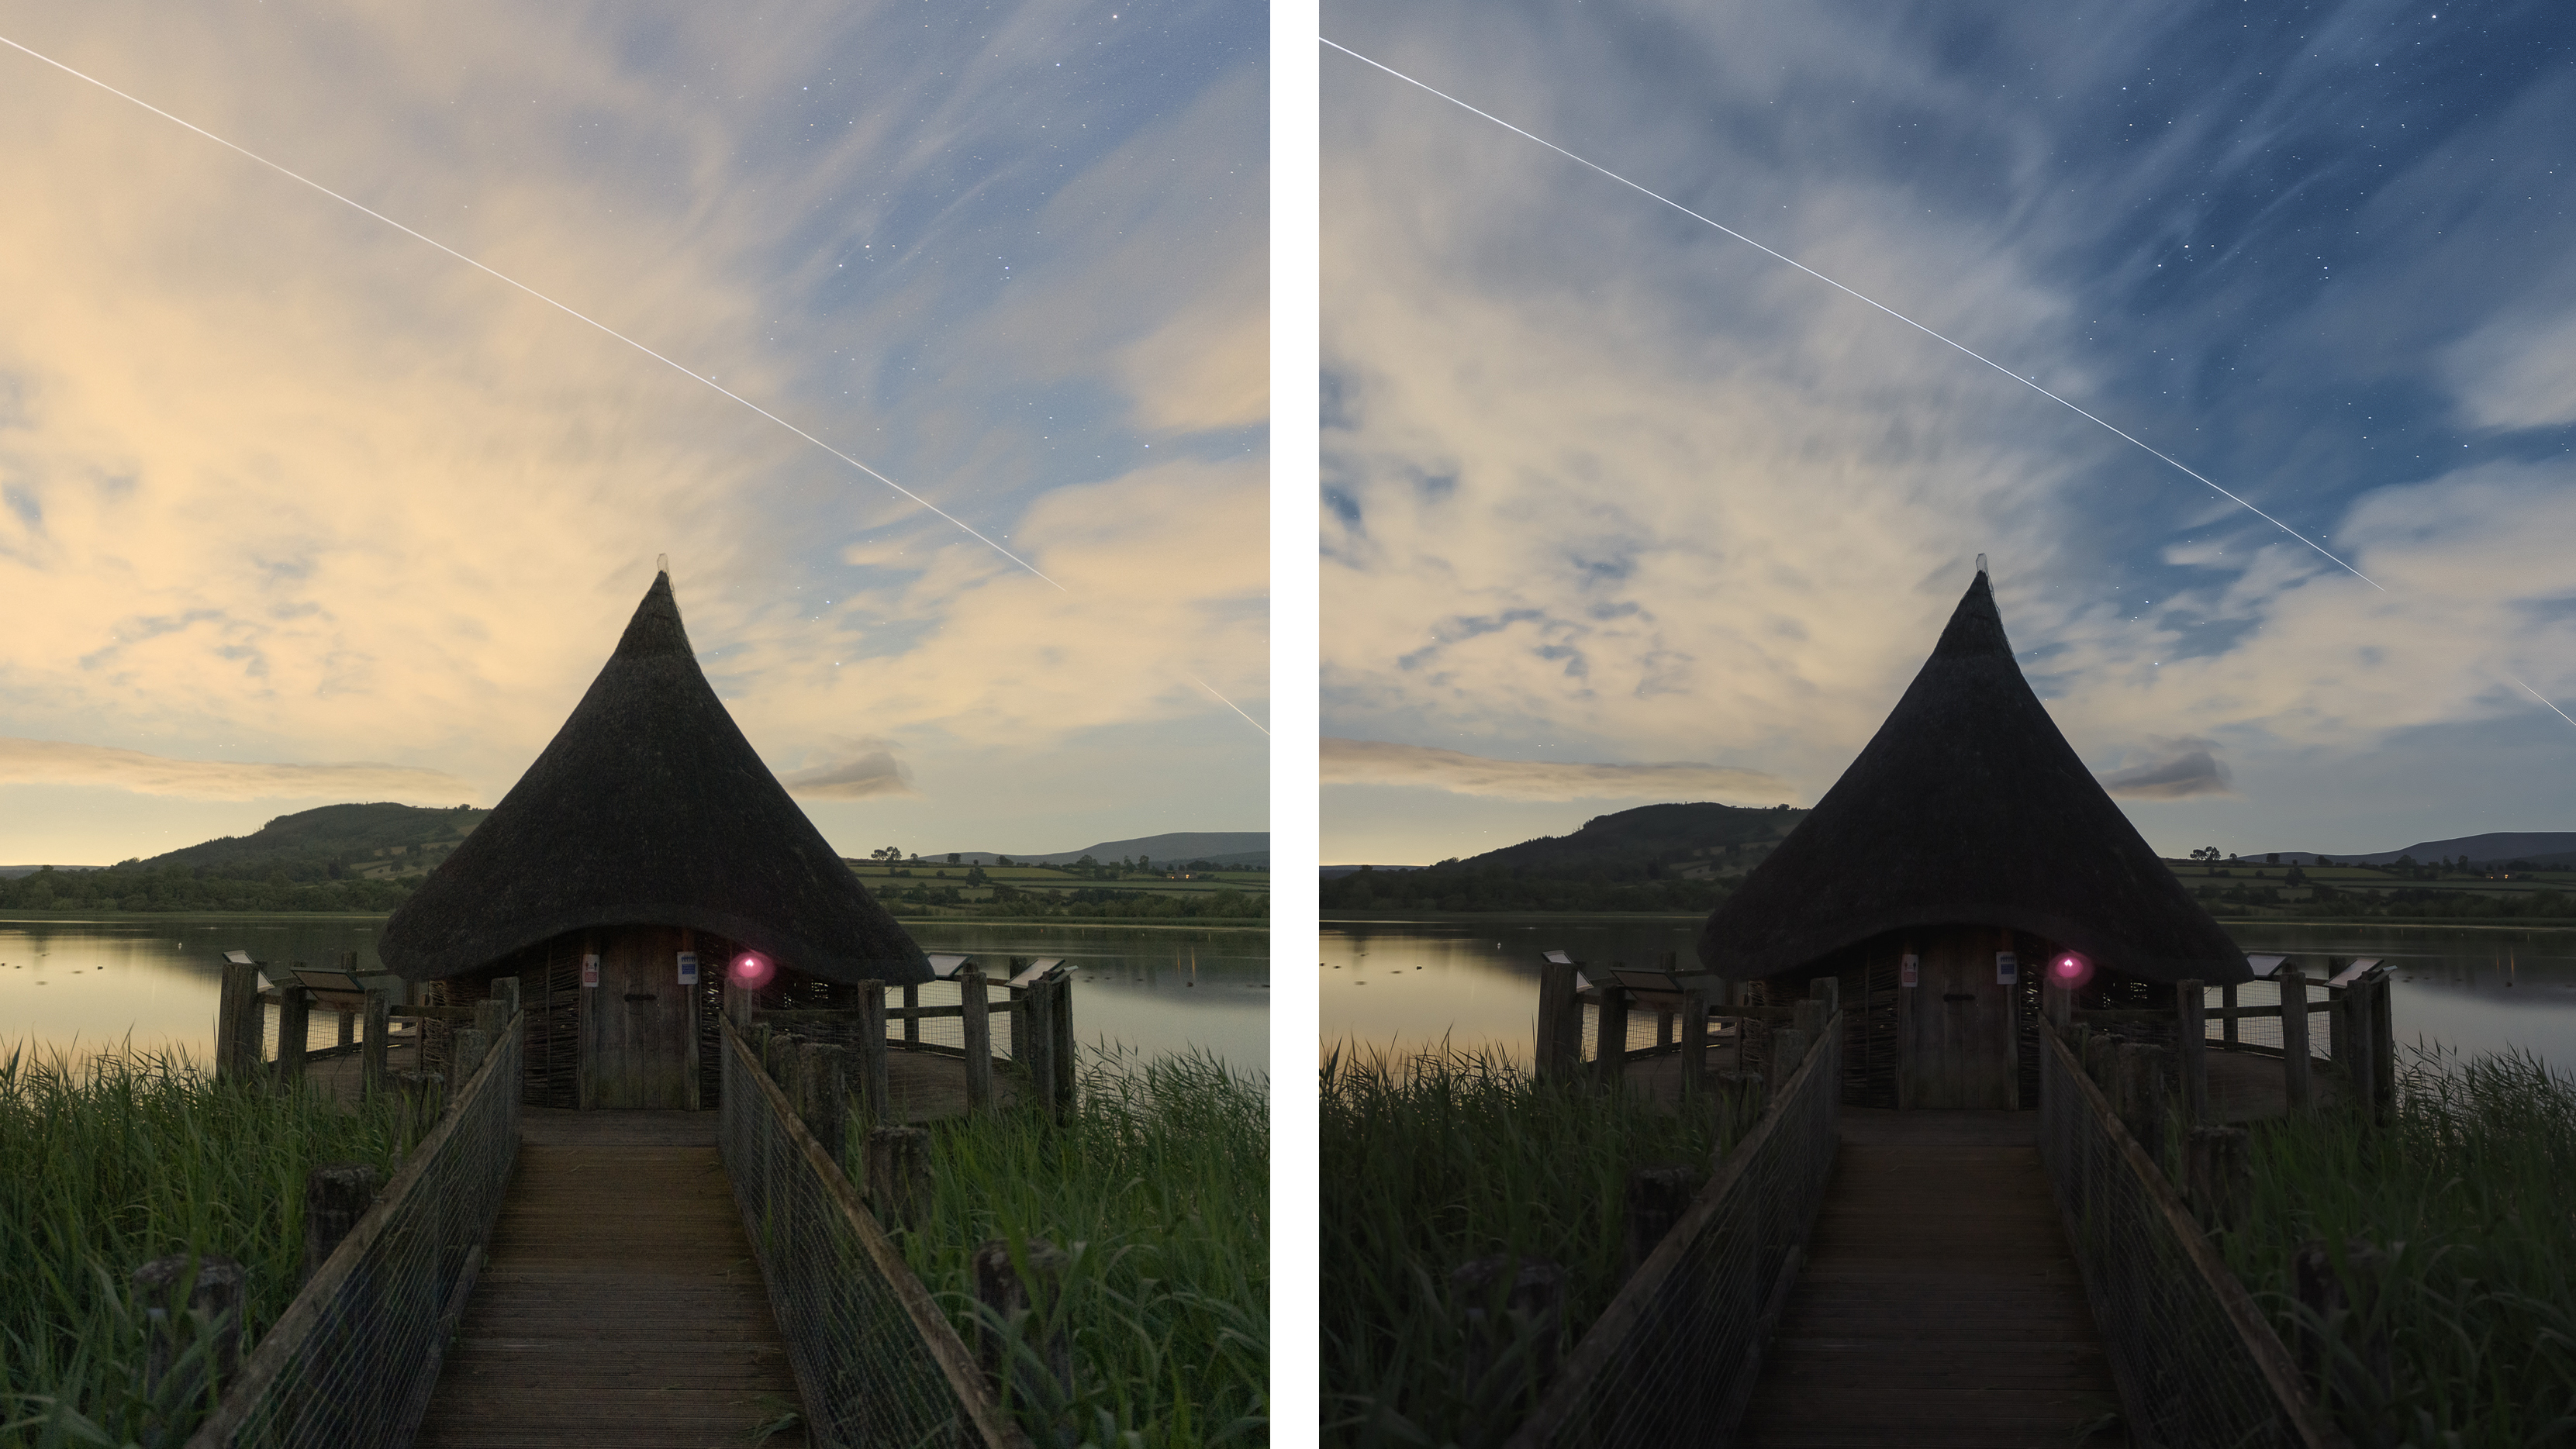
The International Space Station is a fascinating subject to photograph. Armed with this guide, clear skies, patience and creativity, you are sure to capture some truly dynamic astro-images.


