• February 1, 2026
• March 3, 2026
• April 1, 2026
• May 1, 2026
• May 31, 2026
• June 30, 2026
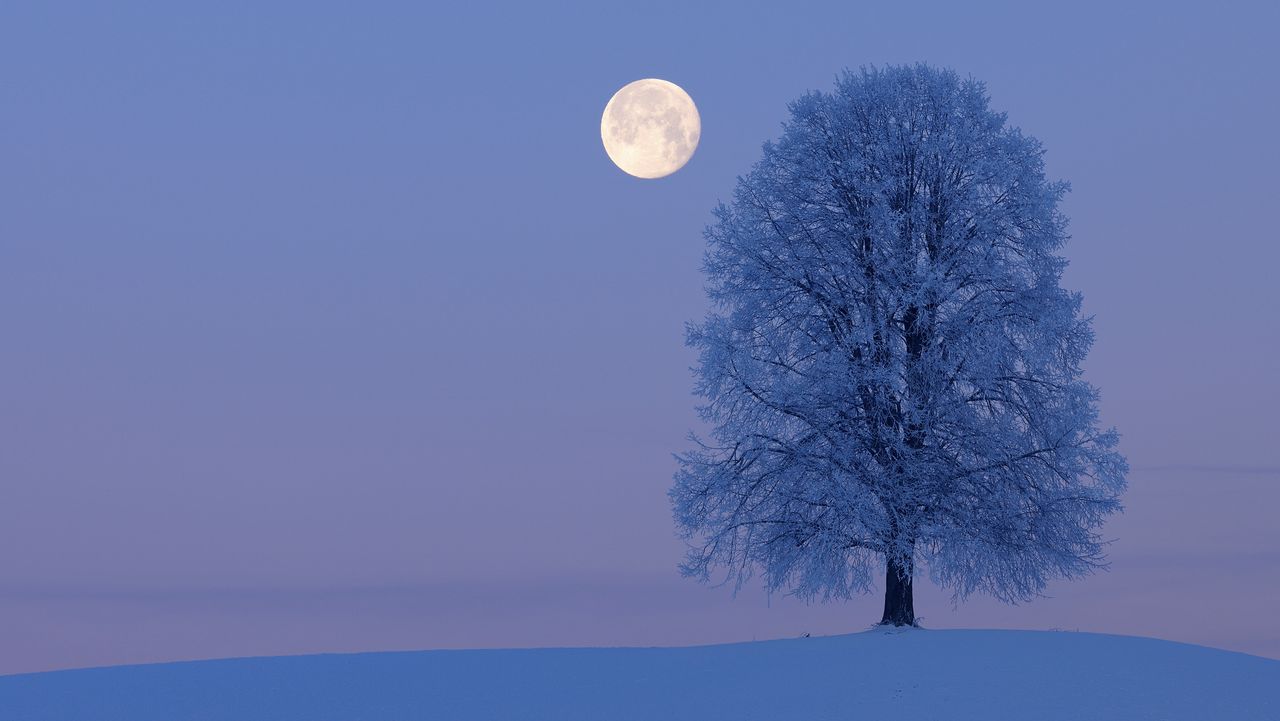
February's 'Snow Moon' full moon has arrived, and while it's not a supermoon like January's ‘Wolf Moon’, it's still possible to capture jaw-dropping lunar photographs. The moon is one of nature's wonders, but to photograph a full moon (or any moon) successfully, you first have to understand it. Although astrophotographers specializing in the moon usually photograph it through a powerful telescope, a telephoto lens of almost any focal length is good enough to get a good shot. Making the moon the sole focus of a shot, however, is only one way to approach lunar photography; another is for it to enhance a landscape photo, where it can provide a powerful addition to a wide-angle image.
While it can help, the fact that you don’t need any specialist equipment to photograph the moon makes it one of the most accessible celestial subjects out there. It’s a great starting point for those interested in astrophotography, whether you’ve only got a kit lens or even just a camera phone.
The next full moon is on Sunday, February 1, but you'll still be able to photograph it in all its glory on February 2 (weather permitting). Just make sure you check moonrise/moonset times in your area to chart its position in the sky and plan to frame it behind buildings, mountains, or other foreground interest.
All full moons are given names, which often differ depending on the region or culture. According to Almanac, which cites The Old Farmer’s Almanac, many full moon names have Native American and Colonial American origins. You won't be surprised to learn that the ‘Snow Moon’ is so called because it coincides with heavy snowfall.
According to NASA’s SKYCAL, the 'Snow Moon' will reach full illumination at 17:09 EST / 22:09 GMT on Sunday, February 1. If you want to know what photographic opportunities the night sky will offer up this month, check out my guide to astrophotography in February.
Equipment for shooting the Moon
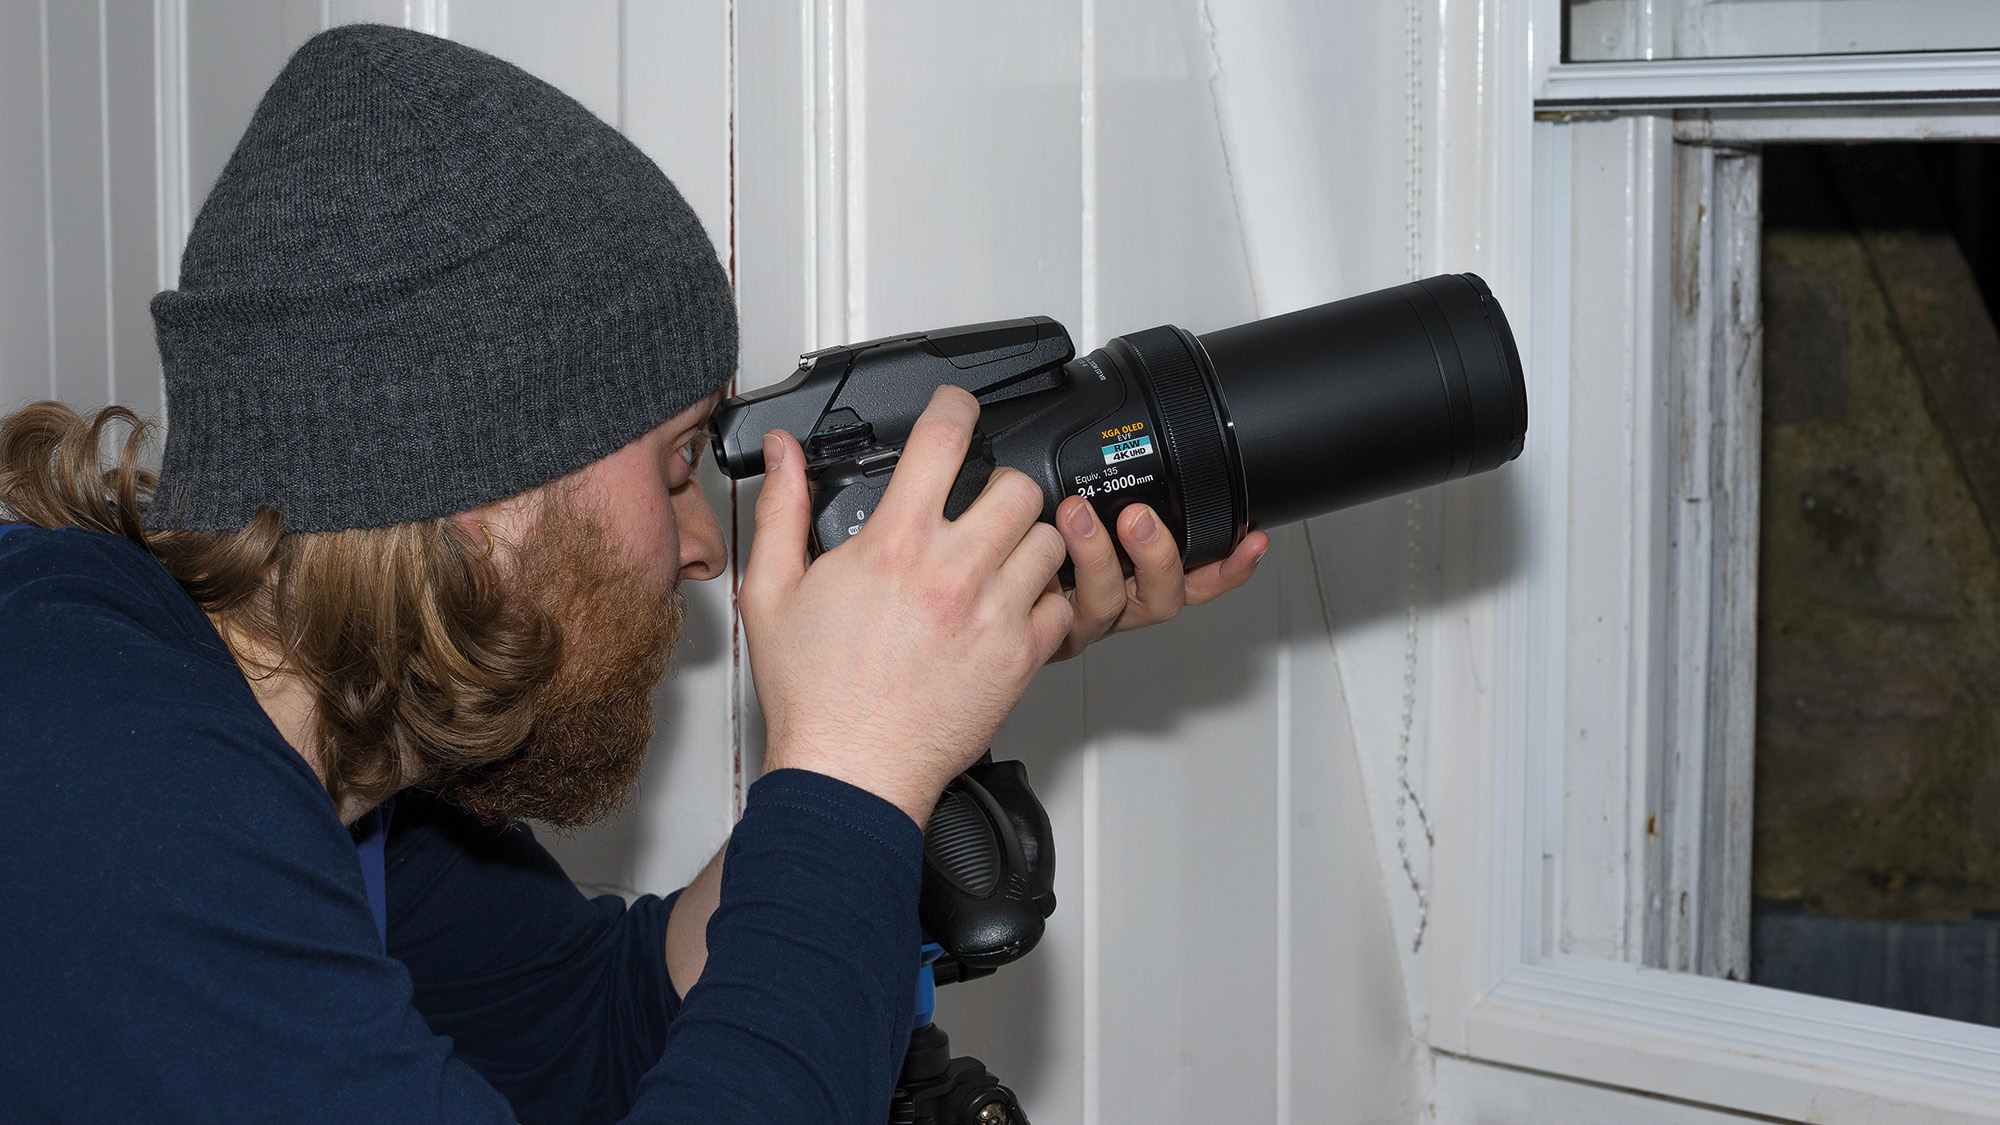
The equipment you’ll need is the same as for wildlife or sports photography: a DSLR, mirrorless or bridge camera on a sturdy tripod, and either a wide-angle or any regular telephoto lens, such as one with a 70-300mm focal range. A remote shutter-release cable will also be useful so you don't introduce vibrations, although you can also use the timer in your camera.
Check out this article, if you want to know how to photograph the moon with a monster Nikon P1000 bridge camera. And if you're interested in picking up essentially the same camera with a few modern appointments, the Nikon P1100 has recently been launched.
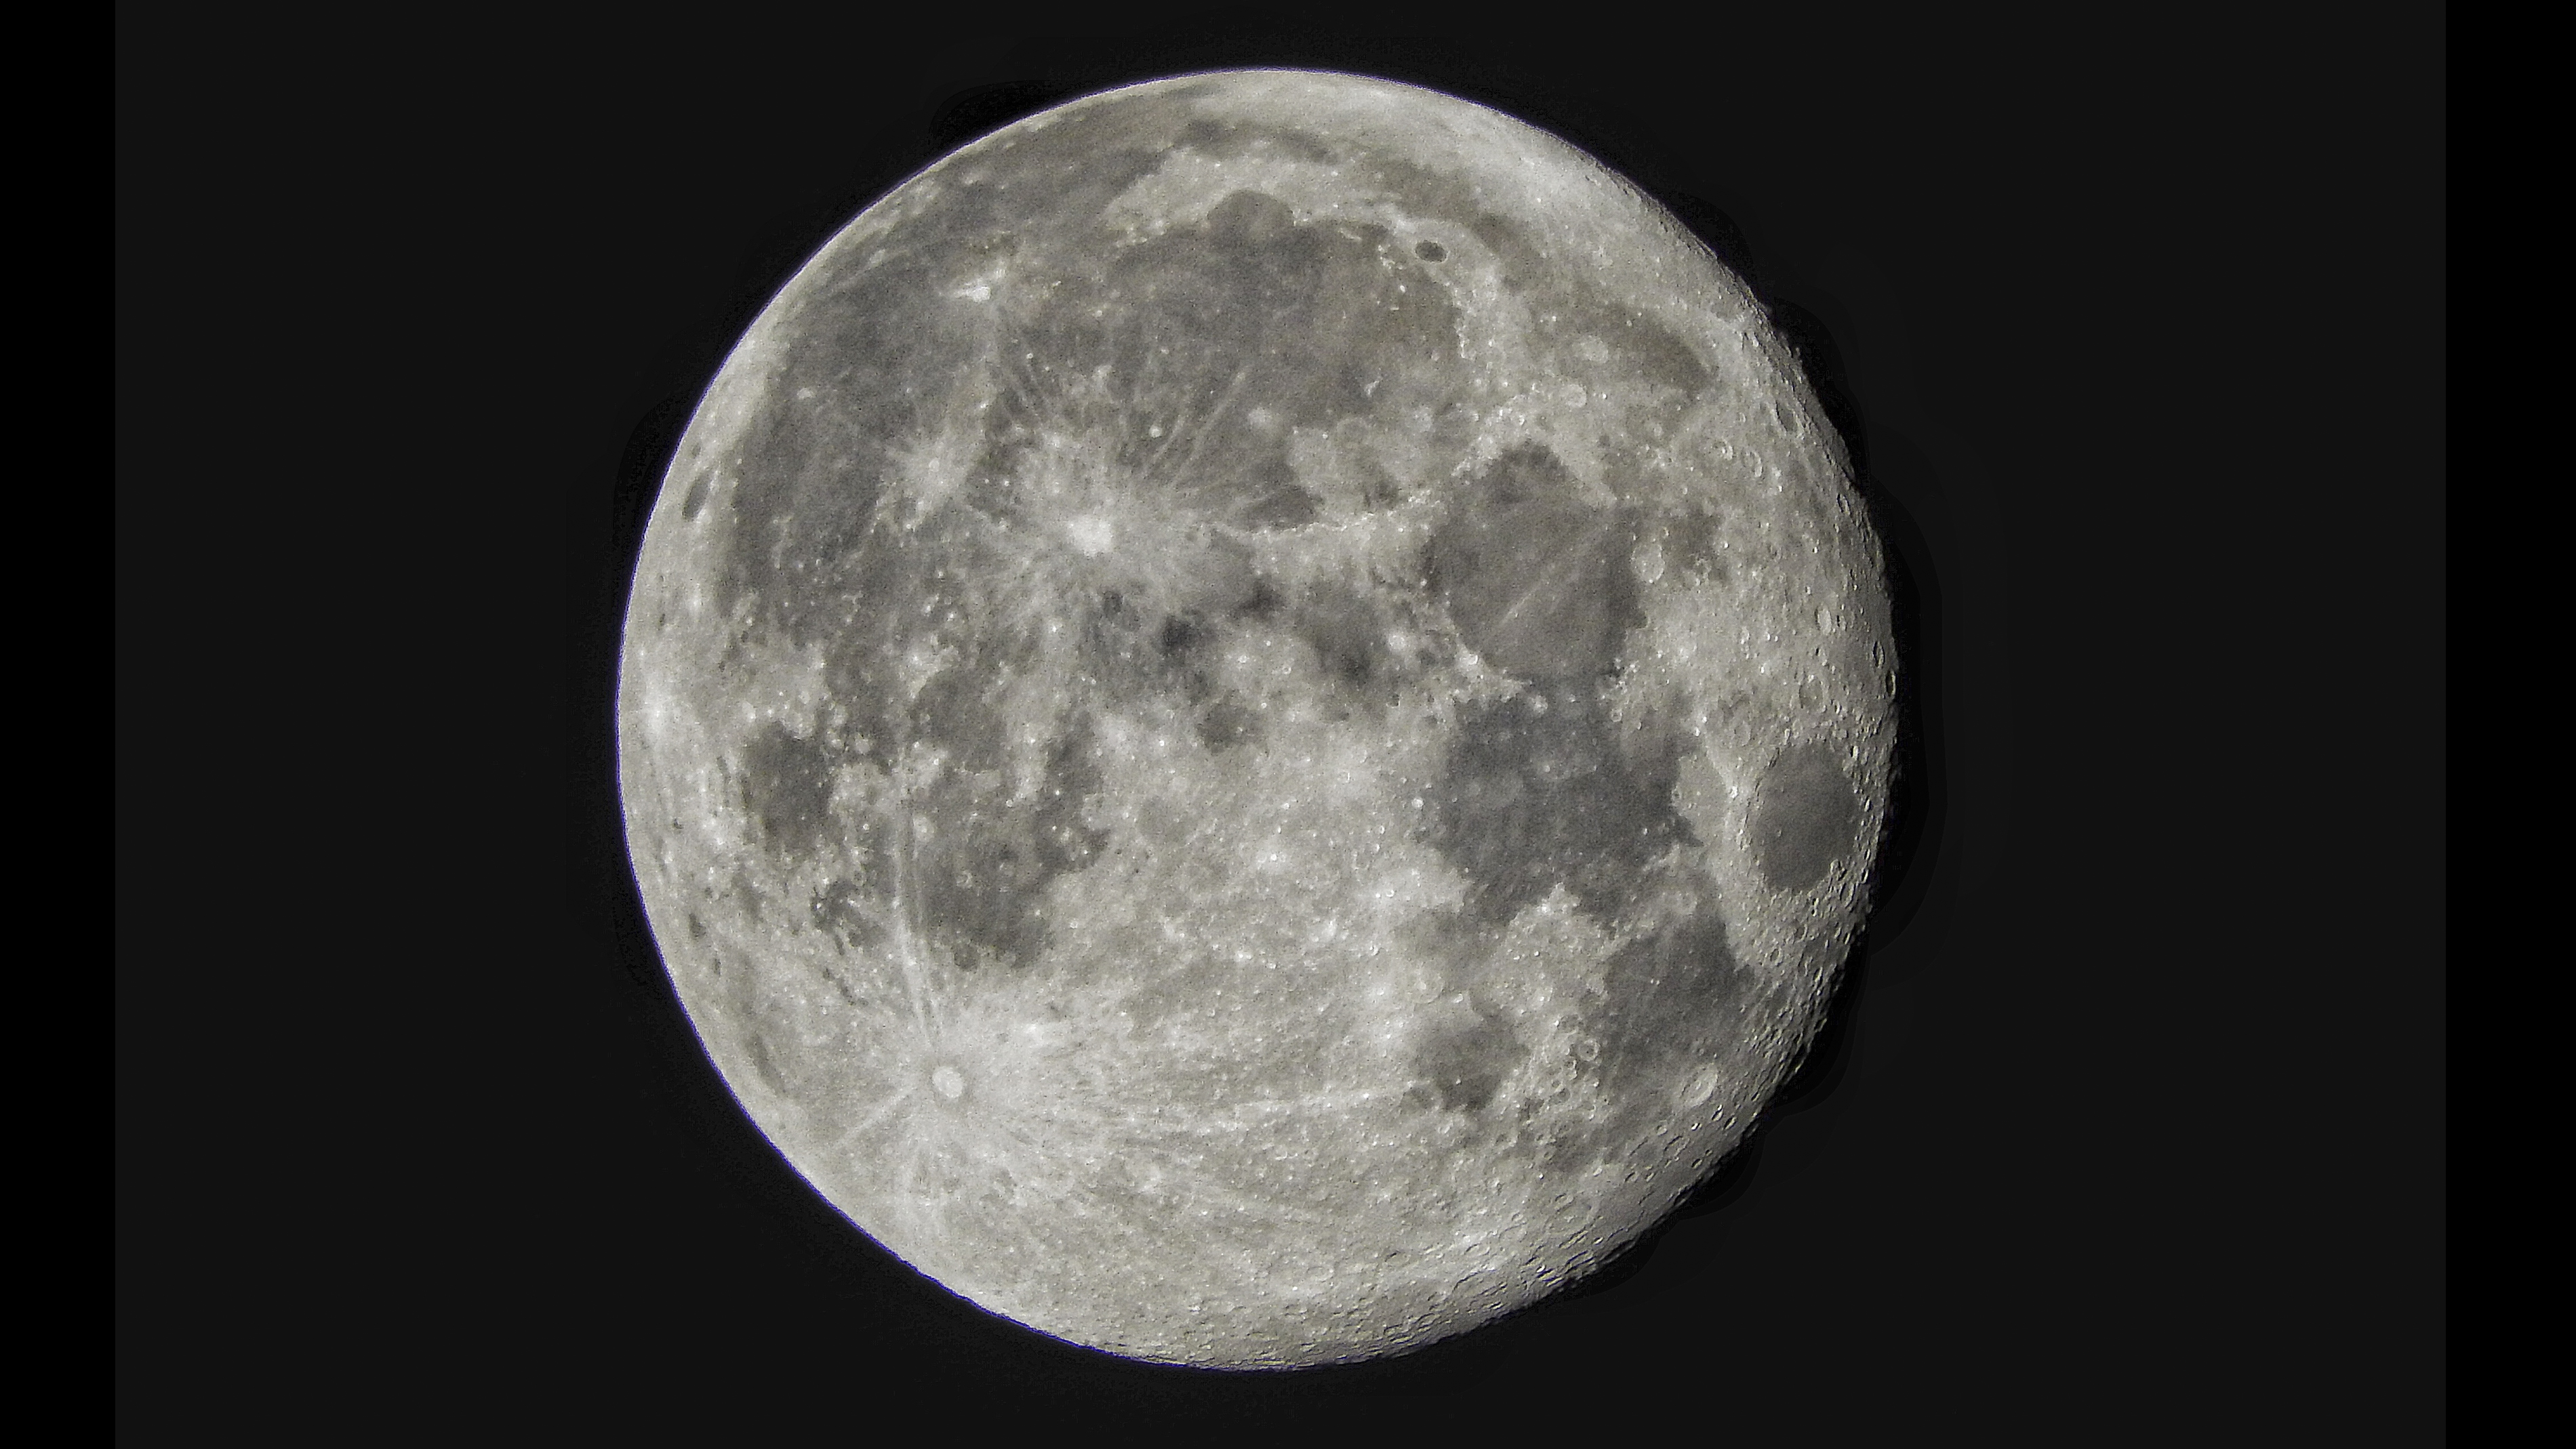
The Moon is a moving target; the combination of the Moon's 2,288 miles-per-hour orbit and Earth's 1,000 miles-per-hour rotation makes our satellite a fast-moving target. However, it's usually bright enough for a relatively fast shutter speed to yield good results.
How to focus on the Moon
Although you can autofocus on the Moon as it rises, or as it becomes visible just before sunset, it's a good idea to focus manually. With your lens set to manual focus, set the the focusing ring to infinity. It takes some practice since most cameras can focus beyond infinity, and finding the exact point that works for your lens takes trial and error.
Take some test shots and zoom in on the result on your camera's LCD screen to see which one works best. Don't skip this step; only once you've done it correctly will your Moon photos be reliably sharp.
How to expose for the Moon
It's a common mistake to overexpose the moon but it's actually much brighter than you think. However, if you want to photograph the foreground and not just the moon by itself you will need to make sure your exposure works for both or use bracketing to take multiple shots with different exposures.
To get a great Moon shot and little else, set your camera to ISO 100 or ISO 200 and the aperture to between f/5.6 and f/11, and adjust your shutter speed to between 1/125sec and 1/250sec. The exact settings will vary depending on your camera and the brightness of the Moon, which depends on its exact phase, but these base settings will get you started.
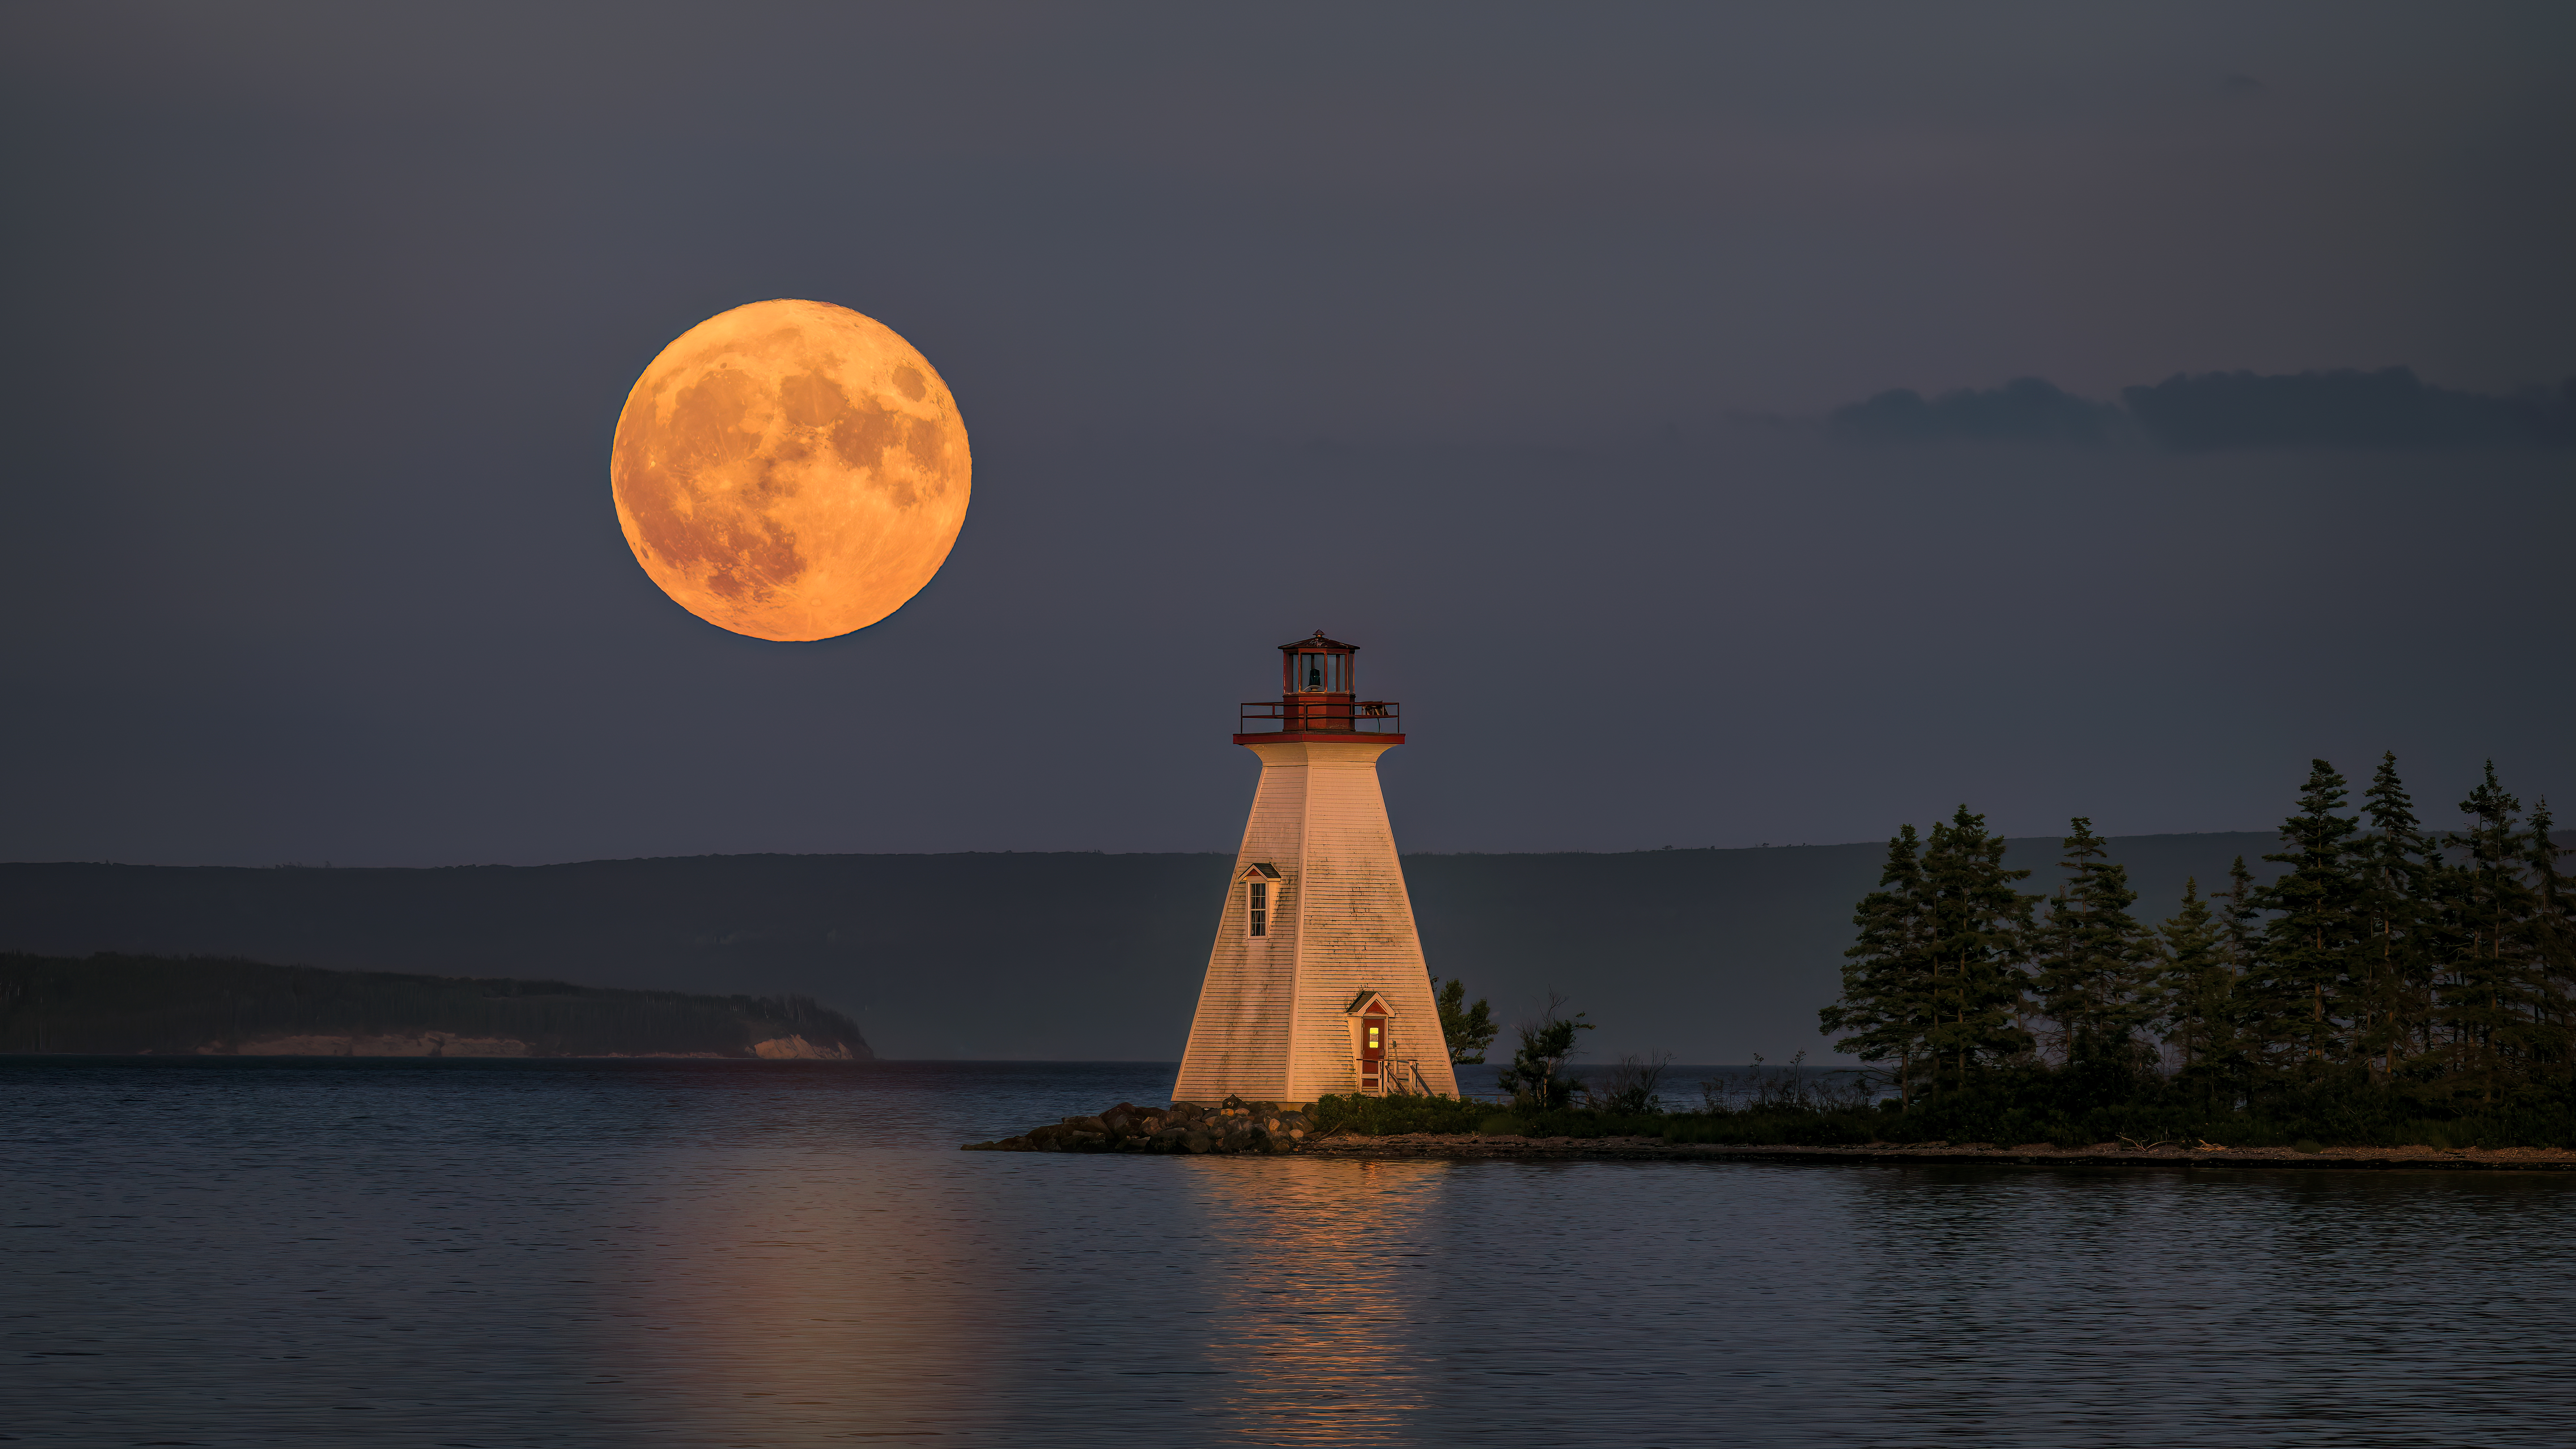
Taking a landscape photograph that includes the Moon is more difficult because during that 'blue hour' after sunset the Moon is already too bright. So, if you take a longer exposure for the landscape, you'll overexpose the Moon, and if you expose for the Moon, the landscape with be under-exposed. So what do you do?
The answer is either to photograph the Moon just before sunset when the light levels are higher (they drop-off so quickly at the point of sunset), or to take two exposures and combine them in photo-editing software. The latter approach, however, often looks fake. Another way is to expose for the Moon, and use a flash to light the foreground.
When to photograph the Moon
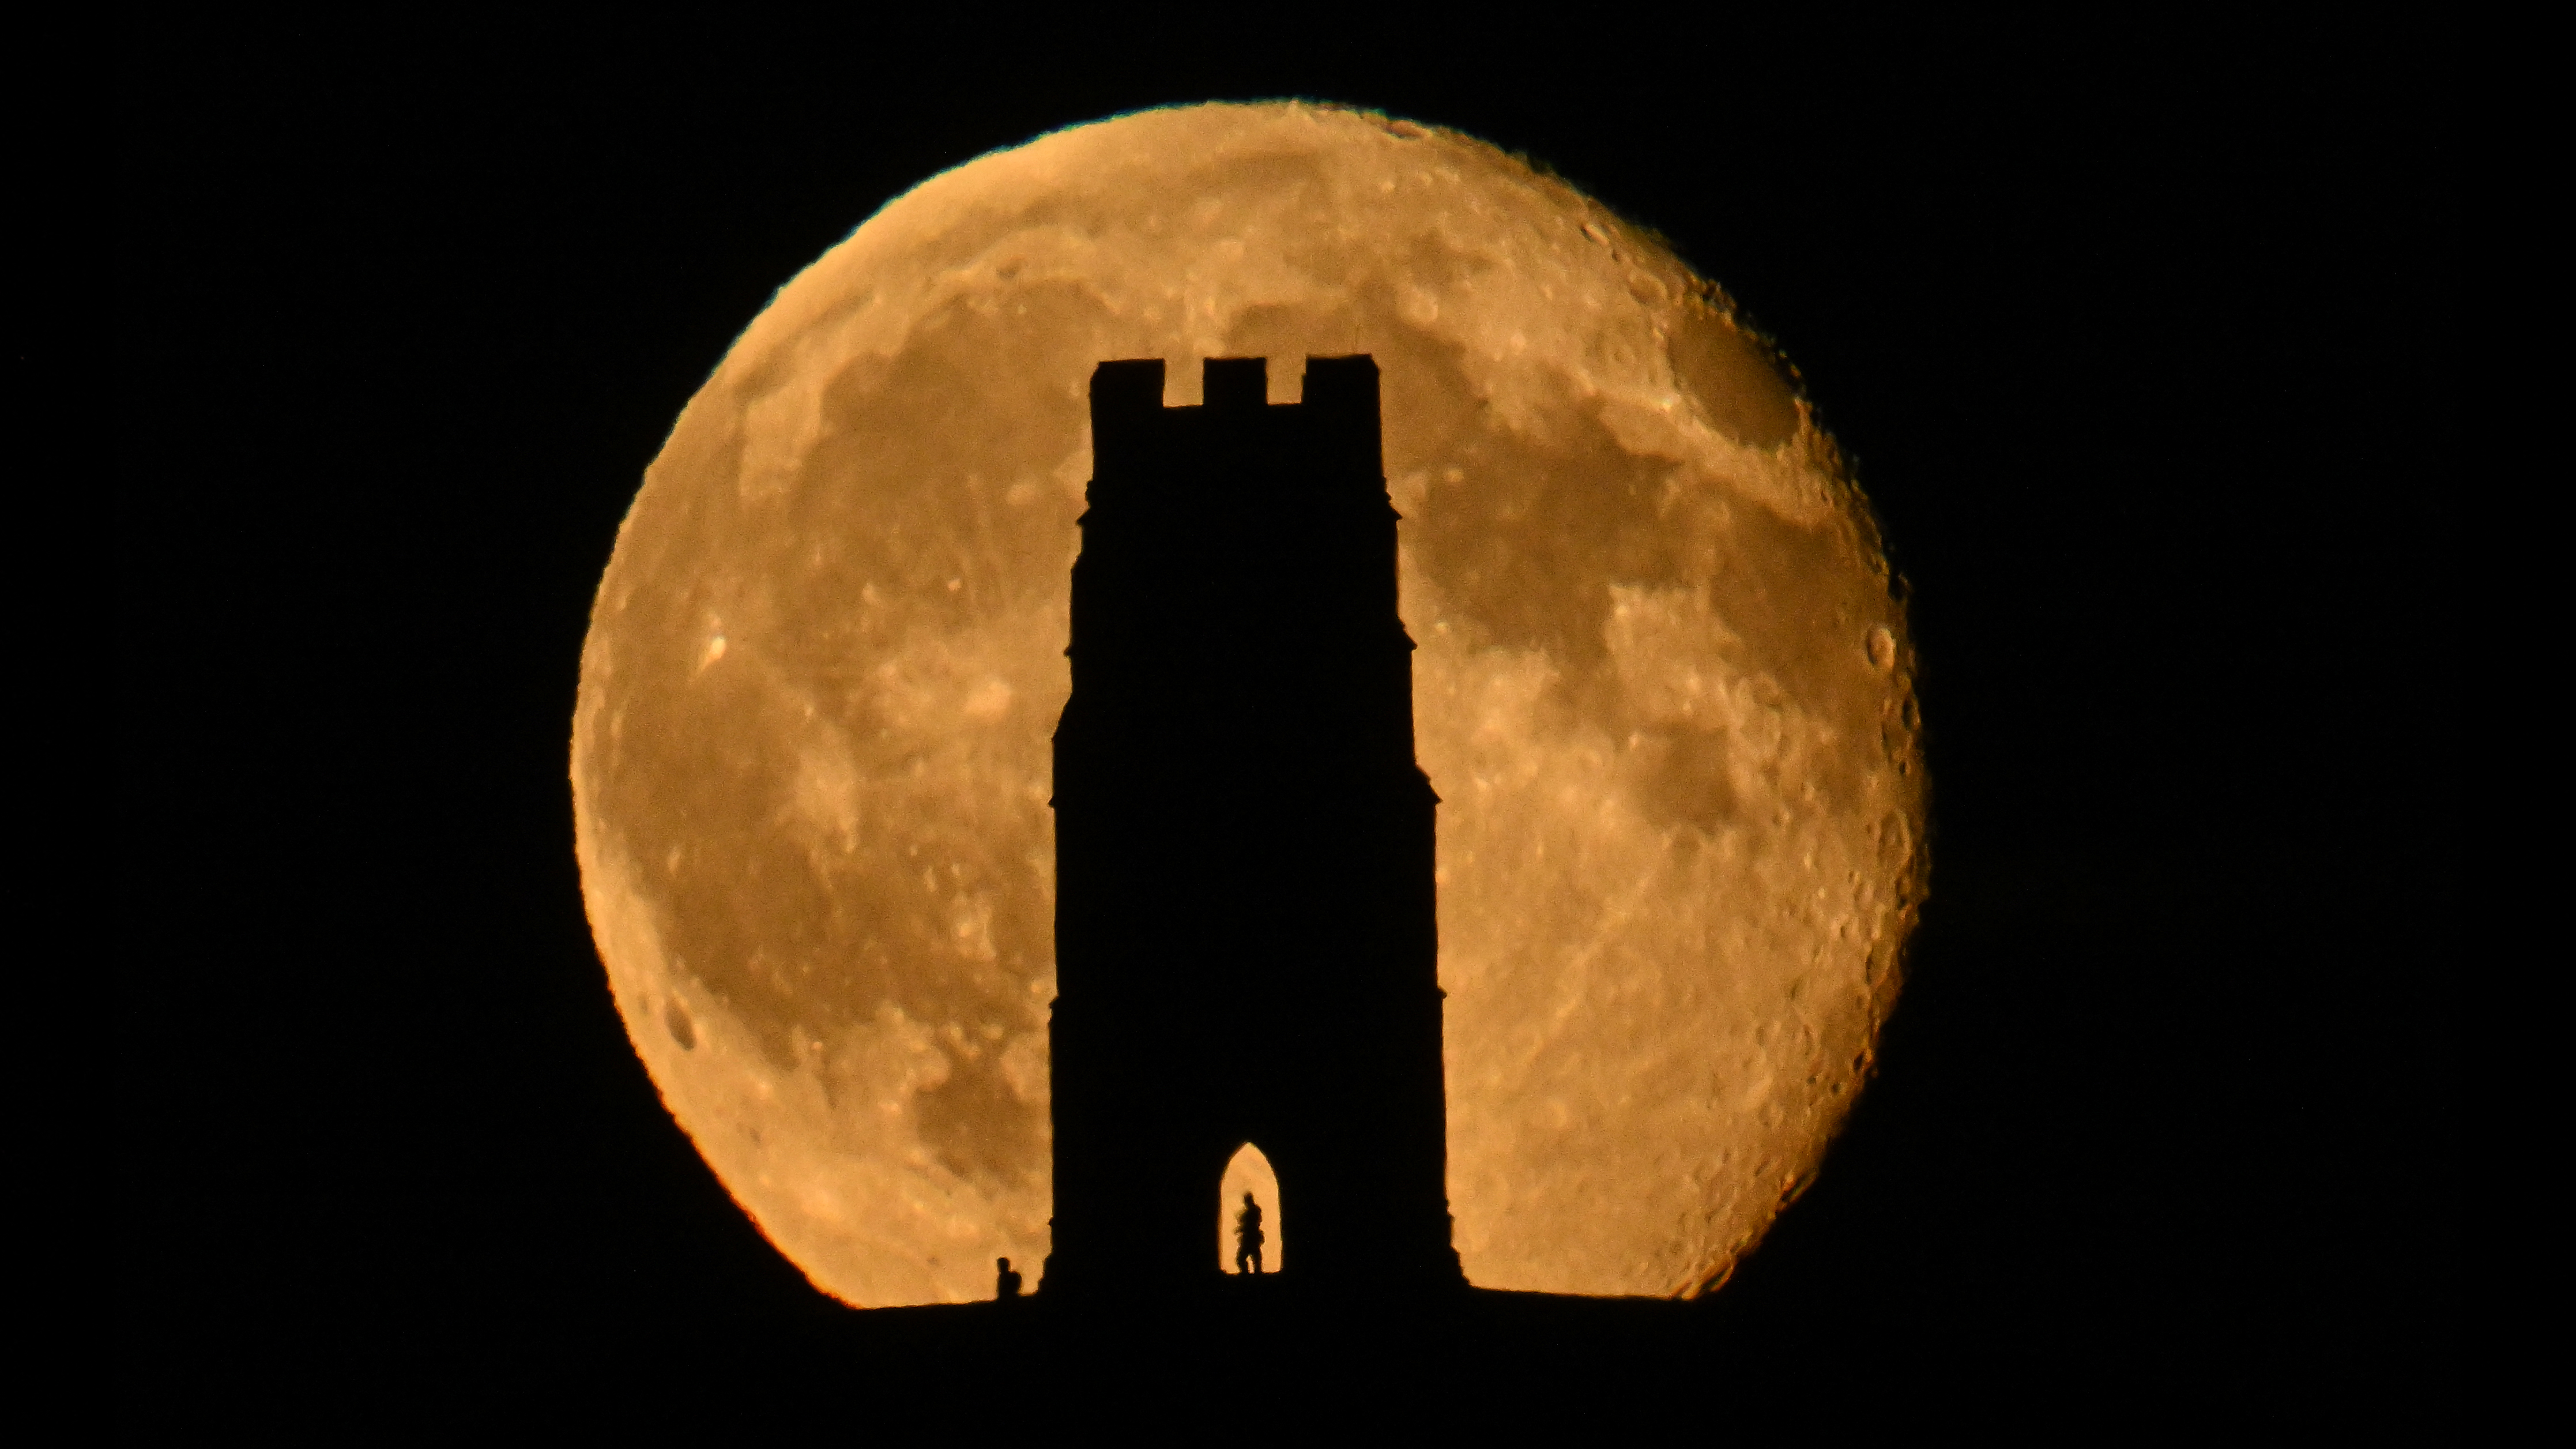
The full moon is probably the lunar event that most beginner astrophotographers will want to photograph first - but it is actually one of the most difficult due to the glare that this creates. Some of the most impressive shots of the full moon are those where it is seen behind a building or a natural structure – which makes the moon look much larger than it does to the naked eye.
If you want less of a cliche, go for other phases of the Moon when you can see a line between the light and dark sides. This is called the terminator line, which is when the craters on the Moon throw shadows, particularly near its South Pole. You can see this most nights, but perhaps the most precious kind of Moon is visible only on the few days on either side of New Moon. At this time, you'll also see a waxing or waning Crescent Moon close to the horizon, and it comes with the bonus of Earthshine.
How to capture Earthshine on the Moon
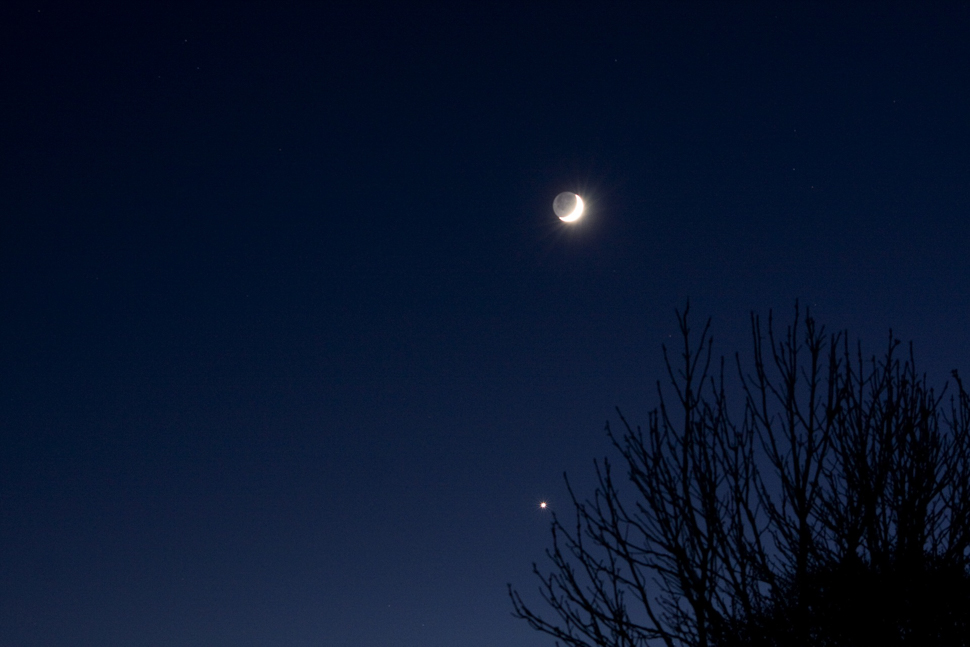
Although 50% of the Moon is constantly being illuminated by the Sun, there are a few days each month when the Earth gets involved – and it's a beautiful event to capture.
Earthshine is a dull glow to the unlit area of the Moon that's the result of sunlight reflecting off Earth's surface and onto the lunar surface. Its subtle and mesmerizing, and easy to capture if you time it right.
Set up for the first (or, more likely, the second) sunset after a New Moon. Using a lens with as long a focal length as possible, and with your camera on a tripod, dial in a sensitivity of ISO400, an aperture of f/2.8 (or as wide as your lens aperture will go), and open the shutter for between one and four seconds.
See our guide to photographing earthshine
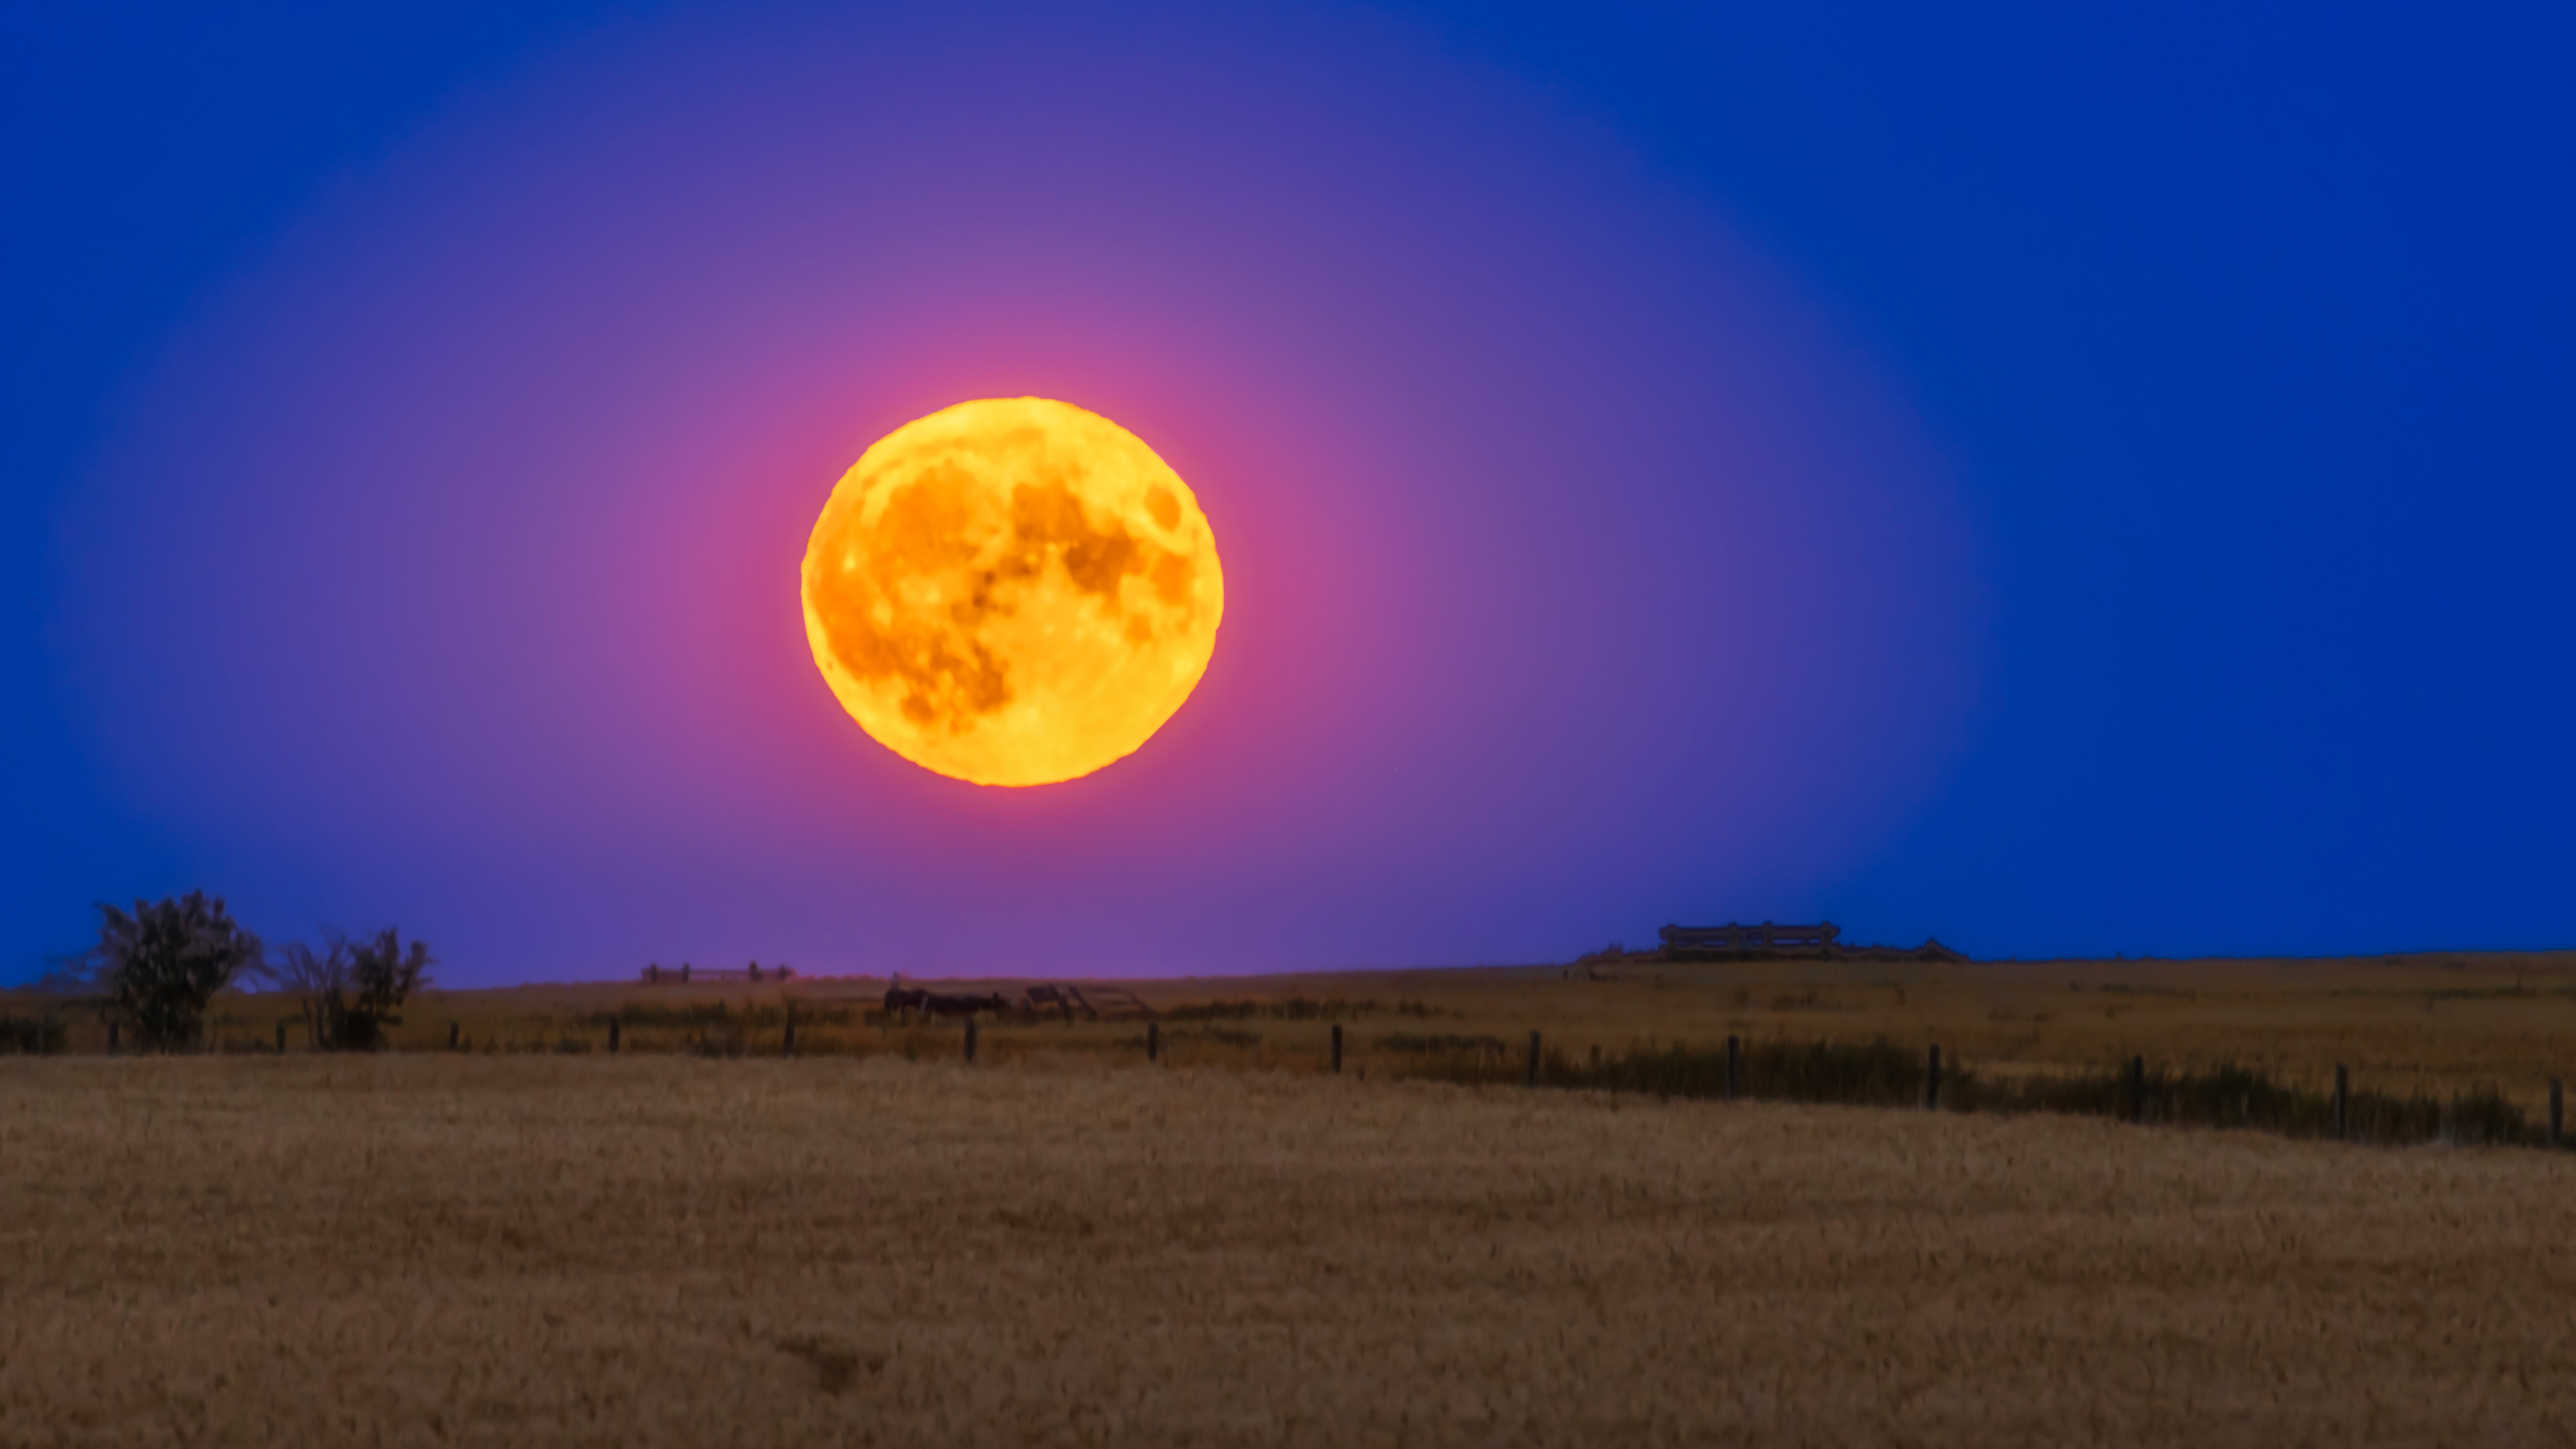
In fact, Earthshine is always being reflected onto the Moon to some extent, but it's only around the New Moon that the crescent of sunlight is small enough for the camera to expose for both the lit and unlit areas.
This is also a good time to combine Moon photography with night-sky photography because the Moon will set soon after you've photographed it. You can then go looking for stars and the Milky Way.
How to capture a moonrise or moonset
There are two exceptions to the advice to avoid photographing the Full Moon.
The first is when there's a total lunar eclipse, and the second is when a Full Moon rises or sets, as it's a great alternative to a sunset. The sight of a Full Moon peeking above the horizon and turning from deep orange to pale yellow to bright white during twilight is a spectacular sight. It also presents an opportunity to get the Moon in the context of a beautiful landscape.
The colourful spectacle lasts mere minutes and is easy to miss, but, like everything else in the night sky, a rising Full Moon is predictable down to the second. Simply find out exactly on what day the next Full Moon is going to be where you are, and exactly what time sunset is on that date, then look to the east for the moonrise. Start-off with your camera set to ISO100, f/10 and 1/125 sec.
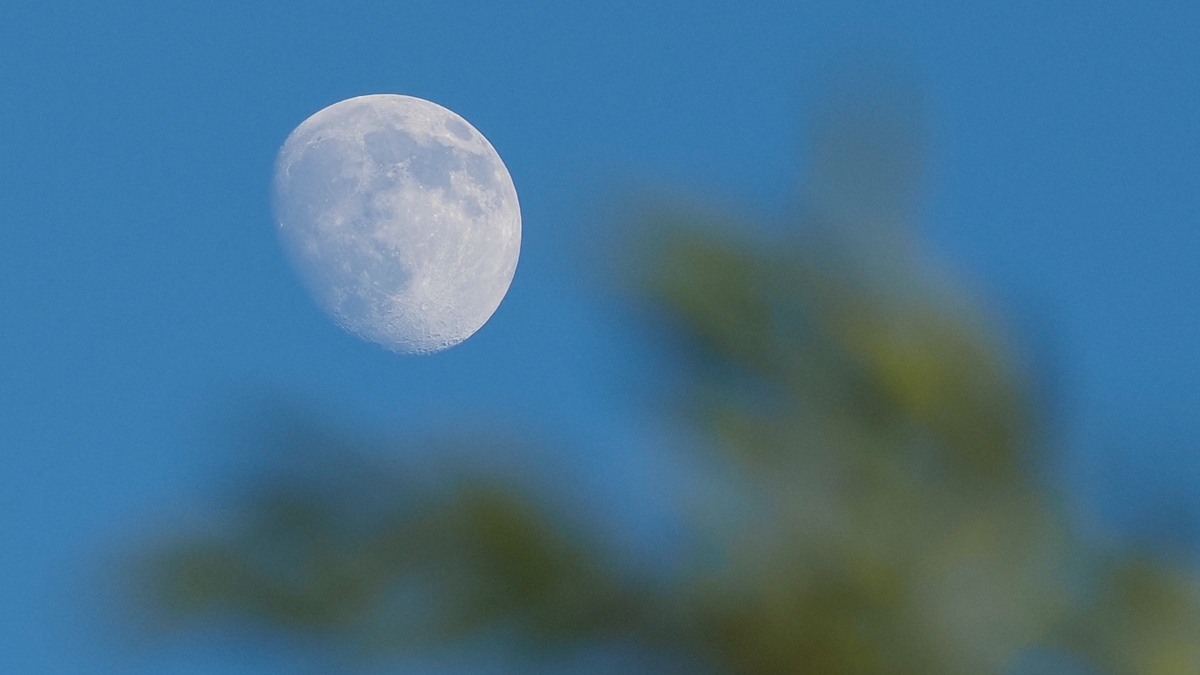
If you've ever seen photos of someone or something silhouetted against a seemingly giant Moon, perhaps while standing on top of a hill, they were taken during a moonrise. They were also ruthlessly planned; The Photographer's Ephemeris and PhotoPills apps are ideal for this kind of project.
To make the Moon look so large in the background, photographers need to use superzoom telephoto lenses of at least 1,000mm while being positioned a mile or so away from the all-important foreground subject that introduces that sense of scale.
Composites, moon-stacks and super moons
It's possible to shoot the Moon and add it to another landscape shot using Photoshop. However, almost everyone who attempts this either makes the Moon look way too big, or they place it somewhere in the night sky that it doesn't occur (such as in the norther hemisphere's northern sky).
To anyone with a trained eye, most composites look like what they are: fakes. There is one exception; moonstacks, a lunar time-lapse, in which you take several photos of the moon as it moves through the sky, and then use Photoshop to composite them into a single image.
Read more: How to create a moonstack
Although it often grabs the attention of photographers and media alike, pay little attention to the term 'supermoon'. A recent term that merely means that the Moon is slightly closer to Earth than normal, it has little practical meaning or use. However, while a Super Full Moon does look larger as it rises above the horizon, it's only by about 10%-15%, so it's barely noticeable to eye or camera.
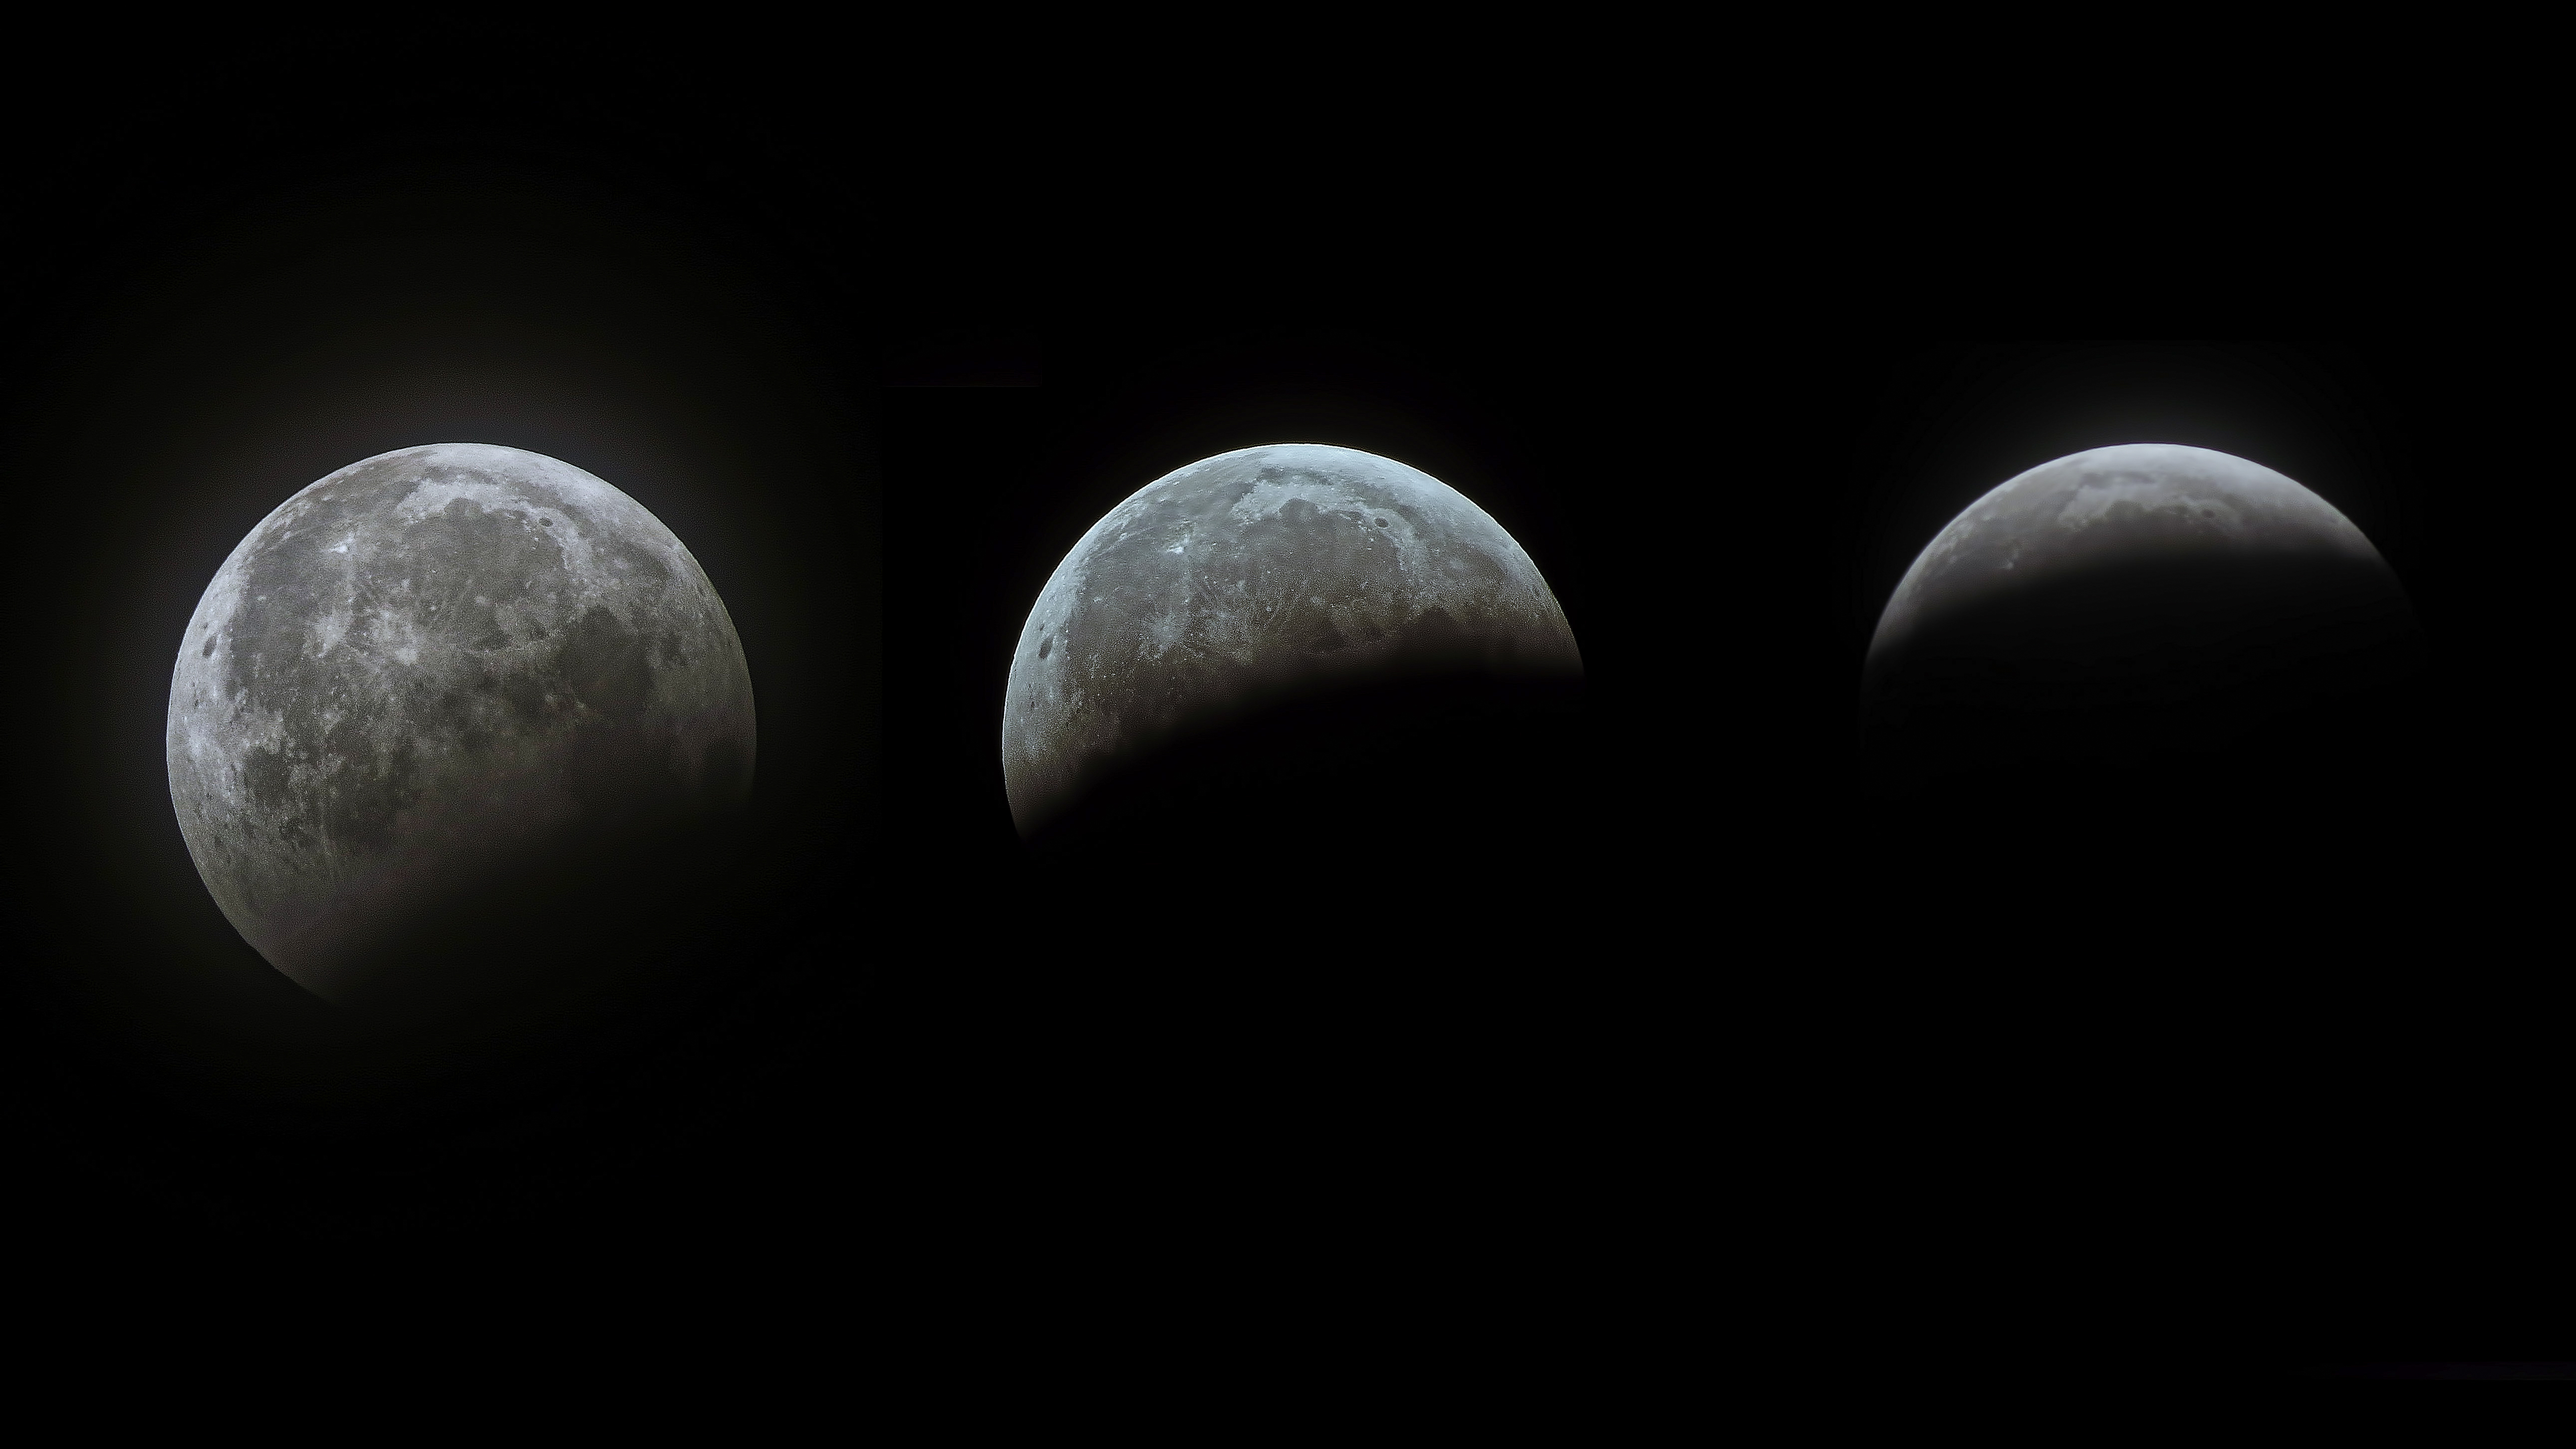
The very finest way of getting a close-up shot of the Moon – and the only way to get enough magnification for it to fill the entire frame – is to mount the body of a camera on a telescope using a cheap T-adaptor; it's like having a very large telephoto lens. Try to find a telescope with a focal length of over 1,000mm, but under 2,000mm to capture the whole of the moon.
Whatever kind of Moon-shot you try for, photographing our satellite provides a good lesson in the role of precision timing in composing unique landscape and nature images.
You might also like...
If you enjoy photographing the full moon and want to take your astrophotography to the next level, take a look at the best camera for astrophotography. You may also wish to upgrade your optics via the best lenses for astrophotography. And if you want to take your astrophotography even further (literally!) for some deep-space imaging, then head over to the best telescopes for astrophotography.


