Knowing how to paint wooden furniture can help you out in a multitude of ways, especially if you want to inject colour into your home or breathe new life into old furniture. But there’s a technique you have to master if you want an even finish every time.
Yes, whether you want to upcycle old furniture or paint IKEA furniture, it’s crucial to understand that you can’t rush the wooden furniture painting process. Poor preparation can result in brush marks and imperfections that will stand out like a sore thumb in your home, and rushing the job is a surefire way to ensure the paint chips or bubbles in just a few months.
That’s why I’ve asked decorating experts to share their 5 simple steps for painting wooden furniture, so you can follow this guide and guarantee a flawless finish every time.
What you'll need
- Sandpaper - like these Assorted Hand Sanding Sheets from B&Q
- Cleaning cloths - like these SEEP Eco All Purpose Bamboo Cloths from Amazon
- Primer - like this Johnstone's Quick Dry Primer Undercoat from Argos
- Paint brush - like this Coral Shurglide Paint Brush Set of 5 from Argos
- Eggshell paint - like this Farrow & Ball Estate Setting Plaster No.231 Eggshell Paint from B&Q
- Decorator's tape - like this Frog Tape Green Multi Surface Painters Masking Tape from Amazon
Step-by-step
1. Prepare the painting space
Just like painting a wall or even painting a fence, painting wooden furniture can be a messy business - and it can also be harmful if you choose to tackle this easy DIY project indoors. So, first and foremost, you need to prepare your painting space.
If you can’t paint wooden furniture outside (or in a larger room such as a garage or shed), make sure you open up any windows and doors to ventilate the area and maintain a constant airflow.
Then, lay the furniture on a dust sheet like this 6 Pack Extra Large Dust Sheets for Decorating to cover your flooring.
You should also cover any nearby furniture if you want to protect it from any drips or spills. Alternatively, you could use any old bed sheets you have lying around for a cheaper option. And when you’ve prepared the area, you can move on to the next step.
2. Prepare the wooden furniture
Although you may be inclined to start painting as soon as possible, Jason Burns from FrogTape warns that moving too fast could result in common paint problems that may ruin your efforts. He says, ‘Preparation is key when it comes to painting wood. Heavy-grained wood, in particular, can be tricky due to its uneven and absorbent texture.’
First, you should remove any hardware from the furniture (if necessary), and then use sugar soap, AKA the decorator’s holy grail, to remove any lingering dirt or grime on the wooden furniture. This Volden Concentrated Liquid Sugar Soap from B&Q is my personal favourite, and can be wiped on using a clean cloth.

Then, Jason advises you to use a few squares of sandpaper to smooth the surface. He says, ‘If it is unfinished, lightly sand the surface to smooth out any rough spots or splinters. You will need to cut your sandpaper down to small sizes to ensure you get in any small gaps such as between spindles or around the top of legs.’
He adds, ‘If you are painting over existing paint or varnish, you will need a much coarser sandpaper as there might be chips and cracks in the paint or varnish. After sanding, wipe away dust with a damp cloth and let the surface dry.’
3. Apply a coat of primer
Next, you need to apply a coat of primer to your wooden furniture. And while you can buy 2-in-1 primers and paint, these limit your colour options and will never be as effective as a standalone primer.
As Jason explains, ‘Applying a primer before painting as this helps create a more even surface, and will make your job a lot easier if the wood is particularly absorbent.’ This will ultimately result in a smoother, flawless finish when painting wooden furniture.

You should only need to apply one coat of primer and although you don’t need to worry too much about painting the primer perfectly, you should try your best to apply an even coverage.
This is the case no matter what you’re painting, whether that be your kitchen cabinets or this Elsie 'Paint Your Own' Floor Lamp Base from Dunelm. Then, just wait for the primer to dry before moving on to the next step.
4. Choose the correct paint
Now you get to the fun bit of choosing the best paint for furniture. Of course, much of this next step is subjective, as you can either choose to opt for an emerging paint trend or your personal preference. Whatever you do, though, Emma Bestley, Creative Director and Co-Founder of YesColours suggests opting for eggshell paint during this stage.
She says, ‘Eggshell is always best when painting furniture as it offers a higher sheen than emulsion and is wipeable and hardwearing once dry. Once your furniture is prepped, think about how you want it to fit into the room you envision it in.’
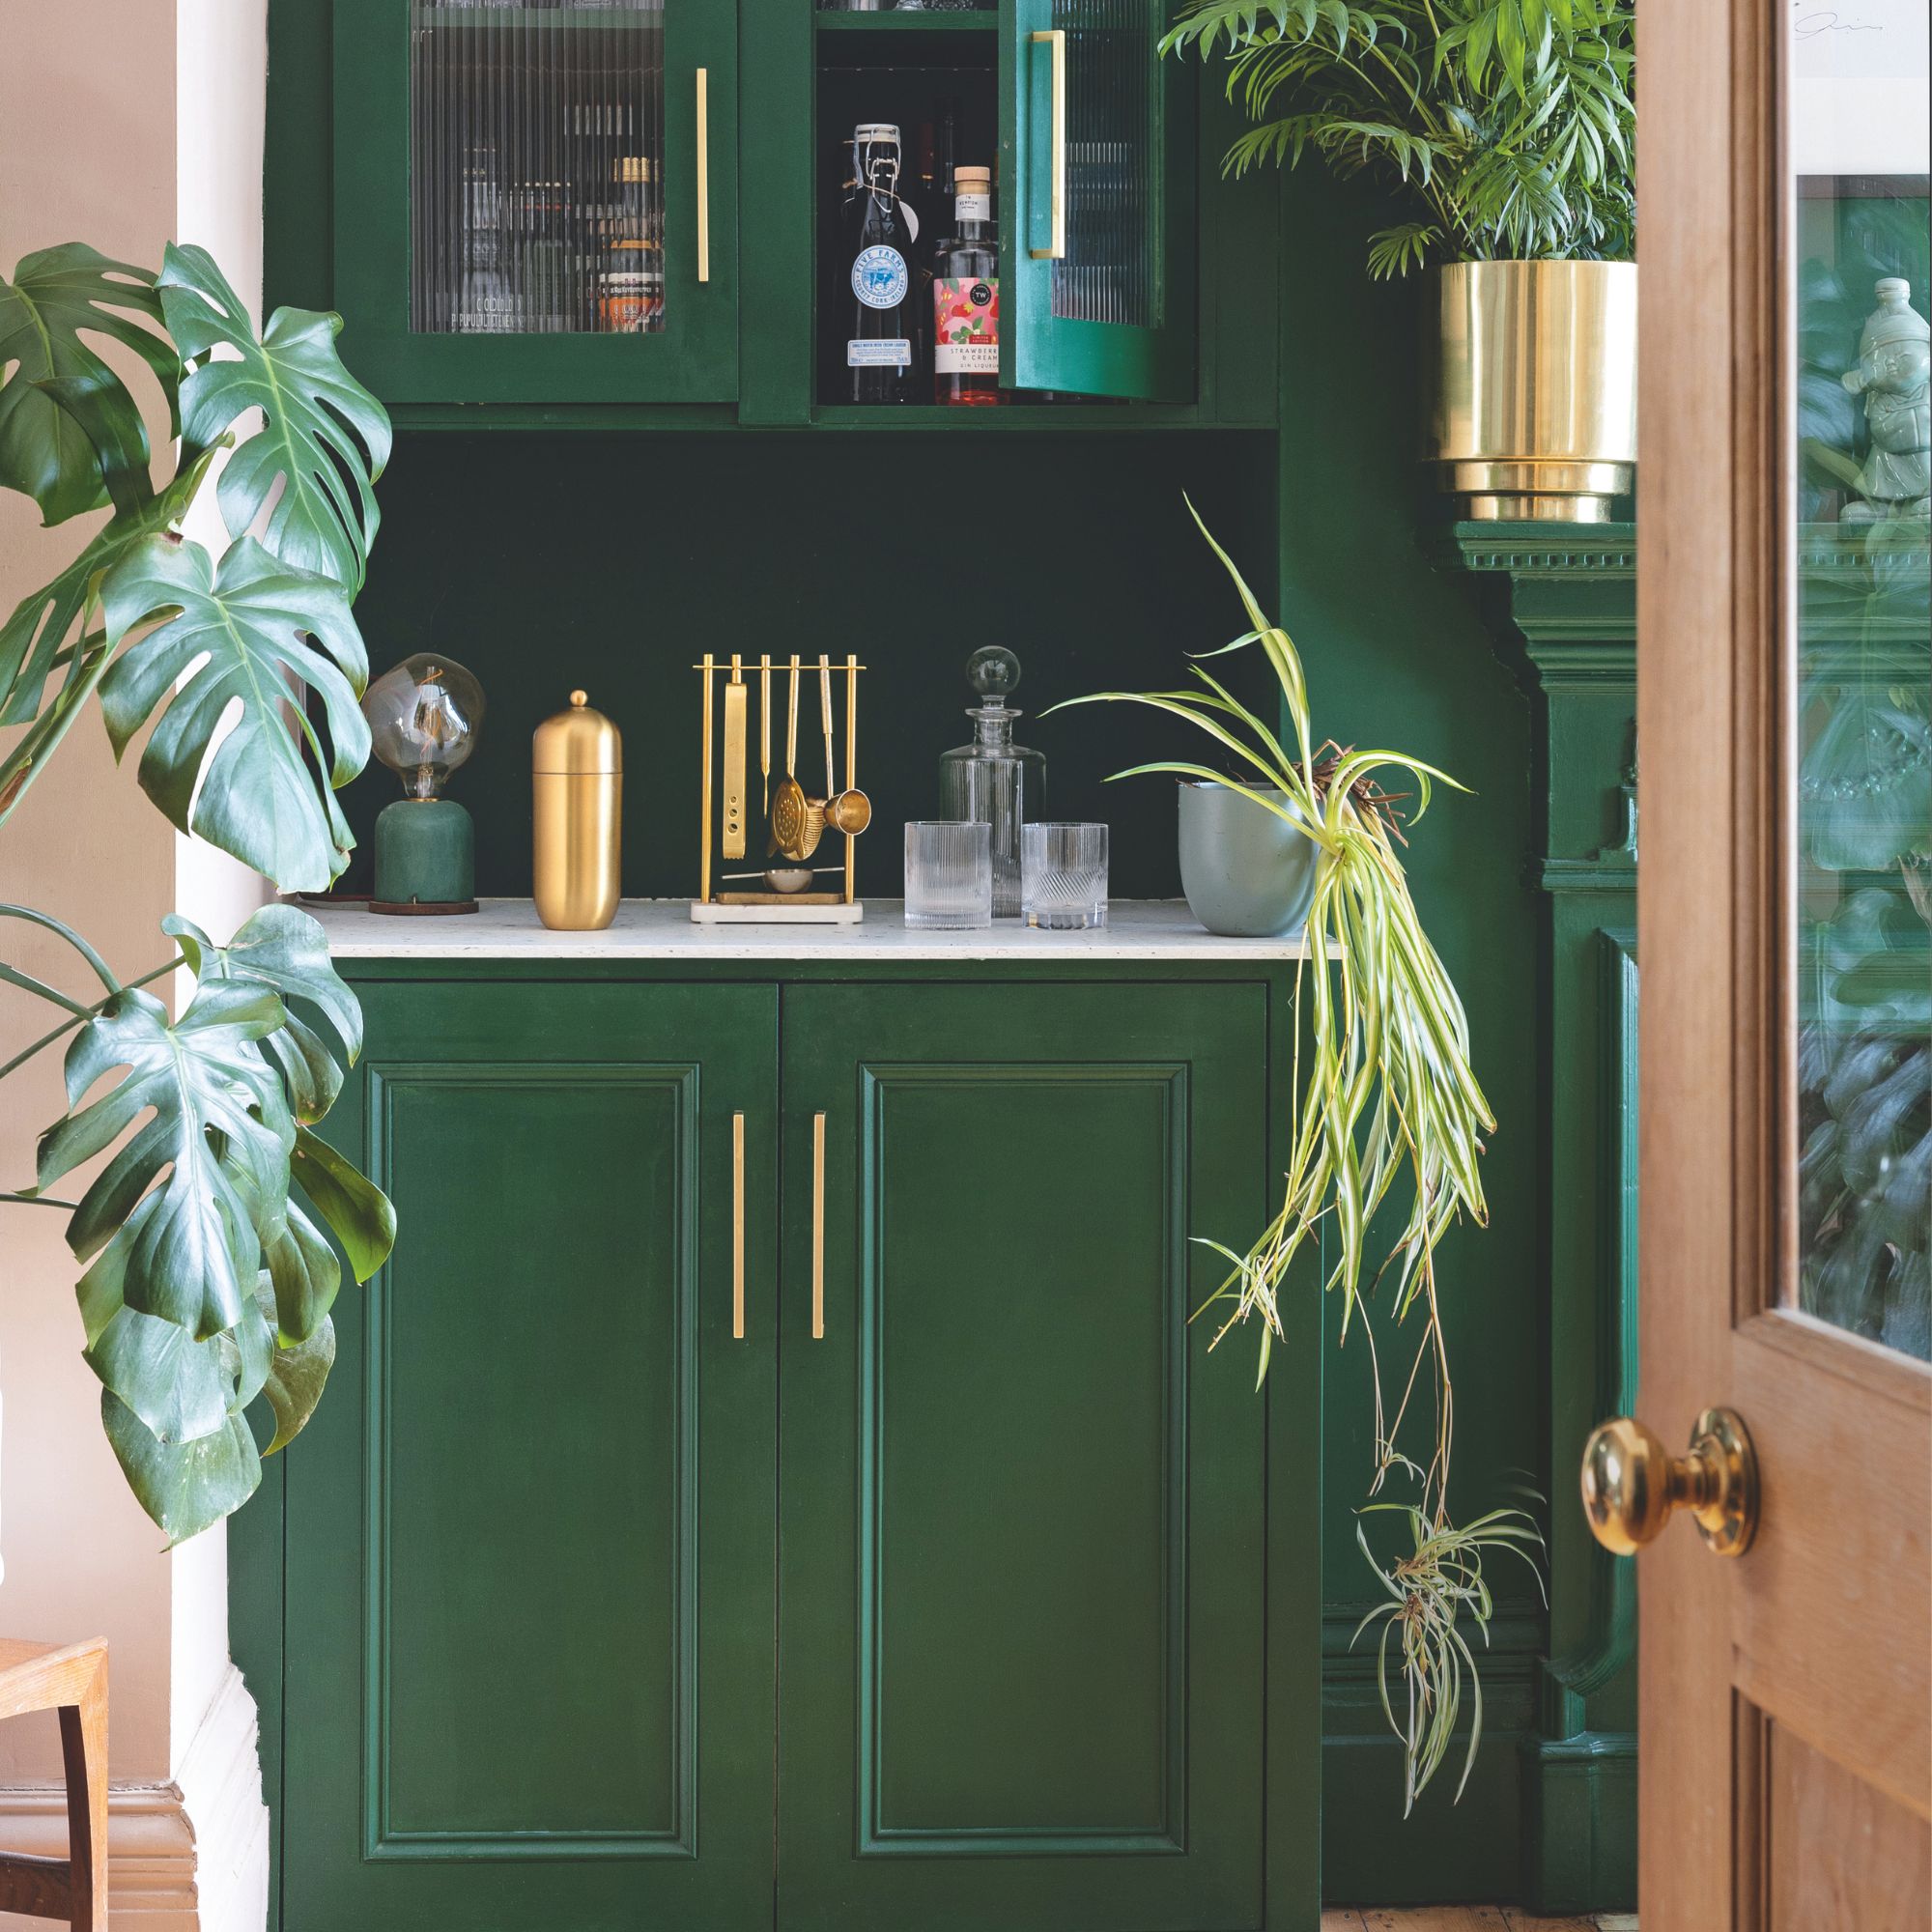
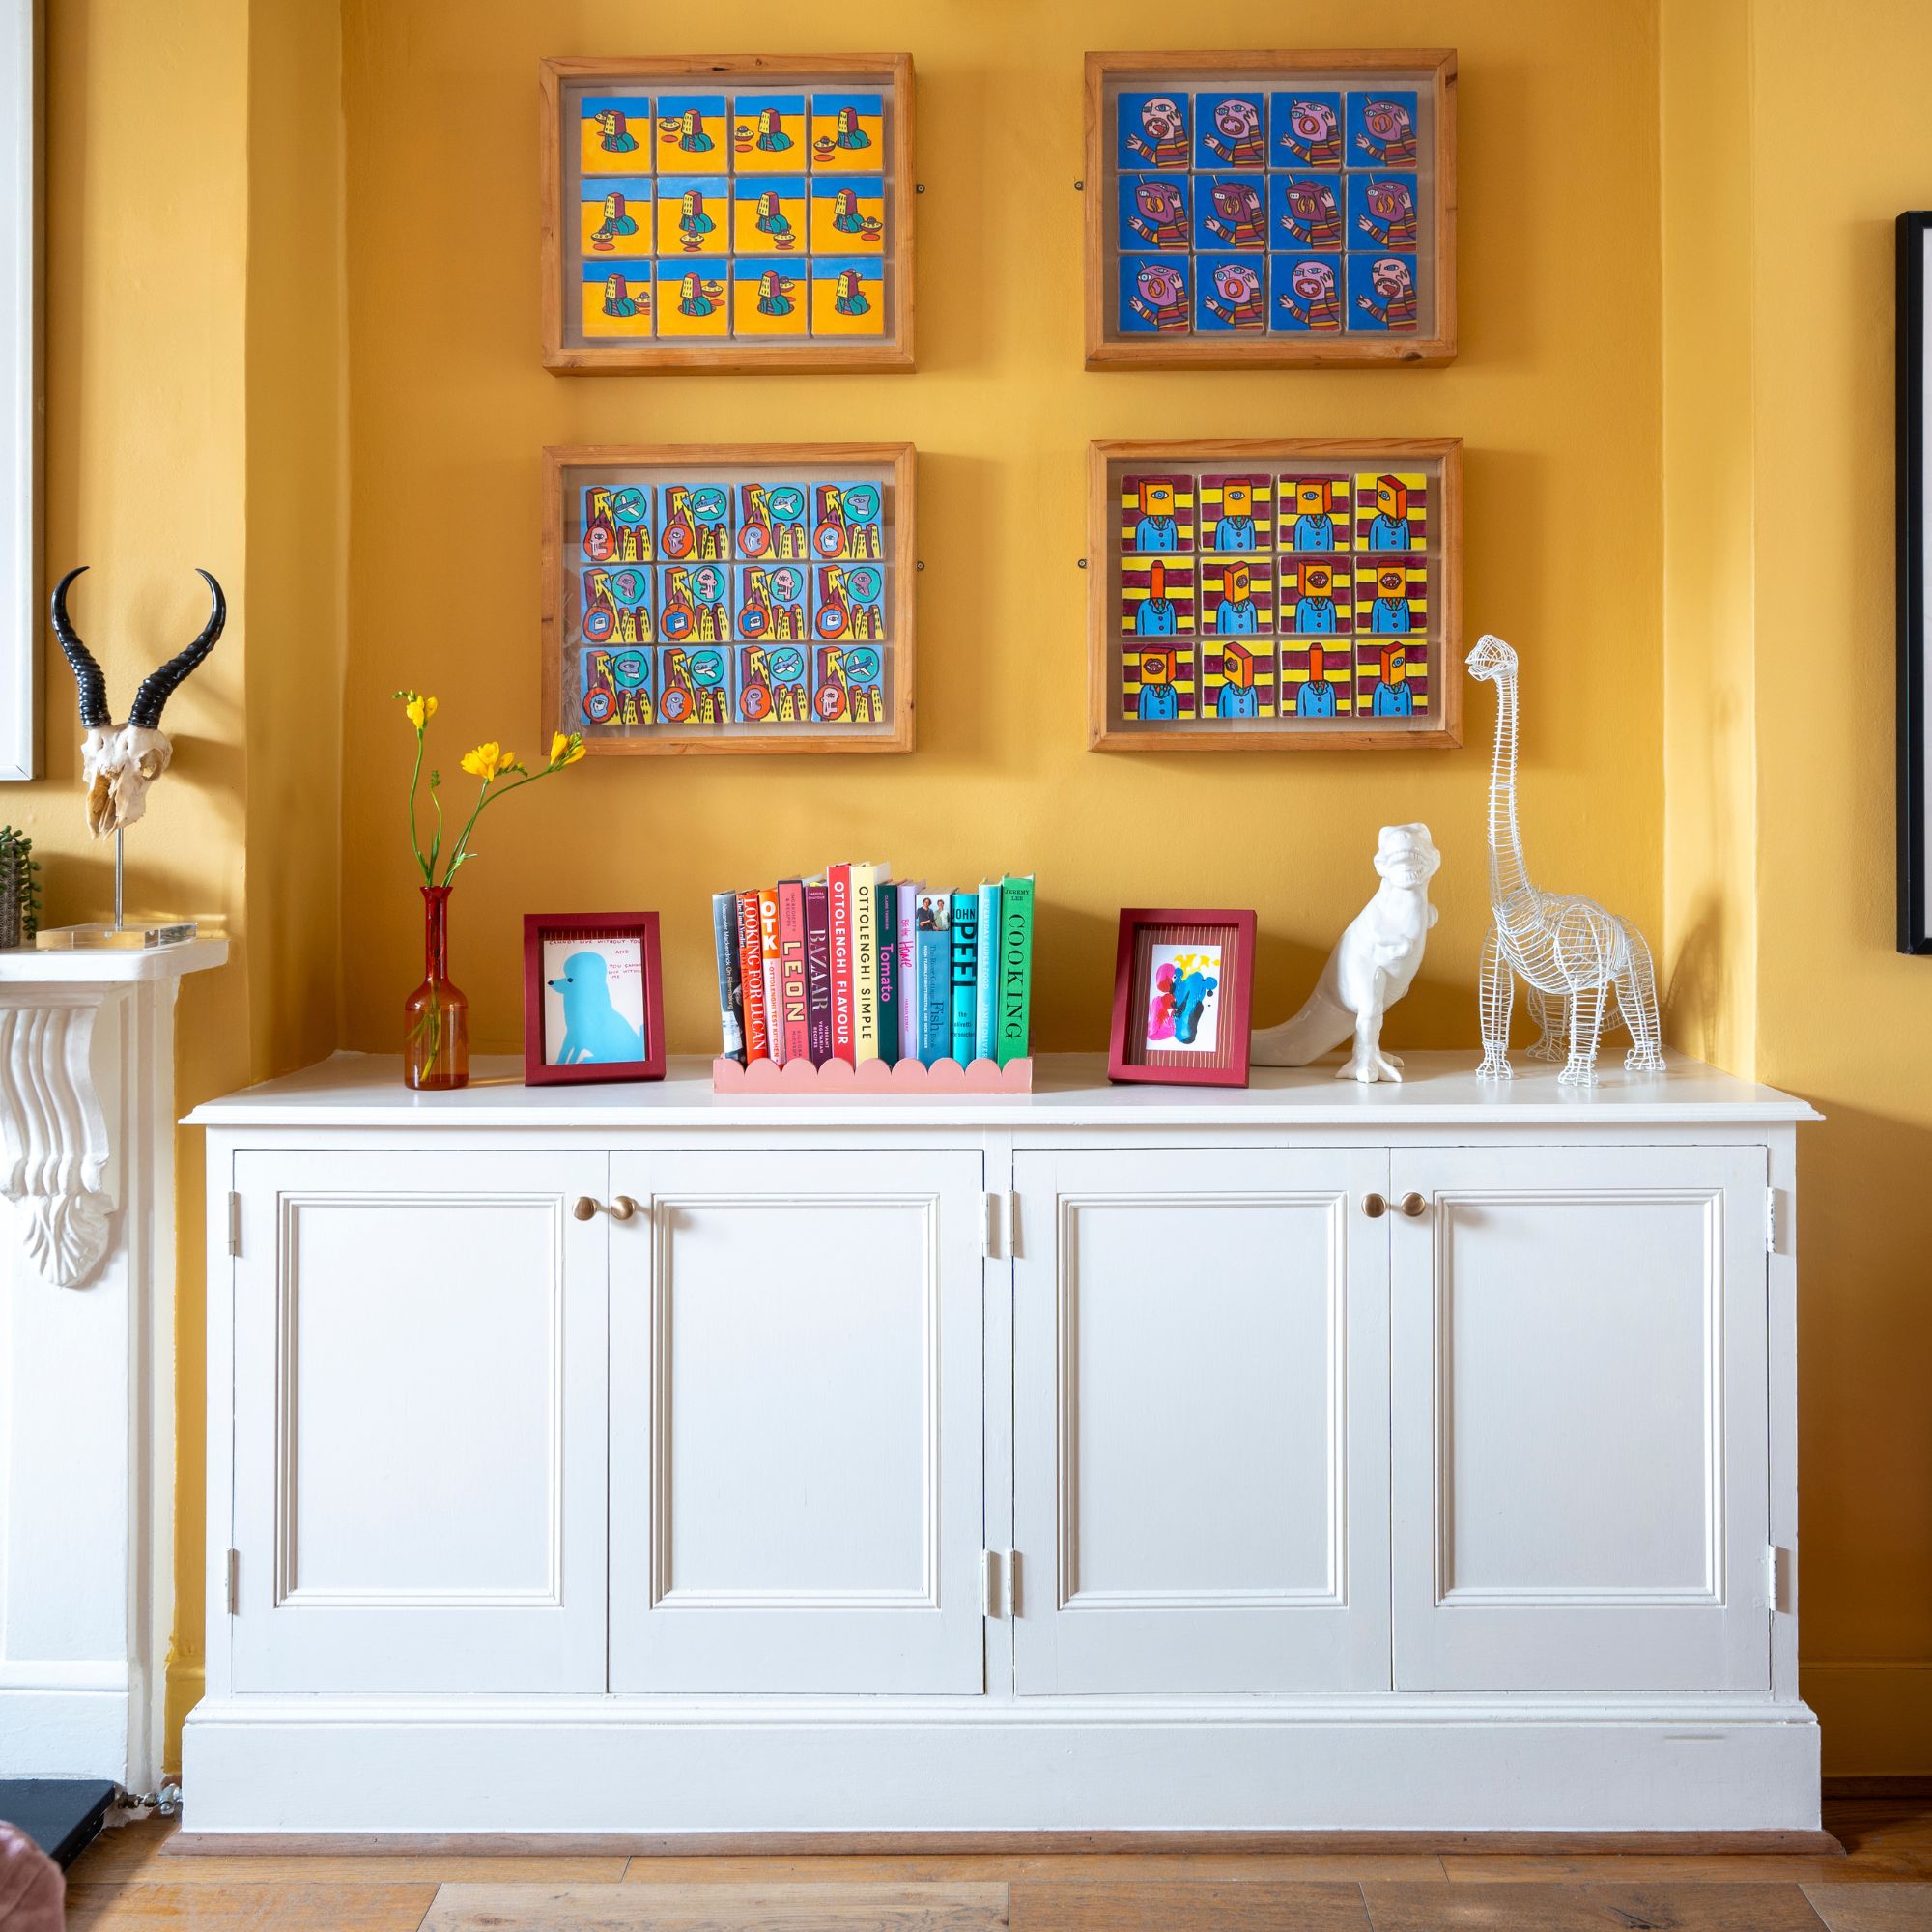
She adds, ‘With small rooms, you can afford to go as bold as you like when upcycling furniture. Highly saturated colours look great in rooms decorated in a dark palette: try zesty shades of yellow, or a Majorelle-inspired blue. For punchier brights try uplifting shades of green or pink, or breathe life into neutrals and whites with ice-cream shades of lilac and peach.’
If you need a little help choosing, though, our guide on how to choose the perfect paint colour every time can point you in the right direction.
5. Get painting
With your paint colour chosen, you can then paint your wooden furniture. Don’t be tempted to use a roller for this step, though - especially if you want an even finish.
‘Use a smaller acrylic brush to apply the paint,’ advises Sophie Smith from Zhoosh Paints. ‘Even on larger pieces of furniture, a smaller brush will ensure you get the right amount of paint in the grooves, corners and joins.’
It’s also a good idea to apply two coats of paint during this step. And while how long you should wait between coats of paint will vary depending on the specific paint you use, it’s generally considered best practice to wait at least 24 hours between coats.
Just make sure you clean your paintbrushes when you’re done so you won’t have to buy more next time you want to paint wooden furniture.
If you're painting larger pieces of furniture, you could also use a spray gun. This won't negate the need for an actual paint brush, but it can speed up the painting process. This one has three settings, so you can adjust the nozzle to suit the wooden furniture you're painting.
FAQs
Should you paint furniture with a roller or brush?
Most experts would agree that you should paint furniture with a brush, as it will allow you to get into the smaller nooks and crannies and offer an all-around flawless finish.
However, that’s not to say that you can’t use a roller at all if you think it would serve you better. Rollers can be effective when painting larger pieces of furniture or bigger surface areas like wardrobe doors. Just be warned that you might not get the finish you’re after.
How do you paint wood furniture without brush marks?
The best way to reduce the chances of brush marks when painting wooden furniture is to prep the furniture before you start painting. By cleaning and sanding the wood beforehand, you can remove any imperfections that could be highlighted further when you paint.
When you’ve done this, you should then paint thin, even coats of paint and wait at least 24 hours before painting a second coat. If you’re not happy with the first coat of paint, it may be worth sanding any imperfections you see before painting again to ensure a smooth finish.
Hopefully this guide will set you up for success to paint your wooden furniture, but do you have any other handy tips to share? Let us know about your DIY successes (or even any DIY failures!) in the comments.