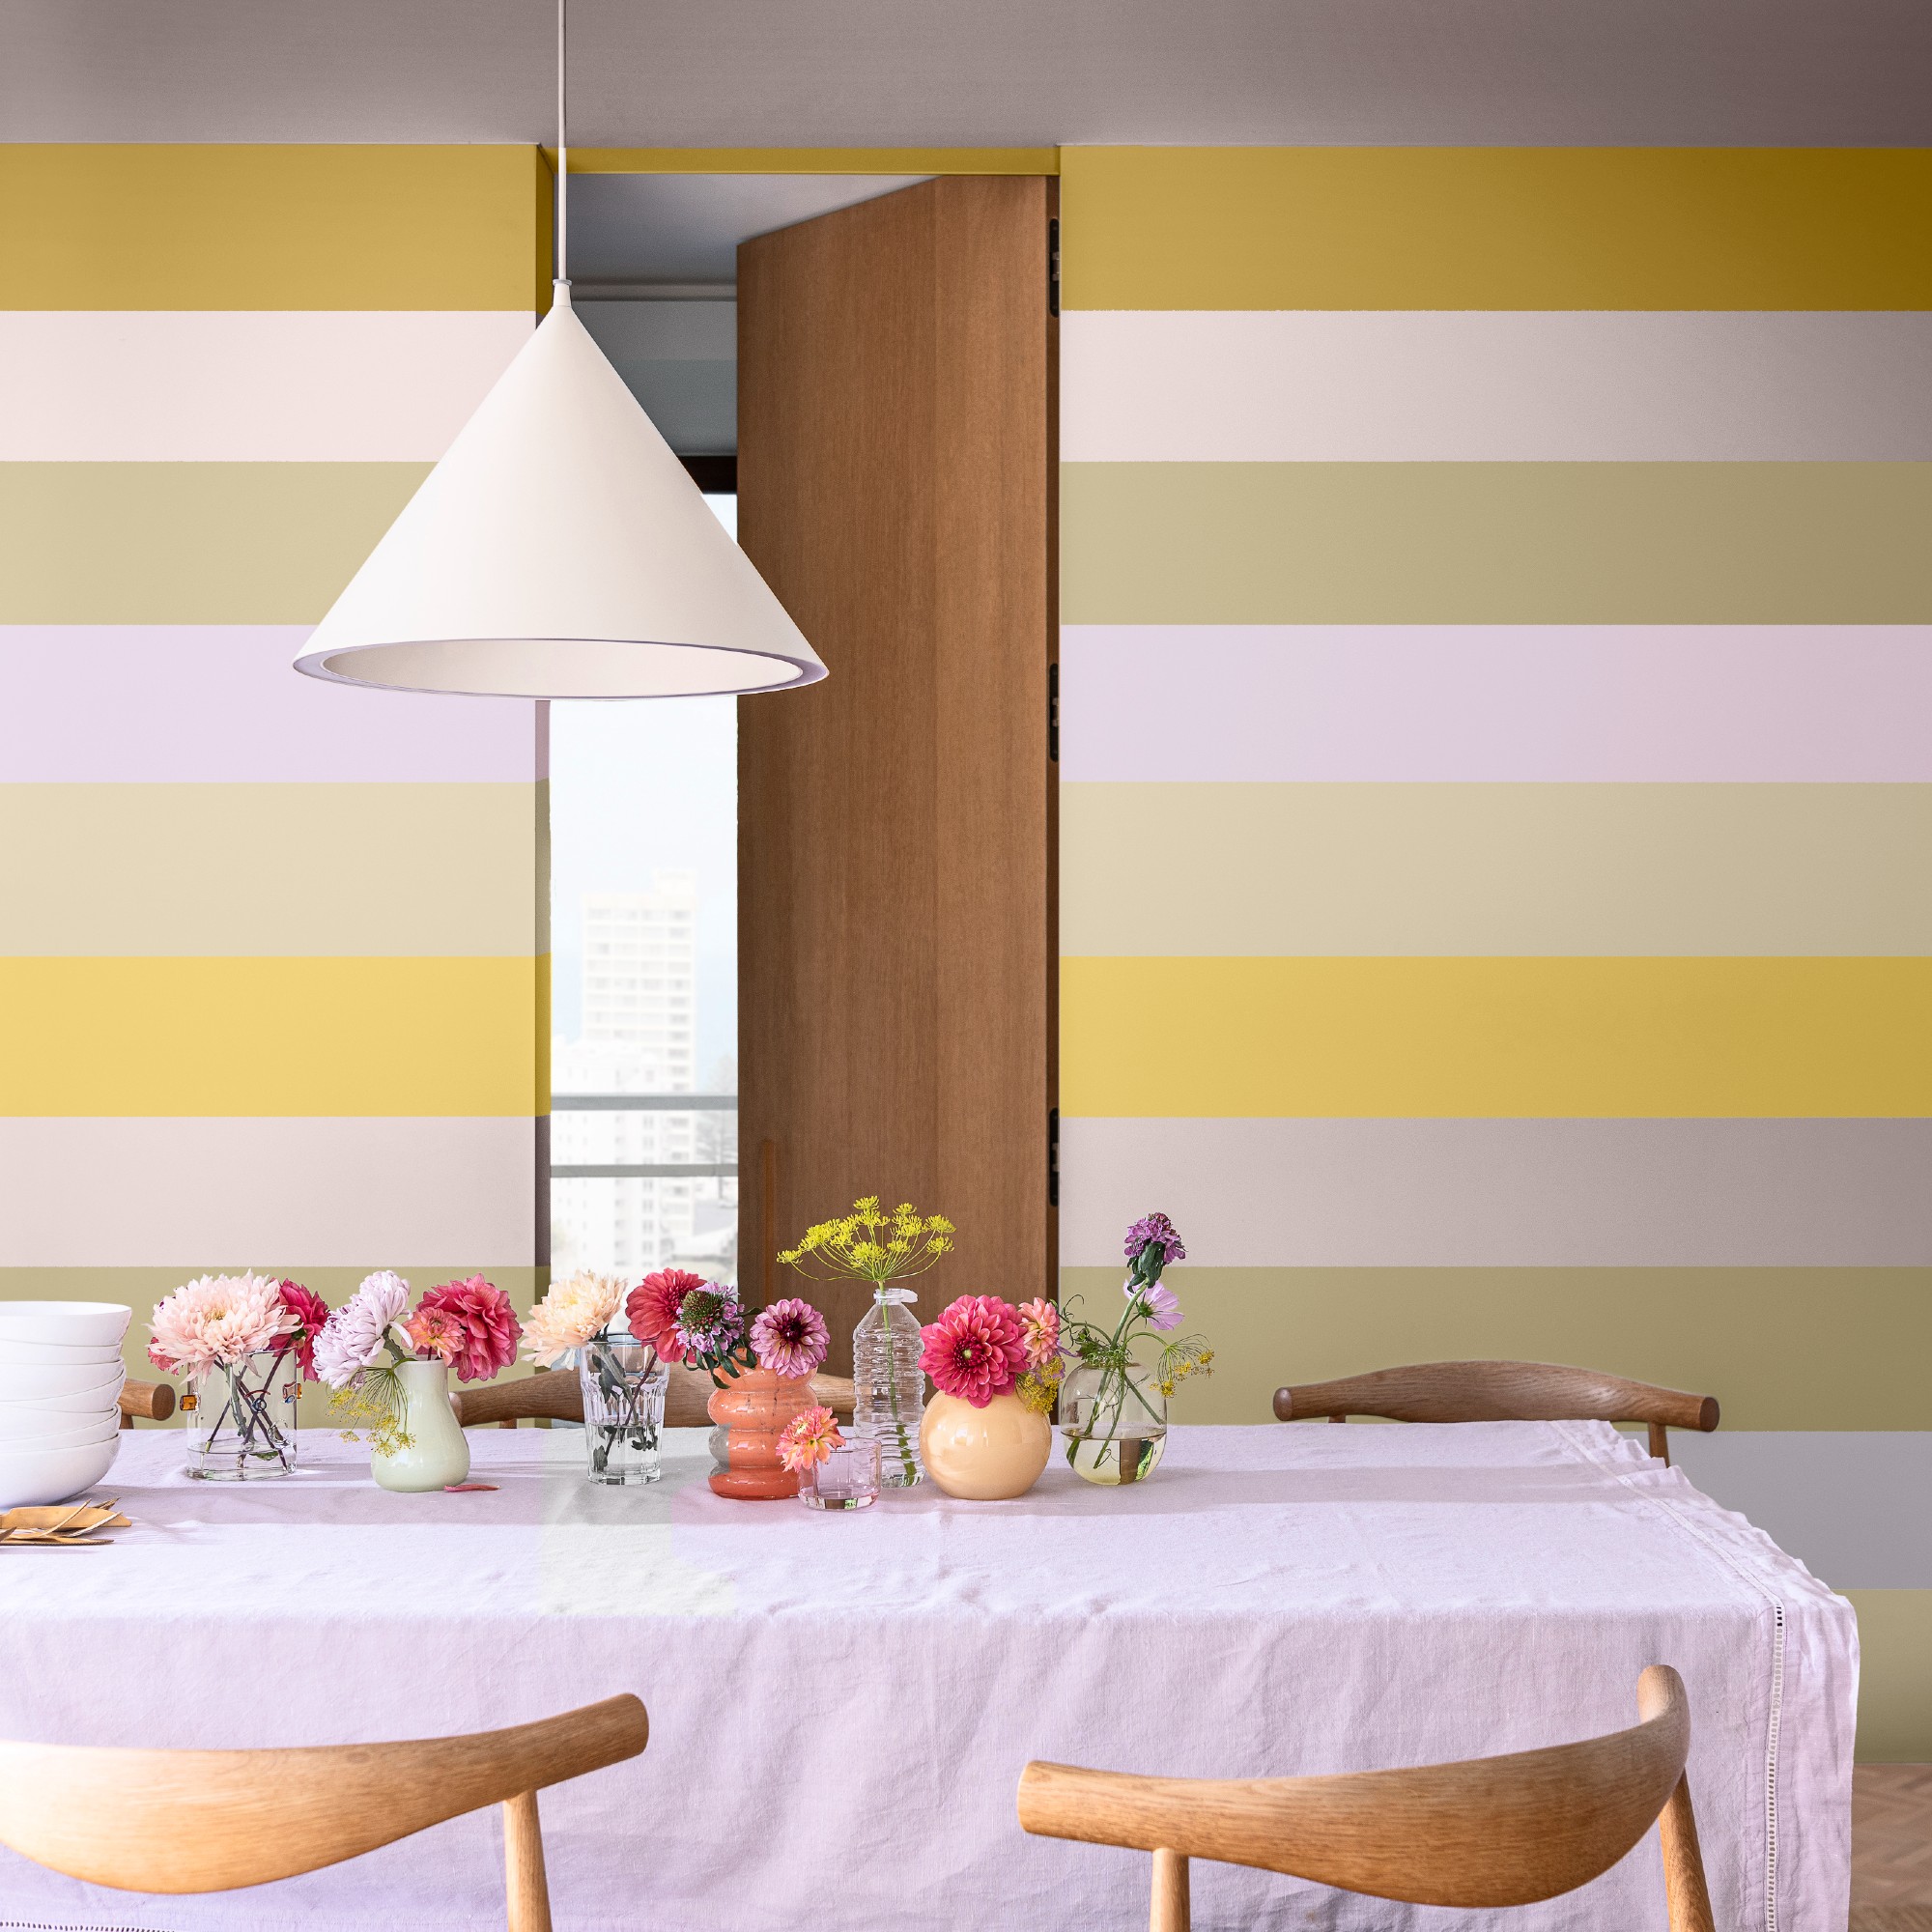
If you're a bit tired of your decor, whether you feel like your bedroom could do with perking up, or your living room needs a bit of a refresh, knowing how to paint stripes on a wall can give your room a fab new look.
You don't always have to go for a full paint job, giving your space a refresh can be as simple as trying a few new paint ideas, like adding stripes, a geometric pattern or even something a bit more abstract. Perfect, if you want a quick and easy project you can tackle in a weekend.
'Highlight stripes are a wonderful way to add personality, colour and design detail to space,' explains Ruth Mottershead, creative director at Little Greene.
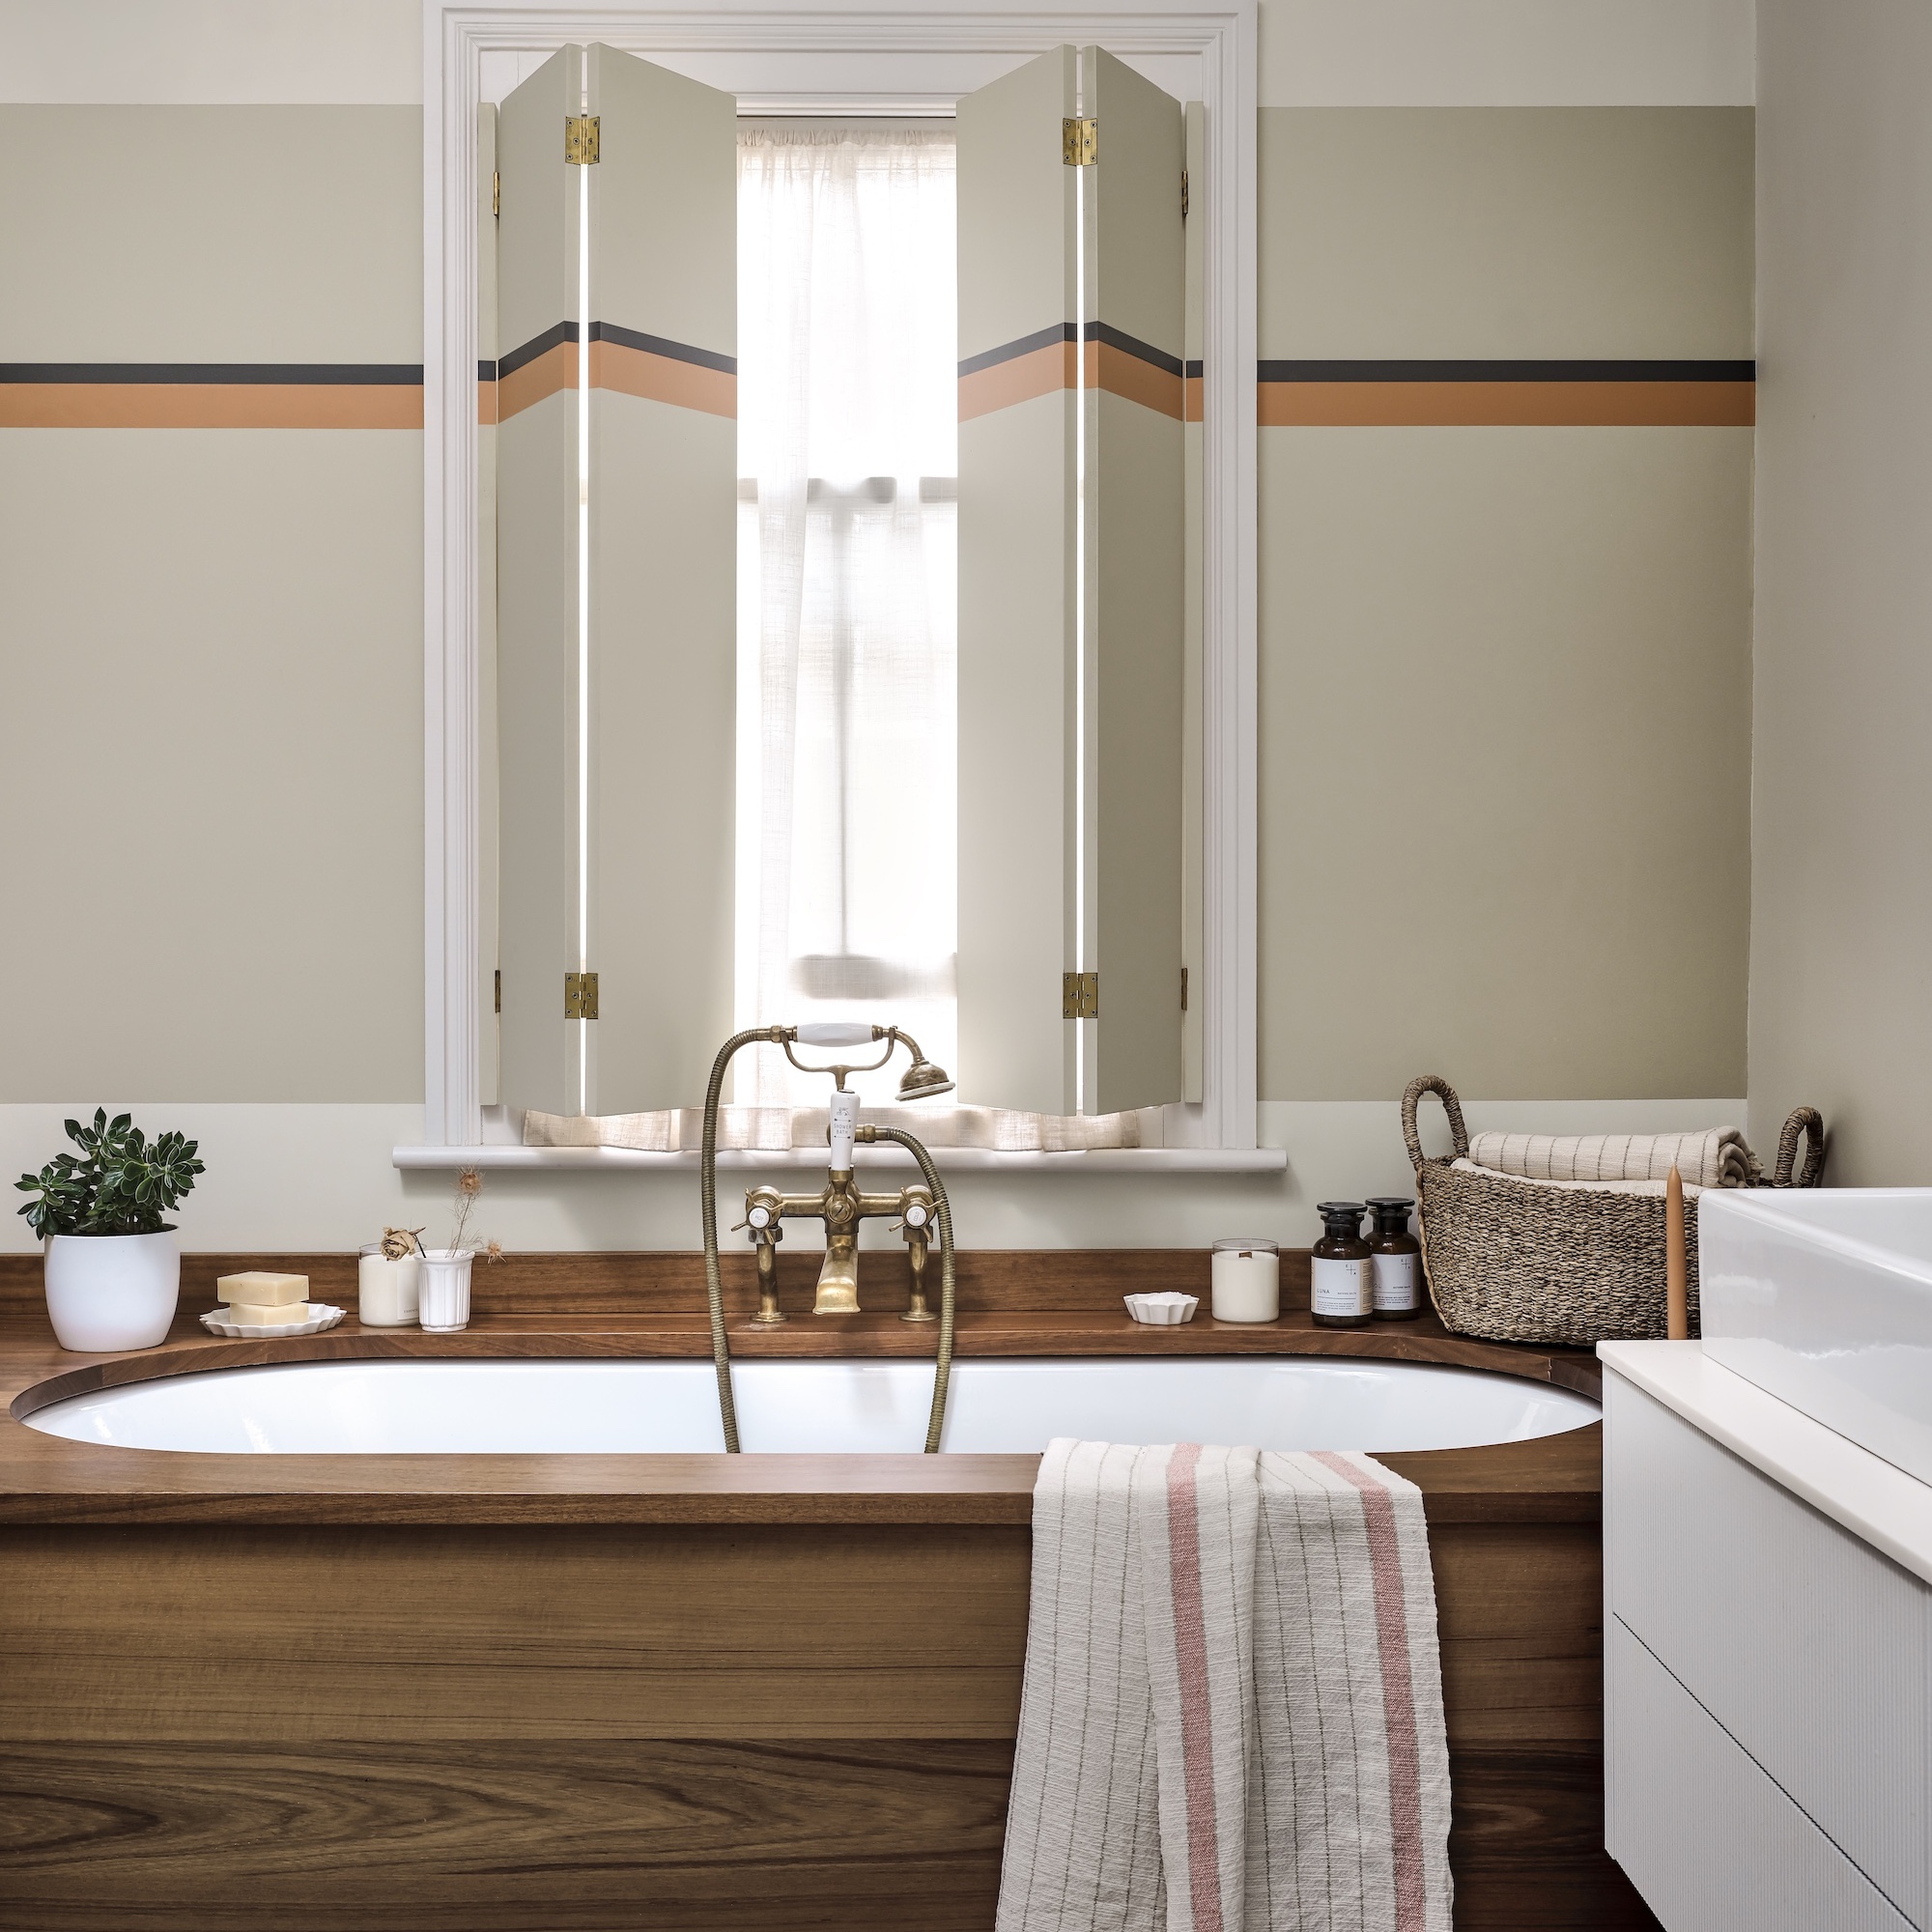
'For a bold and playful scheme opt for contrasting colours in broad stripes, take across doors, skirting and architectural features for a dynamic contemporary feel. For a more subtle finish, add a colour highlight above shelving or architectural detailing such as skirting. The more contrasting the colour combination, the more your stripes will draw the eye and deliver impact.'
How to paint stripes on a wall
If you're wondering how to paint stripes on a wall, we've gathered some top tips from our favourite experts to get you started.
What you'll need
- Dustsheet
- Sandpaper
- Filler (if needed)
- Filling knife
- Sugar soap available at Amazon
- Bucket
- Sponge/cloth
- Masking tape, Frogtape available at Wickes is a good option
- Paintbrush, try the Harris paintbrushes at B&Q
- Roller
- Paint
Step-by-step
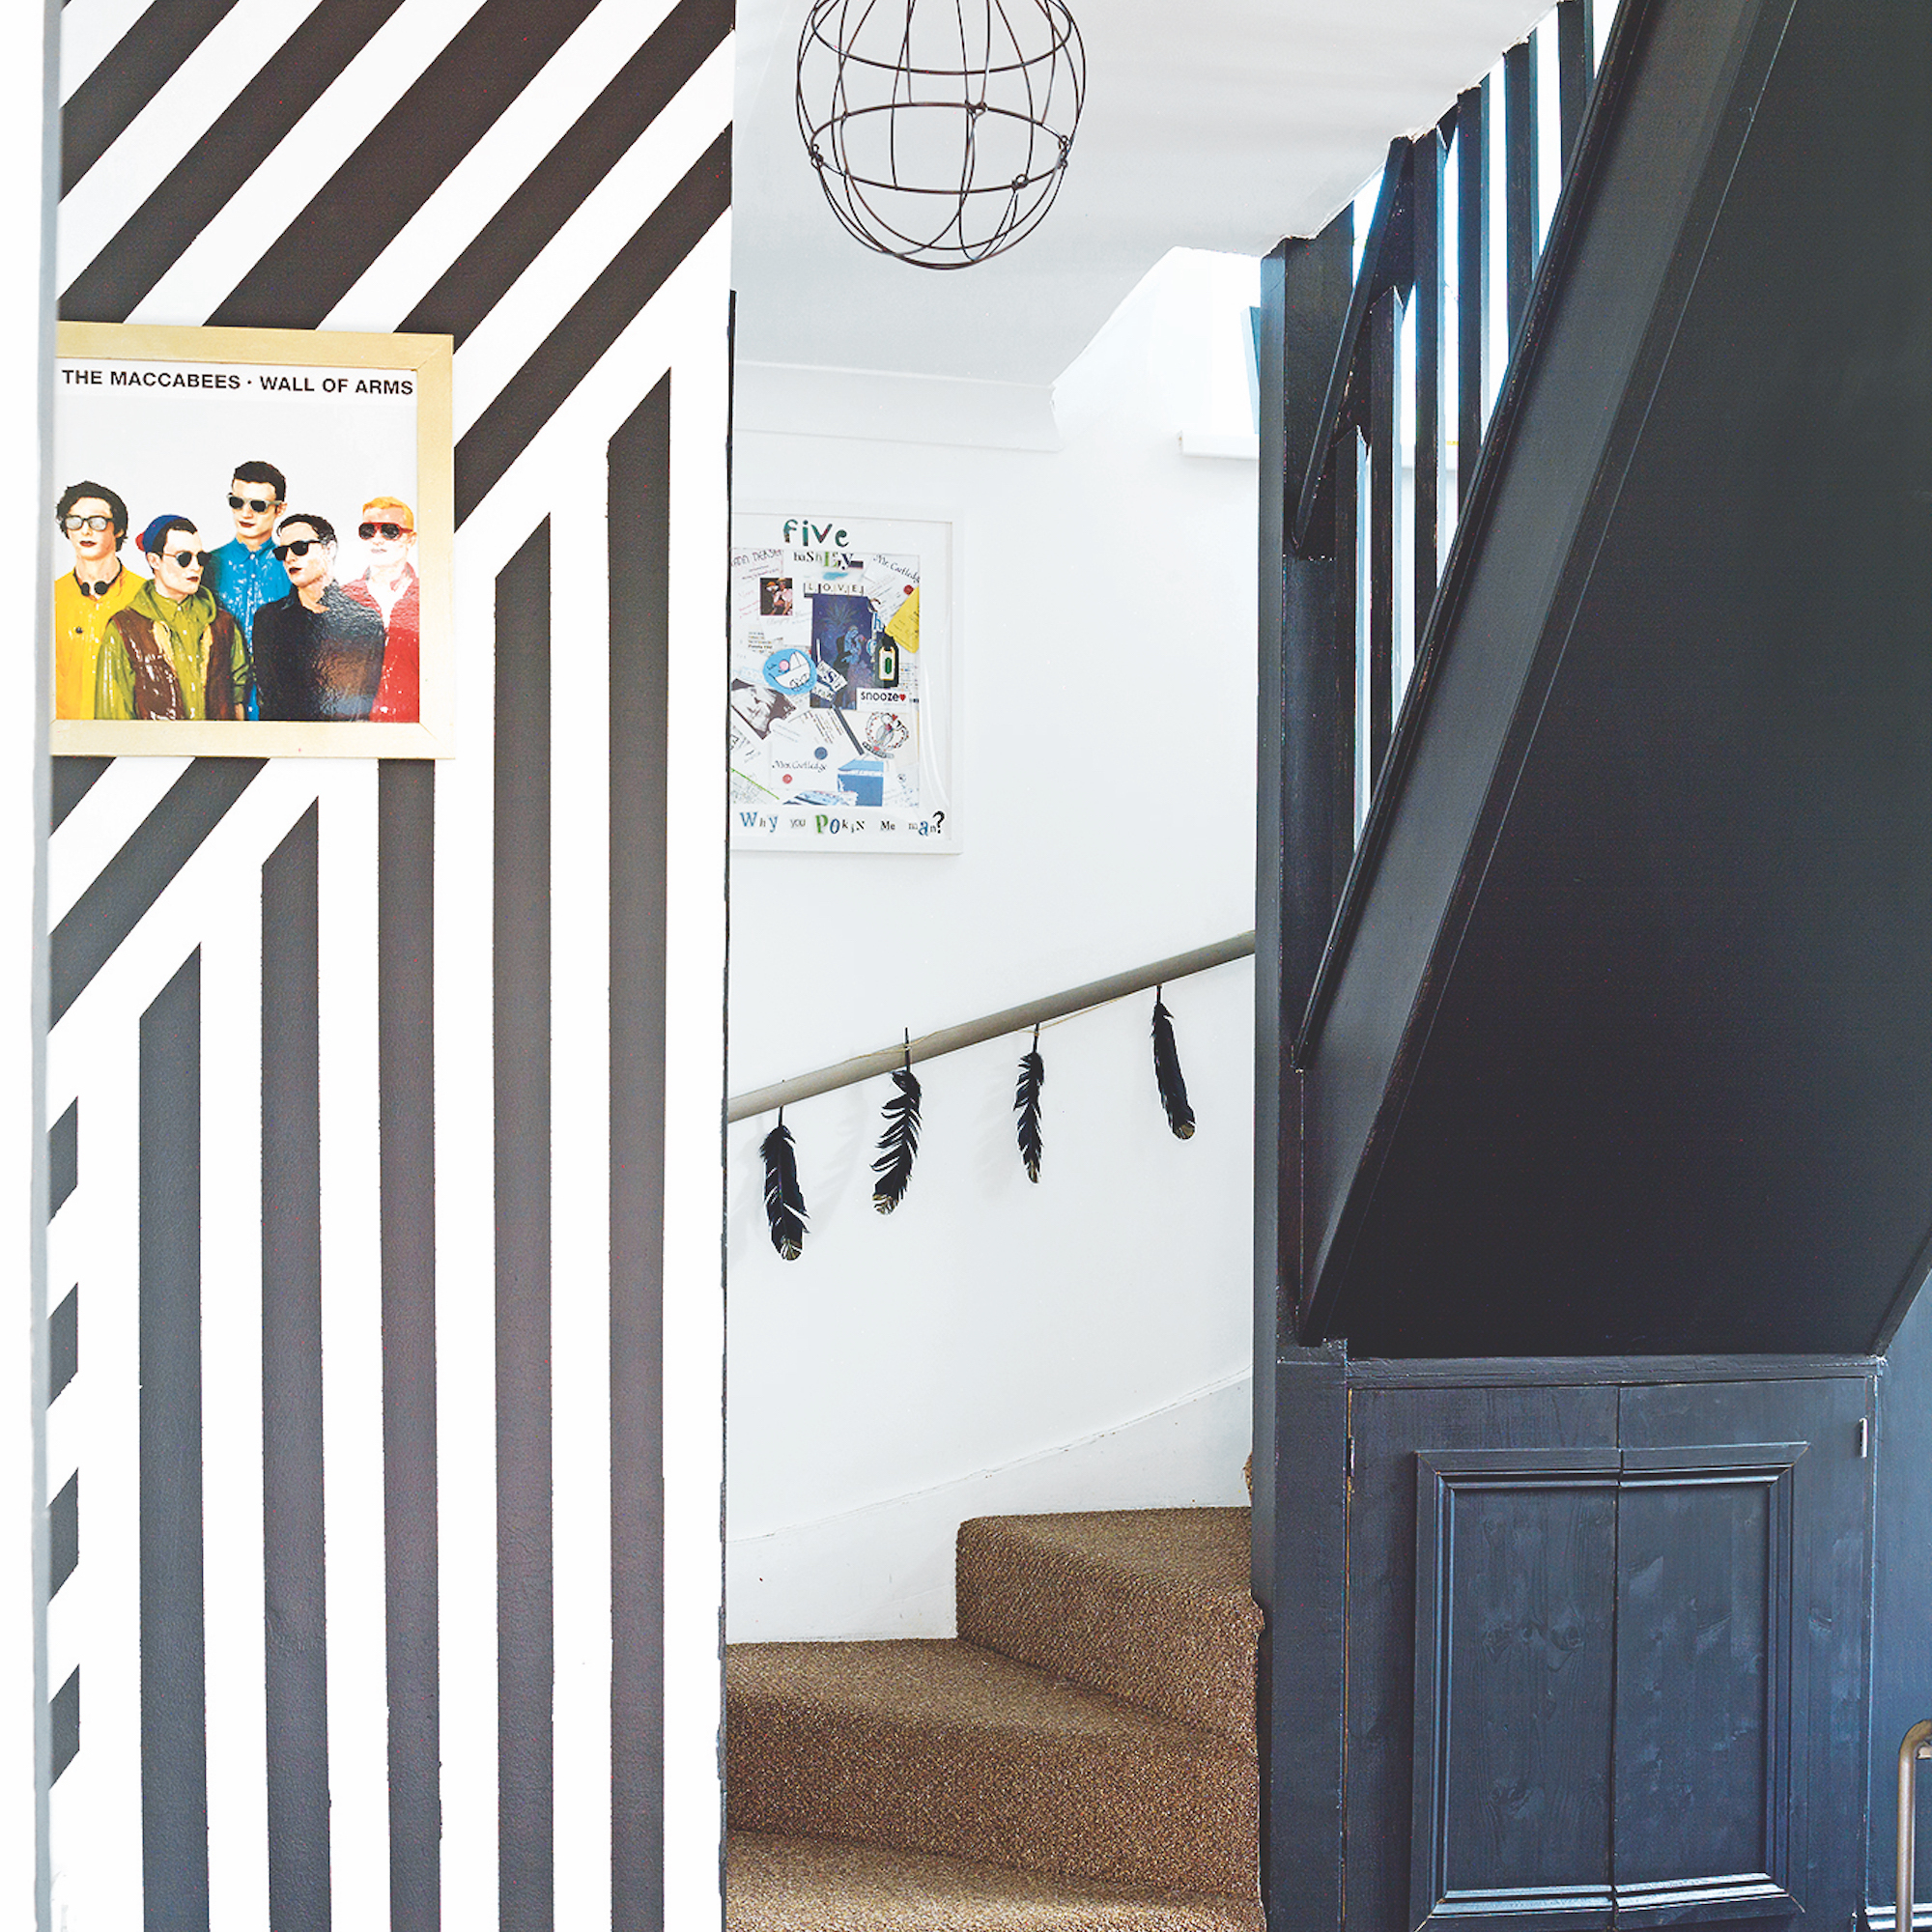
1. Preparation is key
Before you get too excited and start cracking open the paint pots, making sure your walls are properly prepped before you get painting is key.
Check your wall over and look for any cracks, peeling paint etc. Make any repairs and sand any peeling paint or uneven areas.
2. Wash walls with sugar soap
Give the wall a good clean using sugar soap, diluted in water in a bucket according to the pack instructions. Leave the surface to dry.
'Make sure the area you're masking off with tape is clean, dry and free of any dust and oils,' advises Flora Hogg, interior designer and colour consultant at Craig & Rose.
3. Apply a base coat
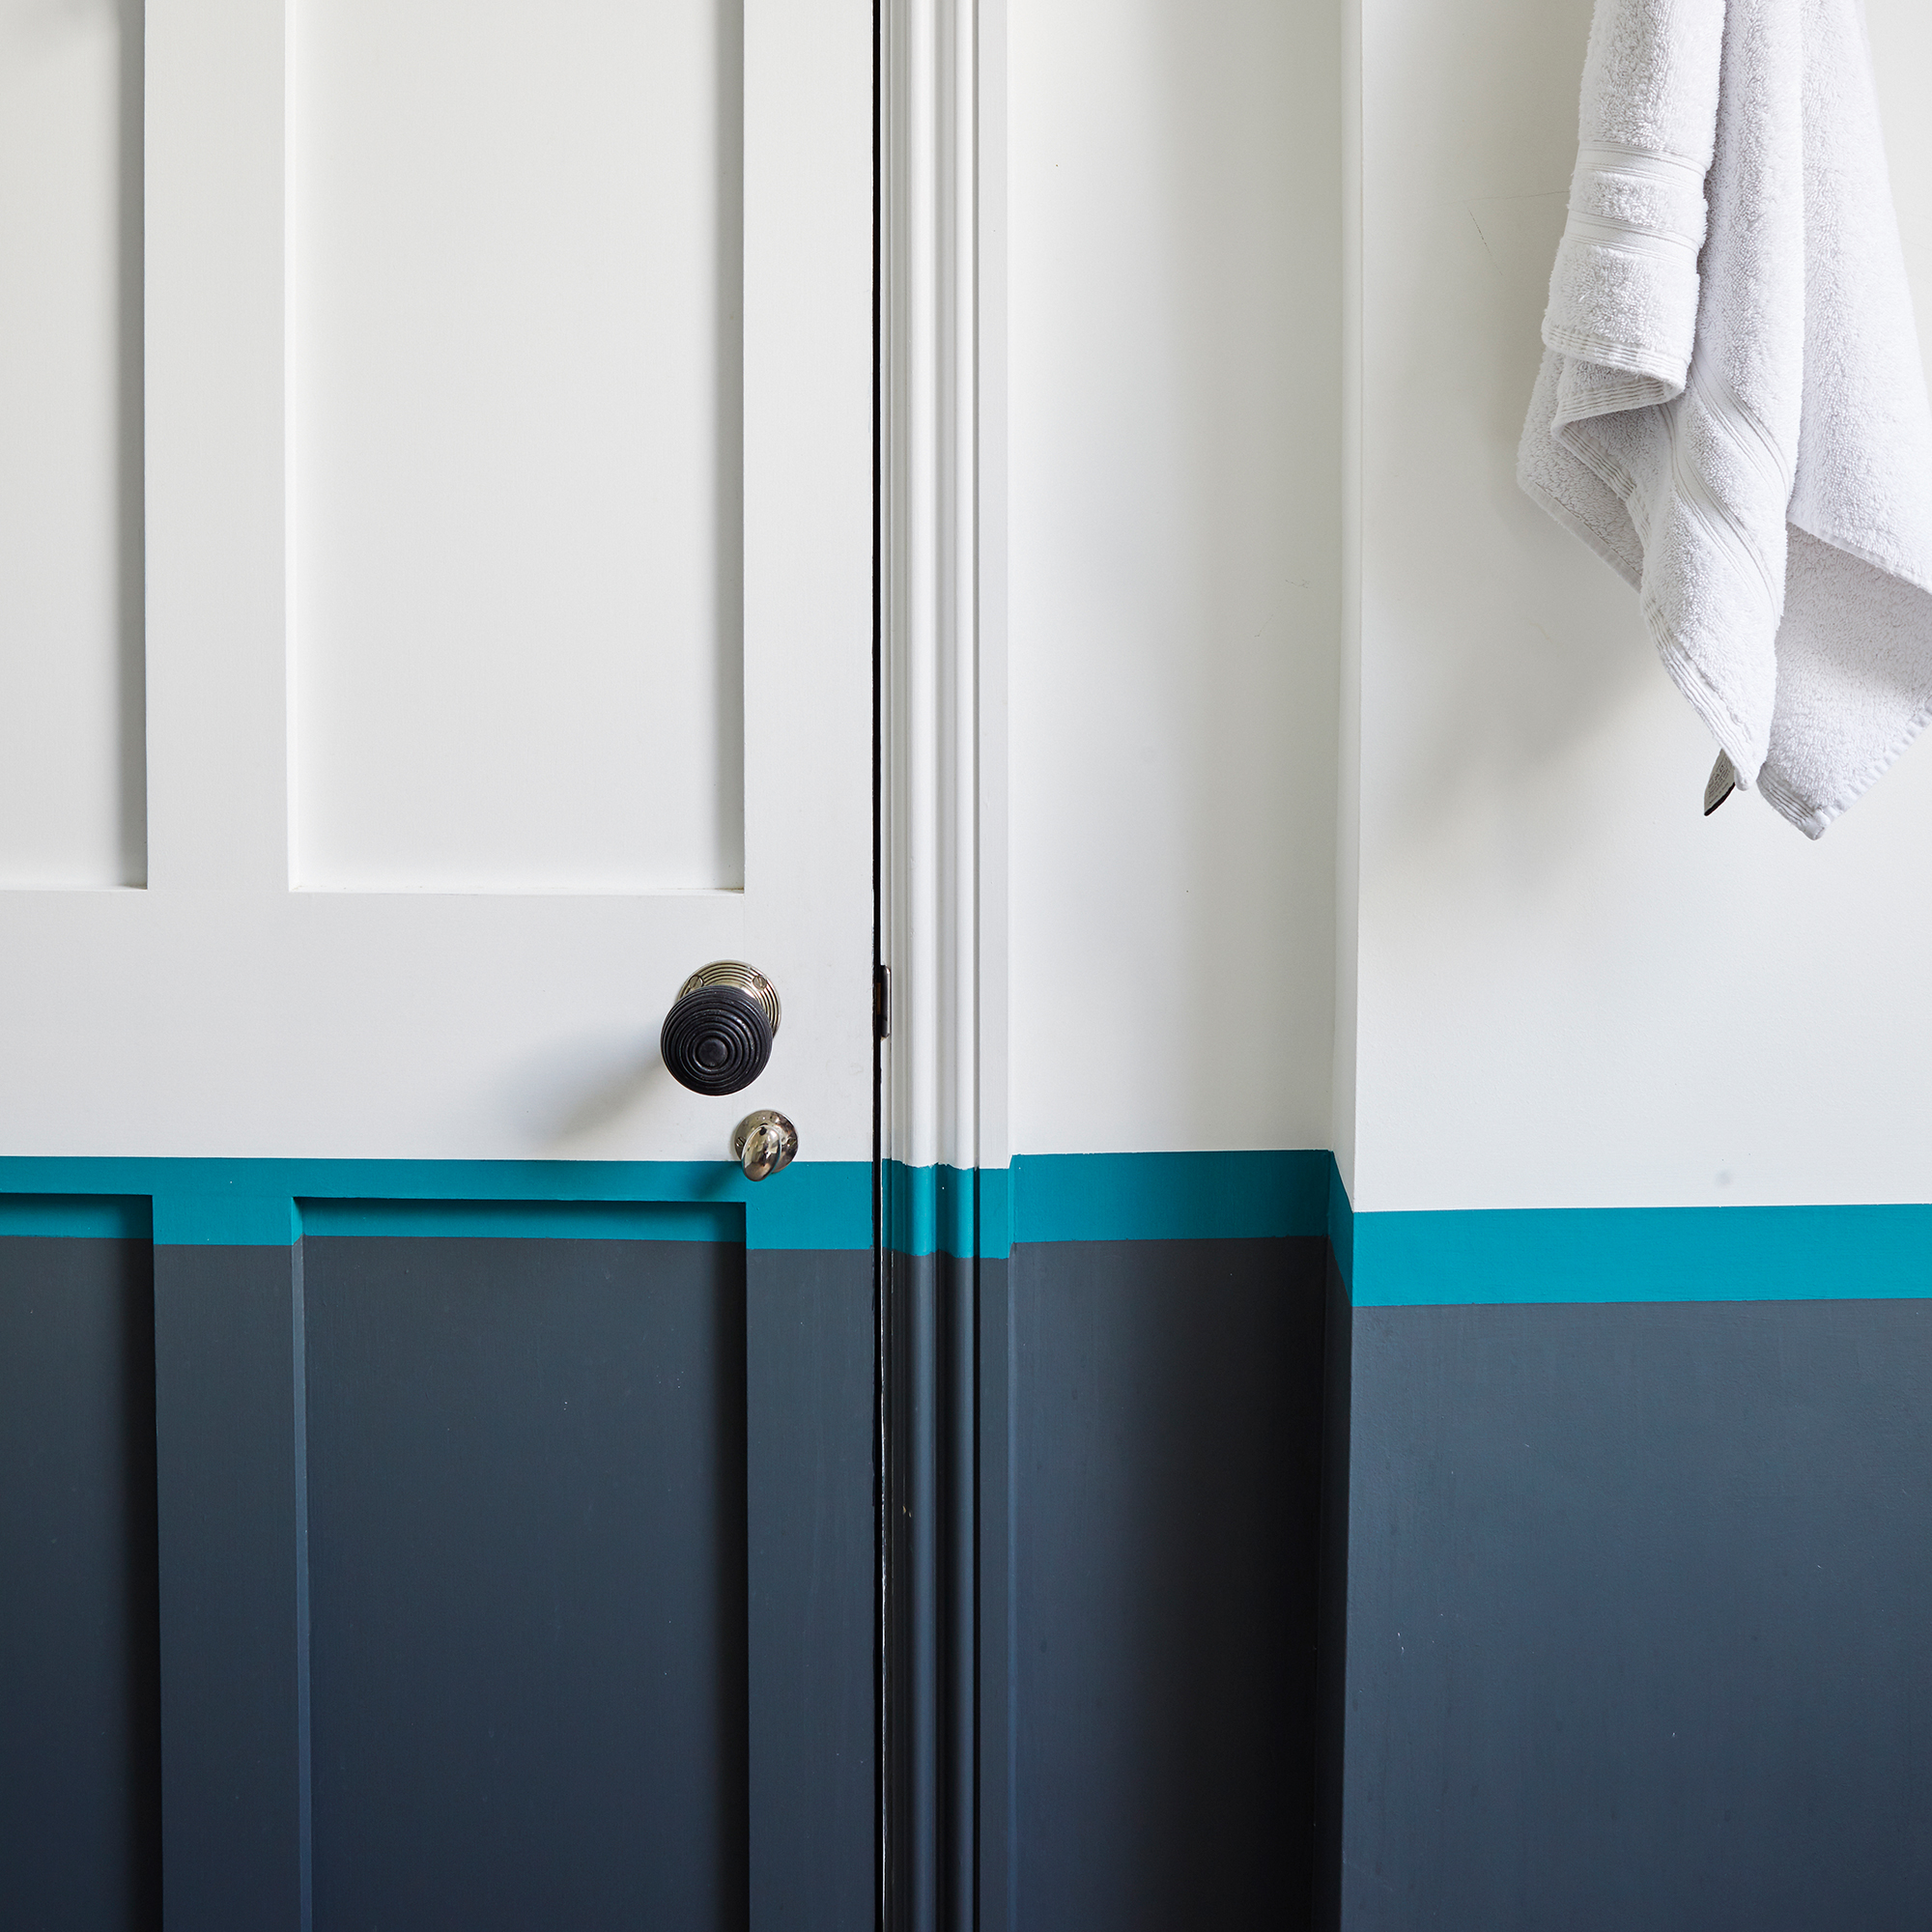
Once your wall is prepped, the fun part begins! Choose a paint colour to act as a base coat to the stripes and paint the wall. If you want the stripes to stand out, a contrasting colour base coat works best. But, if you're after a subtle stripe effect, using a tonal version of the same stripe colour or a complimentary colour will blend more easily. Learn how to use a colour wheel to keep it as simple as possible.
Use a roller to paint the base coat, cutting in the edges first before filling in the middle of the wall. Leave the first coat to dry completely before adding a second coat of the same colour. Leave to dry before moving on to the next step.
4. Decide on the type of stripes
Next, it's time to create the outline of your stripes so you need to think about how you want the stripes to look.
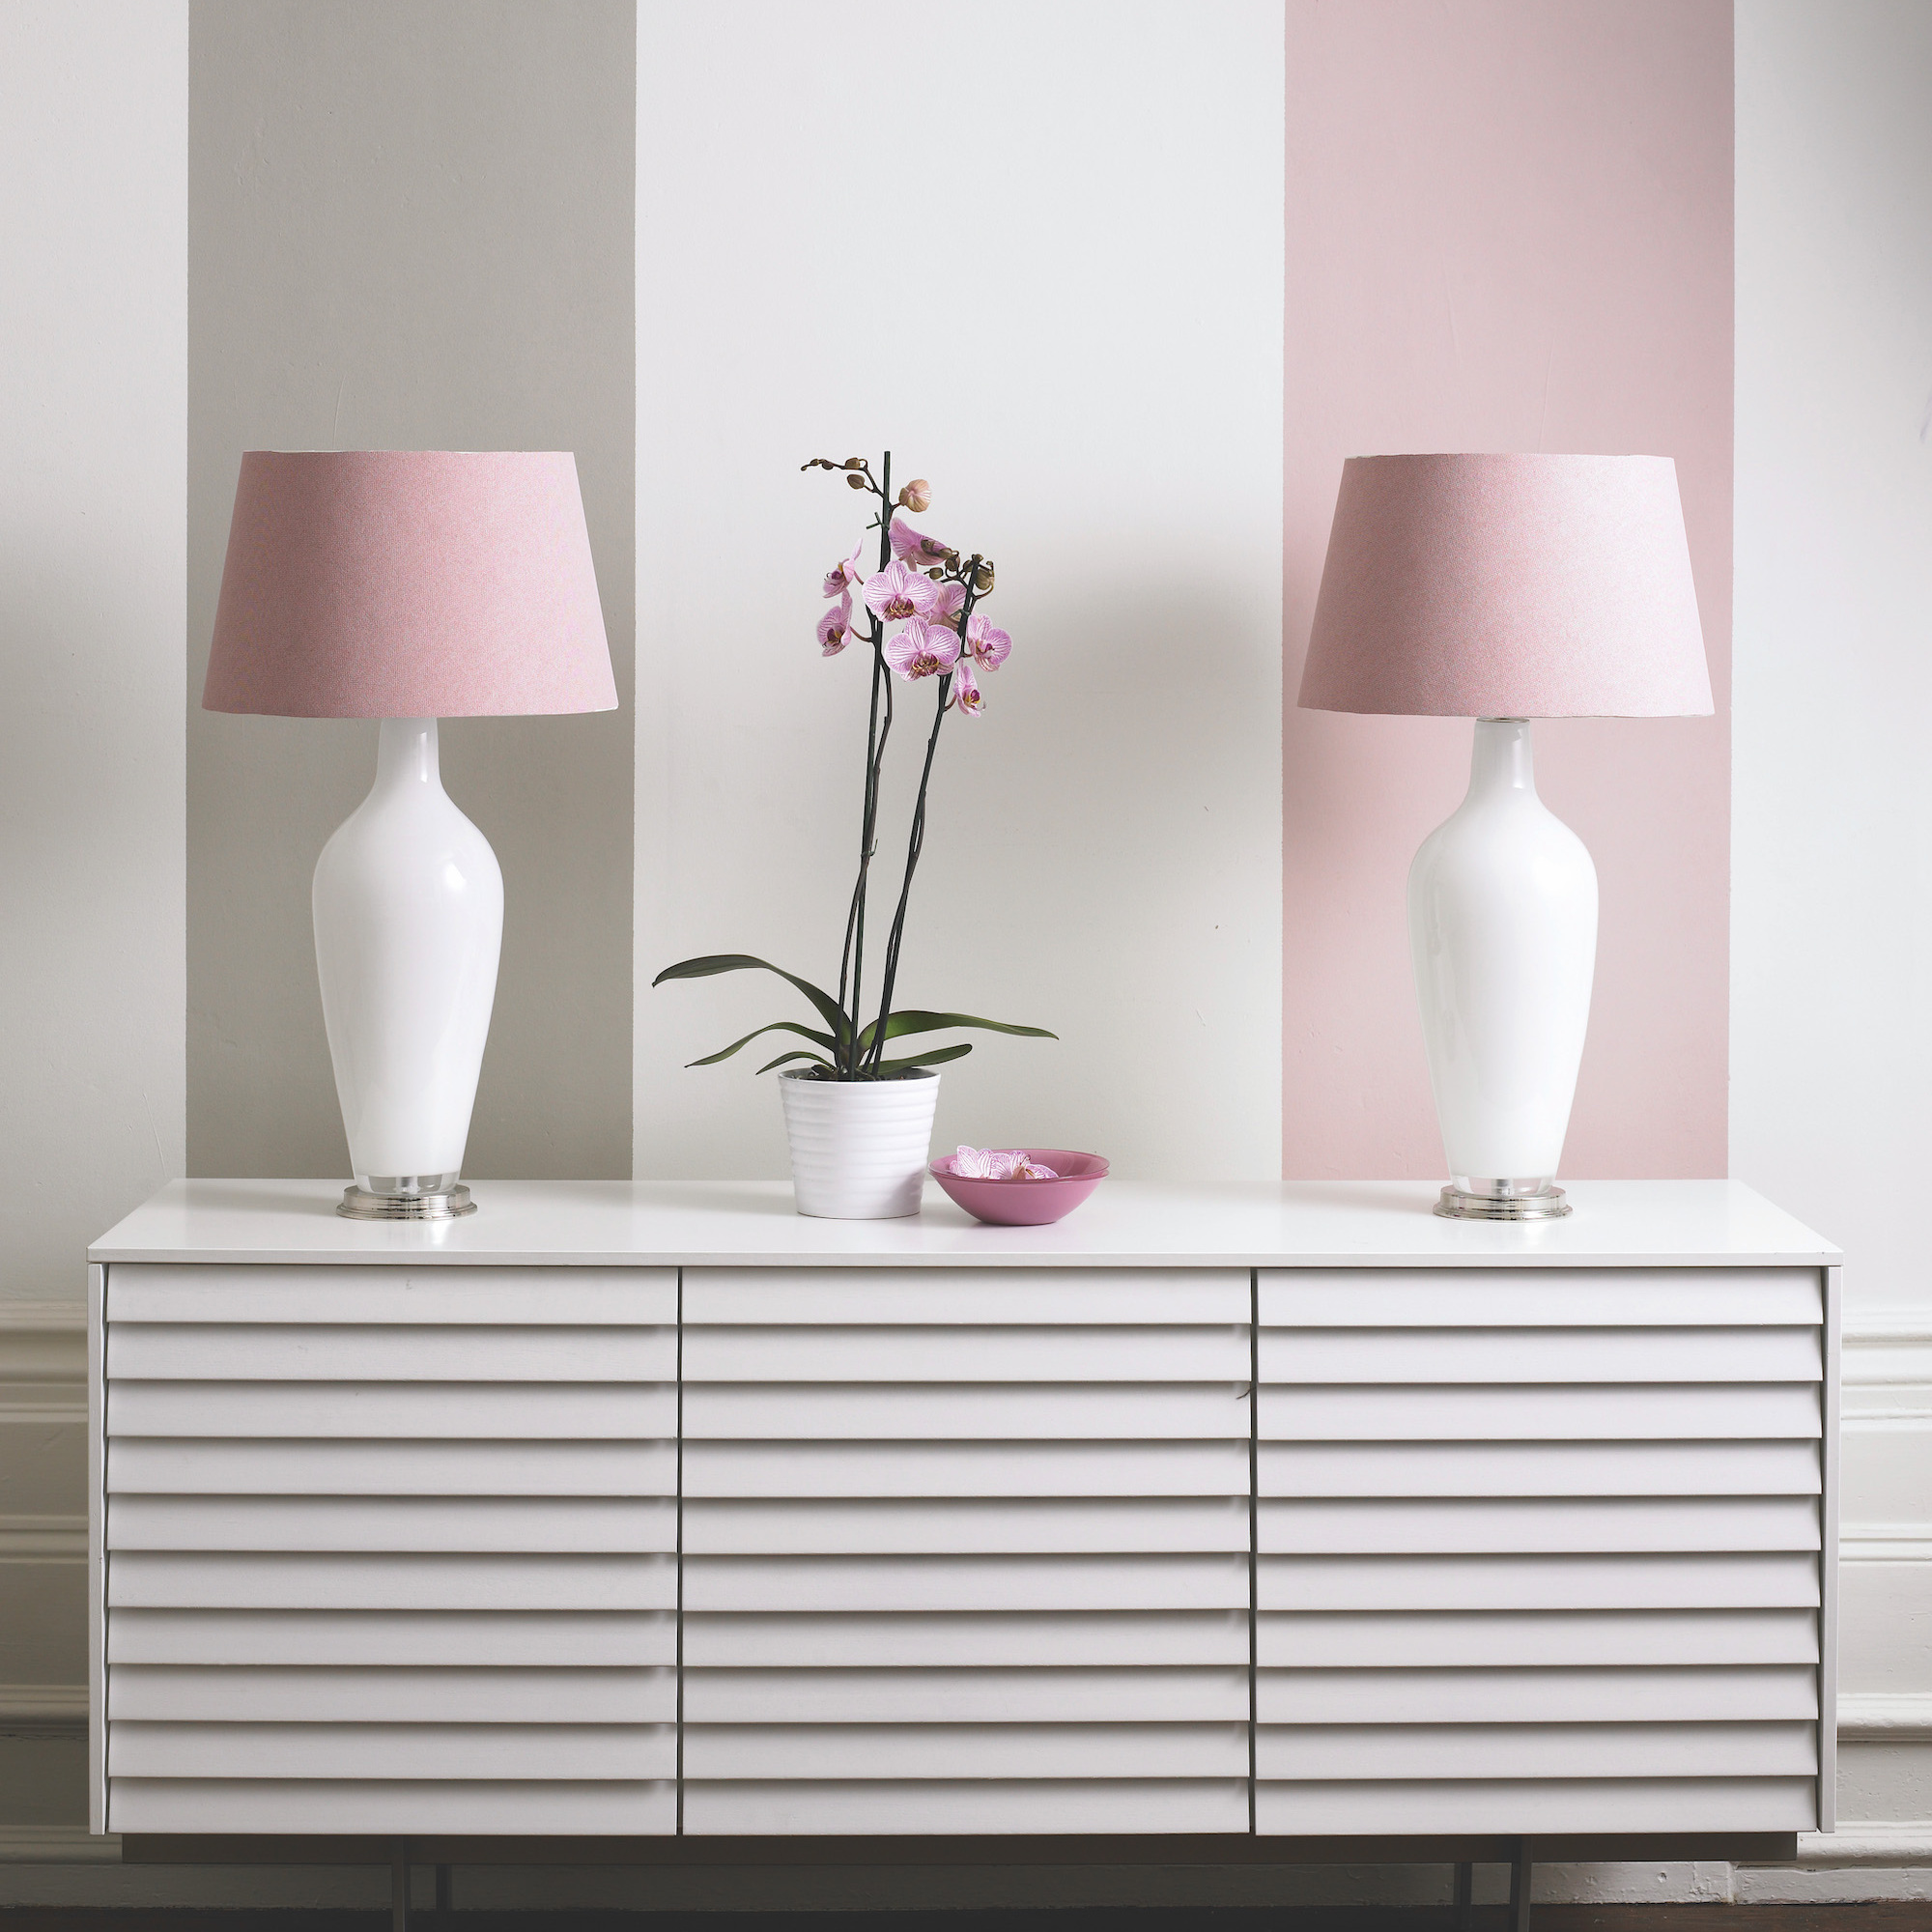
'The fundamental principles of using stripes to make a space look larger are simple: vertical stripes of any width will make walls appear taller. Narrower stripes especially can give a high-ceilinged feel to a space,' advises paint and colour expert Annie Sloan.
'Horizontal stripes make the walls and the room appear wider. Vertical stripes, however, can look busy and painting thin lines up walls is laborious. Horizontal stripes, especially at one or two third intervals up a wall create the feeling of a larger space while also being directional, and, crucially, easier to paint!'
For the most simple interpretation of a stripe, painting a two-tone wall might be up your street, instead.
5. Draw the stripes on the wall
Lightly draw the lines on the wall using a pencil and a laser level or ruler to make sure they are straight. 'Be sure to measure and mark out your stripes at equal distances from one another,' advises Ben Thomson, manager at paint specialists Promain. 'This will ensure consistency throughout your designs. If you don't have a level handy, a ruler can assist you in accurately marking out lines.'
Another thing to bear in mind is that the thickness of the stripes will determine how long the project takes.
'When deciding between thick and thin stripes, it's good to remember that the thinner the stripes, the busier the walls will look and the longer it will take to mark out and paint them,' explains painting and decorating expert Pat Gilham at MyJobQuote.co.uk.
Pat also has a good easy DIY tip for dividing up your wall into sections. 'If you're painting vertical stripes along one wall or section of a wall, measure the width and divide that number by the number of stripes you'd like. This will make it easier to map out and mark up your stripes.'
6. Use masking tape to create the stripes
Step back and check you're happy with how the lines look. Then use masking tape to mark out the stripes, following the pencil line carefully.
'To get that crisp line it’s crucial to firstly use the correct masking tape,' advises Stephanie King, creative lead at Dulux. 'Use a masking tape for delicate surfaces, or a low tack tape that won’t pull off the paint surface behind when removed. Look for tape that has a blocking technology to stop paint from bleeding through.'
Next, Stephanie recommends sealing your tape. 'Secondly, seal your tape before you apply the stripe colour, and this simply means painting the edge of the stripe with the masking tape in the background colour first. Allow this to dry and only then paint the stripe in your desired colour.'
'This technique "seals" the edge of the stripe line, and any paint that does bleed will be in the same colour as the original wall. Your stripe will be a perfect line when the tape is removed. If your paint goes astray, not to worry! Use a damp cloth or rag to wipe it away immediately.'

7. Paint your stripes
Next, choose your stripe paint colour and using either a small roller or paintbrush, carefully paint your stripes up to the masking tape. Leave to dry and give your stripes a second coat.
8. Carefully remove the tape
While the paint is still slightly wet, very carefully remove the masking tape, making sure you don't rip off any paint and that the masking tape with the wet paint doesn't touch any part of the wall.
FAQs
How do I choose the right colour for painted wall stripes?
Think carefully about the effect you want to create, whether that's a bold, vibrant stripy wall or a more subtle and calming feel.
'To work out which colours technically work together best, take a look at the colour wheel, choosing colours that are opposites for a really eye-catching scheme,' advises Anna Hill, brand director and colour consultant at Fenwick & Tilbrook. 'If you want a more arty line, then leave the tape out and freestyle!'
How can you paint stripes on a wall without tape?
'You can simply paint the stripes onto the wall without using tape by marking your stripes out with pencil on the wall. You can also use a paint shield to prevent the paint from spreading over the marked out stripes,' advises Tim Warren, DIY expert at Adkwik.
Grazzie Wilson, head of creative at Ca' Pietra and Proper Good Paint, also says a paint shield is a good alternative to using tape. 'It involves placing the blade of your shield against the surface you don't want to paint, holding it firmly, then using a brush to paint up to the shield, and it should ensure you don't end up with messy or wonky lines – just be sure to keep the shield clean before replacing onto the walls.'
How do you paint stripes evenly?
'This is all in the way you hold your brush,' advises Stephanie from Dulux. 'You have the control here, and you want to be steady! Try out your handling of the brush before you start painting – you can hold it just like you would a pencil, which feels natural to us, but also creates a firm grip for those precise angles.'
'If you don't want to use tape, you can also mark up your stripes with a pencil and use string as a guide to keep you in line.'


