
A room with high ceilings can look fantastic – especially when flooded with natural light. However, these unique spaces come with unique decorating challenges – such as learning how to paint high ceilings without hurting yourself or ending up with a patchy finish.
While our ceiling paint ideas might not get as much attention as our walls, they still deserve a paint refresh from time to time to keep them looking their best and prevent our room from looking dull.
These are the five steps you need to paint high ceilings properly without hurting yourself, according to professional painters.
How to paint high ceilings
When exploring how to paint a ceiling, especially high ones, it pays to use the right safety gear so that paint doesn’t fall into your eyes or mouth, and so that you won't fall when working at heights, begins Andriy Boyko, seasoned handyman and masonry expert at A.O.Handy Inc:
‘Before starting any painting project, ensure you have the proper safety equipment. This includes a sturdy ladder or scaffolding, safety goggles, gloves, and a dust mask or respirator to protect yourself from fumes and debris.’ he suggests.
With all the essential tools for painting gathered you can start the prep work.
Husky 2 Mil Plastic Drop Cloths are ideal for protecting walls, furniture, and ceilings during new construction or remodel projects
This high-quality reusable respirator offers all the protective elements of a painting mask, woodworking, sanding mask, welding respirator, and pollen mask.
With a pole length of four to eight feet, this extending pole is perfect for working on high up projects while standing firmly on the ground.
1. Clear and prep the room

Just as you would prepare walls for painting, you need to clear the area and prep the ceiling before you can get to work, says Andriy Boyko, seasoned handyman. He suggests starting by clearing the room of furniture – both to protect it and give yourself plenty of room to move freely, and covering the floor with a drop cloth to protect it from paint drips and spray.
‘Then, take the time to inspect the ceiling for any cracks, holes, or imperfections,’ he adds. ‘Use spackling compound or joint compound to fill in any gaps and sand them smooth once dry. This ensures a smooth and even surface for painting.
‘Finally, dust and debris can affect the adhesion of the paint, so it's essential to clean the ceiling (as you would clean walls before painting) thoroughly before painting. Use a damp cloth or sponge to remove any dust, dirt, or grease. For stubborn stains, you may need to use a mild detergent solution.’
2. Decide between a ladder and scaffolding
When working at heights, you need a secure platform to work from to avoid injury and falls.
'There are really only two ways to paint high ceilings. You can get an extension pole for your roller, or you can build scaffolding for your spray rig, or you can build scaffolding for your roller,' begins Brandon Walker, superintendent at ASAP Restoration.
'Safety when it comes to painting high ceilings comes from stability. The ground is the most stable and safe way to paint, but sometimes if the ceilings are 30 feet high, an extension pole for rollers will be very awkward to use and the coverage won’t look as good as if you were closer to the surface when painting it.
'Building scaffolding is the safest way to paint high ceilings when they are too high to use an extension pole, or if you intend to use a spray rig. If you use scaffolding, make sure to properly install every stage of the process, and to not cut corners. Scaffolding is a type of platform that gains strength from everything being connected properly and completely. If any one piece of the construct is off, the whole thing becomes less safe,' he warns.
3. Start with a primer
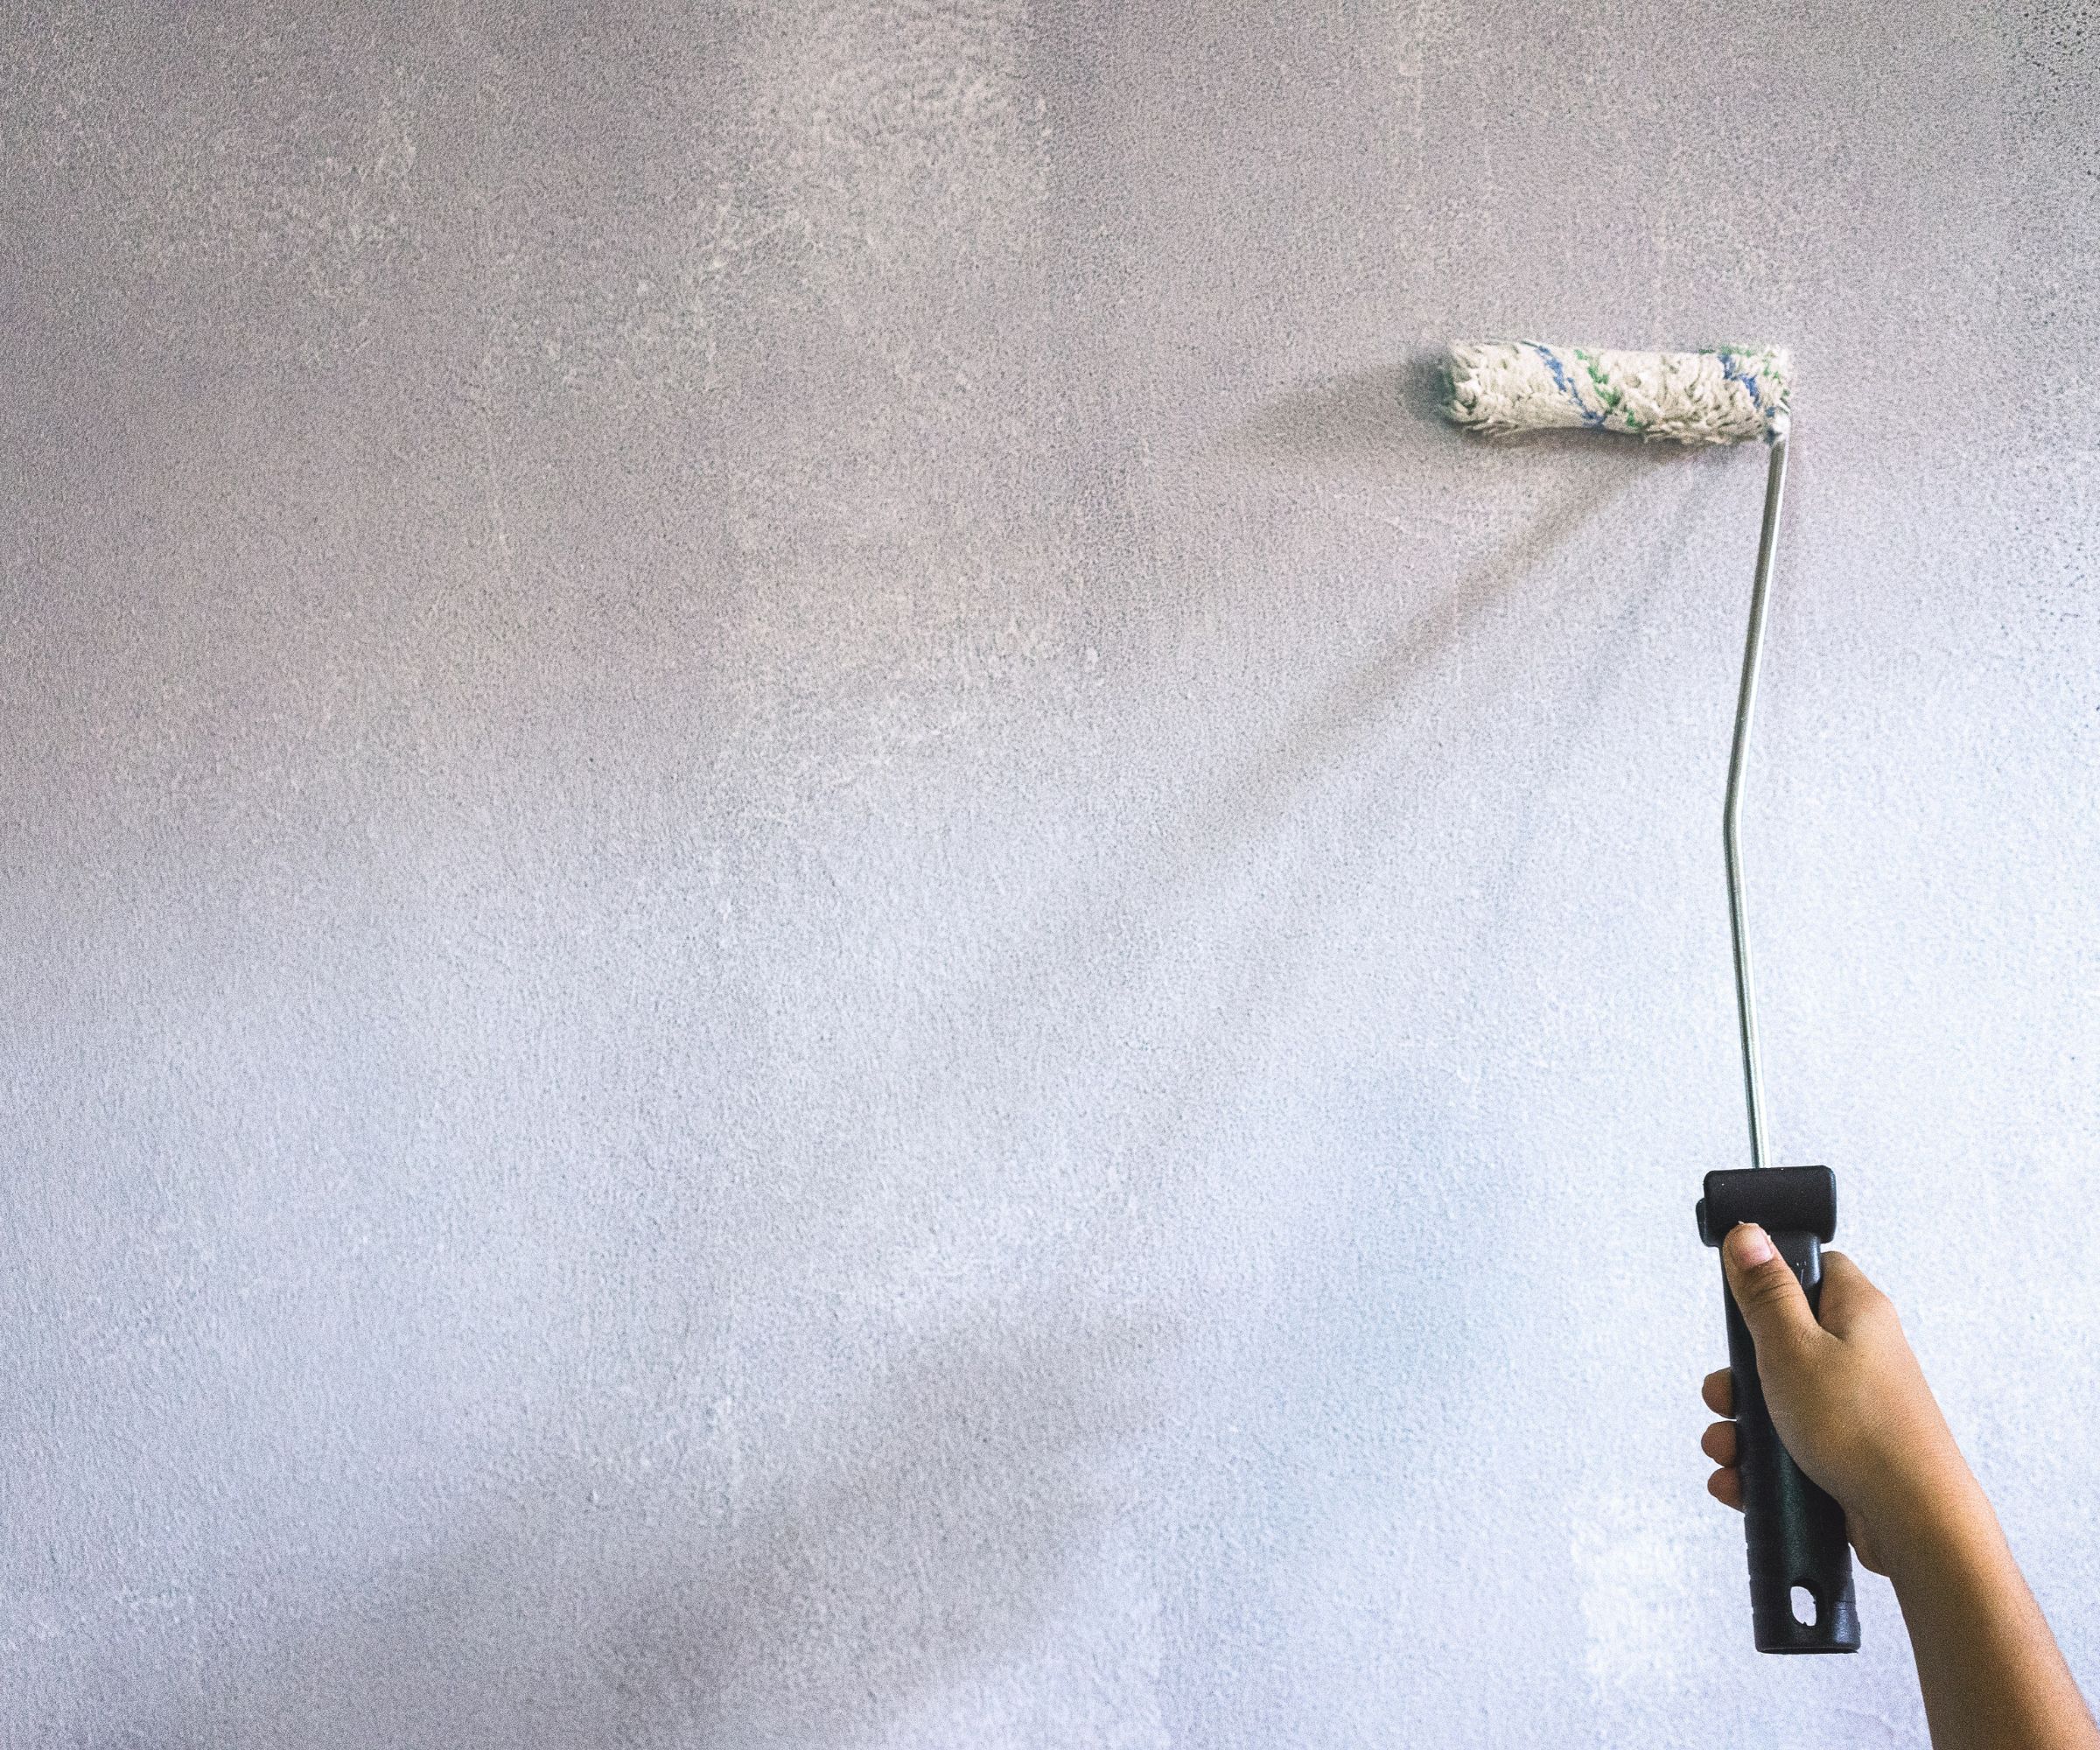
Another must before you can start applying your chosen paint is to prime, giving your paint a good surface to adhere to, continues Andriy Boyko, seasoned handyman.
‘Choose a high-quality primer suitable for your ceiling material (drywall, plaster, etc.) and use a roller with an extension pole to reach high areas and ensure even coverage,’ he says.
If you're wondering how many coats of primer you need, it will often depend on the state of the ceiling you are painting. If you are painting over watermarks, for instance, you will probably need two to three coats of stain-blocking primer, while a freshly plastered ceiling may only require one coat of high-quality primer to offer a good surface for paint.
4. Paint with two coats

With the primer dried, you can start painting. Shlomo Cherniak, professional handyman and owner of Cherniak Home Services recommends starting with the edges first, cutting in before you then use a roller to fill in the middle:
‘Use a brush attached to an extension pole to cut in around the edges,’ he recommends. A brush clamp can help secure the brush to the pole. Then, with that paint still wet to prevent dry lines, attach a roller to an extension pole and start painting in small, manageable sections so you do not overwhelm yourself. Use a pressure roller attachment for even coverage and efficiency.
‘Allow the first coat to dry completely before applying a second coat. High-quality ceiling paint like Sherwin-Williams Premium Ceiling Paint is recommended for best results.’
4. Inspect and touch up

When you have finished the second coat, you can then inspect the work. Remember to inspect from both close-up and the ground to see if a different perspective highlights any issues you might have missed – such as patchy paint or the need to fix paint drips. You can then touch these up before cleaning paint rollers and other tools and restoring the room.
FAQs
What is the best paint finish for high ceilings?
The best paint finish for high ceilings is a flat or matte finish. These types of paint do not reflect light, stopping dust or paint imperfections from showing up as easily and stopping the ceiling from detracting from the rest of the room.
Should high ceilings be painted white?
While white is the obvious choice for ceilings, there is no hard and fast rule that you must use it for high ceilings – or any ceiling for that matter. It can be fun to experiment with different colors to create an unexpected feature or try color-drenching to bring the ceiling down a little and make a room feel less lofty.
These interior painting tips for high ceilings might seem straightforward, but it is important not to skip any of them. Skimping on safely could result in a fall, or a sore back or neck. Skipping priming could mean your hard work painting is for naught when you can still see stains or the paint later starts to peel. Sometimes, the simplest of tasks require the most care to get the perfect results.


