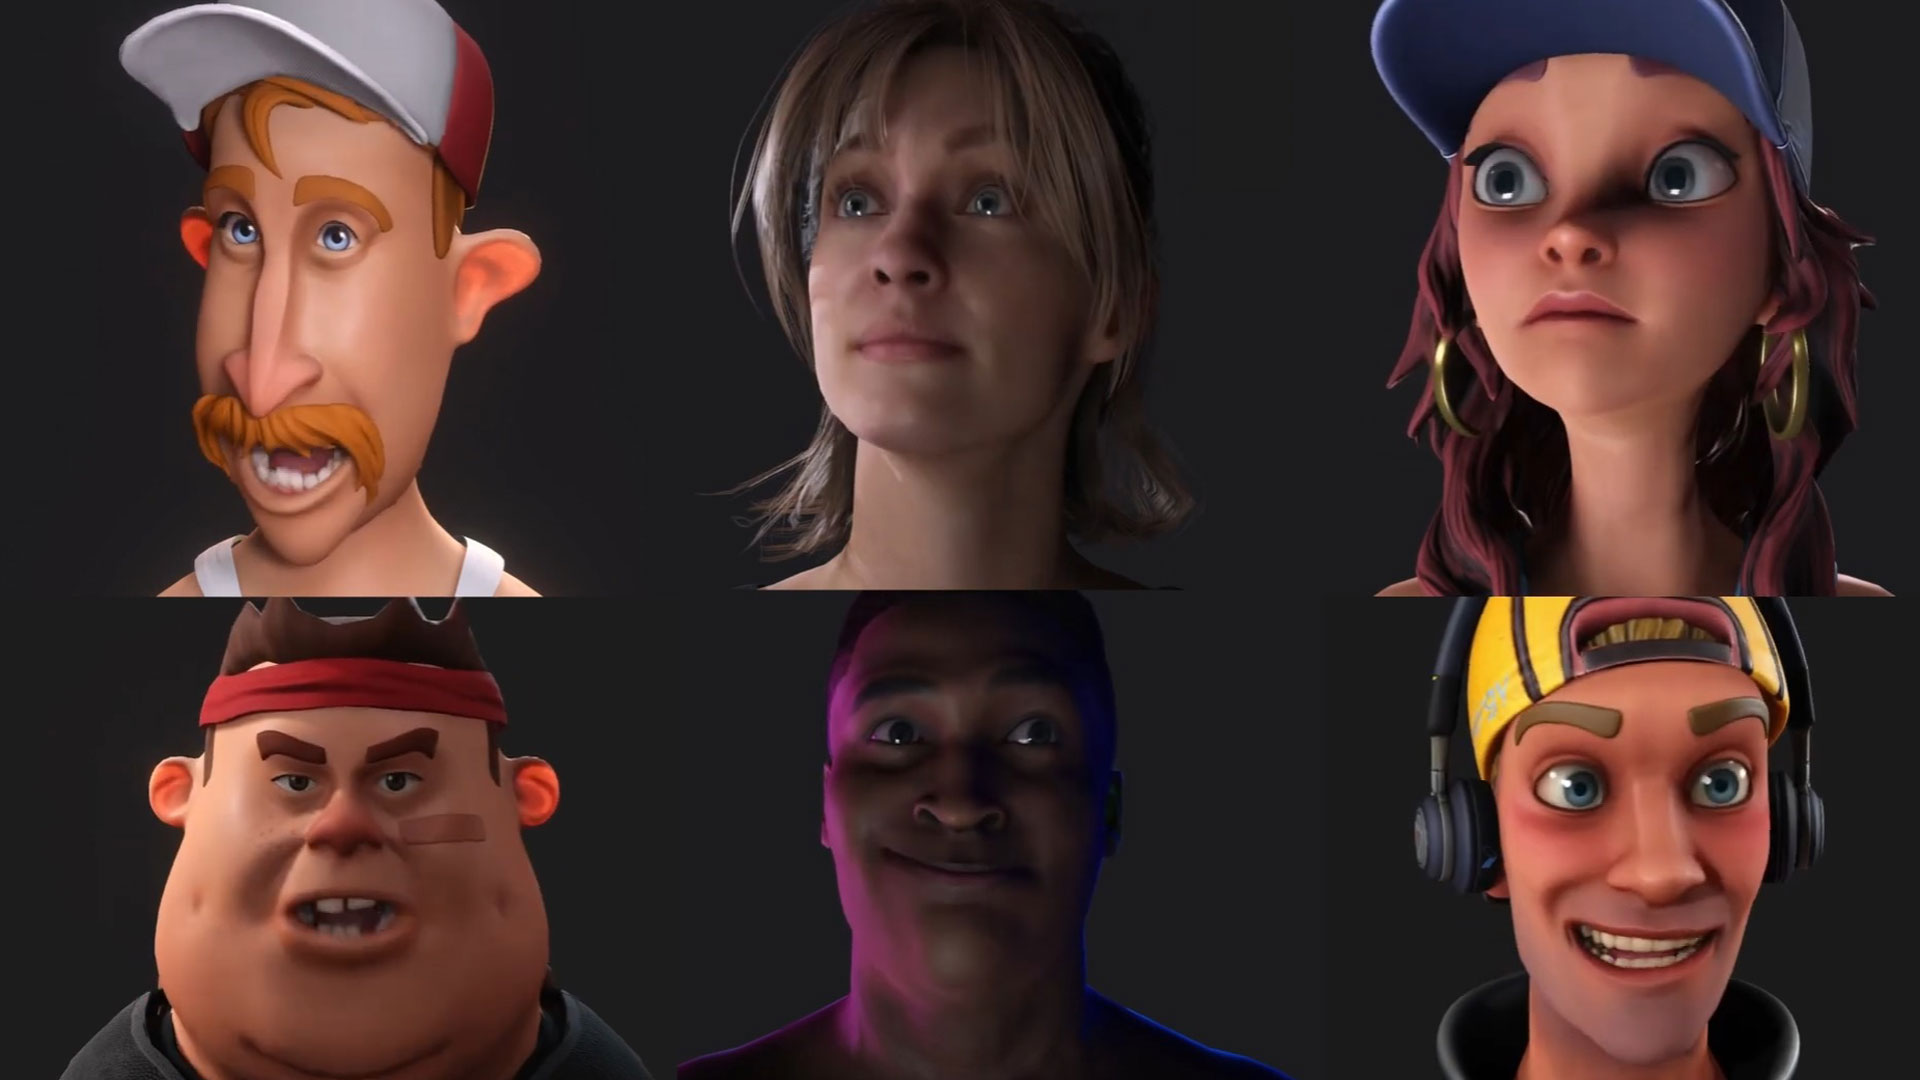
One of the great features of AccuFace is that it is a directly integrated plugin in iClone’s Motion LIVE system, making its interface straightforward to use. As a result, aside from wanting to spend some time understanding the considerations of video-based motion capture as a whole, everything else felt like 'business as usual'.
Compared to other stand-alone capture systems I've used, this greatly simplifies the entire process to offer the type of creatively that brings the desired outcome in far less time.
Since iClone processes everything and applies it directly to the character, potentially incorporating face and body mocap simultaneously, you won't encounter any of the pipeline concerns that might arise with other solutions. I used almost all the capture hardware I already had on hand: a webcam for video, an LED light to even out shadows, and a mini-tripod to keep the camera head-level. These items are relatively low-cost, so even if newly purchased, they won’t break the bank. However, there are some overall considerations, which I’ll share below.
01. Get the lighting right
For AccuFace, I consistently used an LED light to ensure even lighting and minimise shadows, irrespective of the camera used – except when it comes to using something like Razer Kiyo, which has a built-in ring light. Shadows on the face can potentially impact tracking accuracy or consistency, so it's essential to work toward eliminating them. Providing the best 'source material' (i.e. capture environment) is crucial, and proper lighting setup is a simple step we can take.
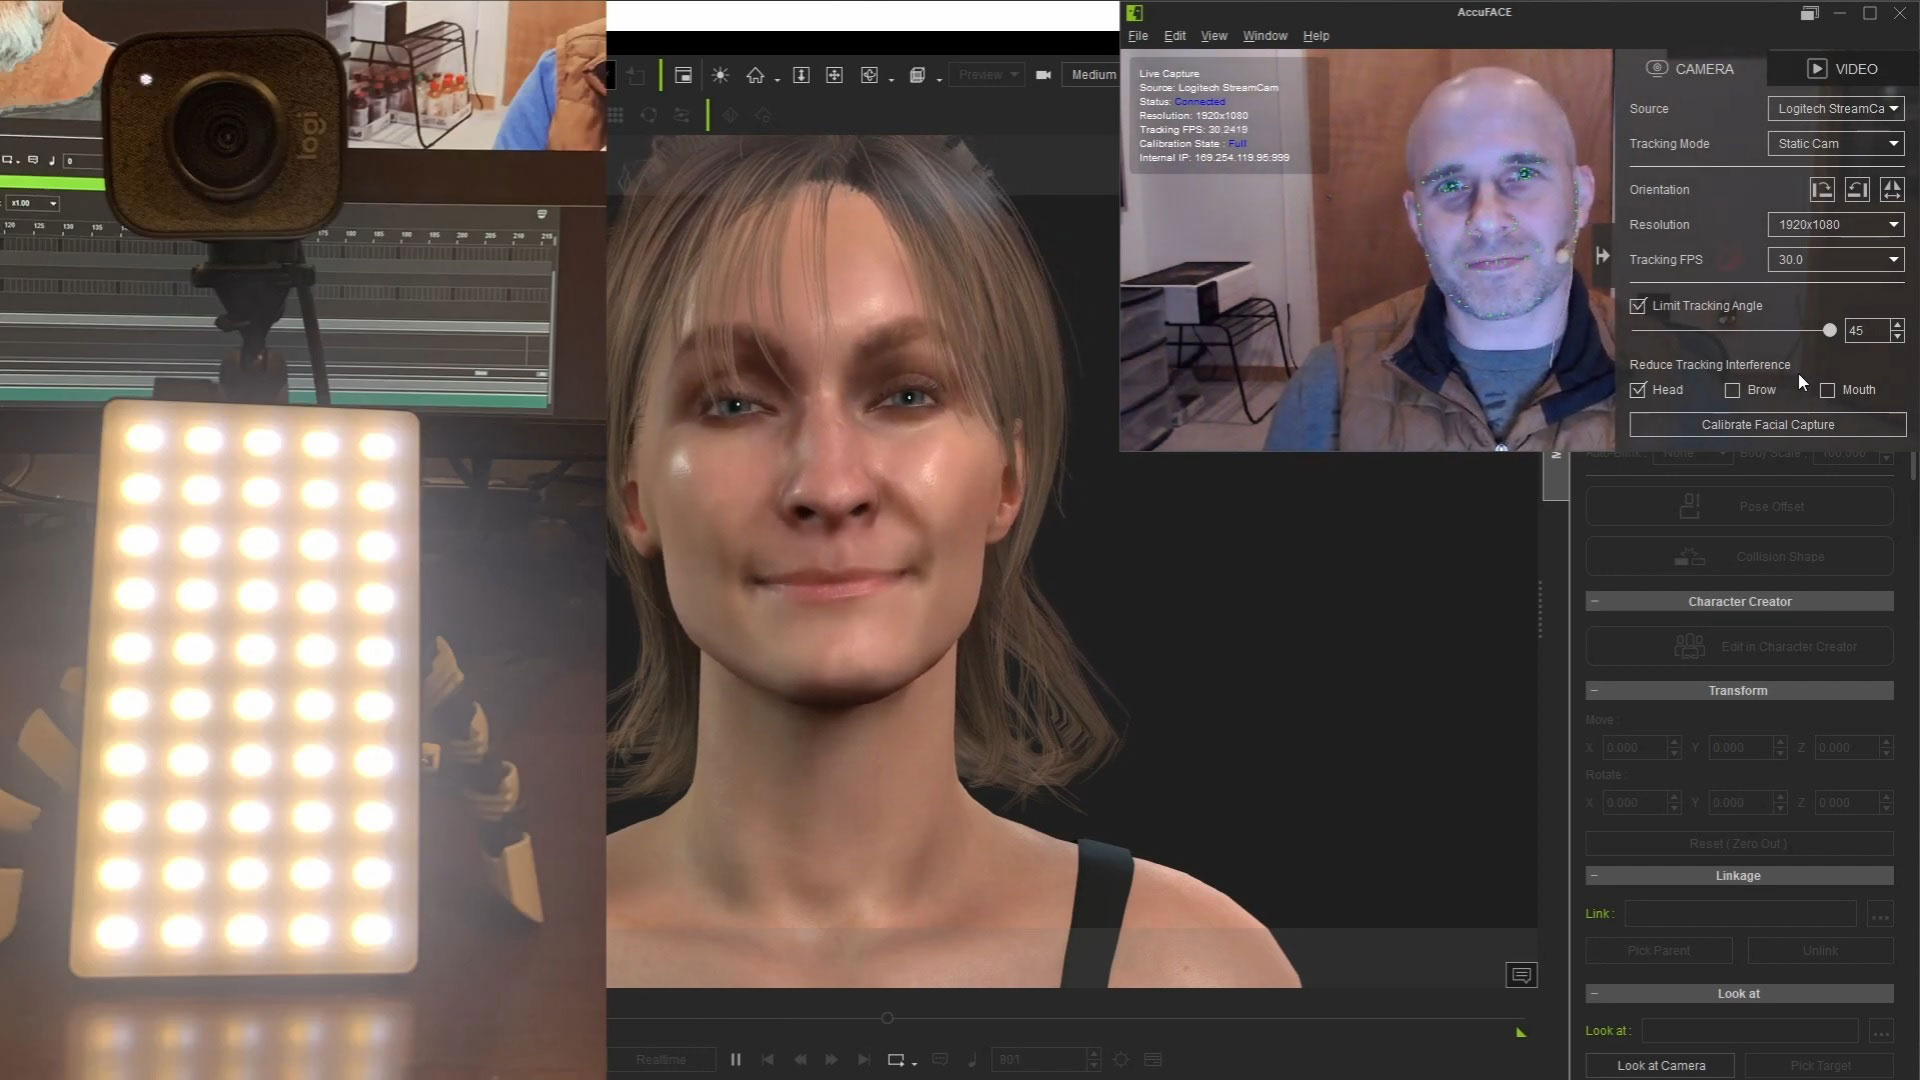
Beyond lighting, you'll want the camera to be aligned directly with the face so that it can capture everything at a natural angle. If the camera is positioned too high or too low, it may not accurately capture details such as mouth movements or eye blinks in their proper proportion.
If I’m using a static camera, I would typically attach it to a mini-tripod to elevate it. I often find myself utilizing the Reduce Tracking Interference > Head option in AccuFace, as otherwise, my brow movements tend to affect the entire head movement.
02. Use the AccuFace panel
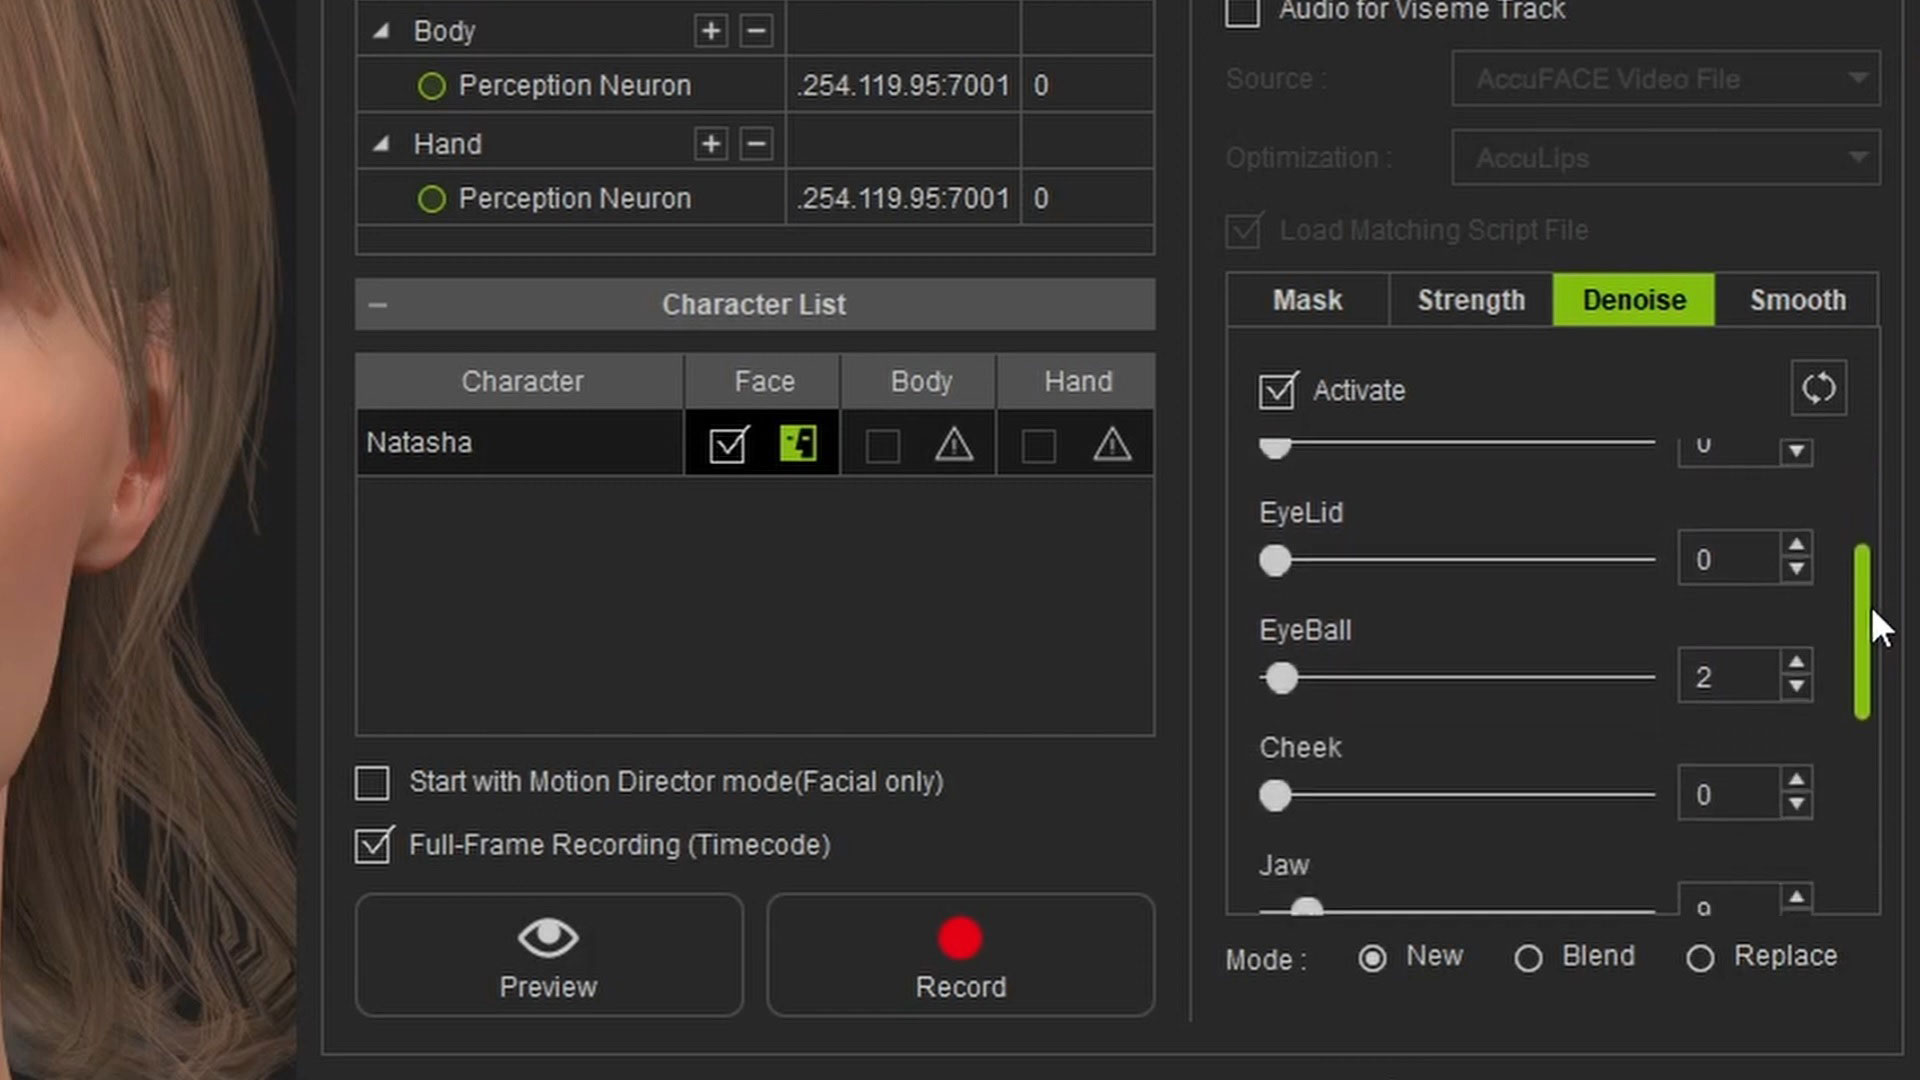
On the iClone end, there wasn’t much new to consider, as I had previously used the iPhone Motion LIVE profile, and the interfaces are quite similar. To use the module, you activate it within Motion LIVE, assign it to the character, and then access some tabs where you can filter the incoming data if needed.
Before you start tweaking settings like Strength, Denoise, and Smooth, I recommend performing a sample capture to see how things look. If the lighting and angle in the video are solid, you might not need to adjust anything else – but rest assured, those tabs are there for you if the need arises.
03. Get the right angle
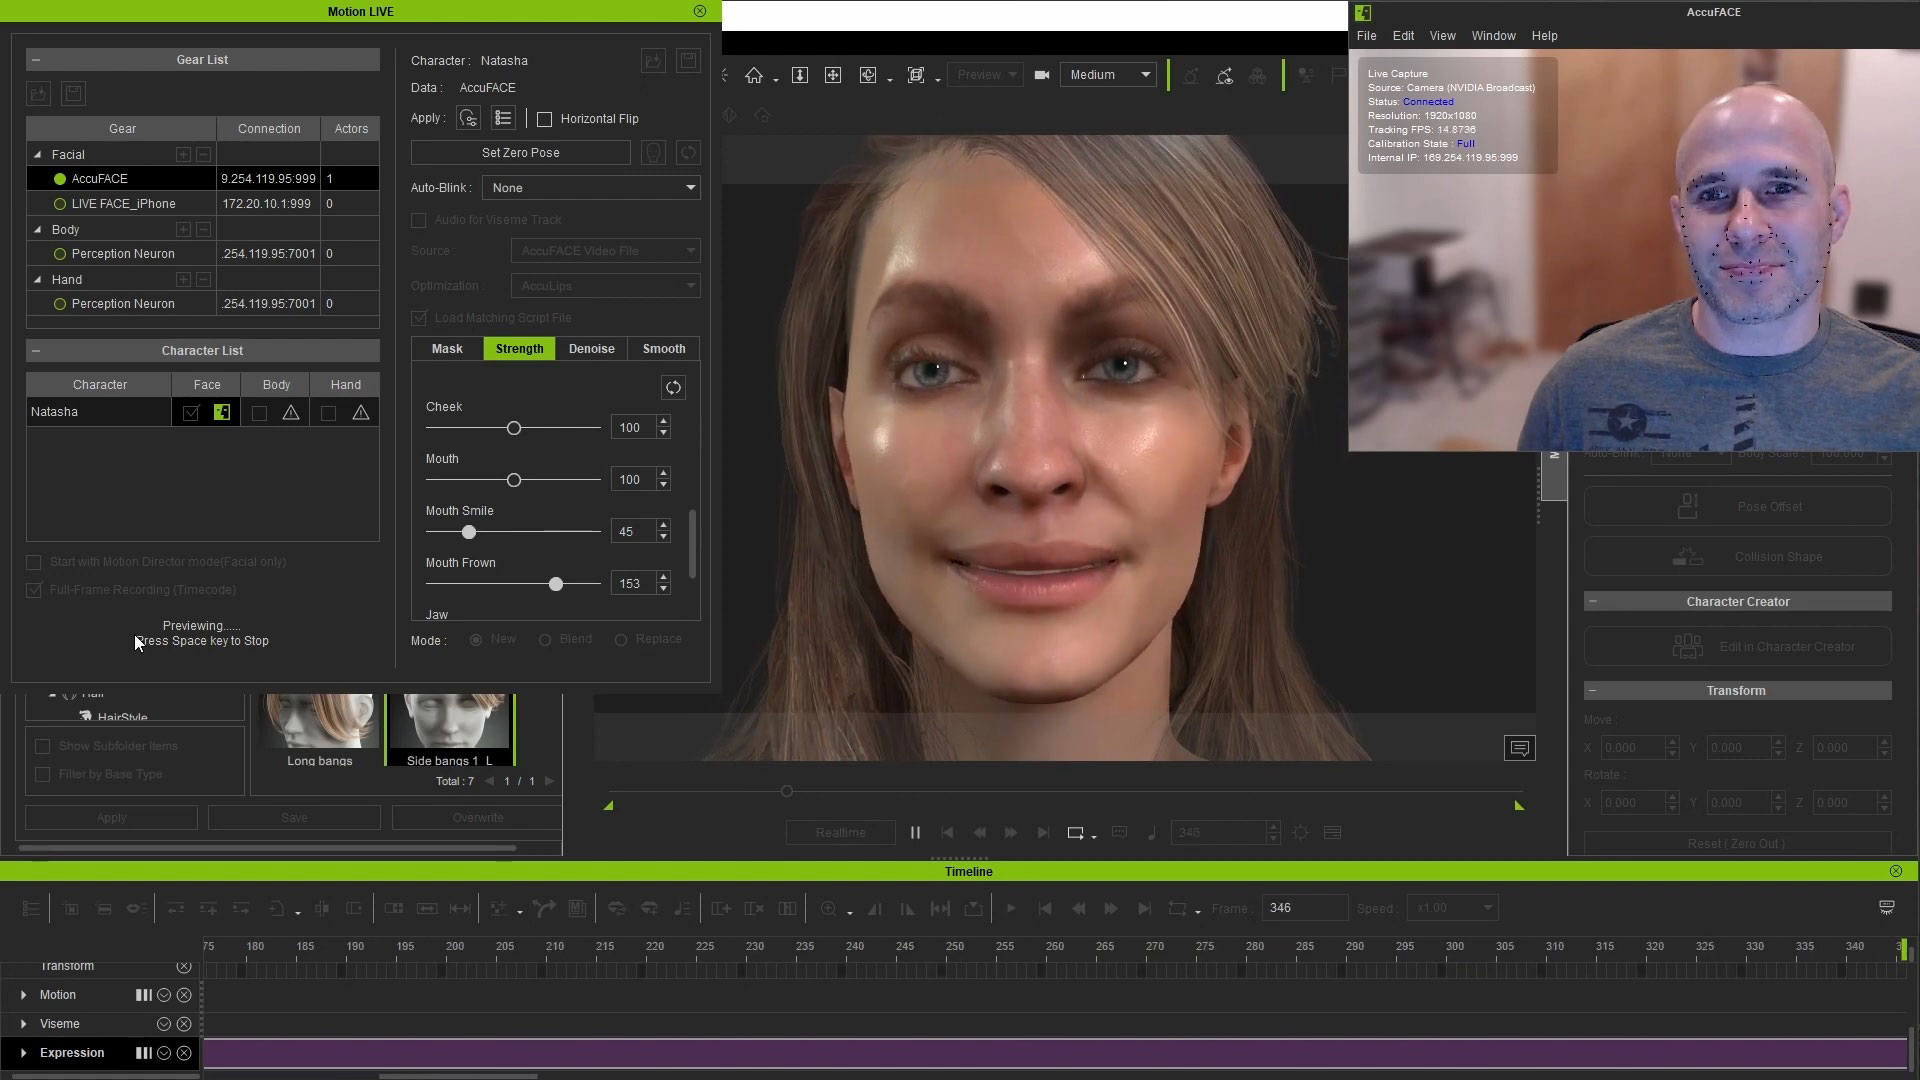
Most of what I mentioned above will apply to both live and pre-recorded video capture, with a few caveats here and there. When dealing with live capture, it becomes crucial to ensure that everything is set up ideally because, well… it’s being live-captured! The easy solution here is to conduct some trial runs before you record 'for real' and observe how everything looks when applied to the character.
I found myself adjusting the strength of morphs several times and making other miscellaneous tweaks to optimise results. Since it’s easy to use a webcam with AccuFace, many of us might prefer to just leave it where it is on the monitor, but typically that angle is too high. Having the angle and lighting locked down will save you from a lot of manual fixing later on – or having to start all over again – so it’s definitely worth the setup time
04. Tweak your webcam's settings
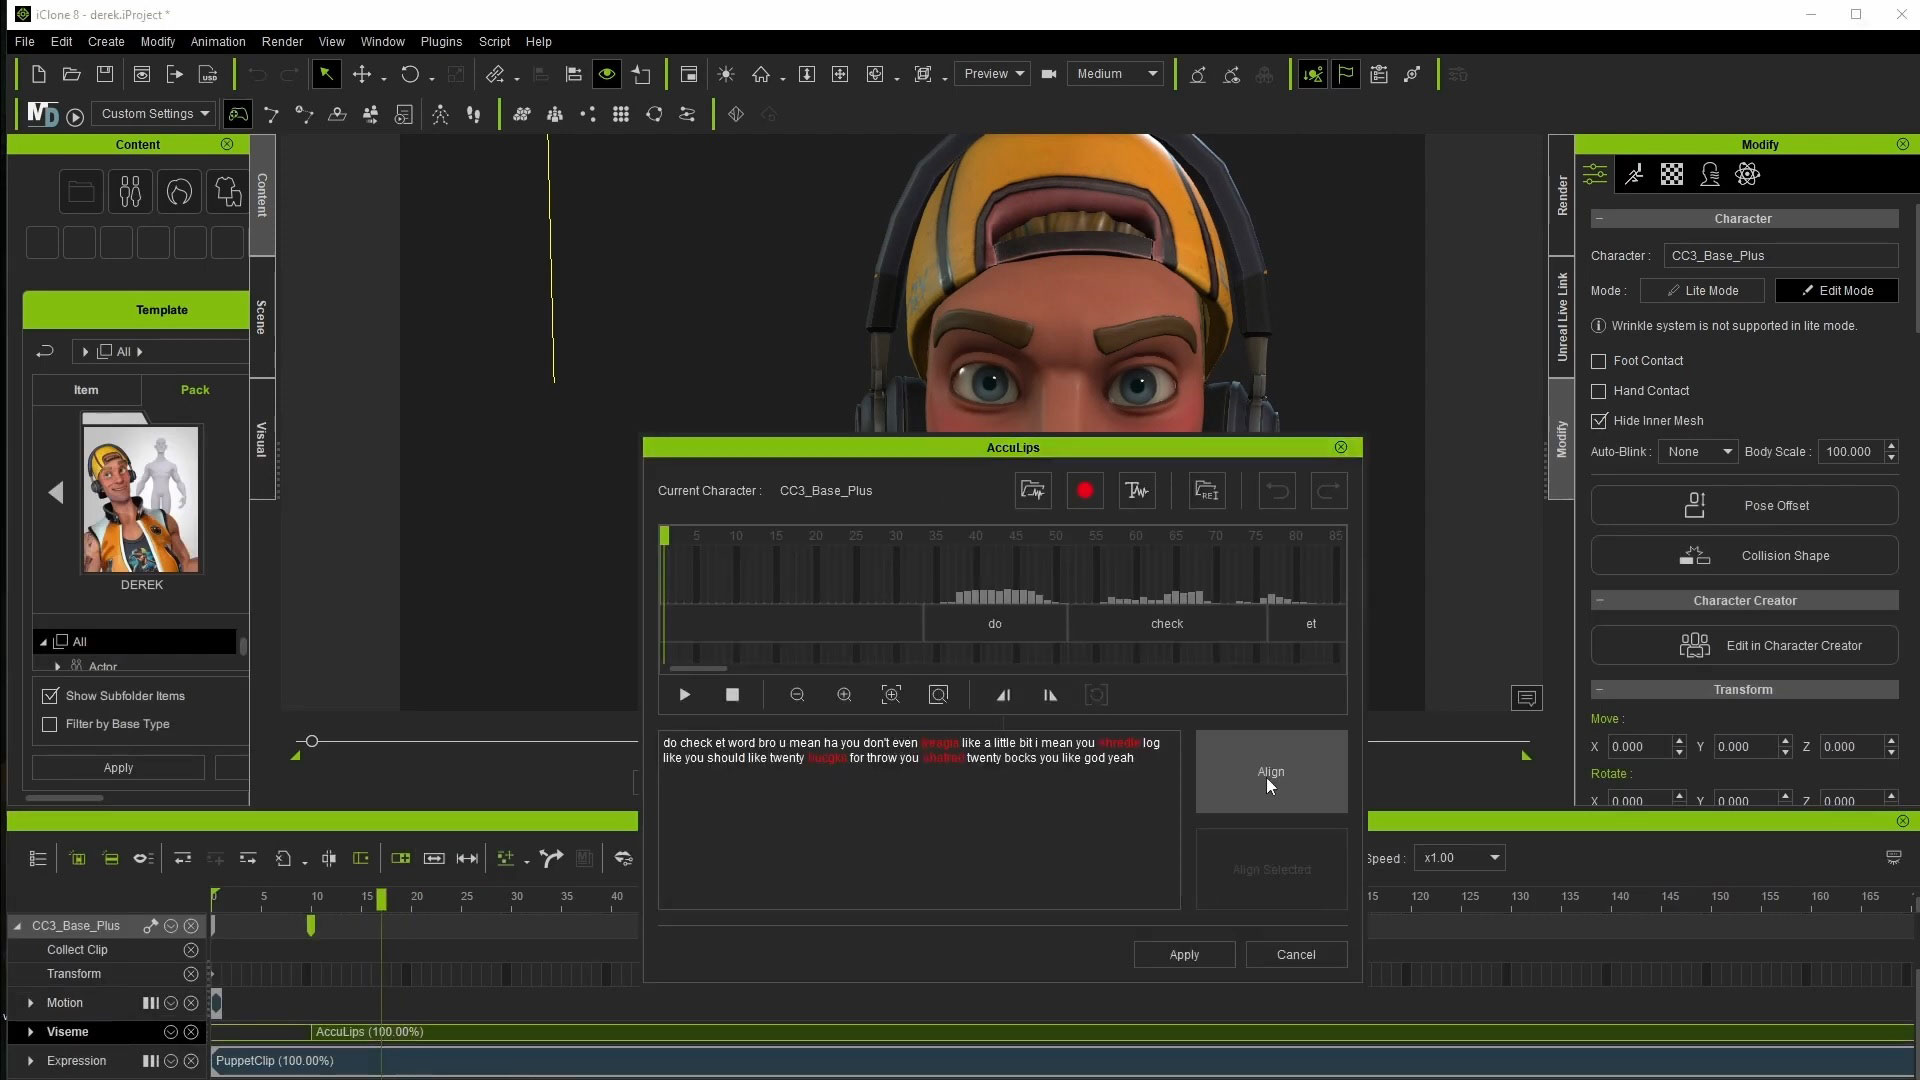
I also found that accessing my webcam’s advanced settings was very useful, although the location of this option may vary depending on the webcam model. For me, unchecking the 'low light compensation' setting improved video capture. While this setting enhances video clarity in low-light situations, it tends to make the footage appear more 'smeared' in a way I typically associate with webcam footage. If the lighting is sufficient, this setting shouldn’t be necessary, which underscores the importance of using an LED light or a similar solution.
The Audio for Viseme option is tremendously helpful and, at least for me, is something I will always use with dialogue. This is because our capture is integrated with iClone AccuLips for lipsync animation. It provides more defined mouth movements for speech, and its effect on the animation can always be dialed down in iClone if you feel it’s too pronounced.
It’s also important to take the time to perform the Calibrate Facial Capture poses: the enhanced results are more than worth the 10 to 30 seconds it will take you to go through them!
05. Use pre-recorded video
I appreciate that we can use pre-recorded video in AccuFace, as it opens up plenty of options for us. In one aspect, it can be a little trickier to 'lock down' the settings, as you might not know what the footage looks like until you view it on the PC after-the-fact. The tiny displays on many cameras can make it challenging to accurately assess how things look, and depending on the lighting in the shooting location, you might not even trust the preview display.
Phone-based video review works better since you have its larger screen, but ideally (in almost all cases), it would be useful to have something like a laptop on hand, where you can load some sample clips and see how they look on a larger display. This practice is pretty common for film shoots as well, so I don’t really consider it a limitation as much as a best-practice precaution.
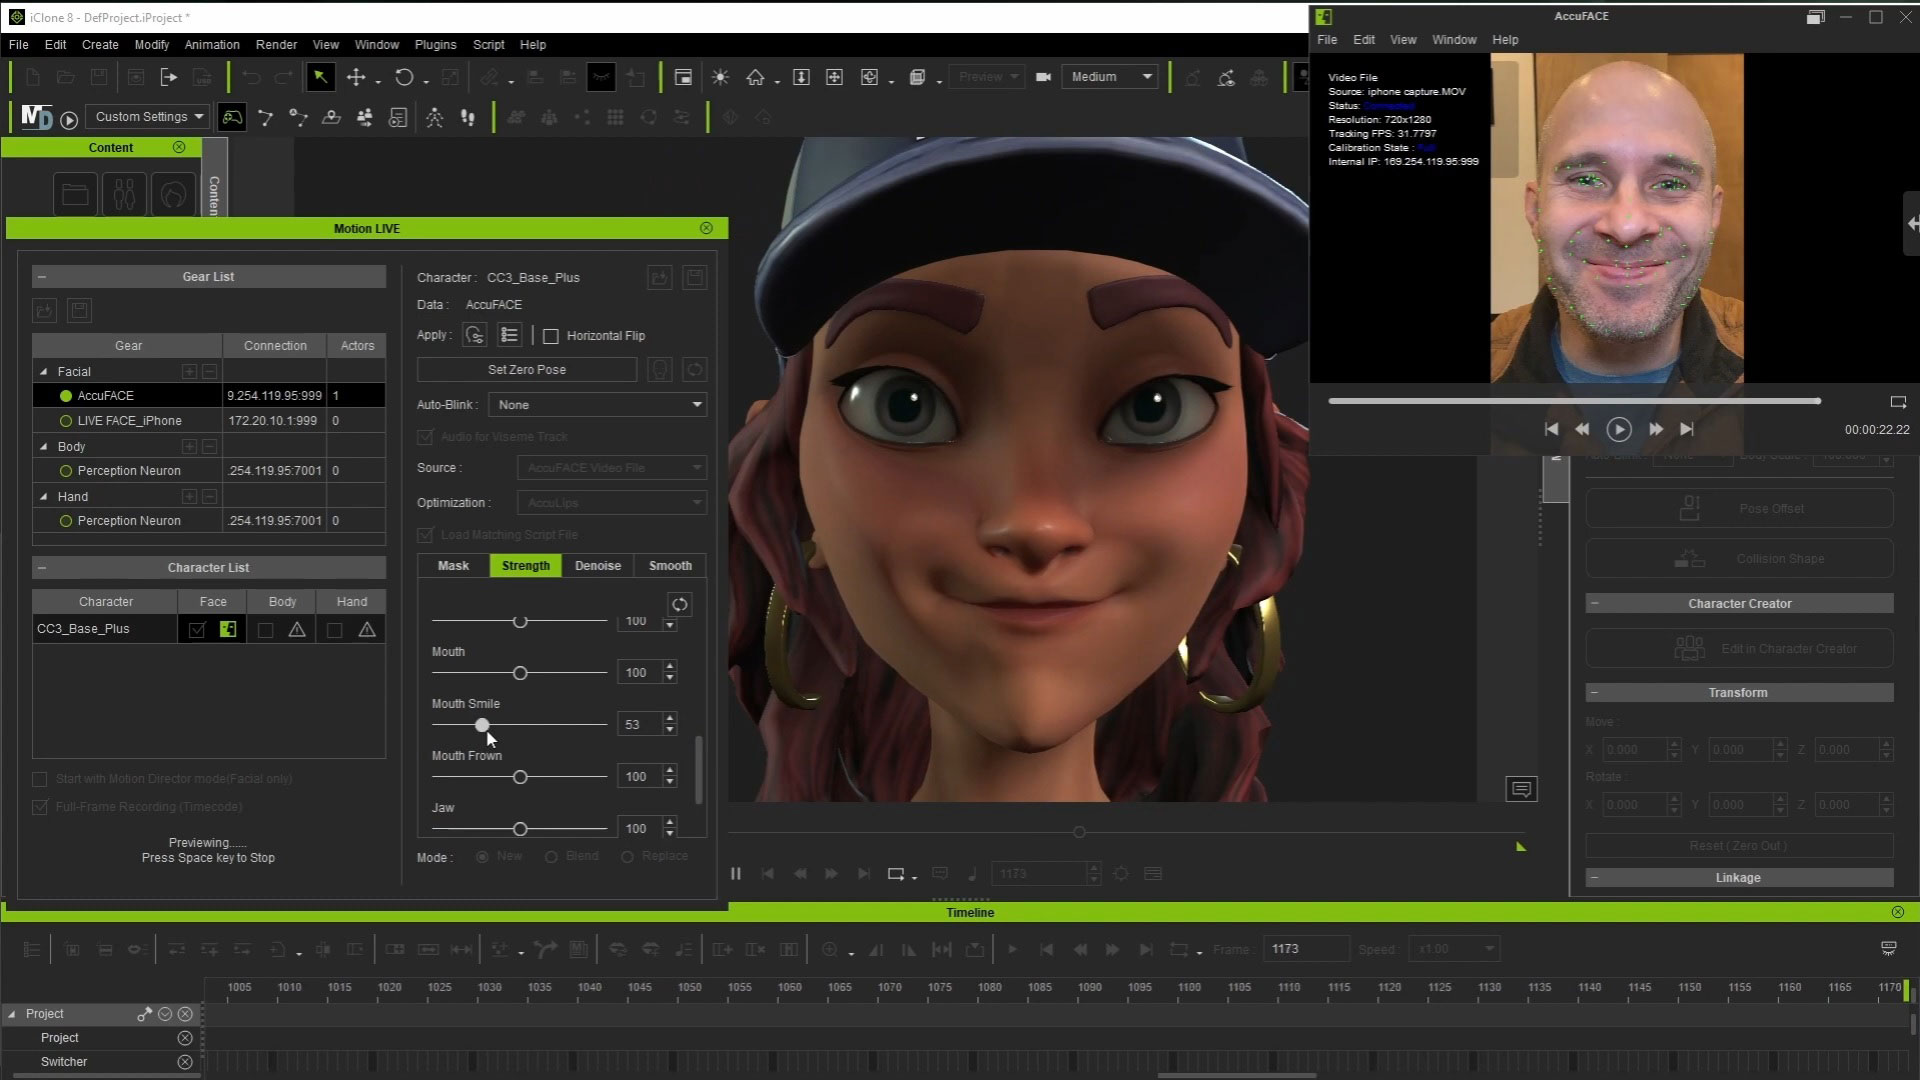
As an example of checking settings: when I used a GoPro for helmet-mounted captures, I loaded a couple of sample clips onto the PC before committing to 'real' takes. It was a bit of a pain since I had to manoeuvre the card out of the helmet rig, but it turned out to be worth the effort. The initial footage was a bit too dark and grainy/noisy, which might have worked fine but was less than ideal for feature tracking.
After making a few adjustments on the camera, things looked much better, and I could continue with a greater sense of confidence in the expected results. As a final but important consideration: don’t forget to record your poses for the Calibration step! It can be fairly easy to forget, but it’s worth doing before you start recording 'for real'.
06. Choose your helmet camera option
I’ve observed discussions among iClone users regarding their preferences between iPhone LIVE Face and AccuFace solutions. When it comes to helmet camera options, the choice depends on what you have access to. I personally use a relatively ancient GoPro Hero Silver, which, being ultra-lightweight, makes it an excellent candidate for a helmet-mounted camera. This camera is employed in various professional helmet setups.
An iPhone equipped with a TrueDepth sensor is also a viable option, as seen in the projects of companies like Epic Games. Both devices can deliver great results, but I find the 'GoPro attached to a helmet' solution much more comfortable than having an iPhone strapped and suspended in front of my head. The weight of an iPhone became noticeable, and I found myself adjusting my performance to compensate – not ideal. Using a lightweight camera with AccuFace alleviates this issue and provides a significant advantage for AccuFace.
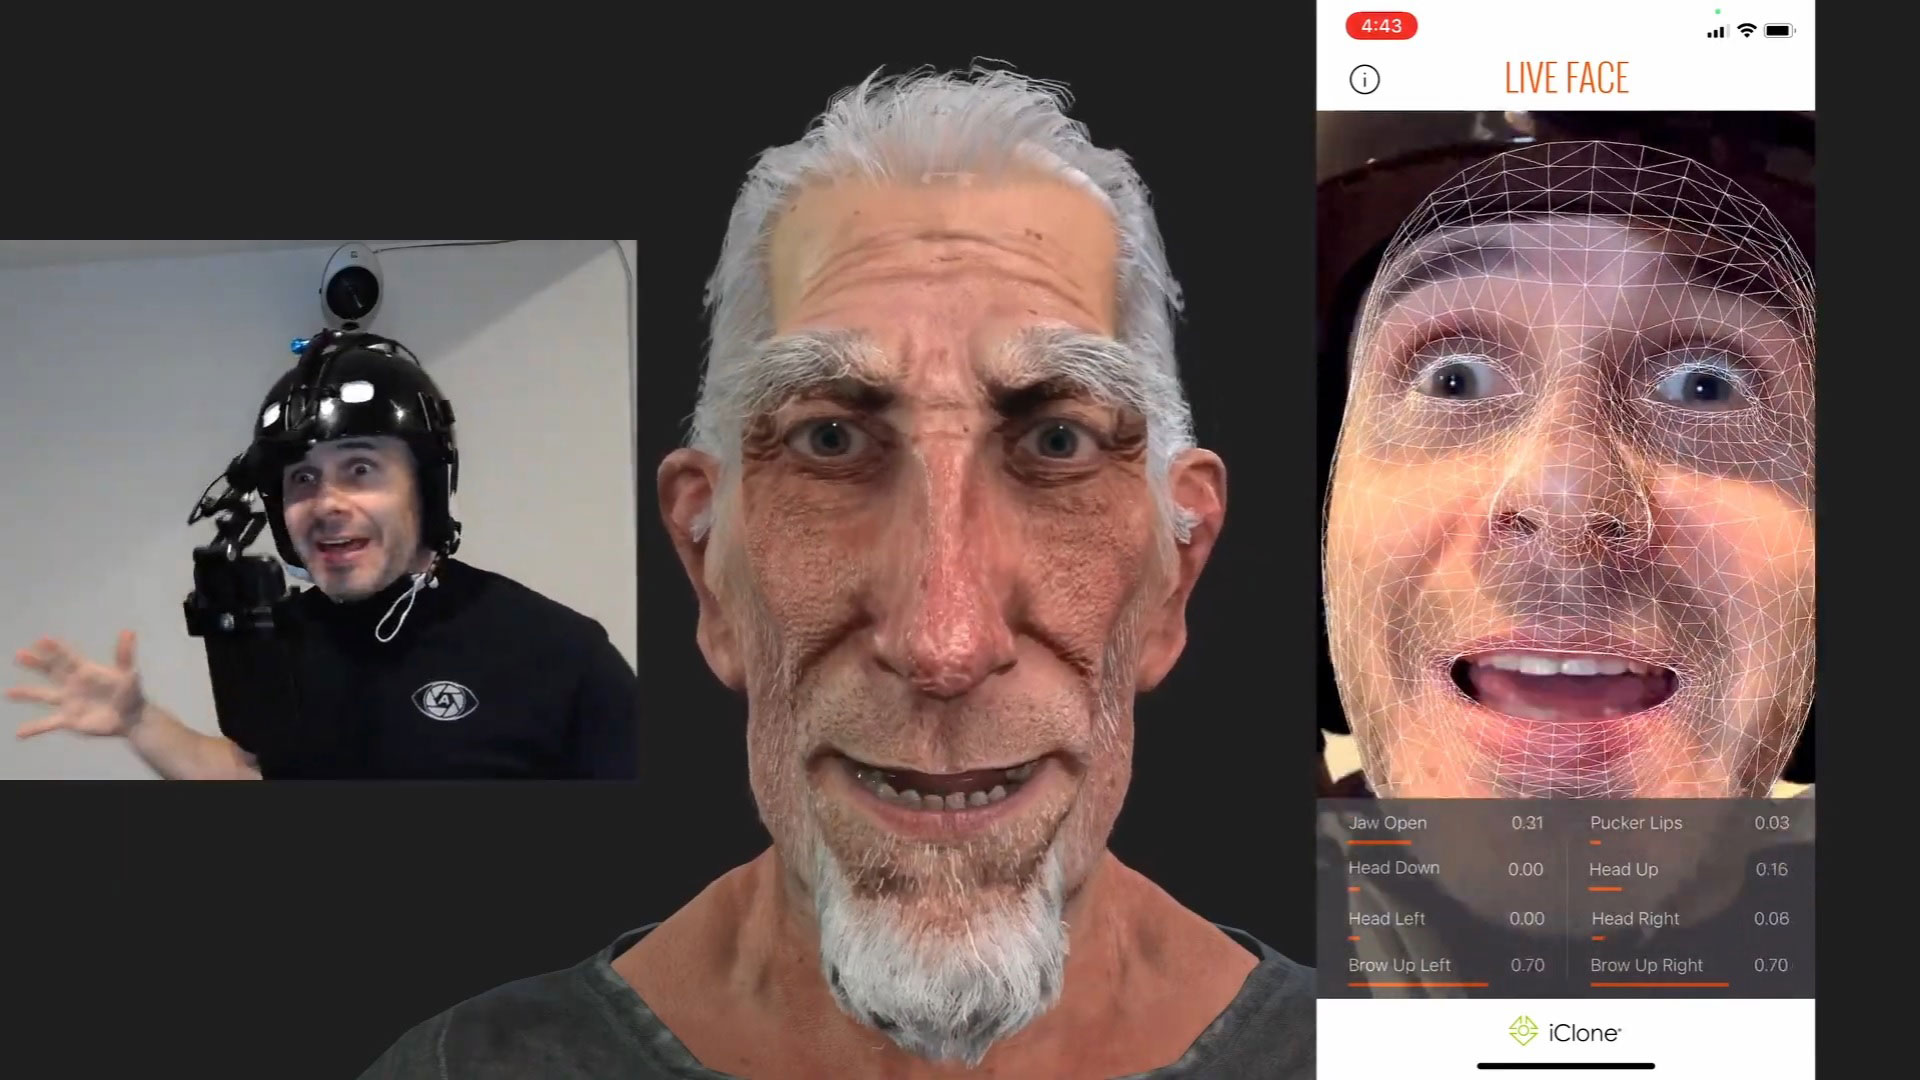
On the flip side, I see two main upsides to using iPhone Live Face over camera recording. At least in my scenario, one is synchronisation. Unless you have a lightweight 'action camera' that can serve as a wireless webcam, then you’re going to be stuck trying to figure out where the body mocap lines up with the face performance afterward.
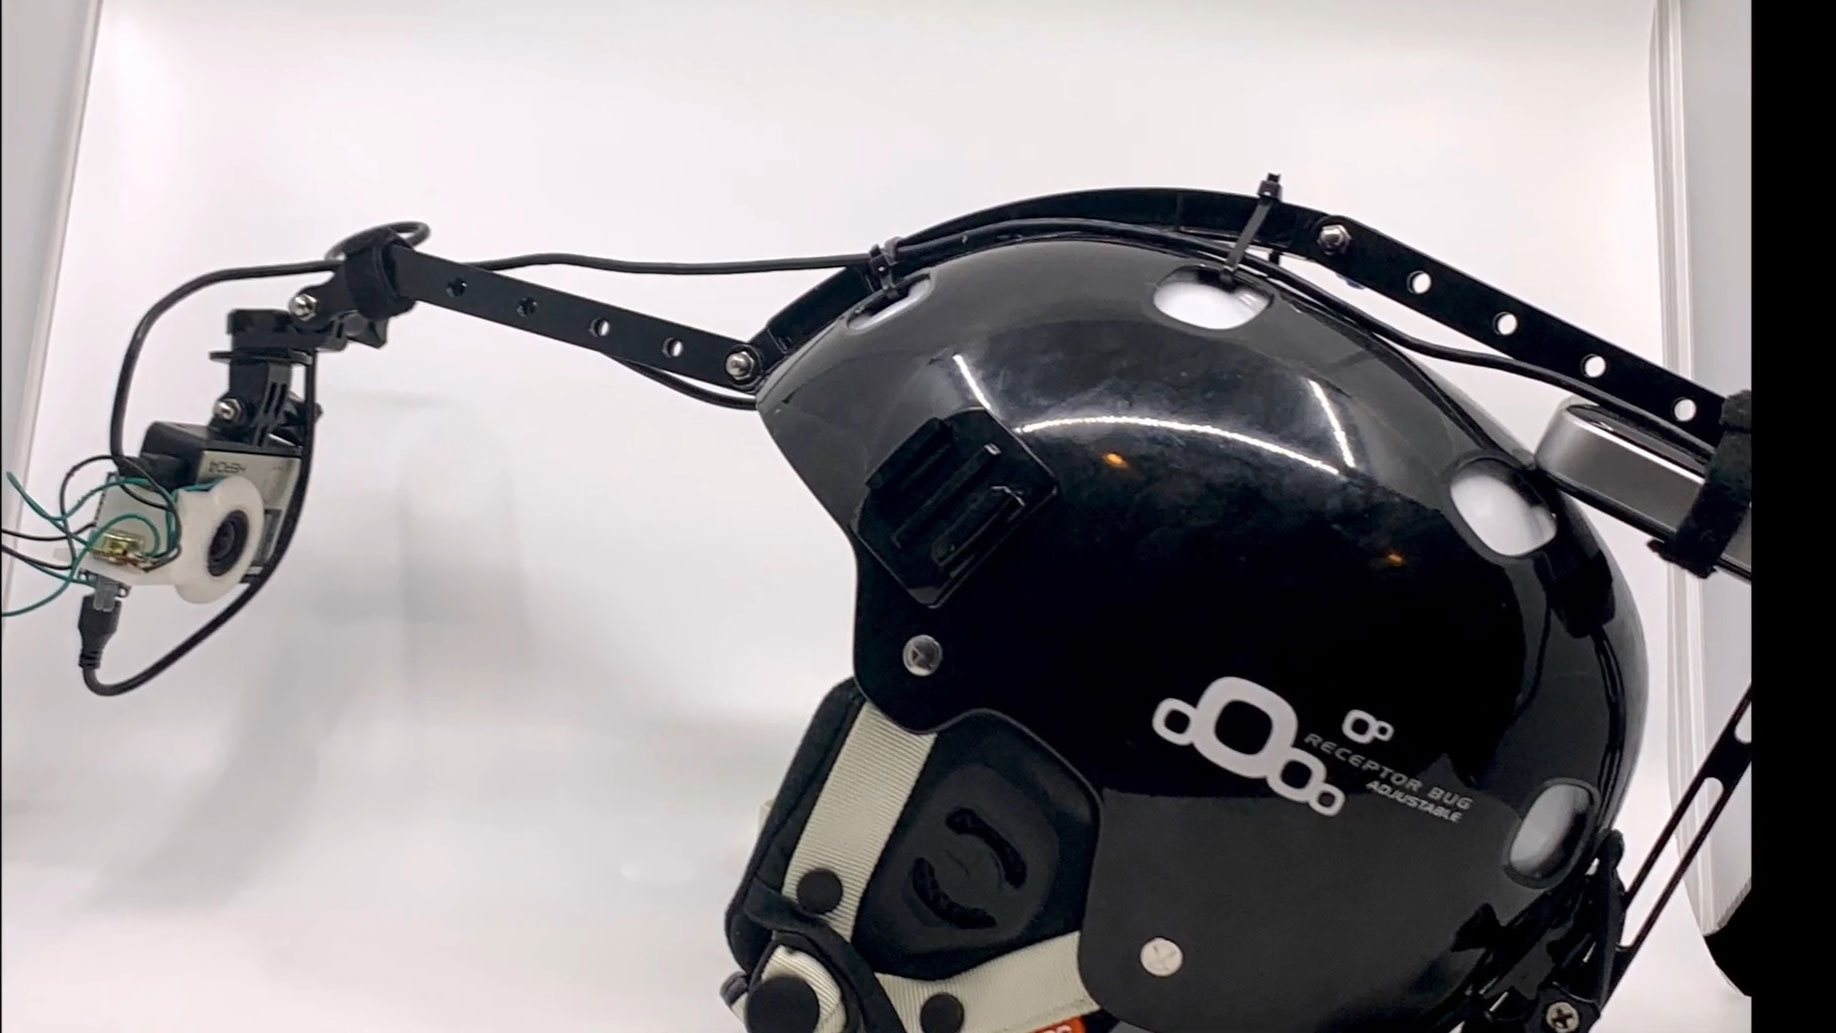
The other main consideration is lighting, and since TrueDepth-enabled iPhones use a depth sensor, they aren’t affected as much by lighting changes. The AccuFace solution here is a camera-mounted light, which is possible but requires extra effort to get implemented (and can add more weight). I hope what I’ve written above gives you some ideas and insights to enjoy the new tools!

Learn more about iClone AccuFace Mocap Profile or iClone Facial Animation. Or discover how to make believable Lipsync Animation


