With tools such as ChatGPT, Google Gemini, and Adobe Firefly it's clear there's an abundance of ways you can generate images using AI. If you're looking for an AI image generator that creates consistent results and offers an ever-growing number of models and styles to enhance the process I'd suggest trying Leonardo.
It is based on the Stable Diffusion open source models but with significant customization and fine-tuning, including for photo realism. The platform recently also launched a new style referencing feature to take the concept of one image and apply it to another creation.
With features such as model selection and an option to specify negative prompts, Leonardo gives users a significant sense of control over the image creation process.
Using AI to generate images should feel effortless, but having a sense of involvement in how Leonardo works with your prompt helps you feel part of the process.
How to create AI images using Leonardo
The overall process from idea to results should take mere minutes. As with similar tools, Leonardo takes your text prompts, applies its models, and generates stunning images that are ready to use.
1. Visit the Leonardo website
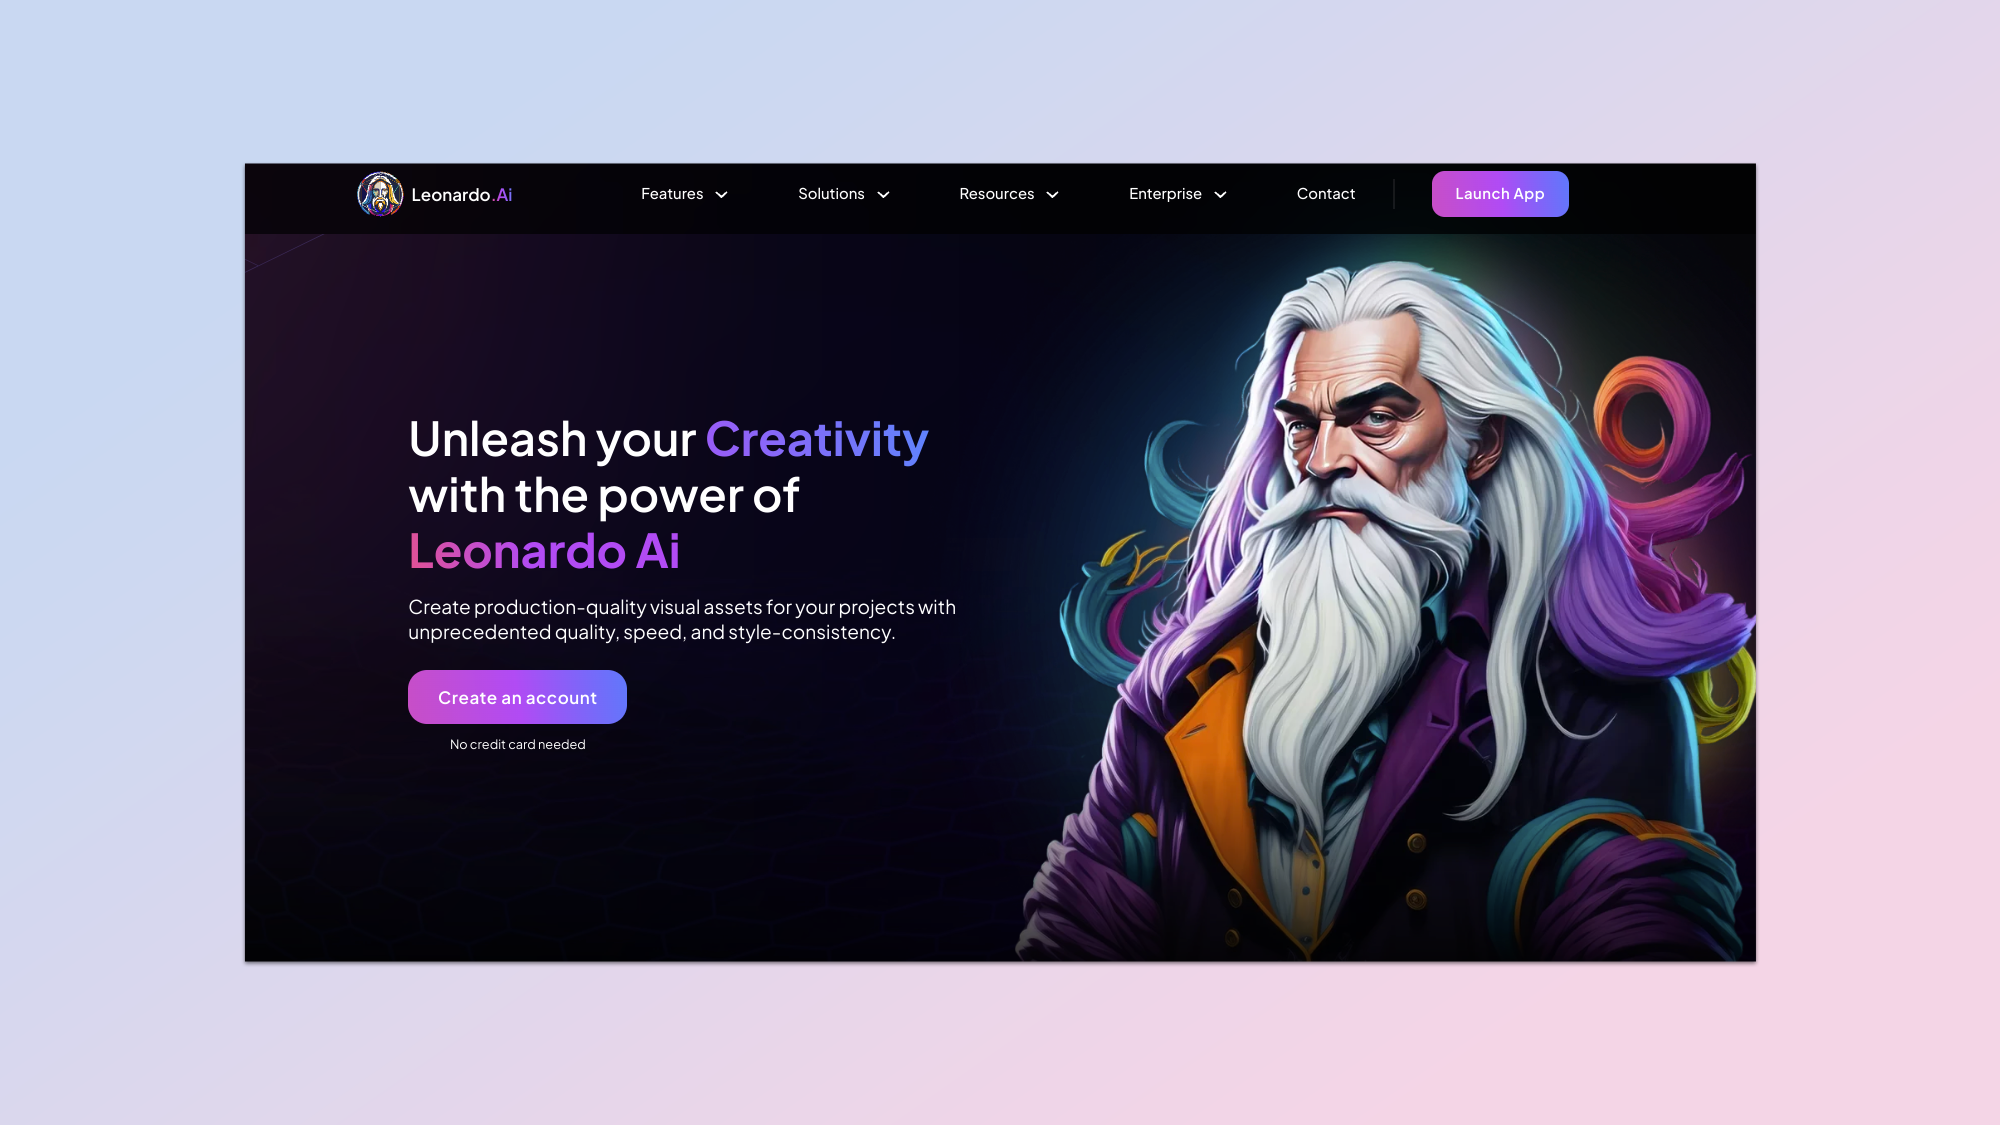
To get started, visit Leonardo’s website.
2. Create an account
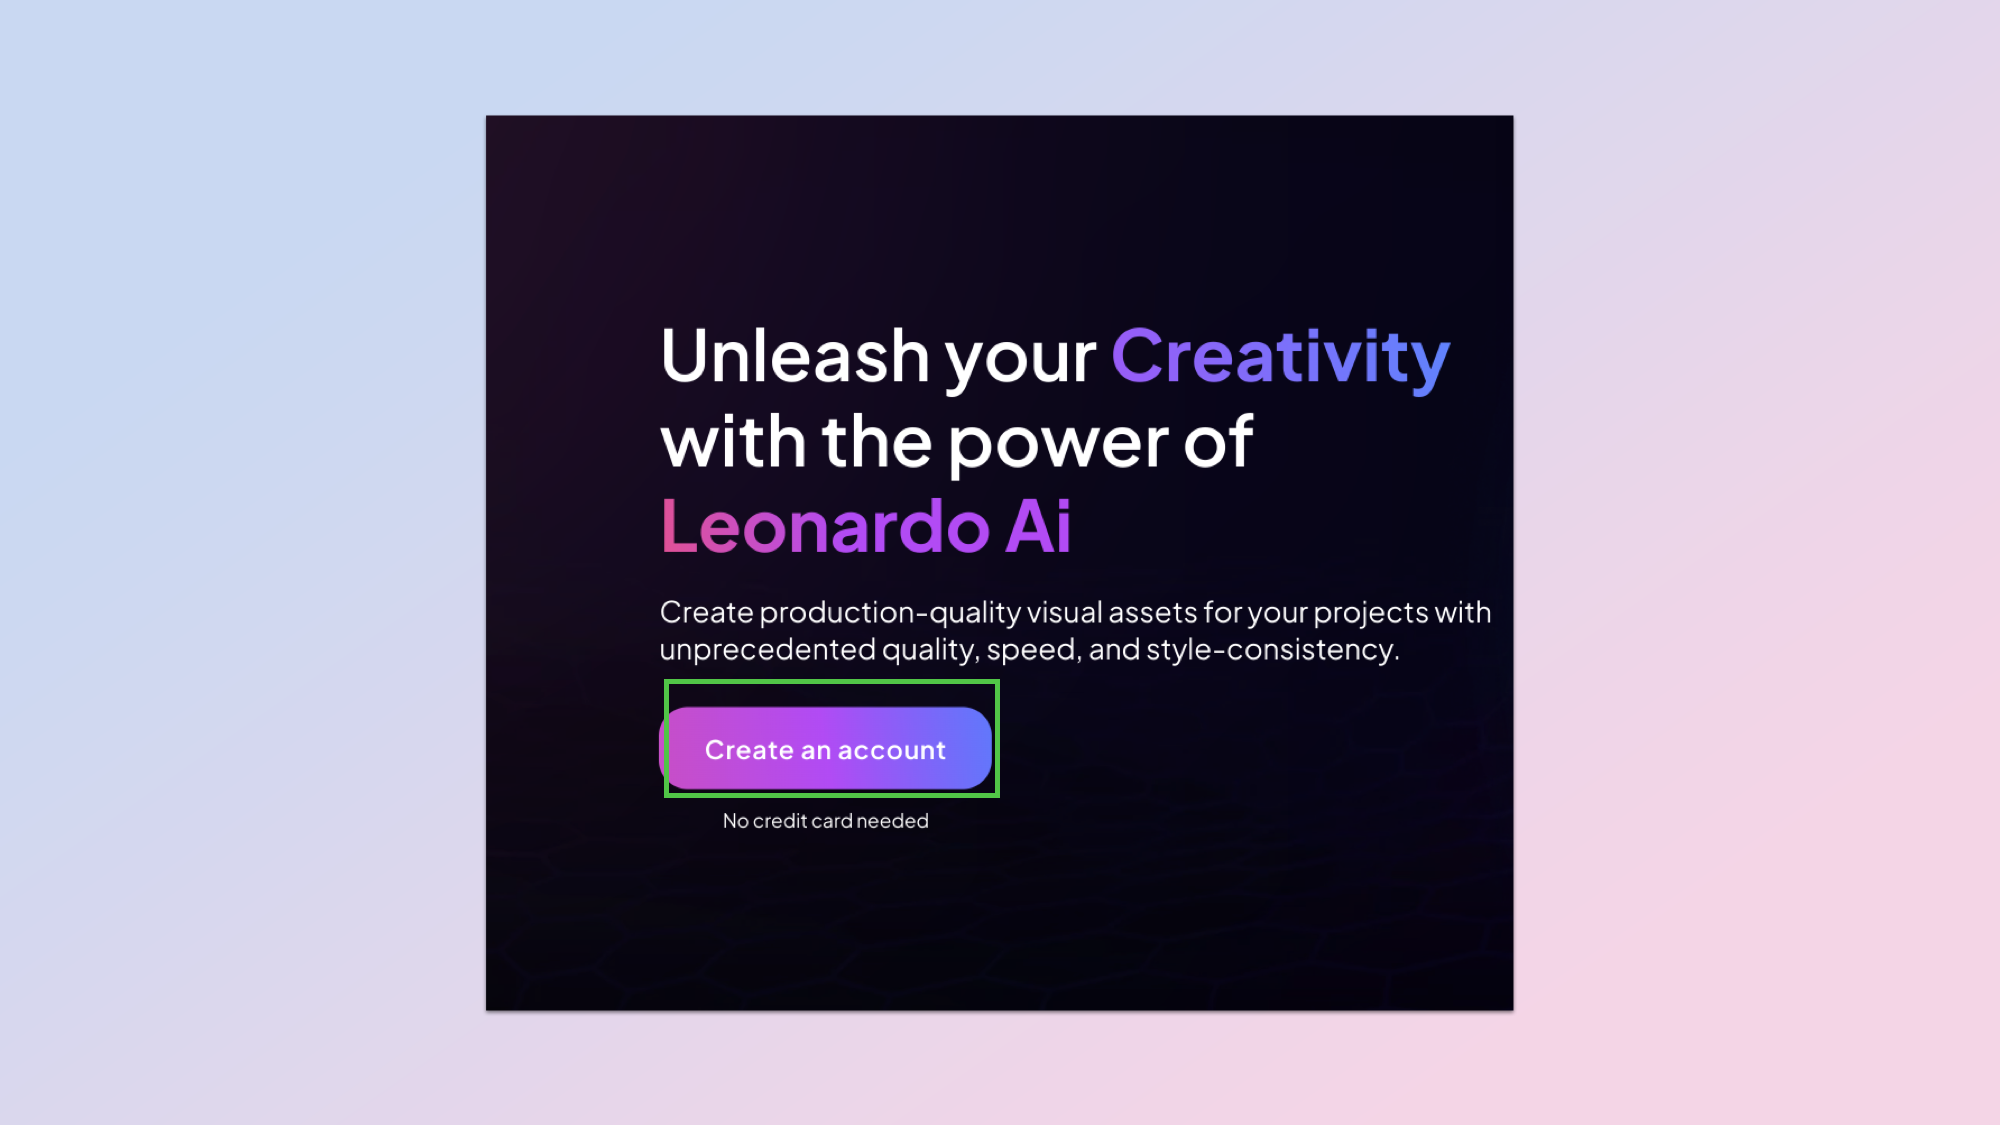
You’ll need an account to create AI images with Leonardo. To sign up for one, click on create account. Alternatively, if you’ve already registered, click on launch app at the top of the website.
3. Create a new image
Once you’re all settled in you can start the creative process. Click the button to create a new image to proceed.
4. Write a text prompt
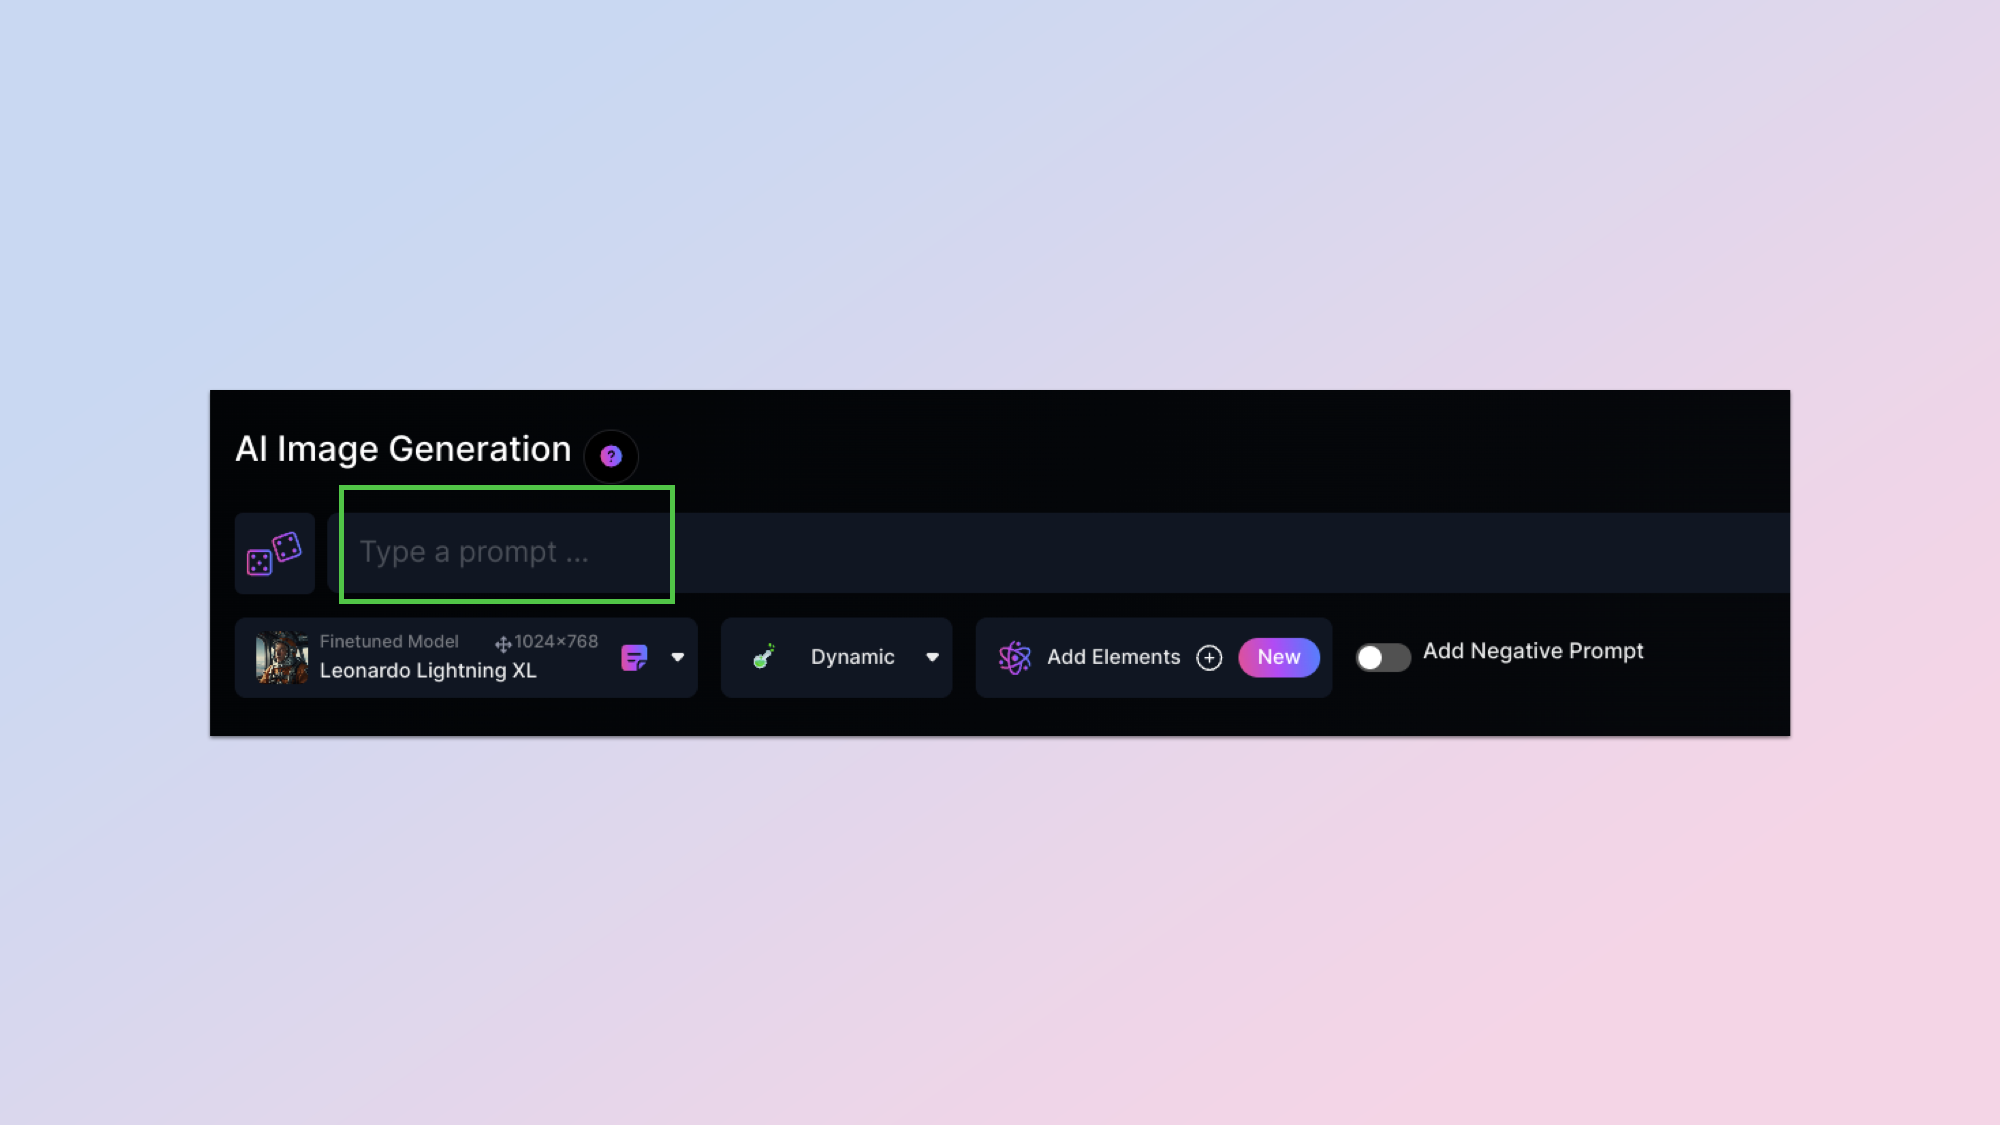
Think of something you’d like to create an image of, put that idea in words, and add your text prompt into the prompt field.
5. Choose your model
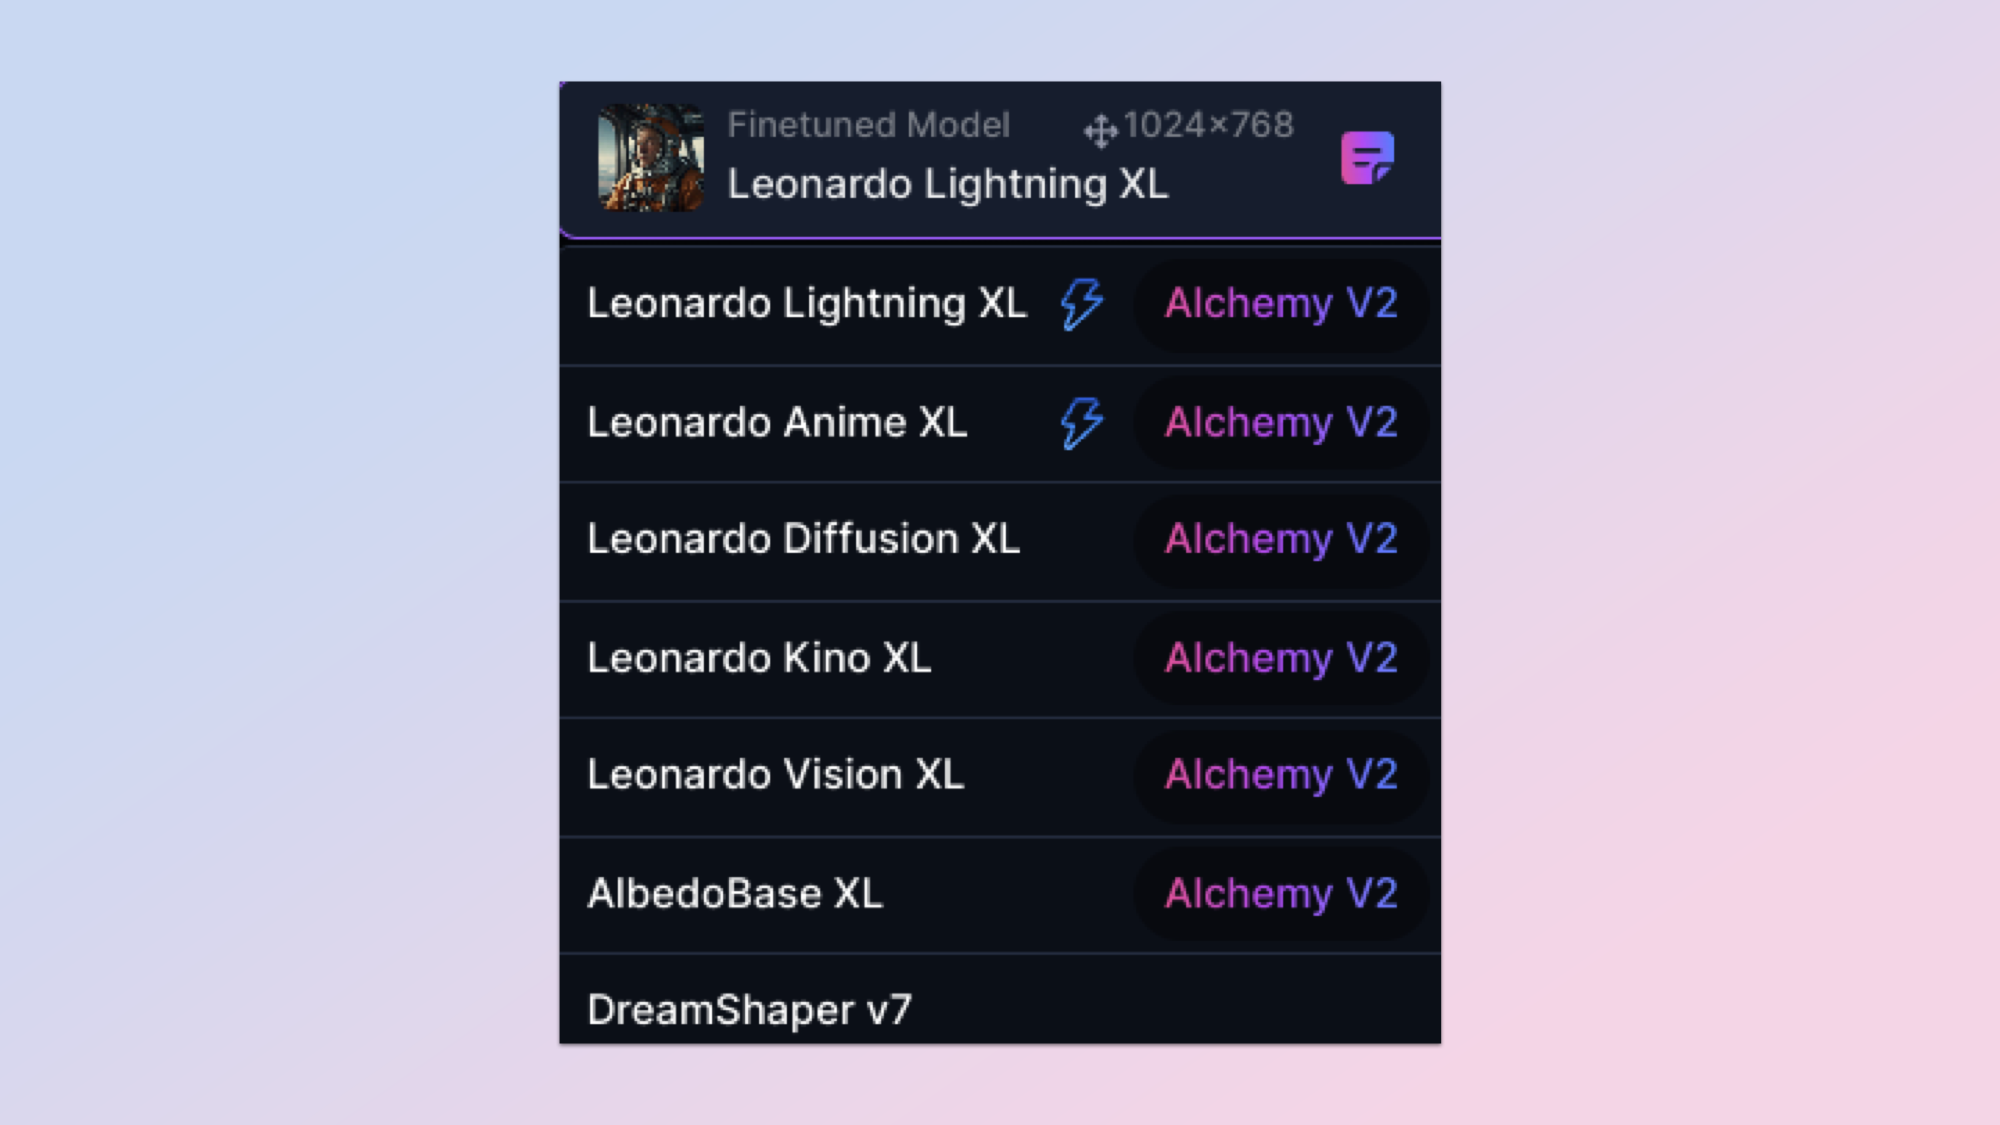
Leonardo gives you access to a variety of models that are tailored to different use cases. Each model has been trained, or fine tuned, to aim to give you the best results based on your prompt. If you're trying to create anime images, you would probably want to try models such as Anime Pastel Dream. If you simply want generally good results, opting for Leonardo Diffusion XL is a safe bet.
6. Select a style
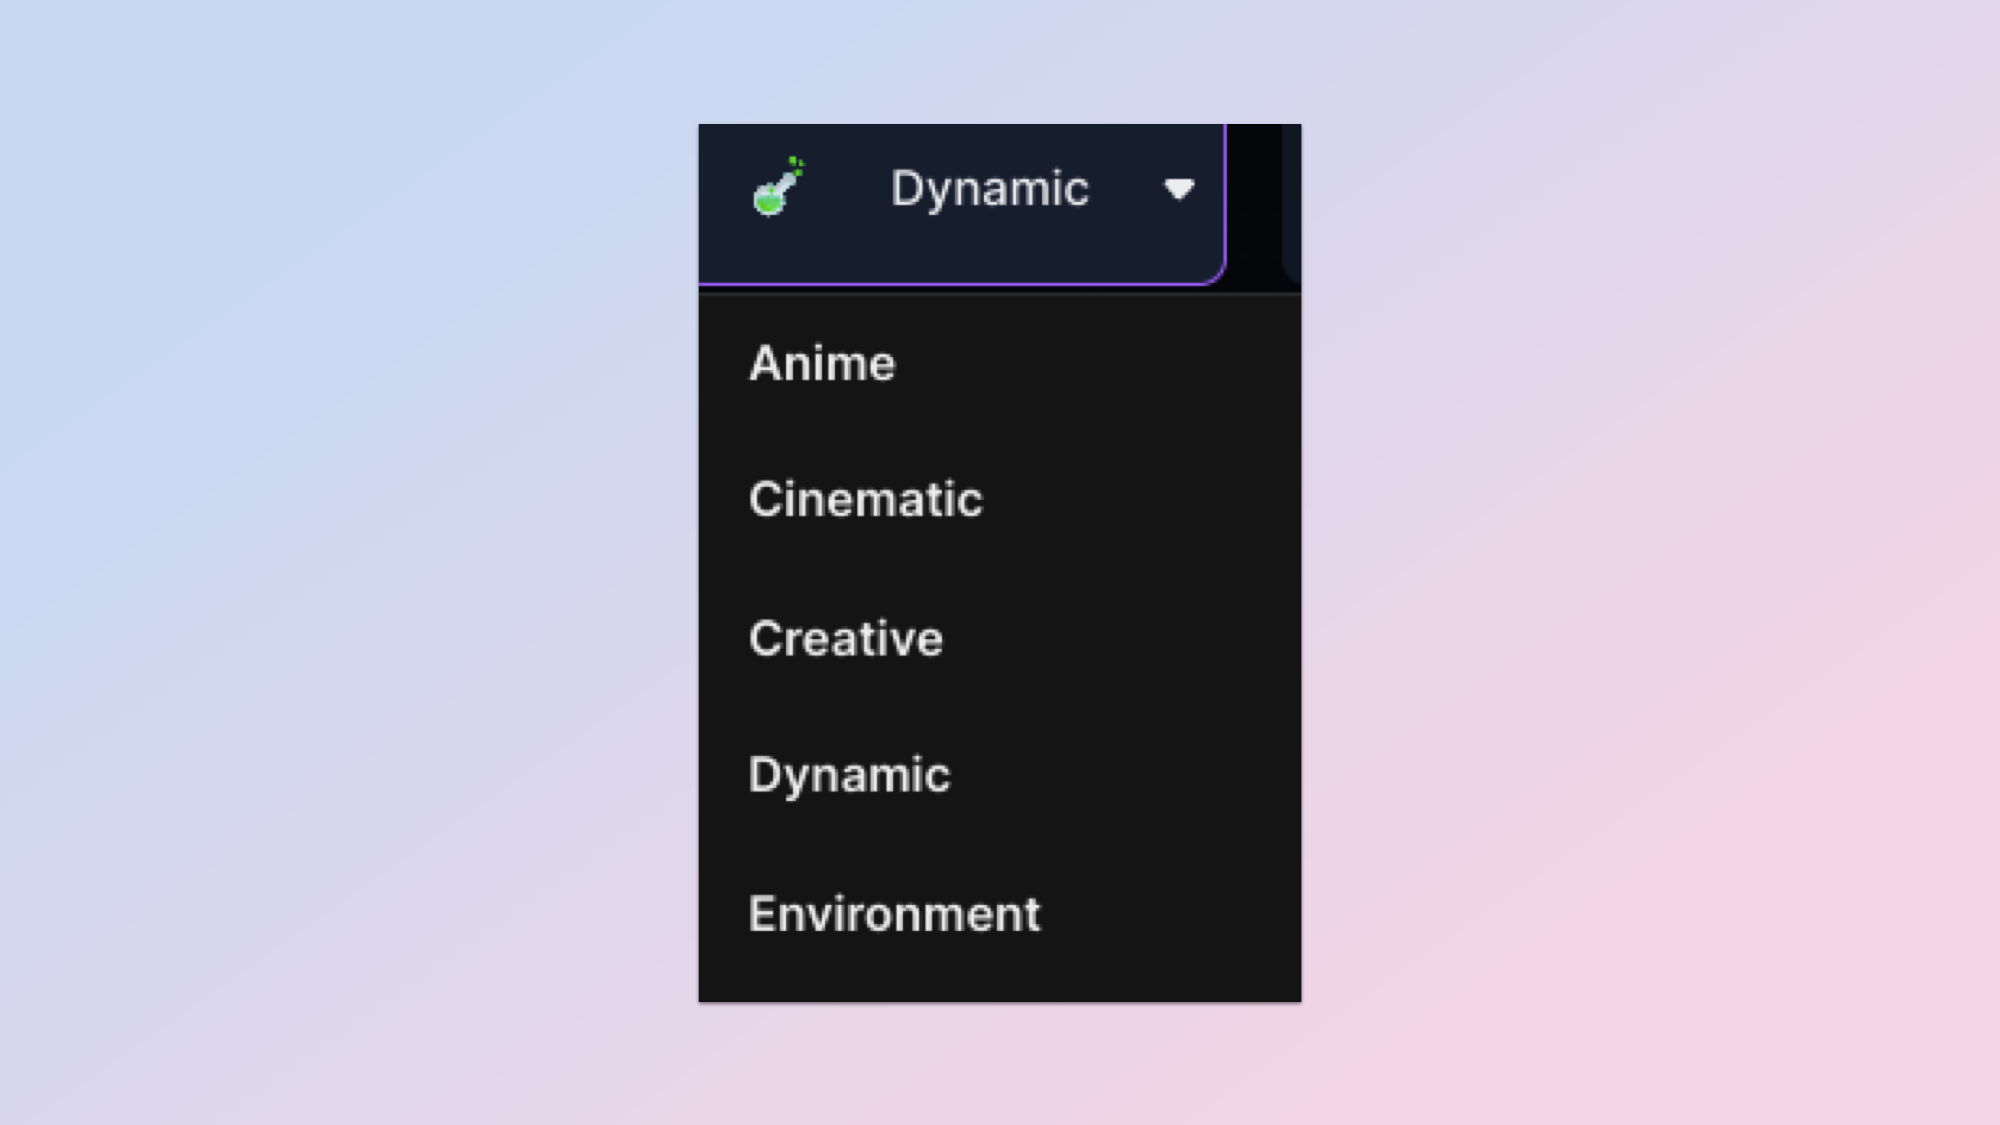
You can choose what kind of overall style you’d like to apply to your image. Do you want your creation to appear cinematic or did you have a 3D model in mind? Now’s the time to choose what style from the pre-determined selection is most suitable for the task at hand.
7. Pick an element
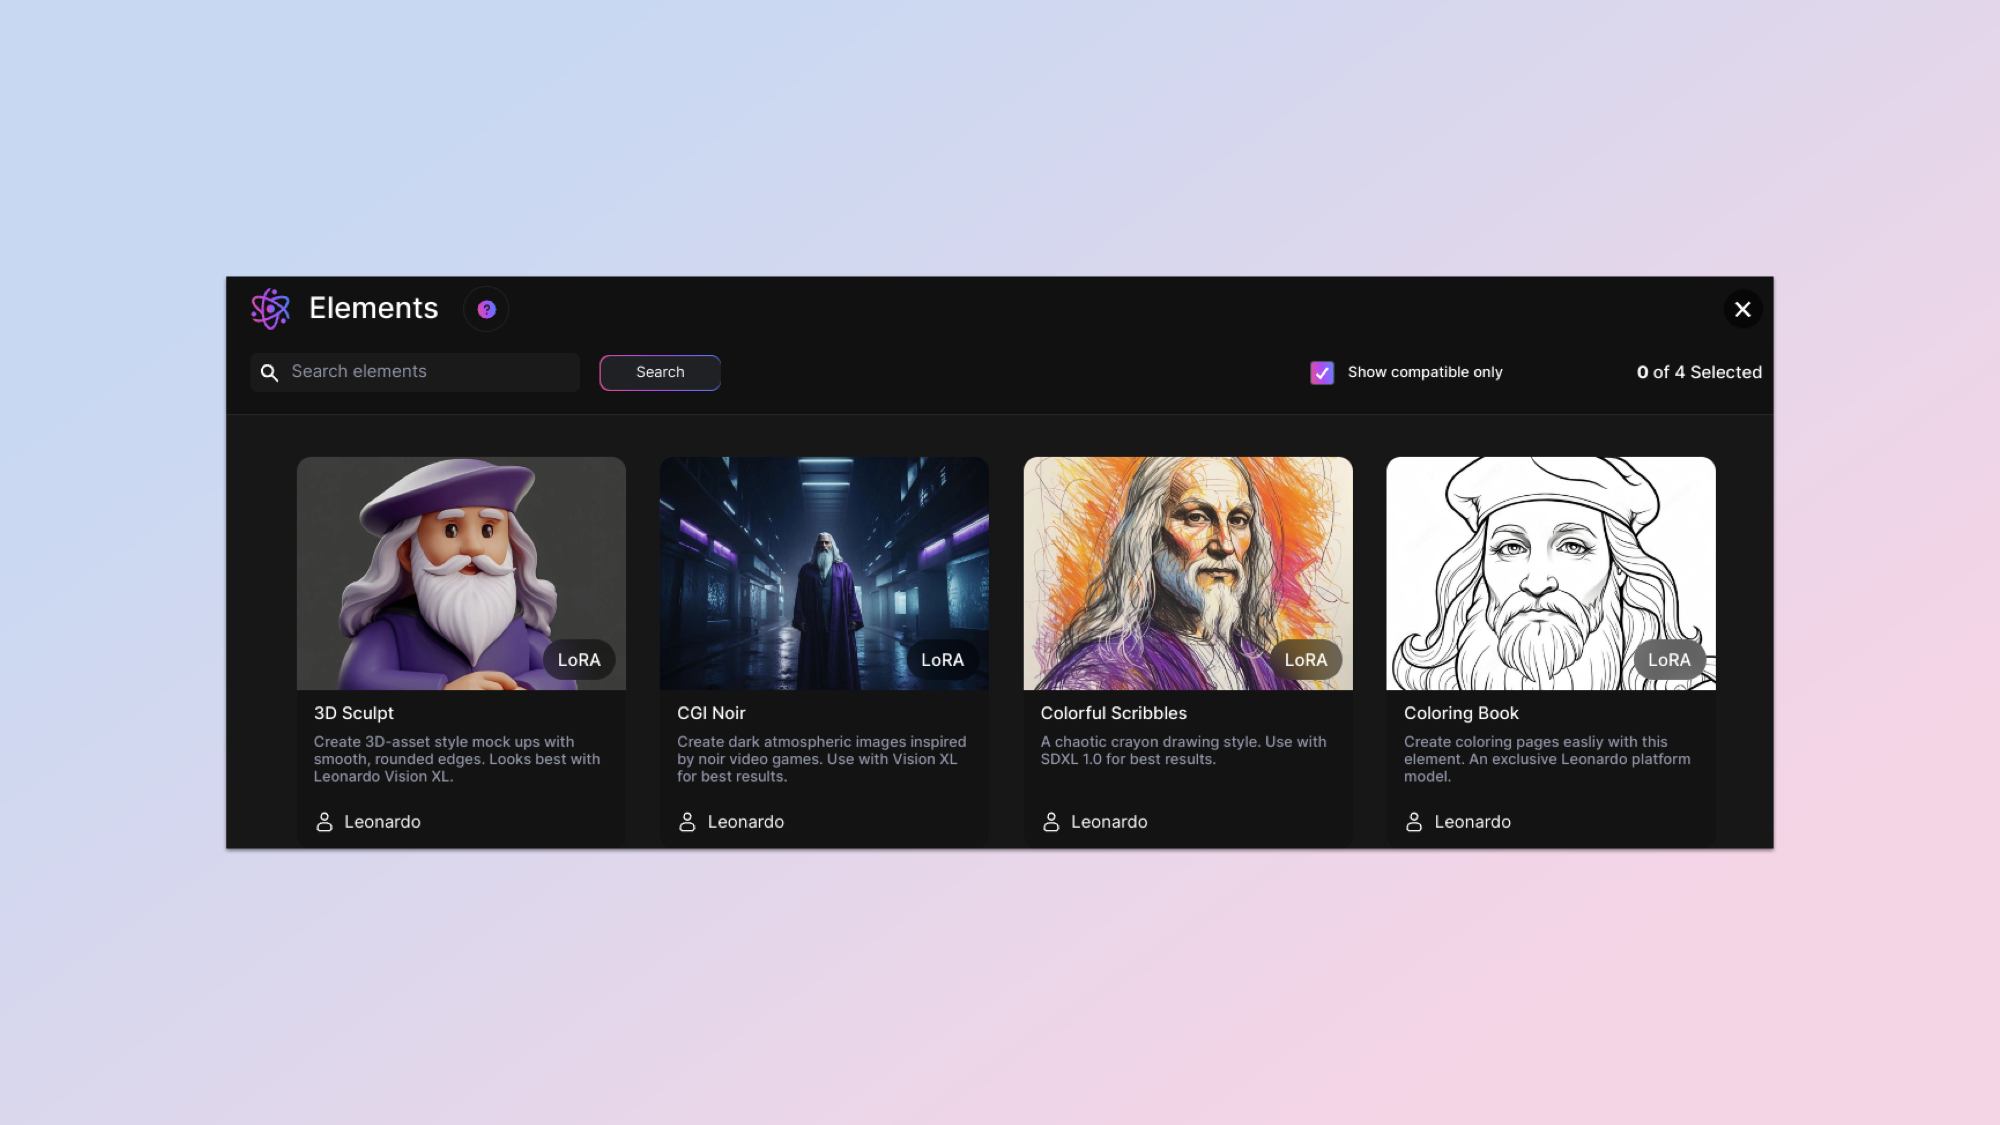
Elements are a mix of styles and filters that allow you to add more customization to your image. It’s important to note that you can add more than one element and give each element a weighting. The higher the weighting you give an element, the stronger its influence on the final product will be. Remember that the elements that can be used with a finetuned model depend on its base model.
8. Add a negative prompt
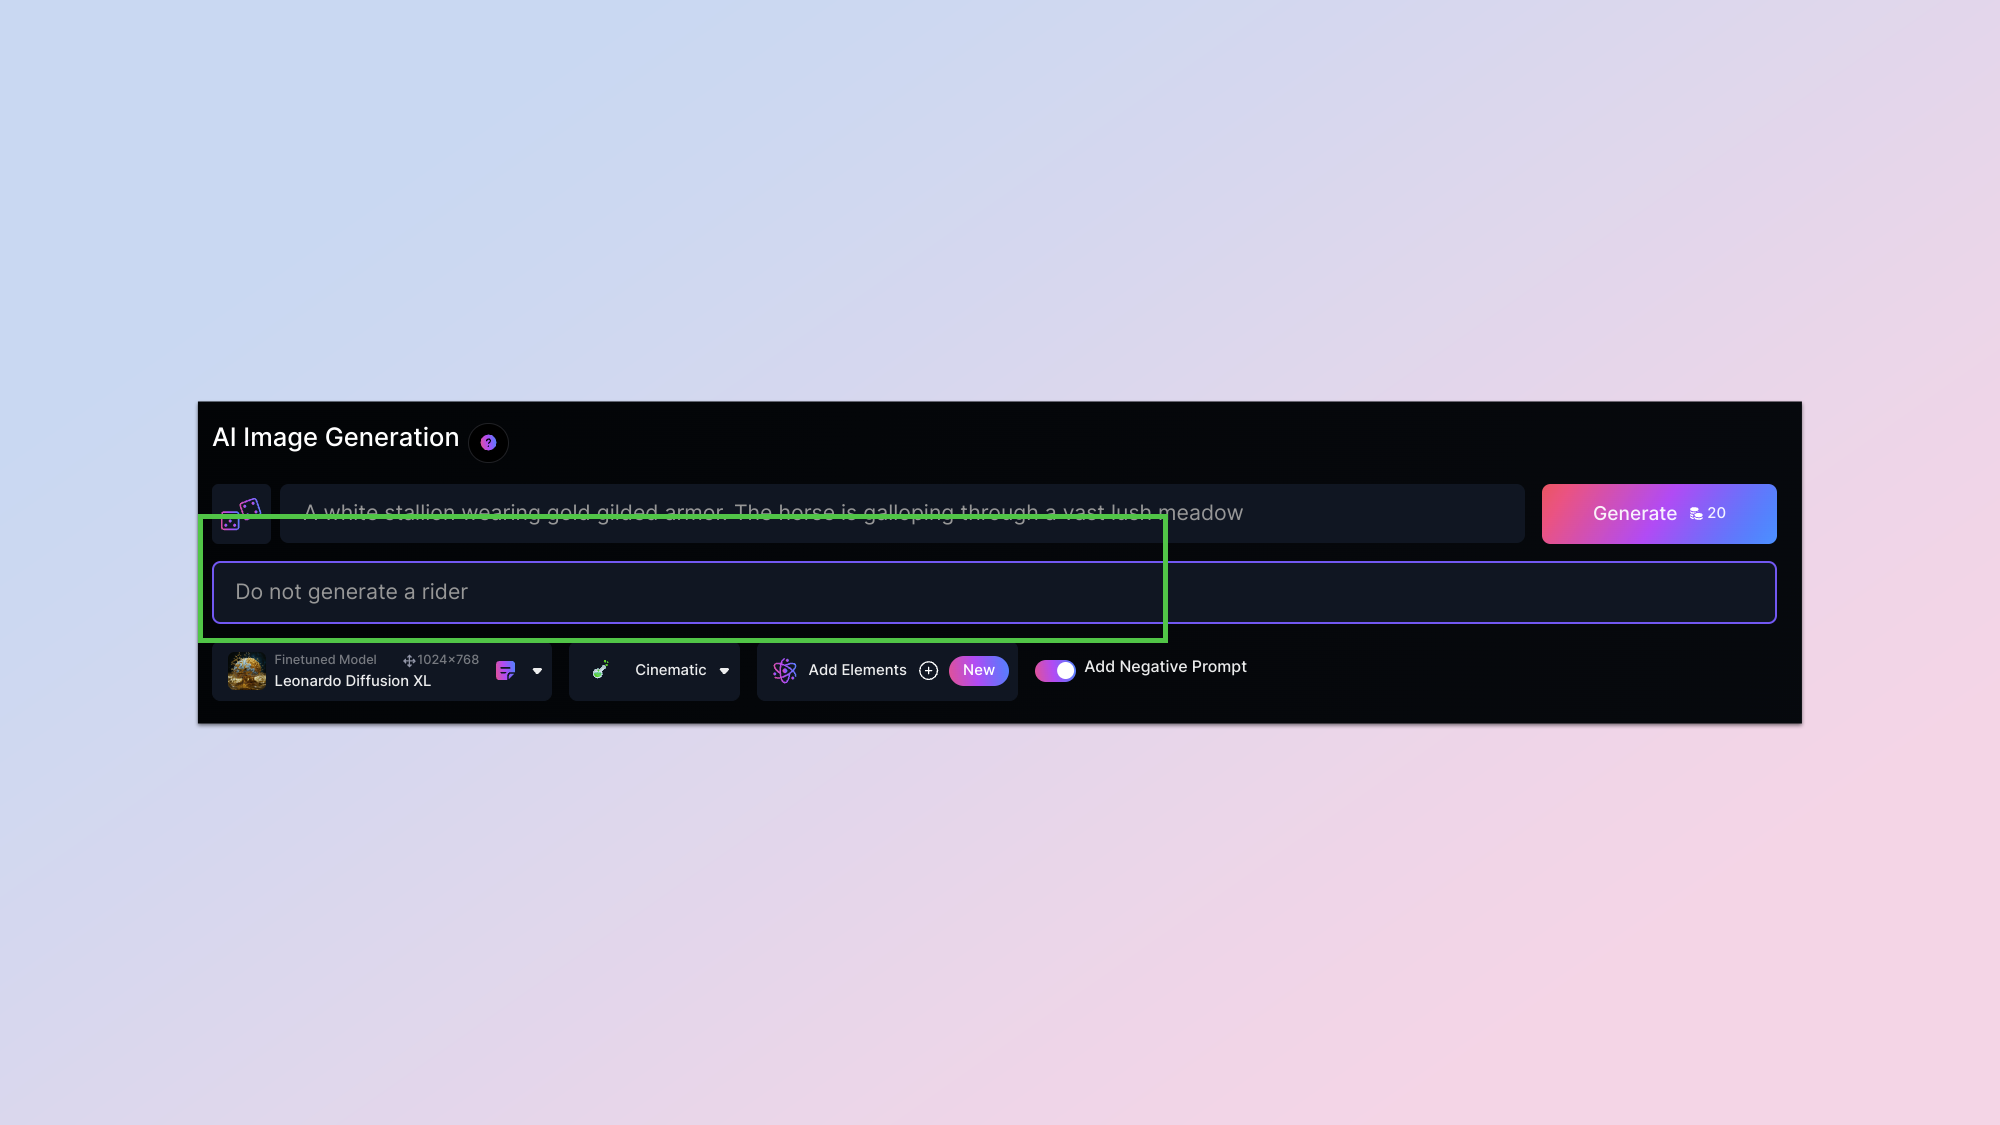
If there’s something you specifically don’t want to see generated in your final render, toggle the negative prompt button and type it in.
9. Generate your AI image
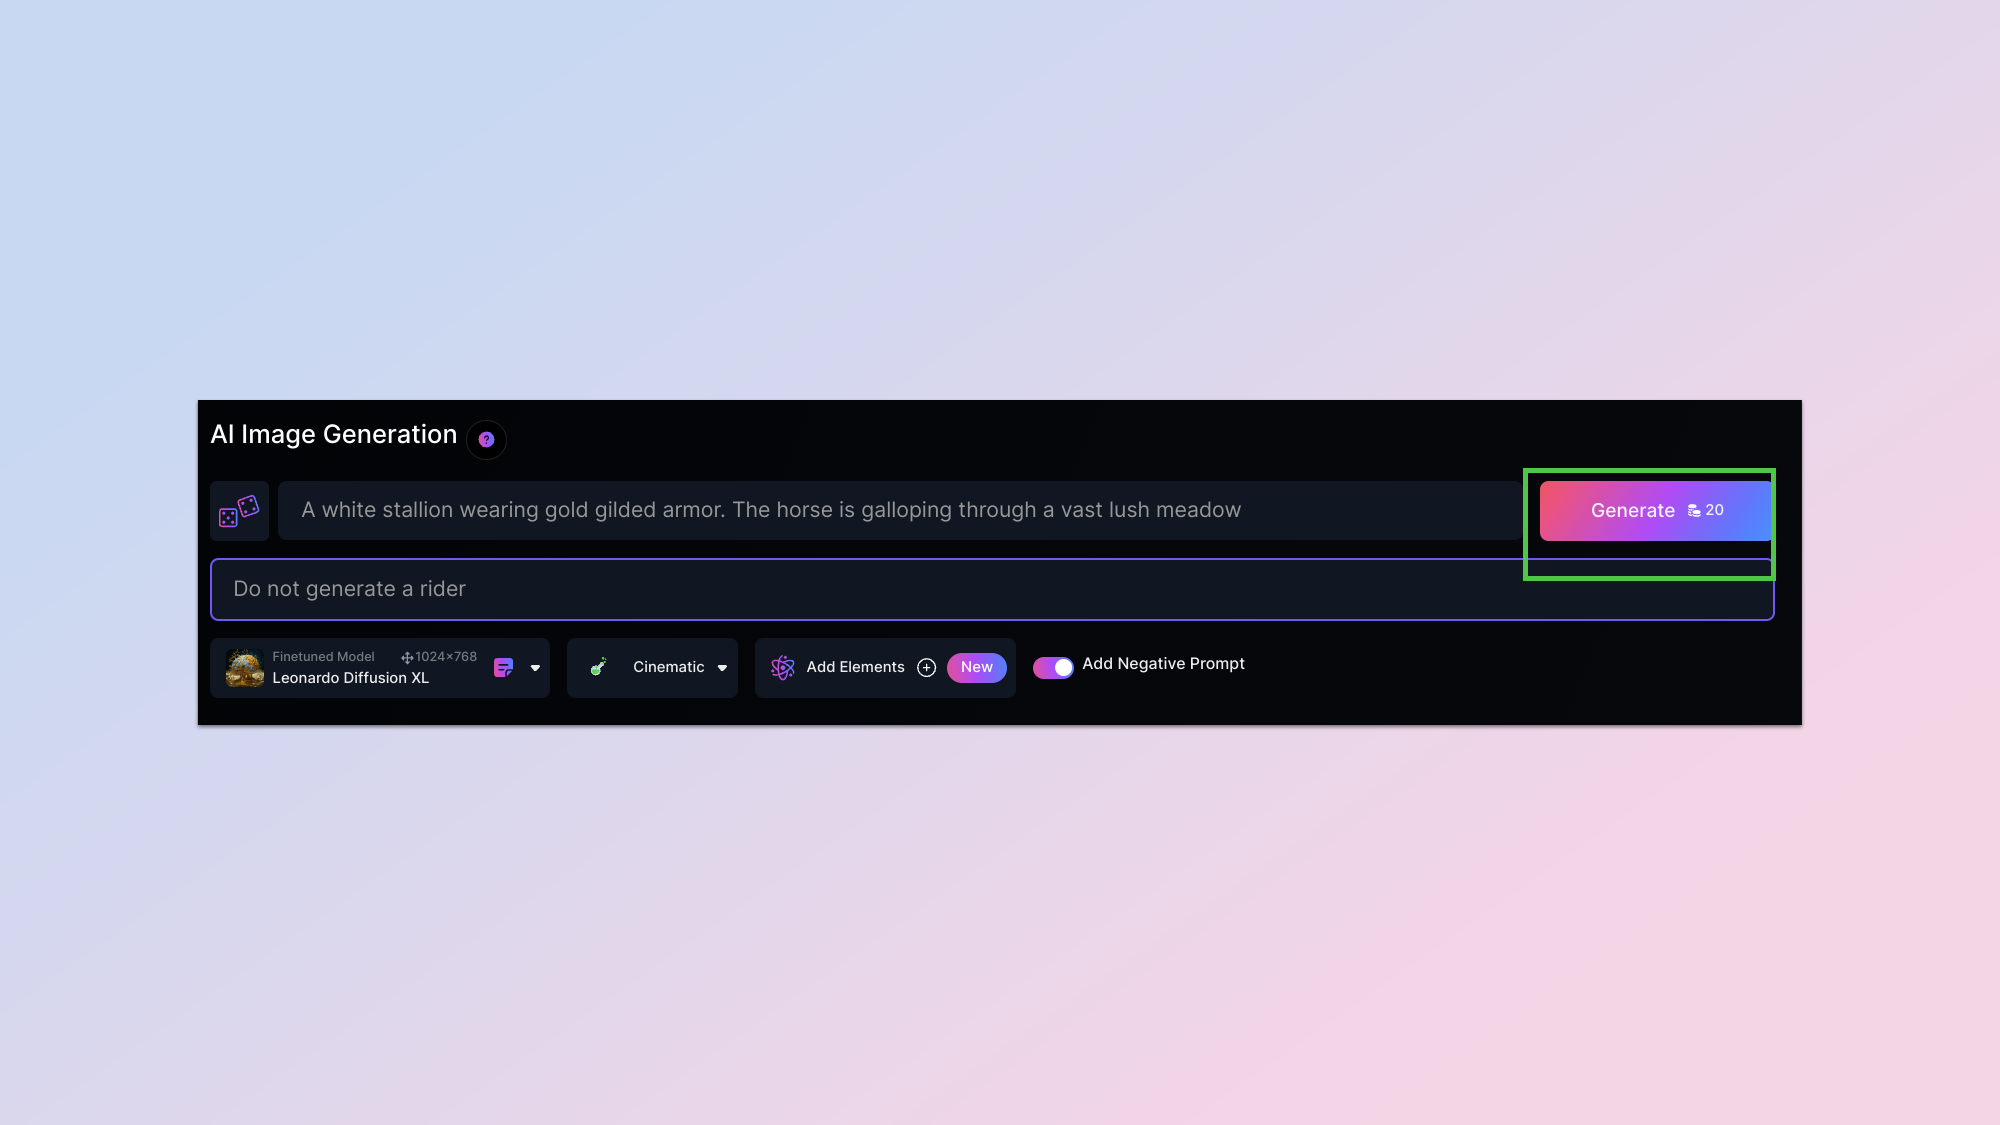
Once you’re happy with your prompt and all the different customizations, it’s time for the moment of truth. Click on generate to let Leonardo do its thing.
10. Download your creation
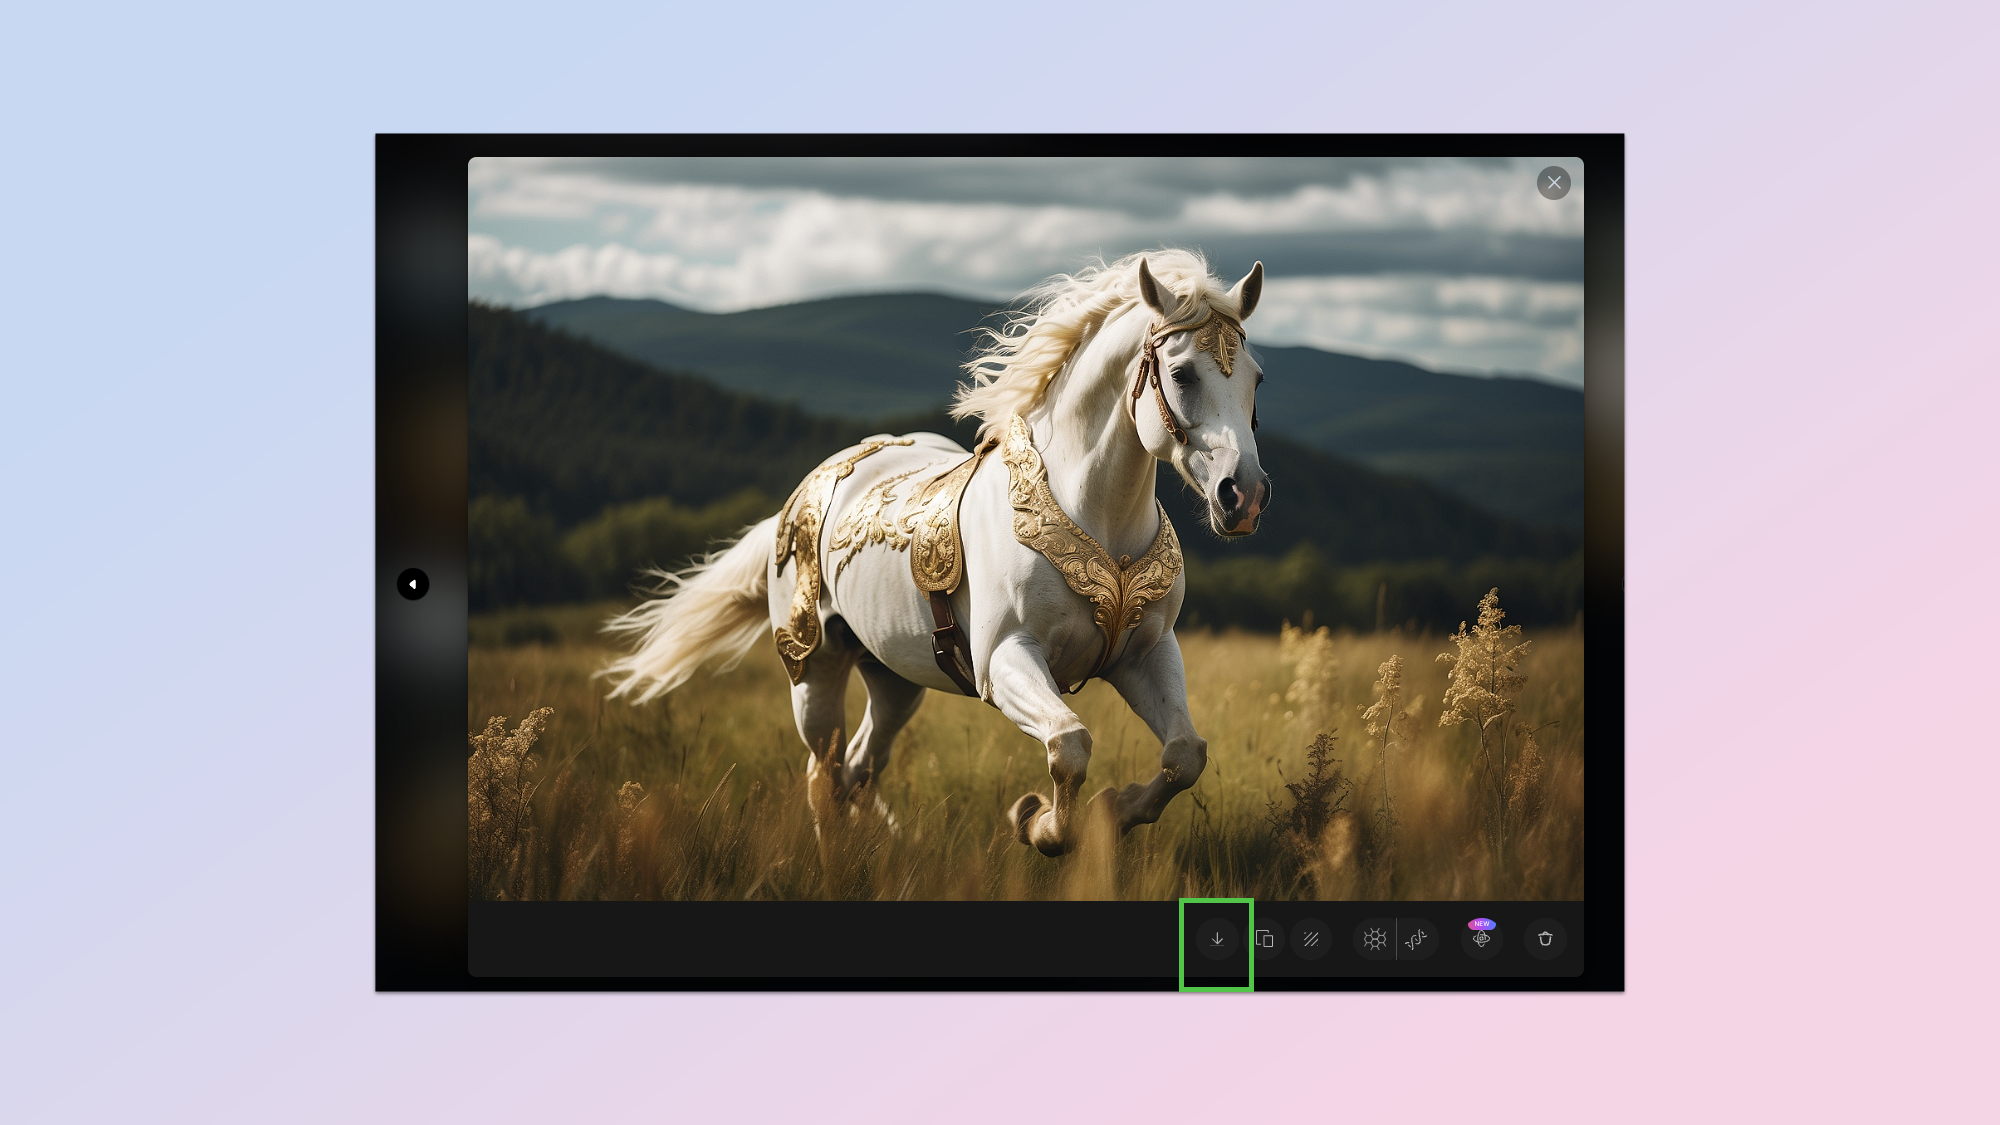
You’ll be given a selection of photos to choose from generated based off your prompt. Click on the one you want to save and click on the download button to save the image to your device.


