
These days, an abundance of space is a luxury most of us cannot afford. So while we already struggle to fit all of our everyday pieces of furniture and belongings into our interiors, a holiday like Christmas presents a new challenge – how to squeeze a Christmas tree into a small and already full space. But with our guide on how to make a space-saving Christmas tree, that won’t be an issue anymore.
Don’t get us wrong, we love a traditional, free-standing tree, whether it's a real one or one of the best artificial Christmas trees on the market. The issue is that the struggle to find space for it is real. And we’re clearly not alone in this as space-saving Christmas trees are one of the recurring Christmas tree trends year after year.
‘Popular styles and features you can expect to see this season include a good choice of space-saving trees as more people seek to maximise their living areas,’ says Danielle Le Vaillant, head of photography and film at Cox & Cox. ‘These trees fit well into flats, corners, or smaller rooms without sacrificing height.’
But while investing in a ready-made wall Christmas tree idea is certainly an option, you can also turn this into an easy DIY project by crafting one of these trees yourself. We promise it’s not difficult!
How to make a space-saving Christmas tree
‘Wall Christmas trees are perfect for small spaces or adding a festive accent without taking up floor space,’ confirms Sam Sutherland, Flitch interior stylist.
And these are all the tools and materials you’ll need to get and gather to make your very own alternative Christmas tree idea a reality.

What you'll need
- Staple gun like this one at Amazon
- Garden secateurs like these from Amazon
- A hand saw like this Spear & Jackson Wood Saw at B&Q
- Wood or foraged branches if going for a more rustic look
- Real or faux foliage according to preference
- Command hanging strips from Amazon or gardeners’ twine if you want to tie the branches or pieces of wood together
- String lights like these Star Micro Fairy Lights from Lights4Fun for decorating
- Christmas tree decorations of your choice
1. Saw the wood
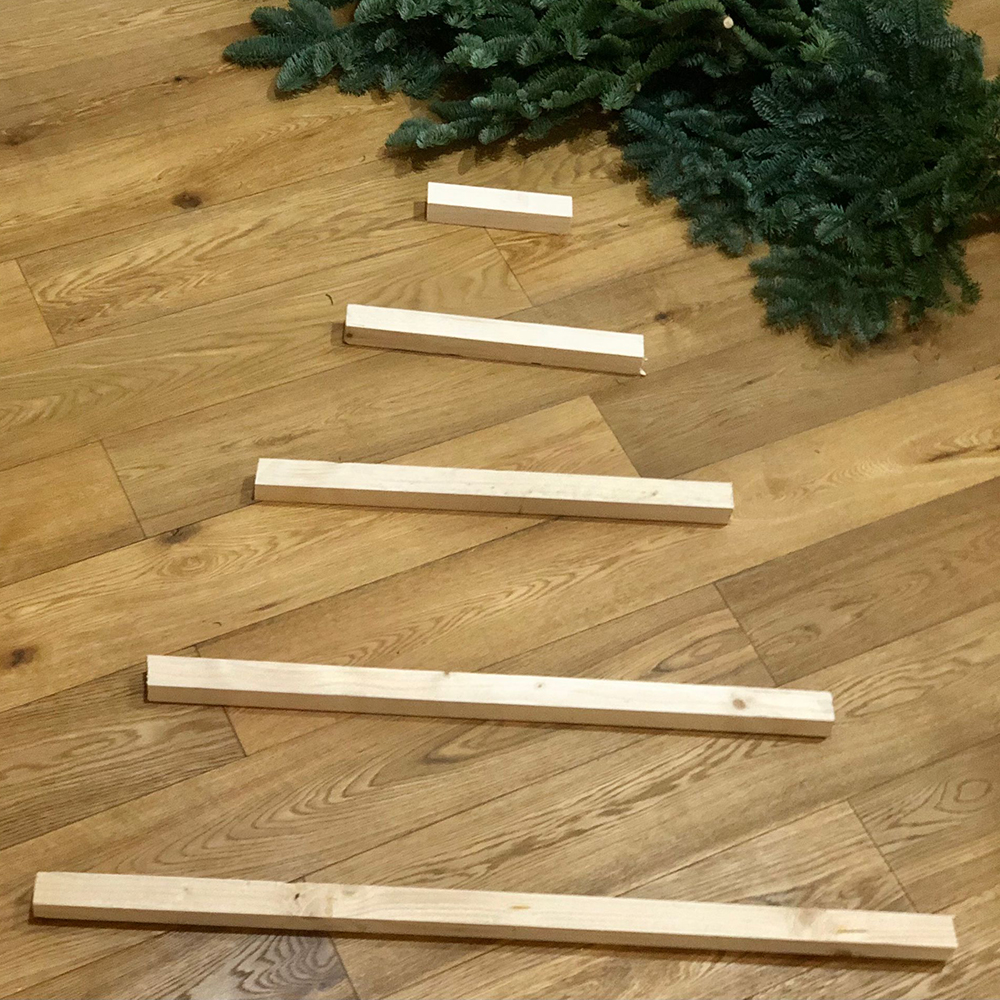
'Use a saw to cut the wood into five pieces,' starts Mark Rofe, owner of christmastrees.co.uk. 'These should measure 1m, 80cm, 60cm, 40cm and 20cm in length.' The team at christmastrees.co.uk used pinewood battens measuring 6cm in width.
But if you're after a more rustic look, you can also use foraged branches. 'For a rustic, Scandi look, forage for small branches of different lengths,' says Rachel Fearnley of Rachel Fearnley Designs. 'Lay these on the floor with the largest one at the bottom and then incrementally work up to create a tree shape. Once happy with the shape, space out the branches so there is a gap between them.'
2. Attach Command Strips
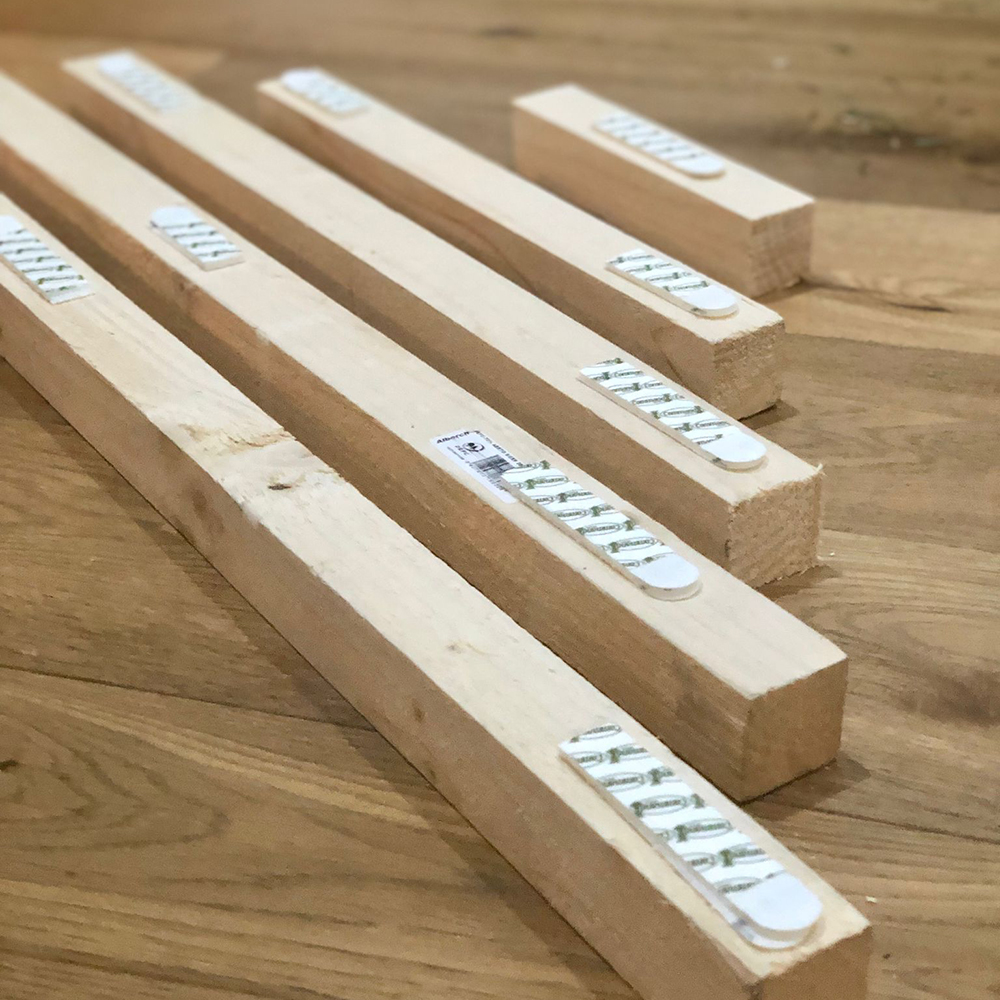
Attach the Command Strips to one side of the wooden battens. 'Don't peel off the paper from the side that will be added to the wall at this stage,' Mark says.
The two longer pieces of wood will require six pairs of Command strips each. 'We’ve used two multi-packs, each containing eight pairs of large and four pairs of medium strips.'
Alternatively, you can create a hanging design without fixing each batten to the wall. Instead, you'll need to tie the pieces of wood together with twine. 'Using long lengths of gardener’s twine tie the branches together, ensuring there is a gap between each one. Do this on both sides of the wall tree. Remember to leave sufficient twine at the top to hang the tree up from a hook on the wall,' Rachel explains.
But you can also use Command Hooks, available at Amazon, for this – so no holes are necessary.
3. Cut the foliage
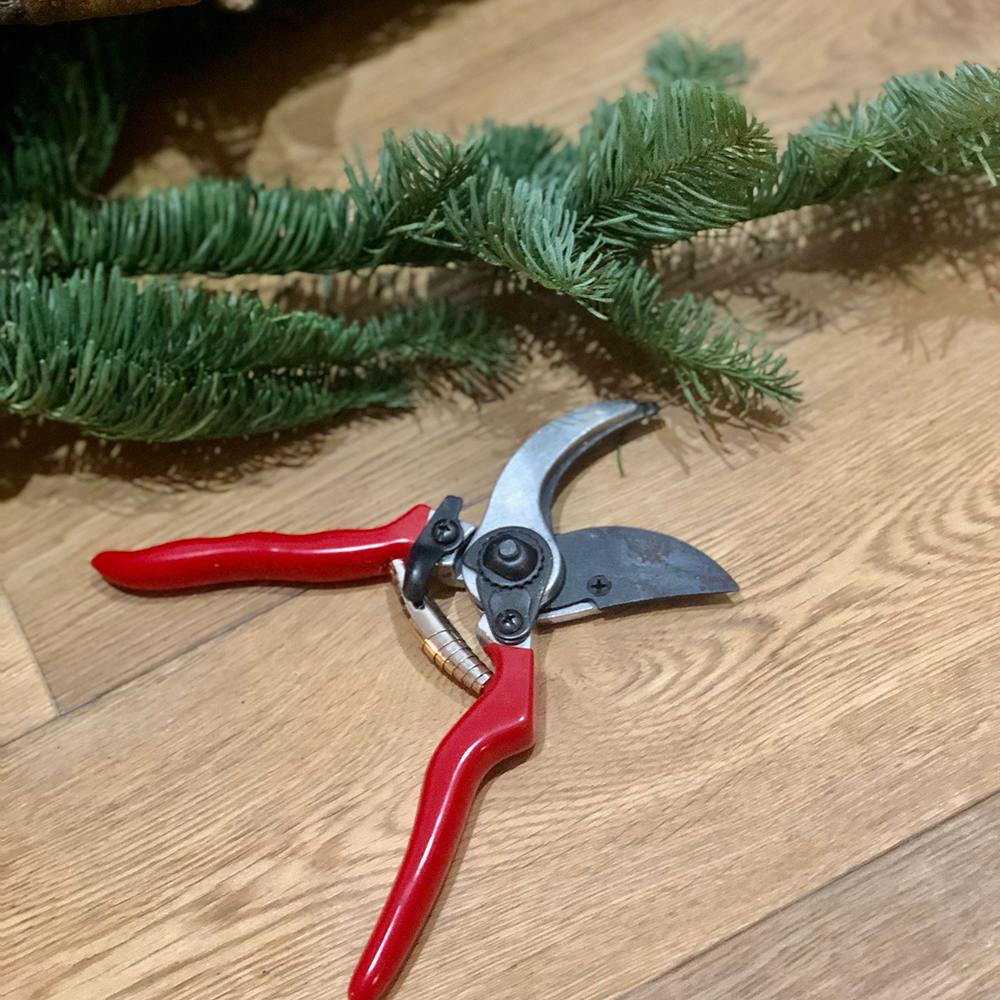
Use the shears to cut the foliage from the branches into smaller pieces.
'We’ve used noble fir foliage, which you can usually find from a florist. You could also use Nordmann fir, or even find an undesirable real Christmas tree and cut that up,' Mark says.
Of course, you can use faux foliage pieces, from dismantling a garland such as this green Christmas garland from Amazon. You could even use lengths of tinsel, to create a kitsch version of this Christmas tree design.
4. Staple on the foliage
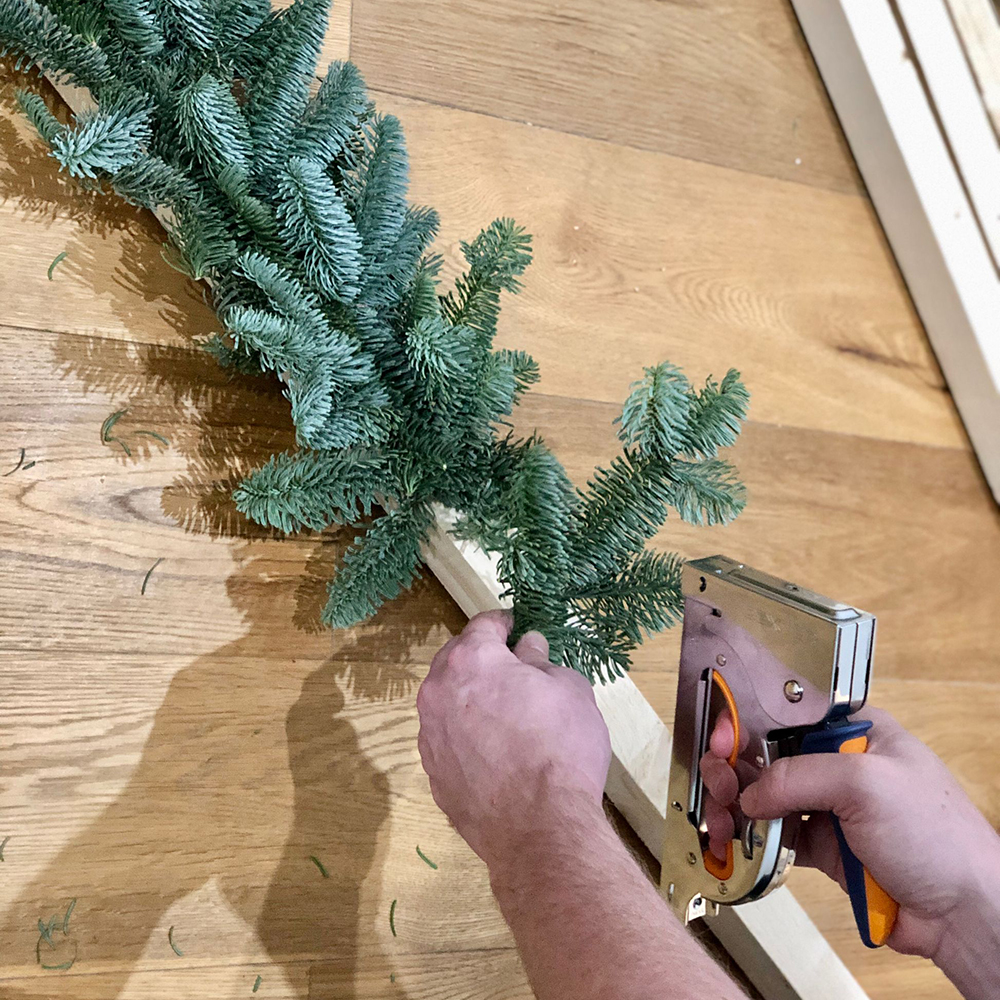
Staple the foliage onto the pieces of wood using a staple gun. Continue until it is fully covered on one side. Repeat for each piece of wood.
Alternatively, if you don't have a staple gun and don't want to invest in one, you could again use gardeners' twine to attach the pieces of foliage to the wood.
6. Attach your tree to the wall

Remove the backs of the Command Strips on the reverse side of the wooden battens. Attach to the wall. Start with the largest branch at the bottom. Use a spirit level to make sure they're straight and space them out evenly. Nobody wants a wonky tree!
Or, if using twine, attach your Command Hook to the wall and tie the twine on the top of the tree into a loop to hang it on.
7. Decorate your space-saving Christmas tree
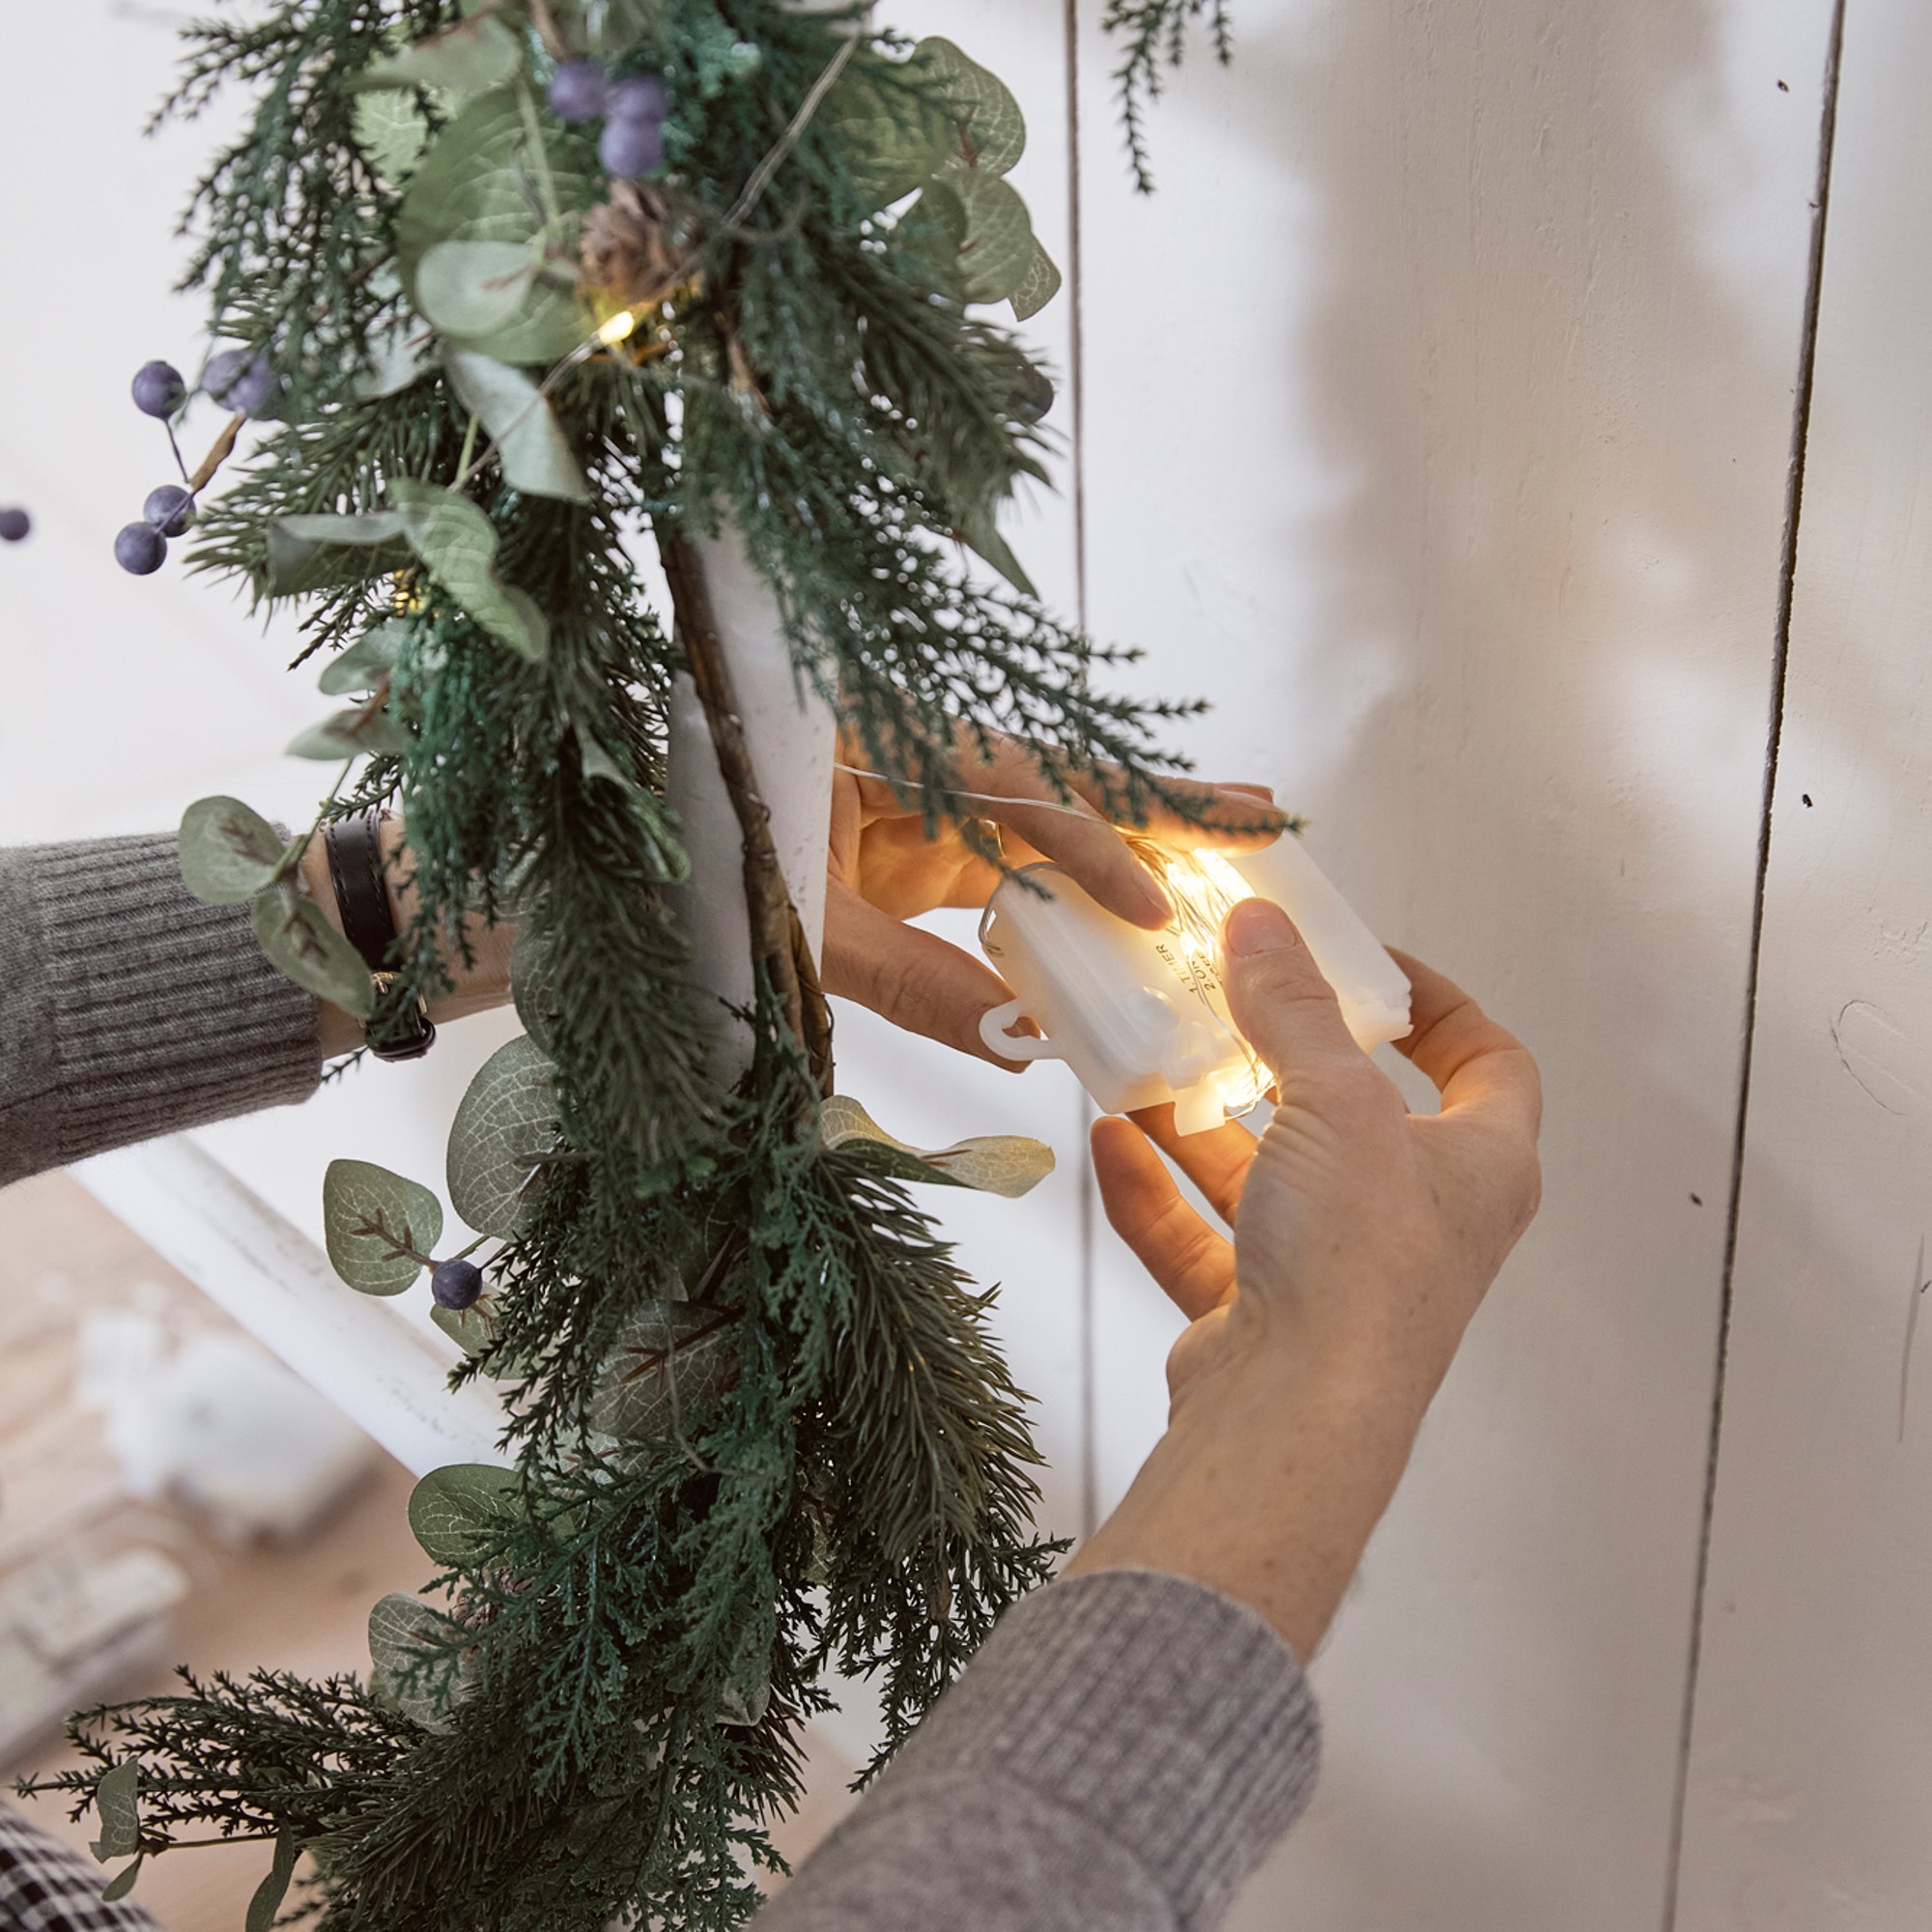
Now comes the fun part! Wind fairy lights along the branches and add fun hanging decorations from the branches. If they're handmade, then even better!
'The great thing about the space saving tree is that you can make it using foliage from an undesired Christmas tree, one that is wonky, unsymmetrical, that has gaps, or is otherwise considered "ugly" and transform it into a beautiful wall mounted tree,' Mark concludes.

Now, were we wrong about this being easy? Not to mention fun!


