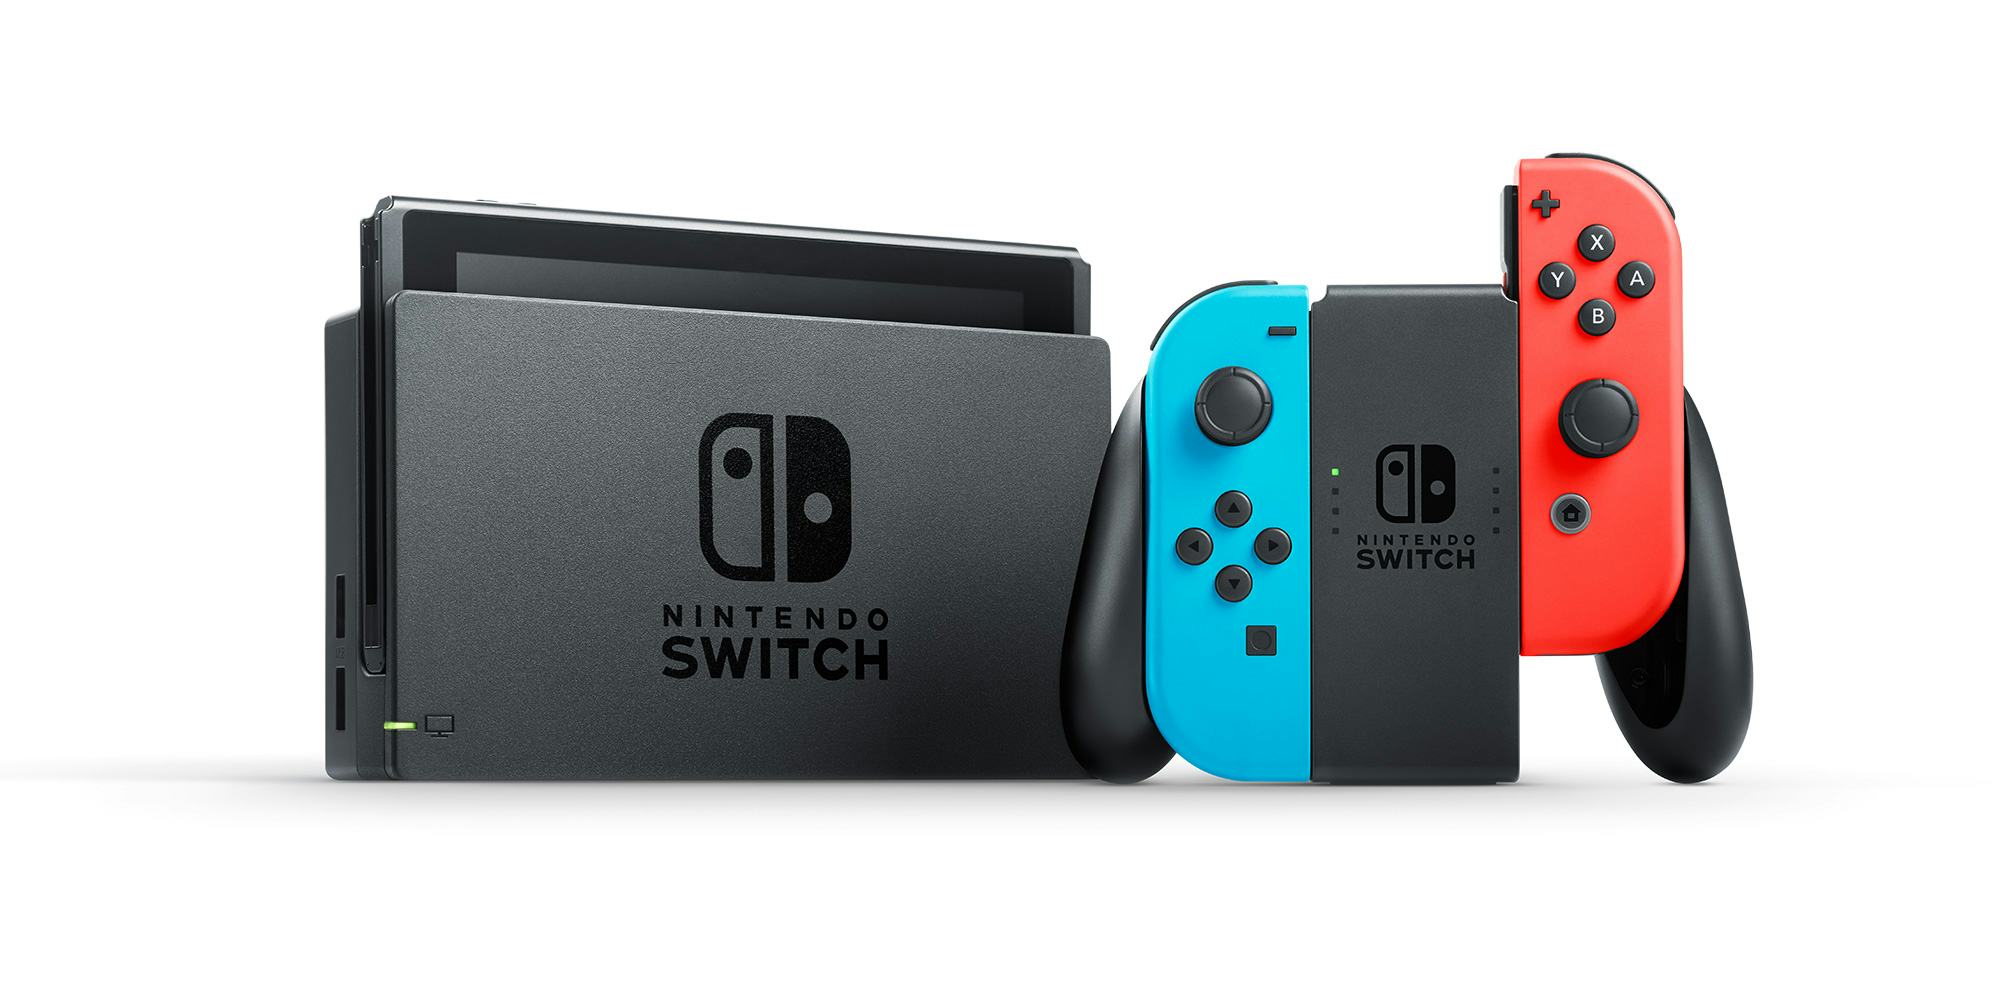
Everyone loves the Nintendo Switch. In five short years, the console has risen to the top of wishlists worldwide. Having already sold more than 103 million units, the console has dwarfed the Xbox One’s 49 million sales as reported in 2019, despite Microsoft’s three-year headstart. But even though it’s the hottest console in the land, you might not be getting everything you can out of your Switch.
The console’s digital sales platform, the eShop, features different content in every country, especially Japan. Want to get in on some Japan-only action? It only takes five minutes and ten easy steps!

How do you access the Japanese Nintendo eShop?
- Head to Nintendo’s account-making website.
- Fill in most information as asked. When you reach the “Country” option, select Japan as your place of origin. Also, if you don’t have an email to spare, use a temporary email generator like this one. Alternatively, if you’re on Gmail, just use the + symbol to create an alias of your regular email account (email+X@gmail.com). Nintendo will send a verification email to the address provided, which is required for accessing the account, so make sure you can receive that email.
- With your account established, head back to your Nintendo Switch. Go to your System Settings, as denoted by the cog icon on the main menu.
- Once there, go to the “users” tab and create a new user. I’d recommend labeling this with something to denote the country. Perhaps use your original user name with a “JP” suffix to remember it’s a Japanese account.
- Your Switch will prompt you to link a Nintendo Online account with your new user profile created. Say yes and enter the log-in information you made during Step 1.
- You’ve gotten past the big parts! Your Nintendo Switch now believes you’re a Japanese citizen, hanging out in your favorite Shinjuku cafe! Return to your main menu and select the Nintendo eShop icon that looks like an orange handbag.
- Once you click on it, you’ll face a few menus — click every box and then hit the corresponding button.
- Your last task will be to re-enter the password and email you created in Step 1.
- Now you’re in the eShop! You can download any game you’d like in Japanese. There will be three sections on your left: ‘New,’ ‘Coming Soon,’ and ‘Redeem Code.’
- When you click on a game, the option to purchase or download a demo can be found on the right side of the page. The top option will be to purchase, and the bottom will let you download the demo.
- Viola!

That was technically only ten steps, but you might need a little time to indulge in a Mario-style fist-pump of triumph! If you do decide to plonk down some cash for region-locked games, you won’t be able to use non-Japanese credit cards. Fortunately, there’s a pretty easy – though not instantaneous – workaround.
How do you add money to your Japanese Nintendo eShop account?
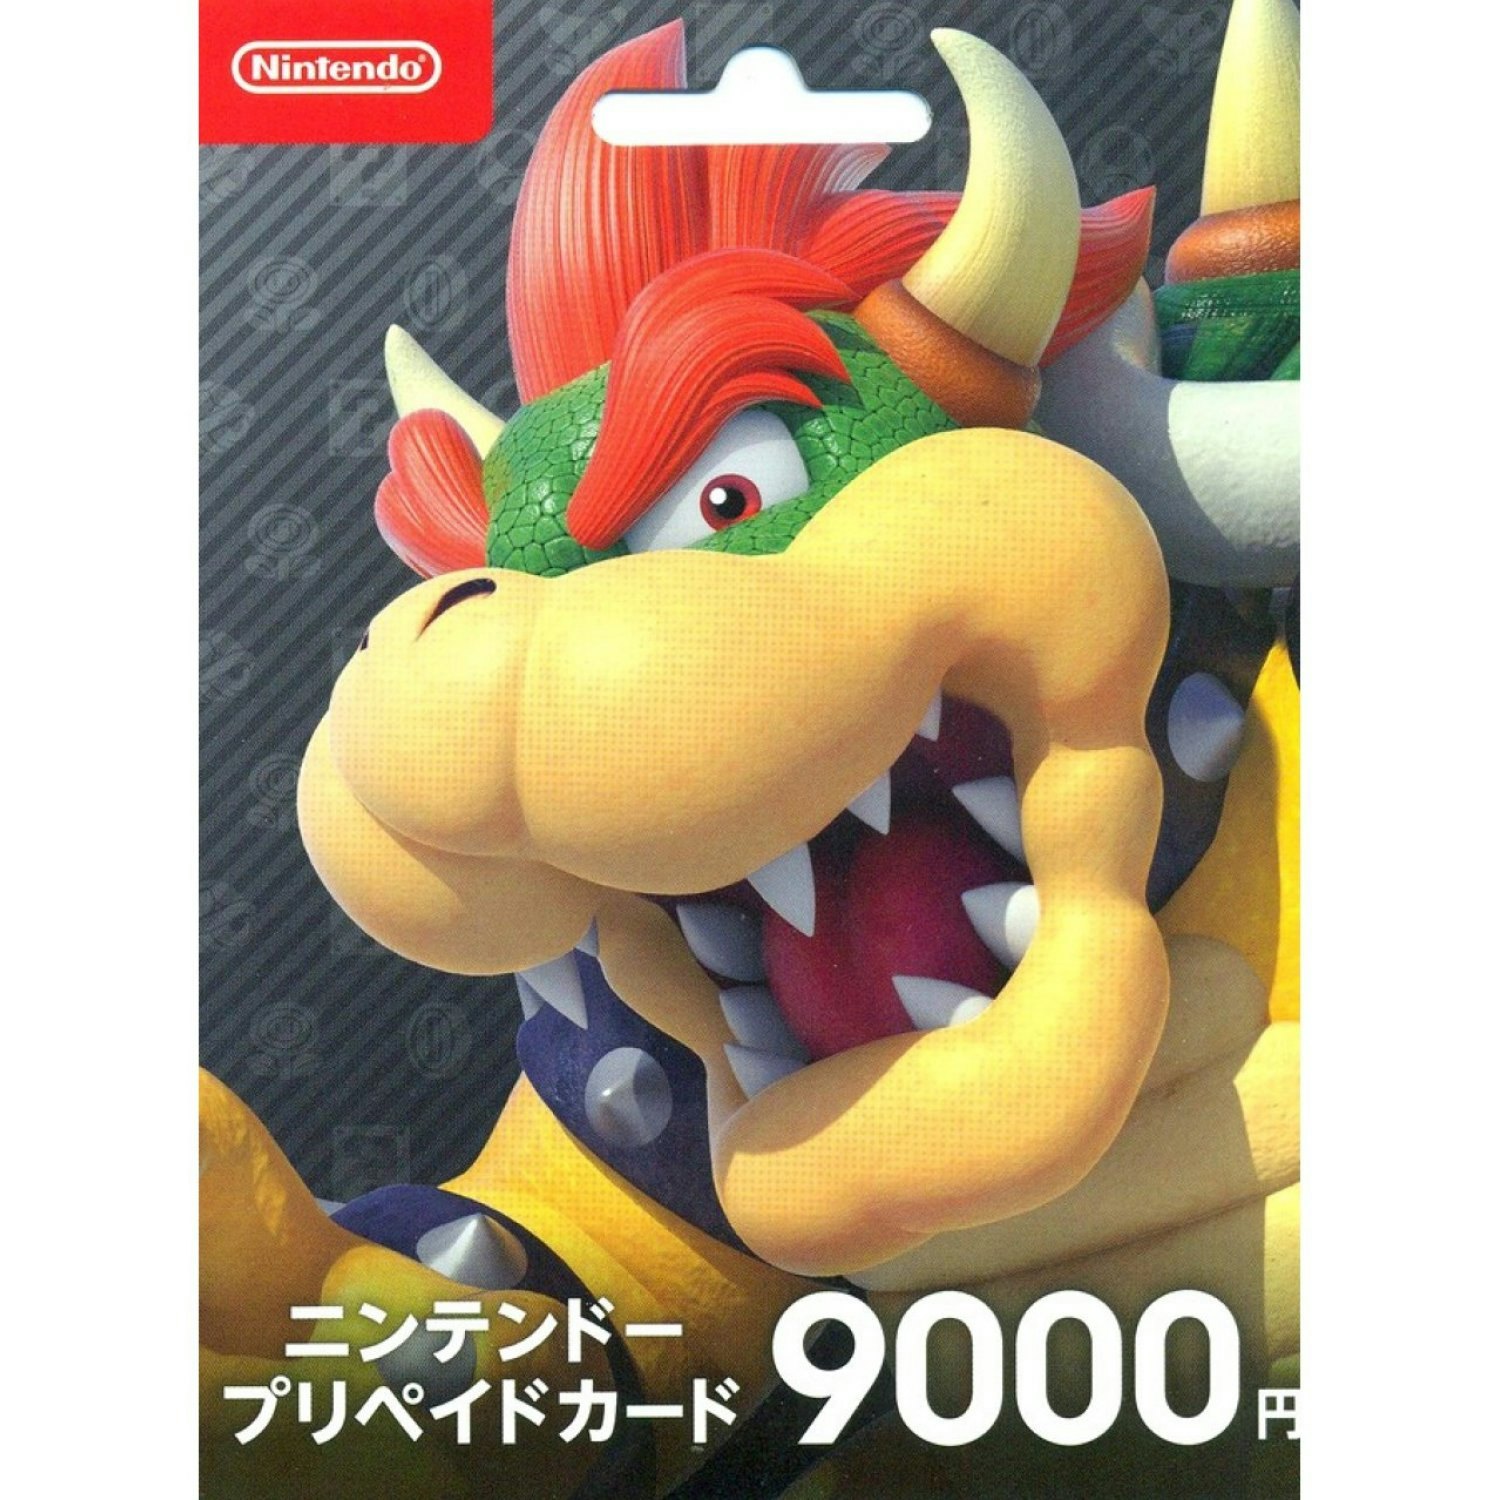
Sorry Yankee, your American cash is a no-go in the Japanese eShop. You’ll need to purchase a Japanese eShop card if you’d like to buy anything from the store. (We suggest buying one from PlayAsia, which has low import costs, providing a code at a pretty reasonable exchange rate.)
Once you have the code, head to the Japanese eShop’s lowermost option on the right side of the store menu to redeem your newly minted currency! Perhaps you can purchase the latest Persona title?


