This DIY coffee table started off as an experiment to see how accessible I could make the process. As a DIY blogger, I know woodwork puts people off for being too labour-intensive, and because it can require tools they don't always have.
My aim as an interior stylist is to make home styling easy to do with budget-friendly and creative DIY projects. I put my thinking cap on for a DIY coffee table surrounded by Amazon packaging, and had a lightbulb moment.
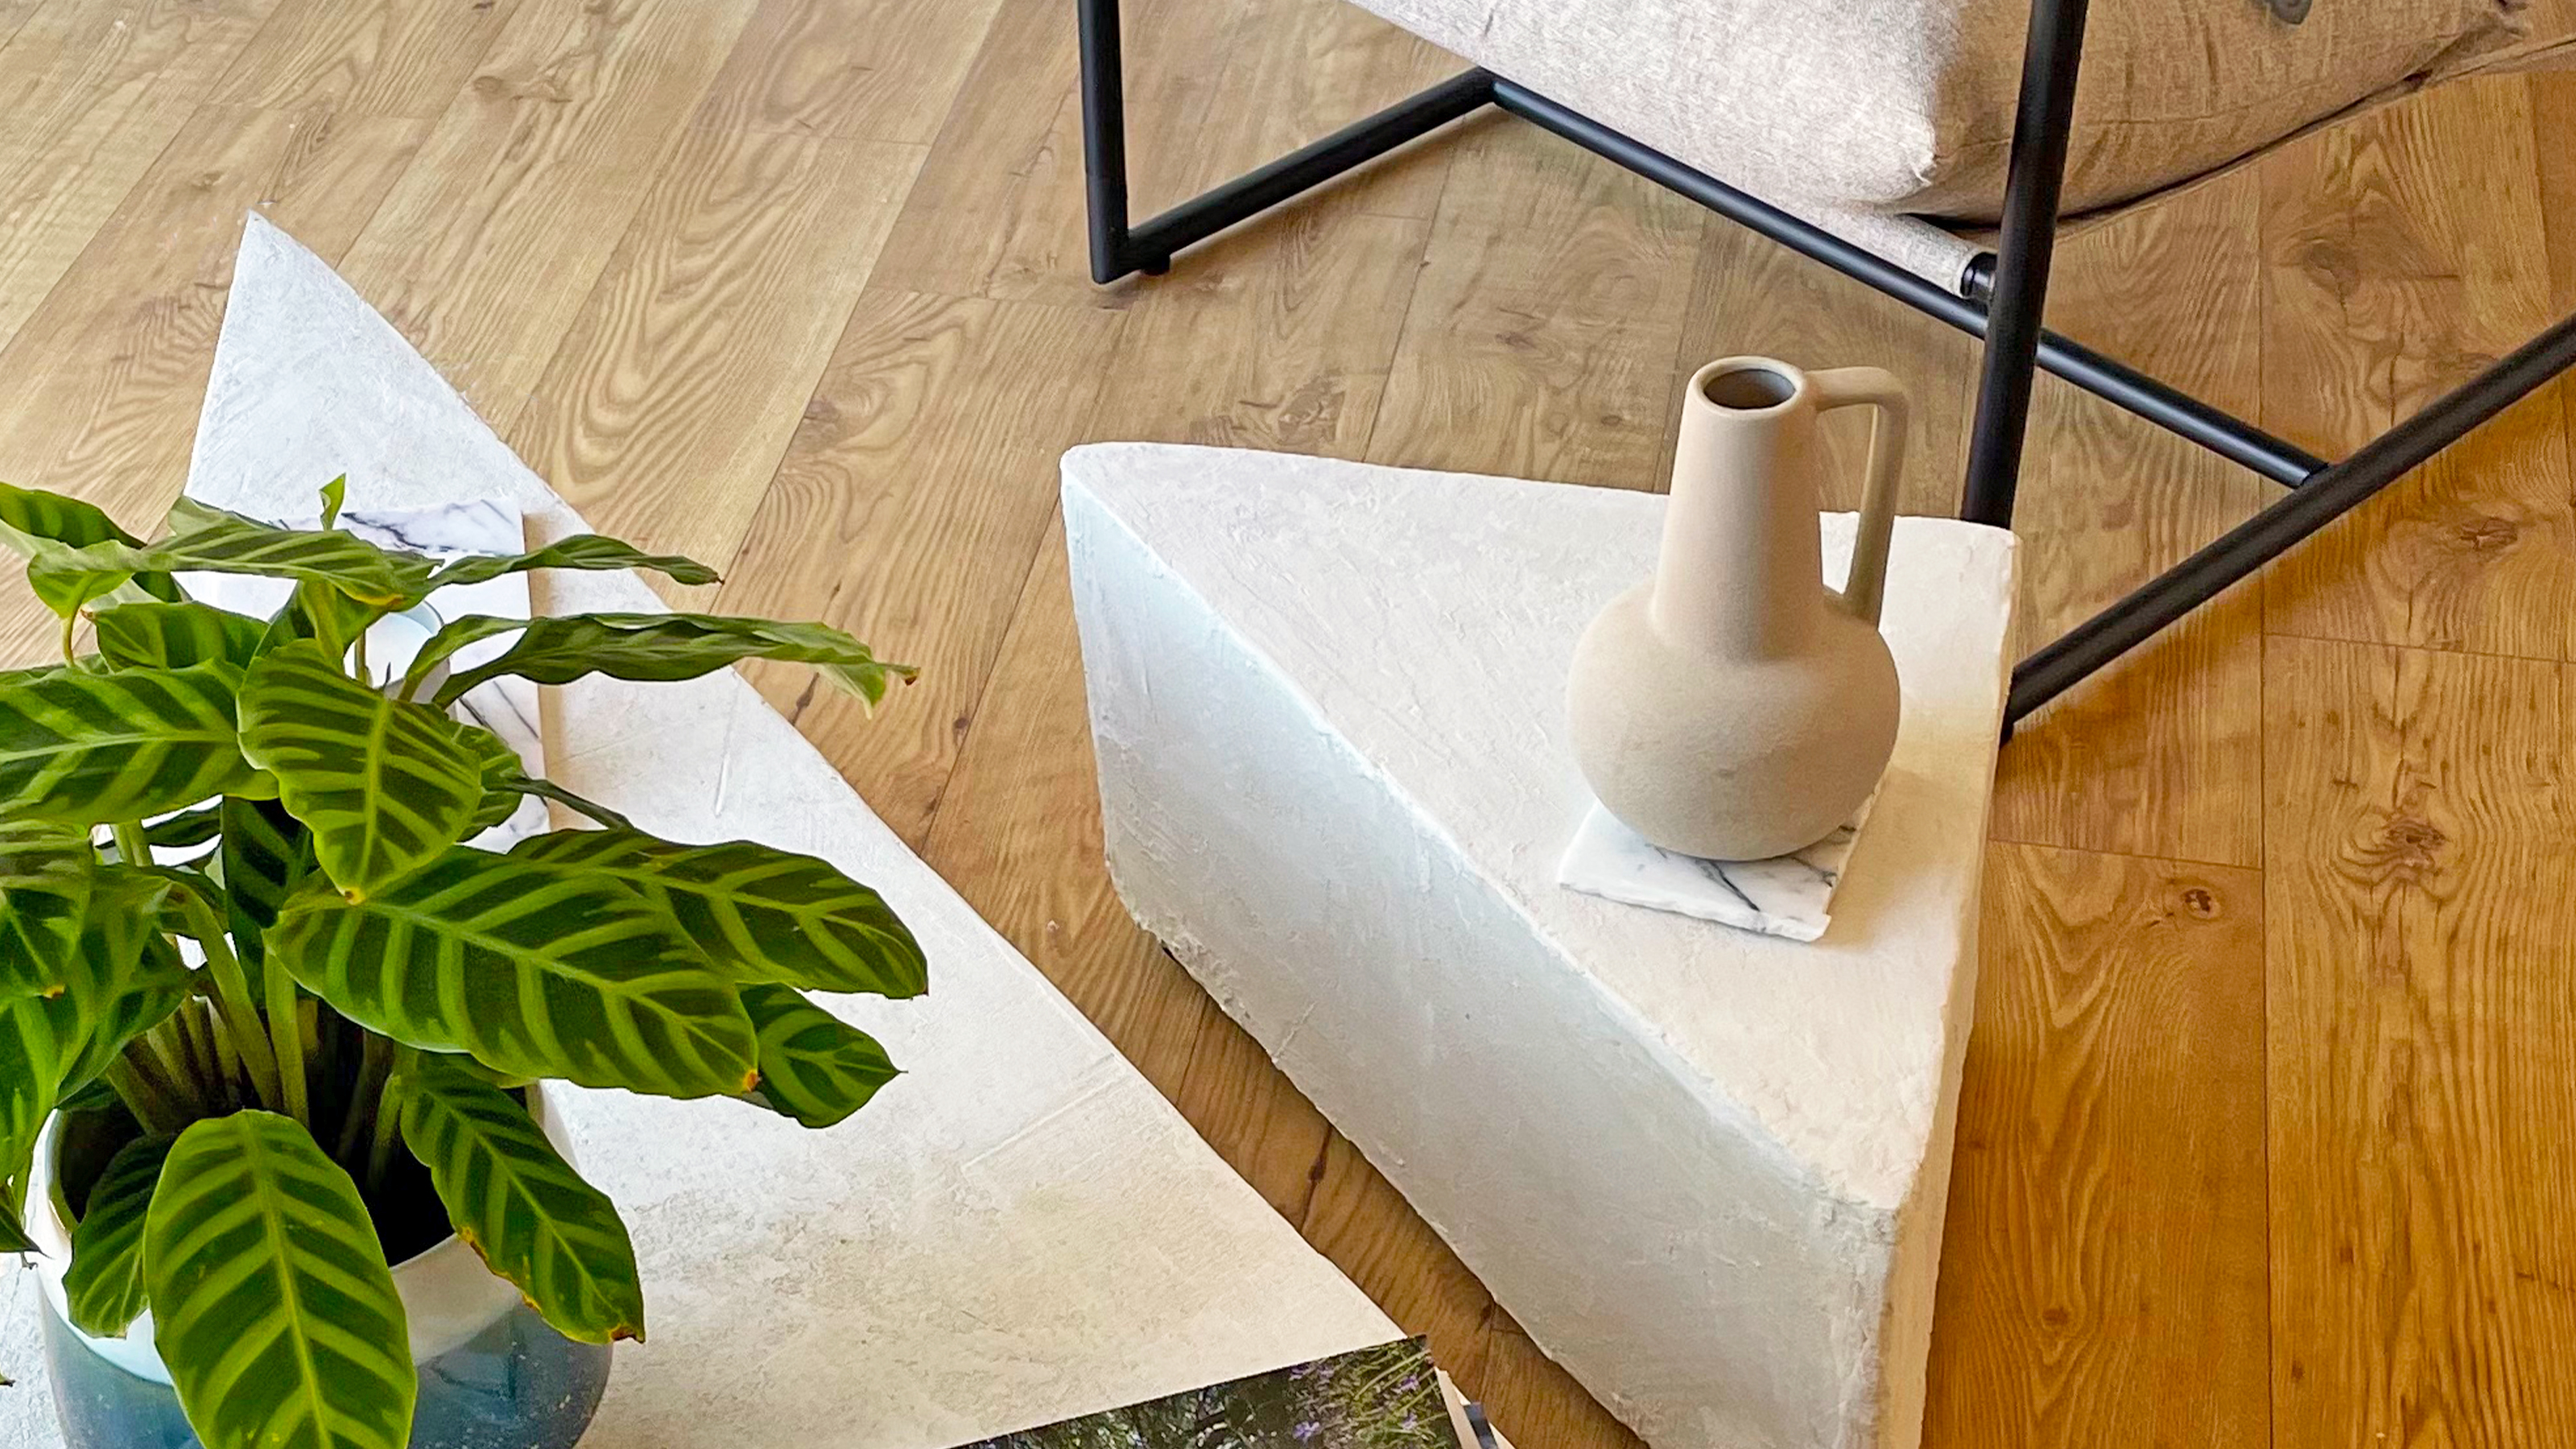
I made a DIY simple coffee table with cardboard and the result is fabulous. As with most DIY project ideas, you can adapt this creative coffee table to suit your space and interior style. The size, shape, and colours can be customized, ensuring the final article is functional as well as aesthetically pleasing. Plus, the recycled materials makes it super sustainable and good for the planet.
Tutorial: DIY coffee table that packs punch
Small living room DIY project ideas can still pack a design punch so I focused on ways to make a style statement with this DIY simple coffee table.
Whilst cardboard isn’t the obvious material for a DIY coffee table as it lacks strength in single sheets, when several layers thick, it's brilliantly study, which is why I planned multilayered structure for my DIY table.
As it turns out, strong correlated cardboard is a fantastic building material because it’s easy to work with, readily available and surprisingly robust when layered up with grab adhesive in between each layer.
No self-respecting interior stylist would be happy to leave the finish as chopped-up cardboard, so out came the ready-mixed plaster (another of my favourite DIY materials), which is easy to apply and creates a fantastic concrete-style finish. The results were better than expected, and a brutalist-inspired chunky plaster DIY coffee table was born, with no timber (and very few tools) required.
To make your own, you will need:
- Cardboard: I repurposed Amazon packaging for a more sustainable approach. Be sure to source corrugated cardboard for added strength.
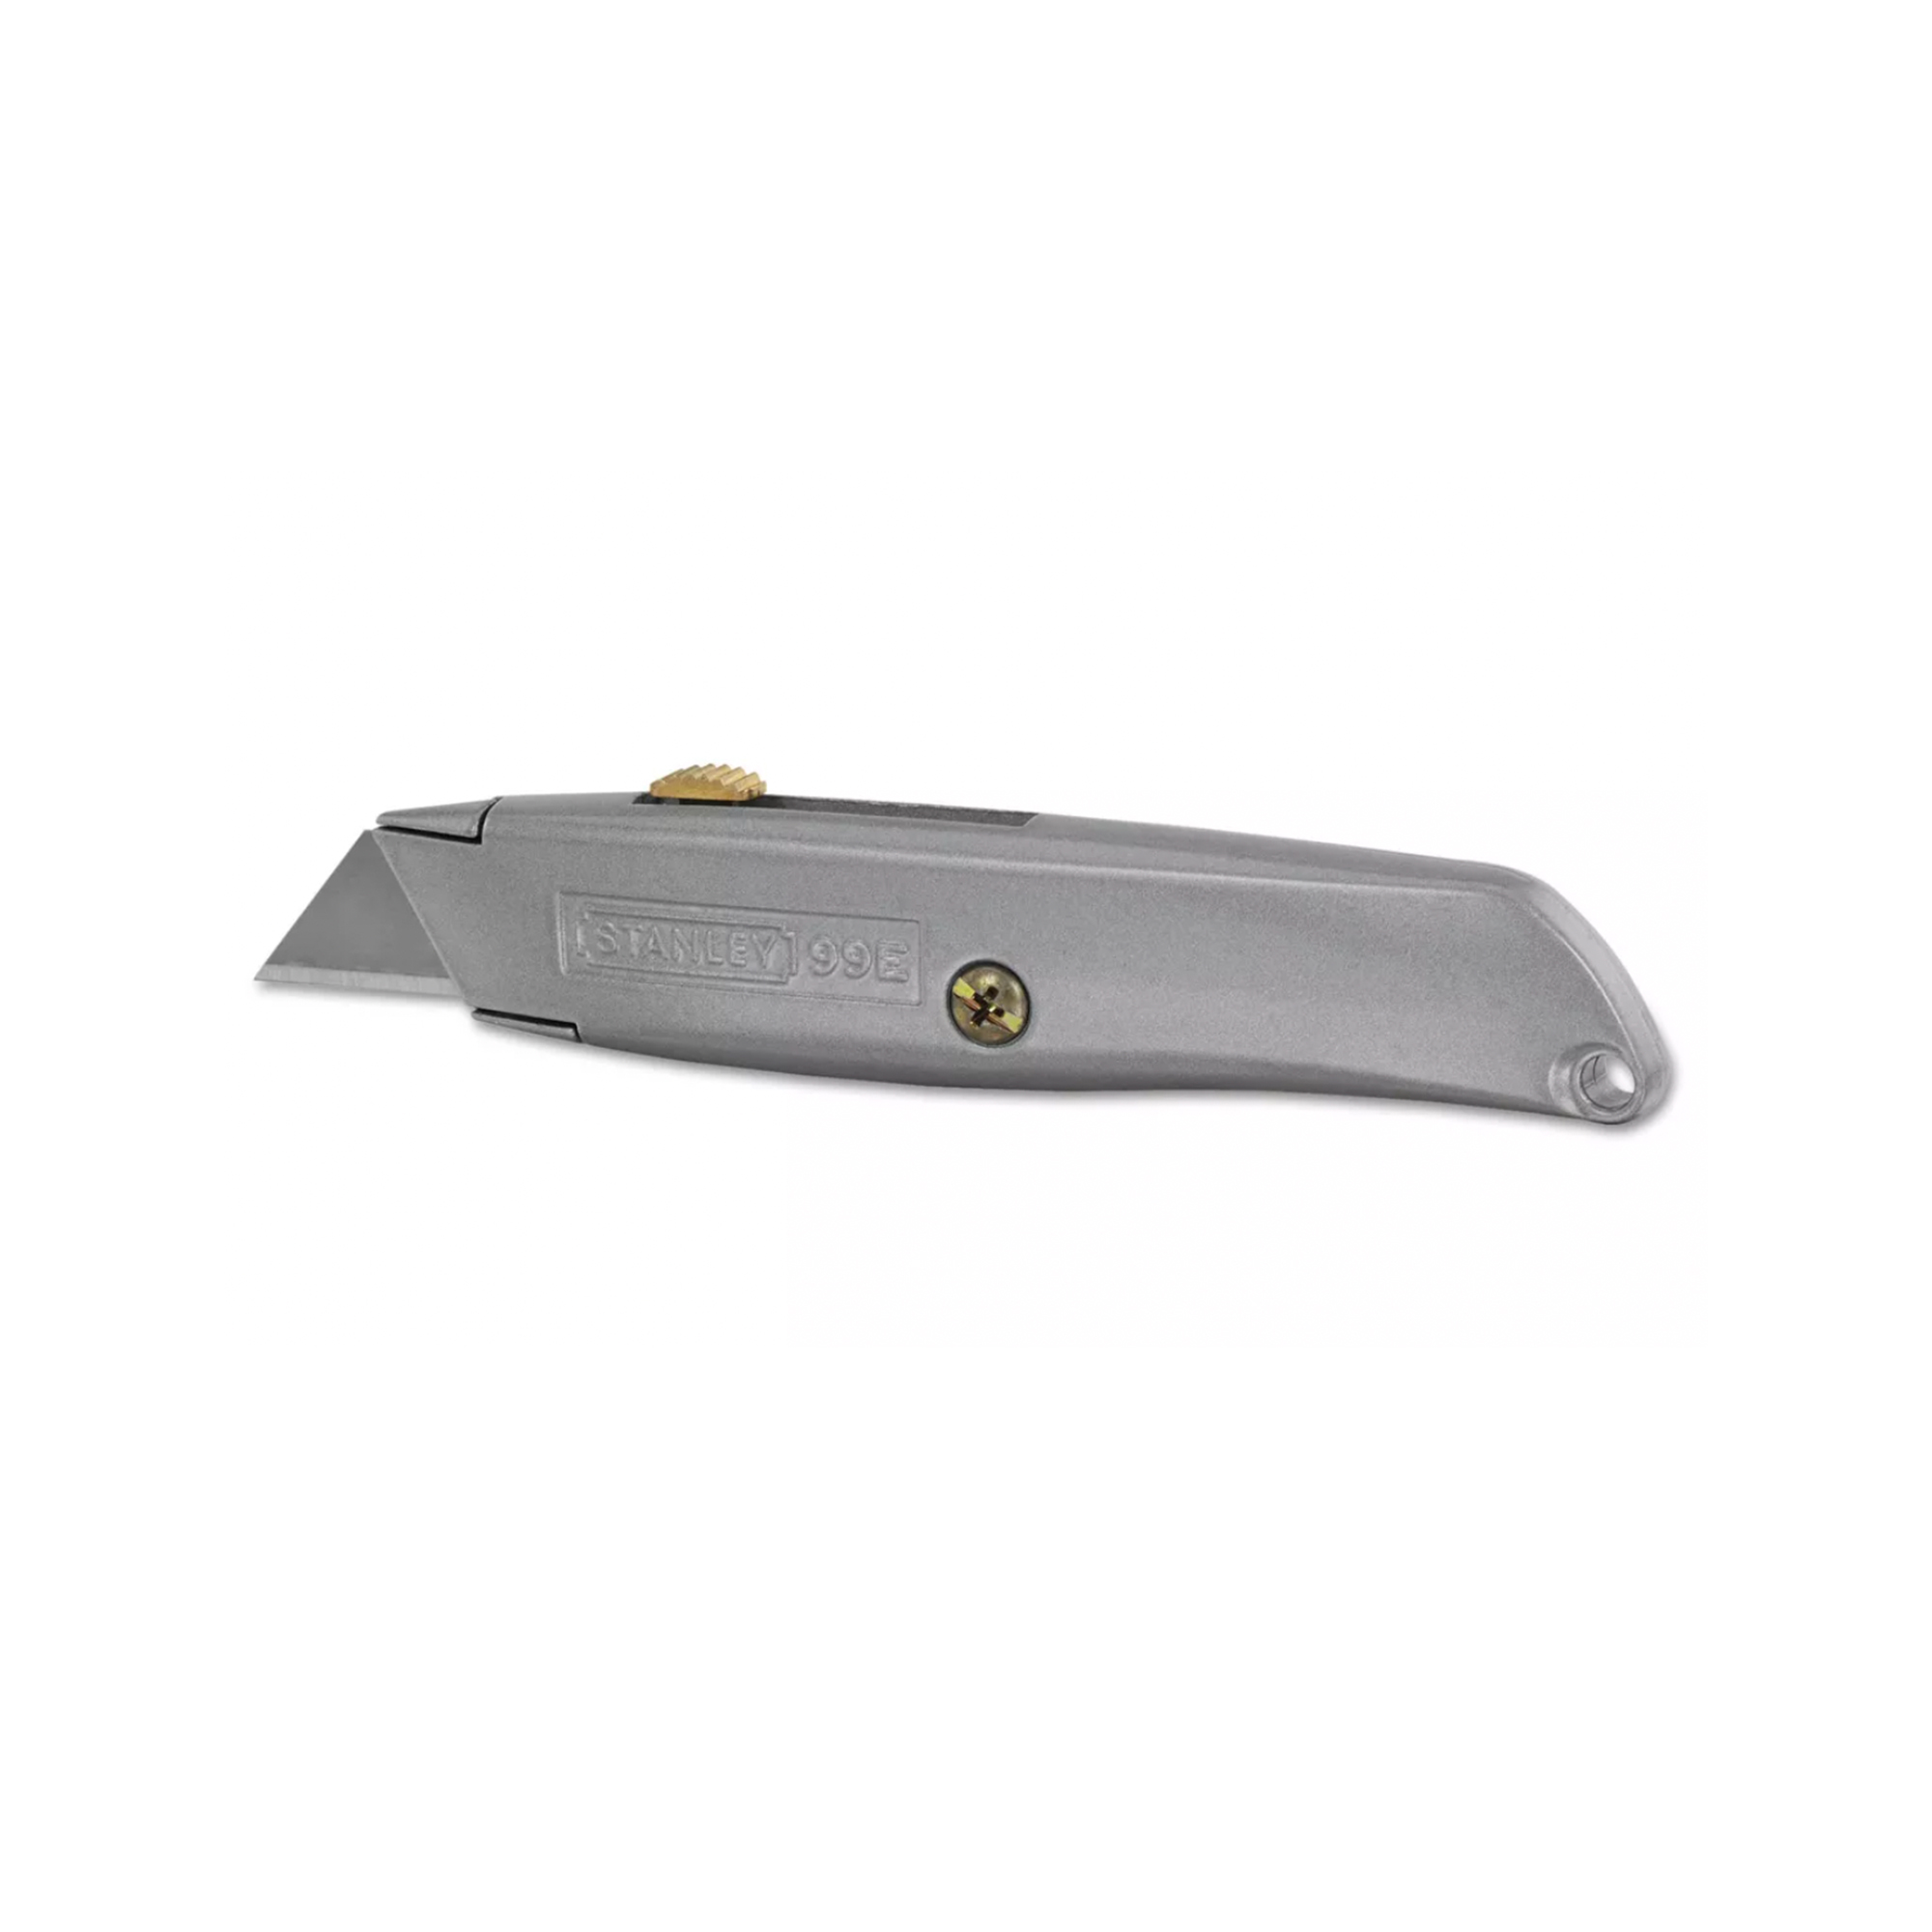
- Scissors or utility knife: I recommend using one with retractable and replaceable blades such as the WORKPRO Premium Utility Knife, from Amazon.
- Low-odor construction adhesive: I recommend Gorilla Heavy Duty Construction Adhesive, available on Amazon.
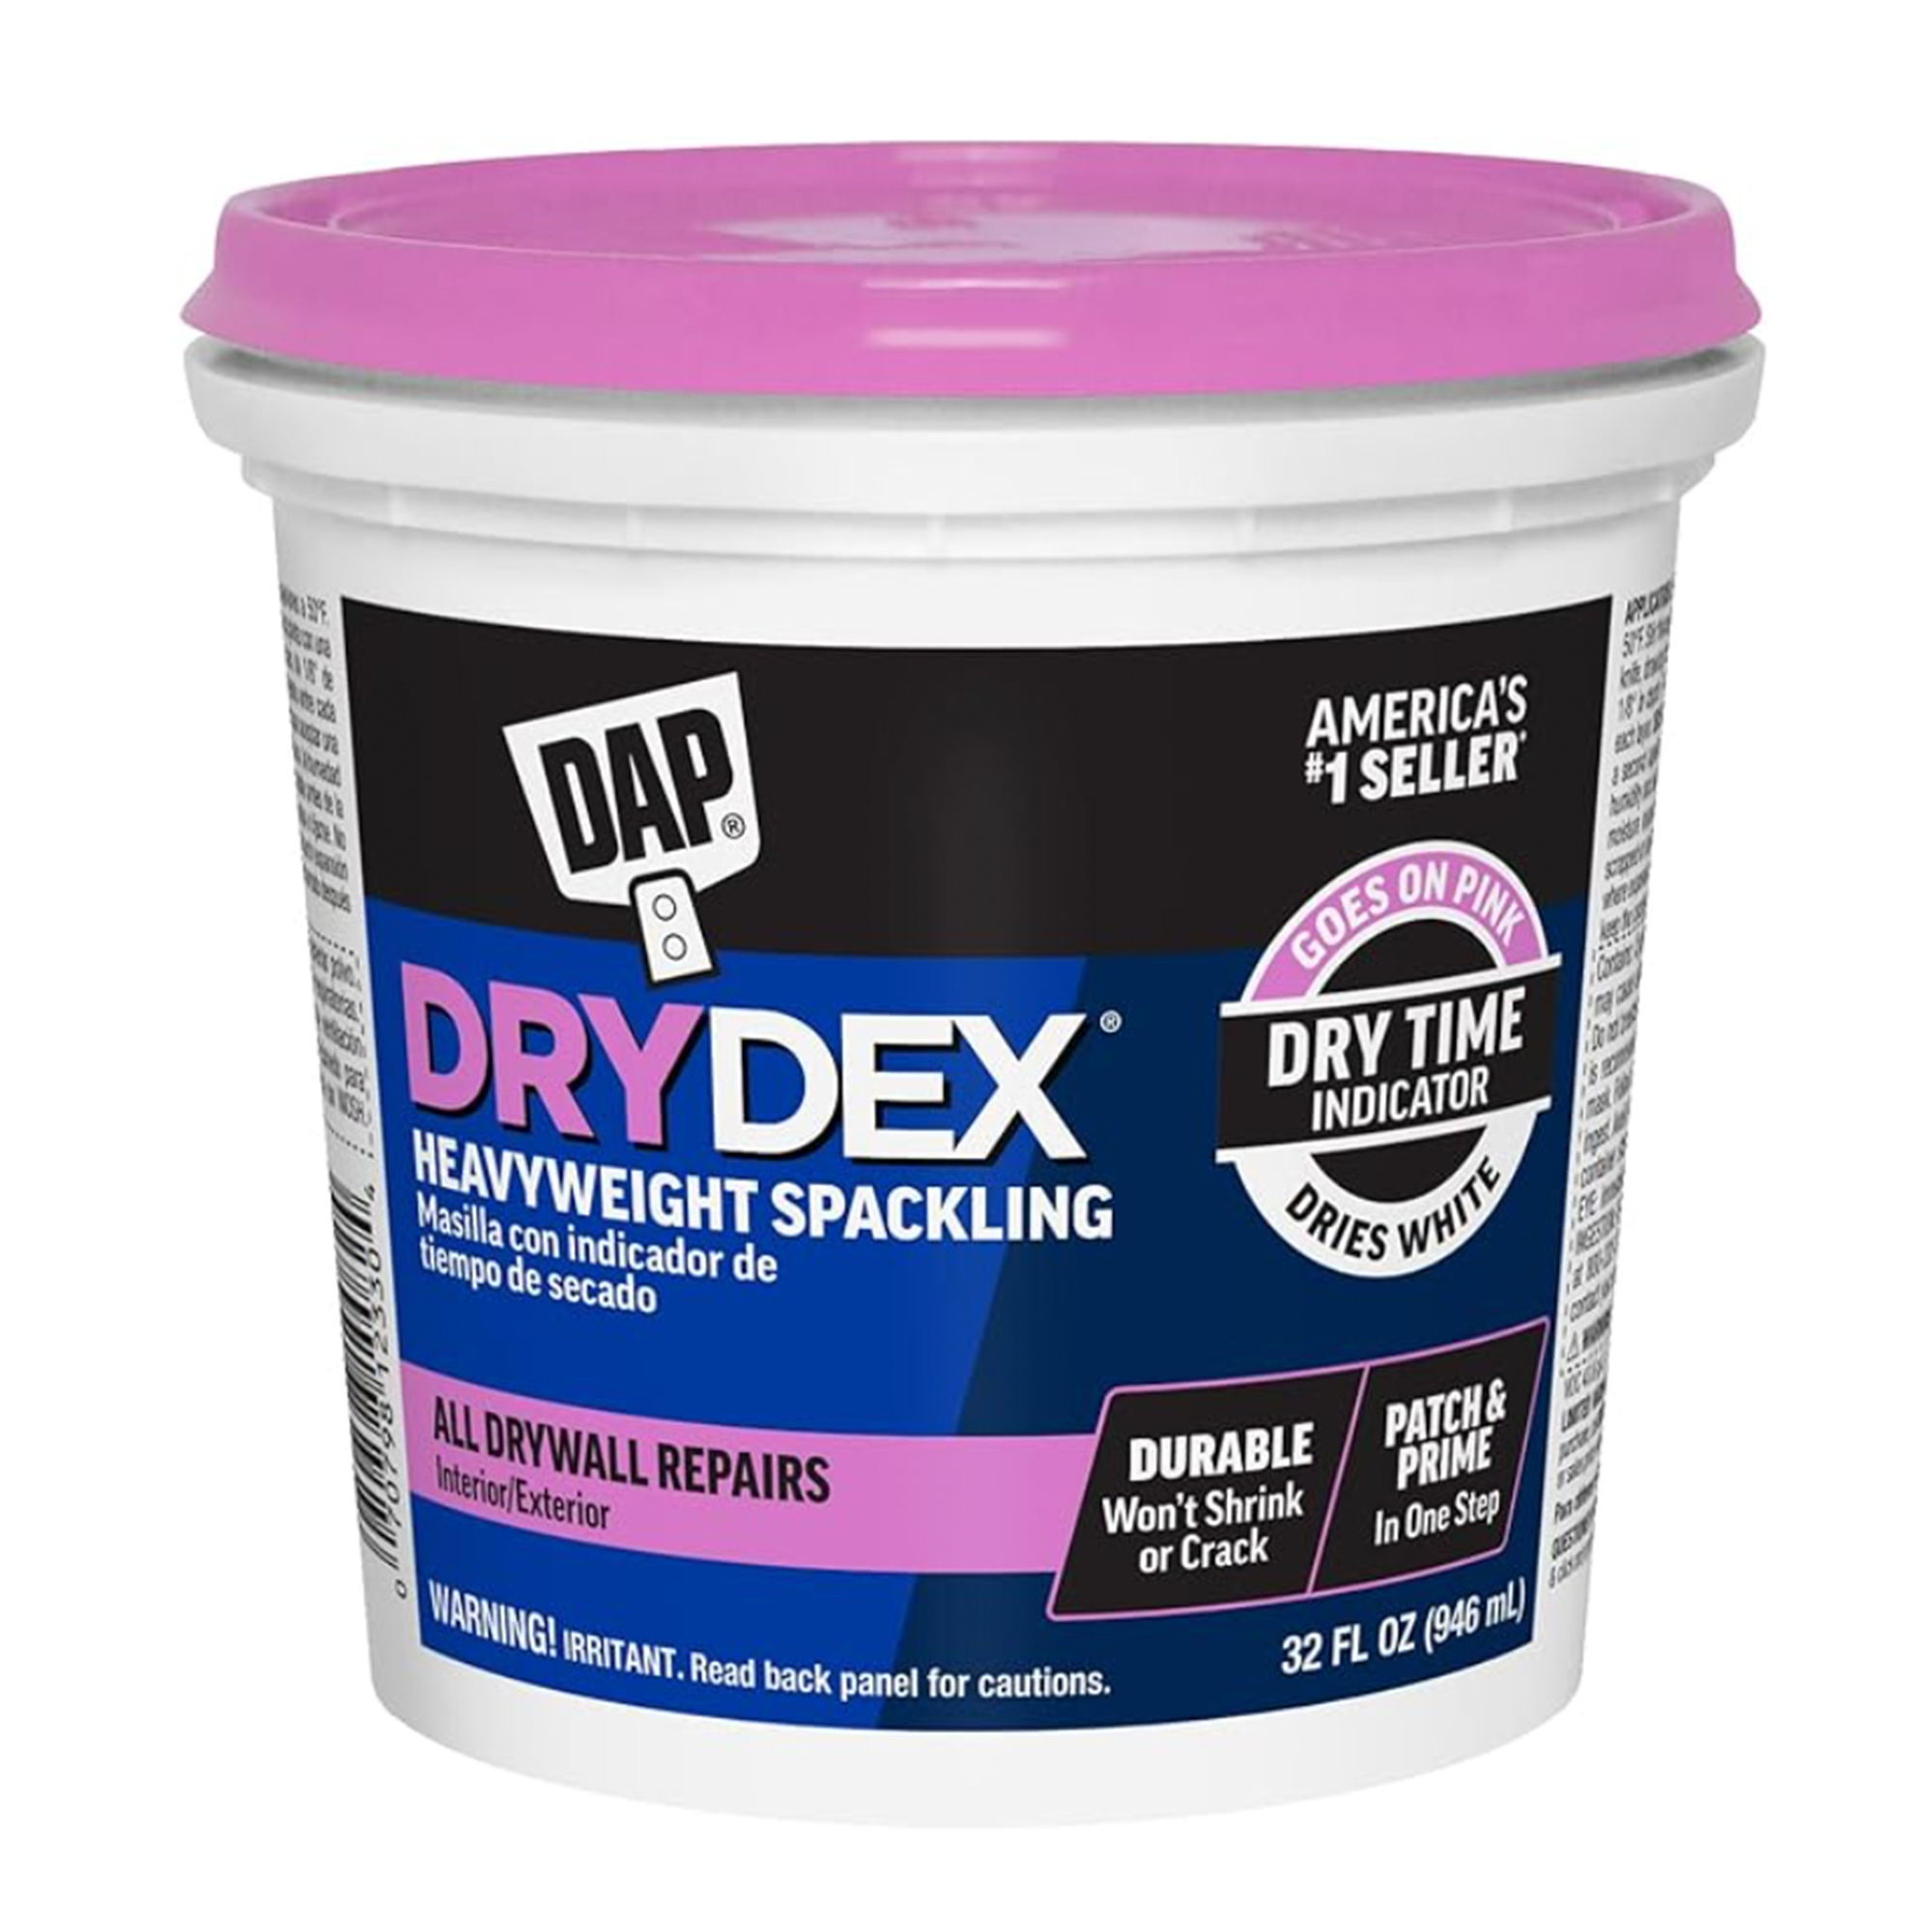
- Patching plaster: ready-mixed patching will save you time. Choose a resealable tub such as the DryDex interior spacklingfrom Amazon for reuse across multiple projects.
- Skimming spreader or a taping knife such as the Red Devil 4 Flex Taping Knife from Walmart.
- Glue: PVA glue or Elmers glue, available from Amazon for the finish.
- Sealant spray: Mod Podge - 1469 Clear Acrylic Sealer from Amazon is a good one.
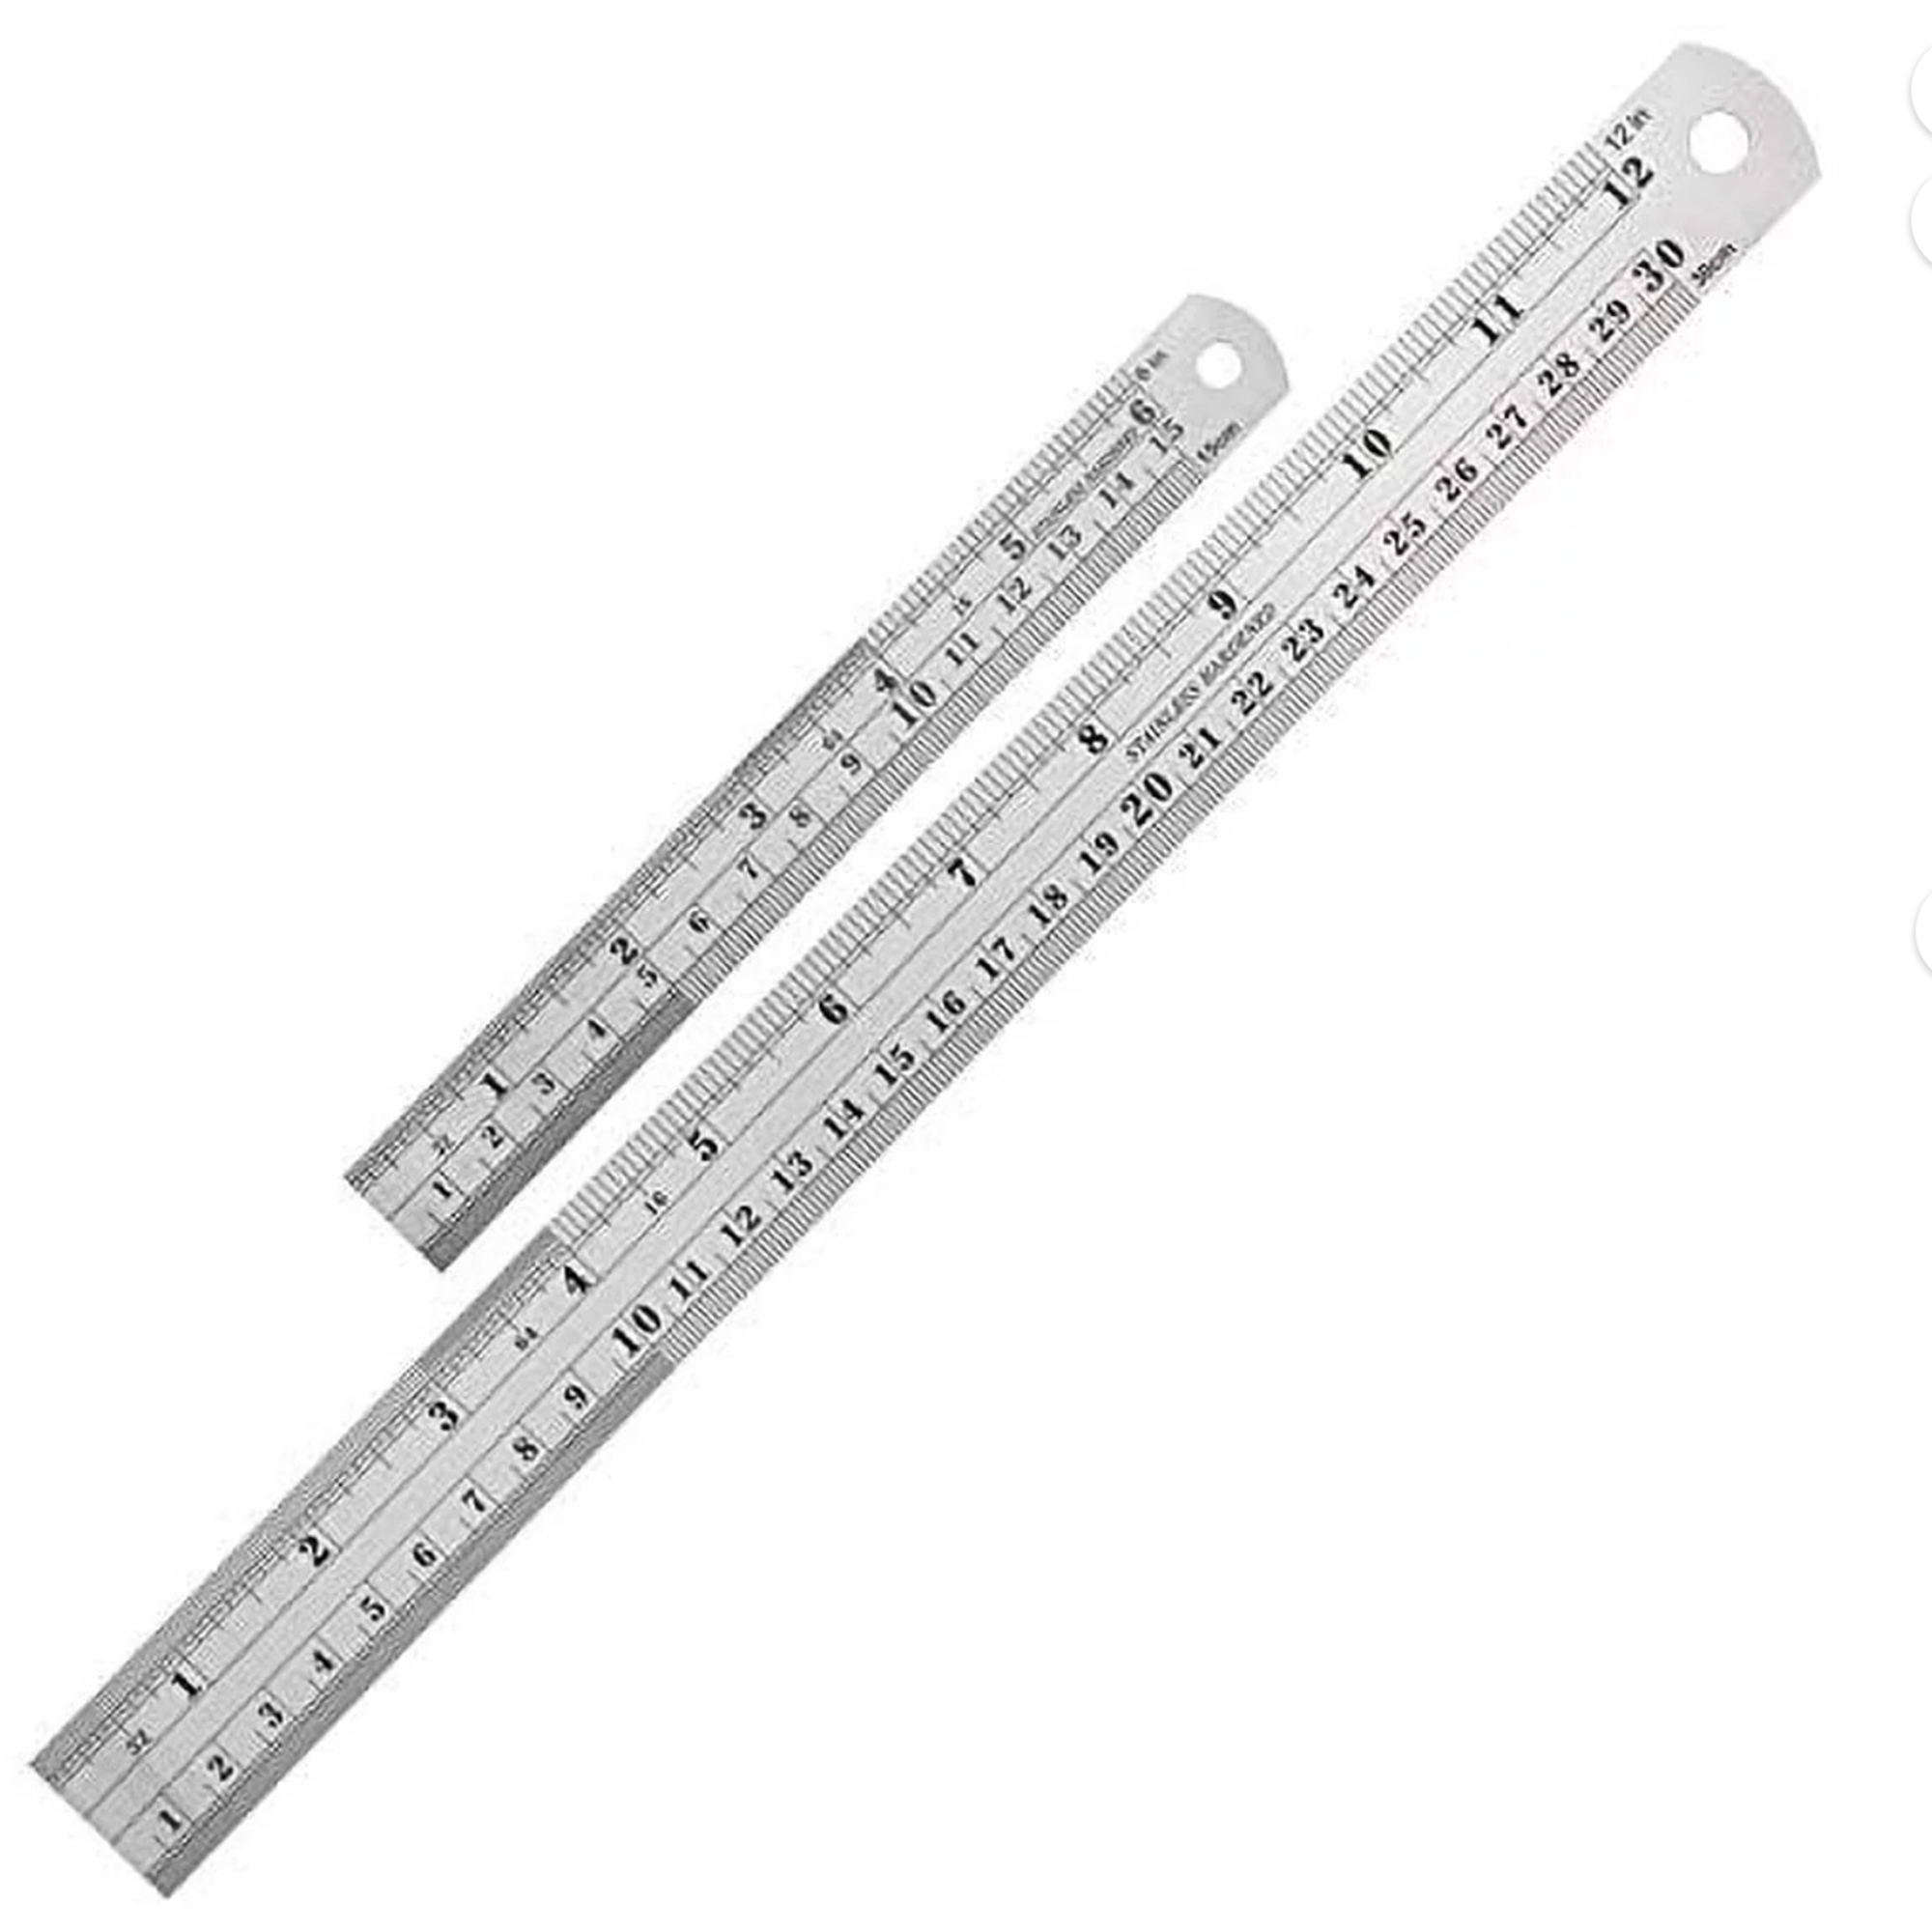
- Ruler or metal set square, and pen.
- Sandpaper and parcel tape are optional
Step 1: Gather your supplies
The great thing about this DIY coffee table project, is it requires so few tools and materials. The key items are strong cardboard sheets, which can easily be repurposed from leftover packaging. If you have a large item delivered, you'll be all set immediately, but you can save smaller boxes and sheets over time if not.
Alternatively, ask your neighbors for their unwanted boxes, or buy packing boxes if you're keen to get started and want to save time on your DIY projects.
A simple pen and ruler will be fine for marking the faces to cut out from the cardboard, and a utility knife is perfect for making quick, accurate cuts. I like using utility knives with replacement blades that are easily stored in the housing, such as the Workpro Premium Utility Knife from Amazon, but you could easily make do with scissors if that's all you have.
I used ready-mixed interior smoother, also known as patching plaster because it's so much quicker and simpler than mixing it from scratch. Most DIY and hardware stores sell ready-mixed plaster, or you can order online. I recommend diluting the product if you are using it to skim-coat a wall, but that's not necessary for this project, as the extra thickness adds to the texture.
Price: $8.41
Using ready-to-use interior patching plaster saves so much time and mess compared to mixing up batches from a powder. These tubs are great because they can be sealed between projects keeping the product fresh and preventing waste. You'll never get the consistency wrong again with ready-mixed plaster.
Price: $10.44
It's so helpful to have a lightweight, practical utility knife for DIY projects. Stanley knives have a sturdy body which is easy to grip and ensures speed and accuracy. The integrated blade storage in the handle is perfect for switching it quickly mid project but keep this firmly away from kids.
Price: $5.99
Metal rulers work brilliantly when paired with utility knives for DIY projects because the blade doesn't damage the ruler in the same way it would for plastic. Having a set of two allows you to pick the most suitable for the project at hand.
Step 2: Measure and mark
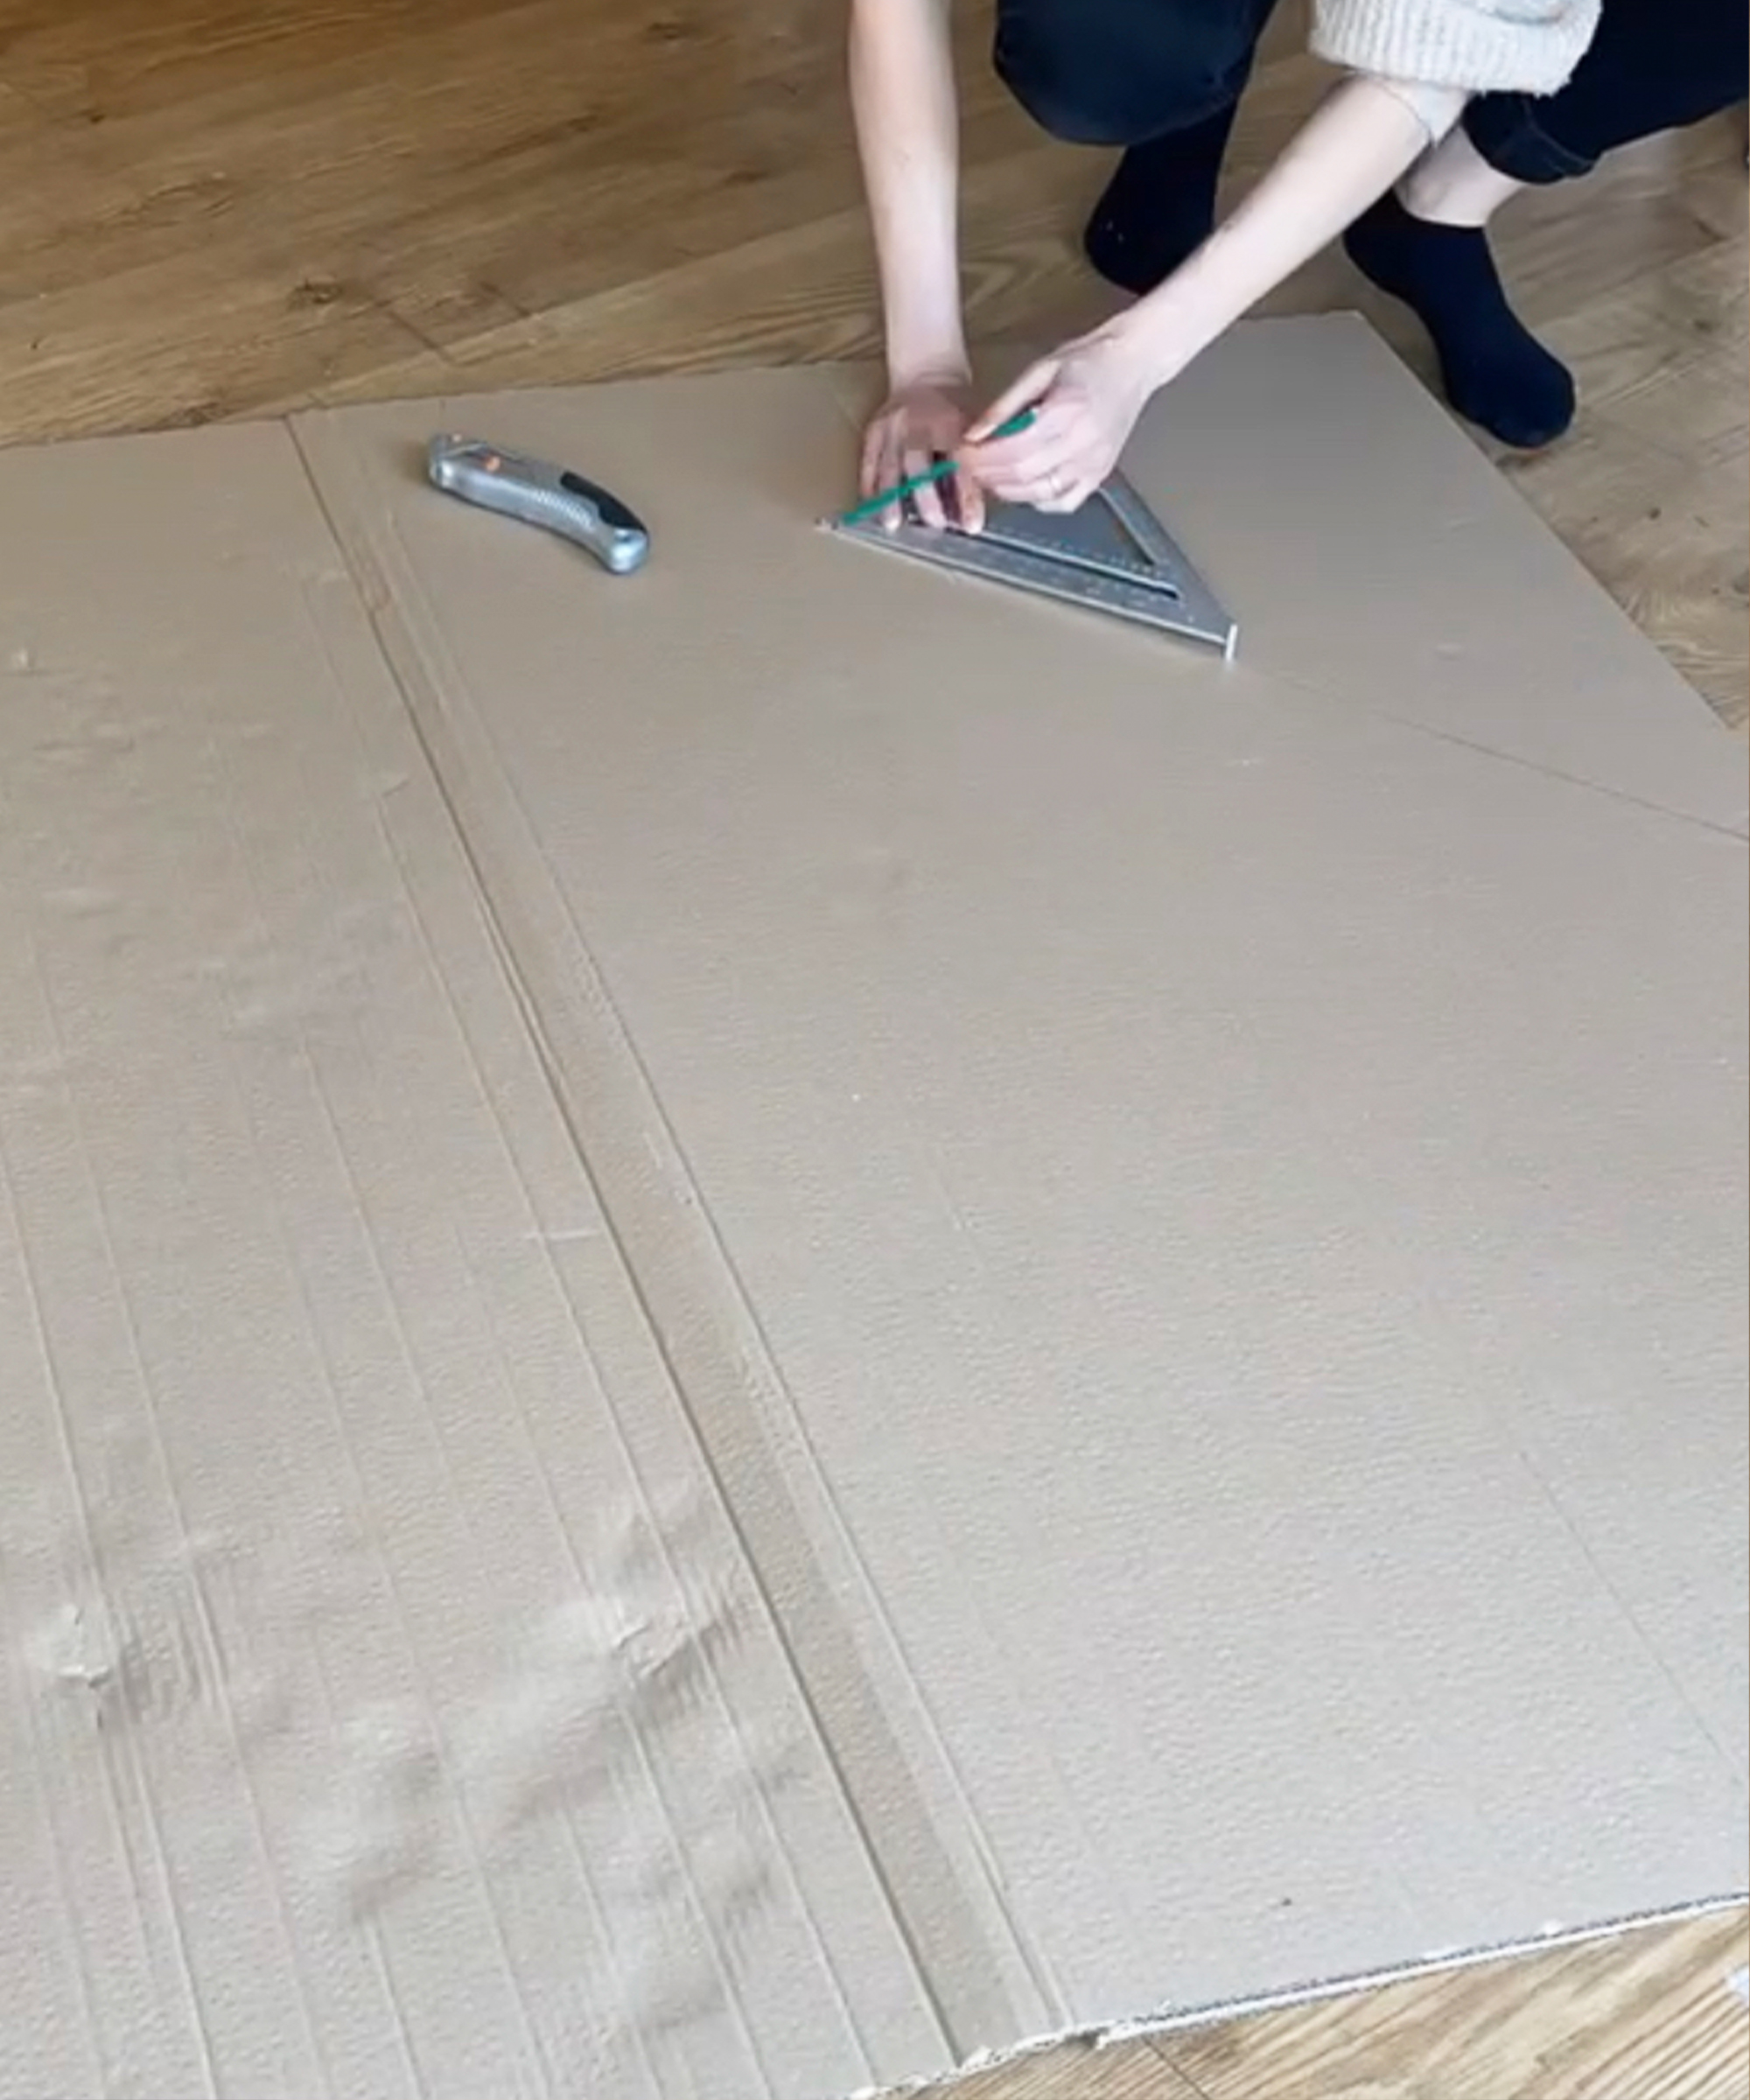
Decide on the size and shape of your DIY coffee table idea as this will determine the net you need to create. I plumped for a triangular prism and as this was one of the prototypes, and I didn’t want it to be too large.
Measure and mark the cardboard with the faces you need to create your 3D shape and don’t forget to make multiple of each as you’ll be layering them up for strength. I opted for three of four layers of very thick corrugated cardboard. If you’re creating a larger model, you might want to add some extra layers for structural support.
We have further details in the steps of this sort of project needed if you'd like more general guidance for how to make a DIY coffee table.
Step 3: Cut-out the faces

Cut out the cardboard faces using your metal set square (or ruler) and a utility knife. You could use scissors if that's all you have, but a utility knife is quicker. Protect the surface you are cutting on to prevent damage from the blade.
Once cut out, lay out the faces in position on the floor to check they are all the right size and none are missing. The great thing about this easy DIY project for beginners coffee table project is that the faces don't have to be perfect, as you can fill in any gaps with adhesive later on.
Step 4: Create the base
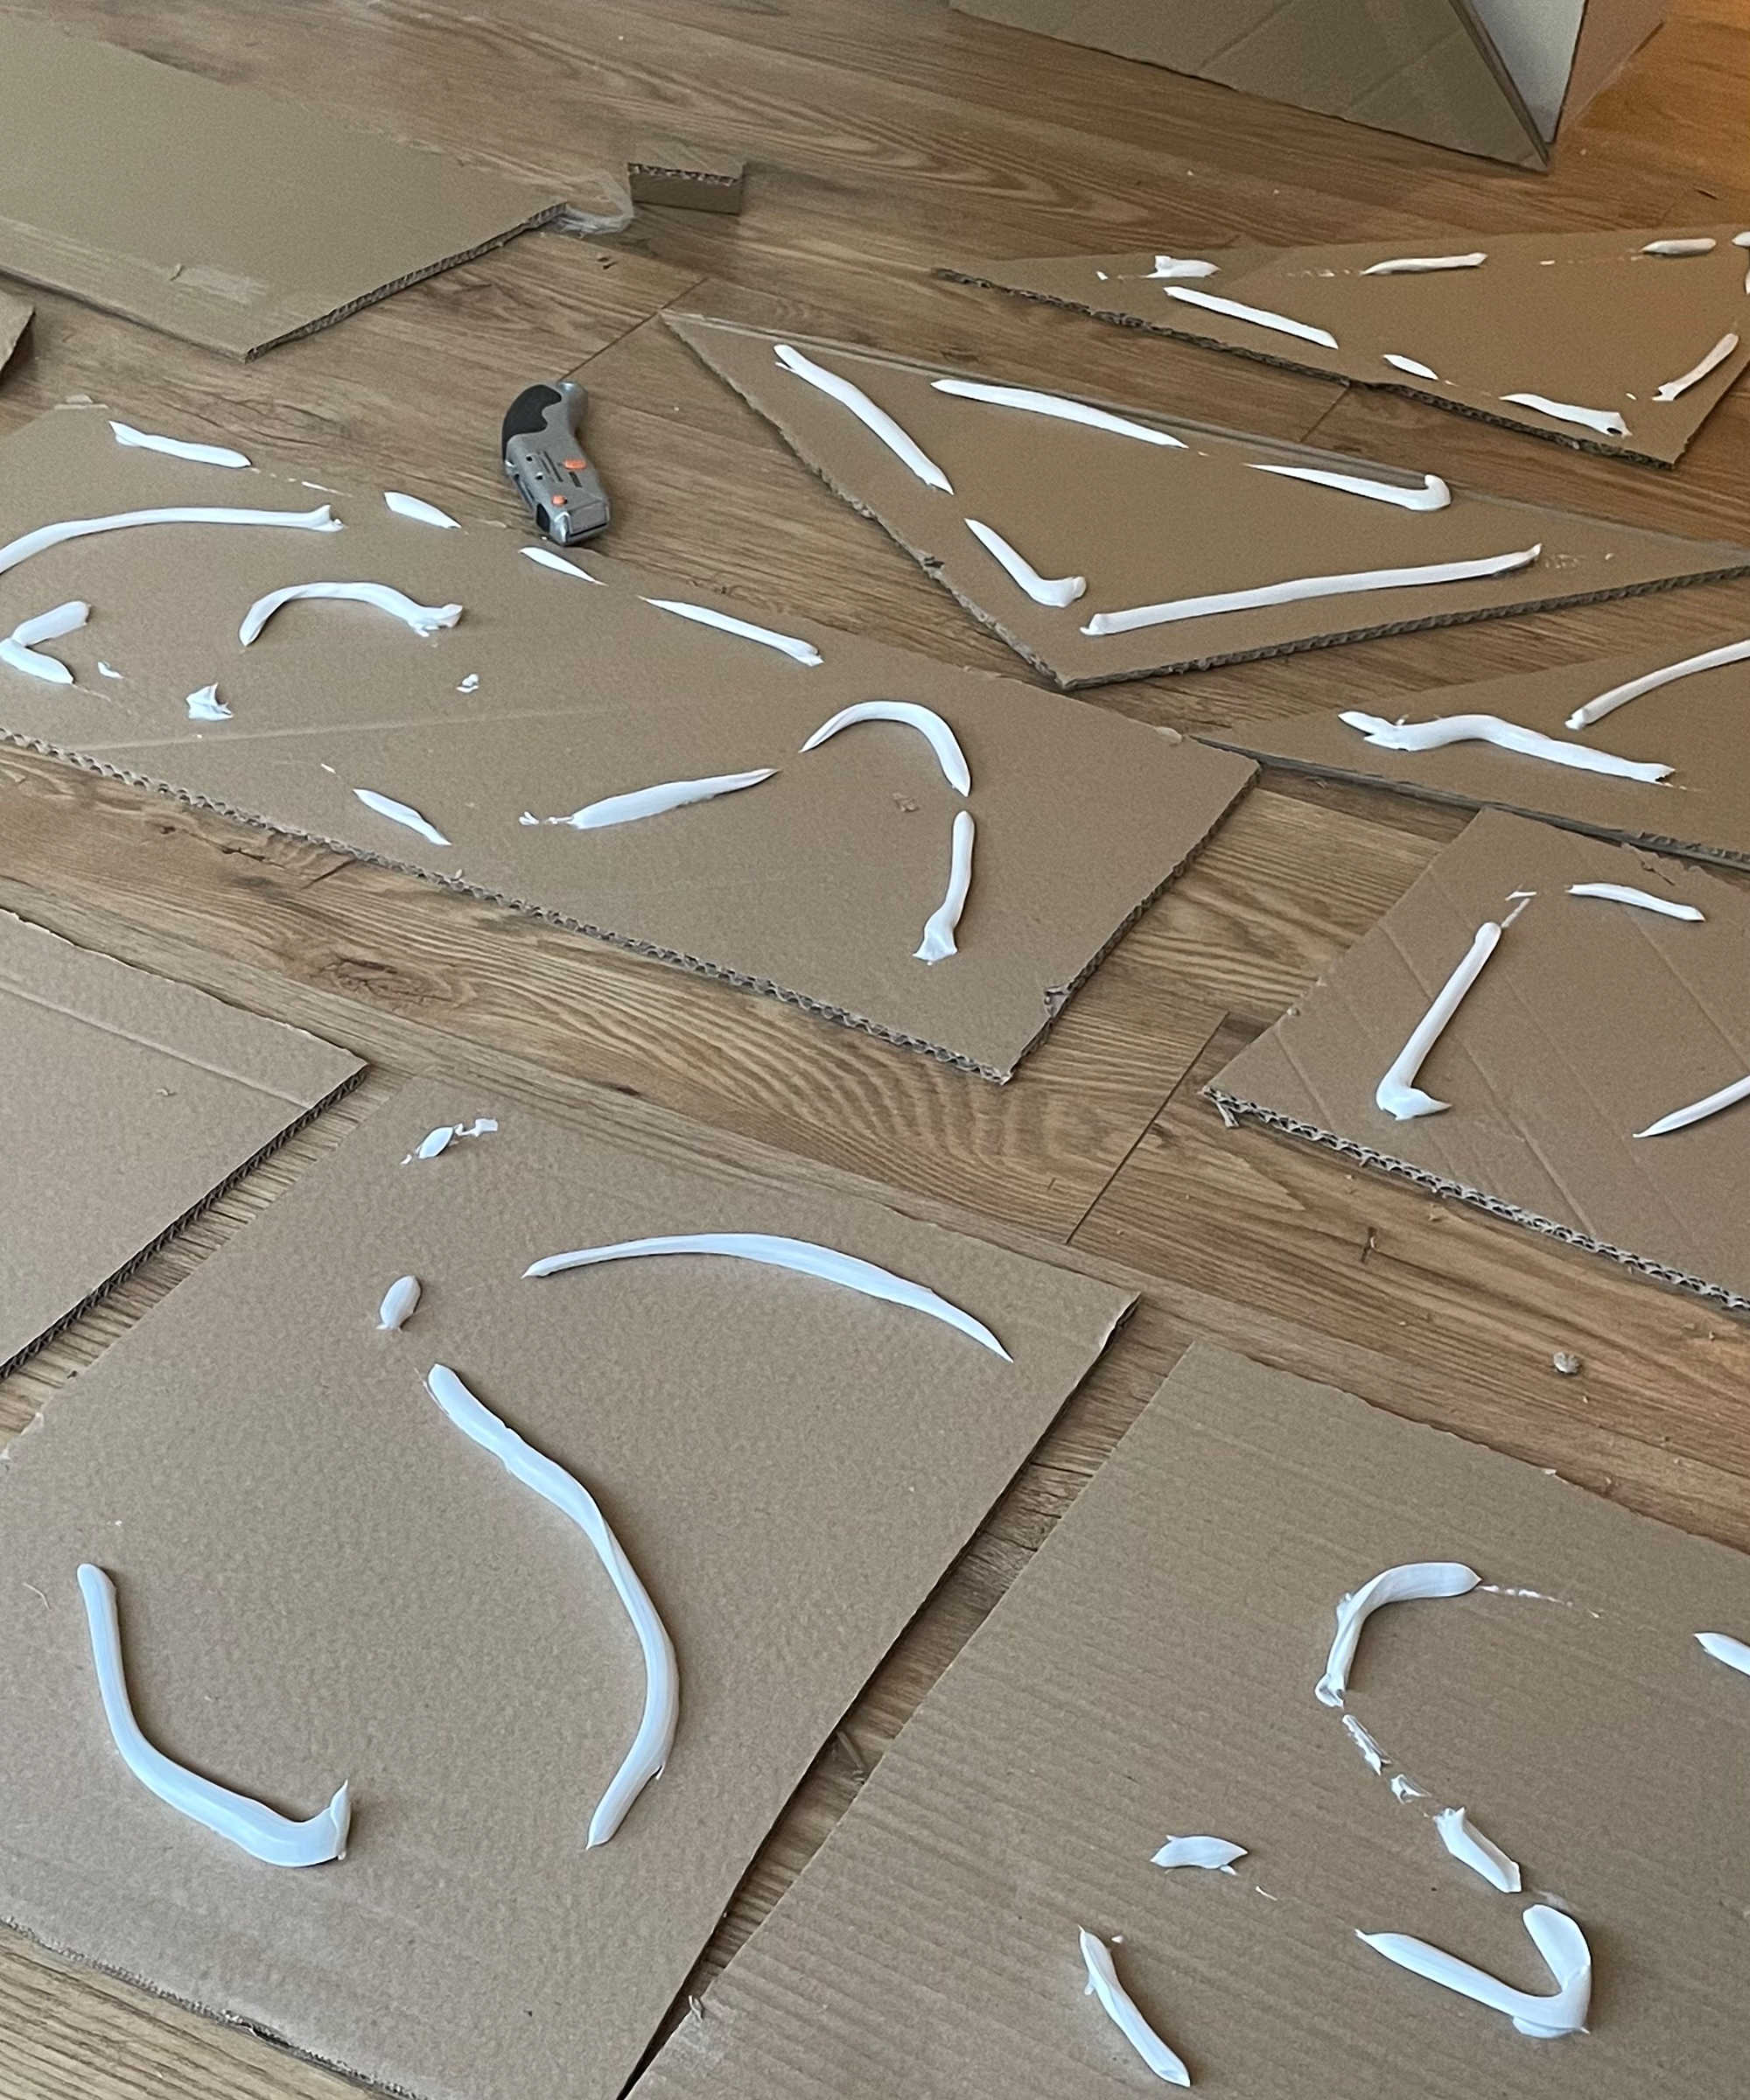
Once you’re happy you have all the faces and layers that you need and they are all the right size, you can spread them out and apply grab adhesive.
I always opt for a solvent-free, low-odor adhesive that is suitable for interior use, such as the Loctite Power Grab Express Interior Construction Adhesive, available at Walmart. After all, you don't want any fumes putting you off your stride!
Once the adhesive is applied, sandwich the cardboard shapes together to create thicker sides. Apply gentle pressure over the surface of the top layer of cardboard to spread the adhesive between the layers.
If using thinner cardboard, place a book or similar on the sheets to help them adhere, but I found the thick cardboard kept its shape nicely while the glue was drying.
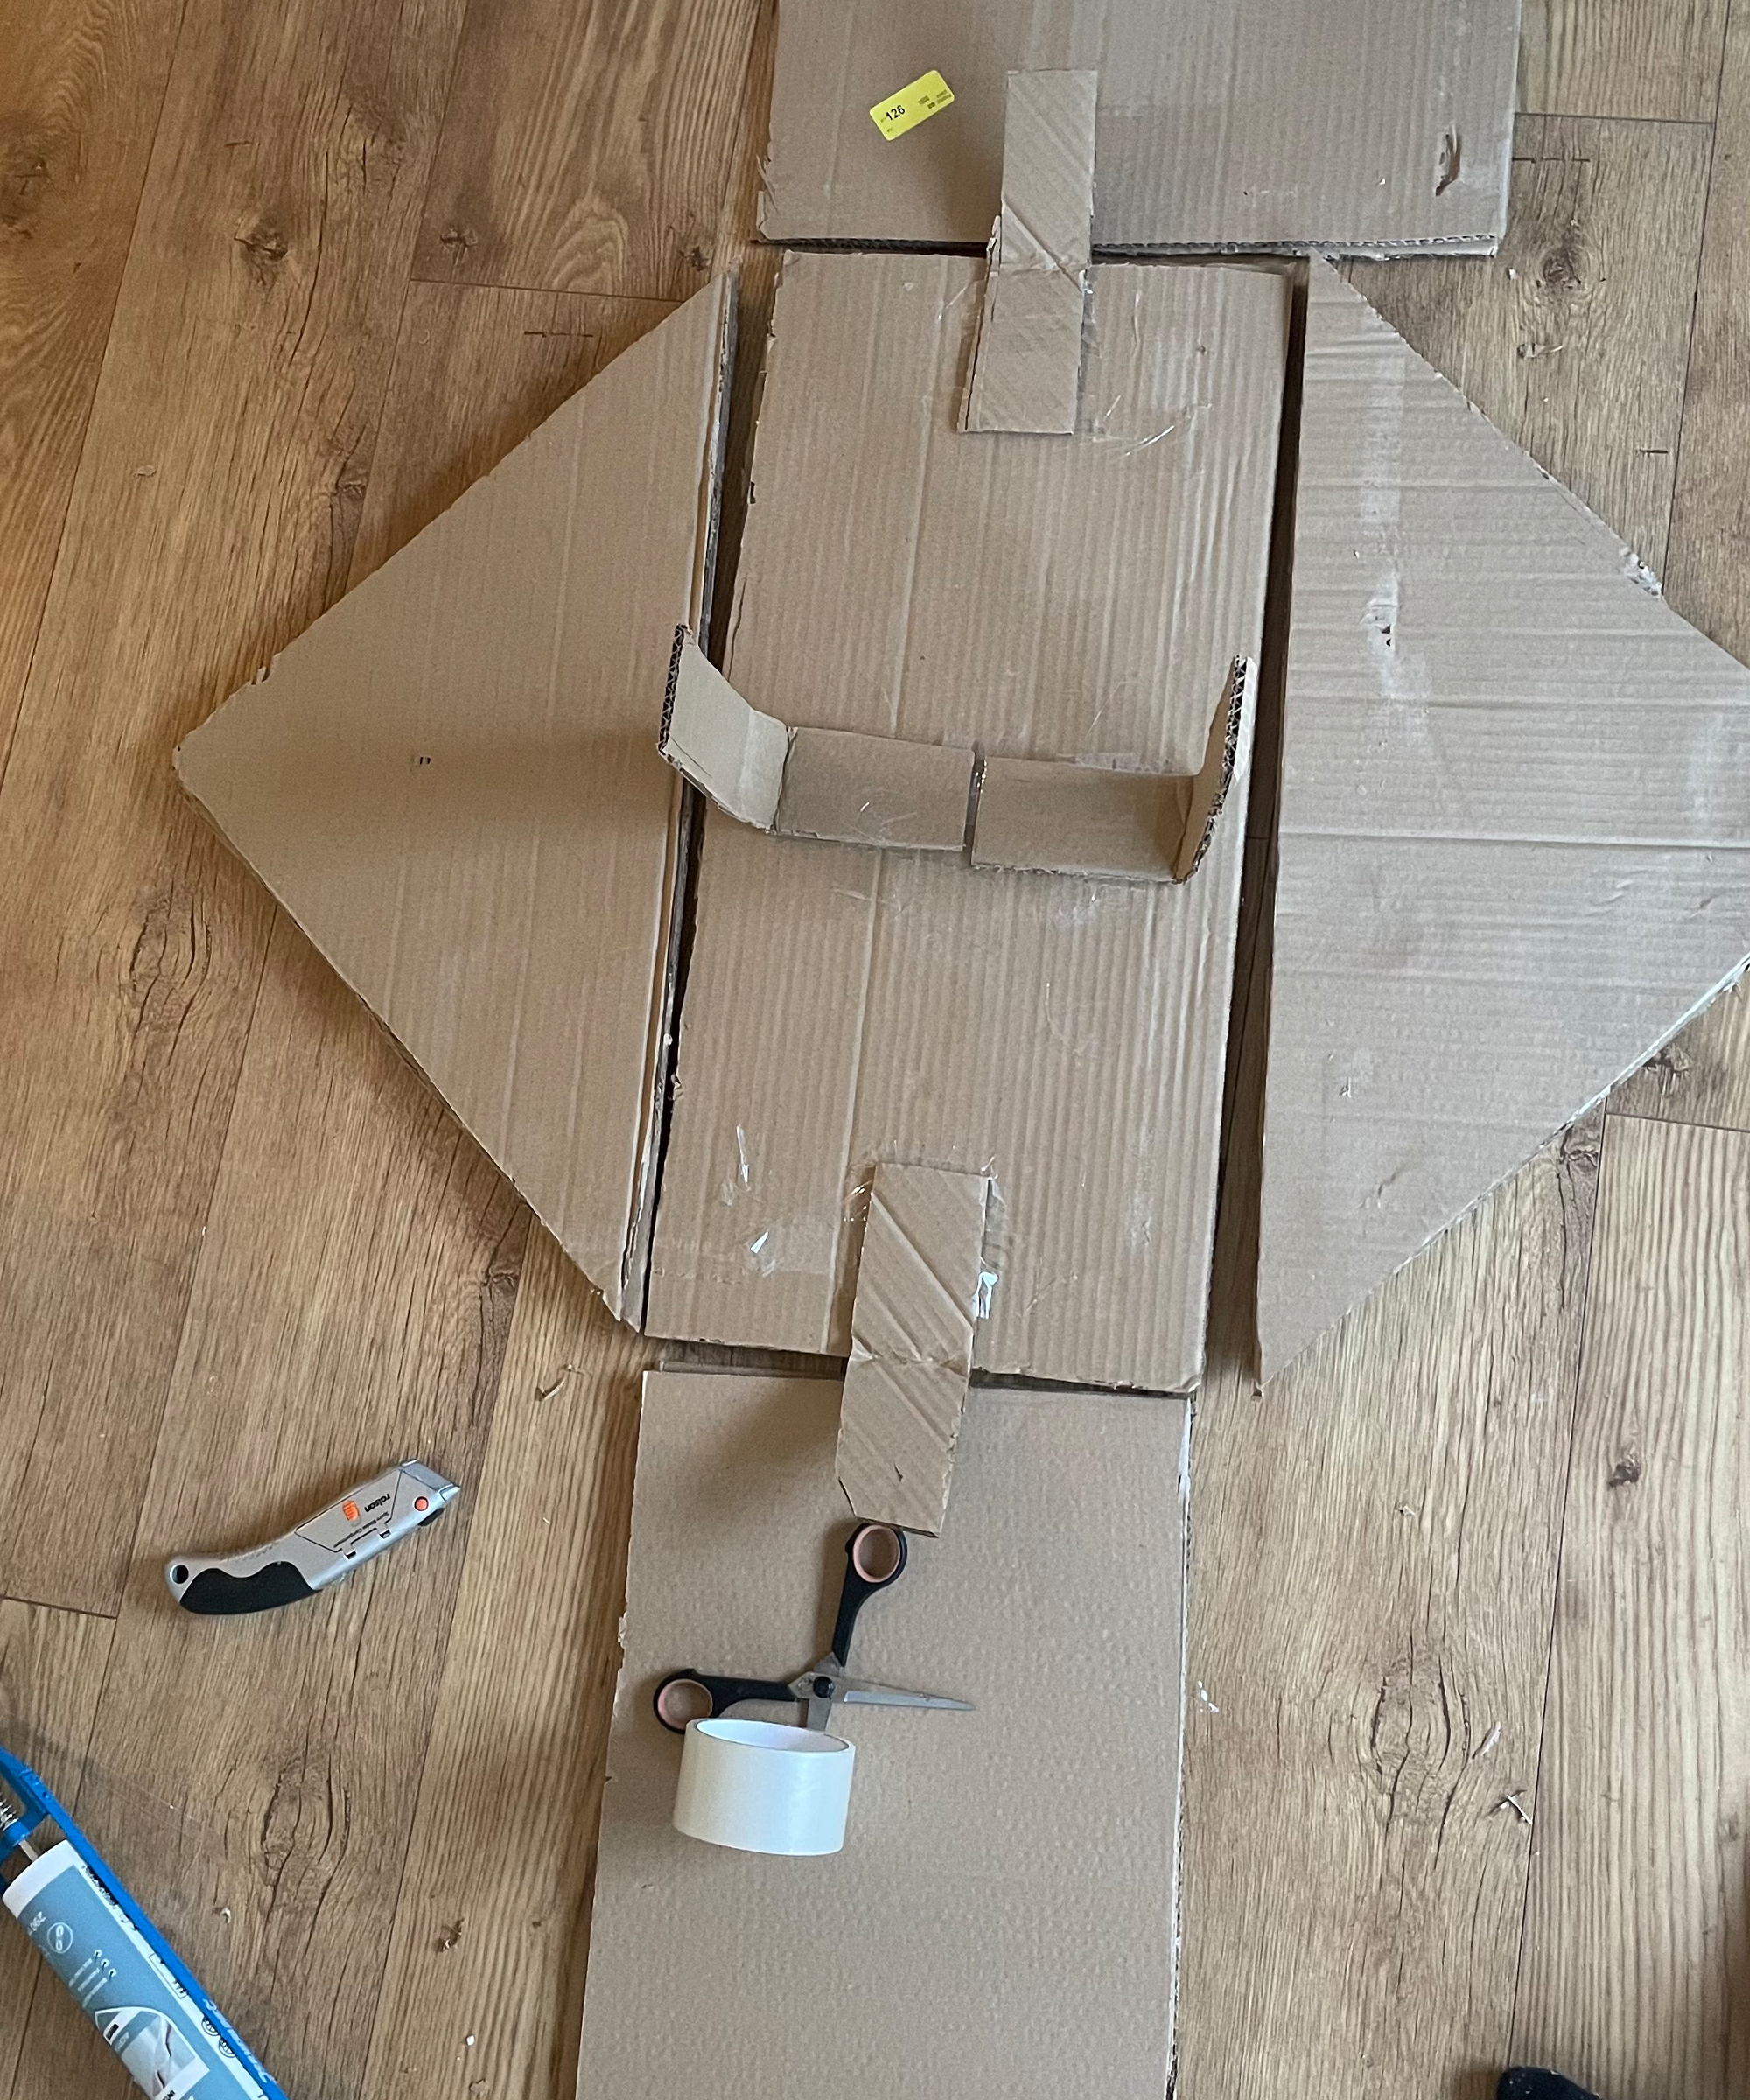
Leave the layers to dry. I created some little supports by cutting rectangles of cardboard and folding them in half, attaching each side to a different face. You could add tabs to your faces if you prefer.
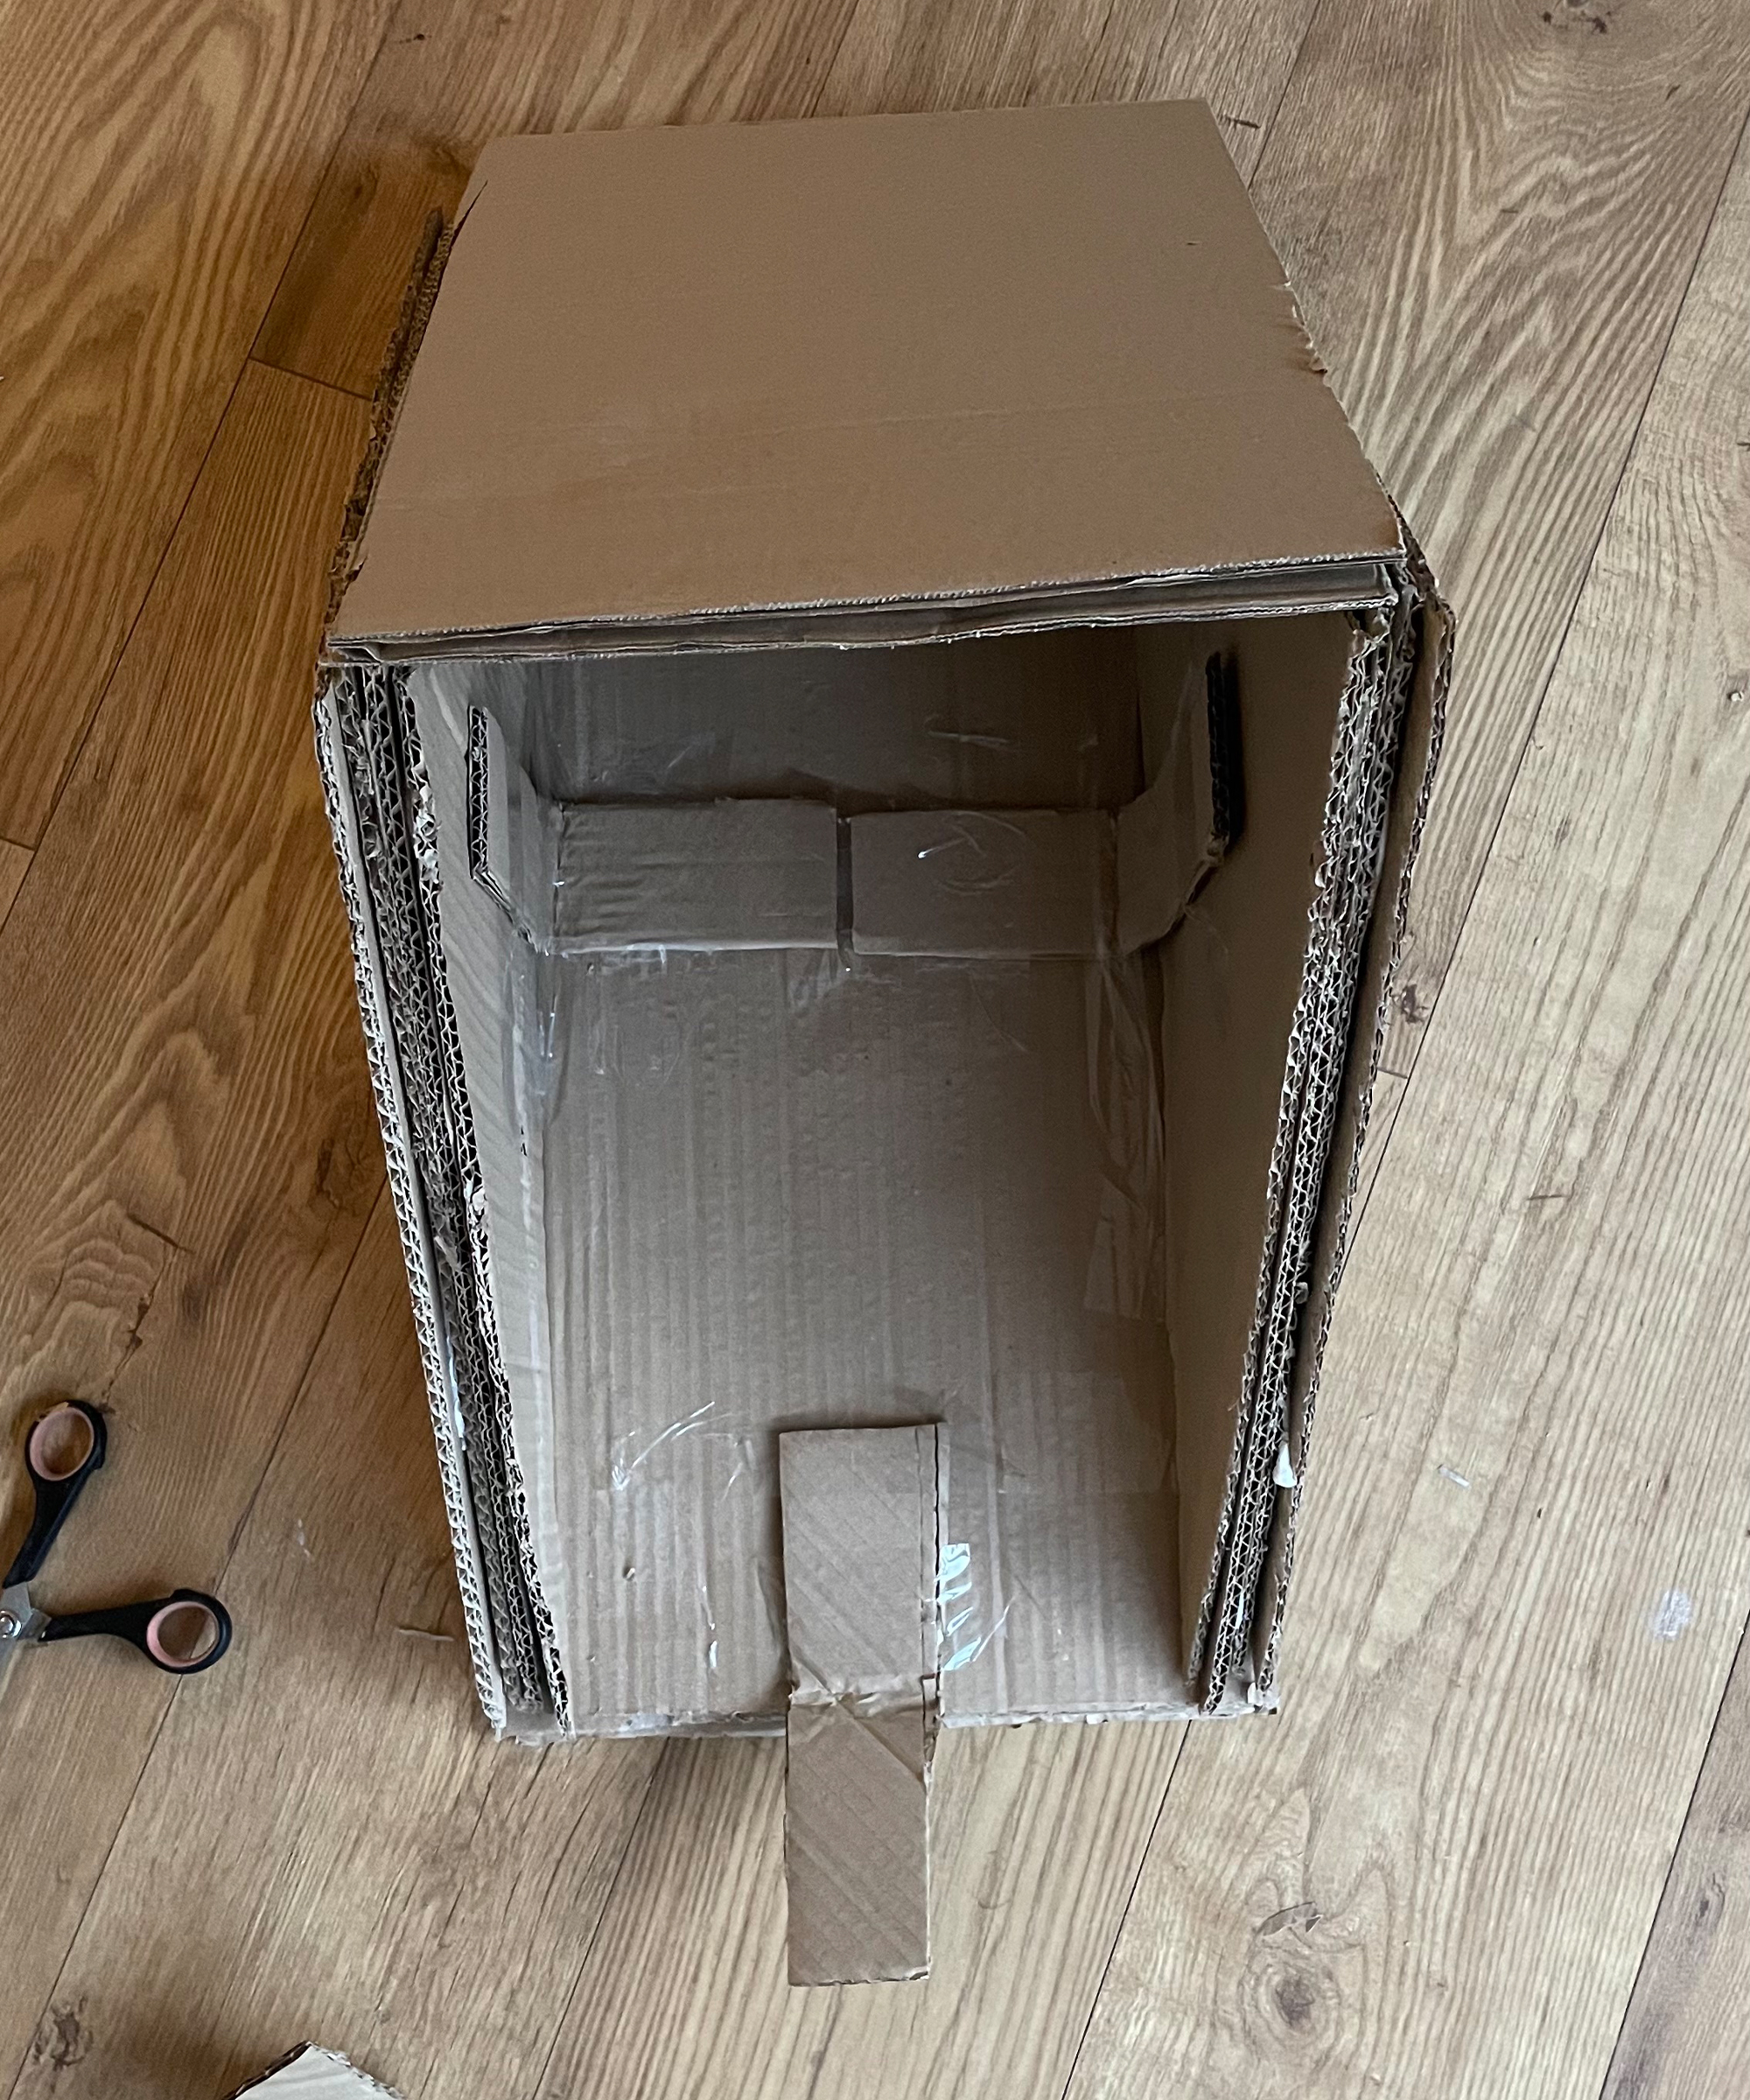
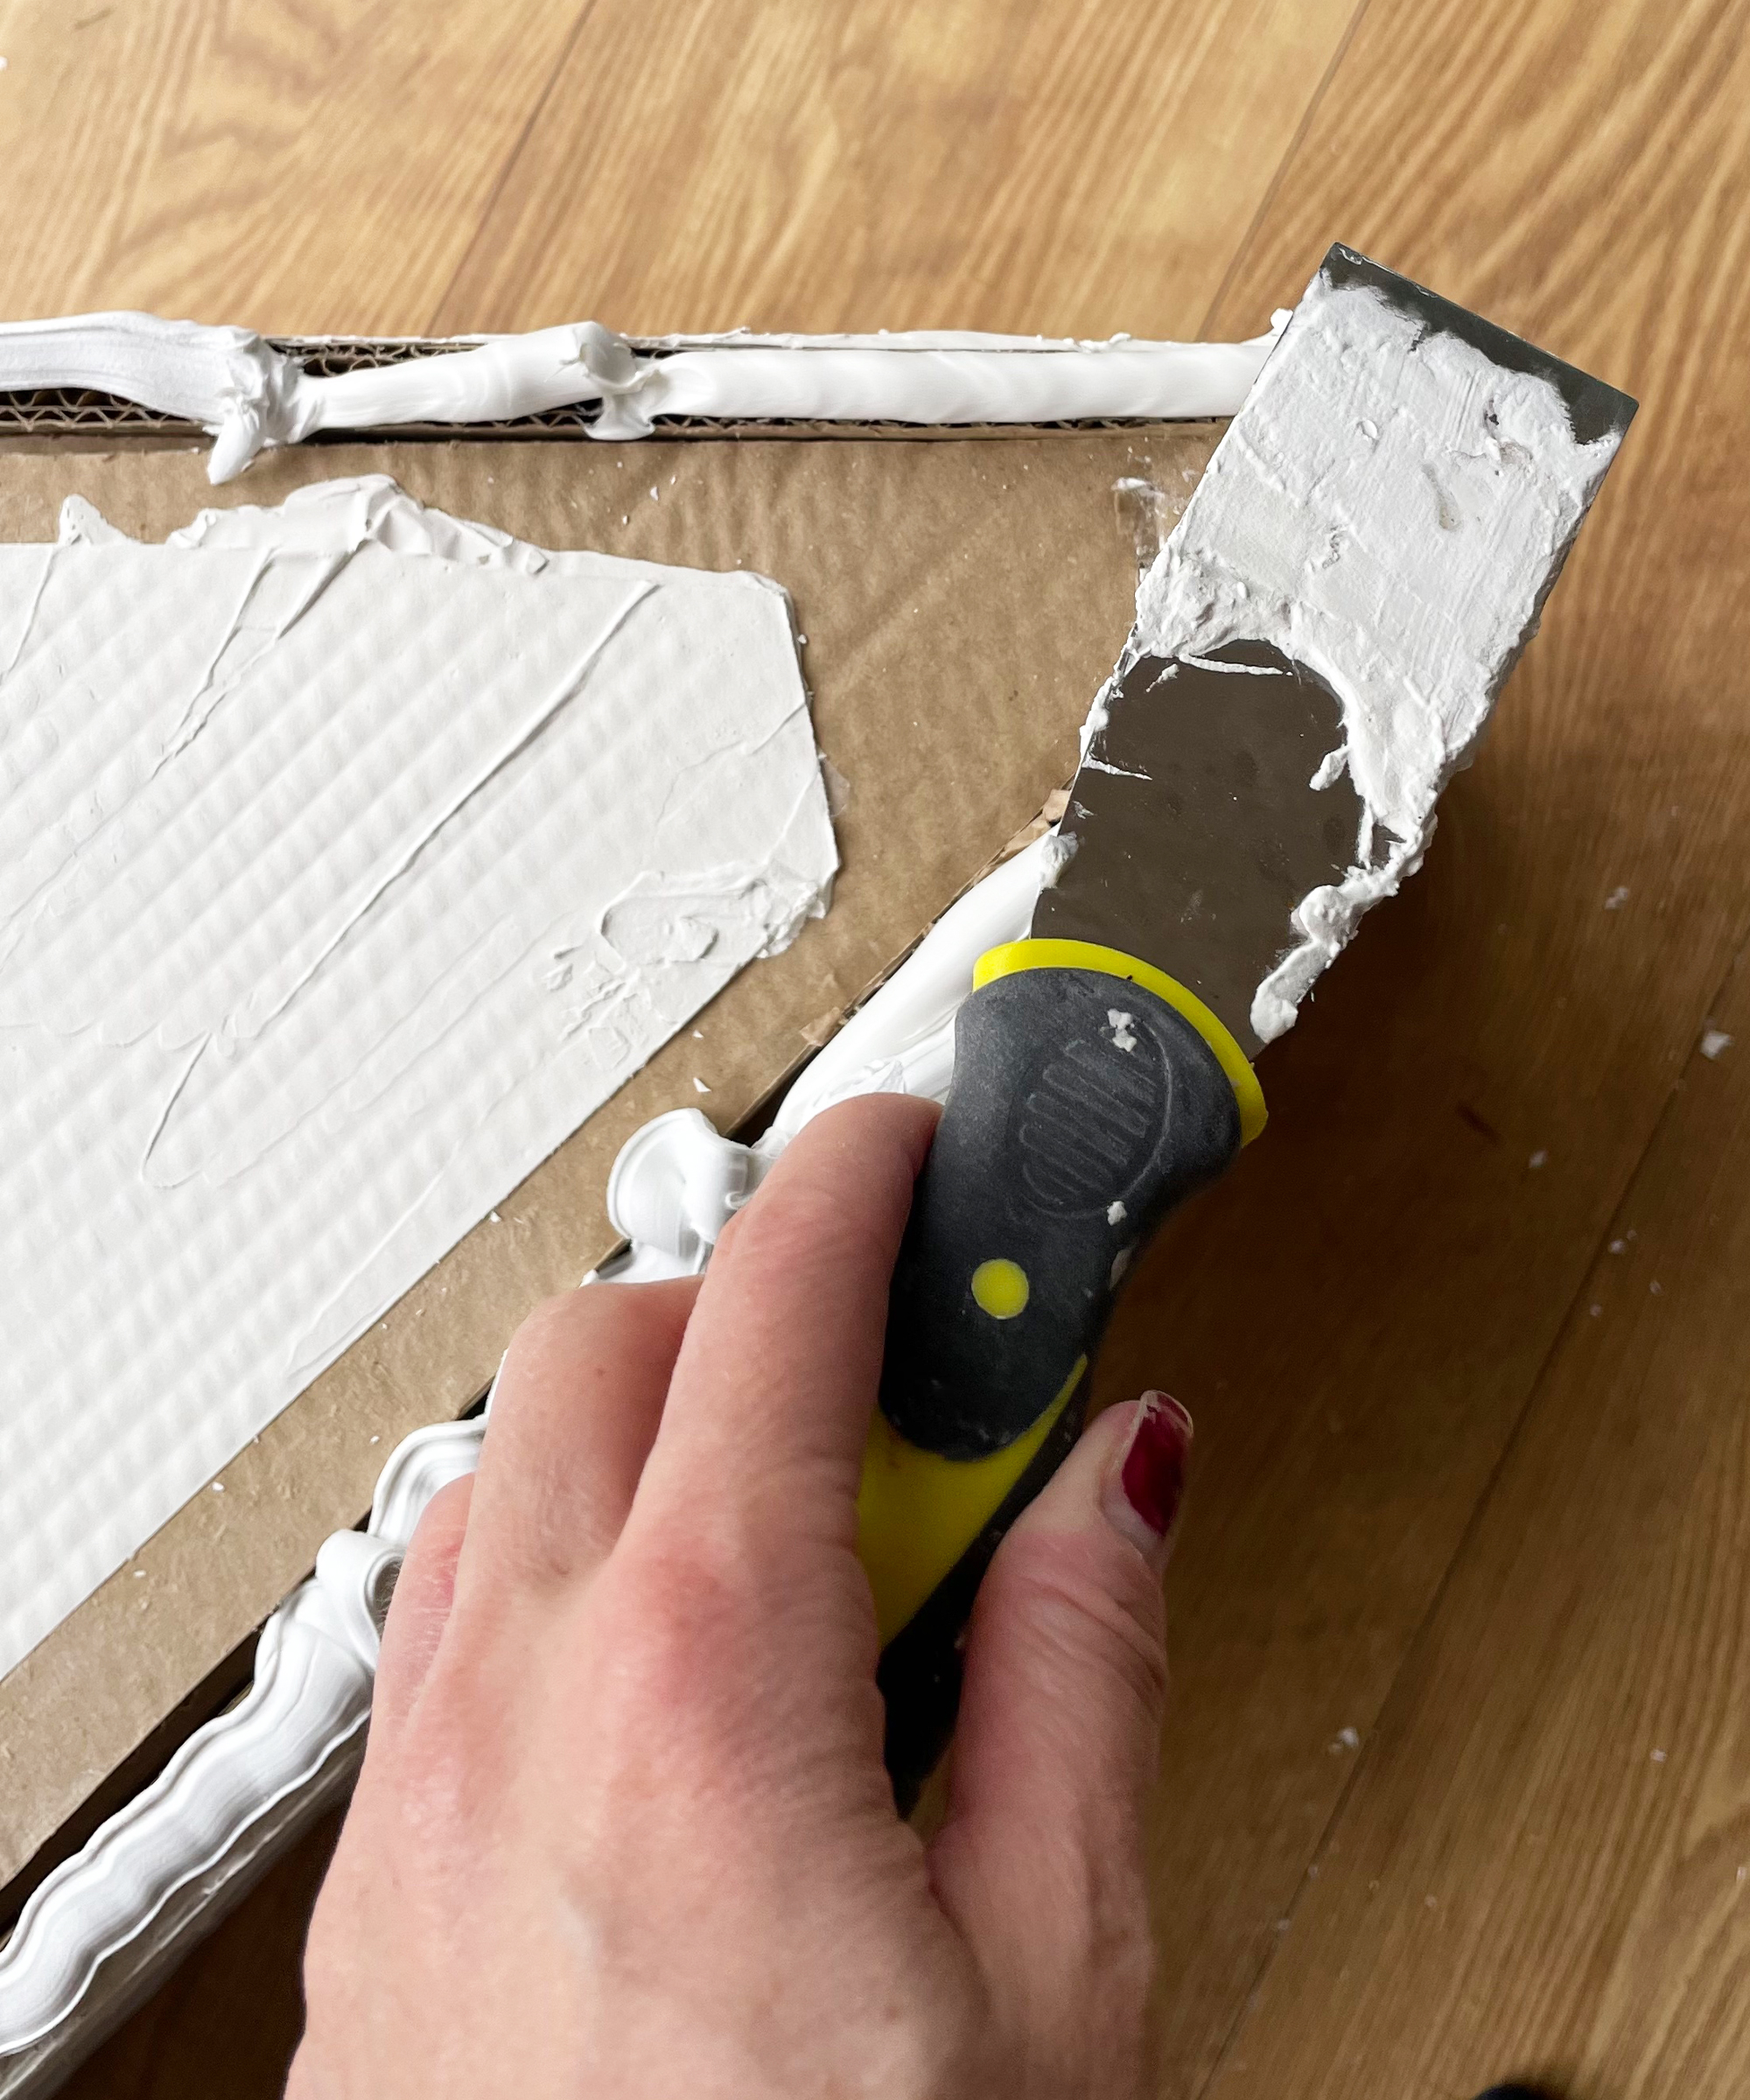
Once the adhesive is dry, build the DIY coffee table, connecting the sides with the tabs you created. Don’t worry if there are gaps in the joins where the faces meet.
Fill the gaps grab adhesive and smooth with a palette or taping knife to create the edge. Choosing a taping knife with some flexibility will make your life easier. The AXUS flexible caulking blade from Amazon would do nicely and is rated 4.5/5 stars from hundreds of happy shoppers.
You can even use parcel tape on the edges if you like. I tried this out and it worked fine. I focused on keeping this project simple so anyone can do it.
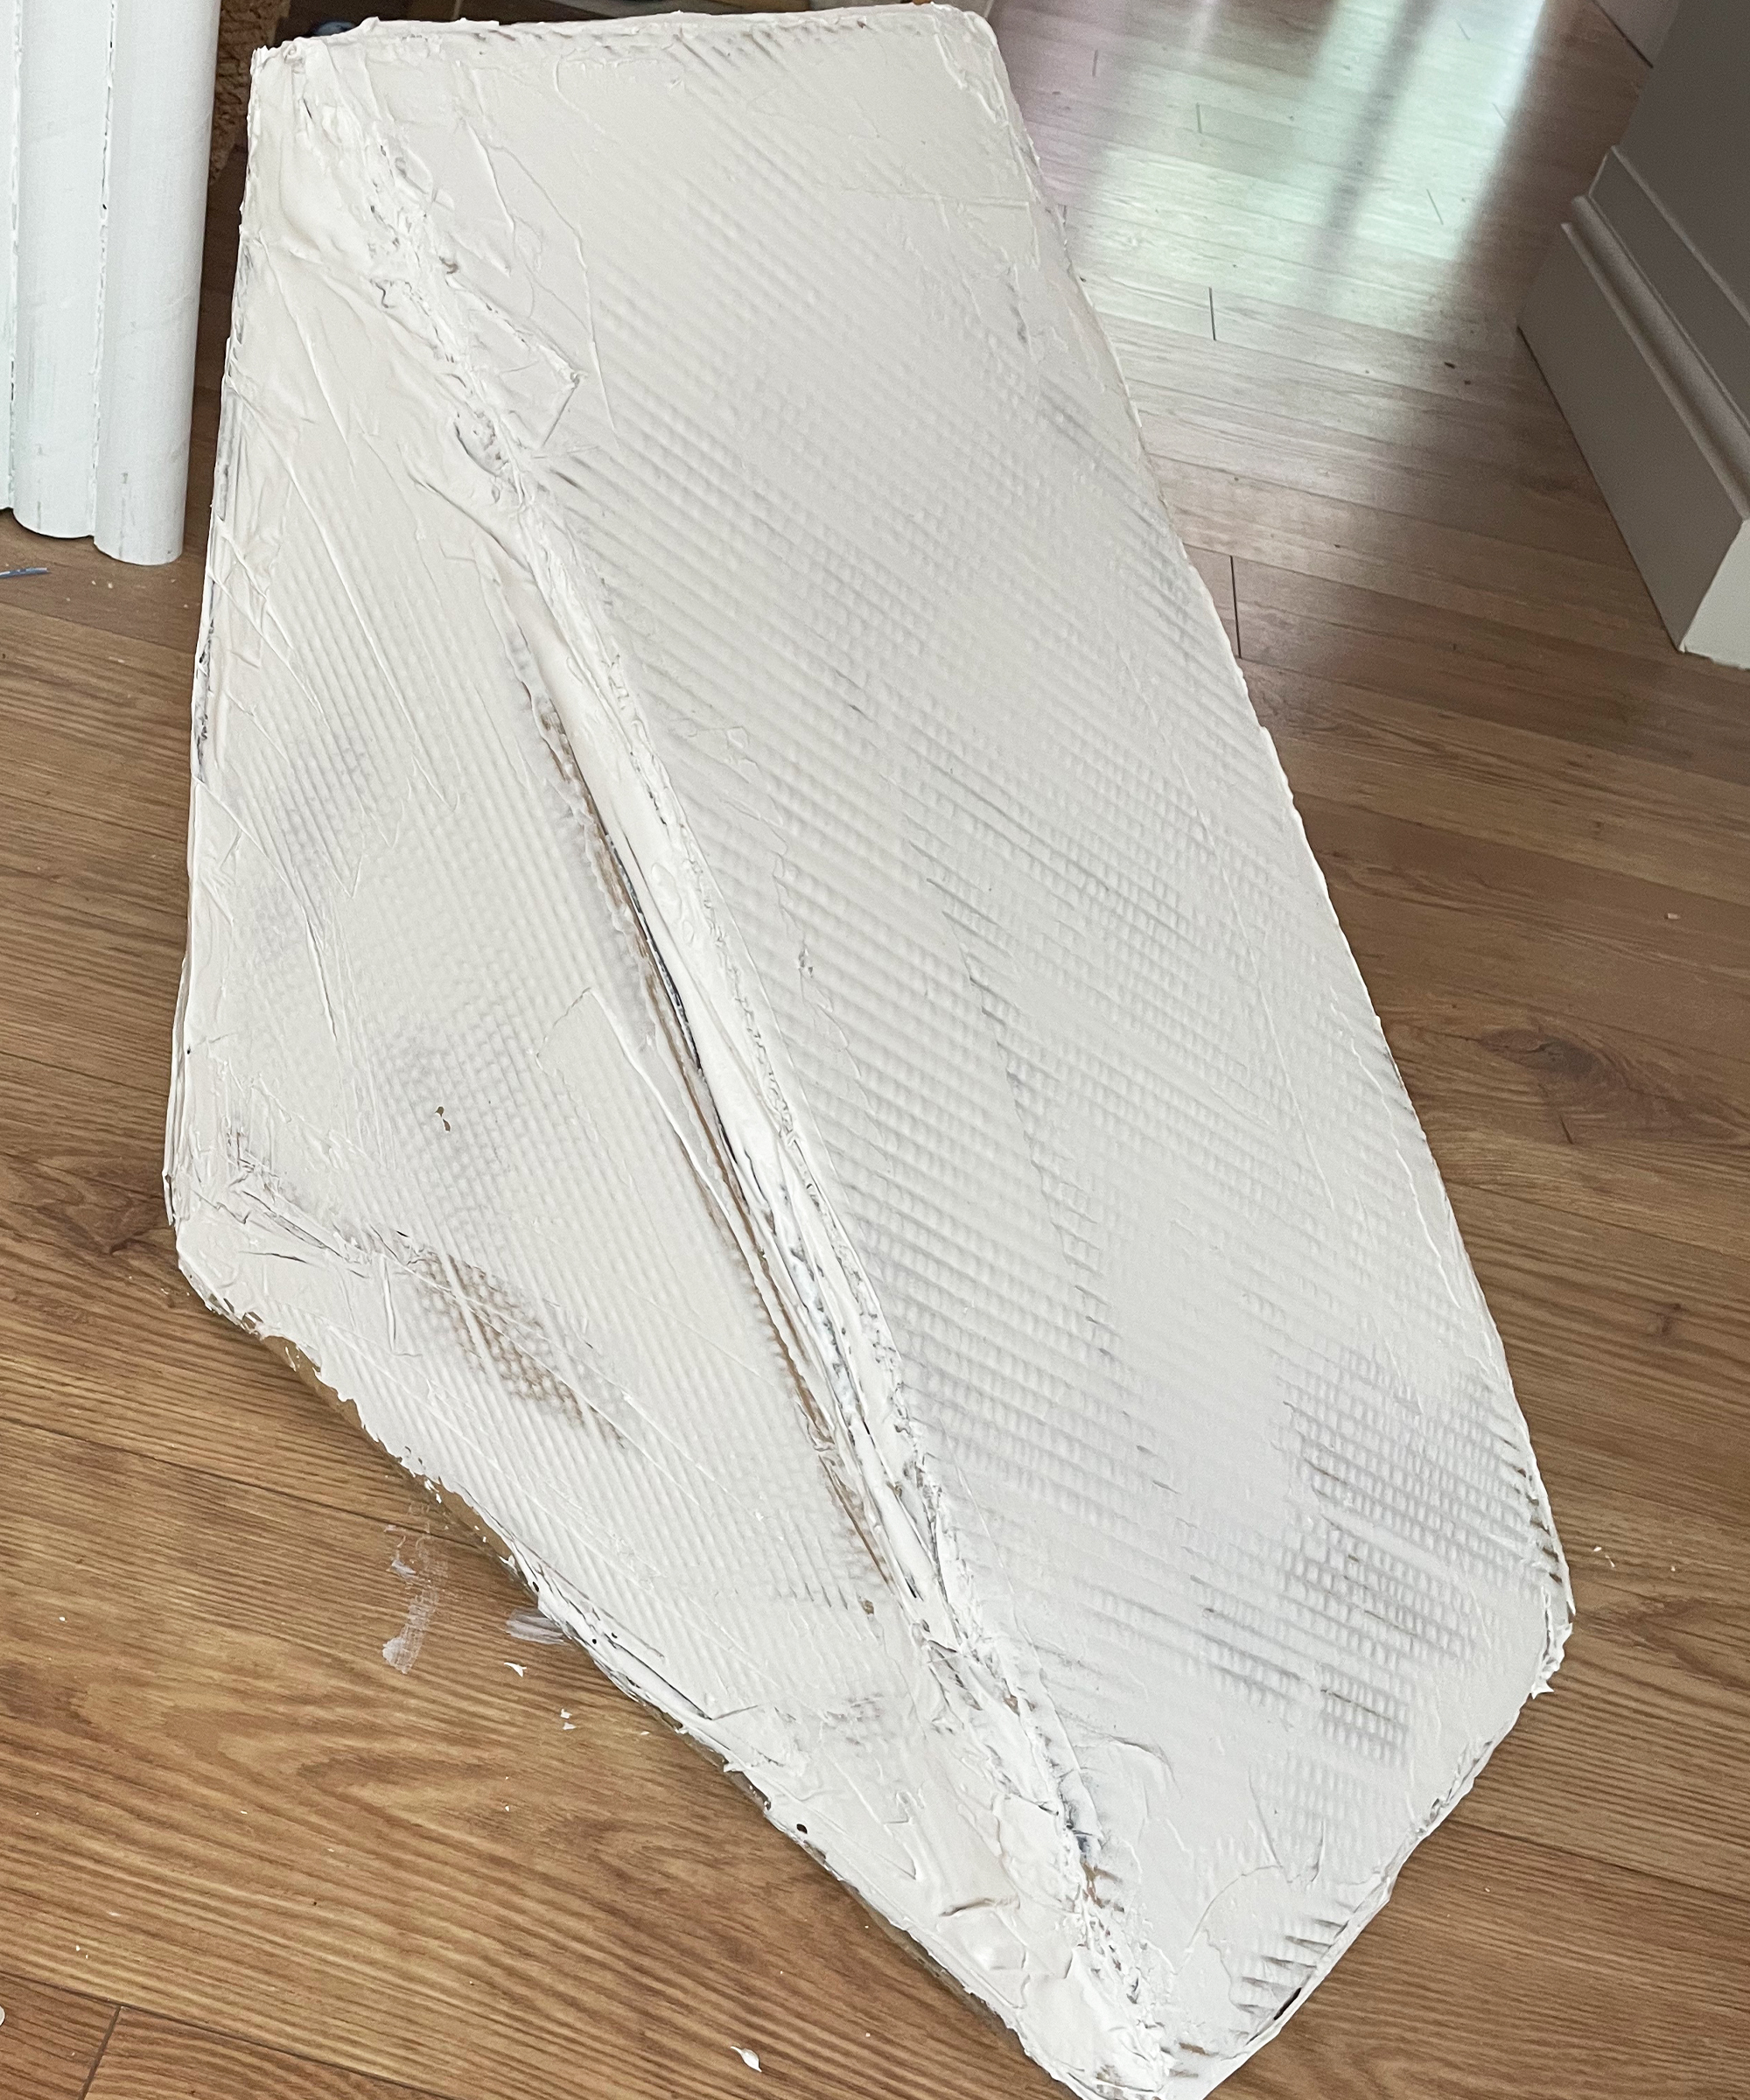
The patching plaster is brilliant at smoothing over any imperfections at the end, but I wanted the final piece to feel rustic and stone-like, so the more textured and imperfect, the better, as I felt this added to the effect.
Step 5. Seal the base
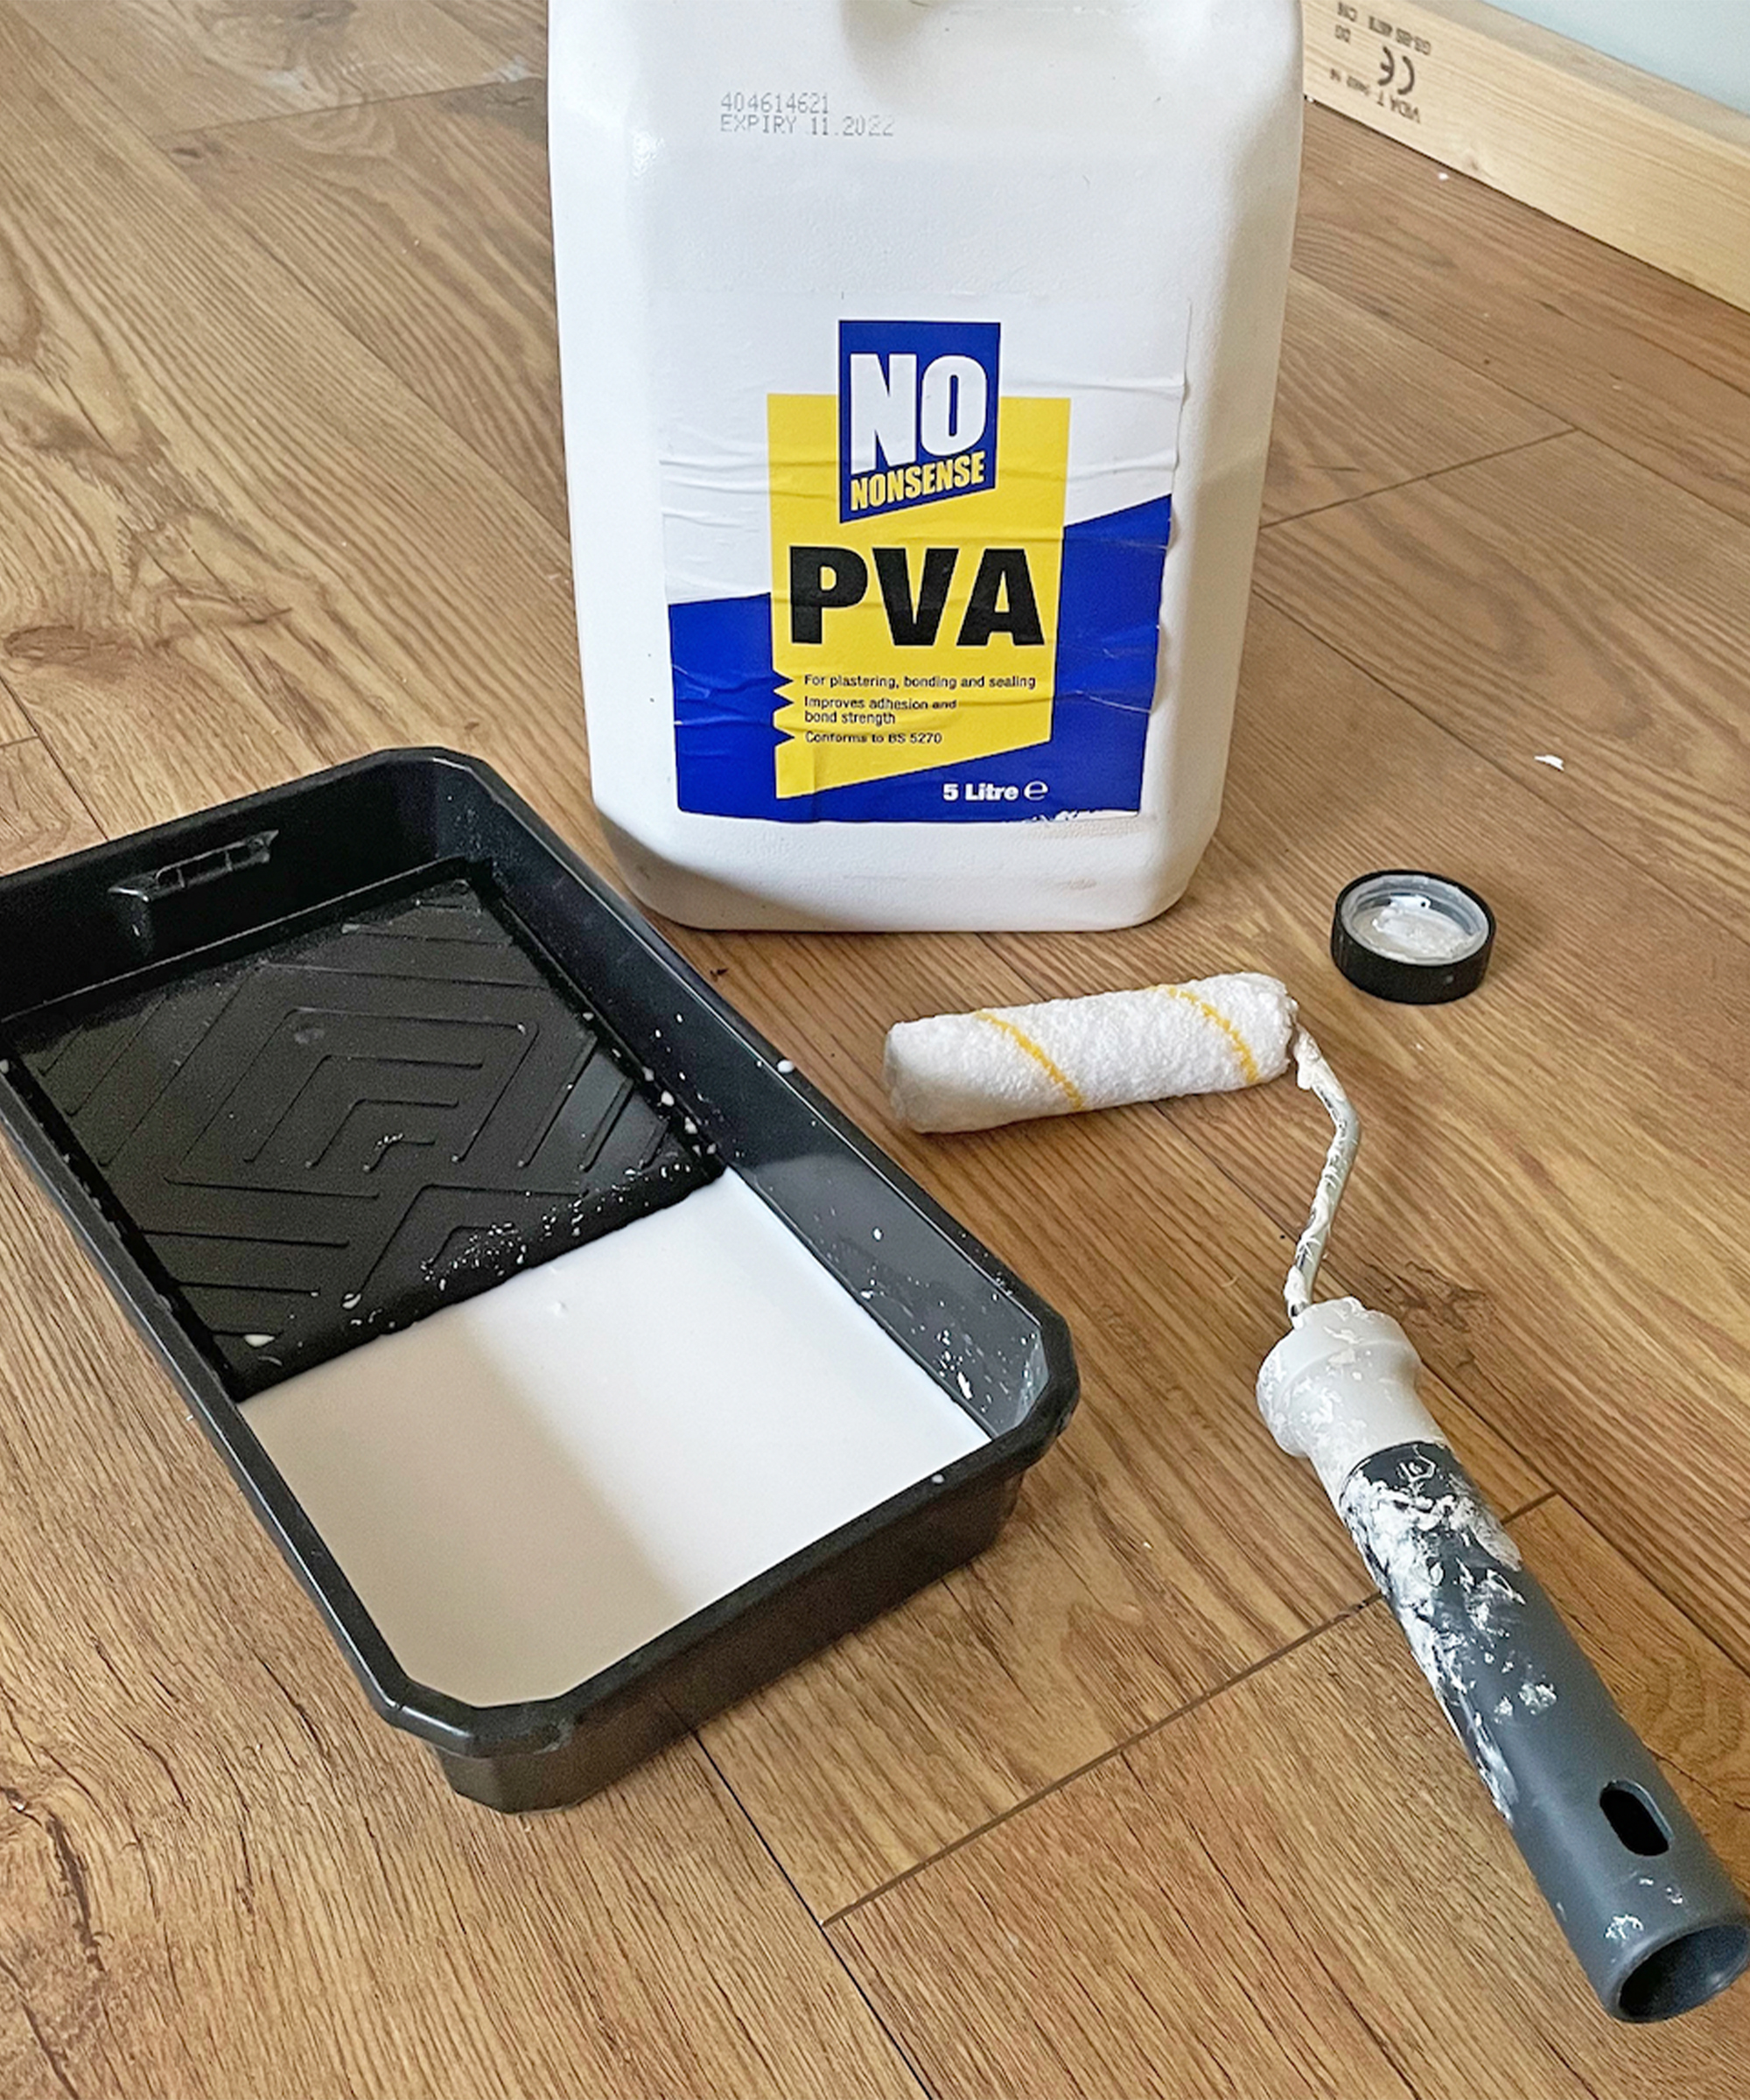
Once the cardboard base of your up-cycled cardboard DIY coffee table has been constructed, apply a layer of diluted PVA, aka Elmer's glue, as a primer. Elmer's glue is readily available at Walmart and is safe and solvent-free. It's also easy to clean up with soap and water, making it a great choice for DIY projects in your home. This seals the cardboard and forms a base for the plaster to adhere to.
Once the glue has dried, it’s time to apply your ready-mixed plaster. I used my trusty spreading tool, which I use on all my microcement projects, but you could use a cheap trowel (such as the Anvil stainless steel finishing trowel from The Home Depot, or their pointer trowel for more accuracy) or improvise with a piece of plastic or similar if you are keeping the costs as low as possible.
Step 6: Apply the plaster
Apply only two or three thin layers of plaster. You don’t want them to be too thick, or they might shrink and crack. Spread the plaster evenly over the DIY coffee table one face at a time. Don’t try to create the vertices in one go, as the plaster will be too soft.
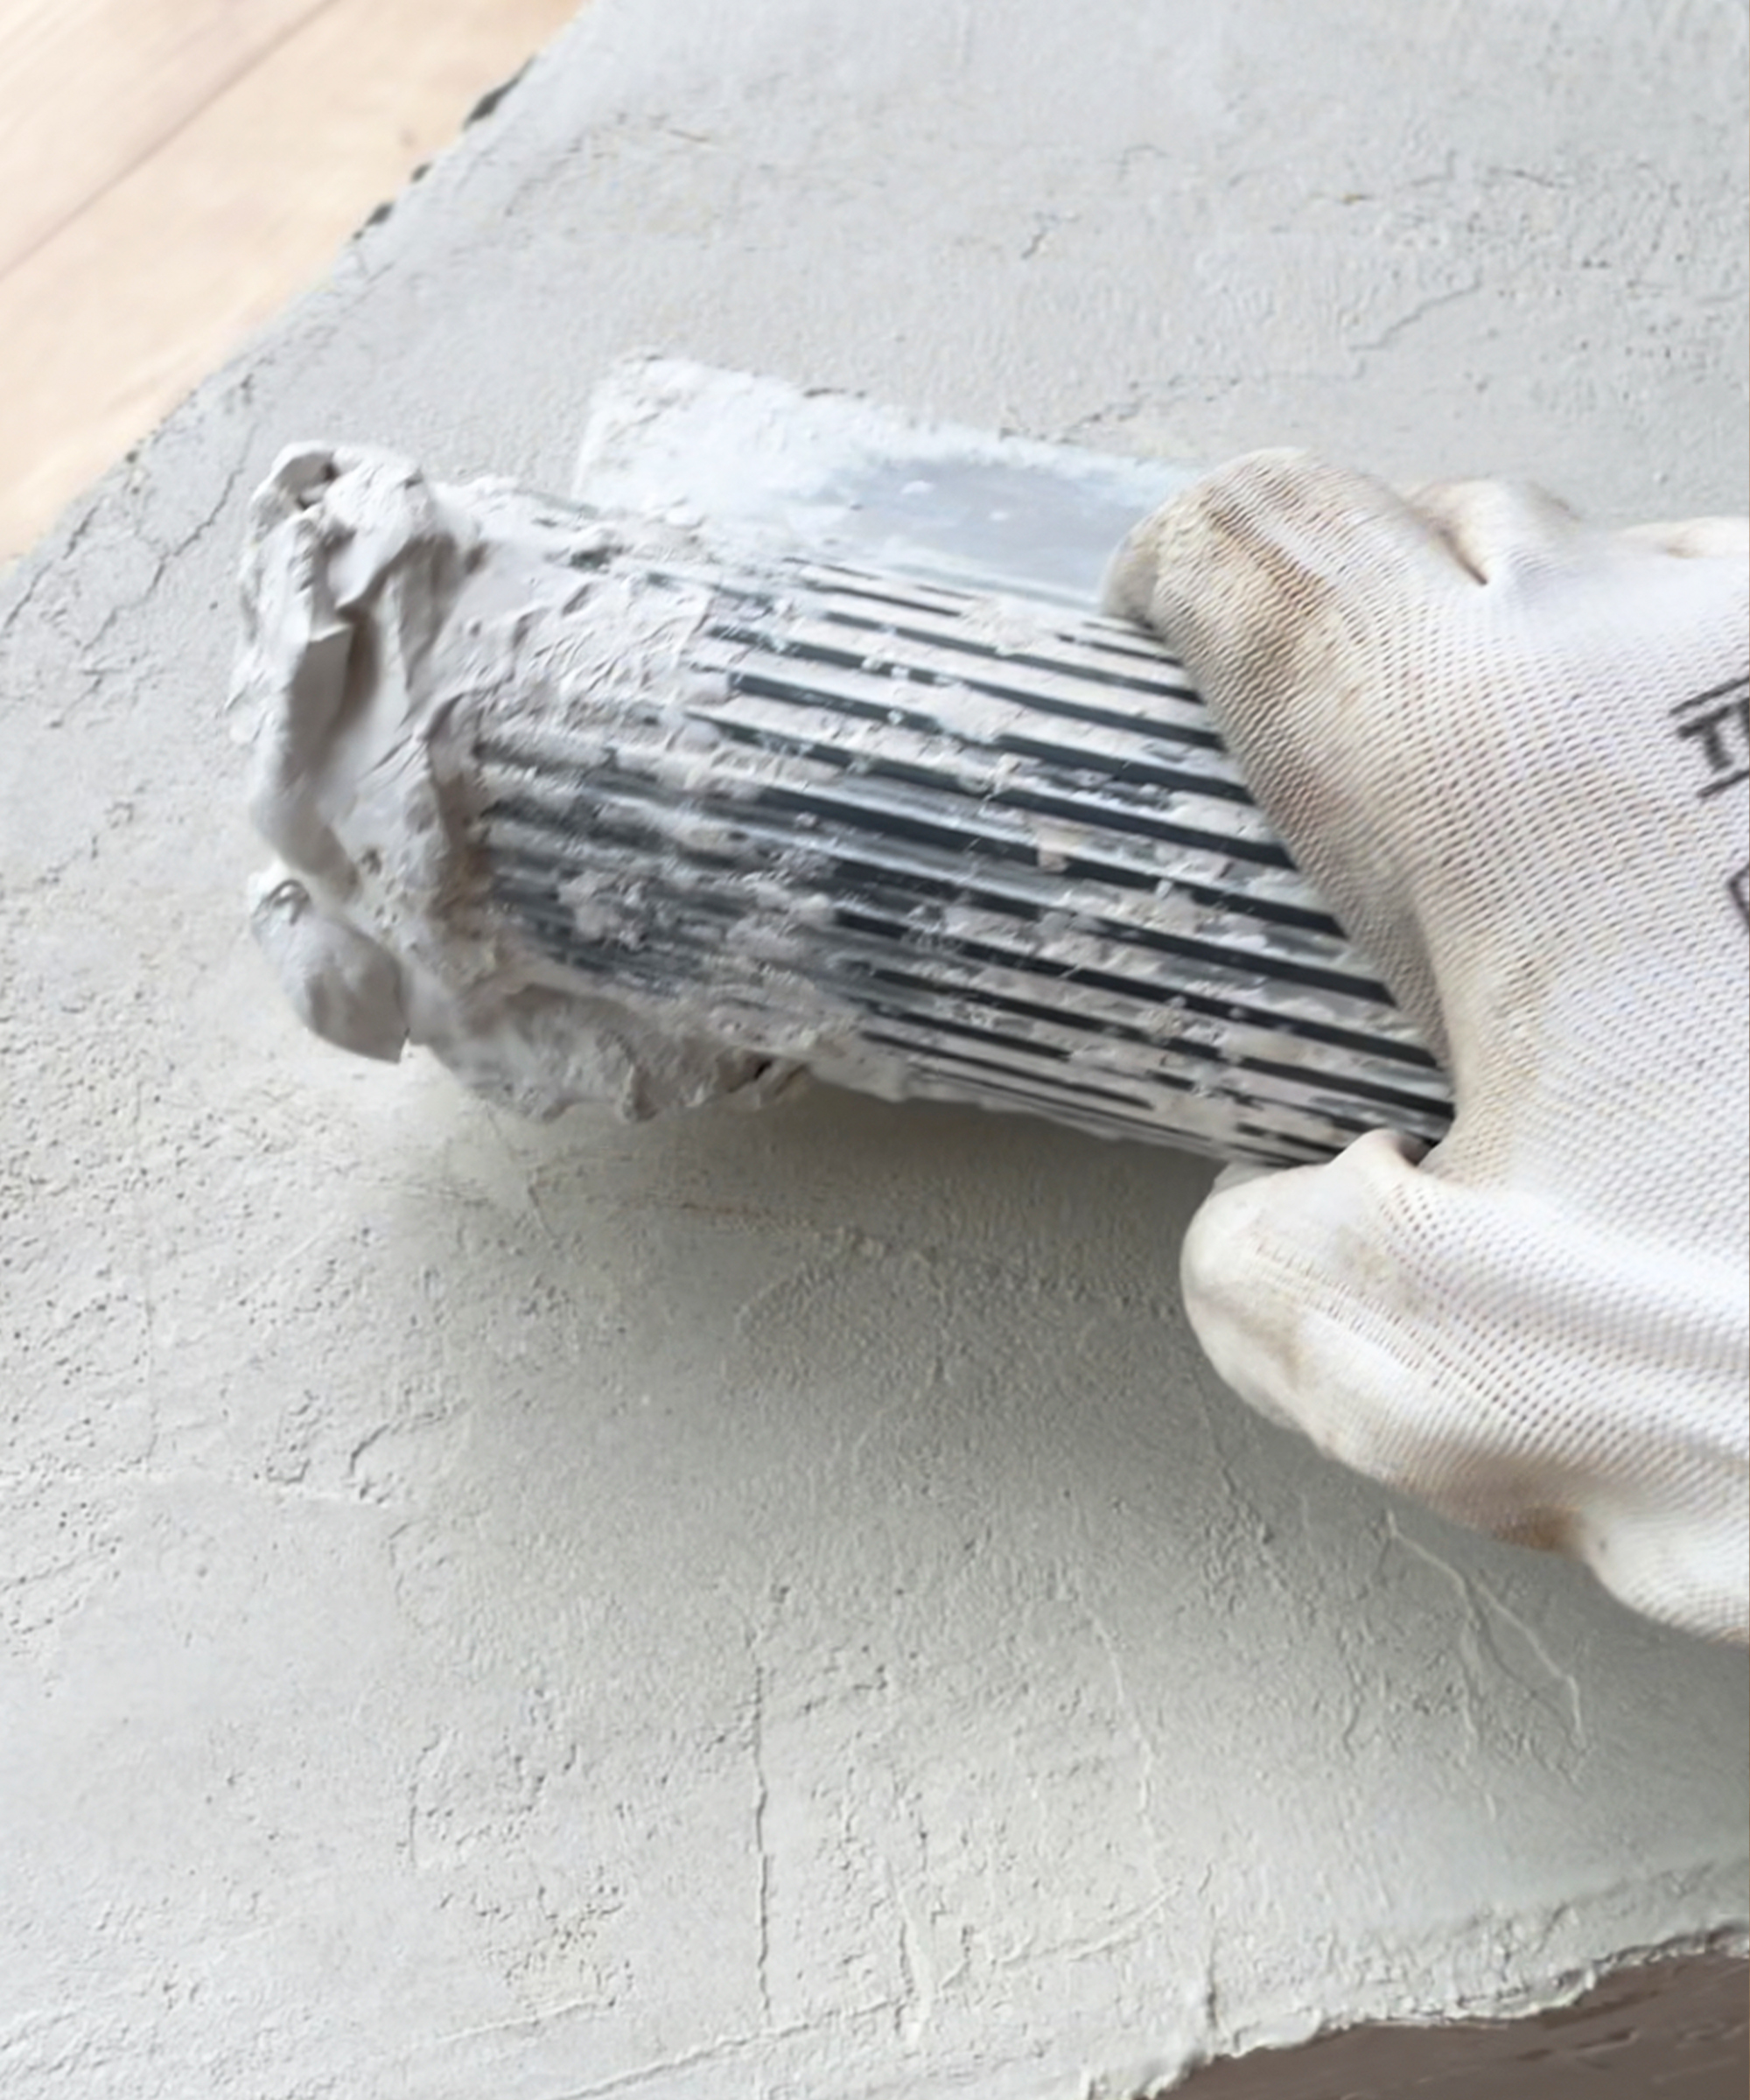
The best approach I found is to spread it over one side of a join and allow it to set, as this forms a firm base for you to spread the adjoining edge up to.
Allow it to dry, then take your sander or sandpaper and apply medium pressure (as detailed in our guide to sanding) to shape the neat join you want for a precision finish. I wanted a more natural and rustic look, so I chose not to sand the edges too neatly and the results were a more weathered stone-block effect.
If you decide to sand the dried plaster, be sure to take the coffee table outside if you can, or use a mask and sander with a dust extractor.
Step 7: Finishing touches
To ensure your beautiful new stone-effect DIY coffee table can withstand the wear and tear of home life, it's a good idea to give the finished article a spray with a sealant. Sealing the plaster surface will make cleaning a doddle and prevent spillages and stains from ruining the high-end look of your DIY furniture.
Once sealed, it's time to get styling. Shop your home to save money styling your coffee table; remember, less is more, as you don't want the piece to look cluttered. Stacking a curated collection of books is always a winner for coffee table styling or adding a vase of flowers from the garden for color, texture and your favorite home fragrance.
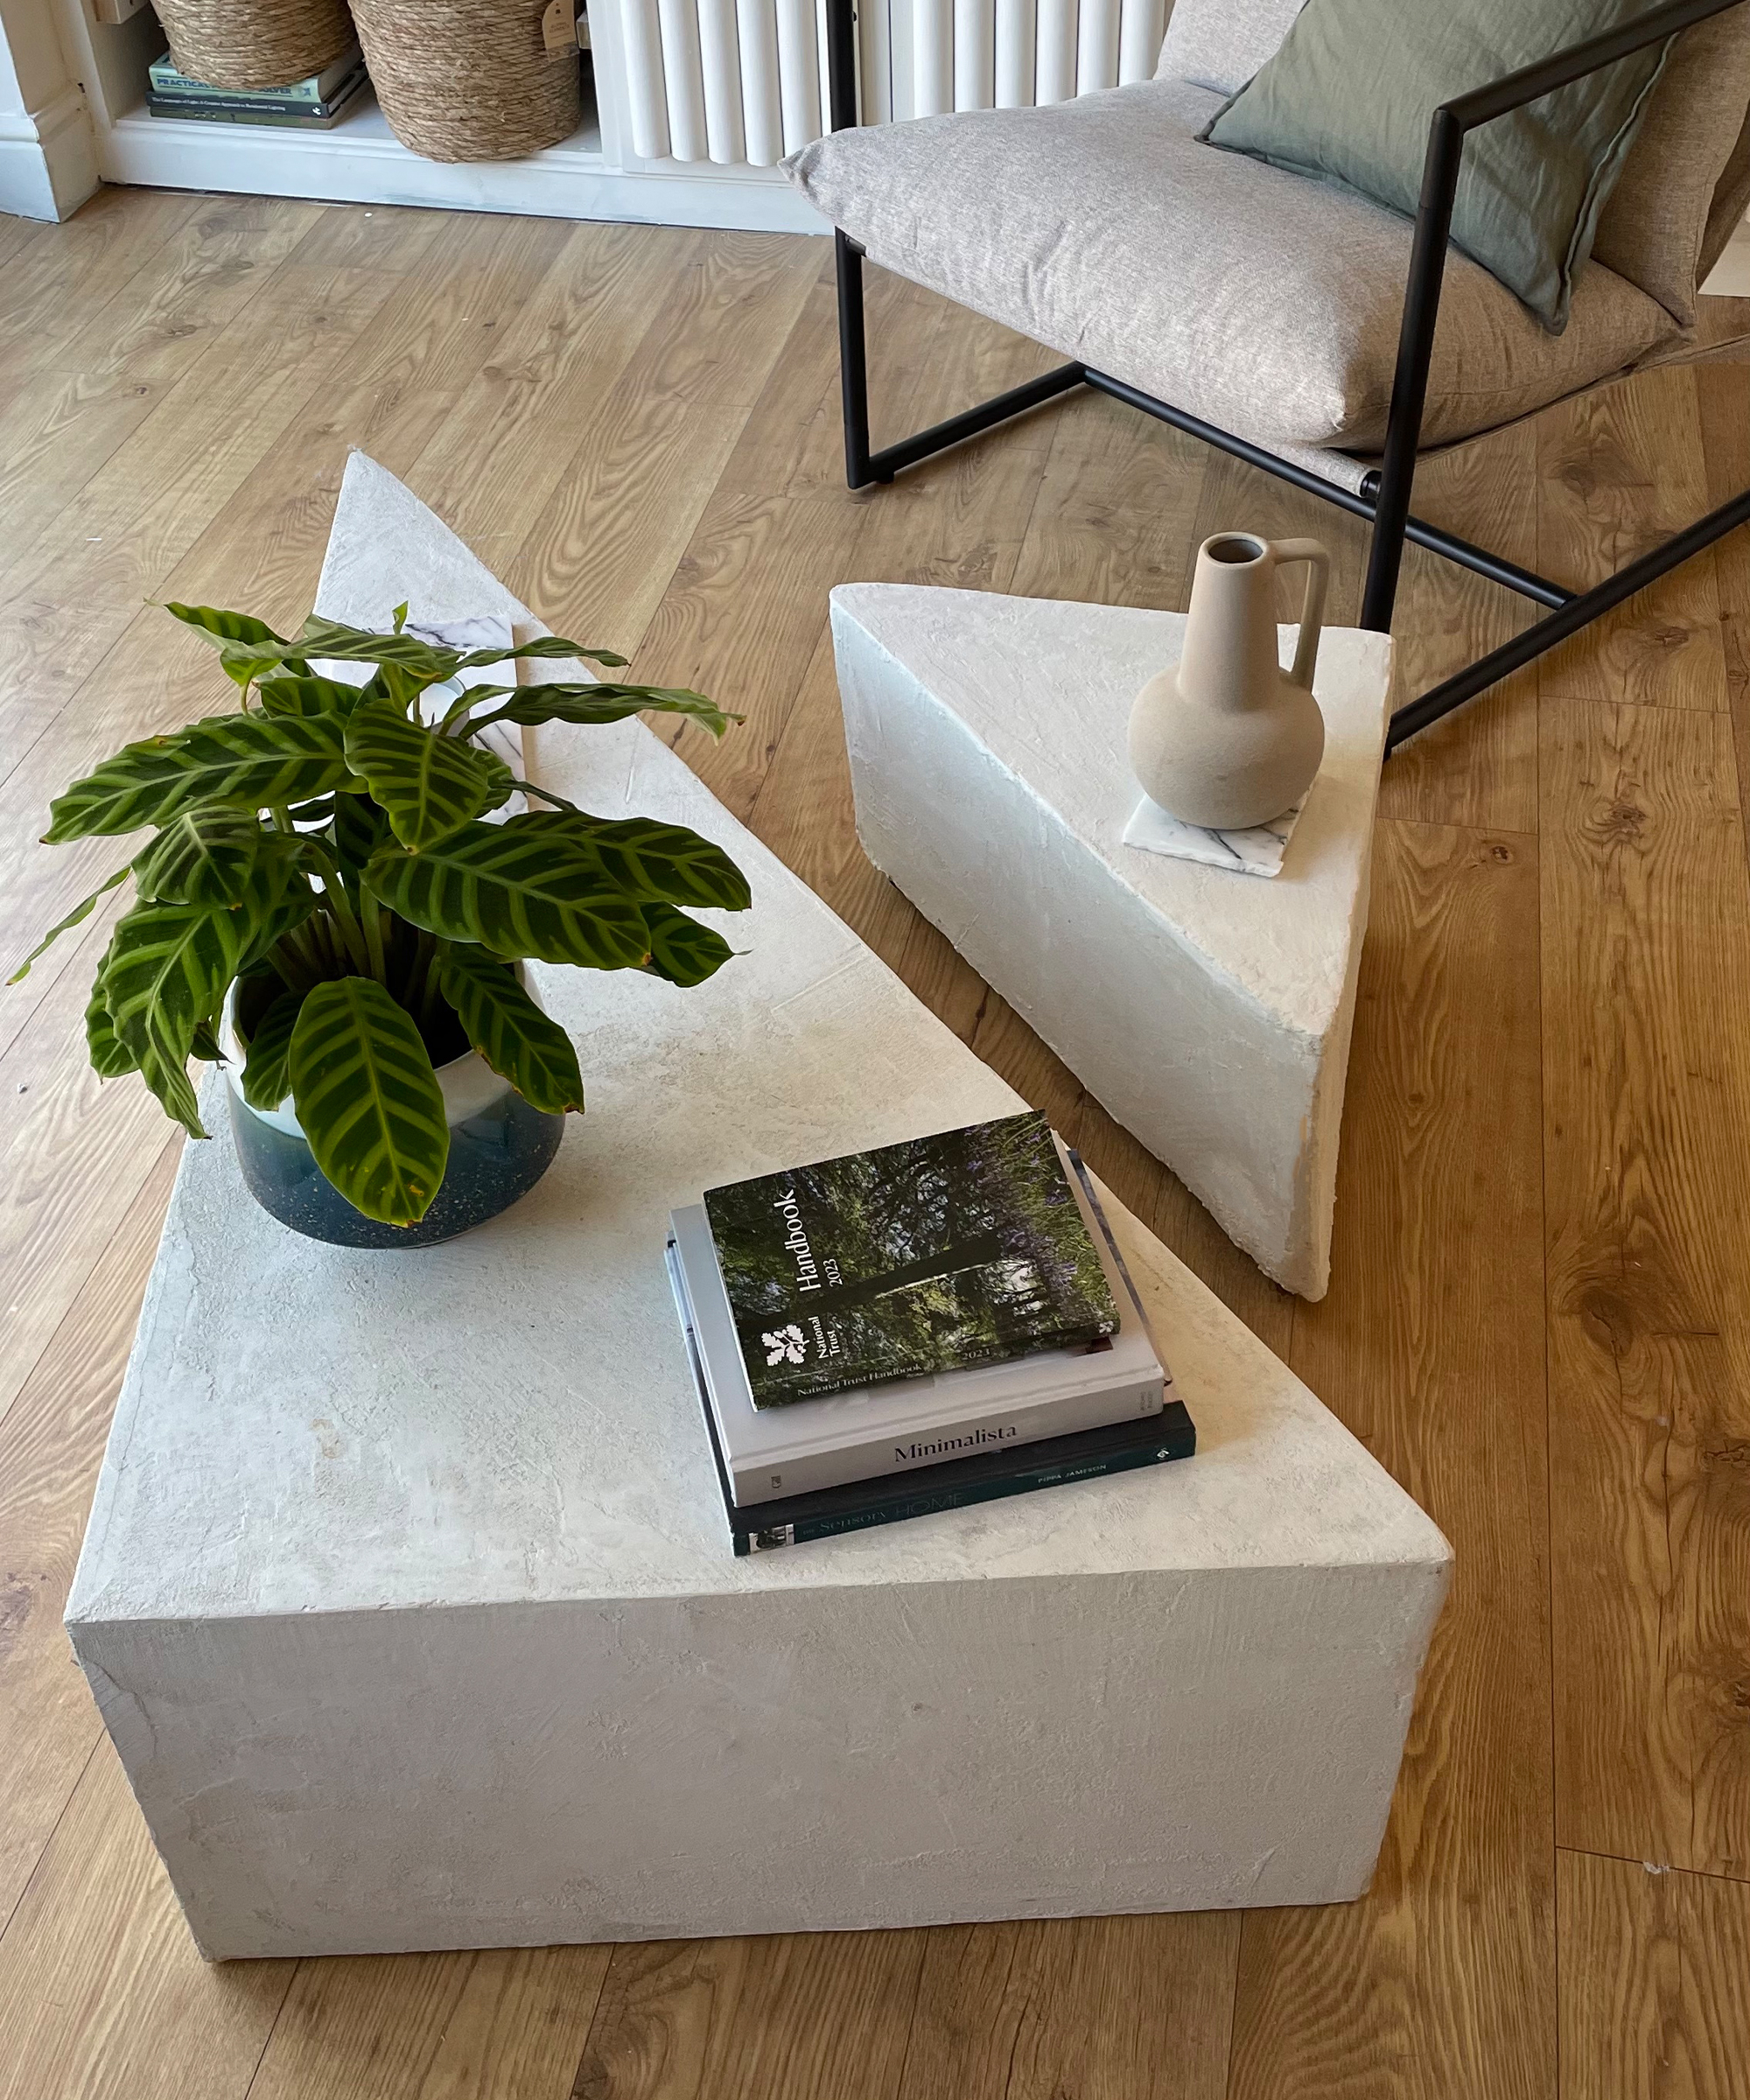
So there you have it! A beautiful, contemporary DIY coffee table that you can customize in so many ways. If you want to paint it, do so before you seal it.
Now you're in the DIY mood, give our small entryway DIY ideas a whirl to welcome your guests in with some personalized and unique touches.