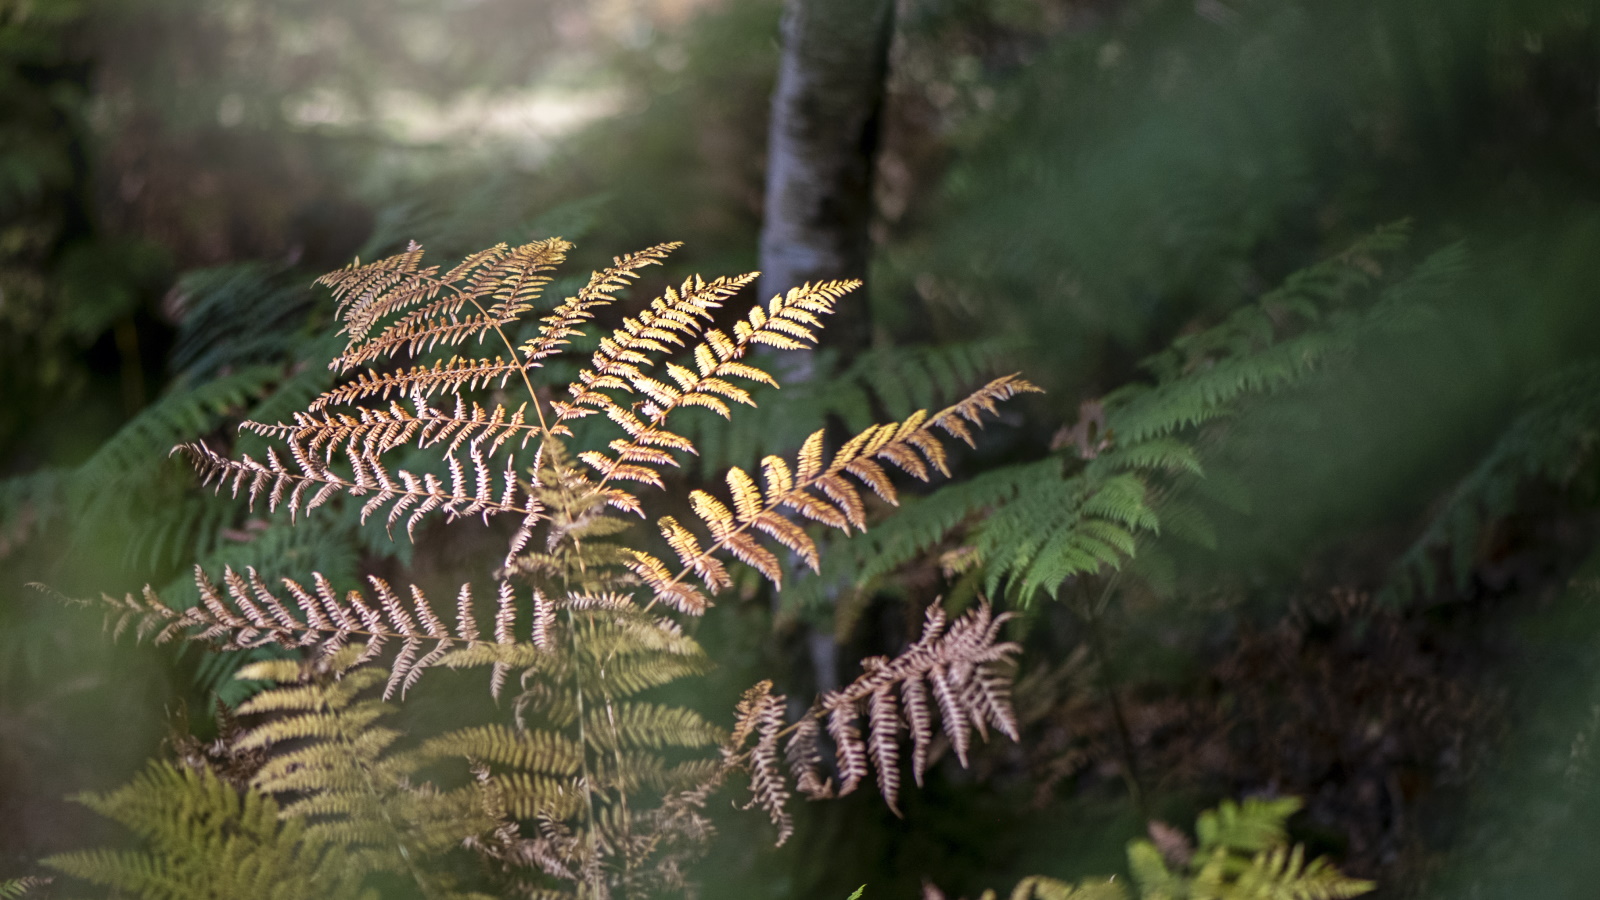
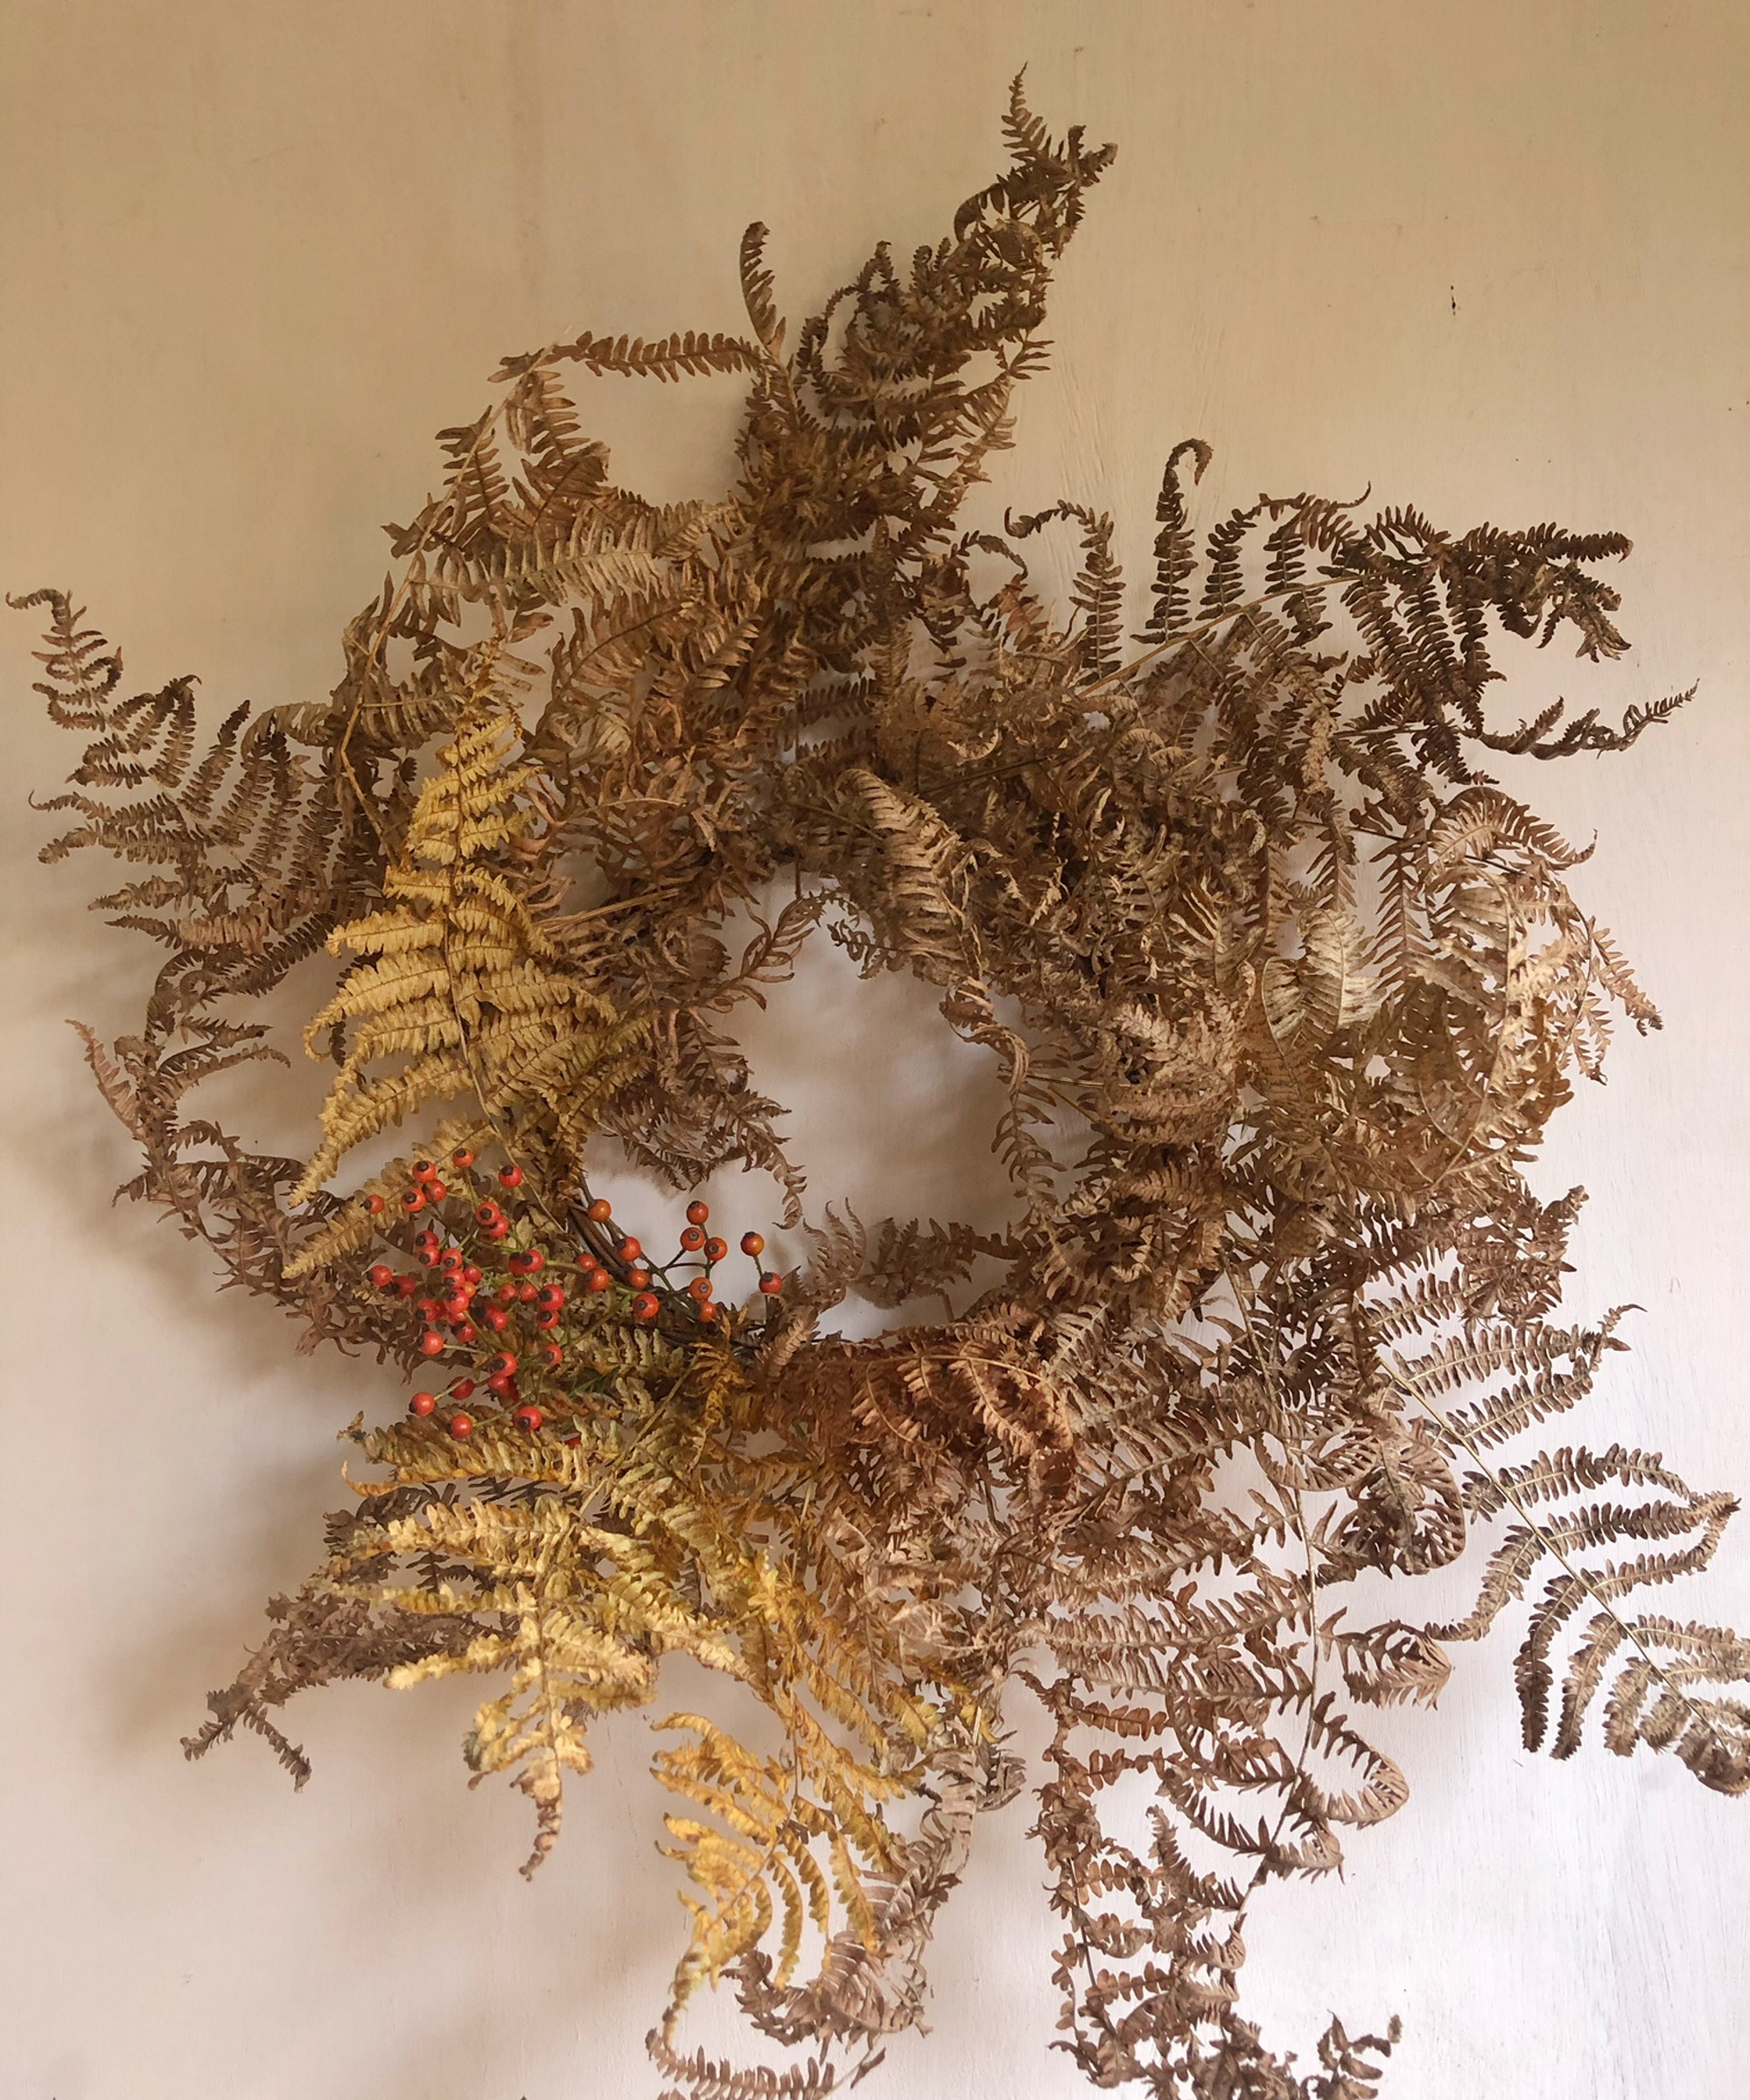
Bracken leaves are a fairly common sight in the colder months as the large, fan-shaped fern fronds begin to take on copper and ochre hues in fall. You may think of these plants as common weeds, owing to their vigorous growing habits, but bracken is in fact a wonderfully delicate and shapely foliage that works well in many fall craft ideas, especially a bracken wreath.
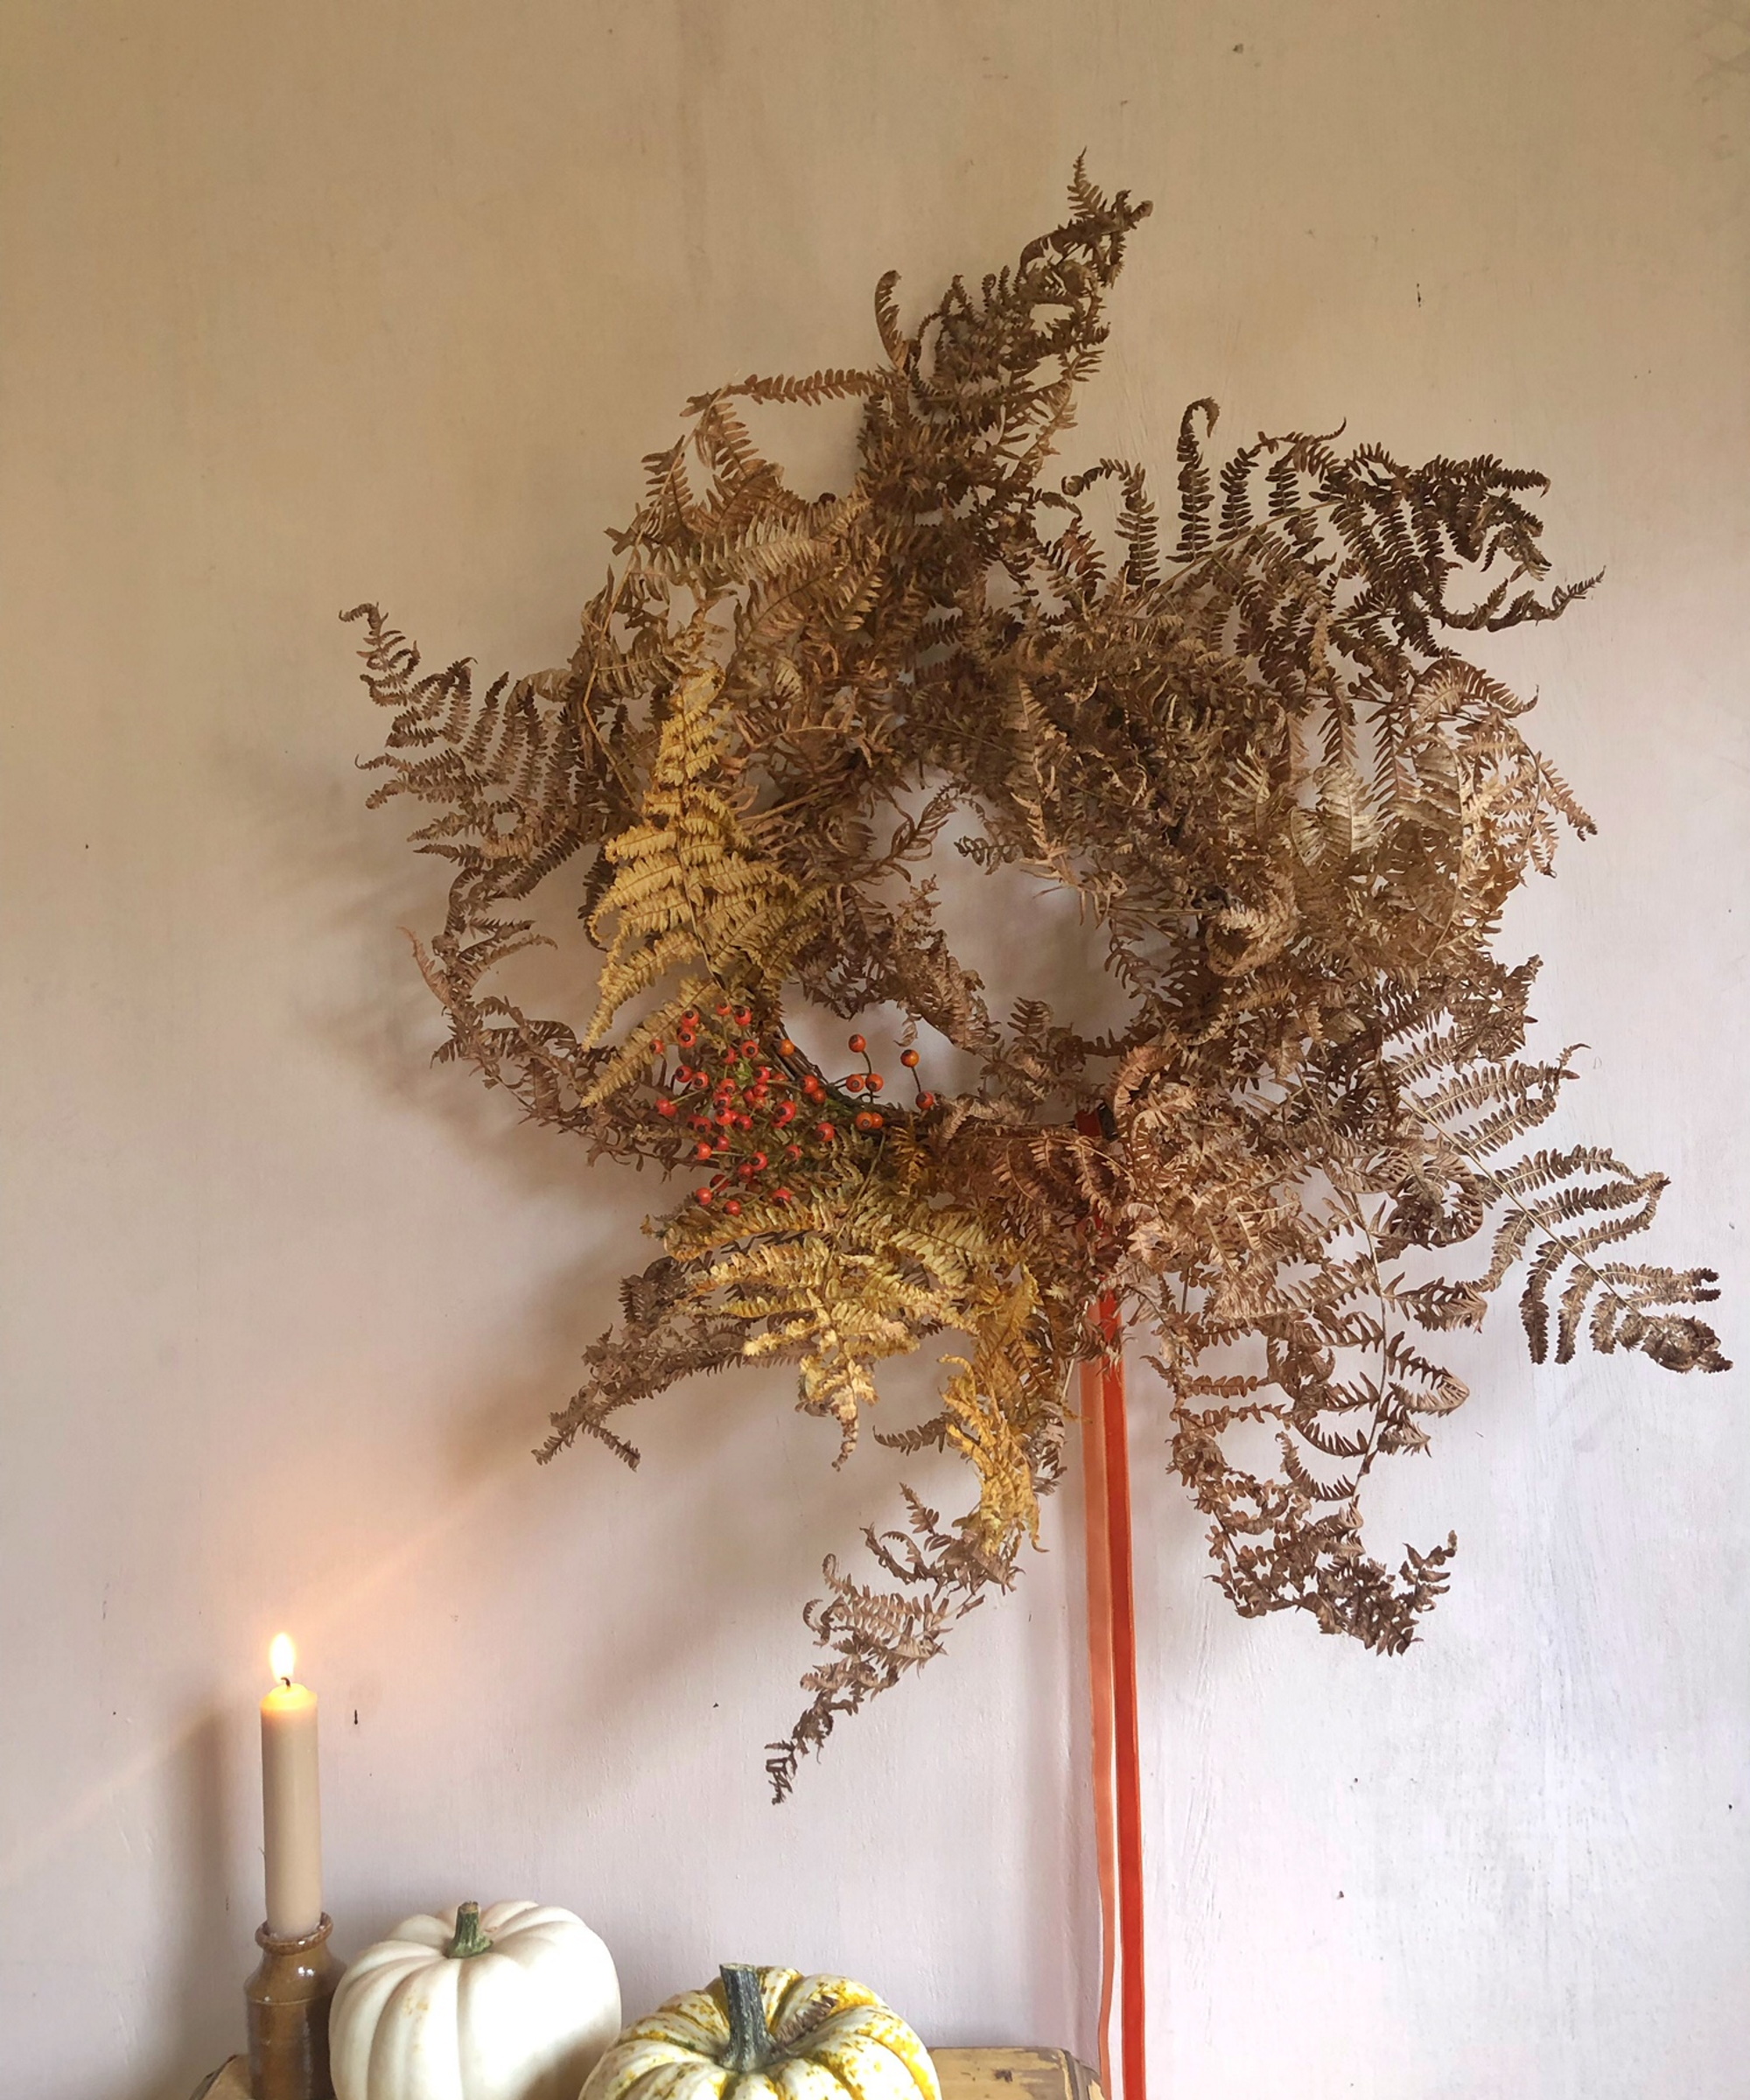
This design is super versatile: it would work indoors above a mantel or as a statement wall decoration in an entryway. Alternatively, you can hang it on your front door as a welcoming, seasonal accent - perfect for Thanksgiving.
During my time as a professional floral designer, these kinds of natural, dried wreaths became hugely popular with clients. We used to make enormous ones using hula hoops and chicken wire as a base, which made a big impact when hung on a wall.
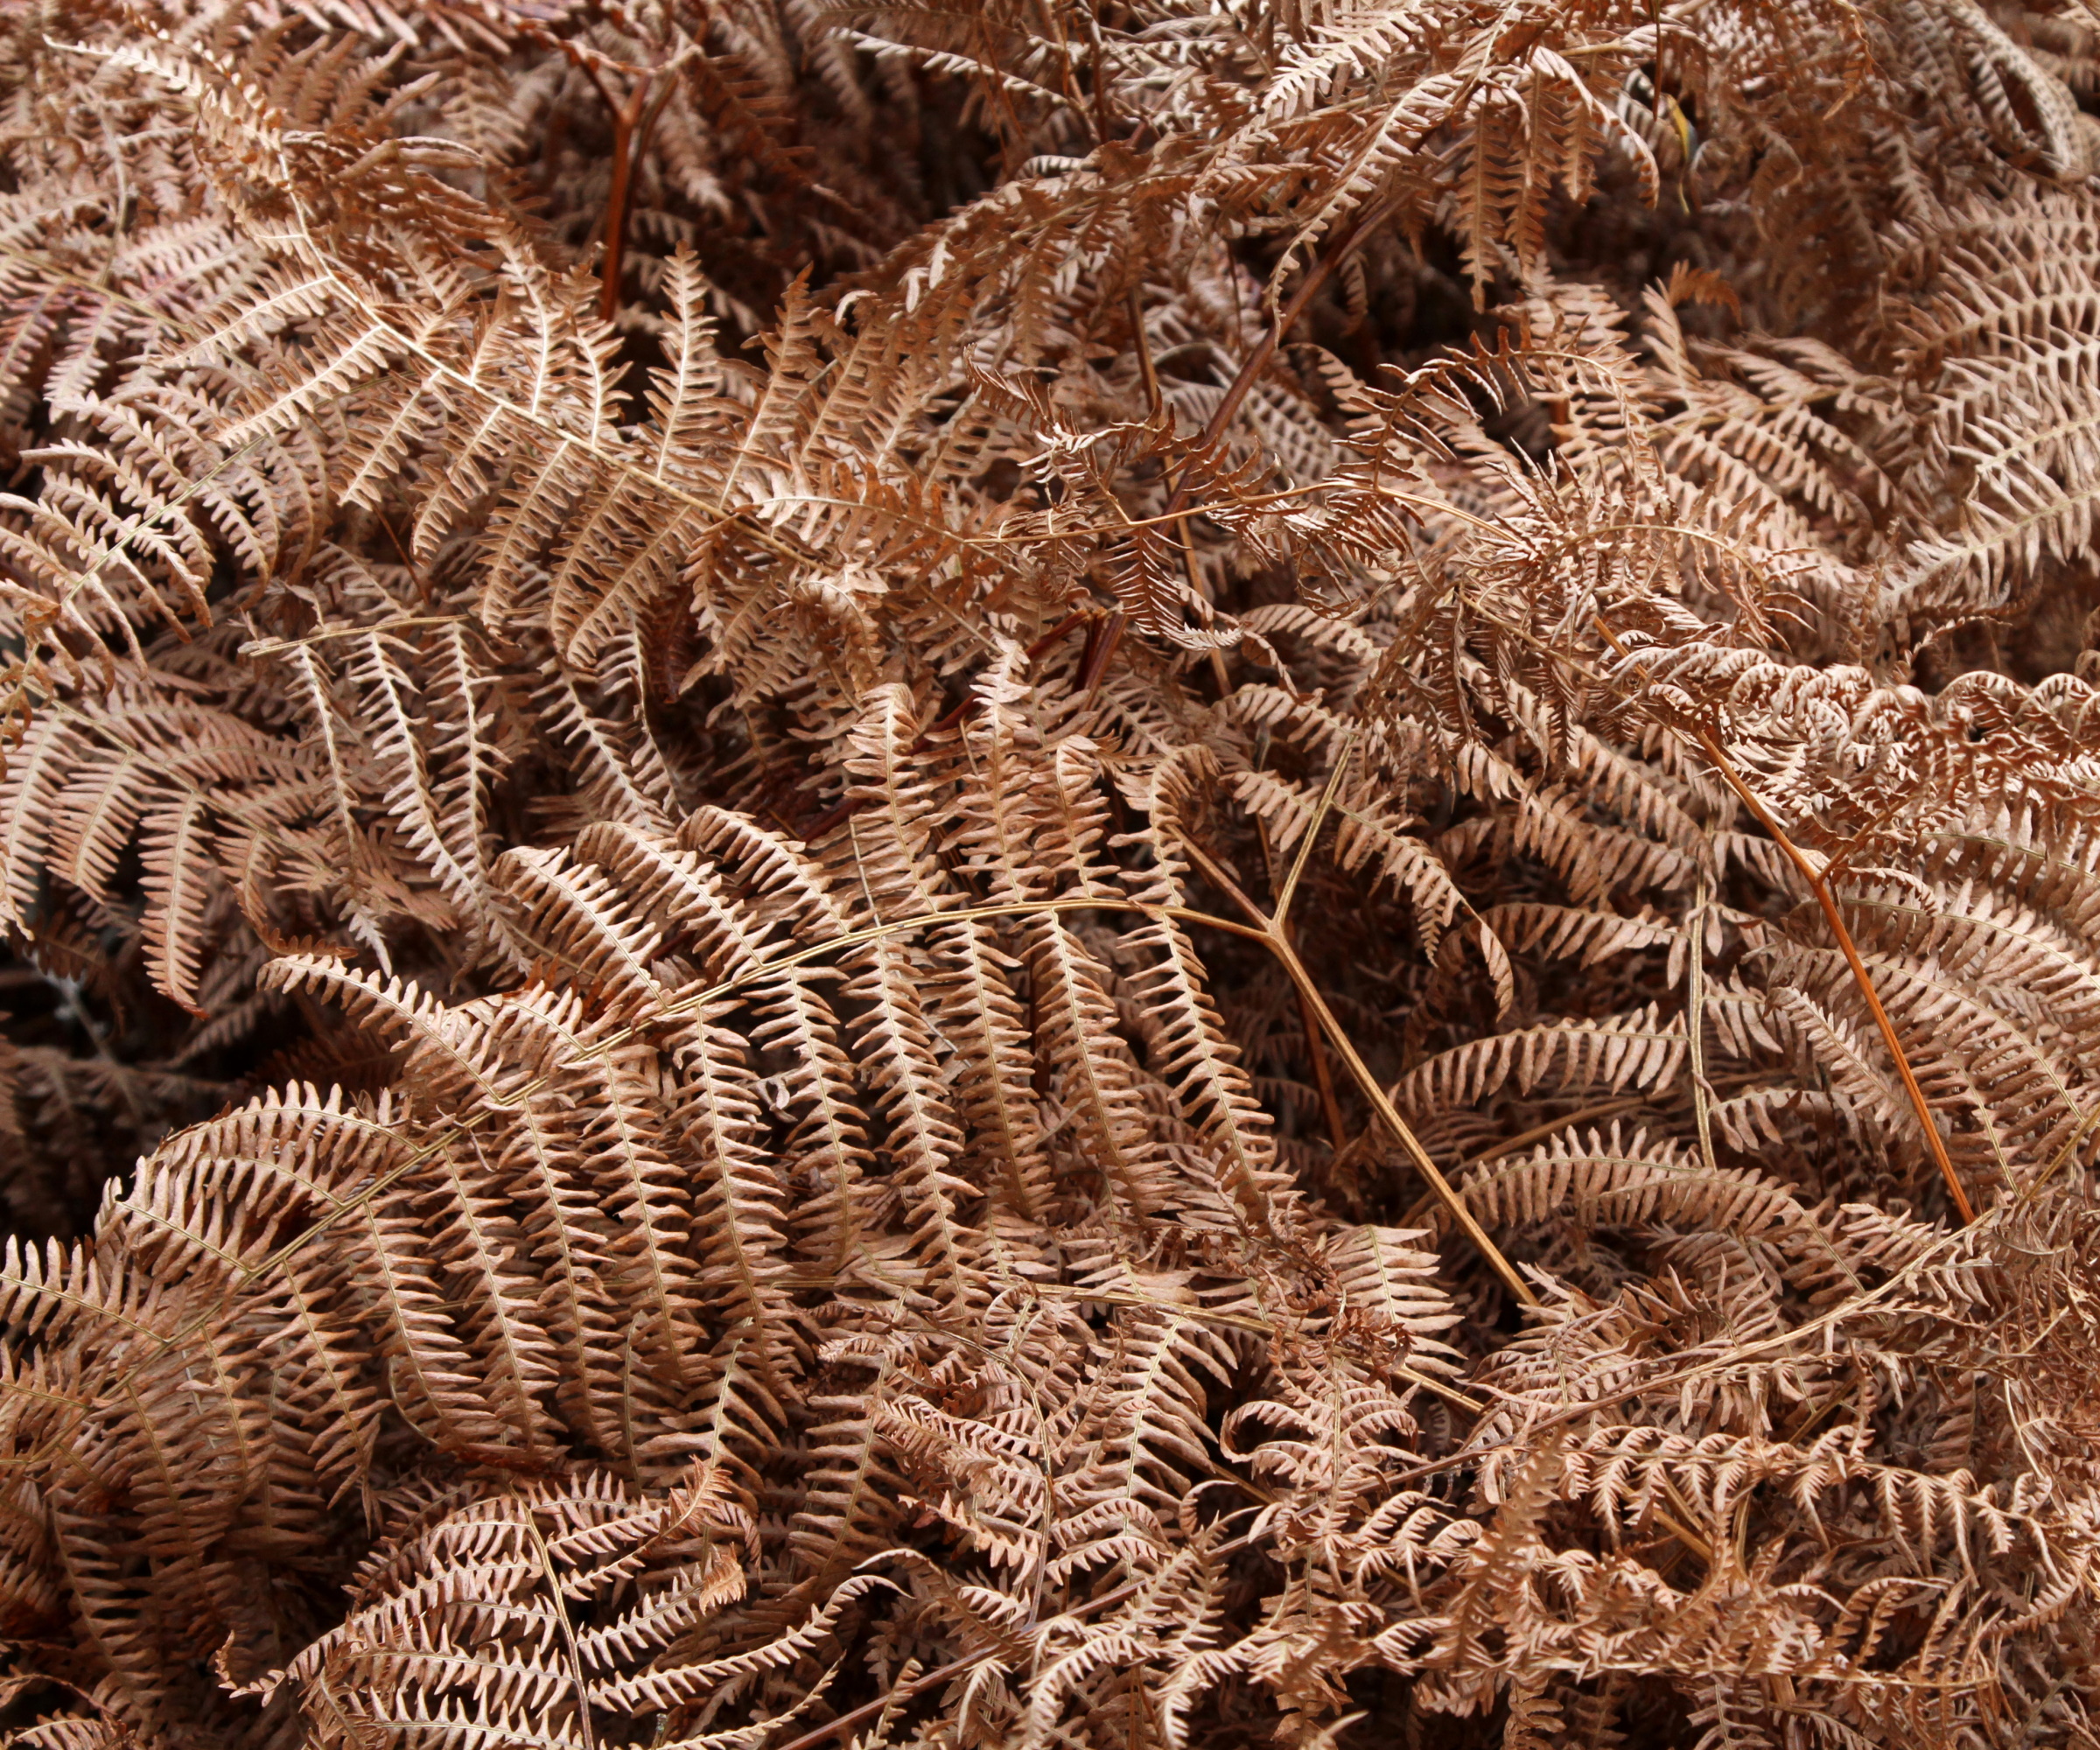
If you don’t have any naturally growing in your yard, you can usually find plentiful supplies of bracken in woodlands, heathlands and forests. Anywhere you can locate a vastly planted area of trees, there will usually be swathes of bracken carpeting the woodland floor.
How to make a bracken wreath in 8 simple steps
Follow these simple steps for a professional-looking, seasonal wreath design using foraged, natural ingredients.
You will need:
- Foraged bracken - approximately 30 leaves. (As with all responsible foraging, only snip bracken stems where there is an abundance of this fern growing in one place.)
- A small bunch of foraged red berries or rosehips (optional)
- A 10 or 12 inch wreath base made of twisted willow or natural grapevine, such as this one from Amazon
- Sharp, clean scissors
- 26 gauge floristry stub wires, such as these available on Amazon
- Velvet ribbon
Method:
- Take your bracken leaves and lay them out on a large table to see the different sizes and shapes you have collected.
- Select a leaf and gentry poke the stem into the wreath base at almost a 45 degree angle. Bracken becomes brittle when fully dried, so try to create it soon after you forage your leaves.
- Then take your next leaf and place this next to the first, with the natural curve of the leaf going in the same direction.
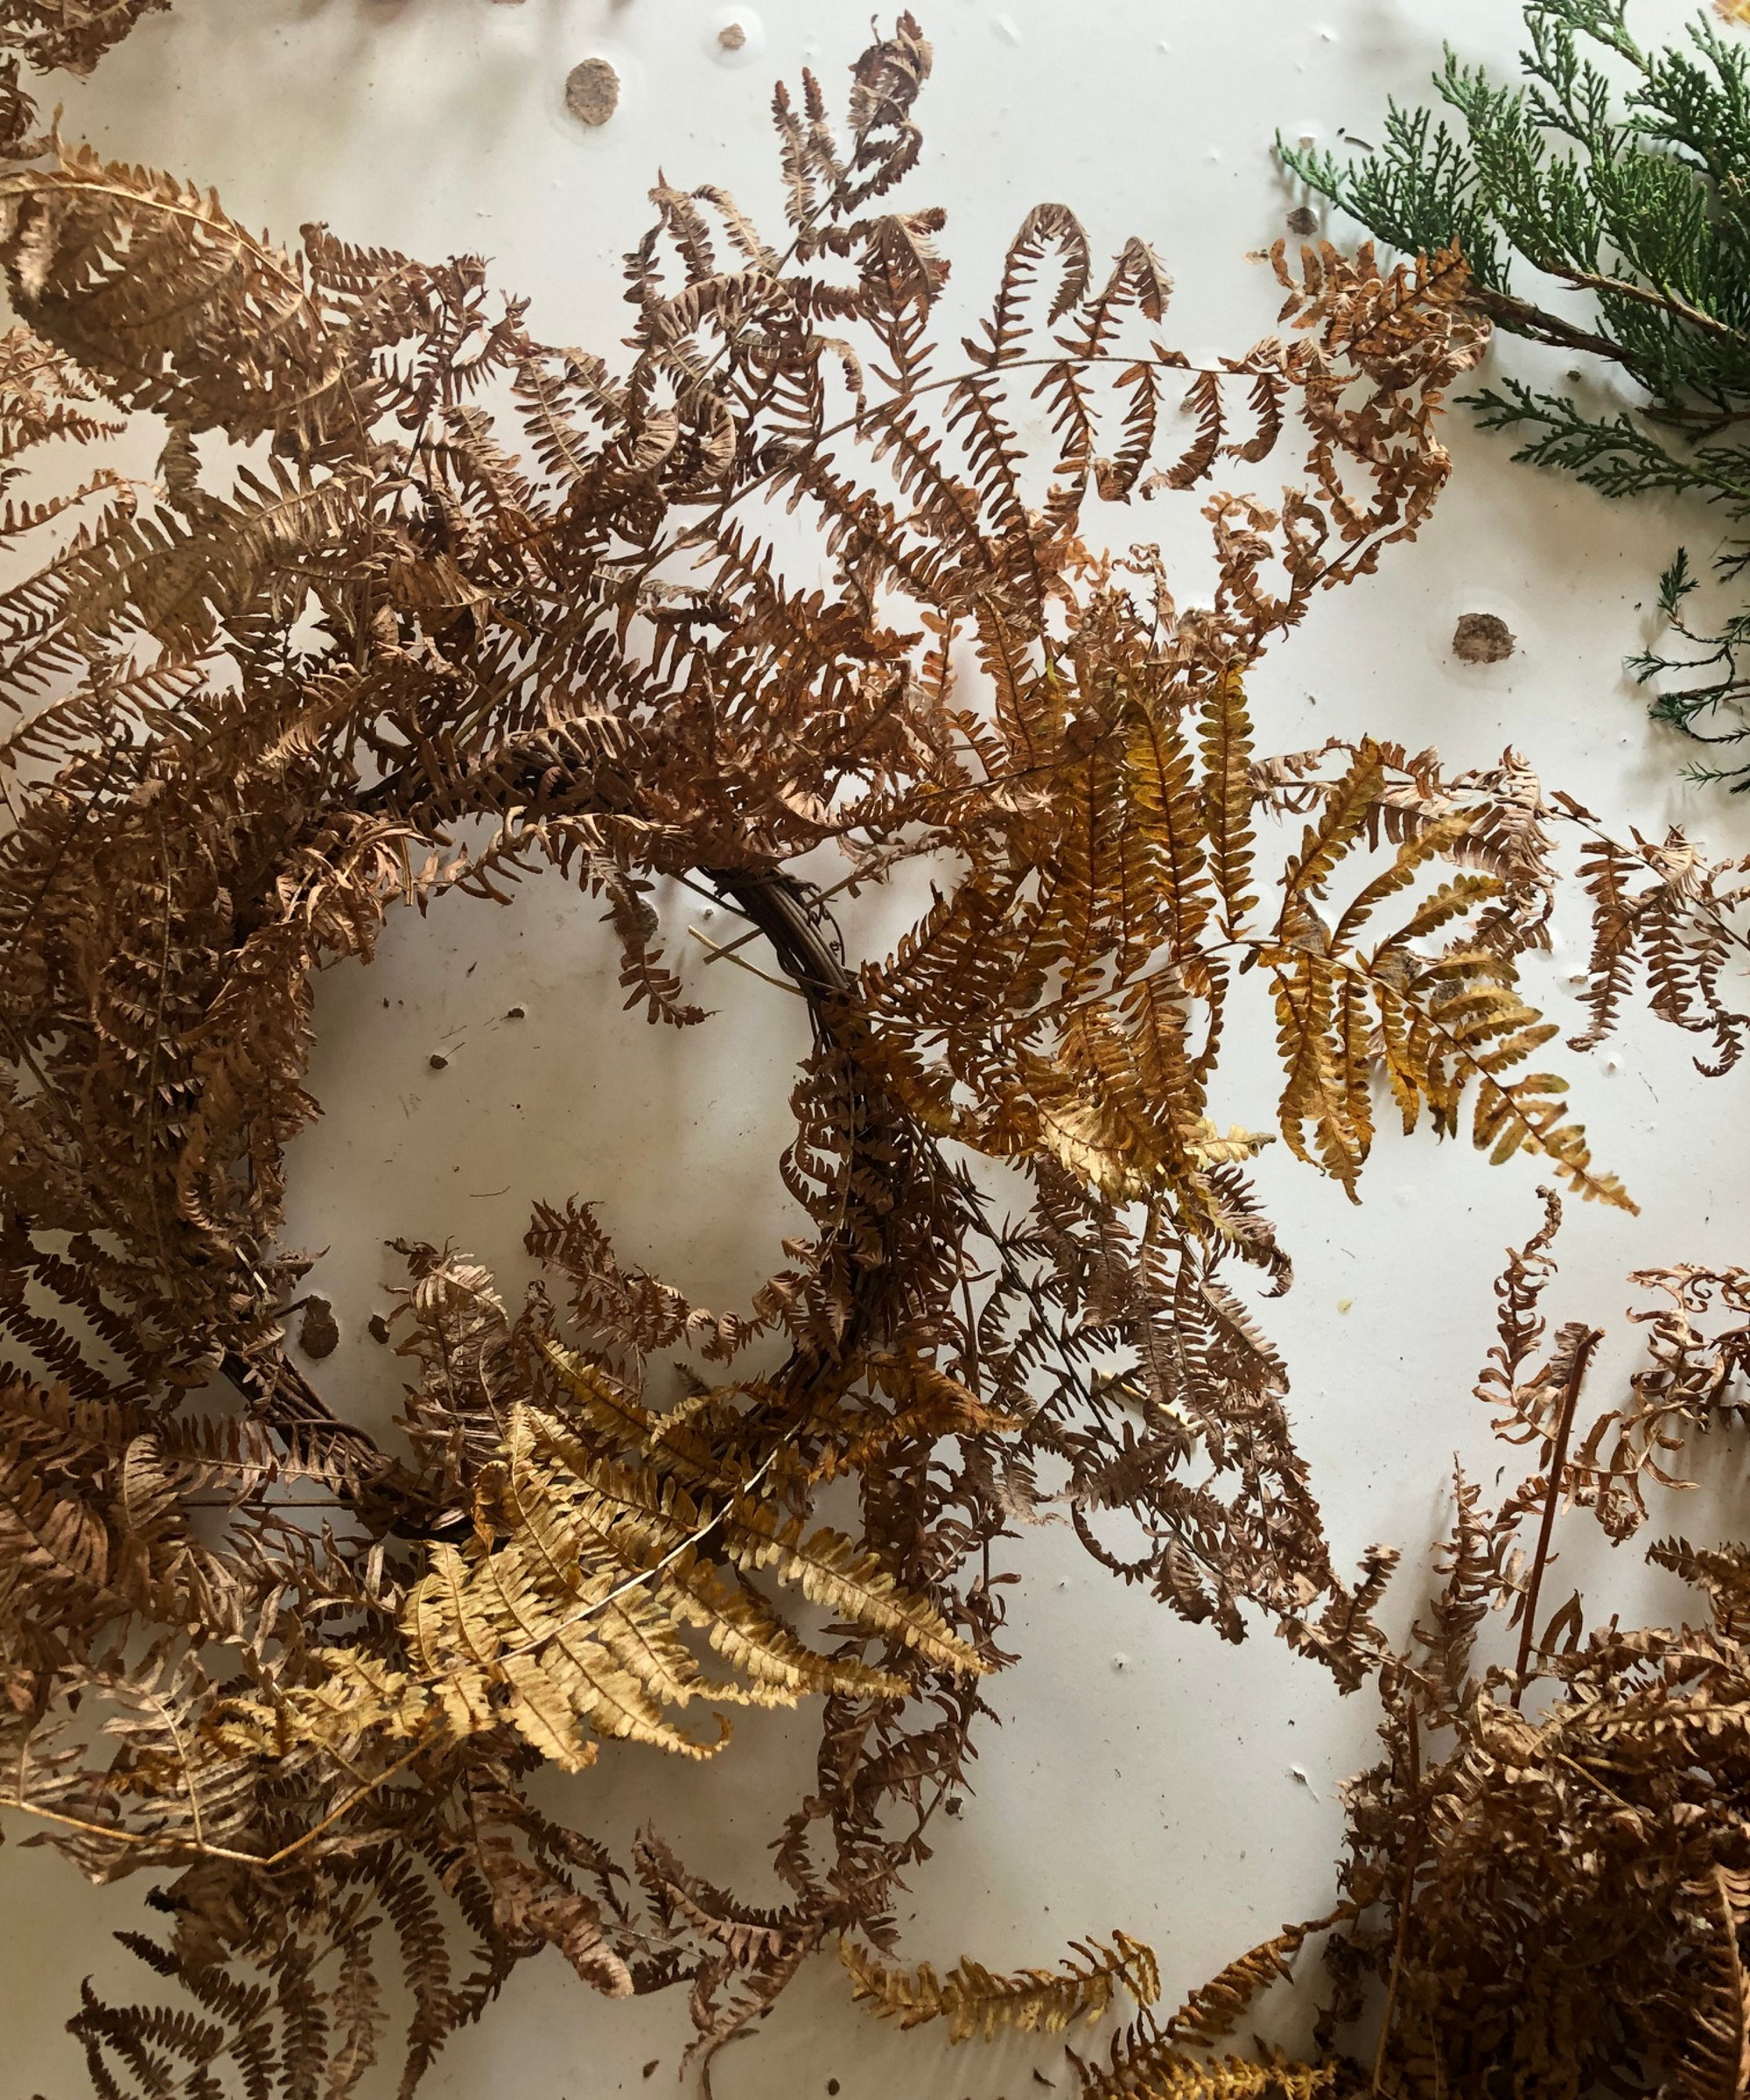
- Continue to build your design, with longer fronds arching out towards the back and choosing smaller leaves that are lighter, and more golden in tone for the front to add depth.
- Once you feel you have your shape, continue to add leaves to reach your desired thickness.
- You may need to secure some stems using 26 gauge floral stub wires, which are thin and pliable. Simply take care when doing this so as not to break any brittle stems.
- Now you're ready to embellish if you wish with rosehips or other seasonal berries. I make sure to remove any green foliage first, to maintain a traditionally autumnal color scheme.
- You can tie some velvet trailing ribbon to your design to add a stylish accent, or leave it entirely natural.
FAQs
How long will a dried bracken wreath last?
If you keep your bracken wreath displayed in a dry and fairly dark place, and you take care not to knock into the brittle stems, your homemade bracken wreath could last up to a year. As with all natural and dried plant material, it will change over time and may start to fade or disintegrate. Depending on your desired aesthetic, this could simply add to its charm.
If this fall craft idea has inspired you to get making, you might be interested in these Thanksgiving centrepiece ideas to give your dining table a festive lift at the start of the holiday season. These wonderful Pottery Barn Thanksgiving decorations are certain to hit the mark, too.


