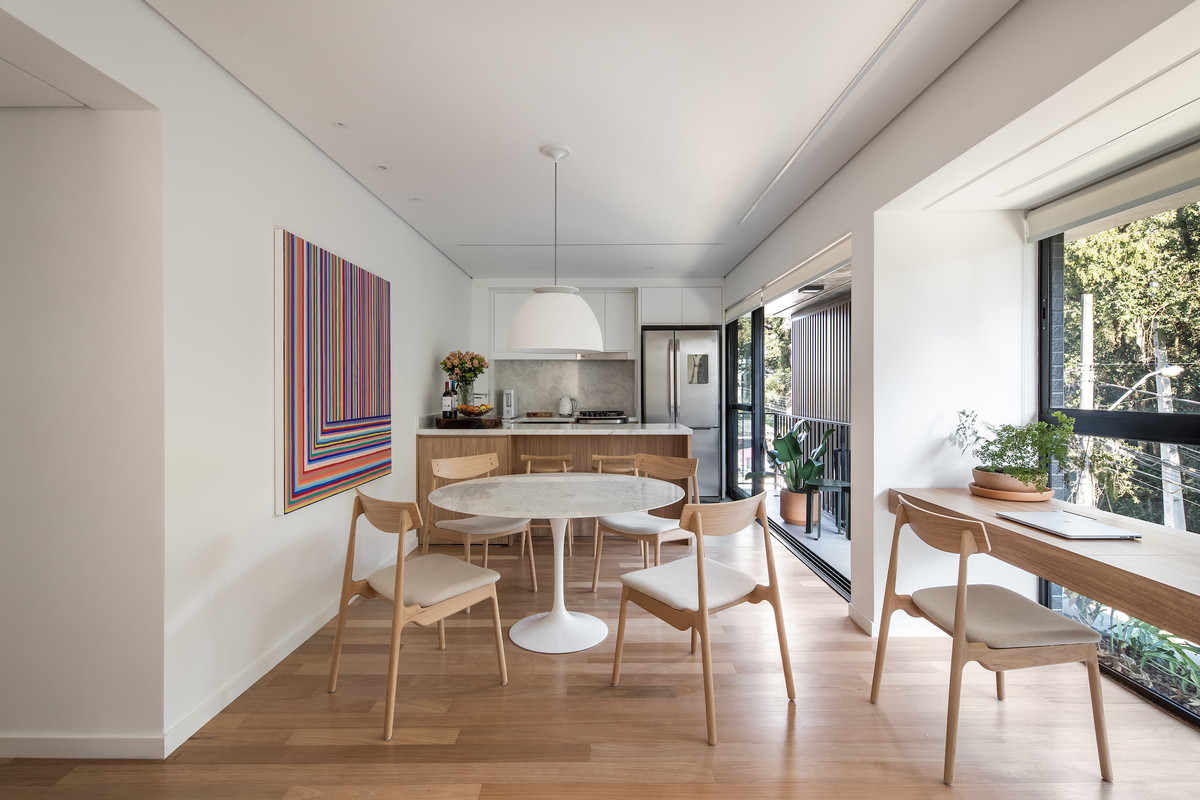
Engineered wood is a great option for flooring. It's made up of a plywood base with a hardwood layer on top and is every bit as natural and beautiful as a full hardwood floor.
'It’s often less expensive than the comparable solid wood alternative,' Rebekah Zaveloff, co-founder and creative director of Chicago-based Imparfait Design Studio, says about this floor type. 'The best thing is that the industry has really improved the look over the years. I used to be able to tell from a mile away if a floor was engineered, but with the popularity of matte finishes and character-grade, it looks like the real thing.'
So what are the ways you can install engineered wood flooring? According to the experts, there are three main methods. What you pick will depend on your sub-floor. We ask the flooring experts to share their secrets.
What are the benefits of engineered wood flooring?
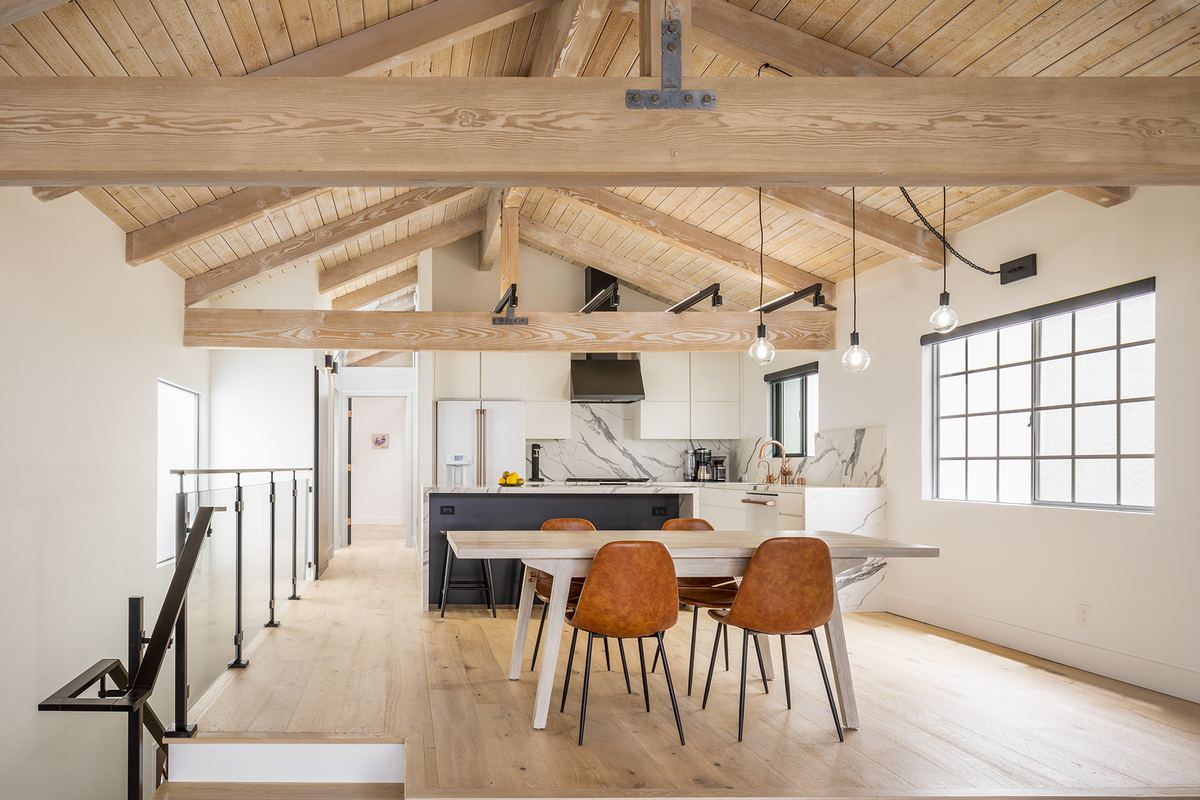
There are many benefits to engineered wood flooring. 'Engineered wood flooring is also less prone to movement than solid timber flooring, is available in wide boards and can be installed over hydronic floor heating,' says Daniel Wolkenberg of Poly Studio. 'Though it is available pre-finished, I prefer to have it sanded and sealed on site as this gives better control over the finish.'
Engineered wood flooring makes for faster installation too, points out Nathan Cuttle of Studio Nato. 'No sanding means no dust, which if you are living through a renovation can make a huge difference.'
Engineered wood flooring also allows for wider planks. 'These planks remain stable and reduce wood movement like shrinkage, expansion, and cupping.'
Furthermore, Nathan points out that engineered wood flooring is a sustainable option. 'It's sustainable in that you are required to use less material than compared to solid wood and you can still sand and refinish the floors years later so they last the test of time.'
Remember to prep

As with all methods, the most important part of the process is the prep. 'The preparation of the subfloor is crucial,' says Joana Emhof of ArcDen Studio. 'Make sure that the living room floor is level and ready for either a glue-down, nailed, or floating installation.
First of all, it's important to place your planks in the room where they'll be placed for at least 48 hours to ensure they can acclimate to the room's humidity and temperature.
'The type of subfloor it is installed on makes a big difference as well,' says Julia. 'A framed floor (joists and subfloor) or a slab-on-grade will dictate the type of underlayment and potential waterproofing that will need to be done prior to install.'
After that, the direction of the flooring and the layout of joints will be considered. 'While less important than tile grout joints, it is important to measure out the room and ensure that the layout doesn’t leave the space with ‘slivers’ of material at the edges,' says Julia.
Make sure your floor is clean, dry and flat, and fill in any holes with a cement leveling compound.
1. The glue-down method
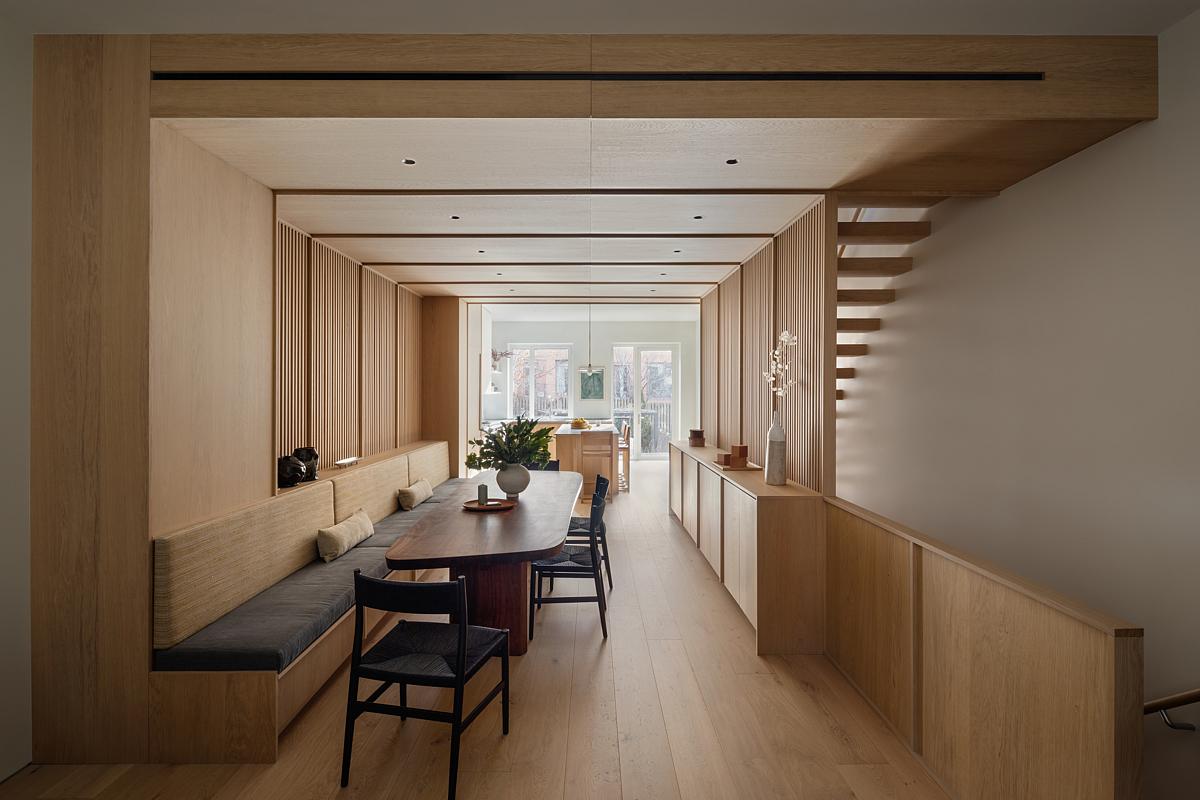
Gluing down your engineered wood flooring is one option for application. ‘The glue-down method is best over concrete,’ says Rebekah Zaveloff, co-founder and creative director of Chicago-based, Imparfait Design Studio.
Decide which direction to run the planks. Stand back and examine your layout so you are happy with it before gluing. Spread just enough glue to cover a few planks and resist the urge to add glue to the whole floor as it could be quick drying and might make your work difficult. Start by firmly placing down the first plank in the right corner and connect the second plank at the end joint. Continue this process until you reach the end of the first row.
You might need to cut the end of your first plank to fit, but don't forget that all-important expansion space. Make sure you maintain an expansion space of half an inch of the perimeter of the whole room including walls and other obstacles. You can buy and use flooring spacers to help you be consistent.
Hold the trowel at a 45-degree angle to ensure the proper spread of engineered wood flooring adhesive. Place the tongue of the board in and press down. As you work, remove the adhesive from the surface. A damp rage with water or mineral spirits will help. Once the adhesive has set, you can install the door trim and moldings.
2. The staple-down method

Stapling down your engineered flooring is another reliable method. ‘Another method is staple-down which works over a subfloor,’ says Rebekah. ‘Glued-down and stapled are the most durable and long-lasting for high-traffic areas.’
In this method, use spacers again around the room to leave that expansion gap between the walls and the planks.
'Decide on a starting wall, which is usually the longest or the one most visible to the public eye, to make the place look cohesive in all directions,' says Artem Kropovinsky, founder of New York-based Arsight.
'Get started by placing the first three rows together before installation and blending boards from different boxes to create an overall matching effect,' says Artem.
For your first row, pre-drill and nail the planks down with finishing nails about one inch away from the wall and every four inches along the length of the plank. Then, as you add more rows, drive staples into the hardwood every three to four inches and hold the staple gun at a 45-degree angle.
3. The floating method
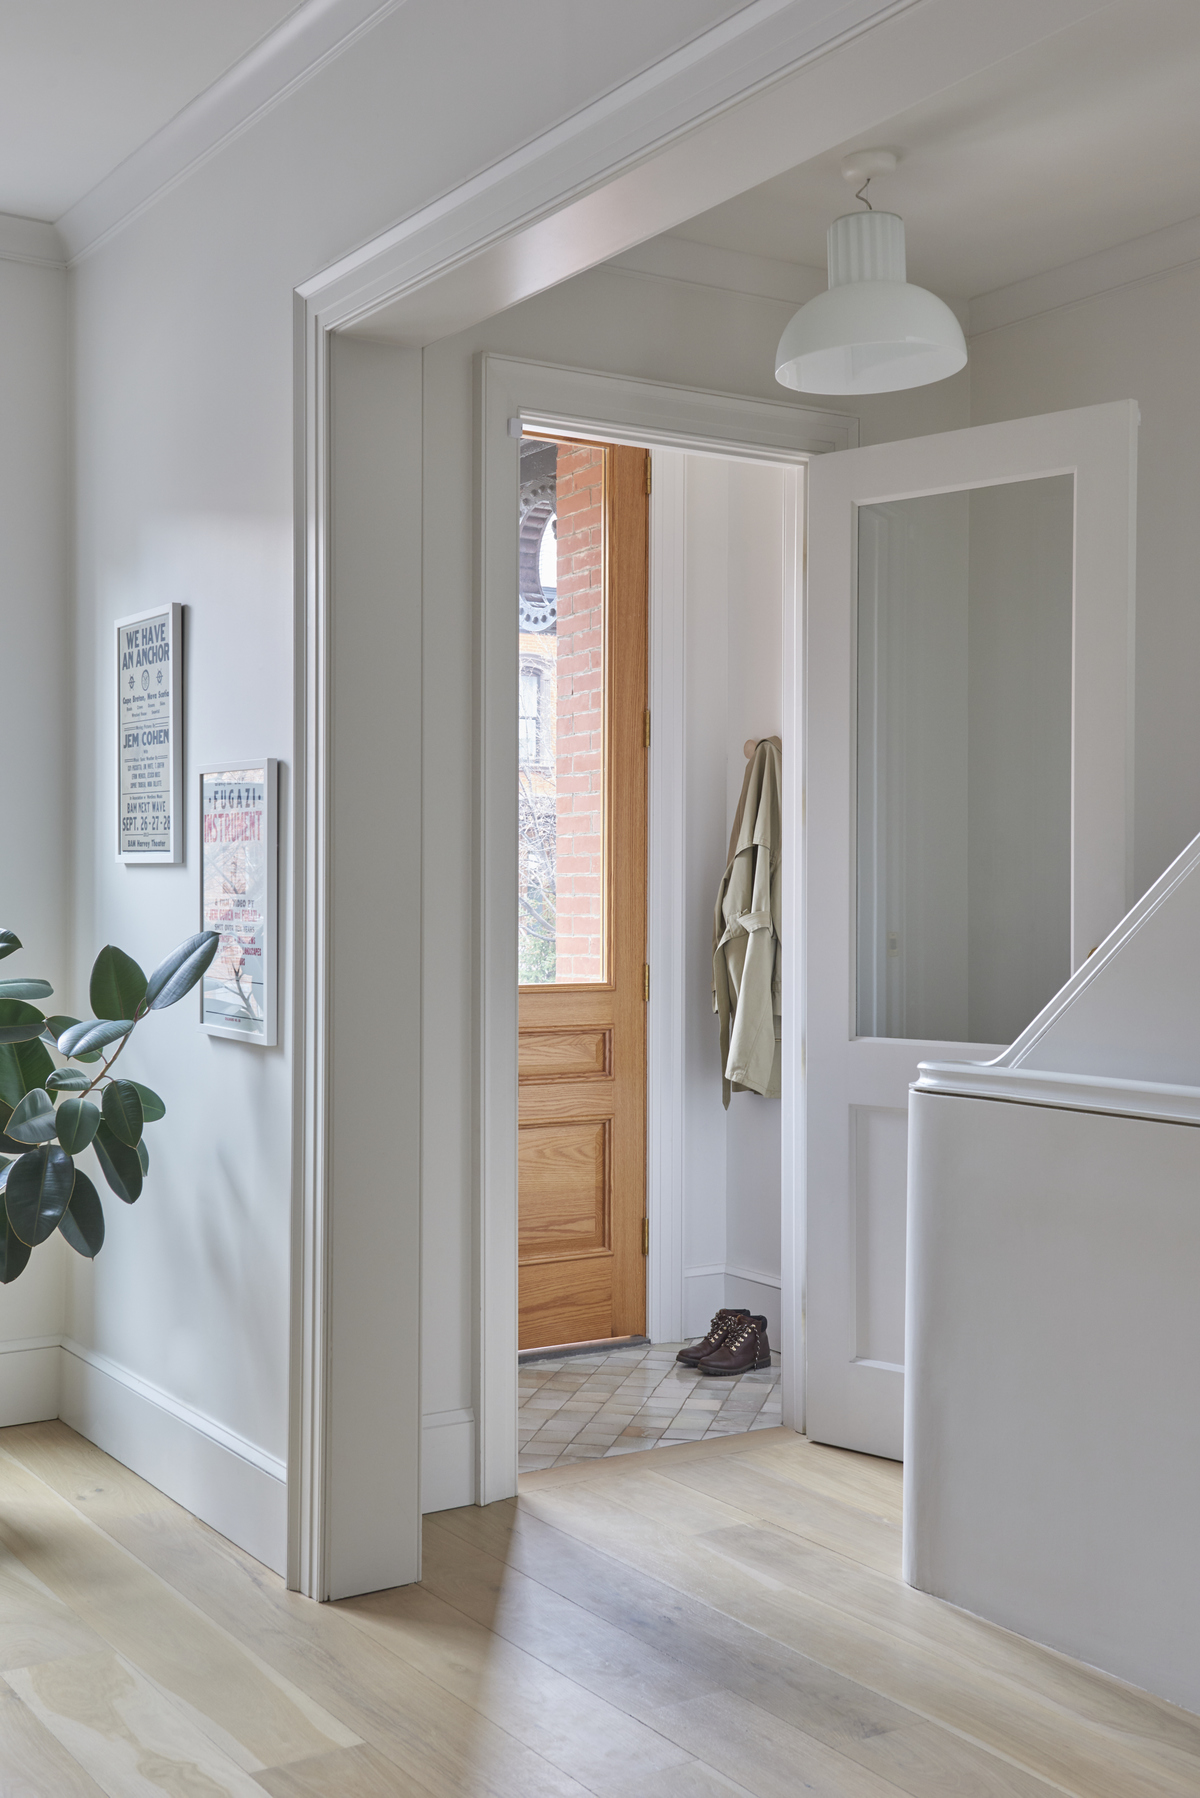
Floating is the easiest method out of the three. It works great over vinyl and doesn't require any adhesive or nails. The floating method works with the planks locking together almost like a puzzle. To start, be sure you've prepped the floor. '
An underlayment is also recommended, as a moisture barrier and/or to reduce noise or squeaks,' says Rebekah. 'Underlayments such as rubber or cork, or a mix of the two are the most common.'
Remember to place your spacers, allowing for a half inch and begin laying your planks. If you have a tapping block, this can help you make sure pieces are definitely locked together.
Keep going across your rows, and cut any pieces that are too long - making sure to factor in the half-inch expansion space.


