Windows 11 is here and if your PC is compatible you can wait for the update to appear in the usual Windows Update section under settings on your PC or laptop. However, if like many, the option isn't there yet, there are a couple of ways to force your PC to install it or even perform a clean install manually.
To start with, check whether your PC is compatible by downloading the PC Health Check software. This will show you any areas your PC needs attention in terms of compatibility and guide you on how to fix them or if you need to upgrade your PC.

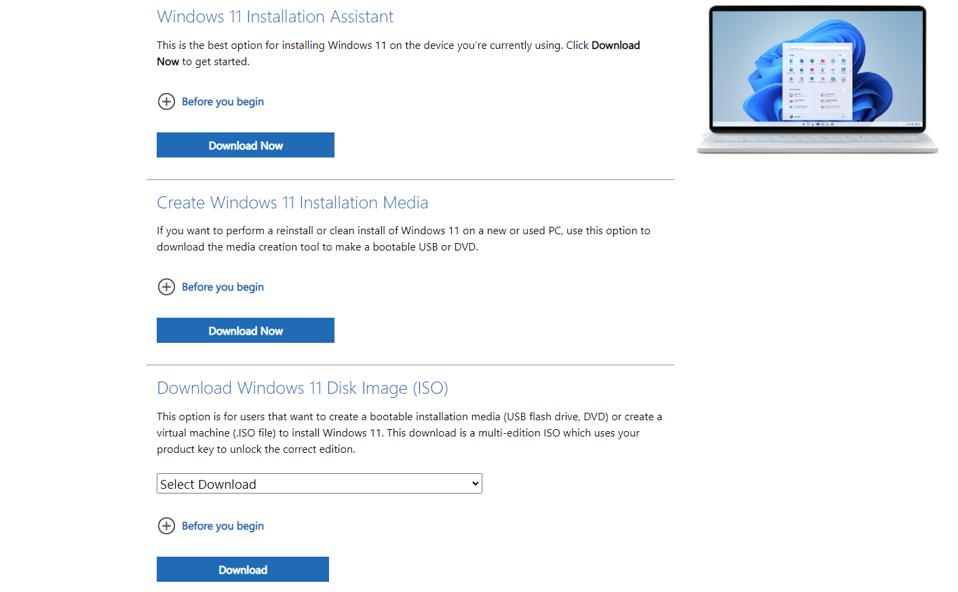
Next head to this page where you'll have the option of forcing your PC to update using an installation assistant or to create a bootable USB install drive, just like you've been able to do with Windows 10. The latter can perform and upgrade too or a clean install of Windows 11. A clean install will leave you with more hard disk space, but will remove Windows 10 and all your files, so you'll need to back everything up and reinstall it all afterwards.
Force the update to install now
If you want to just update your PC with the option of rolling back to Windows 10, then you'll want to select the Windows 11 Installation assistant option. This will download Windows 11 and start the install process.

Click on 'Download Now' and then click accept on the terms and conditions. Windows 11 will then start to download.

You can skip the screen above and manually restart your PC, after which the installation will start.


If you decide Windows 11 isn't for you and you want to roll back to Windows 10 for now, click on the start menu and type reset. This will bring up the recovery section. In here, select 'Go back' and this will revert to Windows 10.
Create a bootable USB stick for a clean install

To create a bootable USB stick, click on the 'Create Installation Media' option and follow the steps till you get to choose the media to use like the screen above. We'll be creating a USB stick. Once the USB stick is created, restart your PC.

You'll need to tell your PC or laptop to boot off the USB stick. You can do this from the EFI/BIOS by tapping the 'del’ key as soon as you power it on and heading to the boot options, or you can select the easier-to-use quick boot menu like I've done above. The key to press for this varies from PC to PC so you'll need to do a Google search, check your manufacturers instructions or you can try websites such as Disk-image.com, which list the keys you need to tap when you power on your PC or laptop to enter the boot menu.

If it works, you'll be presented with the screen above where you can select your language and then continue to the installation.

Click to accept the terms and conditions, then you'll be presented with the option to upgrade or perform a clean install. We'll do the latter.

The next option will show you the drives on your PC. I have two drives - drive 0 and drive 1 and as you can see, drive 1 has 'System' on it, which refers to the existing Windows 10 installation. The other drive I want to keep as is as it houses my data, so I'll be leaving that alone. However, you'll want to remove all partitions for drive 1 and then select the remaining volume as your install location.
Be very sure there's nothing on that drive you want to keep, make all backups you need to and double check which drive is which if you have two before you do this. Windows will then proceed to install and you're pretty much done.
Windows 10 will continue to be fully supported till October 2025 so if you find you're not keen on Windows 11 or your software or hardware has issues and you need to wait for a fix, you can safely stay on Windows 10 for a few years yet.


