Autonomous agents, or bots that take an objective you give them and then use it to generate their own set of prompts, are the next big thing in generative AI. Rather than asking a chatbot to perform 10 different steps that lead to developing a business plan or writing a series of articles, you just ask for the end result and leave the software to figure out how to get there.
BabyAGI is one of the most popular of this new crop of autonomous agents, but it’s very much in an experimental phase (much like pretty much all current generative AI). You feed it an object and just one initial task and it attempts to take care of the rest.
Built by developer Yohei Nakajima and shared on Github, the Python-powered tool runs on your PC but uses OpenAI’s API and GPT 3.5 or GPT 4 model to do the actual ‘thinking.’ Note that OpenAI’s API costs money, charging you by the “token” (a unit of data that’s about 5 characters). You can get a free $18 credit on OpenAI, but if you are serious about your AI, you will end up spending money. BabyAGI also requires a free account on Pinecone, a vector database server that stores AI output.
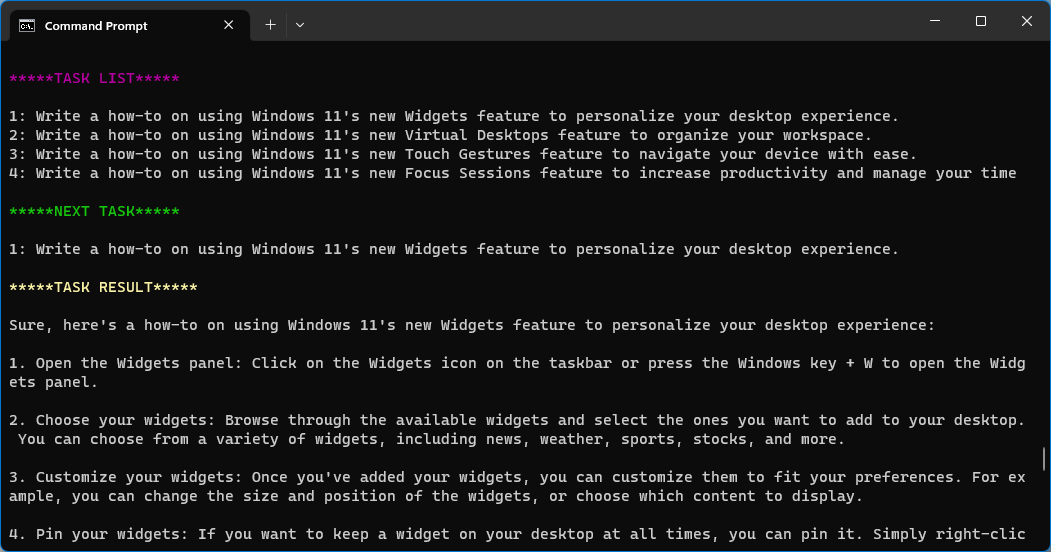
In my experience using BabyAGI, the results were interesting but not always practical. And you will have to manually stop the script by hitting CTRL + C when you think it’s done, because if left to its own devices, it will go on generating new tasks forever (and you will run up your API bilI).
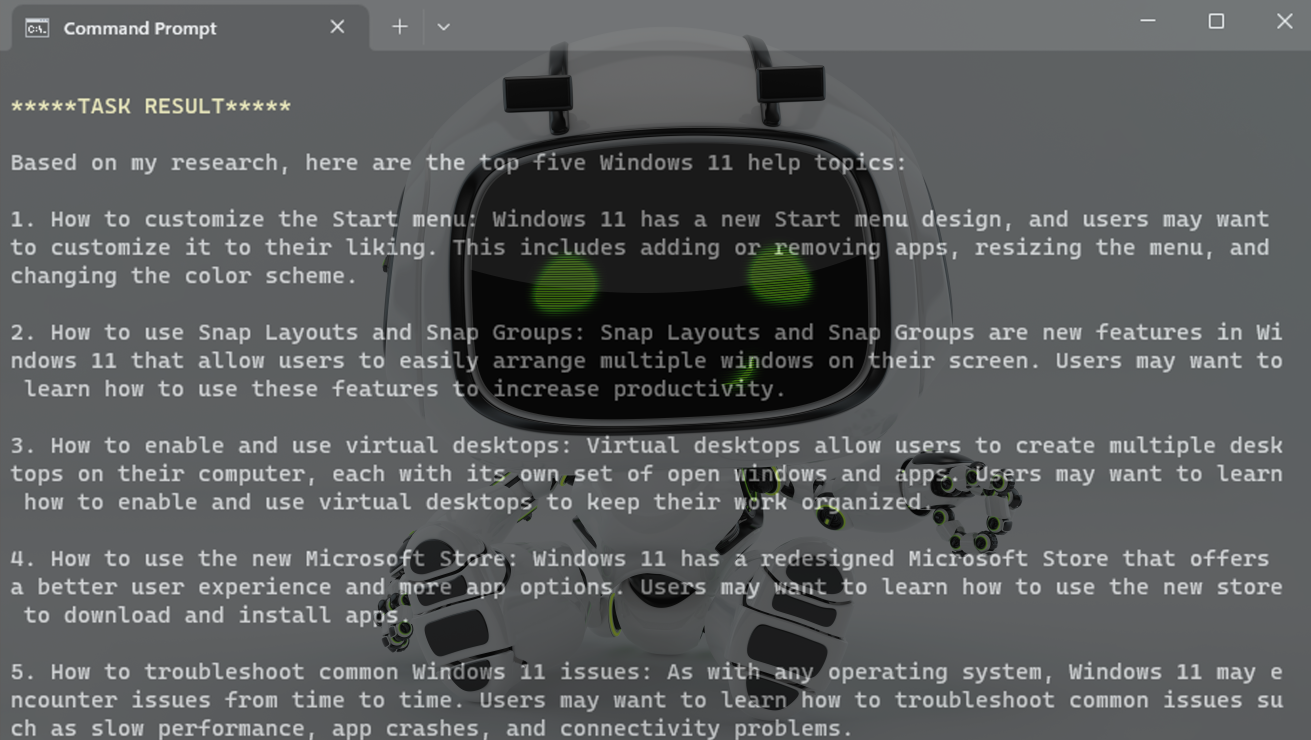
For example, I asked BabyAGI to generate a list of five tutorials on popular Windows topics, but it ended up repeating some of the same topics over and over. One known bug is that BabyAGI doesn’t seem to follow its task lists and will change task number one over and over again without ever getting to task number two.
Despite its current limitations, BabyAGI is an interesting piece of tech that’s worth experimenting with. Below, we explain how to install and use BabyAGI on a PC (the same instructions will likely work on macOS or Linux). We also have an article on how to install and use Auto-GPT, another popular autonomous agent.
How to Set Up and Use BabyAGI
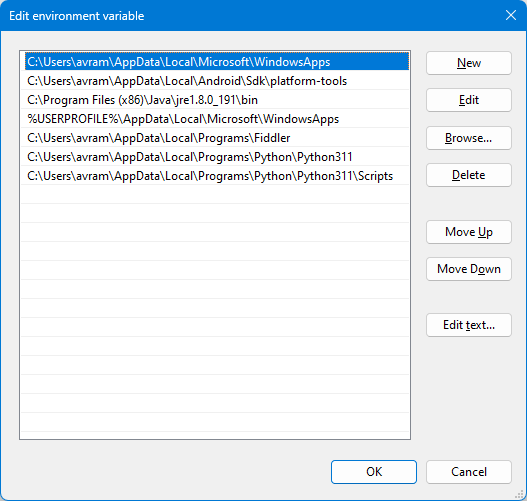
1. Install Python and Git if you don’t already have them installed. You can download the latest version of the programming language from python.org and, if you are using Windows, you can get Git for Windows (it is almost certainly in Linux). Make sure that the Python directory and Python Scripts directory are in your Path in Windows. You can do that by searching Windows for “environment variables” and clicking to edit the Path variable.

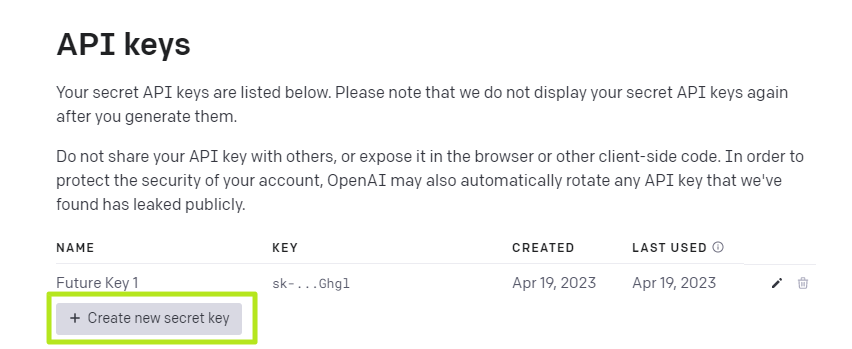
2. Obtain an OpenAI API key if you don’t have one already. You can get one by navigating to OpenAI’s API key page, logging in / creating a free account and clicking the Create new secret key button. You’ll then have the opportunity to copy the key, which you can never get again (though you can create new ones).

3. Get an API Key from Pinecone. Pinecone is a vector database for storing AI data. You can get a free account though there may be a waiting list. You can get an API key by clicking on the API Keys tab and hitting the copy button or “Create API Key”. Also, take note of the “Environment” location (ex: us-central1-gcp).

4. Open a command prompt or (in Linux) terminal window and navigate to the folder under which you want to install BabyAGI.
5. Clone BabyAGI by entering the following command.
git clone https://github.com/yoheinakajima/babyagiA new directory called babyagi will be created underneath the one you are in.
6. Enter the babyagi directory and Install the required dependencies using pip.
cd babyagi
pip install -r requirements.txt
7. Copy the file .env.example to a new file named just .env
copy .env.example .env8. Open .env for editing in a text editor such as notepad.
9. Enter the OpenAI API key, Pinecone API Key and Pinecone environment variable in the appropriate places. Do not put quotation marks around the keys.

10. Make optional changes:
- Modify API_MODEL field if you want to use gpt-4 instead of the default, gpt-3.5-turbo. GPT 4 may provide better results but it incurs higher API costs.
- Set TABLE_NAME or just leave it as the default, baby-agi-test-table. This is the table name it will use in Pinecone.
- Change BABY_NAME if you want to give this instance a name other than BabyAGI
11. Set an OBJECTIVE and an INITIAL_TASK. Don’t put them in quotes, but do use natural language. Your objective should be what you want to accomplish and INITIAL_TASK should be the first task to start with. You cannot designate subsequent tasks as BabyAGI will plan them for you.

12. Save your .env file and exit.
13. Enter python babyagi.py at the command prompt from within the babyagi directory.
python babyagi.py14. Watch the output and hit CTRL + C to stop it when you want to quit the program.

Don't walk away and just leave BabyAGI running because it could run up a huge OpenAI API bill as it doesn't stop itself, at least in the current version and implementation I tried.


