Knowing how to upgrade your Steam Deck SSD is important if you want to expand the handheld’s internal storage. Valve’s device has up to 512GB of SSD storage but that might not be enough, especially if you play games with file sizes well over 100GB. Thankfully, installing a new SSD with more storage is relatively easy.
You’ll need a Steam Deck, a computer, one USB-C flash drive with at least 10GB of space, a small Phillips screwdriver (size 0) and a plastic seam splitter or even a credit card. You’ll also need a 2230 NVMe SSD, which is a smaller version of a normal NVMe. I installed the Corsair MP600 Mini SSD, but there are several others to choose from.
Without further delay, here’s how to install an SSD into a Steam Deck. Credit to YouTuber BulletBarry whose “Easy Steam Deck SSD Upgrade” video was a massive help.
How to install an SSD into a Steam Deck
Now that you have all the items listed above, we can start the process. Before opening your Steam Deck, be sure to enter the system’s power settings and select shutdown. For more peace of mind, you can also let the handheld completely drain of battery before beginning. With that done, let’s start.
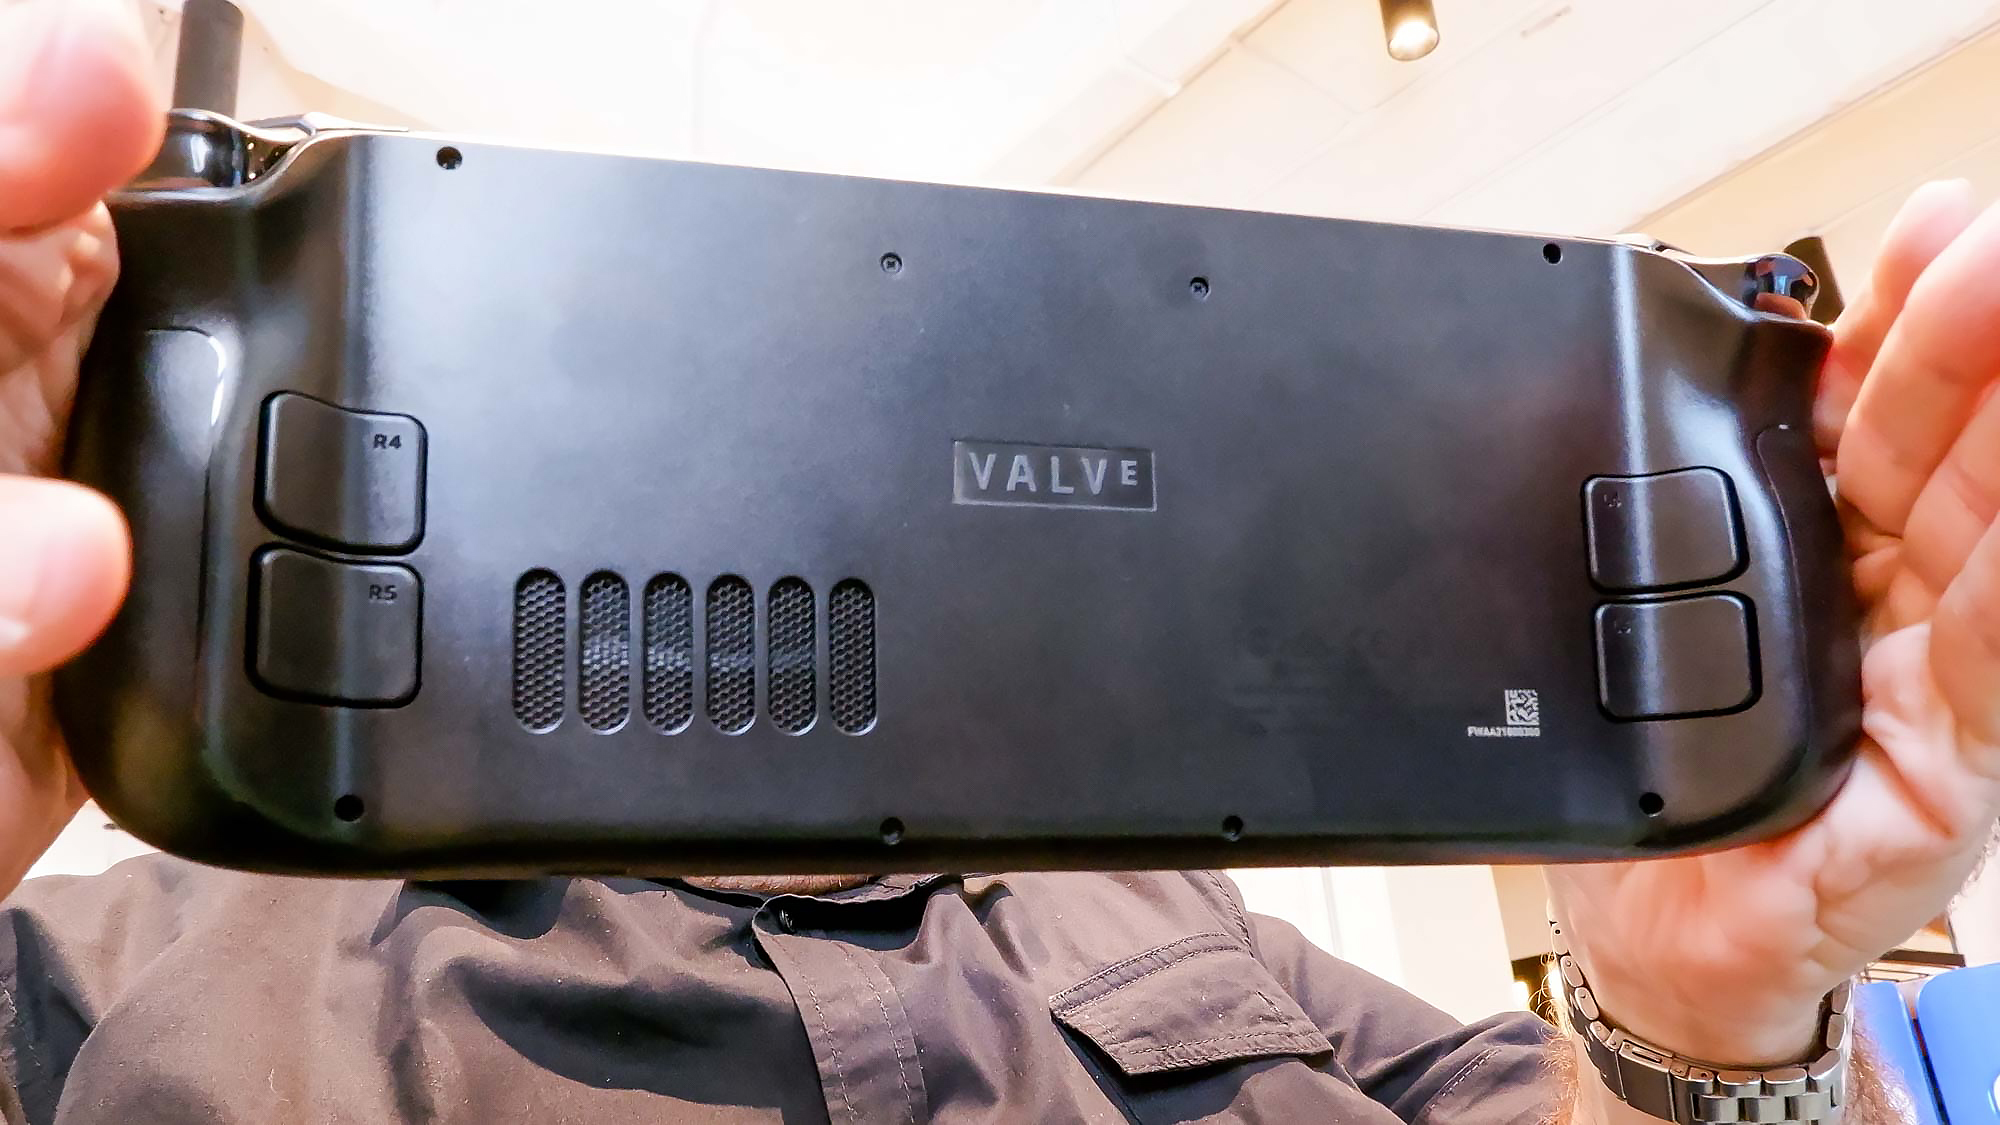
1. Unscrew the 8 screws on the back of the Steam Deck
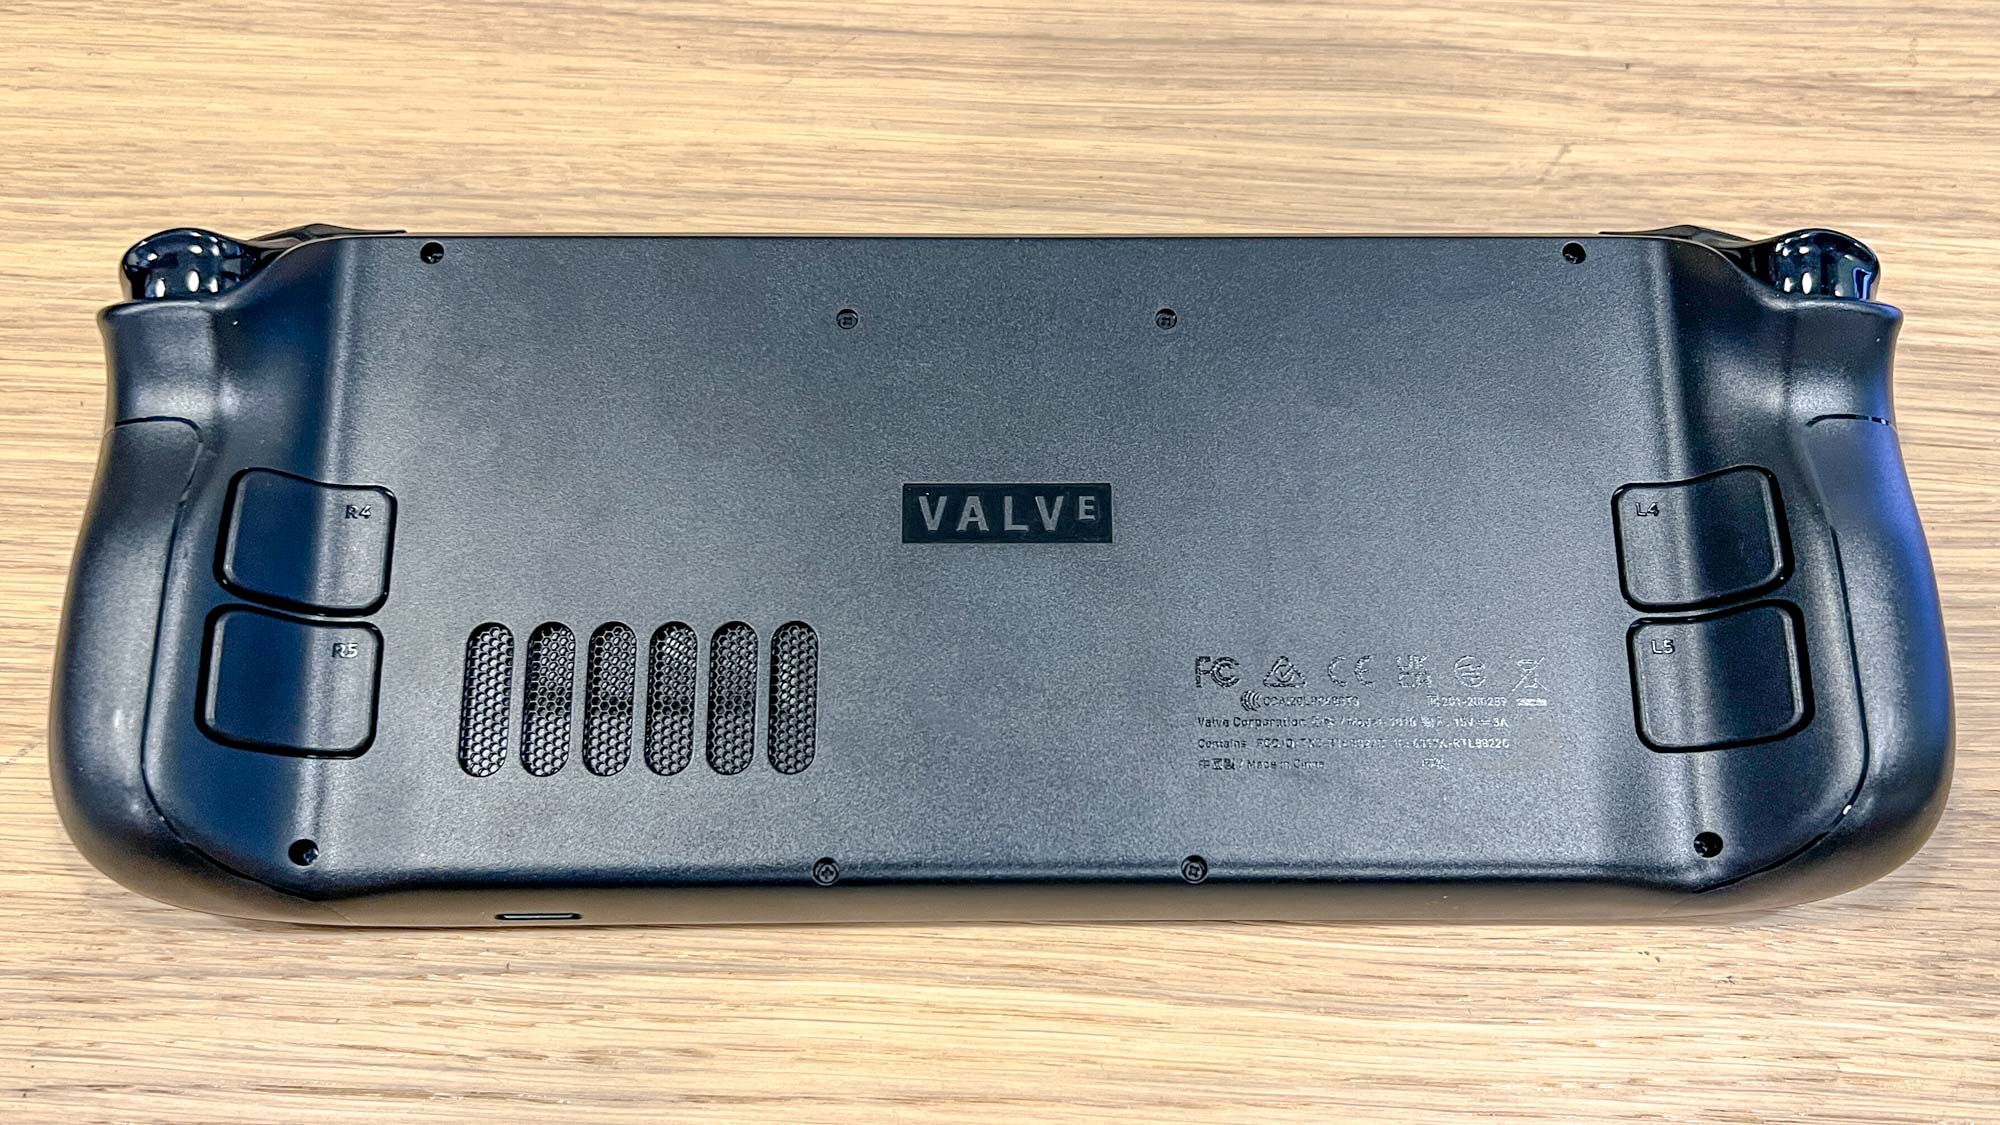
Unscrew the 8 screws on the back of the Steam Deck. There are eight screws on the back of the Steam Deck. The four inner screws are short while the four outer screws are short. Remembering this helps when putting the system back together.
2. Open the Steam Deck
Use a seam splitter or a sturdy piece of plastic to open the Steam Deck. Don’t use anything metal as you want to avoid damaging the handheld.
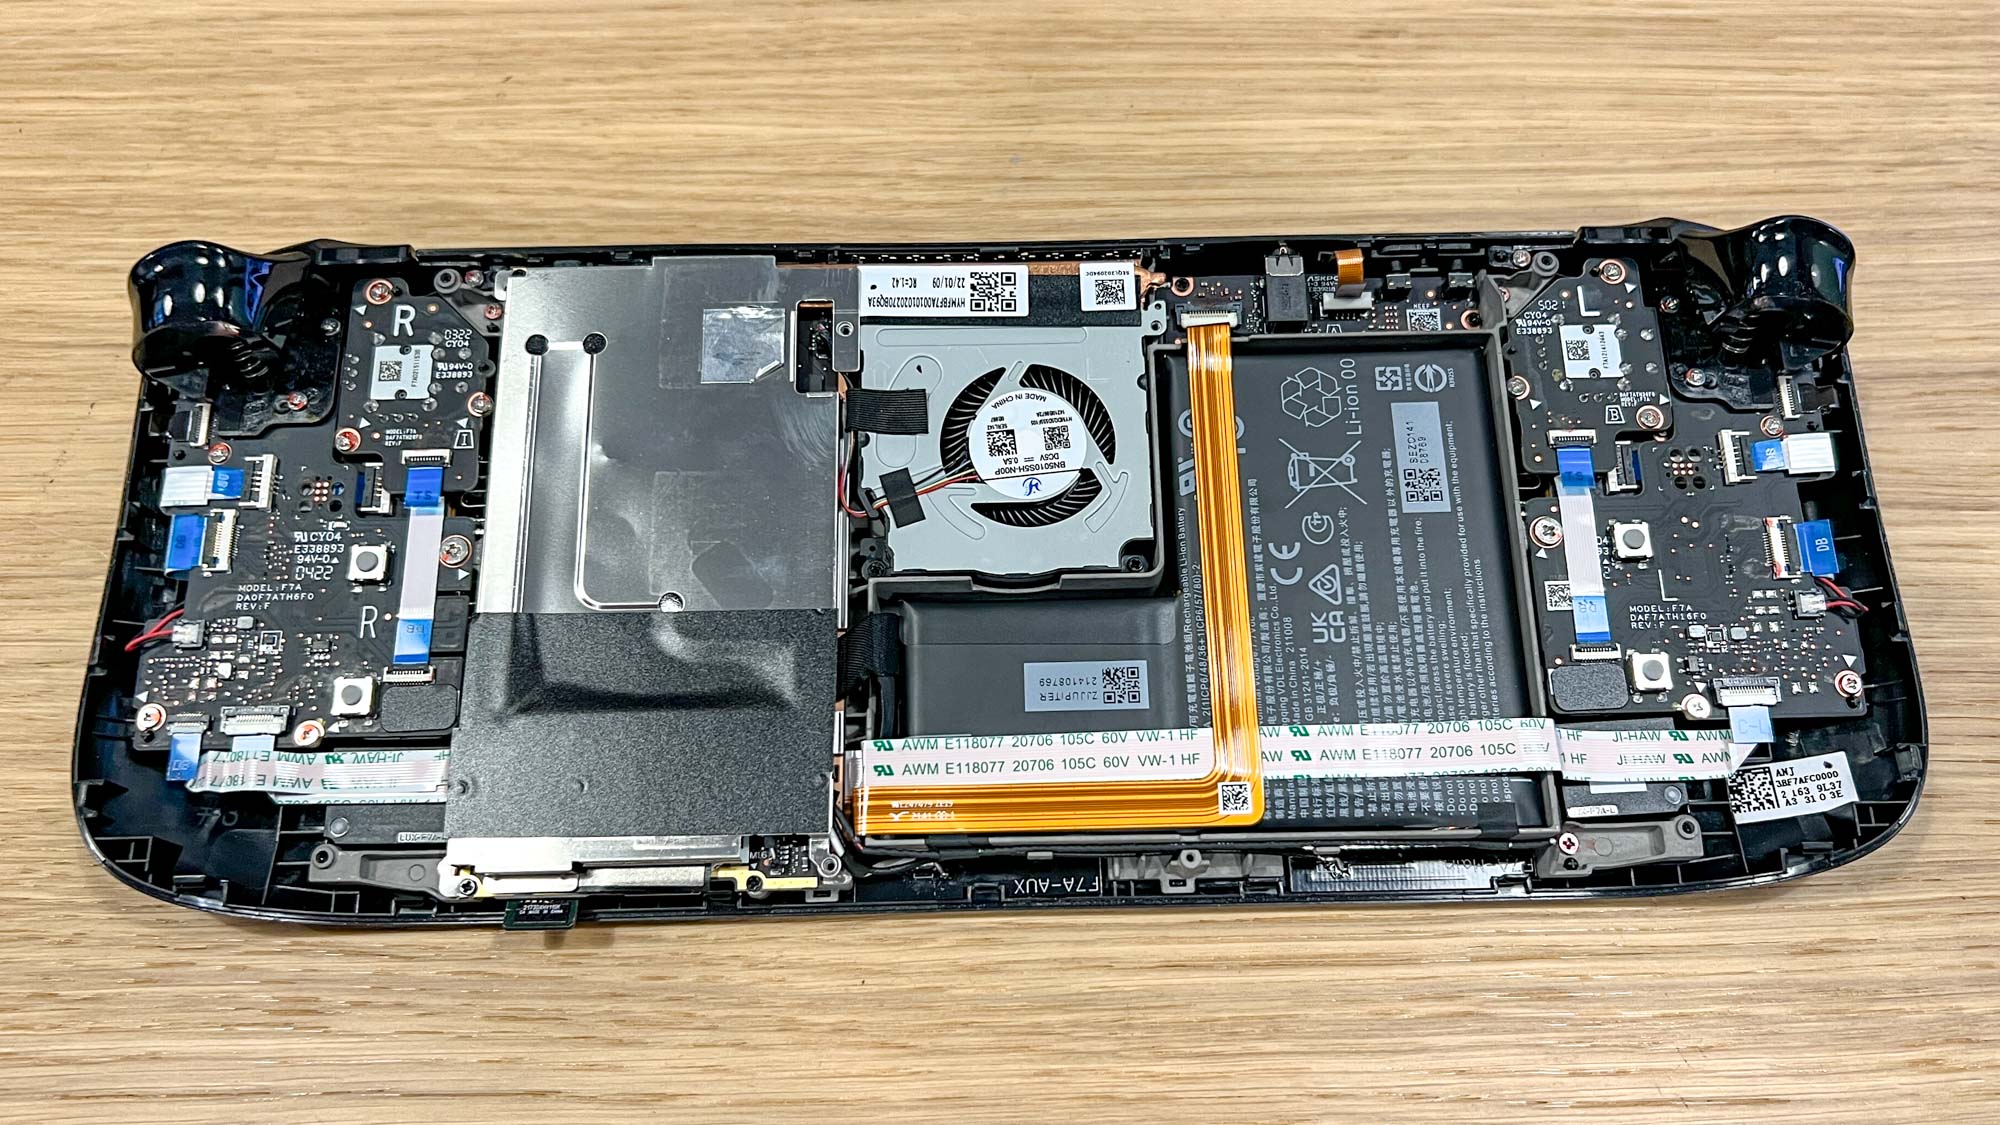
3. Remove the inner metal sheet

Next, you'll have to remove the metal sheet covering the SSD. This has four screws. There’s one screw on the top left and two screws on the bottom. You’ll find another screw hidden beneath a sticker on the upper right. Peel the sticker back to expose the screw but don’t remove the sticker since you have to put it back down later.
4. Unplug battery
After that, unplug the battery. The battery is slotted in tightly but you’ll want to remove it by hand instead of with a tool. I used my fingernail to slowly pull the battery out. Don’t rush this part since you could easily damage the battery. After this, press the power button several times to drain any residual energy.
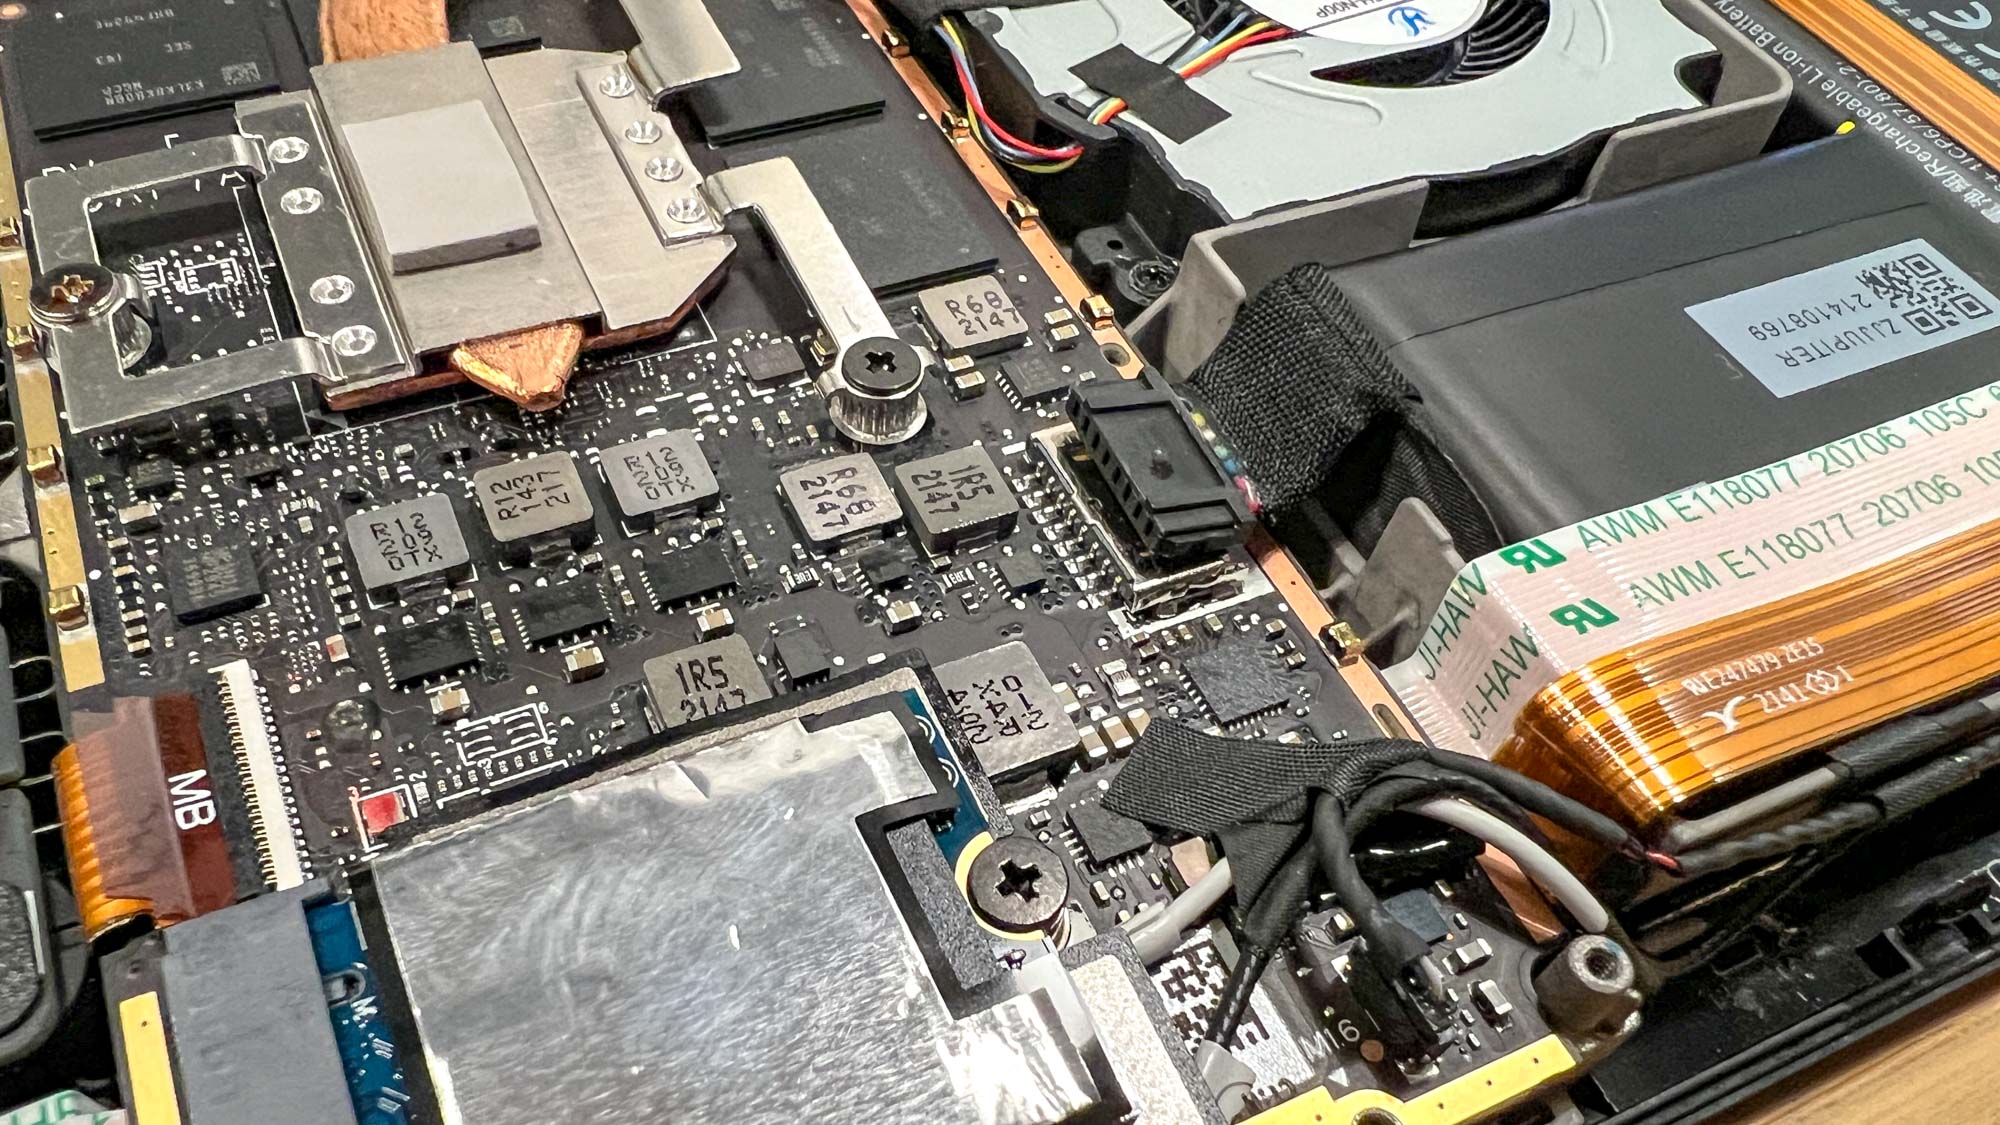
5. Unscrew the SSD
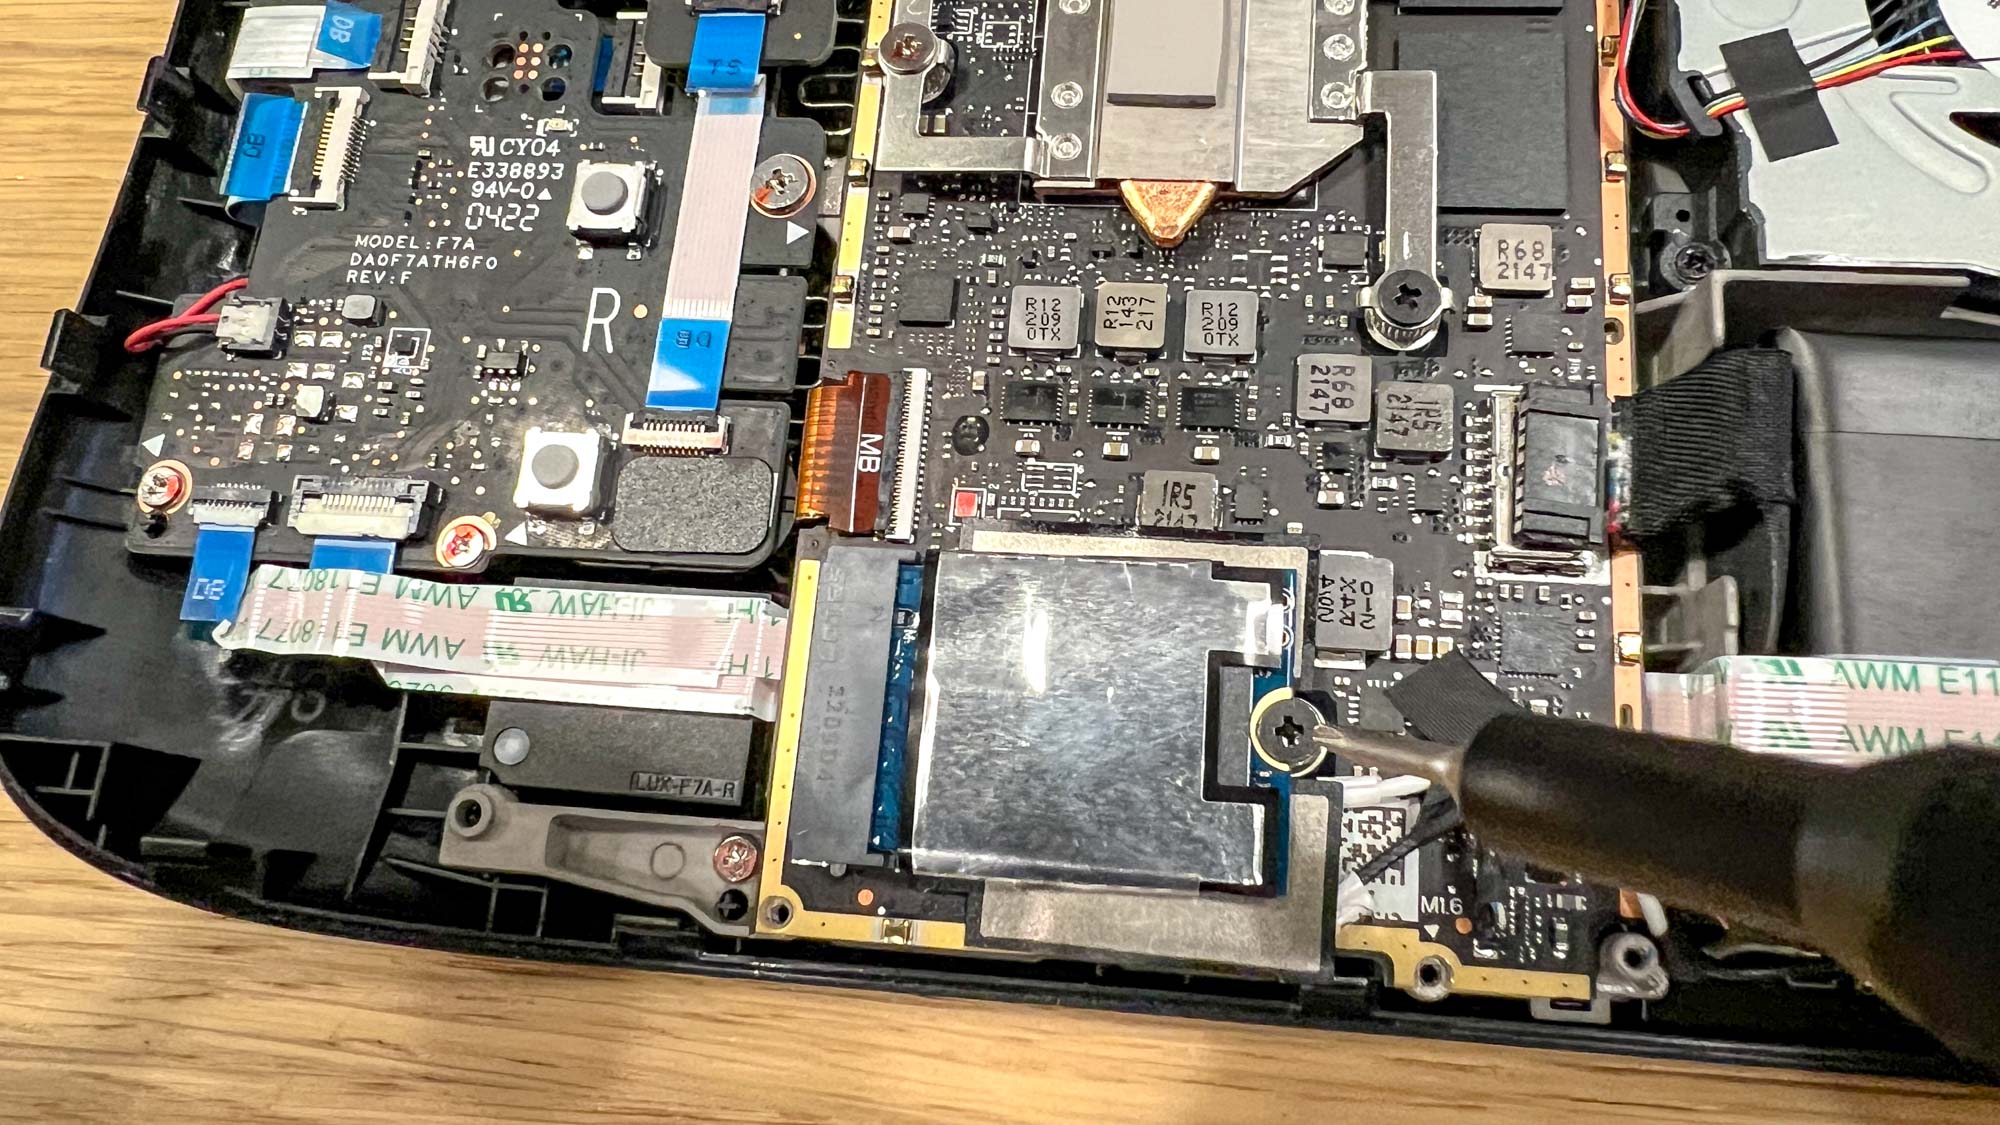
Unscrew the screw holding the SSD in place. After that, remove the SSD’s shield covering. Finally, pull the SSD out.
6. Install new SSD
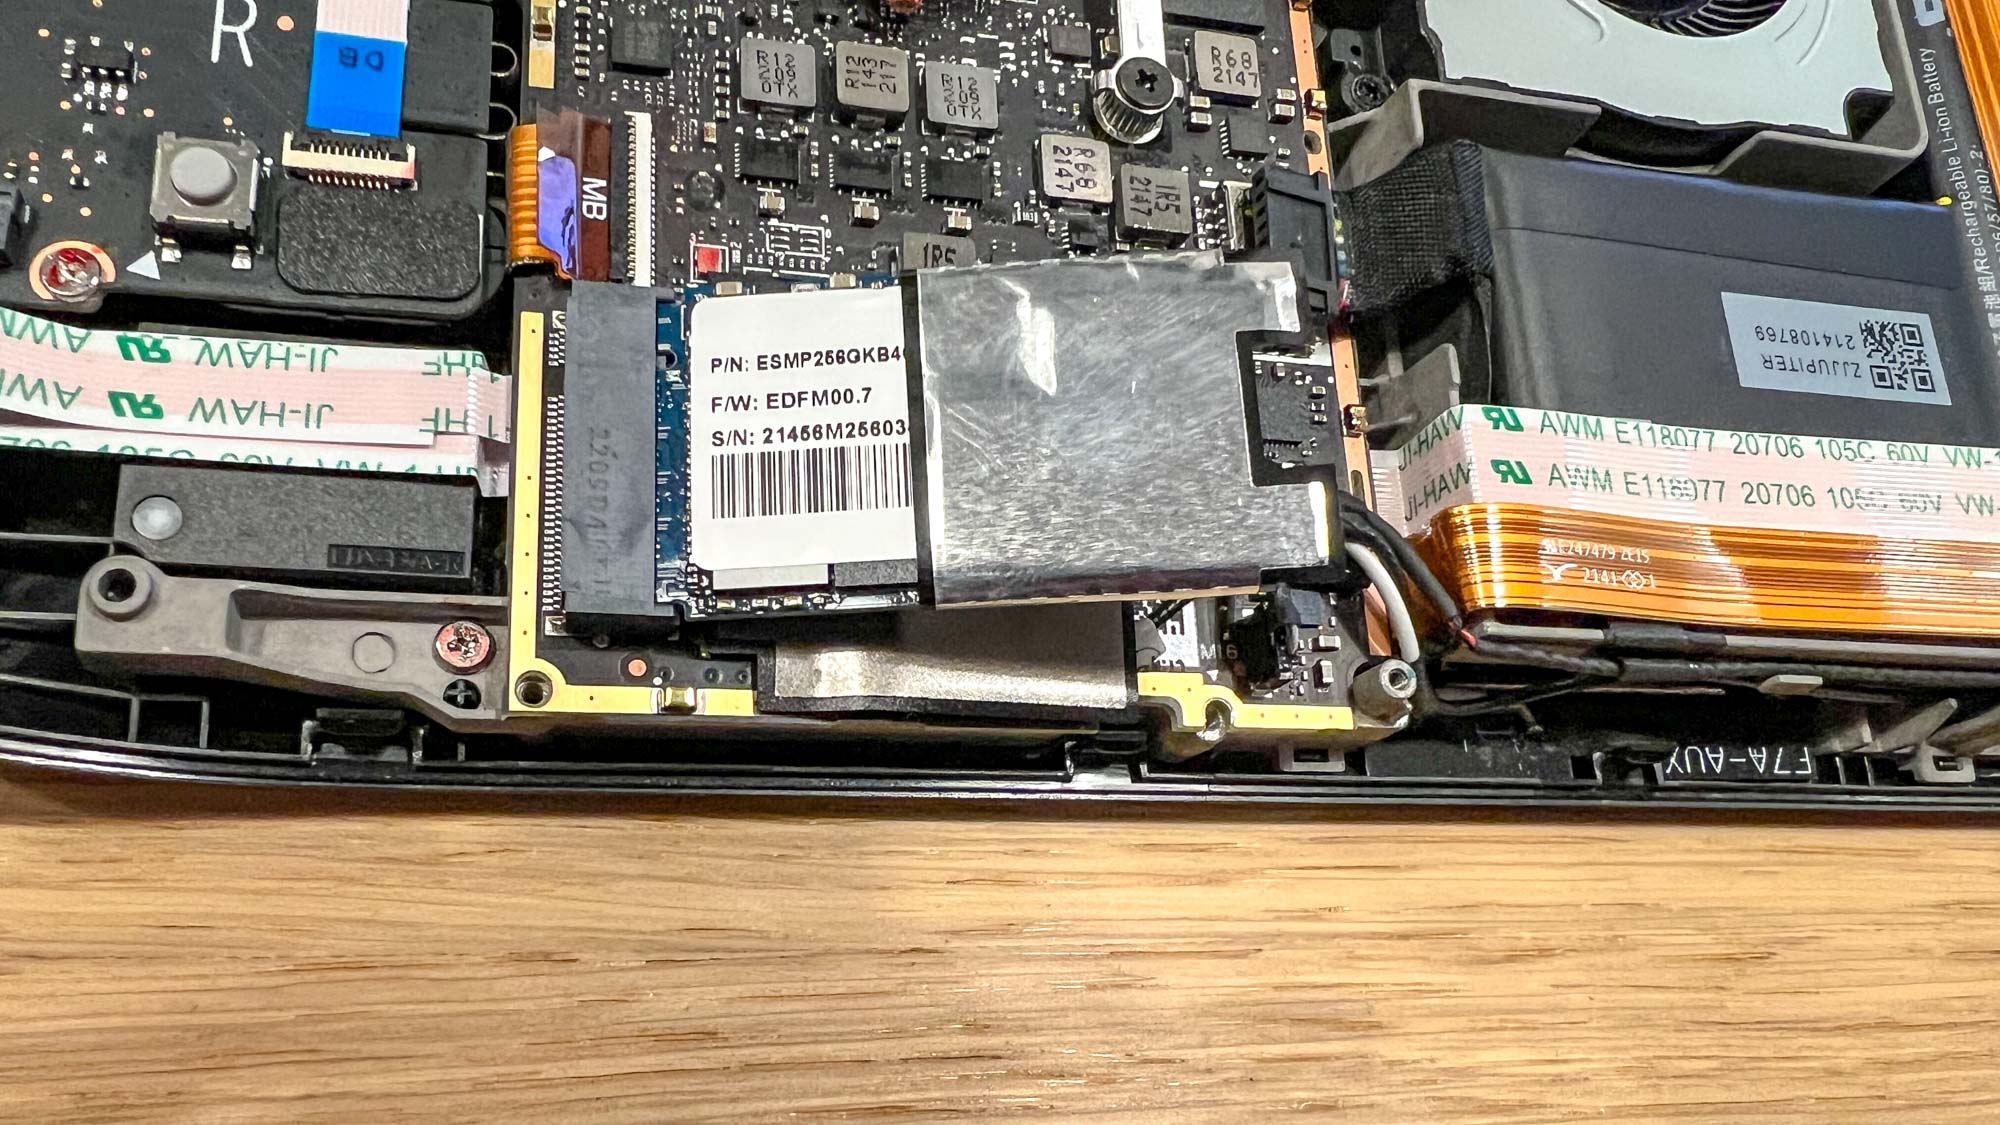
Place the shield over the SSD you want to install. Then insert the SSD, and screw it back into place.
7. Rebuild the Steam Deck
The final part of the physical process is to put your precious handheld back together. Plug the battery back in, screw the metal sheet back on, put the back cover on and screw the eight screws back in.
8. Download SteamOS
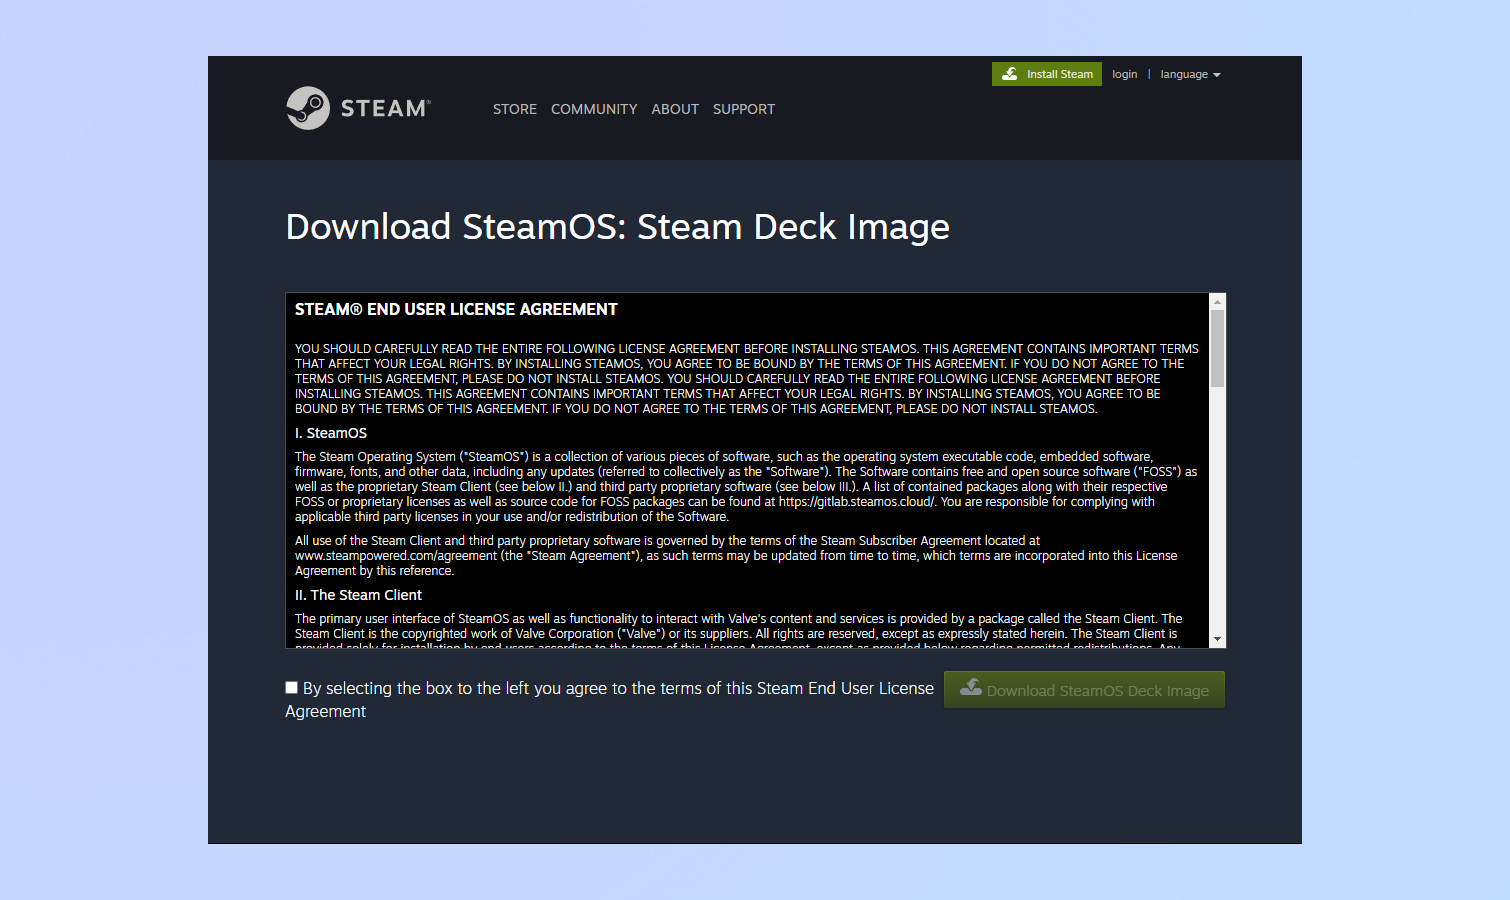
Now we need to reinstall SteamOS. On your PC or laptop, follow this link and download SteamOS firmware.
9. Download Rufus program
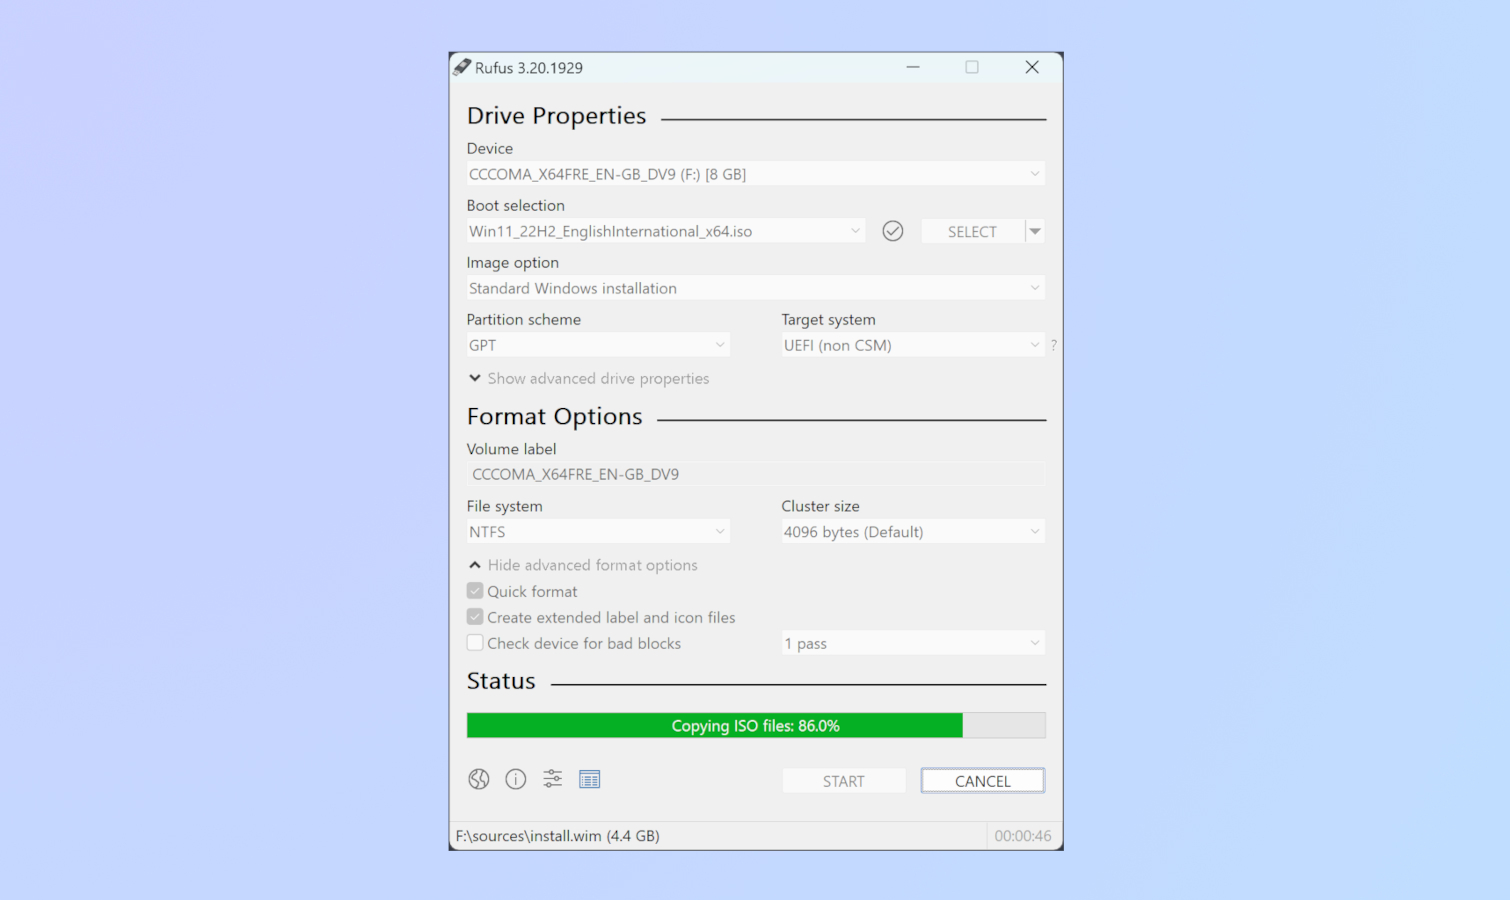
You’ll also need to download the Rufus program to install the firmware on your SSD. You have to format the thumbstick to GPT. Open Rufus, select your Steam Deck file, and let Rufus do its thing.
10. Install firmware on SSD
Plug the USB-C thumbstick into the Steam Deck. After that, press and hold the power and volume down buttons. When you hear the startup beep, release the power button but keep holding the volume down button until the Steam Deck’s BIOS appears. Then follow the on-screen instructions.
This part took me about 10 to 15 minutes but your time might vary. When that’s done, your Steam Deck will start up as if it’s new. Click on Reimage Steam Deck from the system’s desktop mode and follow the on-screen instructions.
That’s it! Head into settings and scroll to storage to see if your Steam Deck is using all the usable storage. This entire process took me about 40 minutes but your time might vary, depending on how long it takes you to pull the Steam Deck apart. Now you can enjoy all that sweet storage space you’ve just added.
For more Steam Deck guides, you may want to check out our other gaming tutorials, including how to enable the performance overlay on the Steam Deck, how to enable Desktop Mode on the Steam Deck, how to change the keyboard theme on Steam Deck, how to update a Steam Deck and how to format an SD card on the Steam Deck.