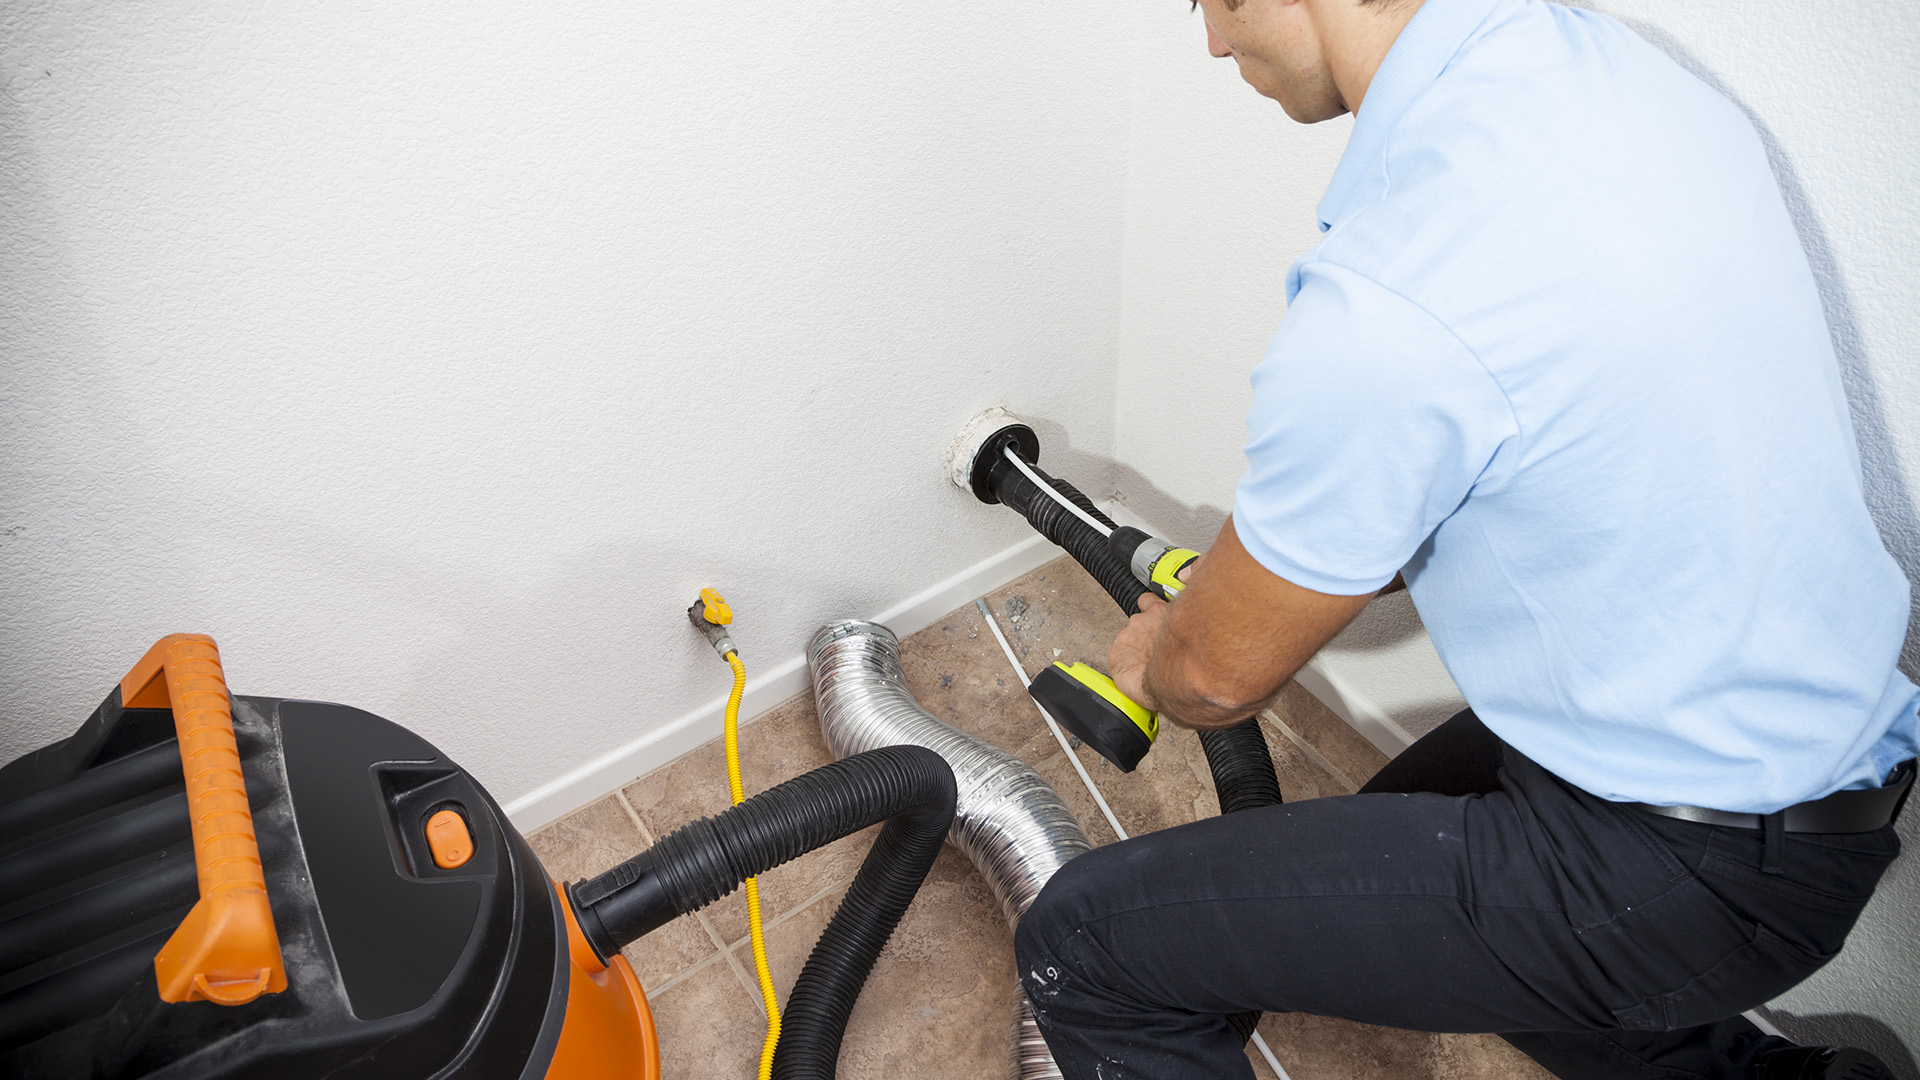
Learn how to install a dryer vent to ensure maximum performance of your tumble dryer. Without one, your tumble dryer may be at risk of both moisture, and lint build-up causing it to not dry your clothes properly, and even cause wear and tear.
The good news is, installing a dryer vent yourself could be a simpler process than it seems. If you’re installing a dryer in the same location as the previous one, it can be as easy as reusing the same foundation already there, but if it’s a new vent installation, there are a few things you should keep in mind.
So before you get started with your electrical home improvements, plan ahead and gather your resources. We’ve consulted an expert who fixes dryers for a living, for their guide on installing a tumble dryer vent to keep your best dryer in good working condition. Follow these steps and have your dryer vent installed in no time.
What you'll need
• Wall vent
• Large hole saw (if installing a new vent)
• Dryer duct tubing
• Clamps or aluminum tape
• Vent elbows
• Caulk gun
• Exterior caulk
Things to consider when installing a dryer vent
Opt for a short vent length: You should keep in mind that a shorter vent length will minimize potential clogging and improve overall drying performance. The smoother, less restrictive vent run – without any turns or bends – will help your clothes dry faster. This will allow for a shorter run time too, which means there will be less wear on your clothes.
Check for lint: Lint build-up can lead to safety issues. As Jason Carter, appliance technician a Simply Swider, explains ‘You should consider using a lint catcher and regularly check for lint to prevent accumulation, especially if venting the dryer into a room or area.’
How to install a dryer vent
Carter notes, after successful dryer vent installation, ‘you should clean the vent cover and walls regularly to maintain efficiency and reduce drying time’.You should also ensure the area around the dryer is well-ventilated to prevent moisture damage. Planning ahead is key for the proper installation, as it can vary from model to model. For most types, you should find the most direct route for your dryer bent to go, and ensure you have the amount of ducting necessary. You can check the manufacturer's recommendation for the length of the duct.
1. Choose a durable vent material
Carter advises ‘to choose a durable vent material instead of flexible plastic tubes, which clog quickly.’
2. Drill the vent hole
Measure the hole size according to the vent and mark with a pencil where you will drill. You should consider drilling a smaller, pilot hole before you commit to one location. The easiest way to do this is with a hole saw.
Carter notes, after successful dryer vent installation, ‘you should clean the vent cover and walls regularly to maintain efficiency and reduce drying time’. You should also ensure the area around the dryer is well-ventilated to prevent moisture damage.
3. Install the vent hood
After you’re happy with your vent hole and its location, you should apply a bead of exterior caulk around the edge of the hole. Insert the vent hood pipe through and attach it with aluminum tape. You should make sure to seal any gaps between the hood and the wall with caulk.
4. Connect the duct
Route the vent through, avoiding any turns or kinks. Carter recommends ‘there should be no more than two 90-degree bends’ in the vent. Use clamps or tape to hold it in place.
5. Test the dryer
Once the duct is securely attached you should test the dryer out. After a few dry spins double check to make sure there are no kicks or possibility that the vent has become disconnected. Run the dryer to monitor performance.’


