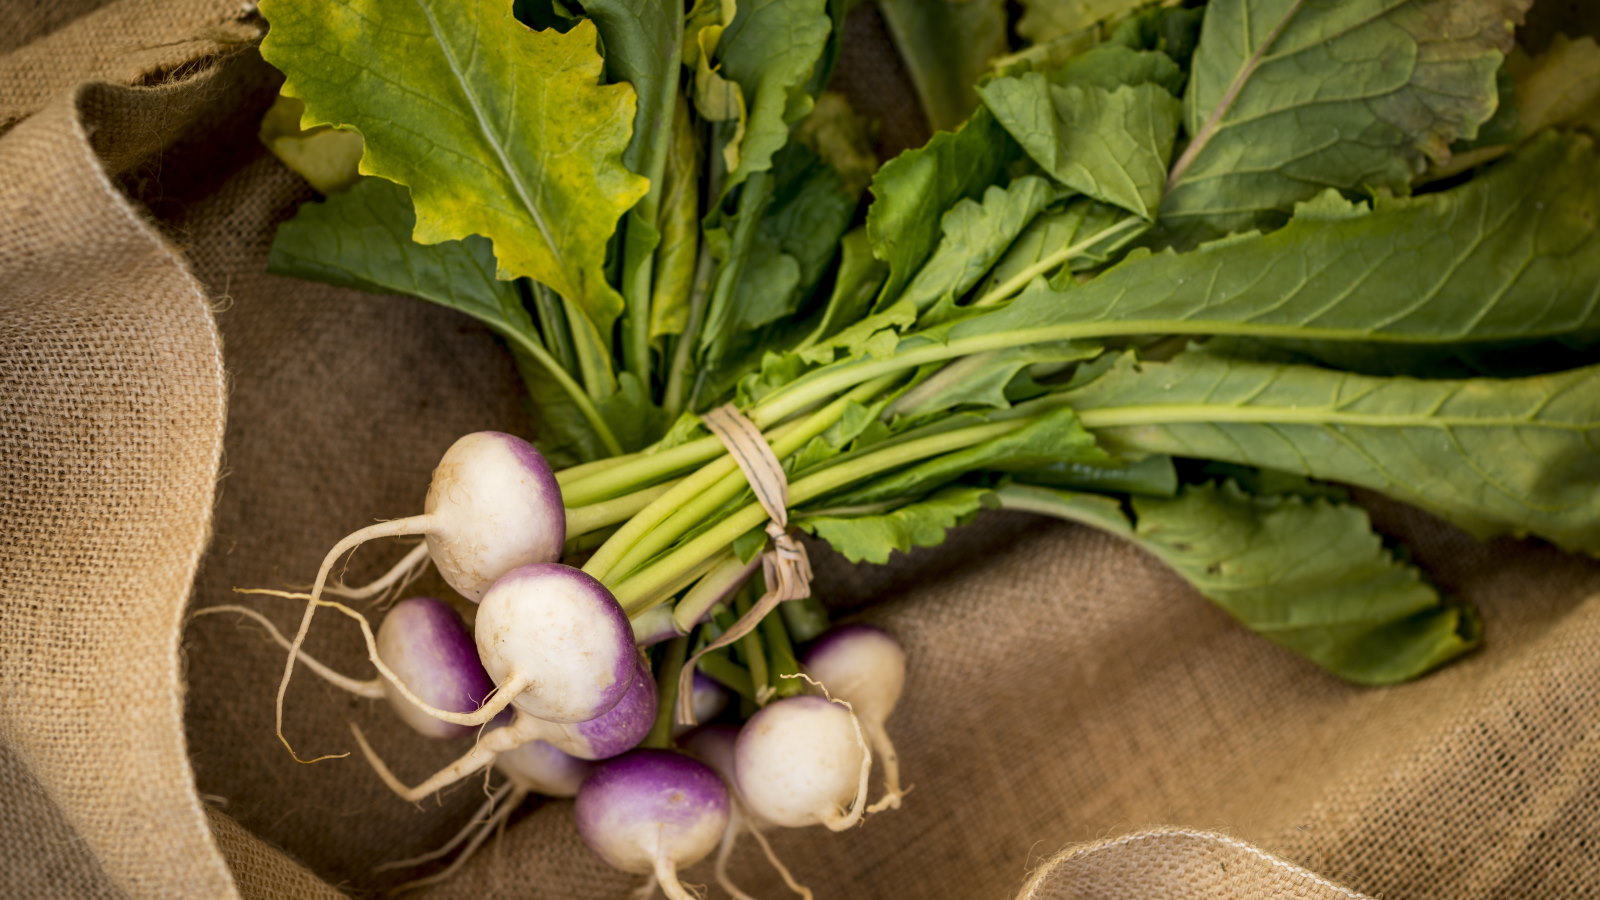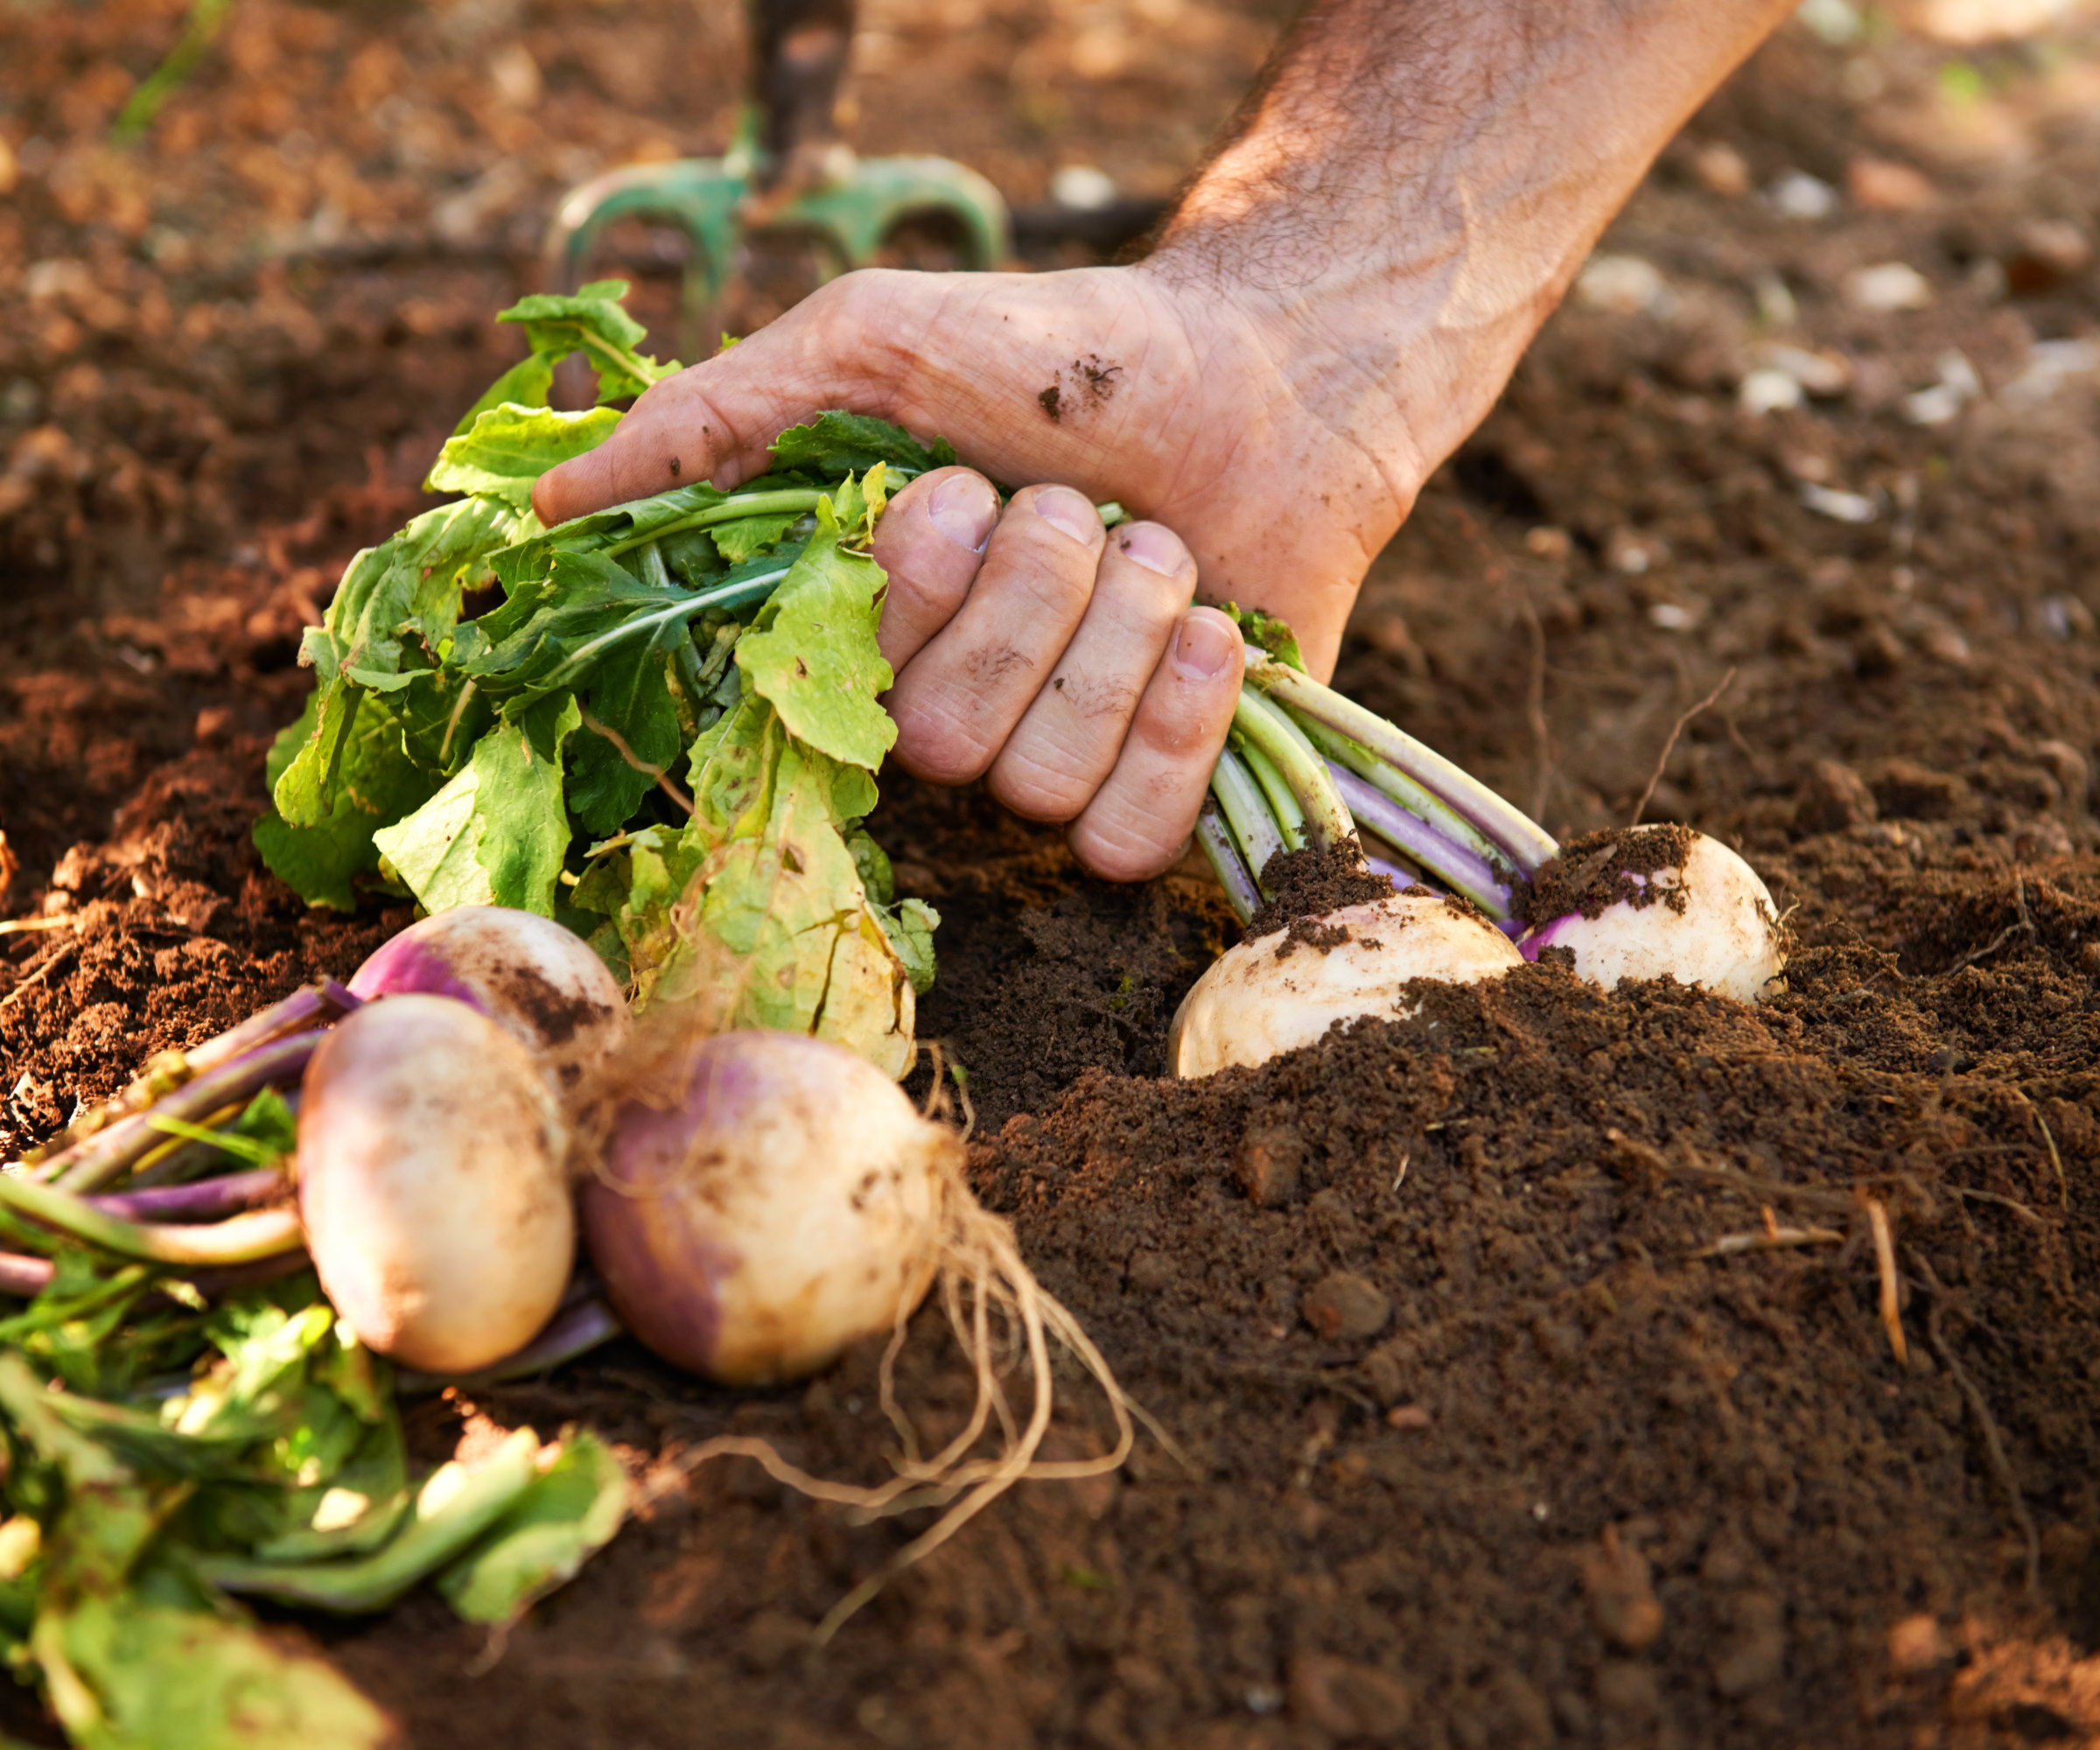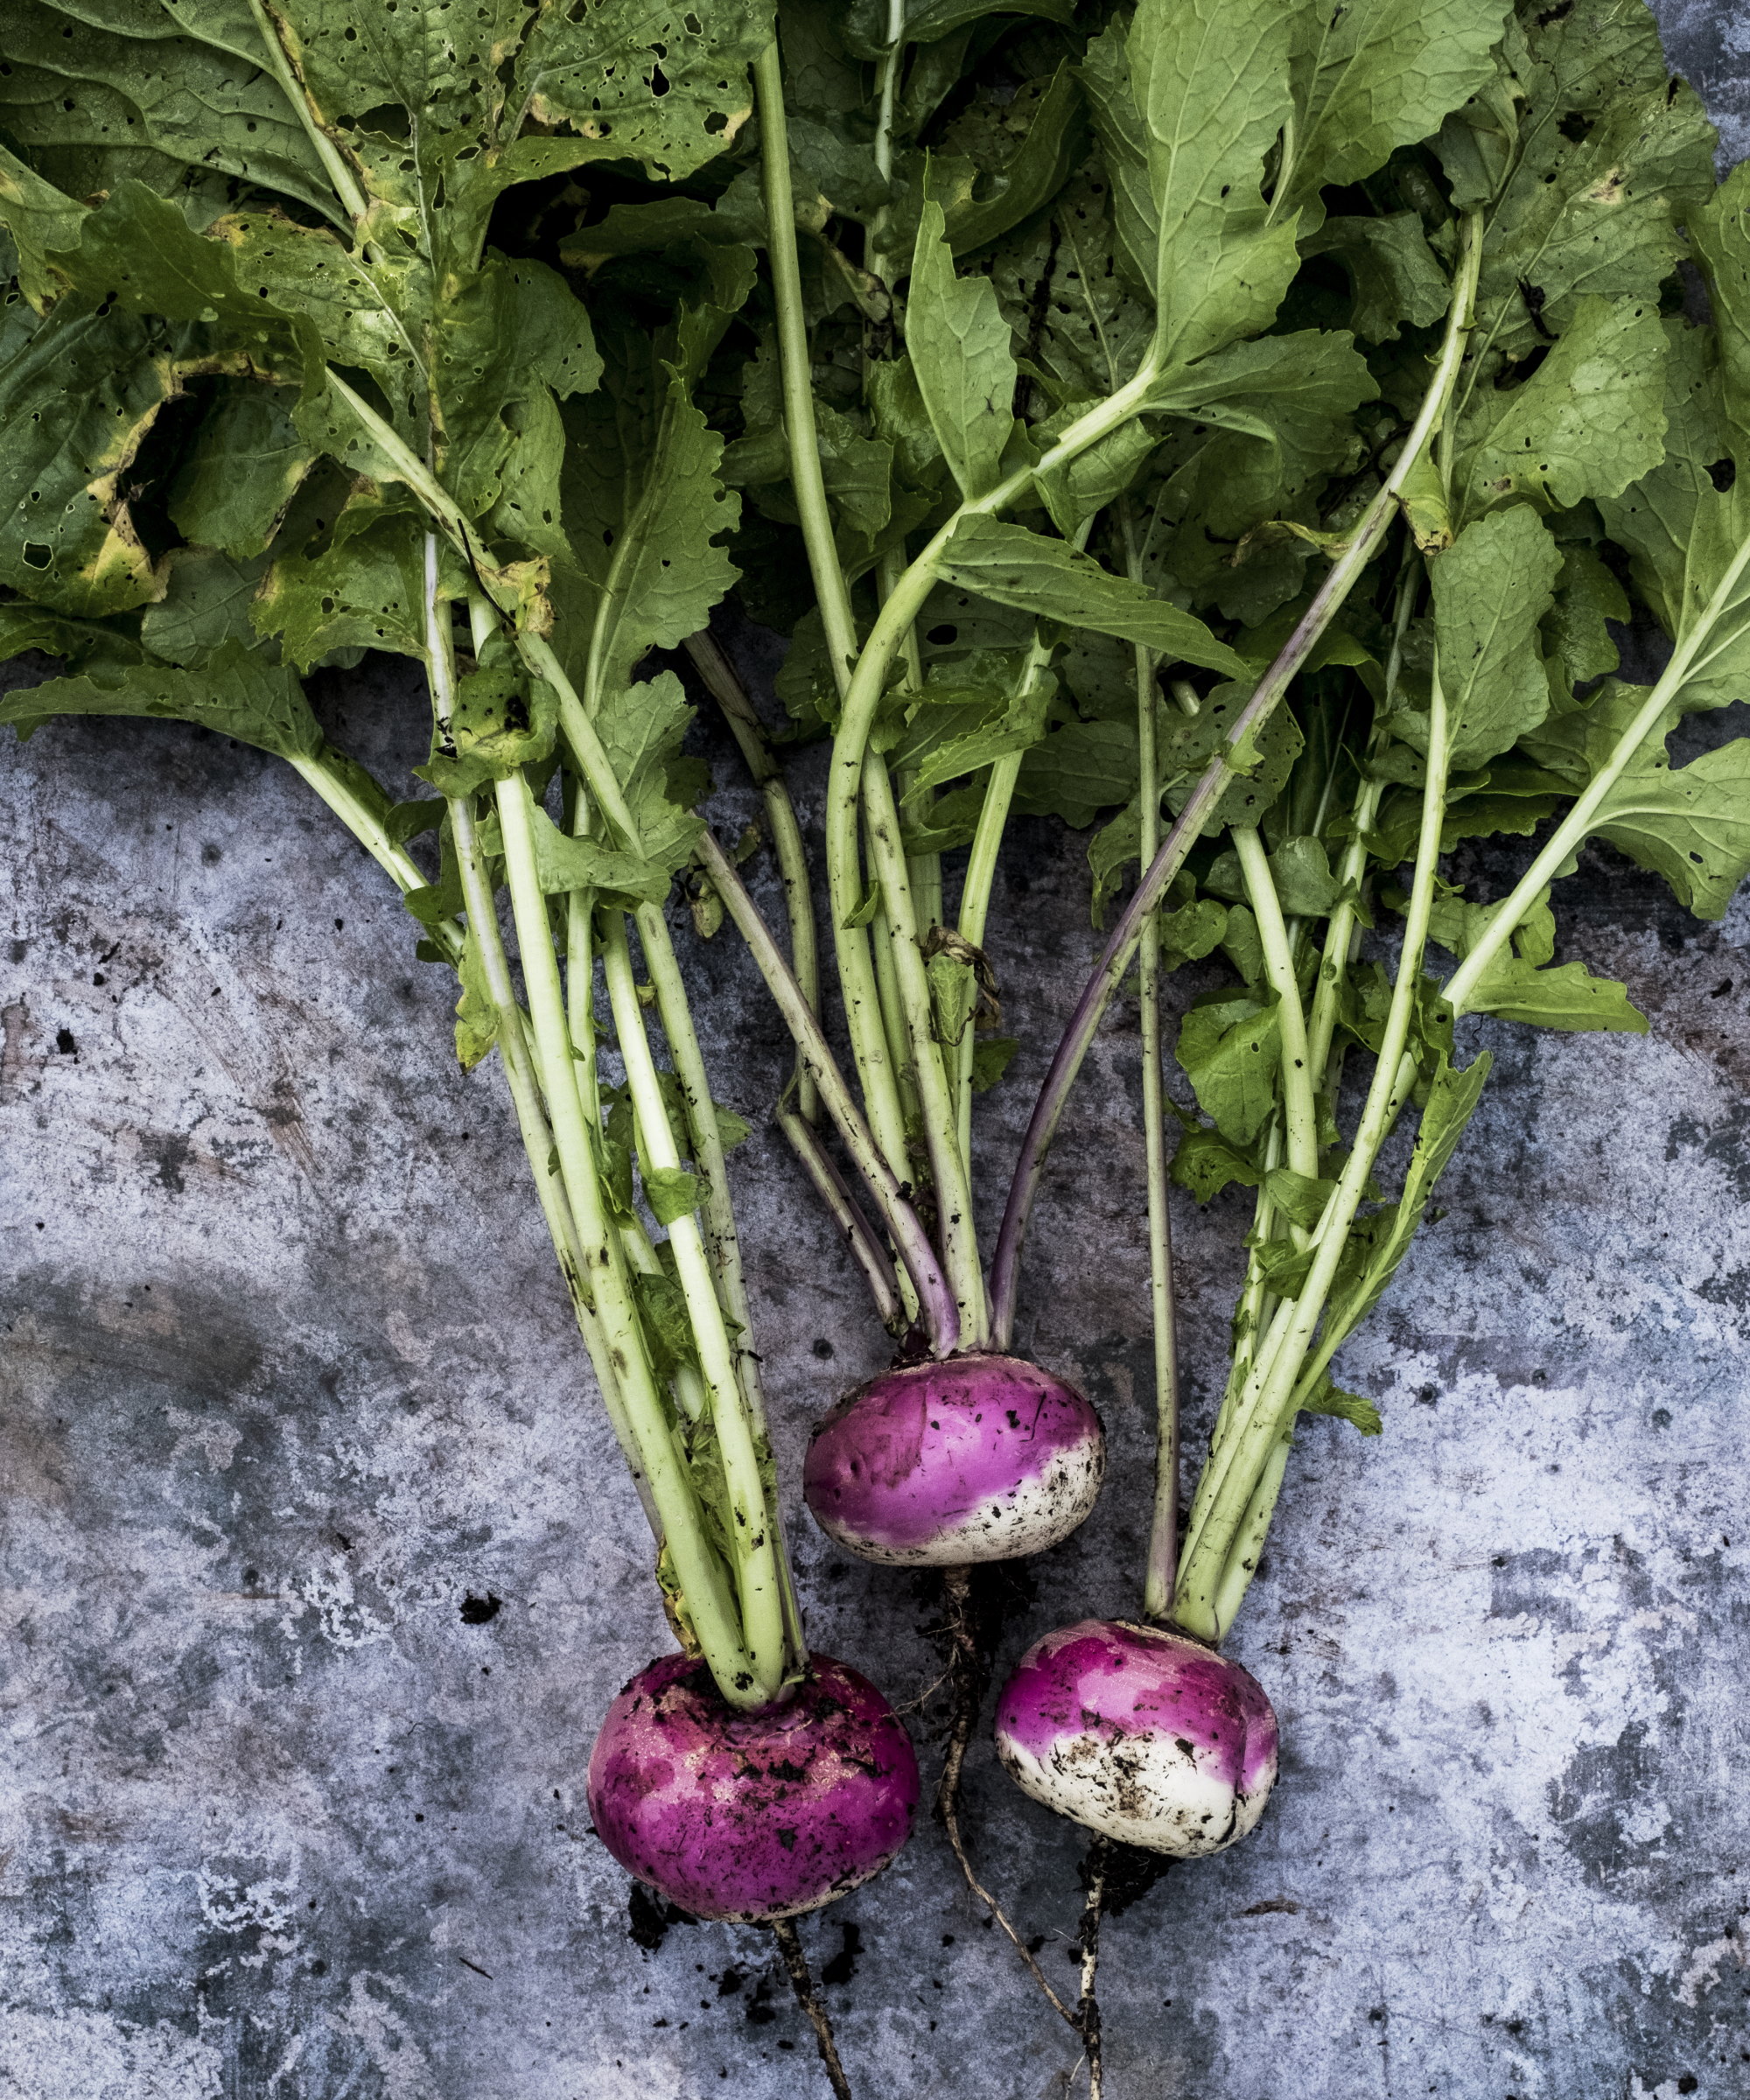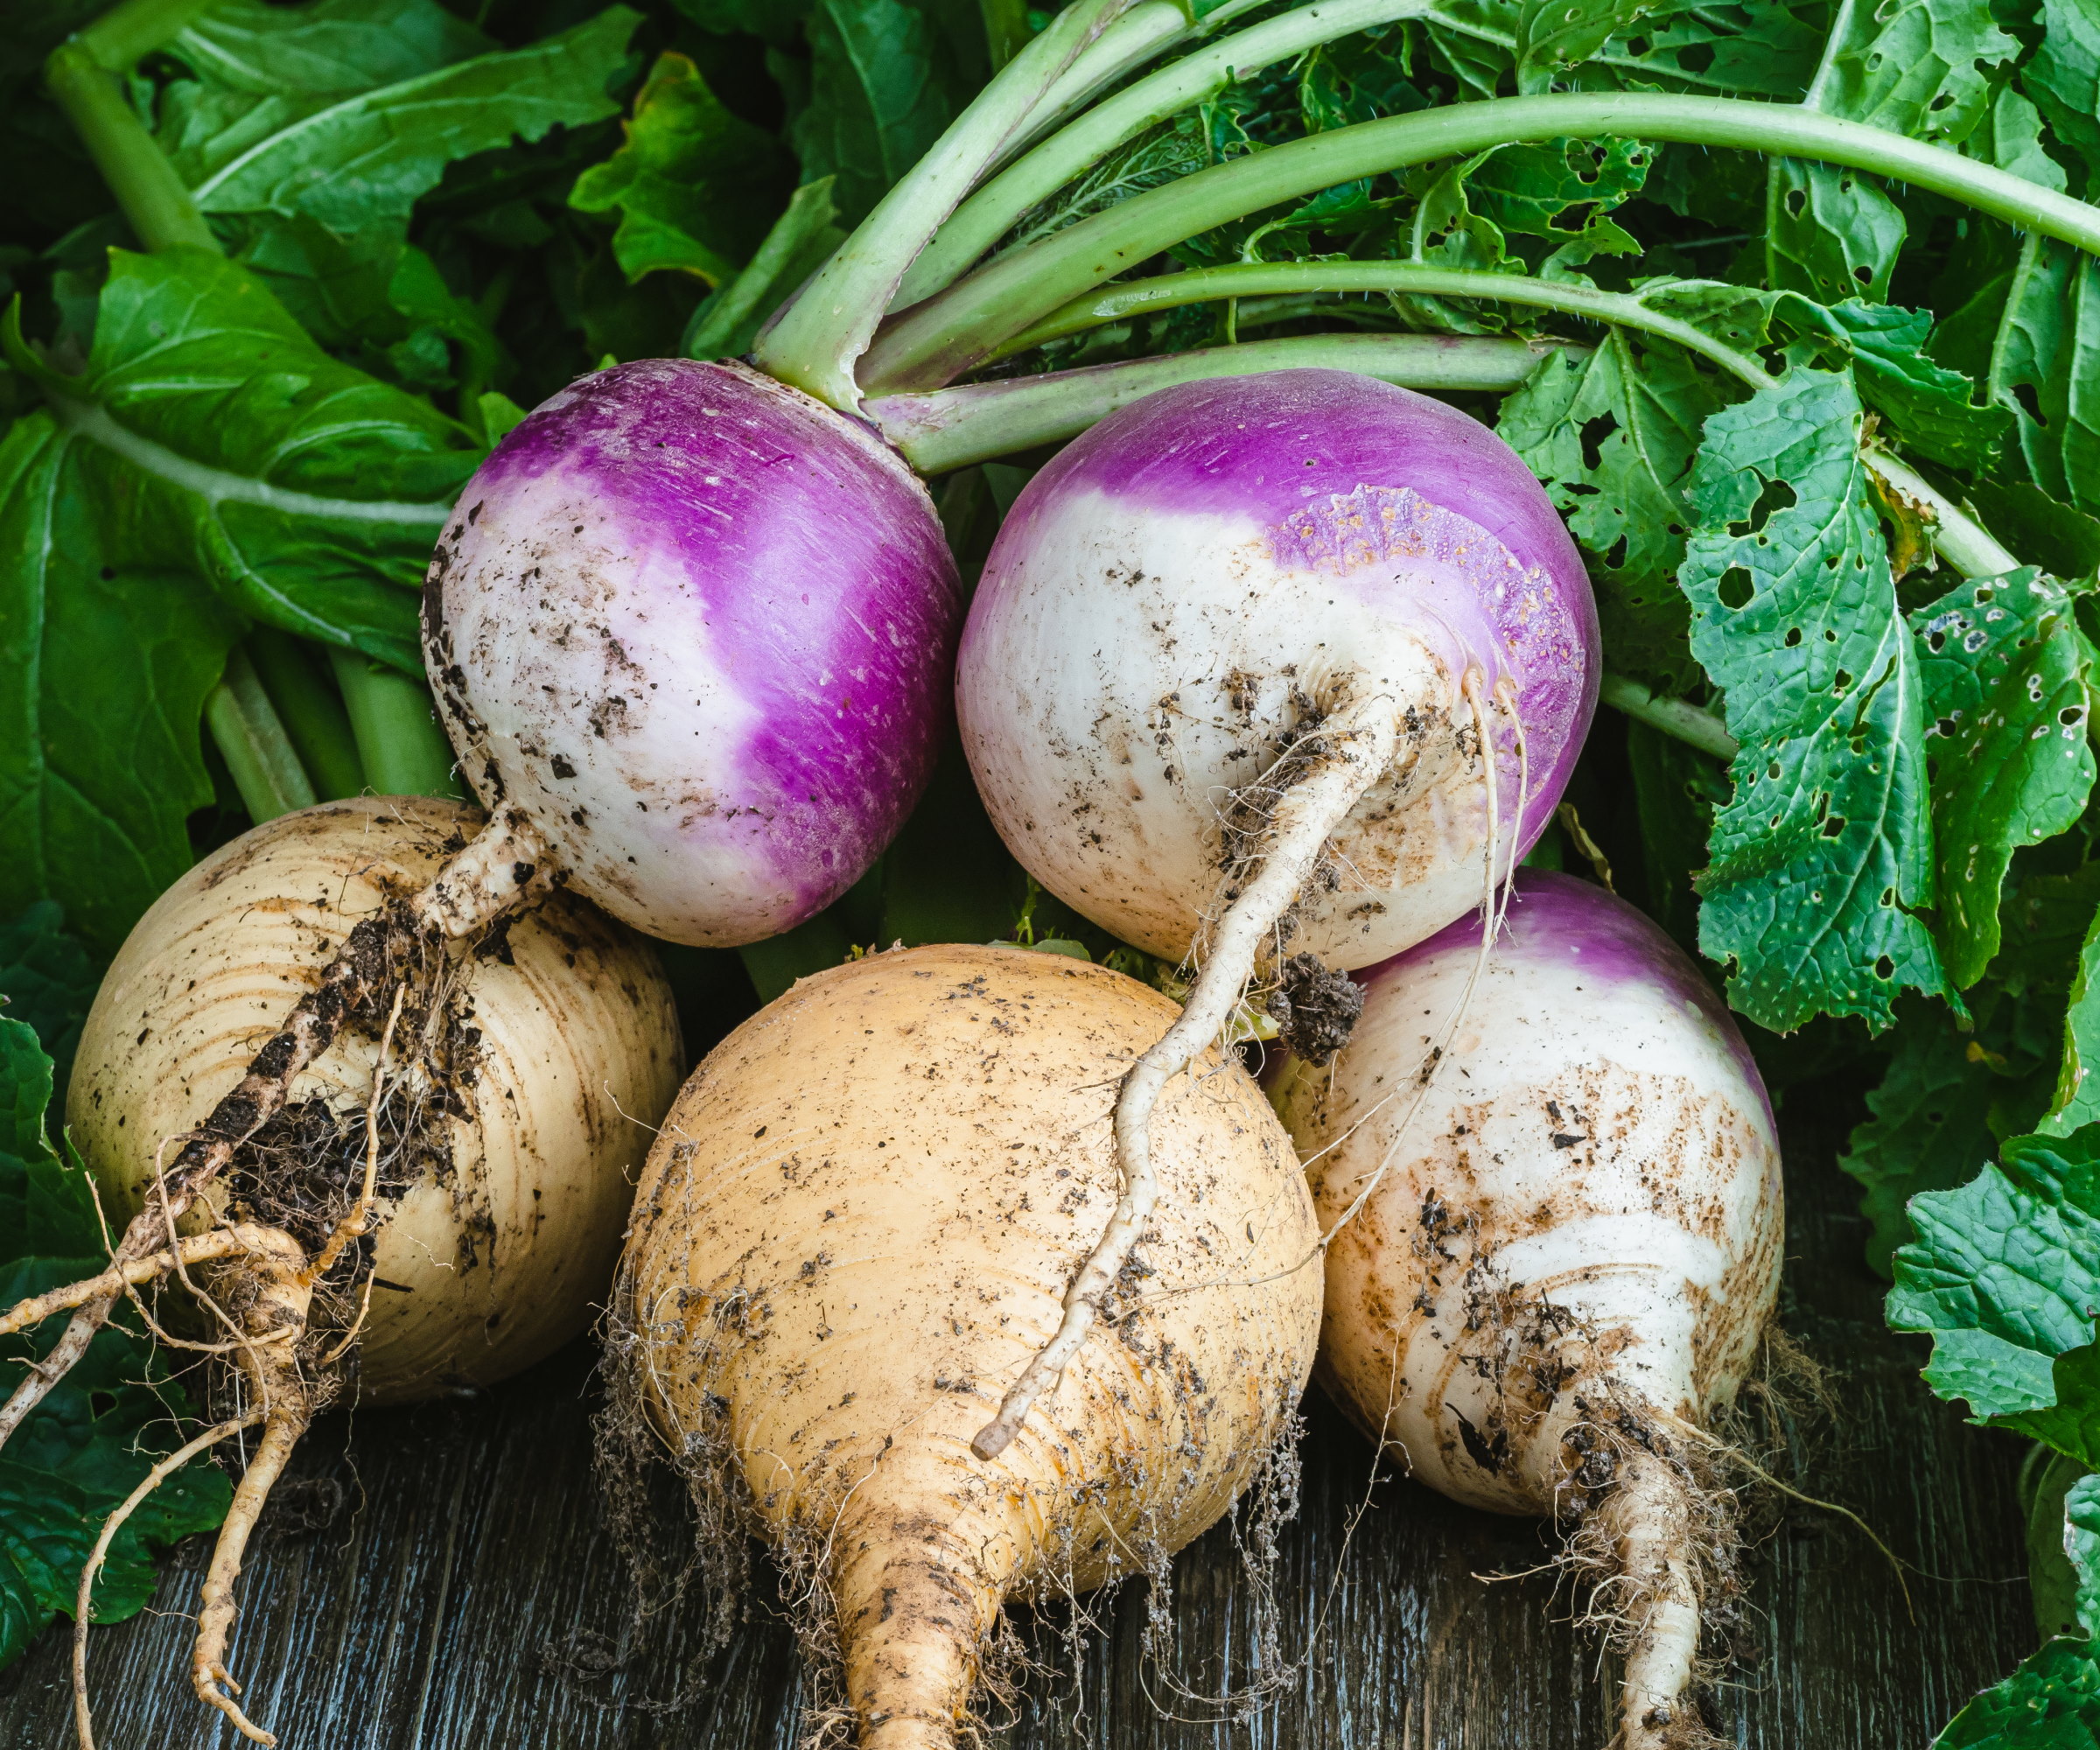
Growing turnips from scraps is a quick, easy, and eco-friendly way to reuse a part of the vegetable normally just thrown in the trash. What is the reward for this? Well, not only is it an enjoyable and sustainable way to give a new lease of life to vegetables, but you also get a fresh and quick harvest of delicious turnip greens.
Turnip greens are an under-appreciated edible crop that come when growing turnips. These leafy greens are low in calories yet high in nutrients and popular in southern dishes. As they are a crop rarely seen in stores, why not grow your own at home?
Growing vegetables from scraps not only provides extra harvests but can be a method of collecting seeds to resow the next year. Growing lettuce from scraps and growing celery from a stalk may be more well-known ways of resprouting vegetables. Still, there are definite merits to experimenting with growing turnips from scraps.

Can you grow turnips from tops?
Growing turnips from tops that would otherwise be thrown away is a fantastic and sustainable way to reuse scraps. However, as with growing carrots from carrot tops, the root - the part of the vegetable that is commonly eaten - will not regrow once cut off. Instead, you can resprout the turnip top to grow edible greens, which have a peppery taste, similar to the roots.
How to grow turnip greens from turnip tops in 5 simple steps

It is very simple to grow turnip greens from tops. This sustainable practice can even be a fun gardening experiment with children to get them interested in homegrown vegetables. You can sprout turnip tops quickly using household items from the kitchen.
The simple steps outlined below can be done with turnips harvested from your own vegetable garden or ones from the grocery store - but only if the top leafy part of the crop is still attached.
- You only need the top of the turnip. Cut the turnip leaving only around an inch of the top of the vegetable intact and trim back any leaves to about an inch tall
- Place the top in a shallow clear dish of water. Amy Enfield, senior horticulturist at ScottsMiracle-Gro, advises that the turnip wants to be placed cut side down and you do not need lots of water. ‘Make sure that there is enough water to just cover the base of the turnip top; the area where the leaves emerge should not be in the water or it may rot,’ she recommends.
- The container wants to be set in a bright and warm spot. Amy Enfield claims ‘near a window’ is the best location, but advises taking care to protect the cut top from ‘any direct sunlight’. It is also recommended to keep it away from extreme temperatures caused by heating vents or cold drafts
- Change the water in the container every 2-3 days. Make sure the water does not evaporate as the turnip top can dry out due to a lack of water
- The turnip top should start sprouting new leaves within a week, along with small roots
Once the turnip top has developed a set of strong roots and shoots within a few weeks, it can be transplanted into a small container. It can only survive in water for so long and must be put into a pot to continue growing. Any container wants to have drainage holes and be filled with good potting soil for container gardening.
‘When planting your turnip top, keep the crown of the old root just about the soil surface. The soil should be kept damp, but not soggy,’ recommends Amy Enfield. ‘You can start harvesting your turnip greens as soon as they reach a desirable size (normally 4-6 inches tall).’
Use a pair of clean and sharp pruning shears, scissors, or gardening snips to harvest turnip greens. Only take a small amount at a time so the sprouted top can continue growing and producing more. Turnip greens can last up to three days in a refrigerator after harvesting and can be eaten raw or cooked.
A potting mix for container plants that absorbs 33% more water than basic potting soil and feeds plants for up to six months.
Can you grow turnips from a turnip?

Turnips are biennial plants, they have a two-year growing cycle that involves producing roots and leaves in the first year and then flowering and going to seed in year two. If you wonder how to grow turnips from a turnip, you can do it with a bit of patience.
One method is to plant a turnip in spring or plant a sprouted turnip top and let it grow and naturally go to seed. You can collect the seeds to sow again. Sowing heirloom seeds rather than hybrid varieties is important when you want to collect seeds from your vegetables to sow again.
The saved turnip seeds can be sown throughout spring and summer. As turnips are a fast-growing vegetable, you can get a harvest within 8-12 weeks from sowing seeds outdoors directly into the garden.
FAQs
What happens if I plant a turnip?
If you plant a turnip into the soil, it will start to grow and develop roots and leaves. This will be followed by the vegetable flowering and ultimately producing seed. The root will not swell in size, but will become tough and bitter once the turnip starts to go to seed.
Along with growing turnips from scraps, we have also briefly mentioned resprouting lettuce, celery, and carrots. However, the potential doesn’t end there. You can grow onions from scraps, both bulb onions and green onions, and, potentially even more surprising, you can even grow Brussels sprouts from scraps. It can be immensely satisfying to grow vegetables in this way, so I would recommend anyone to experiment - what have you got to lose?


