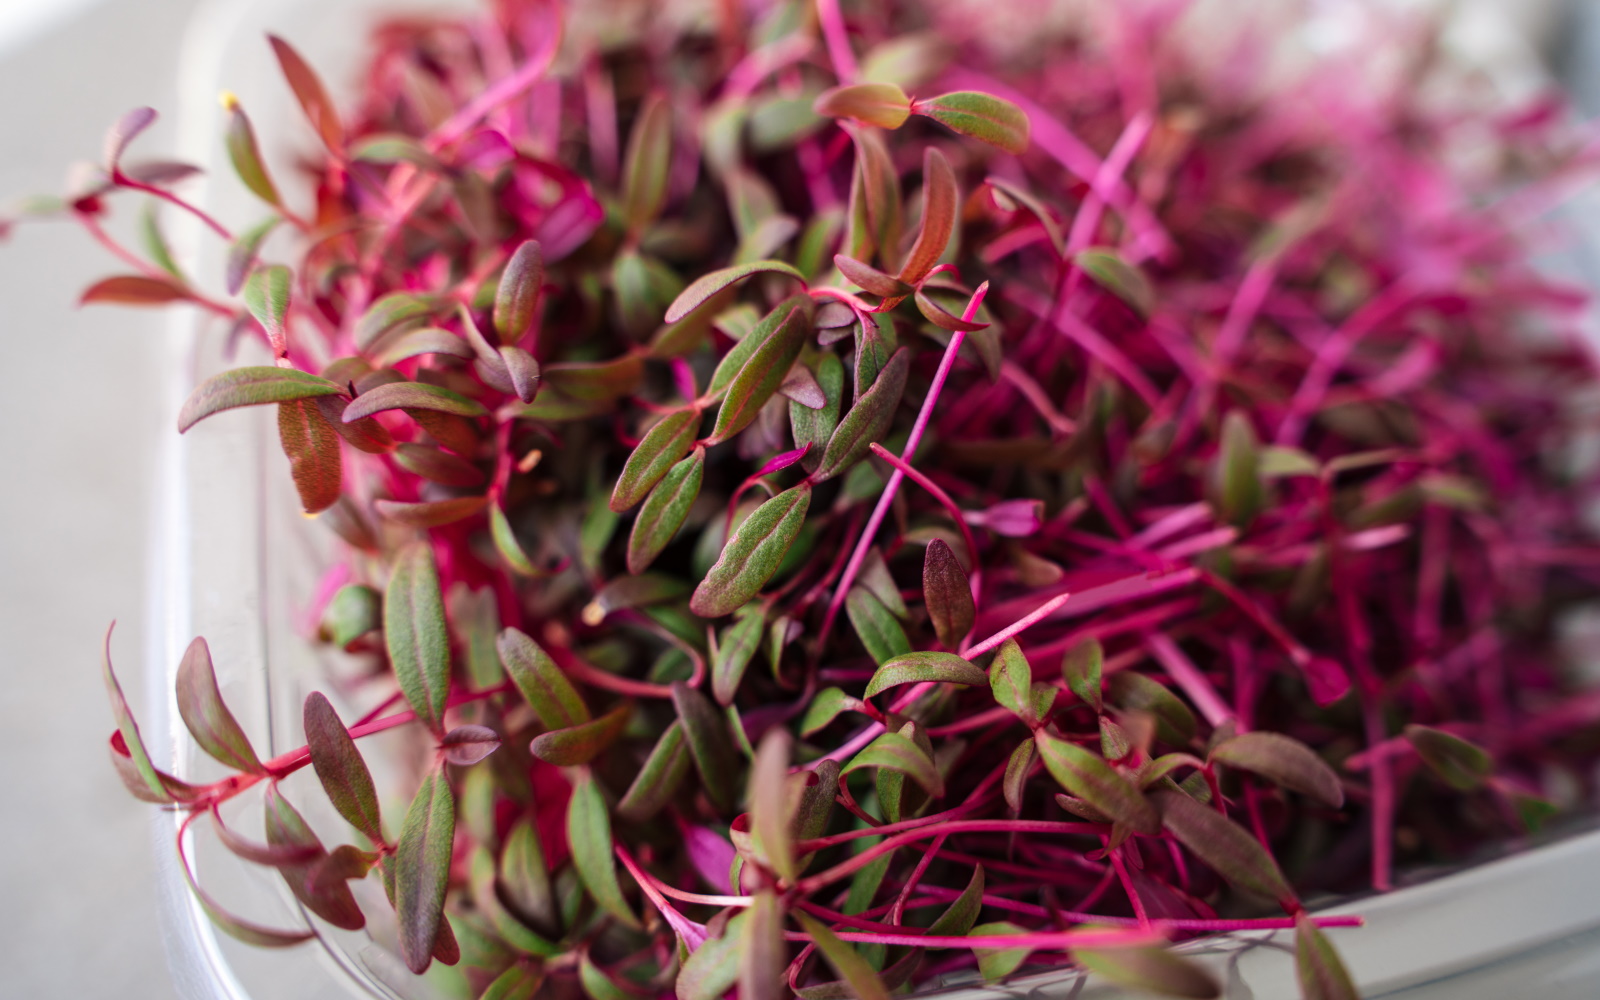
Amaranth is the microgreen of the moment, gaining much popularity due to its vibrant color, earthy flavor and high nutritional value. For those looking for indoor garden ideas, and wanting to grow something unusual on the kitchen countertop, why not grow amaranth as a microgreen?
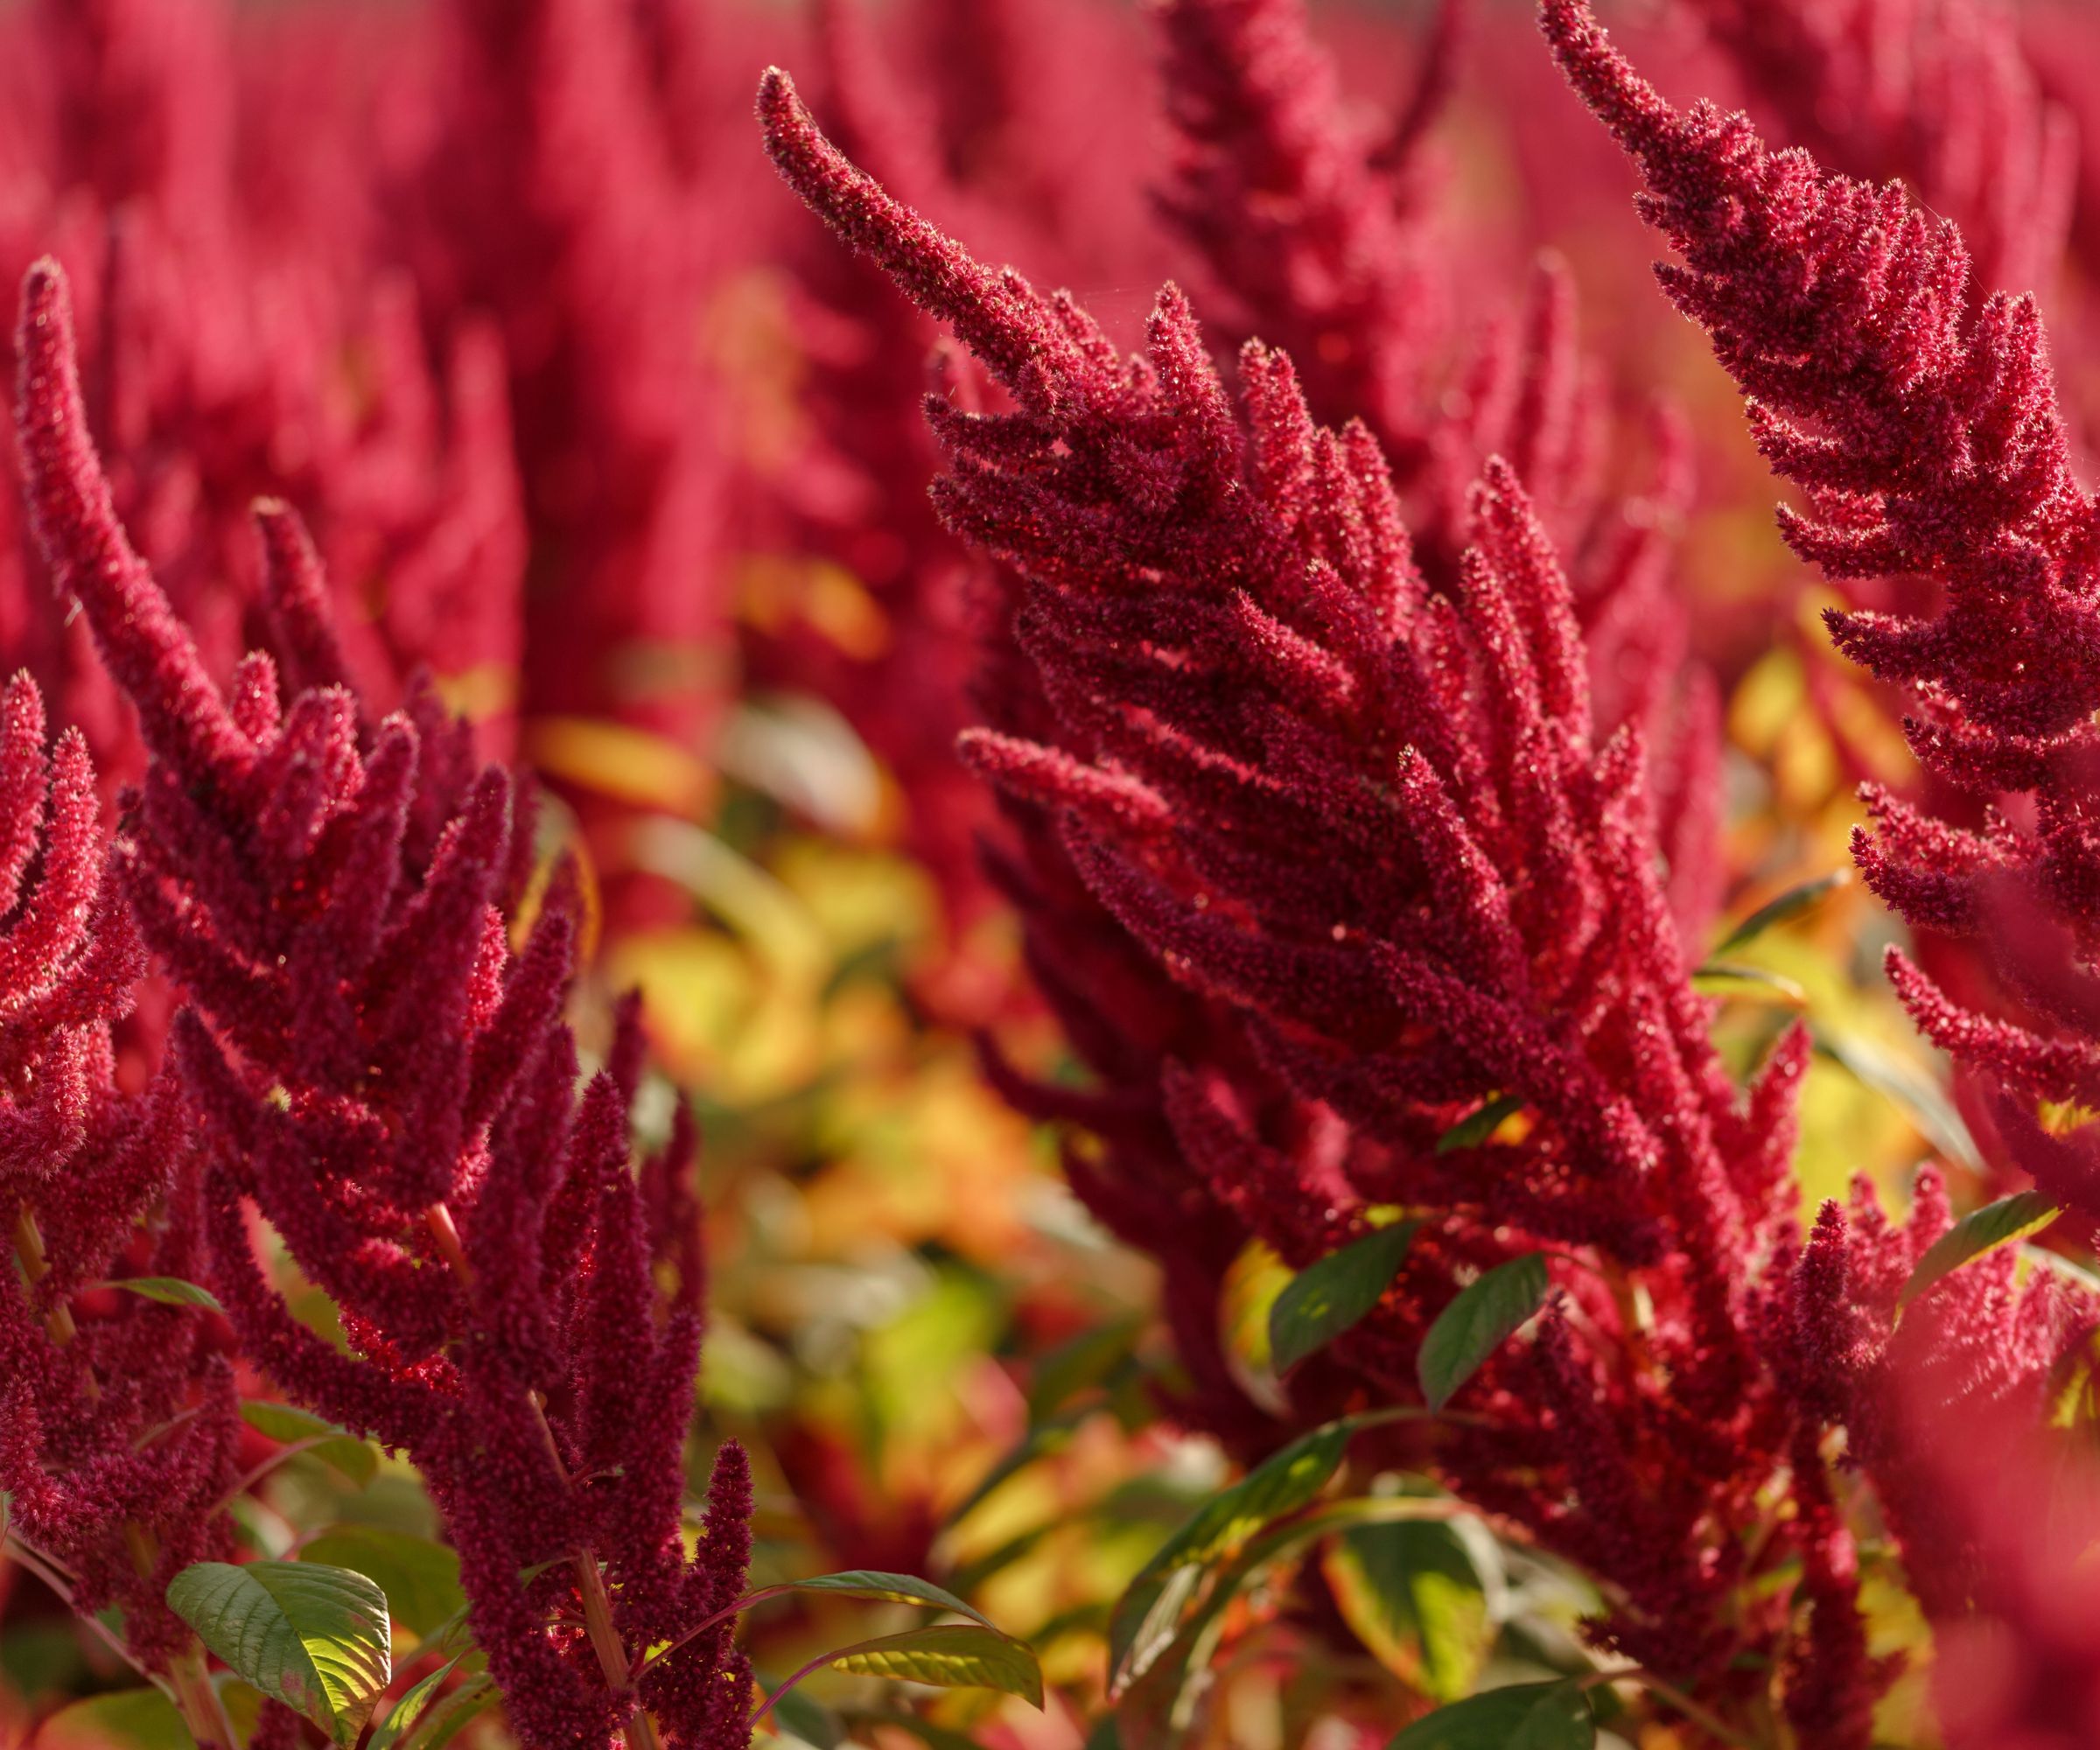
Amaranth might be known for its ornamental, tassel-like blooms, valued as a cut flower, but the amaranth genus is a family of more than 60 species of grains that have been grown as a food source for approximately 8,000 years. Notably the Inca, Maya and Aztec civilizations in Central and South America grew amaranth as a staple food source for millenia.
Today, it is also considered one of the best microgreens to grow, meaning that for those with limited outdoor space, or even just a window ledge to grow upon, the growing of these tiny shoots can be achieved almost anywhere. Here, professionals share expert advice on how best to grow amaranth, for swift, delicious and extremely pink results.
How to grow amaranth as a microgreen
Growing amaranth as a microgreen is quick and simple, and possible even for those with limited indoor or outdoor space. Follow our step-by-step guide below, and in under two weeks, you can enjoy vibrant leaves in salads, sandwiches or as a nutritious garnish.
1. Preparing your container with soil
When considering how to grow microgreens, the first step is to select a planting tray with drainage holes and fill with a potting mix suitable for seed sowing with drainage, using something like this small growing tray from True Leaf Market.
The soil should be firmly pressed down, and compacted to 1/2 inch below the top of the planting tray. Using a spray bottle or a watering can with a rose, carefully wet the soil surface, allowing the water to soak into the soil.
Amaranth, 'Red Garnet' is a very small, delicate microgreen that prefers warmer growing conditions. Find a nice warm spot for germination and growing. It does not grow tall, so expect very small greens that will need to be harvested close to the root line and rinsed well.
2. Sow your amaranth seed
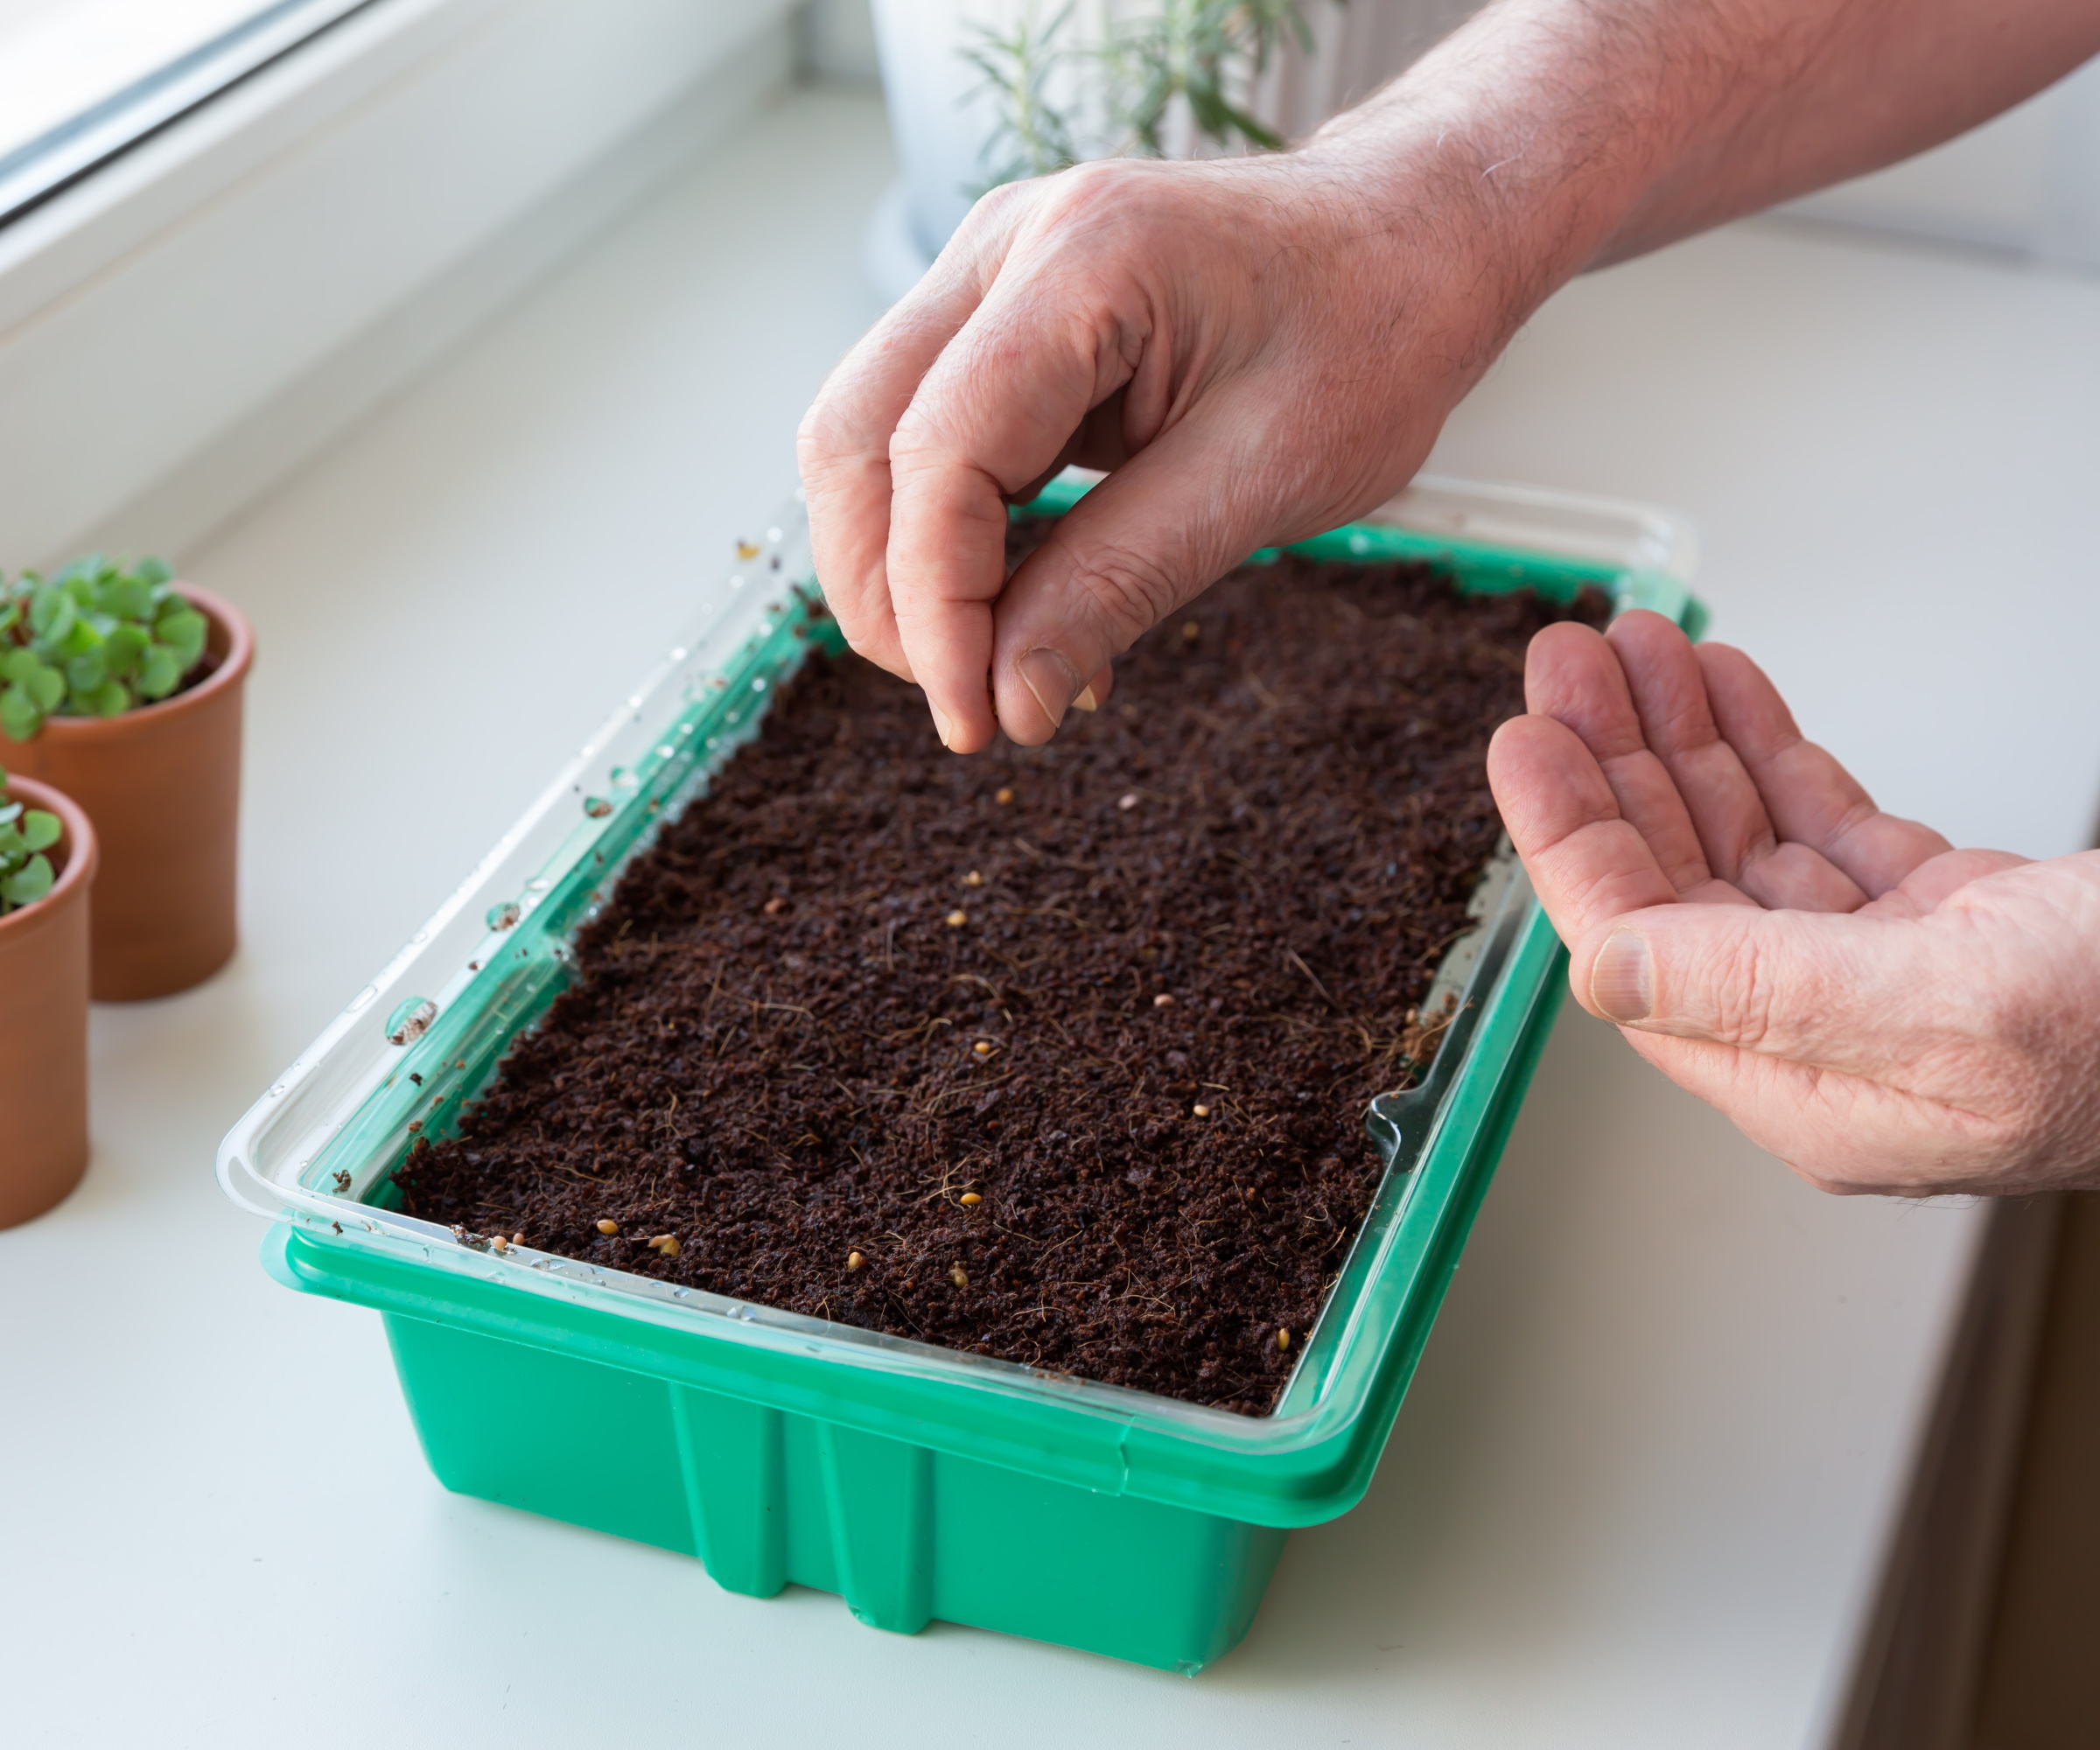
Carefully sow the seed directly onto the moistened soil. Sow a generous amount of seed, ensuring that no two seeds are touching, using a toothpick if necessary to space the seeds apart.
Following this, it is recommended that you cover the seeds with a weighted tray or small piece of card with a light weight placed on top, to block out the light.
'This will help block light during the germination phase,' says Ashleigh Smith, horticulturist and Managing Editor at True Leaf Market. In doing this, you will 'create resistance for the emerging seedlings,' adds Ashleigh. 'As the stems begin to push upward, the weight will help the stem push the seed hull (the outer coating of the seed) away.'
3. Use a grow light
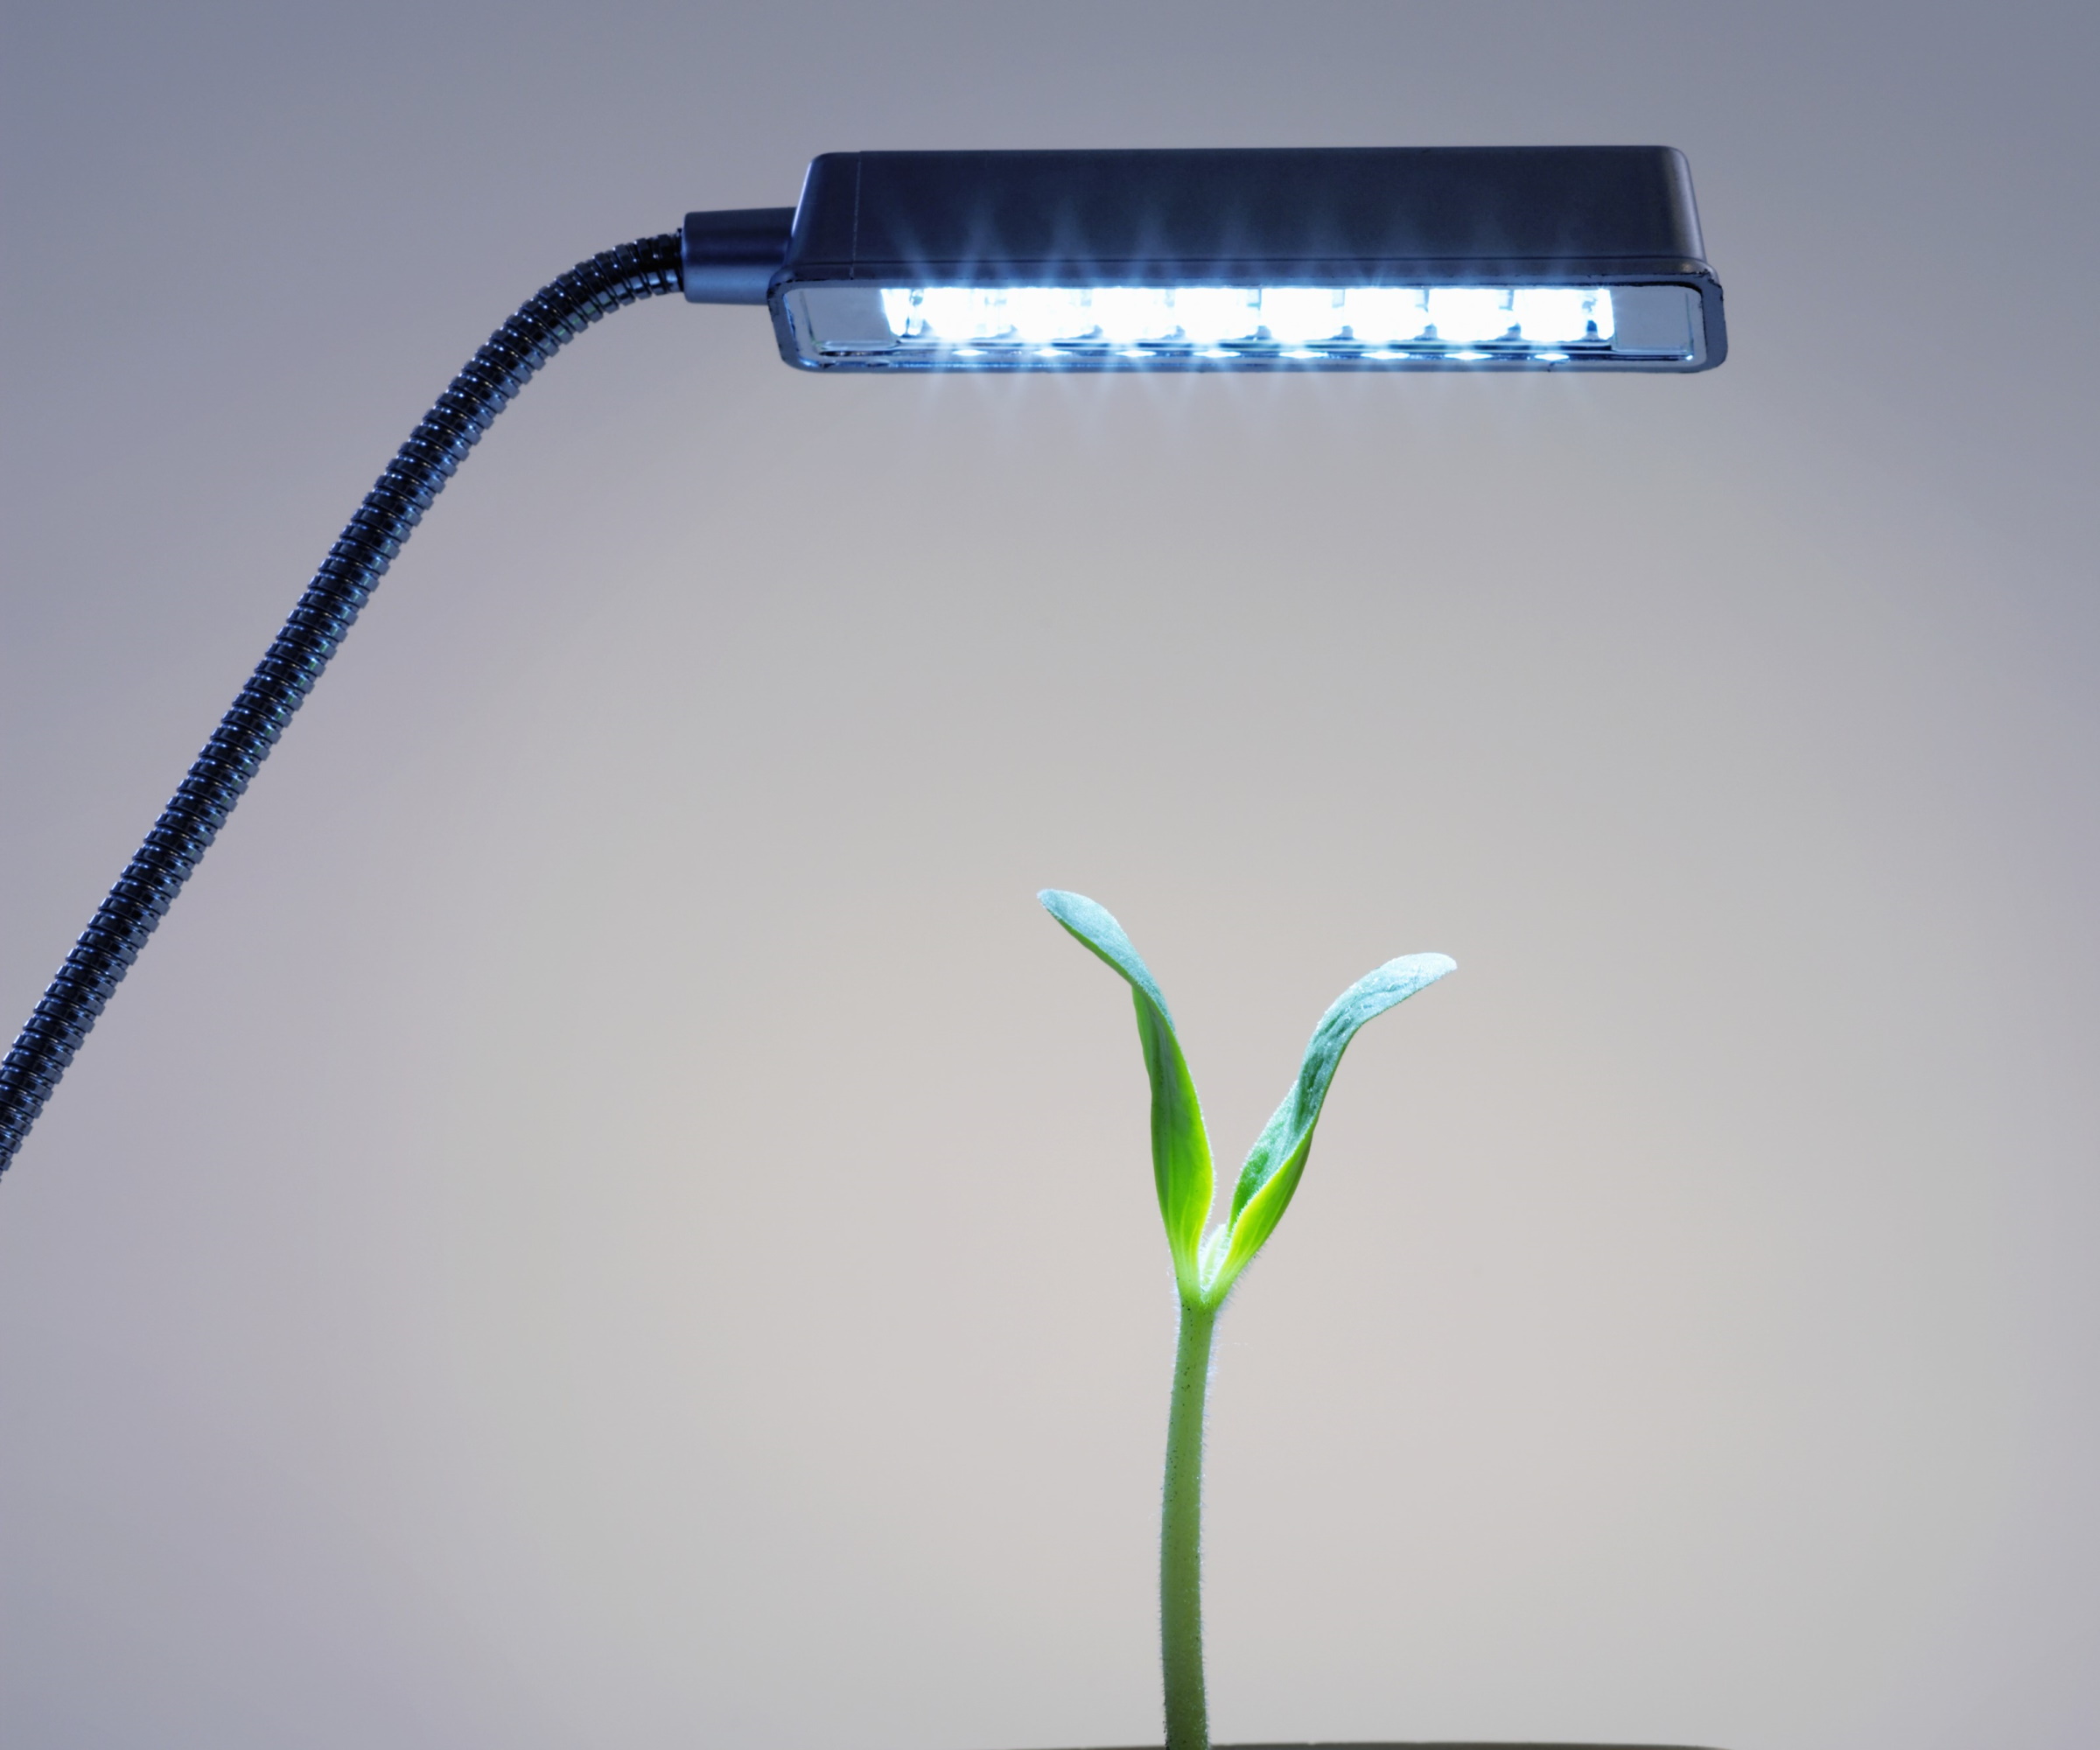
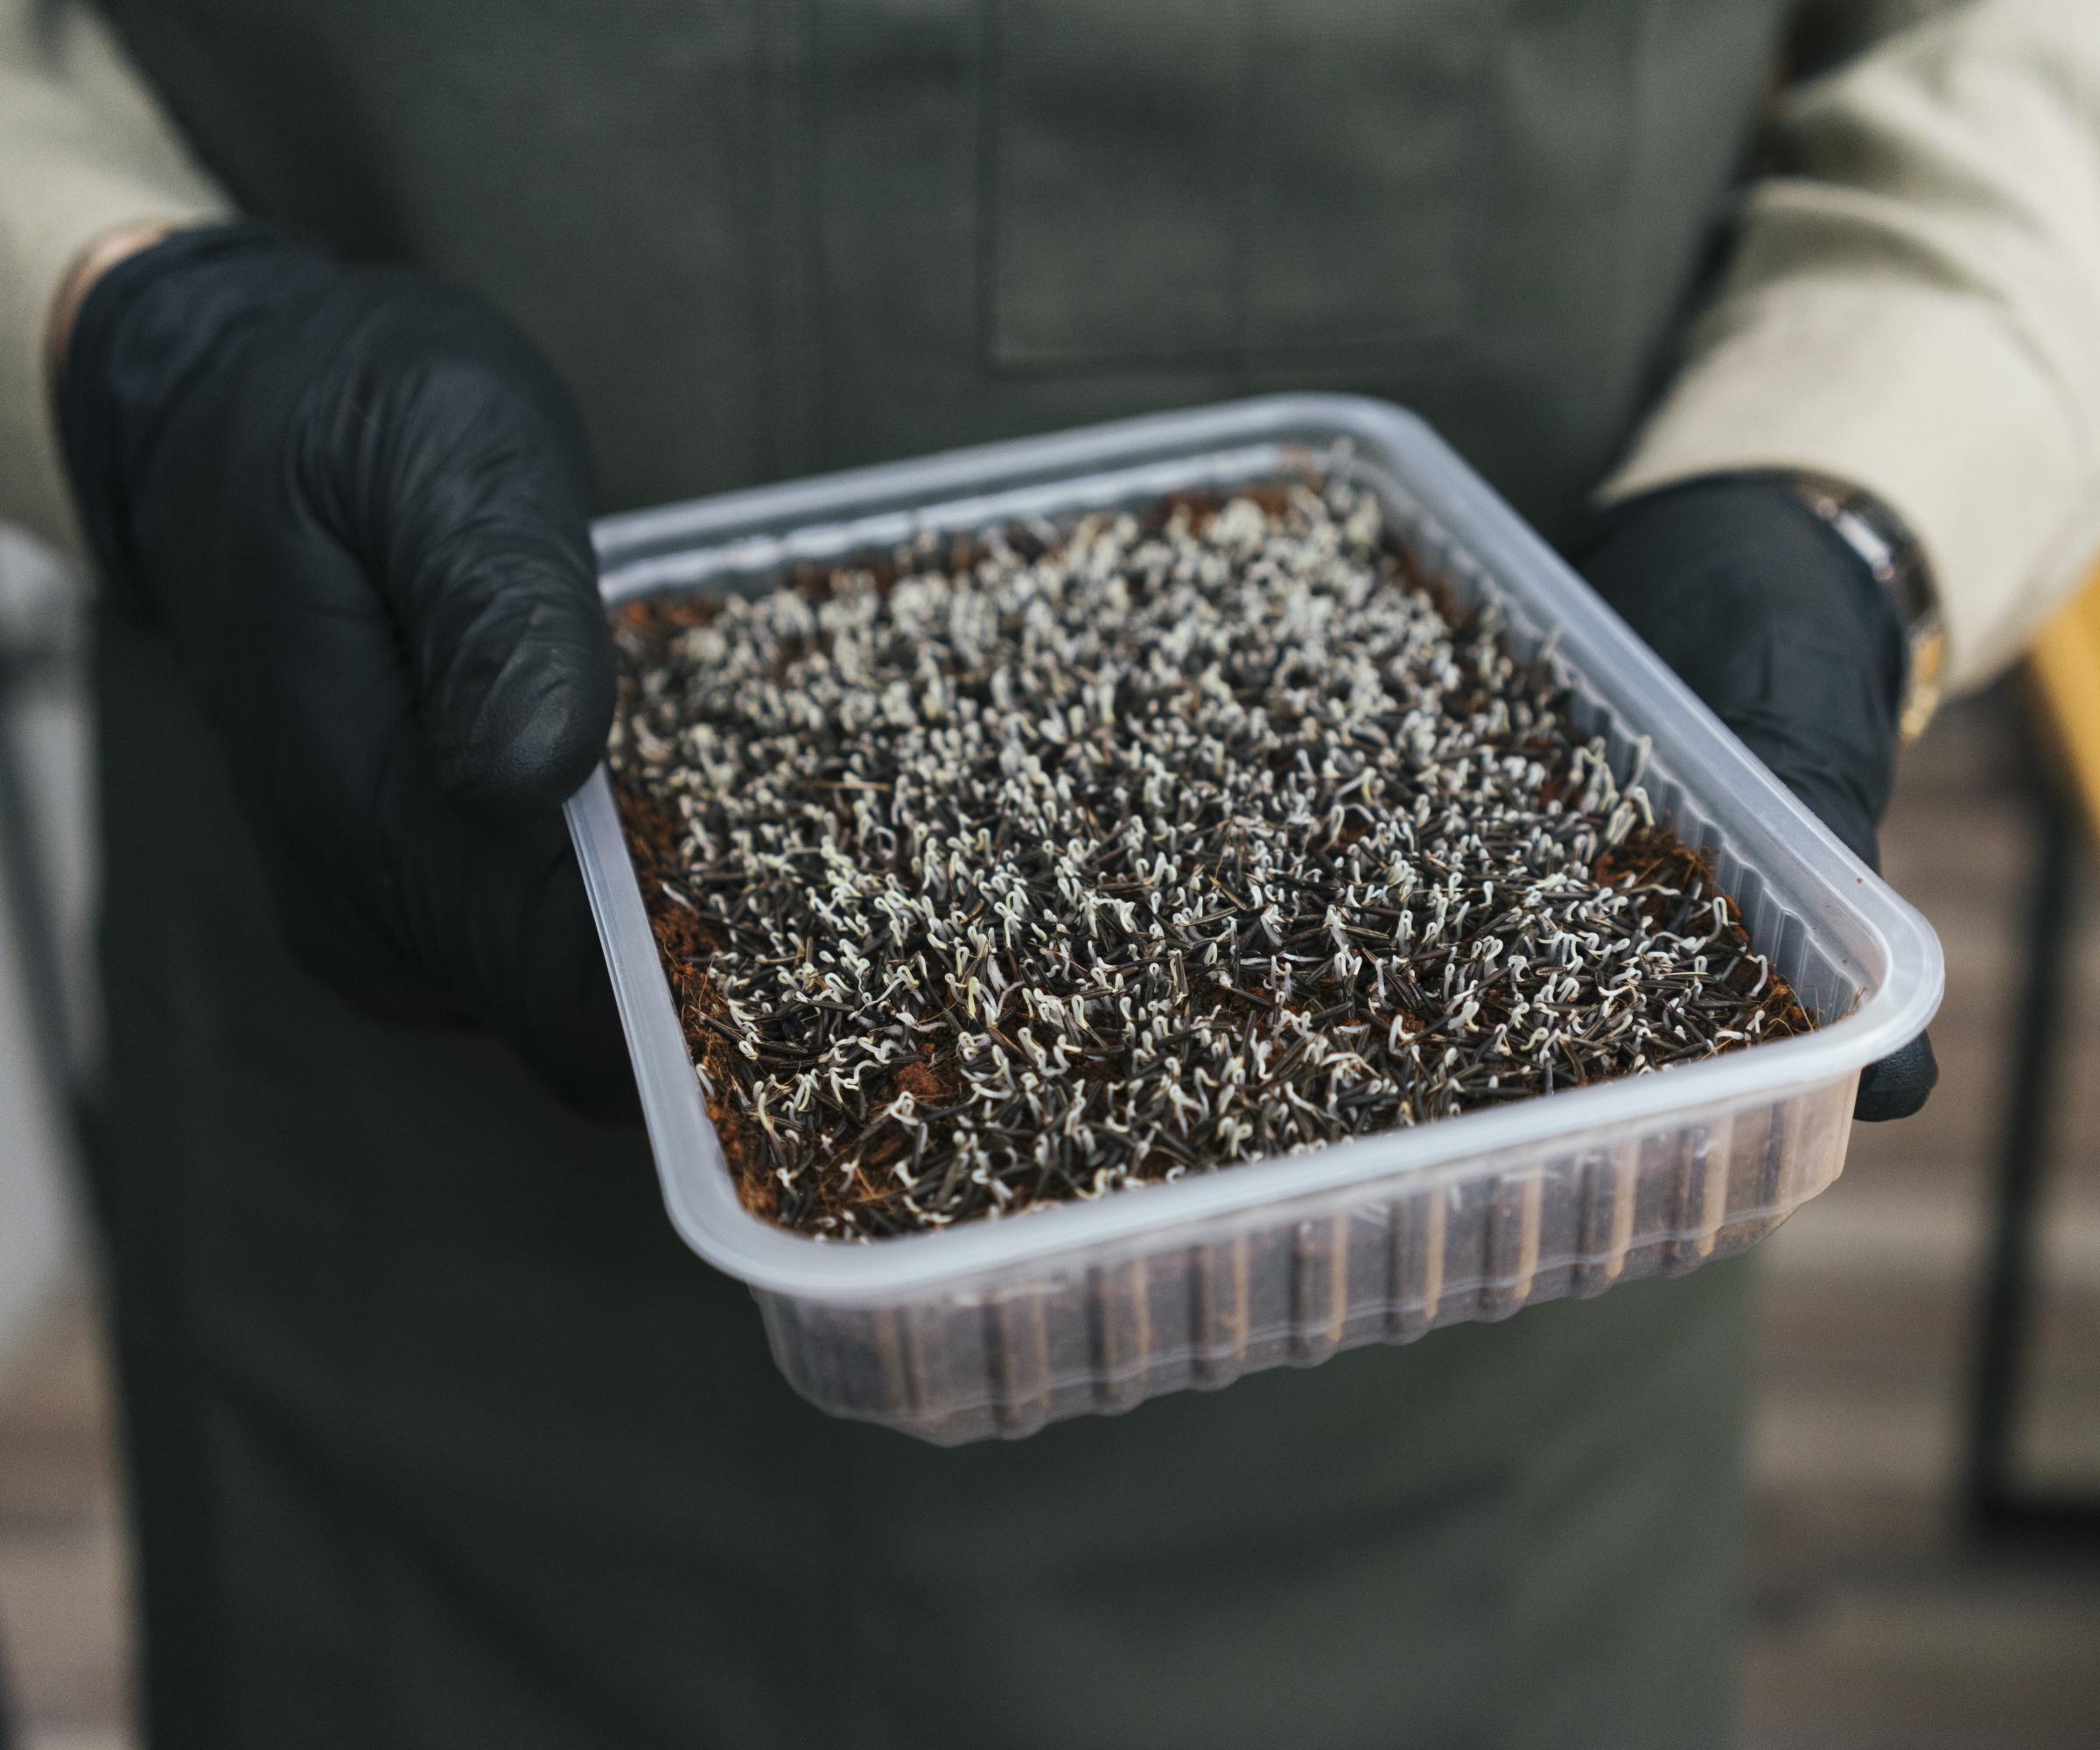
You can let your seeds sit like this for two days, without doing anything to them, as the weighted cover will help to retain enough moisture for the seeds to grow. After two days, your seeds will have germinated, appearing slightly squashed when the weighted tray or cover is removed. They are now ready to be placed under a grow light.
'Amaranth is one of the most beautiful microgreens available, continues Ashleigh. 'The bright red leaves on top of white to pink stems create a visual feast.' In order to get the most colorful results, 'make sure you are using a good grow light,' Ashleigh says, using something like these grow lights from True Leaf Market.
There are many grow lights for houseplants to consider, and so it can be confusing knowing which to select. 'Many LED lights are not able to induce the bright and desirable hues,' Ashleigh says, 'and so I recommend fluorescent lights that also put off just enough heat to keep the amaranth seedlings comfortable.'
If the seedlings look white to begin with, do not worry, once they receive light, they will turn a darker crimson color. If you do not have a grow light, place the seed tray somewhere where they will get as much sunlight as possible.
4. Harvest your amaranth microgreens
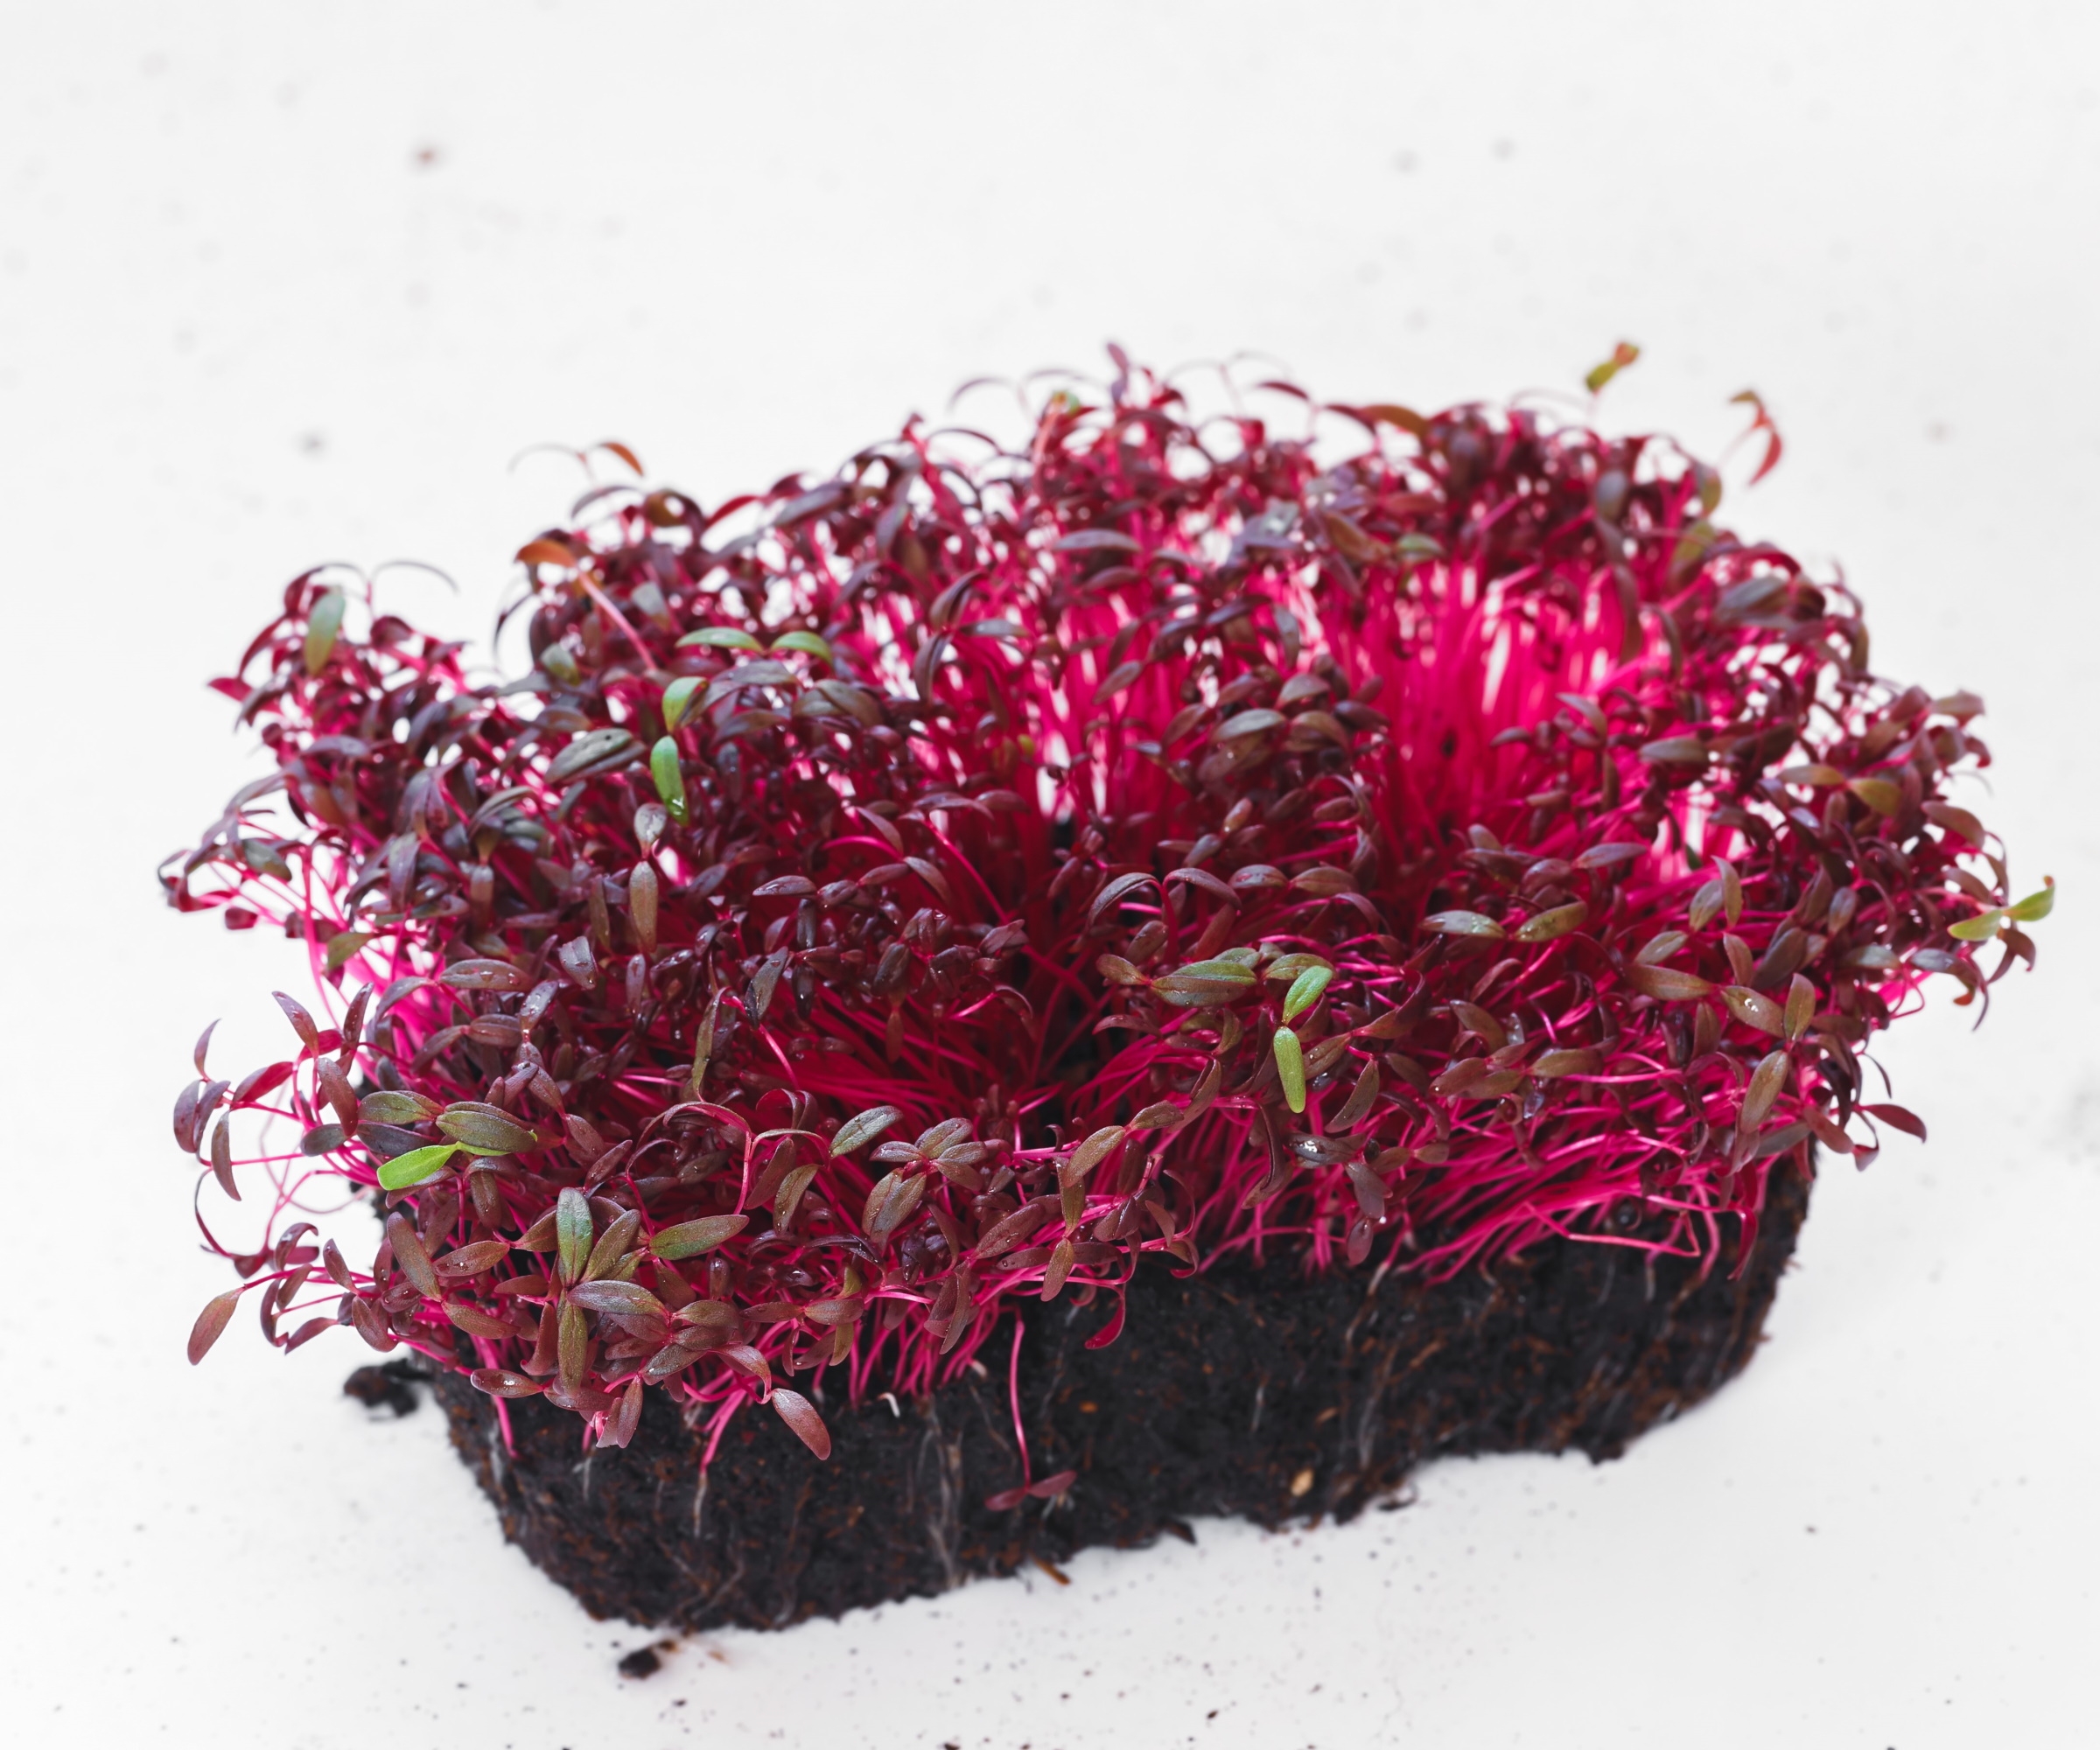
Let your amaranth microgreen seedlings grow in the light, watering the tray from the bottom as needed. Do not let the tray dry out.
'Amaranth microgreens are ready to harvest in 8 to 12 days,' says Ashleigh. 'With amaranth, you can expect the best color development towards the end of the harvesting window,' meaning that around day 8, the deeper hues will develop.
Once the stems are approximately 1 to 2 inches tall, they are ready to be harvested. 'Amaranth is known to contain vitamins K, E and C, protein, calcium, iron and beta-carotene,' Ashleigh adds, so using them in your culinary creations can only be a good thing for your health.
FAQs
Do I need to use a grow light for amaranth microgreens?
While it is recommended to use a grow light for best results, if you do not have one available, place your seed tray as near to a window as possible, giving your microgreens as much sunlight as they require. The more light they receive, the deeper and richer the color of the microgreen leaves.
Growing amaranth microgreens is a great way to add some color to your kitchen, and can be a fun project to involve children. Why not also try to grow your own beansprouts at home, using empty jars to cultivate delicious sprouts such as mung beans?


