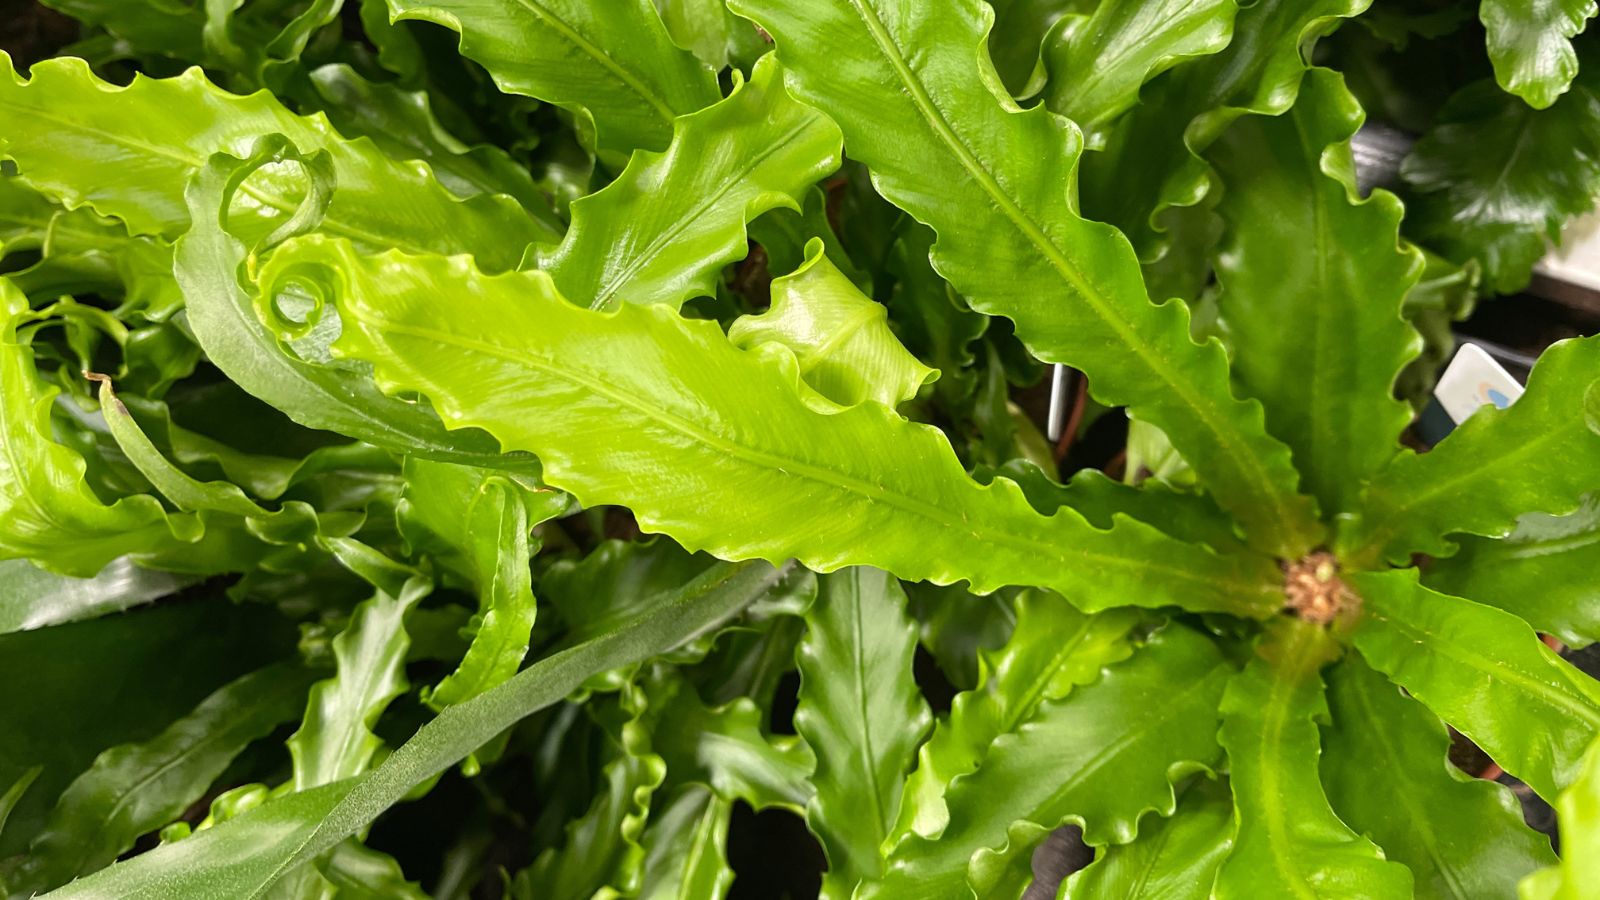
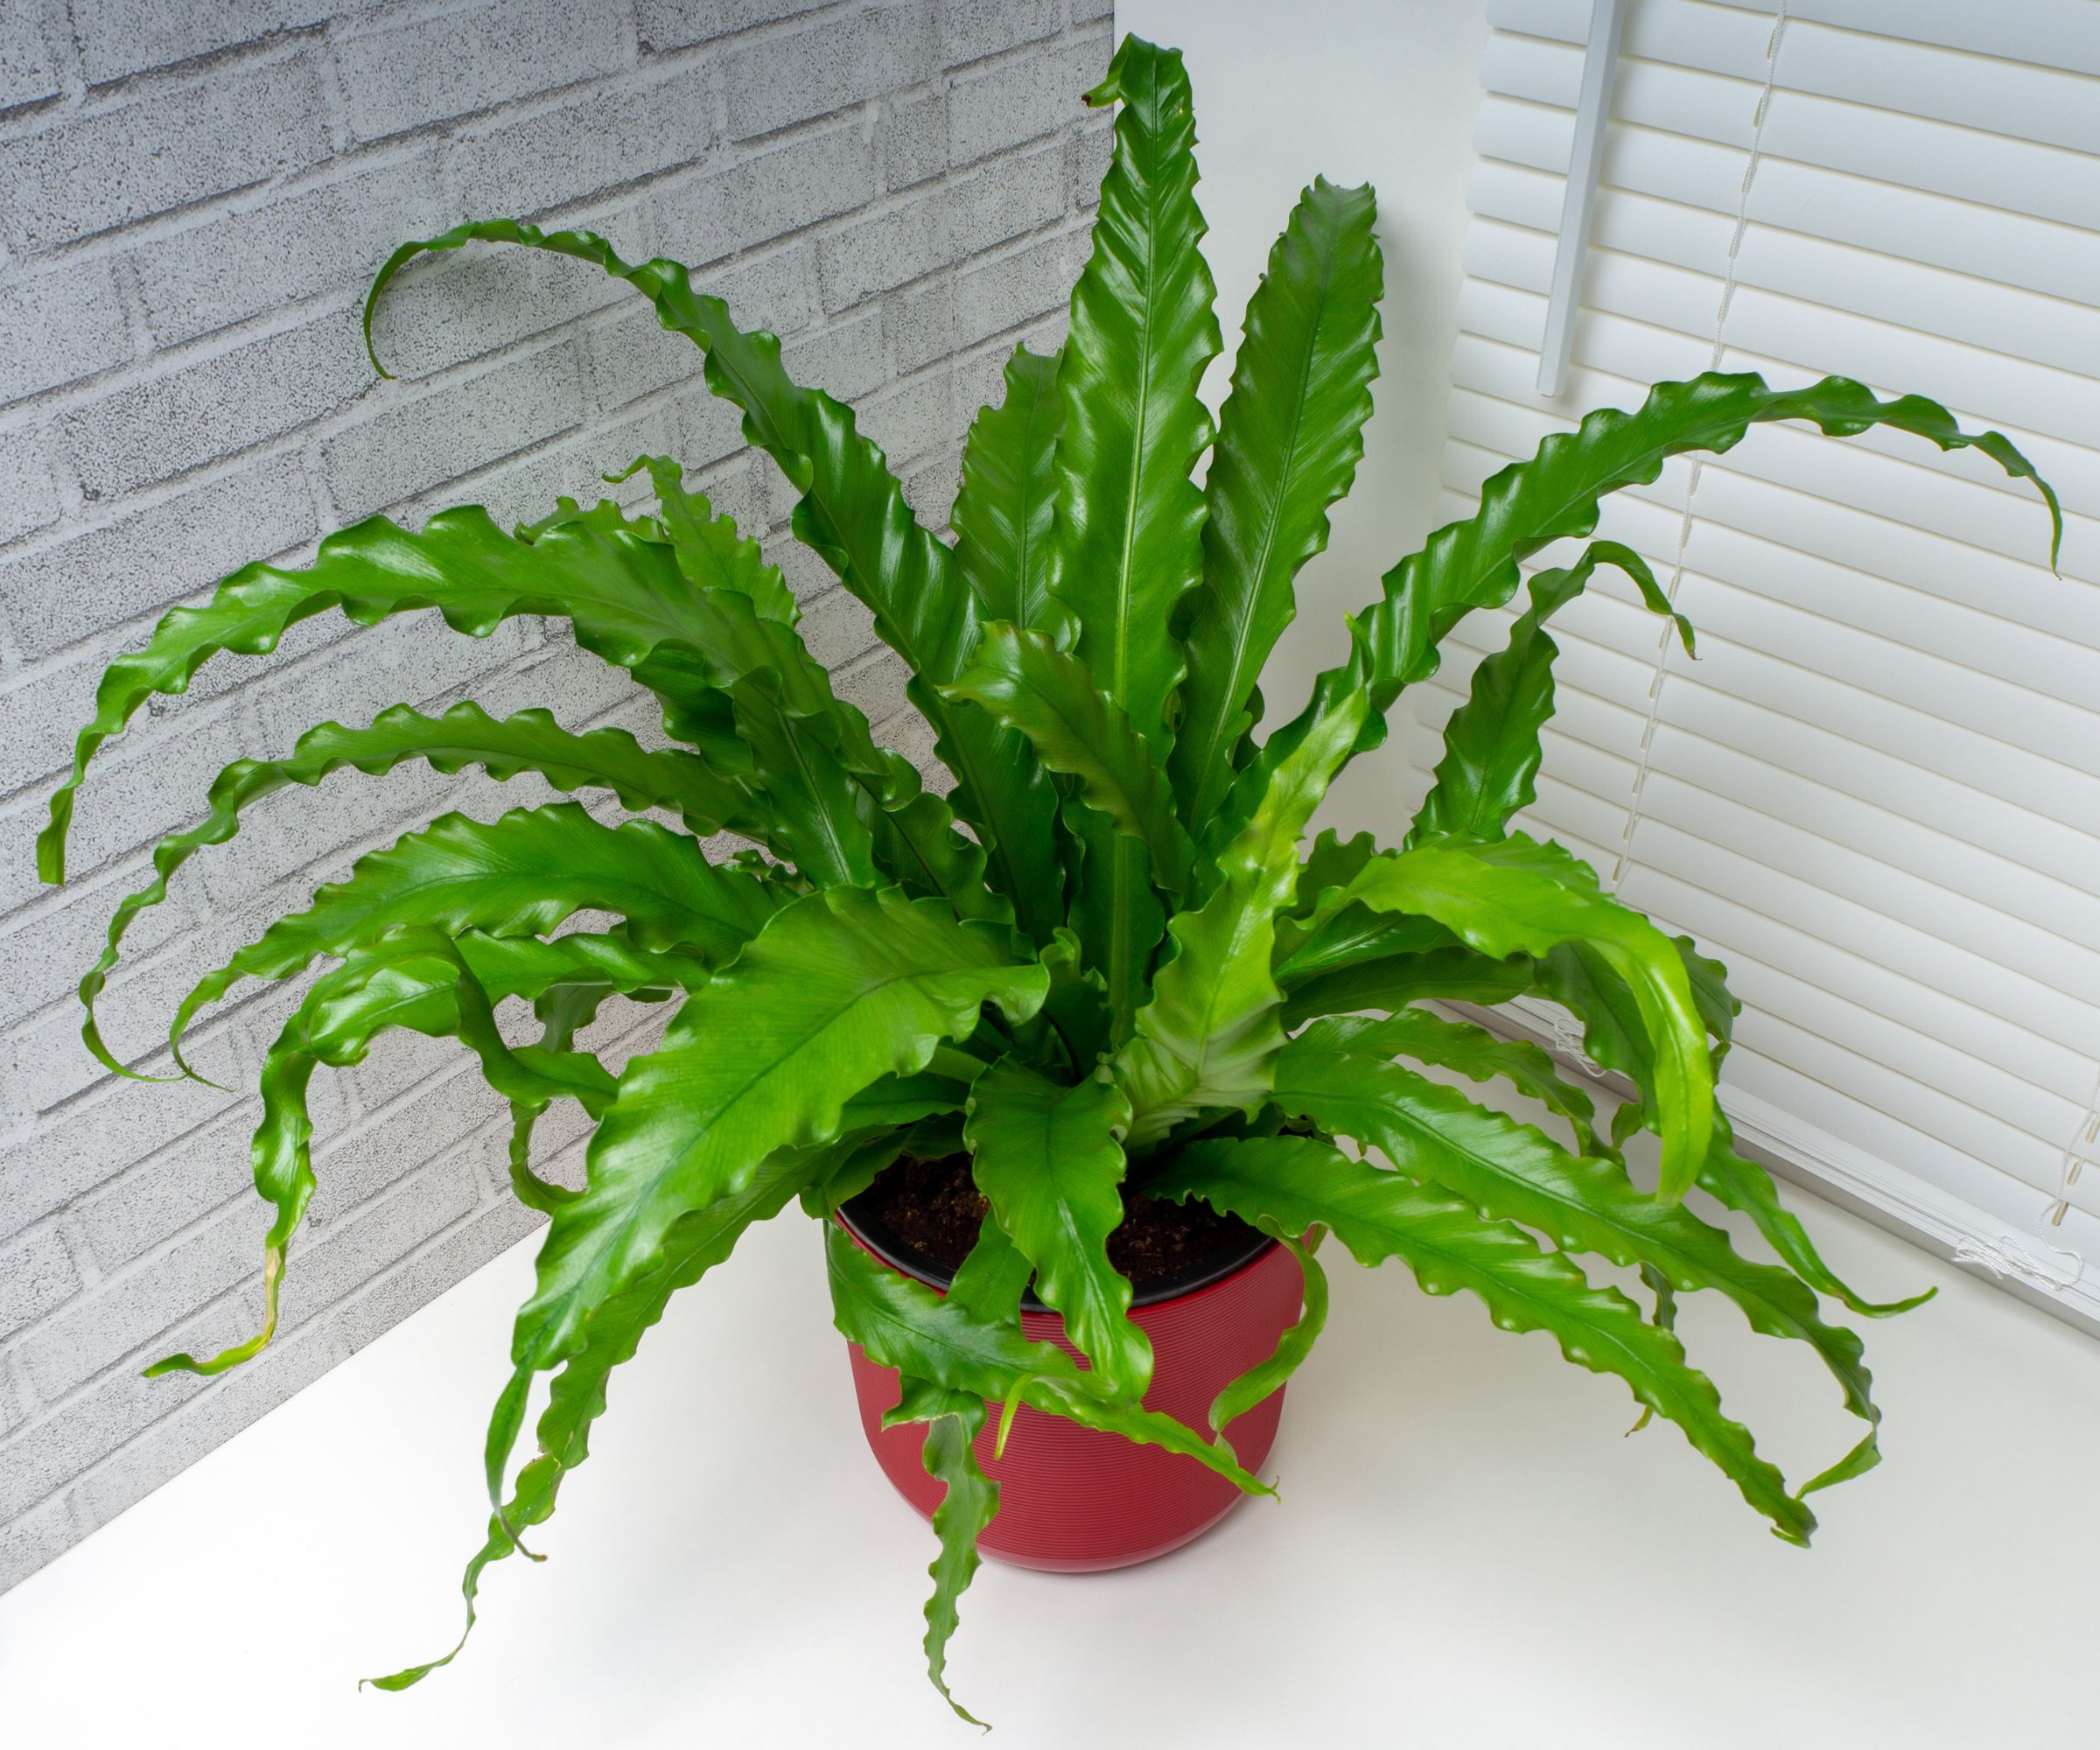
The bird's nest fern (Asplenium nidus) is a beautiful addition to any indoor plant collection. Unlike other ferns that have feathery leaflets, the bird's nest fern is characterized by their smooth, lance-shaped fronds, which can develop attractive, subtle ripples when given the right amount of light.
Native to rainforests, this fern thrives in warm, humid environments with medium to bright indirect light and moist, well-drained soil. As one of the best ferns to grow indoors, the bird's nest fern is perfect for adding a touch of lush greenery to your home.
To help your bird's nest fern flourish, the key is to replicate its natural rainforest habitat as closely as possible. By providing the right conditions for light, humidity, and watering, you can ensure a healthy and vibrant fern that will thrive indoors. Here's how to grow your bird's nest fern for optimal health and beauty.
1. Choose a container with good drainage
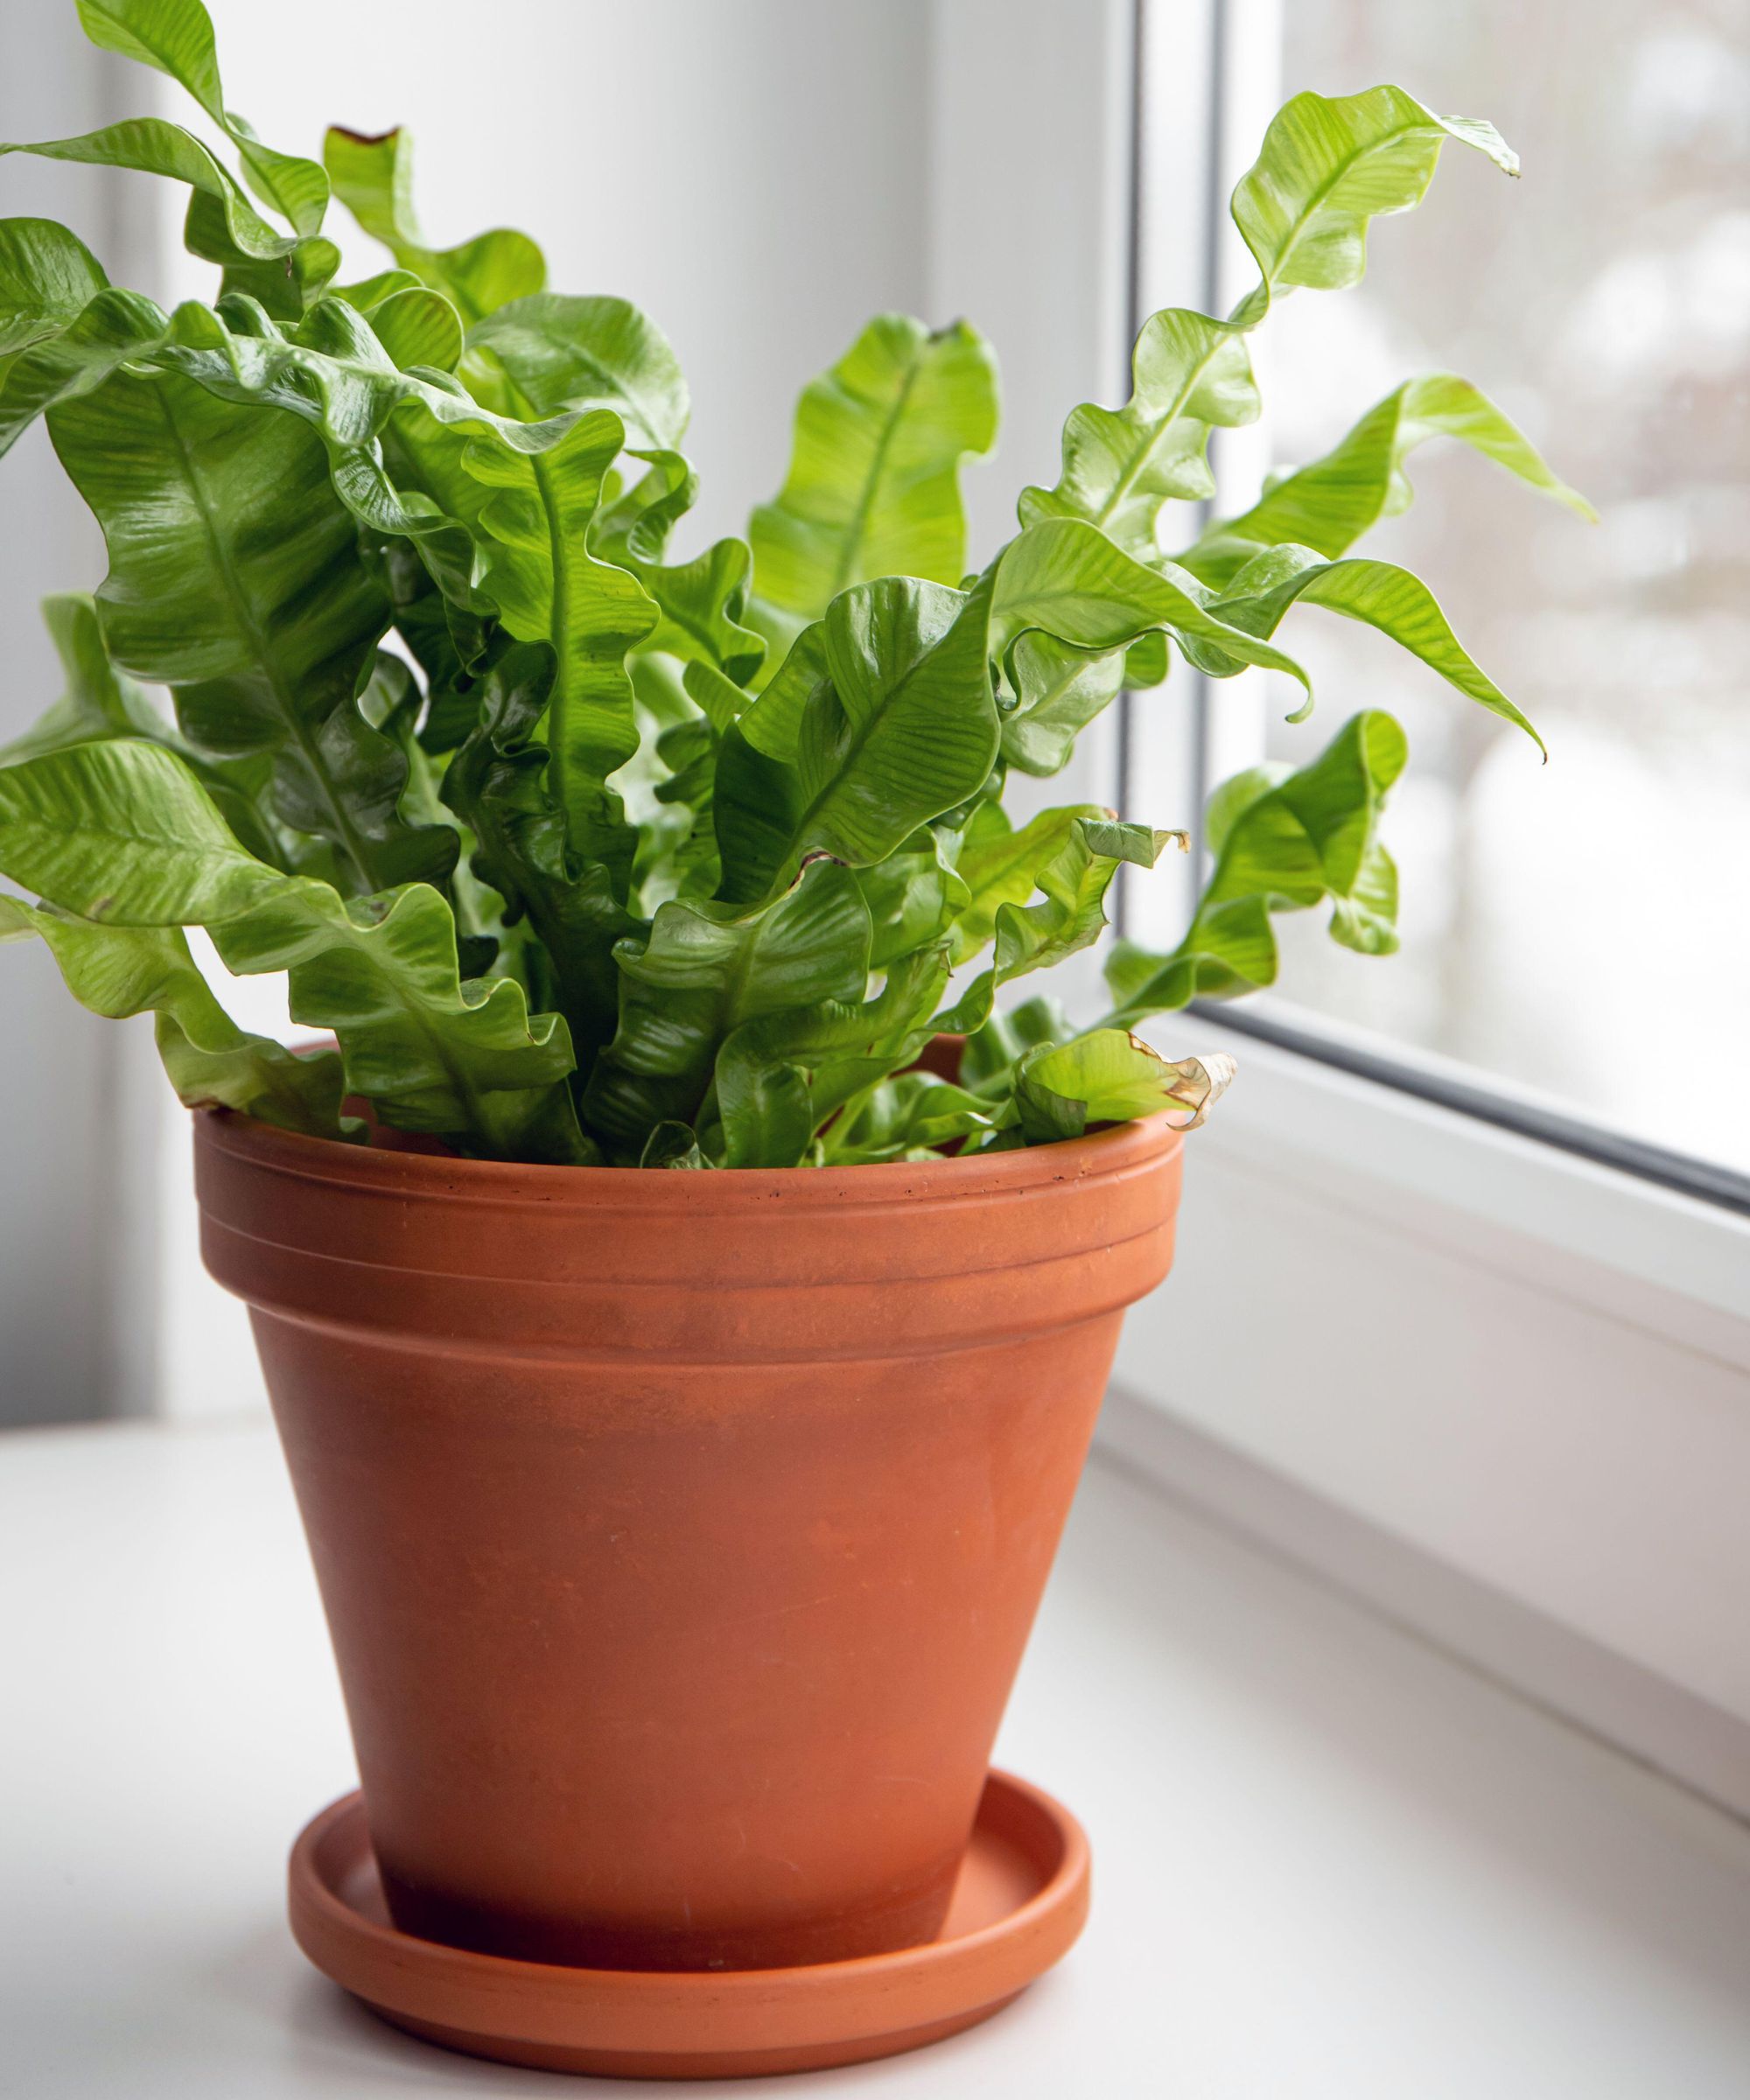
One of the first considerations is selecting the right pot, and while we're big on aesthetics, it's important to choose a container that will support healthy growth.
You could opt for a pot with drainage holes – either on the sides, the bottom, or both – and pair it with a suitable tray, like this Le Tauci ceramic planter with drainage holes and saucer from Amazon. This will ensure that excess water doesn't accumulate at the bottom, will prevent waterlogged roots and the risk of root rot, which can harm or kill your plant.
Alternatively, consider pots made from porous materials, such as terracotta or unglazed ceramic. We love this terracotta planter from Target. These materials naturally allow for better airflow and moisture regulation, as moisture is absorbed into the pot itself and gradually released. This helps create a healthier environment for your plant's roots.
2. Plant it in a well draining, acidic potting mix
The type of potting mix you plant your bird's nest fern in plays a crucial role in ensuring healthy growth.
Bird's nest fern thrive in well draining, acidic potting mixes. This type of mixture retains moisture well, while allowing excess water to drain away. Make sure to avoid heavy, compact soils, as these can retain too much water and suffocate the roots.
A combination of peat moss, perlite, and orchid bark will offer the perfect growing conditions for your bird's nest fern. Peat moss provides the acidity and moisture retention these ferns love, while perlite enhances drainage and aeration, ensuring the roots have access to oxygen.
Orchid bark contributes to the mix by creating a loose structure that mimics the fern’s natural habitat, where it often naturally grows on tree trunks. Blending these components will ensure a mix that supports both water retention and drainage.
This blend combines high-quality bark, coco coir, and perlite for superior moisture retention, drainage, and aeration. Specifically crafted for houseplants, this mix replicates the natural growing conditions of epiphytic plants like bird’s nest ferns, promoting healthy roots and preventing overwatering.
3. Water carefully
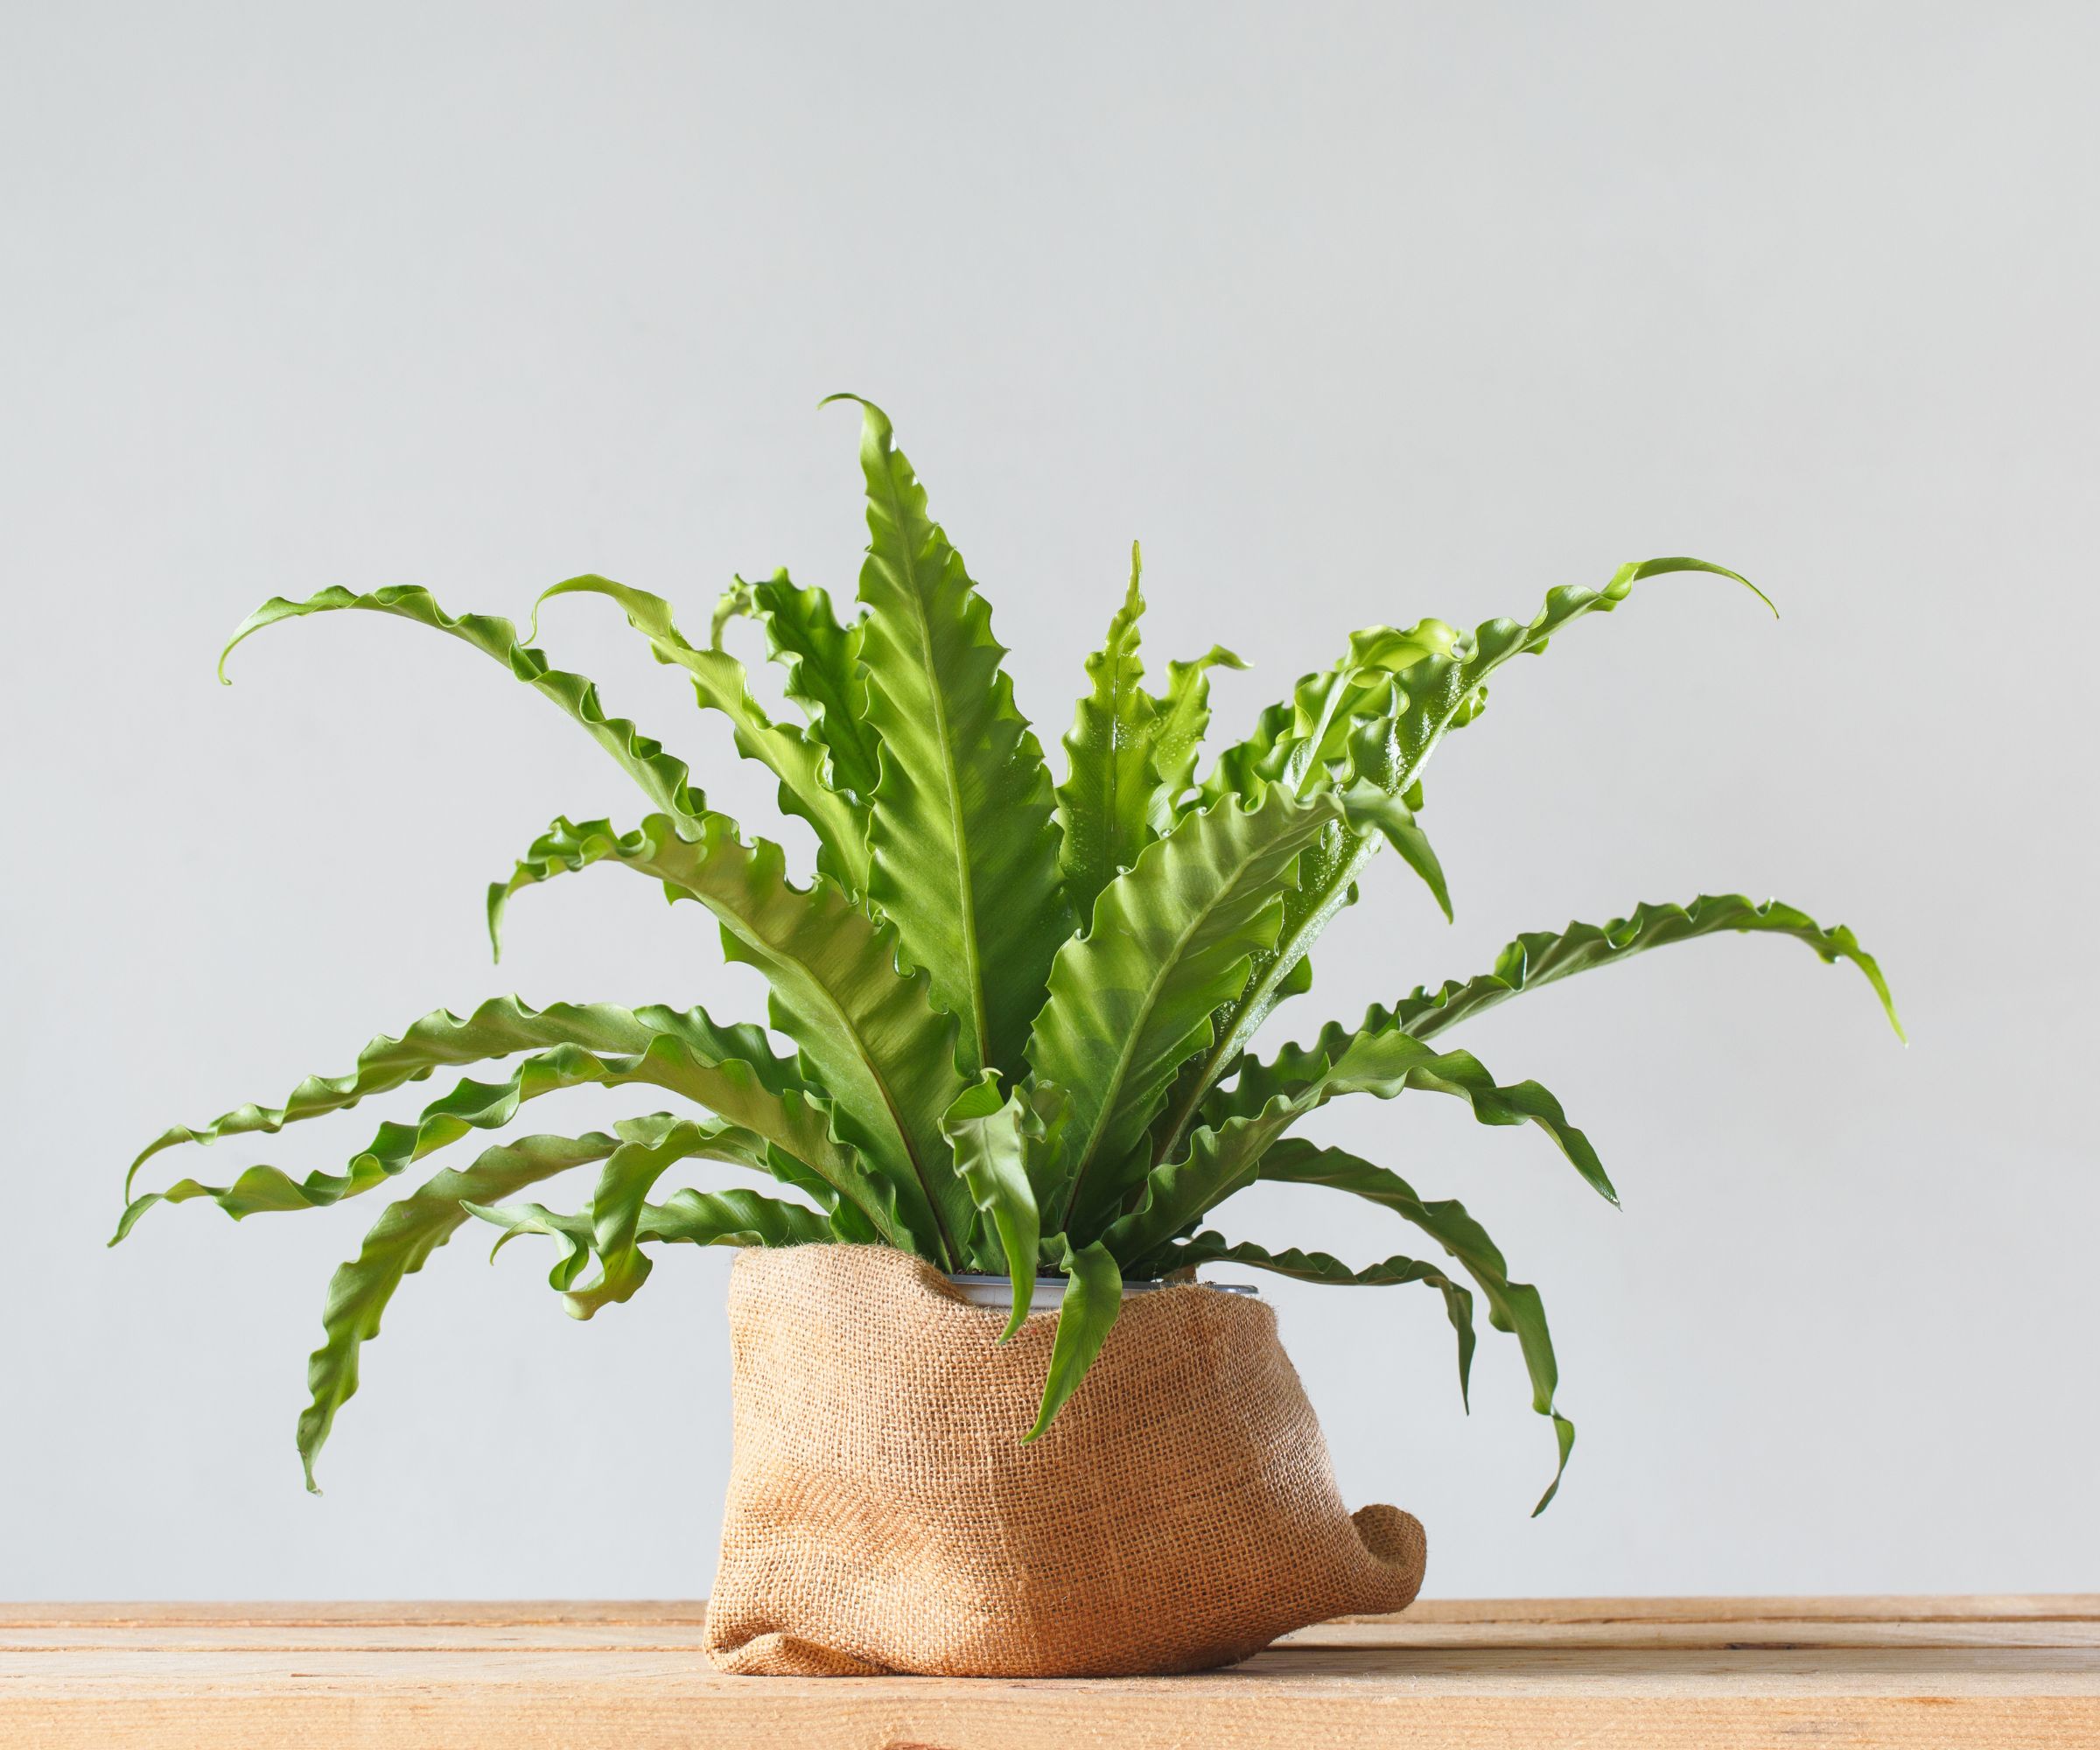
Bird's nest ferns, like most ferns, thrive in consistently moist soil but are highly sensitive to overwatering. Native to rainforests, they often grow on other plants rather than in the soil, absorbing most of their nutrients from rainwater or decomposing organic matter, making proper watering crucial for their health.
To keep your plant healthy, water it whenever the top inch of soil feels dry; this will prevent standing water, which can lead to root rot.
While it’s important to avoid waterlogged conditions, letting the soil dry out completely can damage the fern’s delicate root system. If you’re wondering, why your fern is turning brown, this could be one of the main reasons. Dry soil can stress the plant, leading to browning fronds and weakened growth. Striking the right balance between moisture and drainage is key to supporting vibrant, lush growth.
‘For watering, a good technique is to water the soil directly instead of pouring water over the fronds,' recommends Ward Dilmore, landscape designer at Petrus. 'Watering at the base only will allow the leaves to stay dry, lowering the risk of these fungal issues.'
If your bird's nest fern is planted in a container with drainage holes and a saucer, another effective method is bottom watering. Simply fill the saucer with water, and the plant will absorb moisture through the drainage holes at its own pace. Once the soil is adequately moist, discard any excess standing water in the saucer. This way, the roots can receive adequate hydration while minimizing the risk of overwatering or water pooling around the roots.
This watering can is designed with a long, narrow spout, perfect for targeting the soil directly and keeping the leaves dry, reducing the risk of fungal issues.
4. Keep humidity levels above 50%
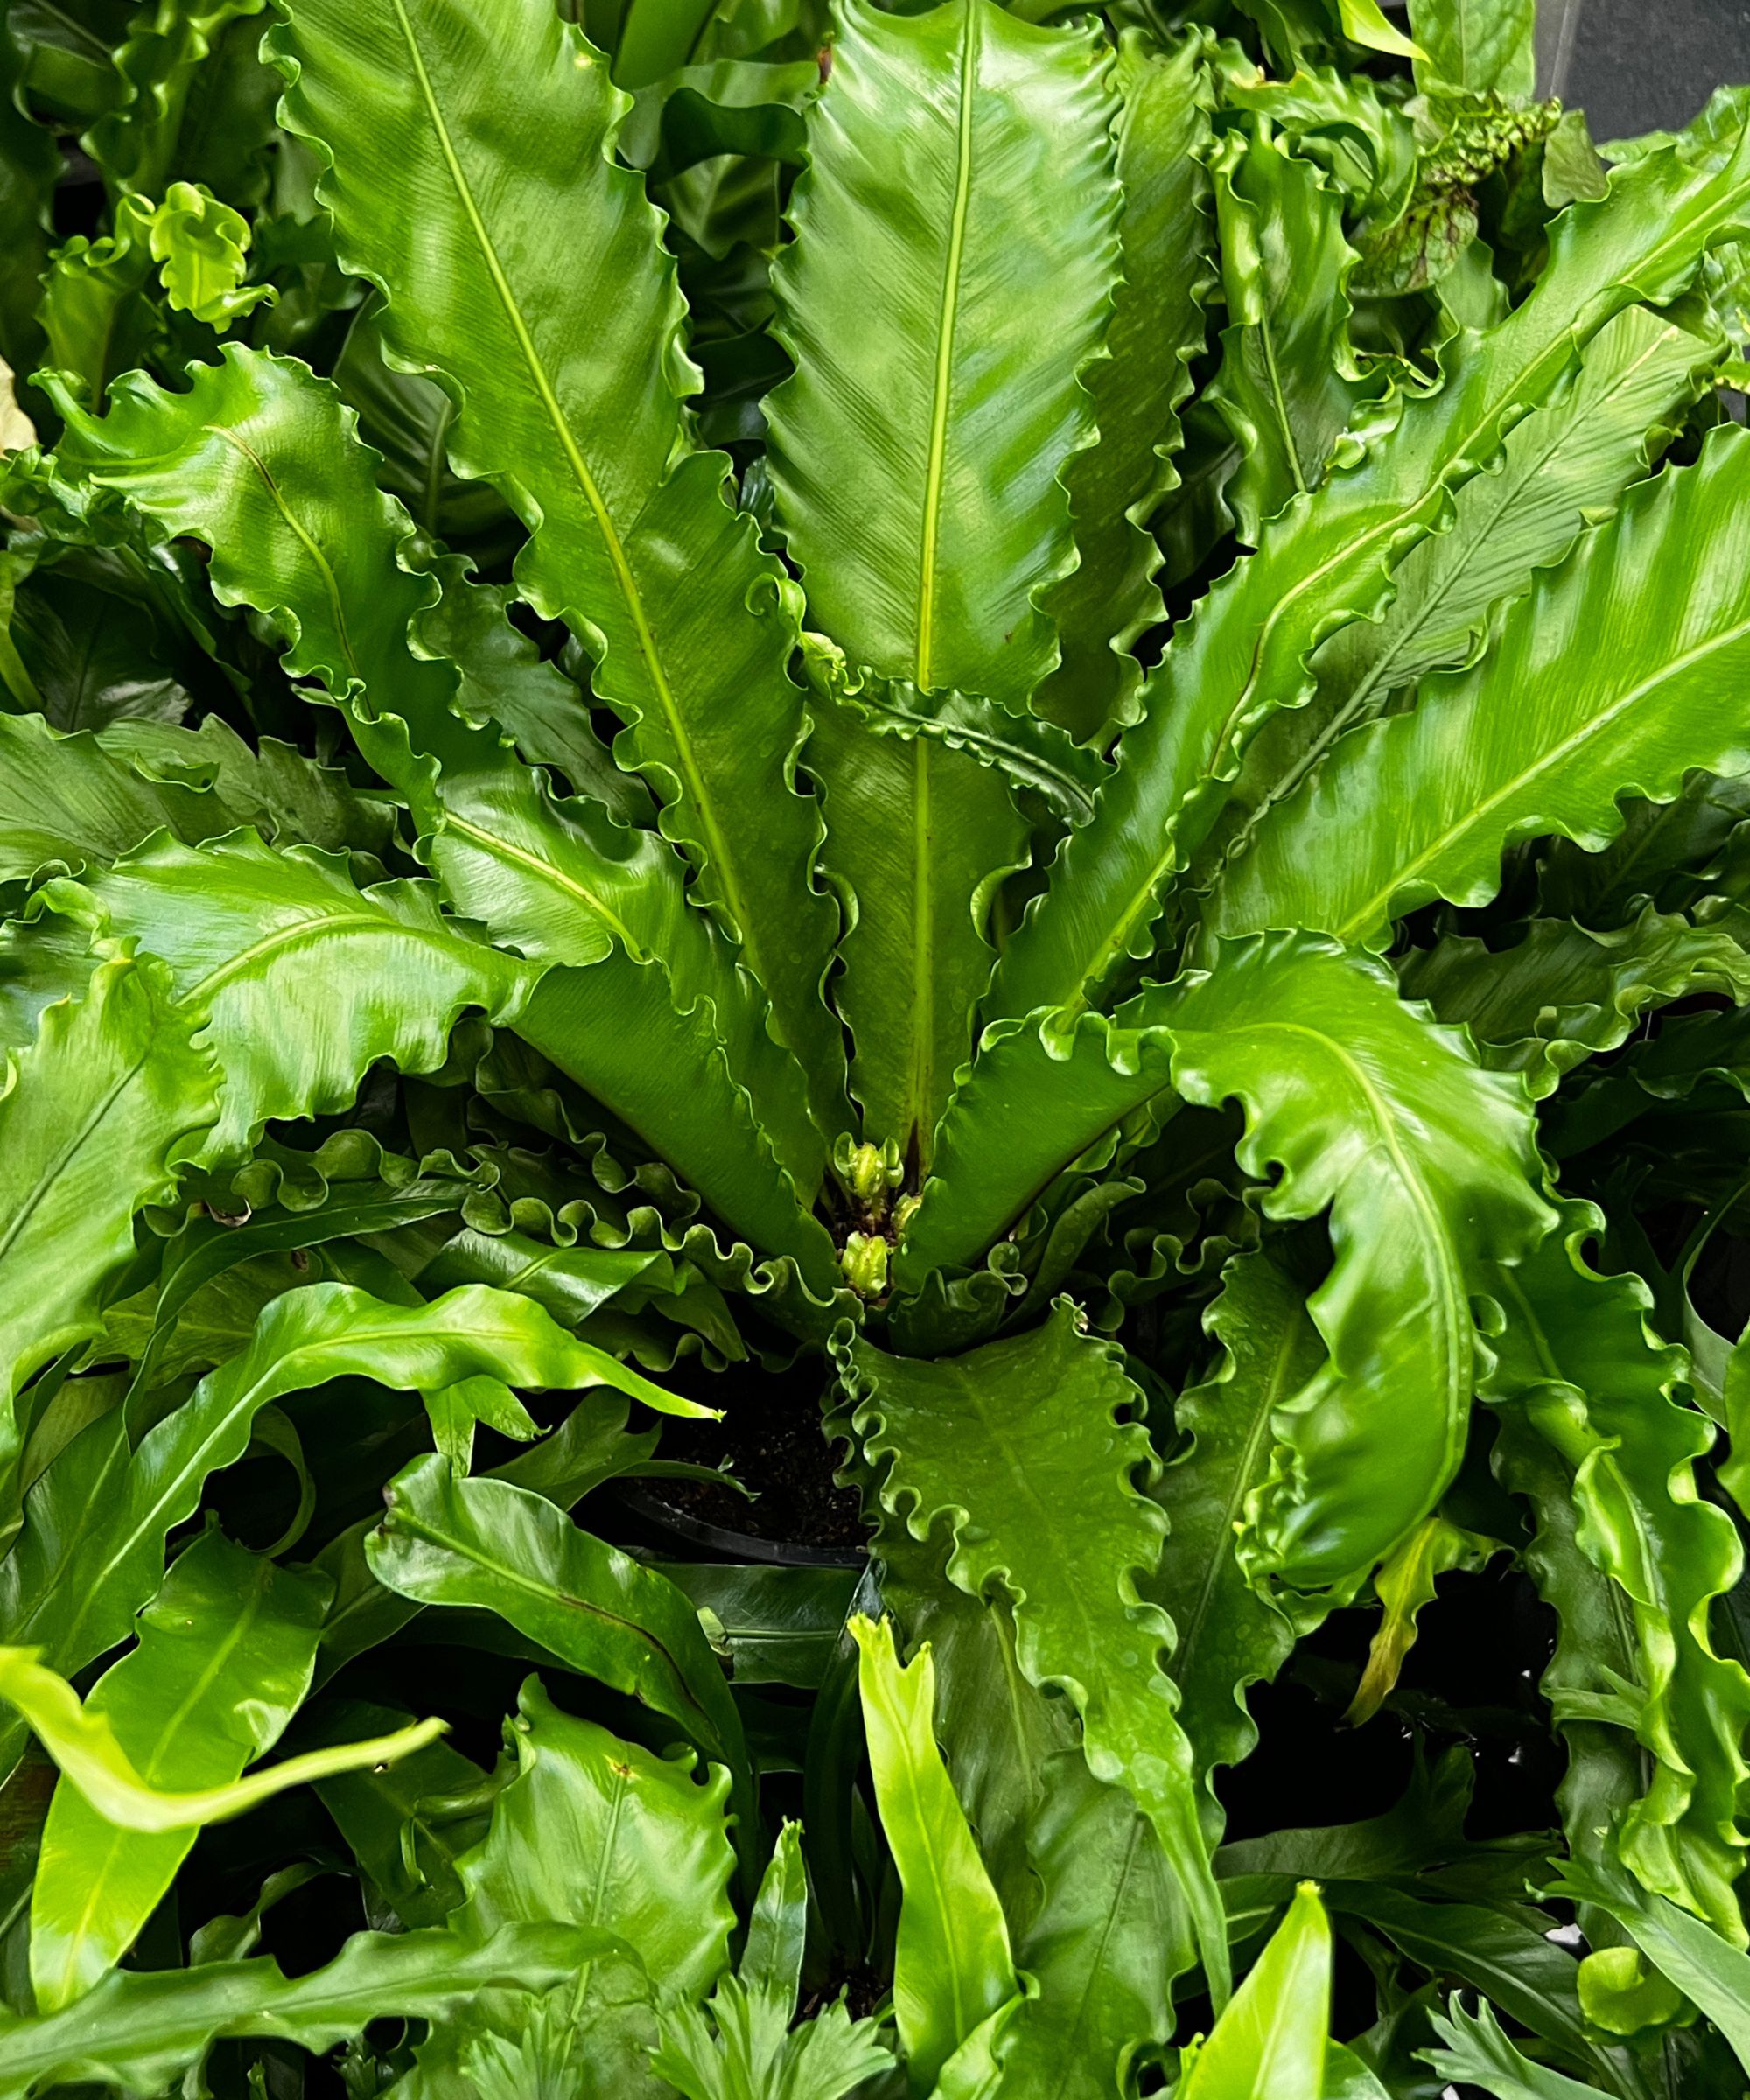
Native to tropical regions such as Asia, Australia, and Africa, bird's nest ferns thrive in warm, humid conditions. In their natural habitat, they grow in shaded environments with humidity levels between 40% and 60%, which is crucial for their health. To mimic these conditions, it's important to maintain moisture in the air around your plant, especially during the winter months when indoor heating can significantly reduce humidity levels.
Ward Dilmore says, ‘Fronds will appreciate an occasional misting, but they should not stay consistently moist, this may lead to fungal issues.’
You can increase humidity for indoor plants by misting your plant with water, placing a humidifier nearby, or setting the pot on a tray filled with pebbles and water. These methods help create a more humid micro-environment, ensuring your fern stays vibrant and healthy.
This humidifier features precise humidity control and a real-time humidity indicator, making it simple to monitor and maintain the optimal humidity levels for healthy plant growth.
To use this pebble tray, place the tray near the plant, ensuring the pot sits above the water level on the pebbles to prevent root rot. As the water evaporates, it will raise the humidity around the plant.
Using a spray bottle to mist your bird's nest fern is an effective way to maintain the high humidity it needs, especially in dry indoor environments. For optimal results, mist the leaves once or twice a day, ensuring an even, fine mist is applied.
5. Position the plant in indirect light
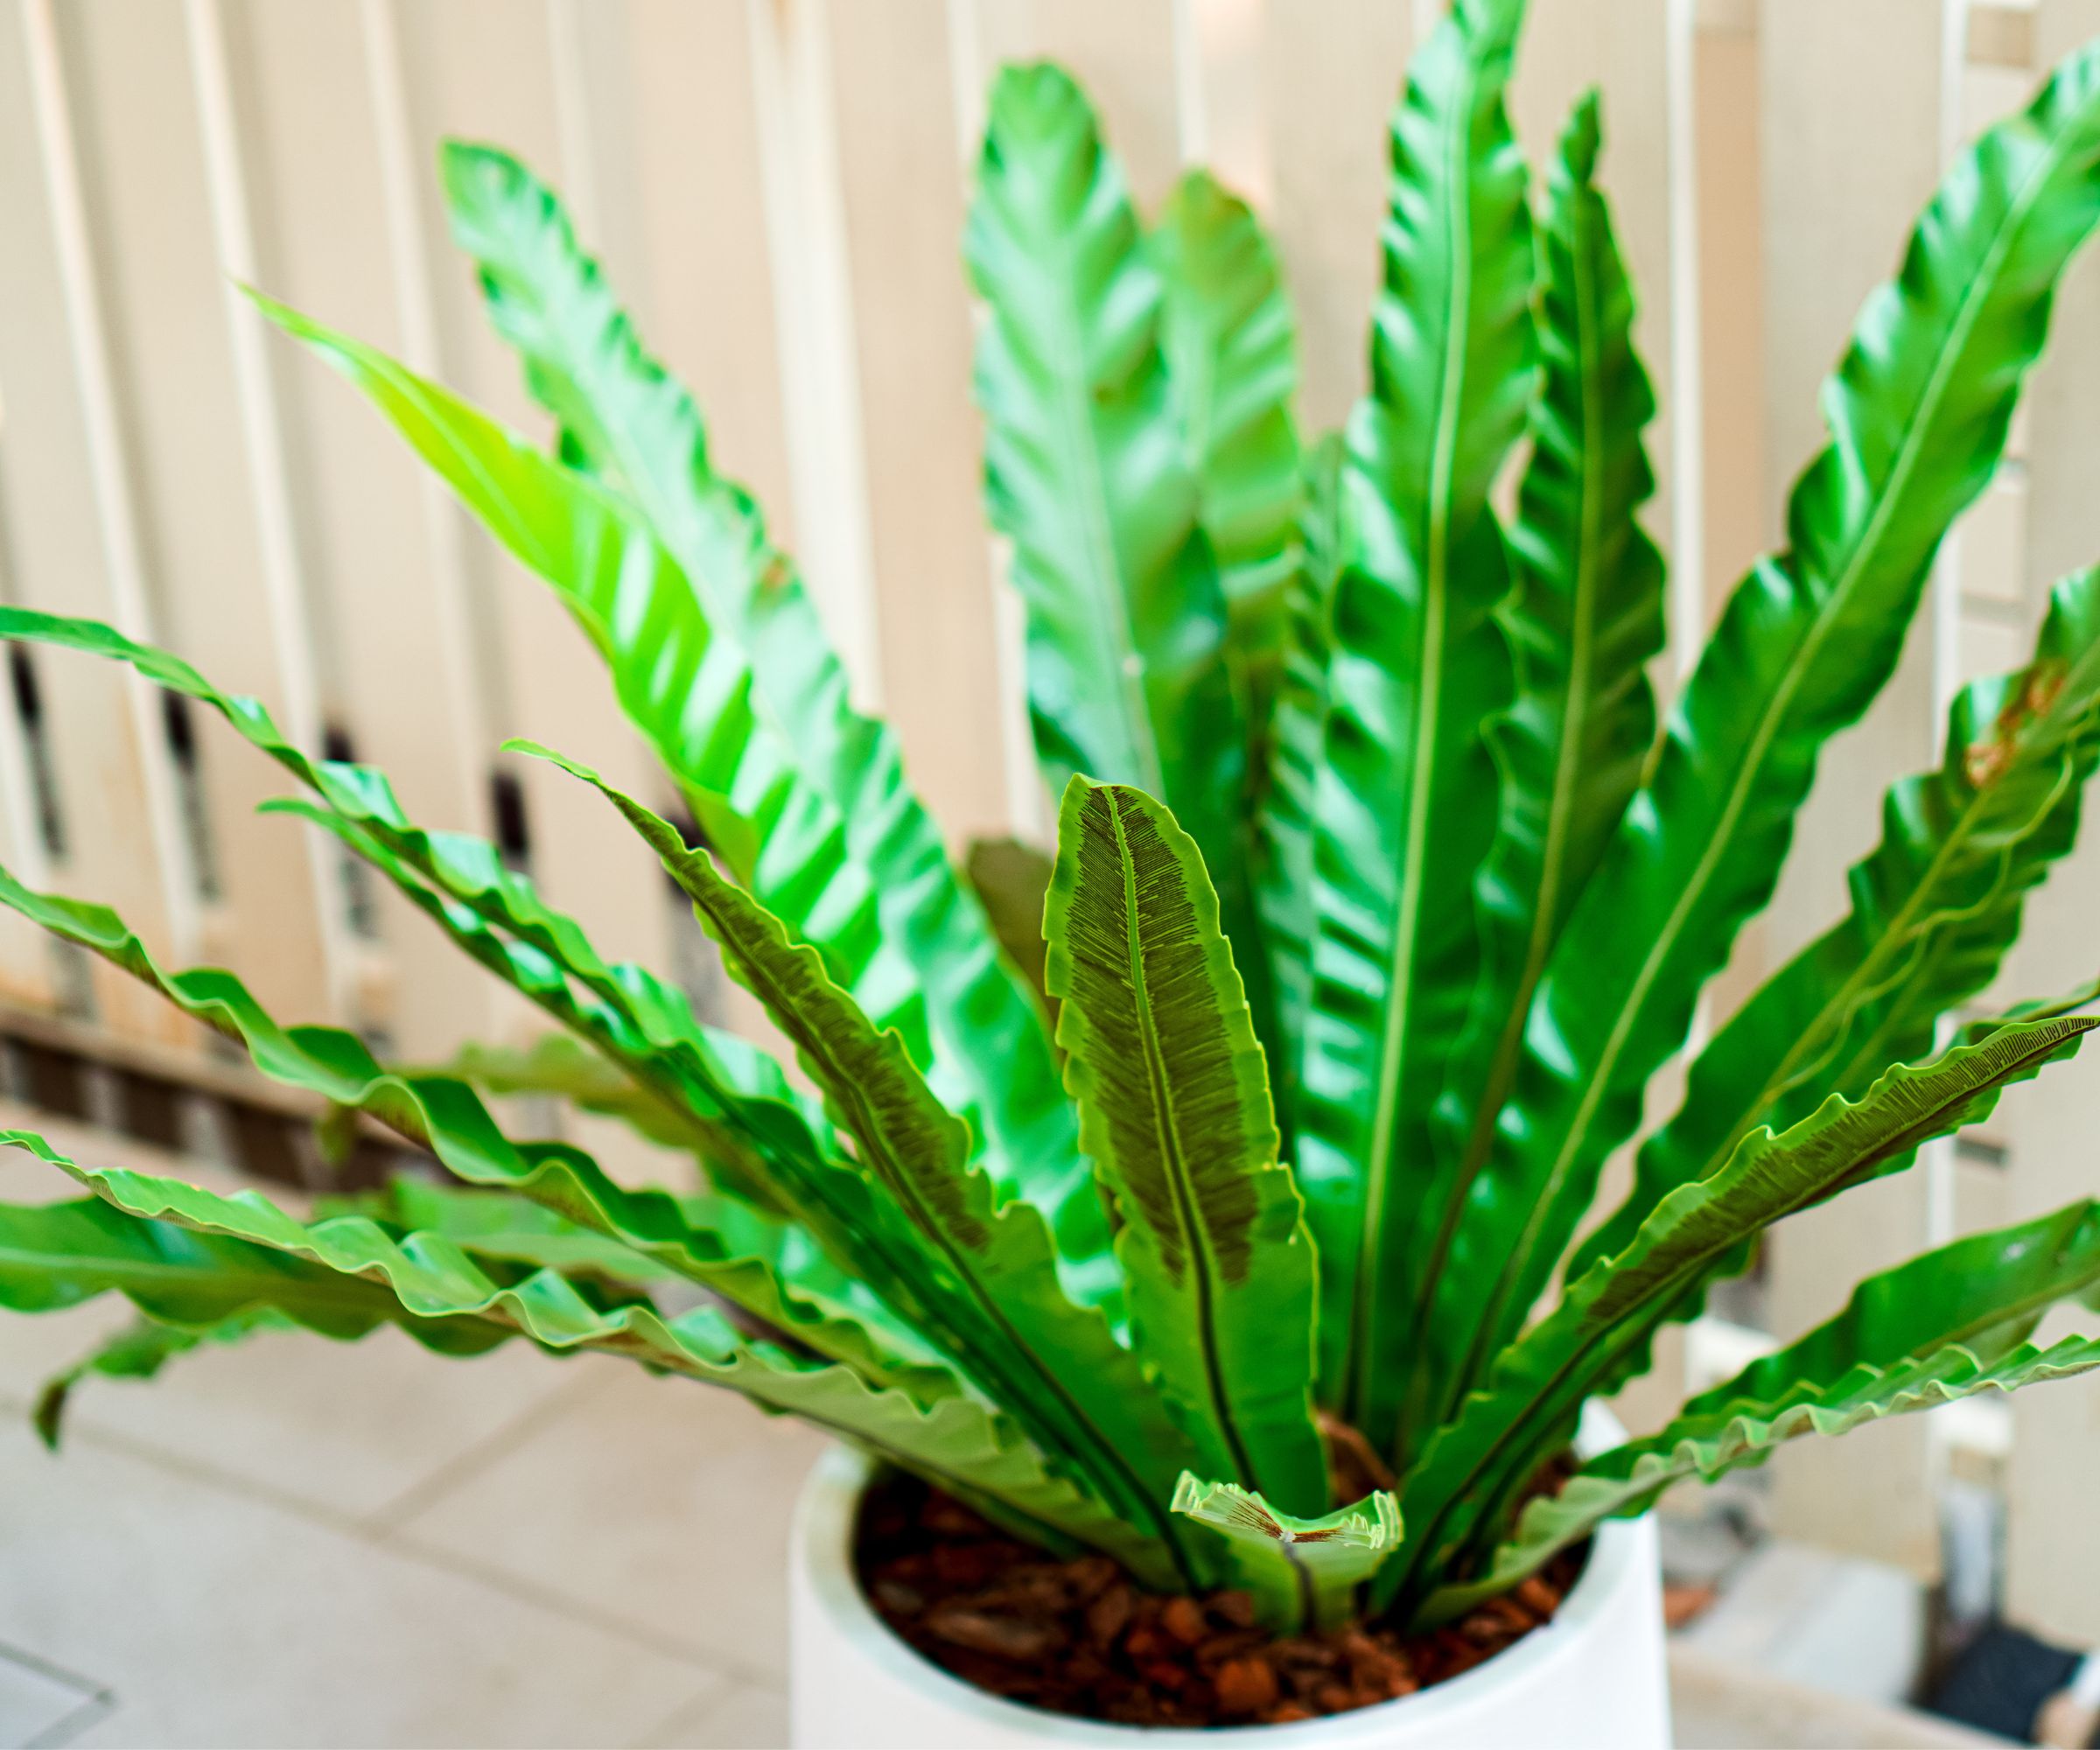
‘Bird's nest fern will thrive in indirect light,' says Ward. 'While they can tolerate low light, too much direct sunlight can scorch the leaves and cause sunburn, damaging their fronds.’
If natural light is limited, the fern can also adapt to lower light conditions, though its growth may slow down.
The ideal location for your bird's nest fern is in bright, indirect light, away from direct sunlight. A spot near a window with filtered light or a few feet away from a an east- or north-facing window works well. Avoid south- or west-facing windows, as they receive direct sunlight. If you don’t have an east- or north-facing window, consider using sheer curtains, available at Target, to filter the light.
6. Maintain the right temperature
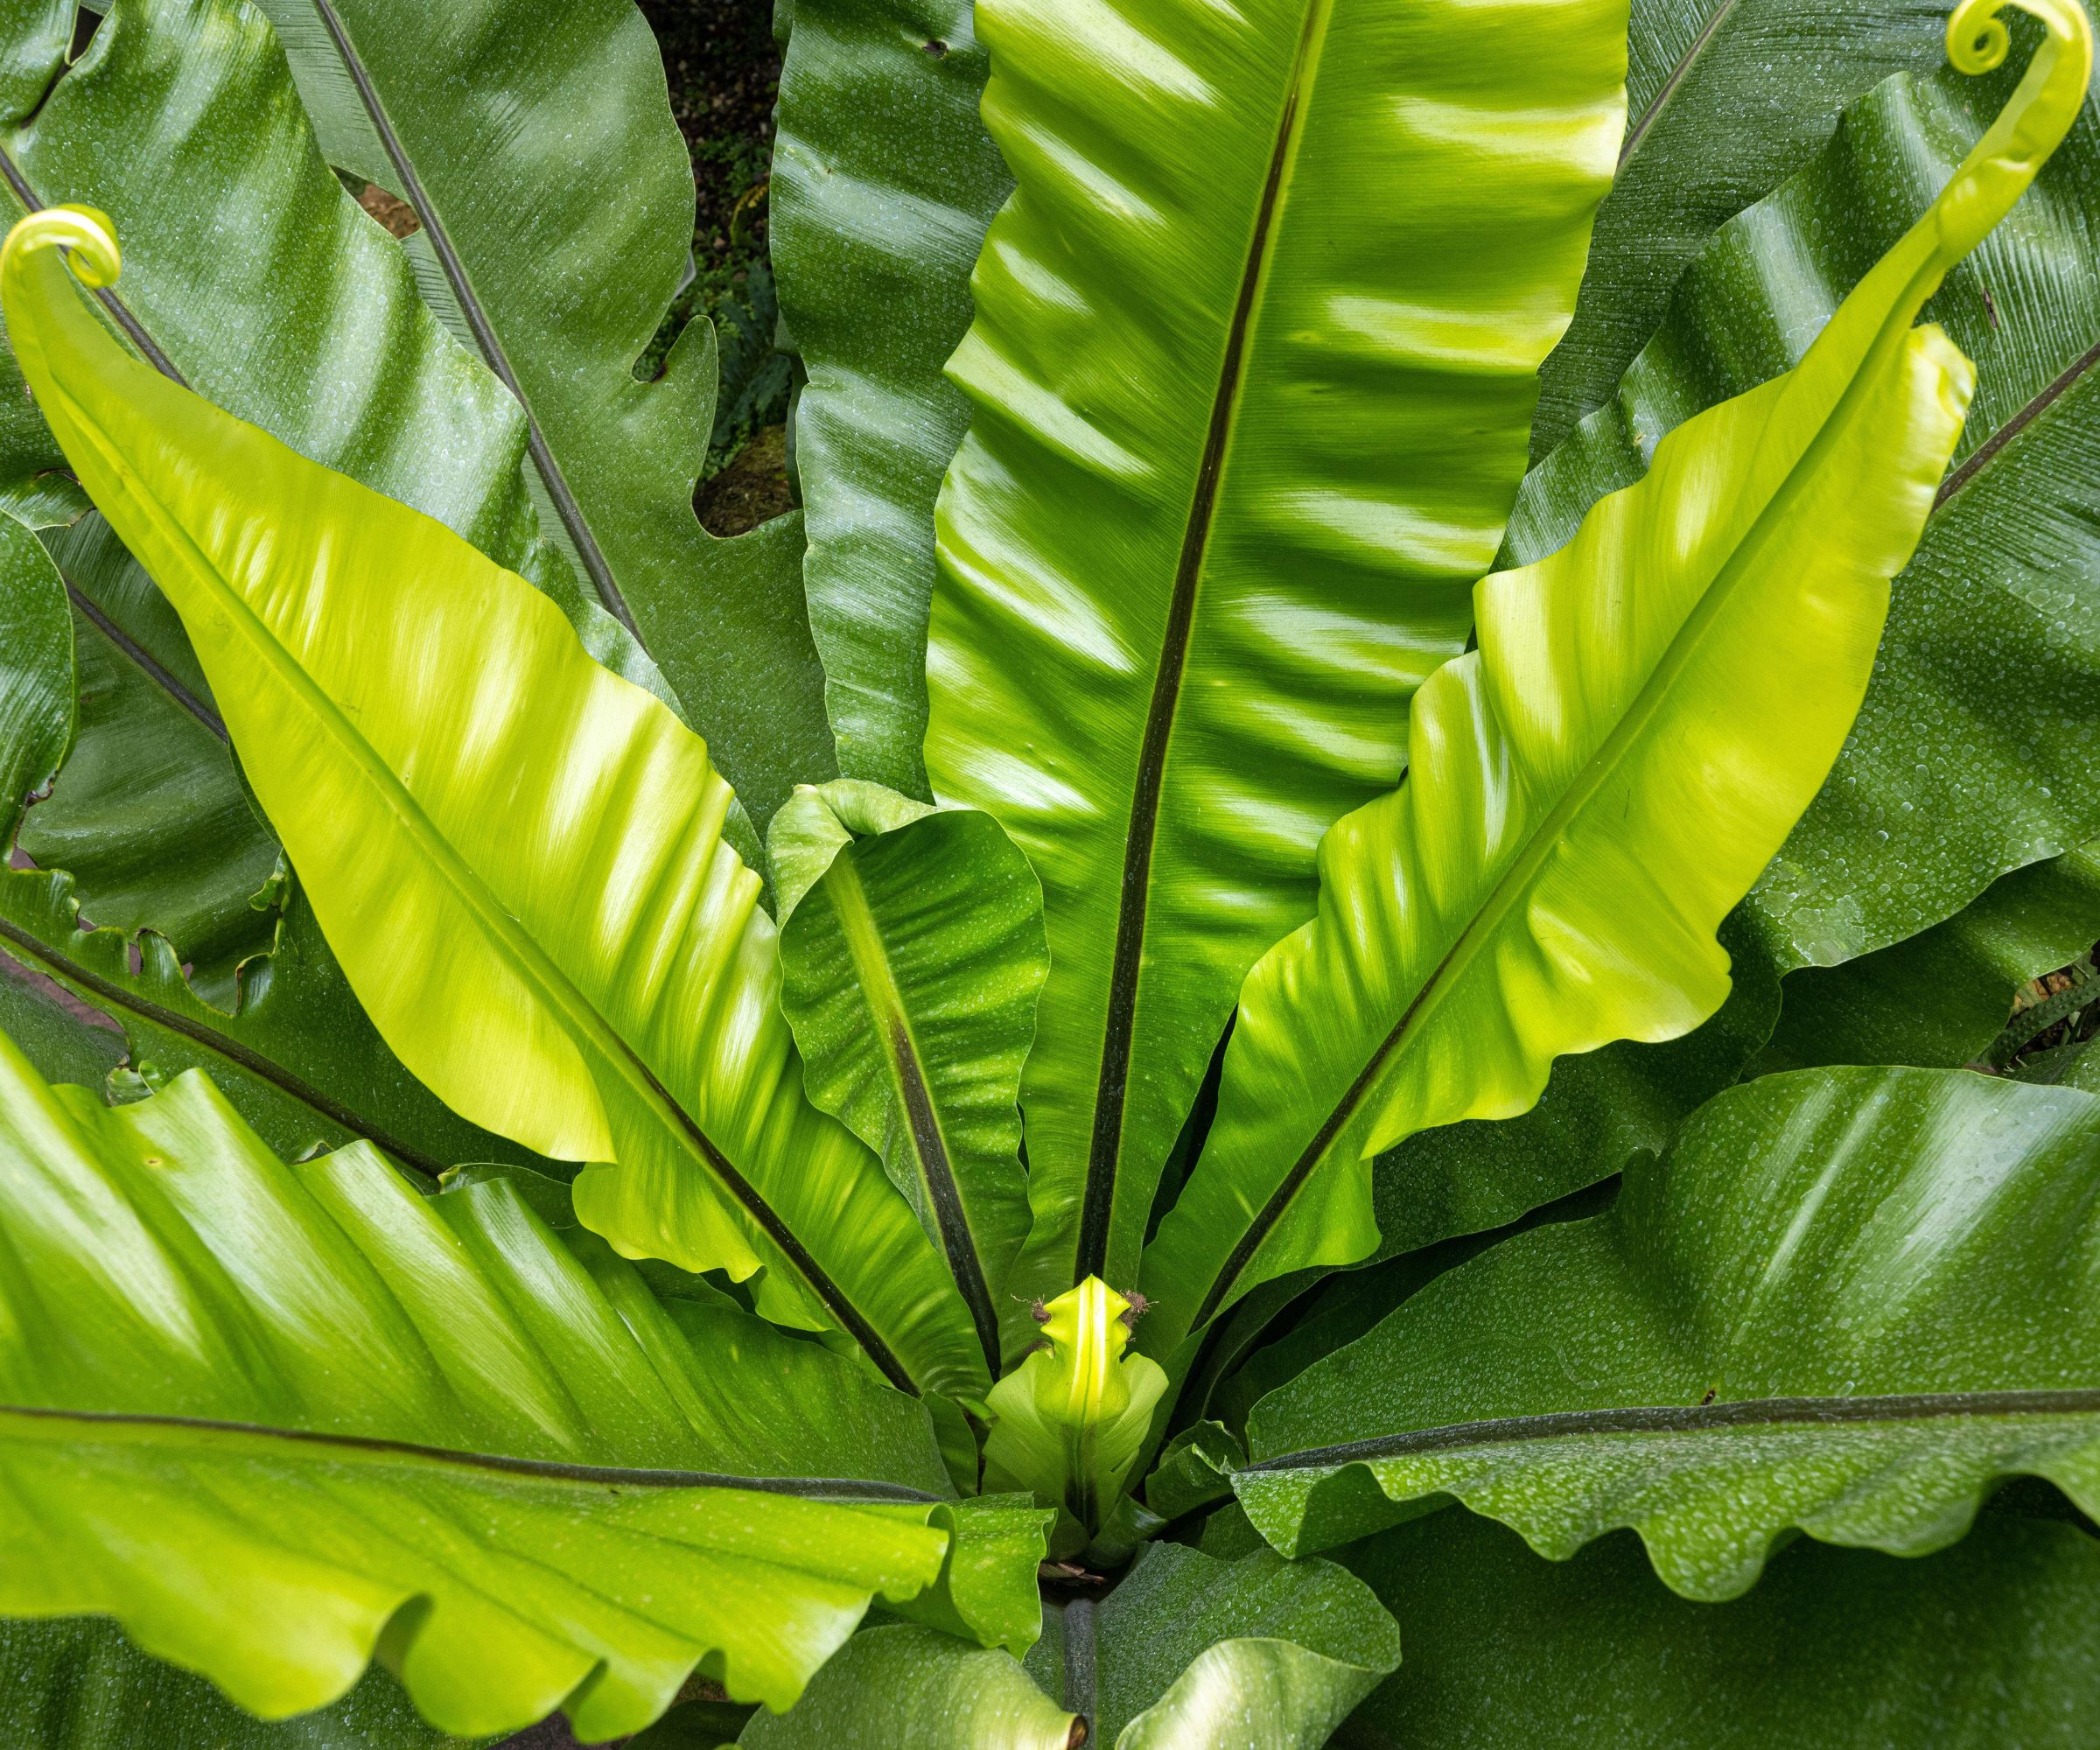
Bird's nest ferns prefer a warm, stable environment, thriving in temperatures ranging from 60℉ to 80℉. Keeping the temperature within this range will help ensure your fern stays healthy and grows steadily.
In addition to maintaining this temperature around the plant, it’s important to avoid placing your fern where it might experience sudden temperature fluctuations, such as near drafts, air conditioners, or heating vents.
7. Remove dead or damaged fronds
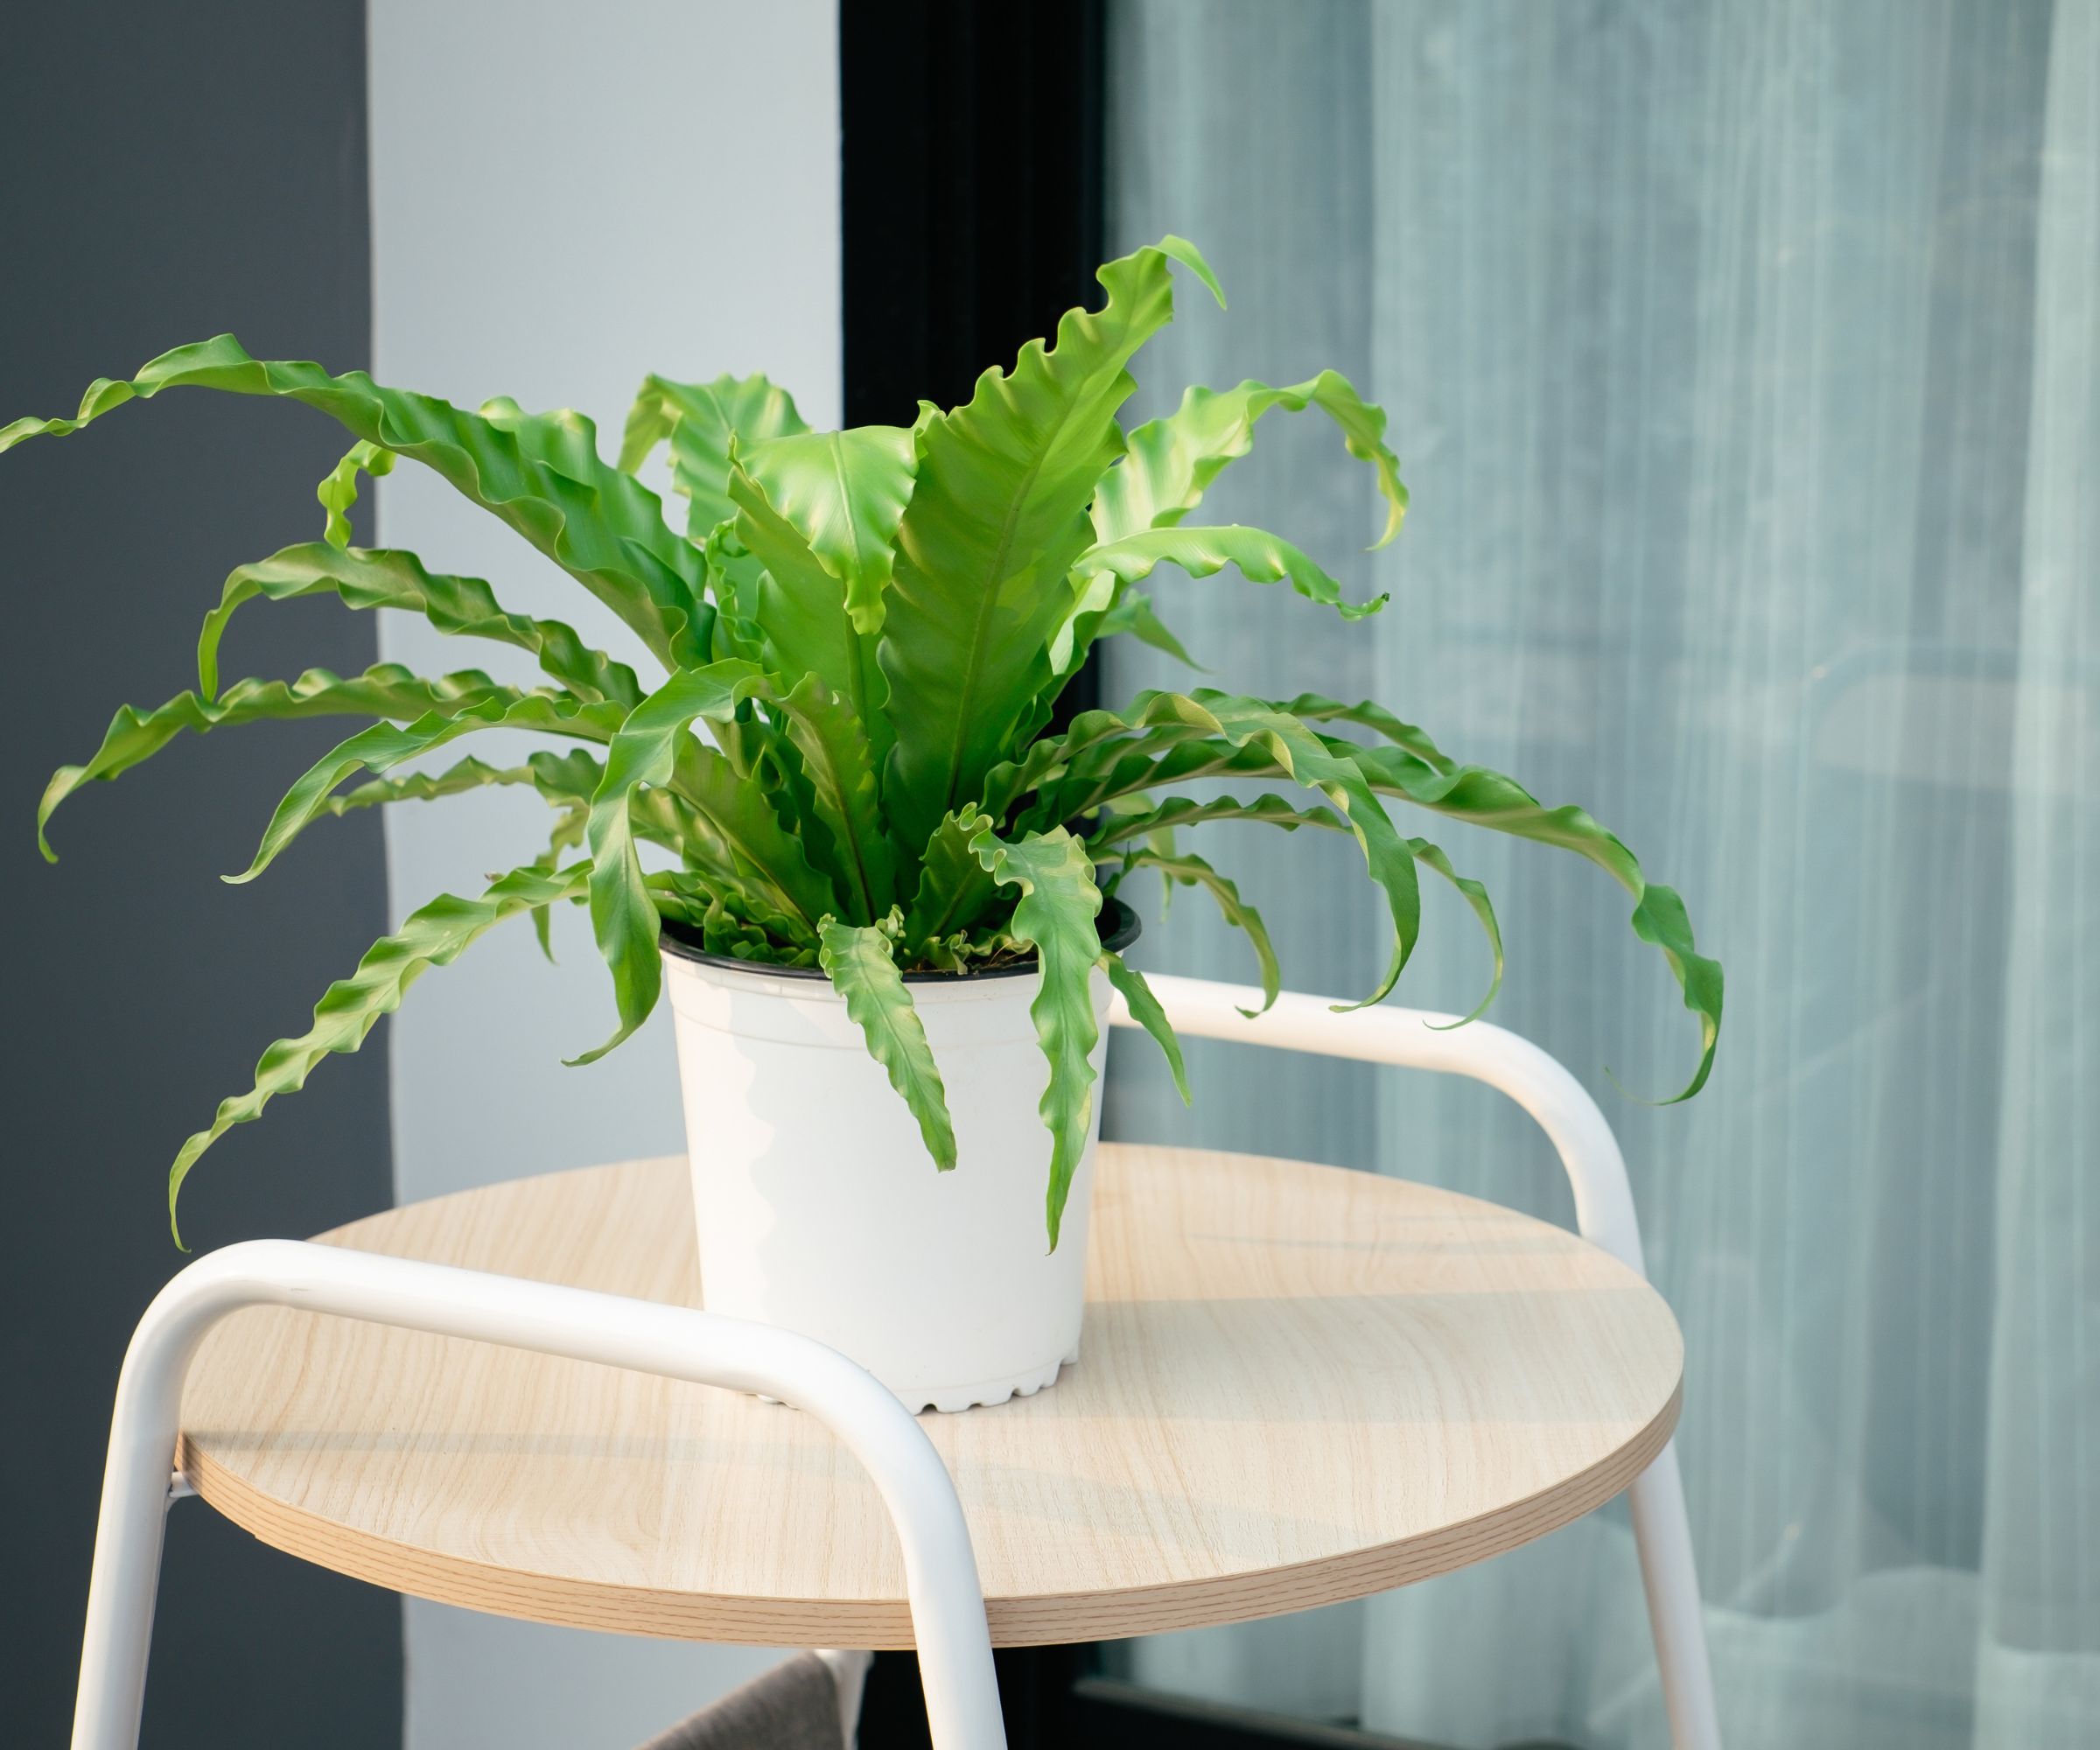
You may be wondering, do you need to prune ferns? While it may not seem an essential step in growing a bird's nest fern it's actually key to encouraging new growth and keeping its shape and size in check.
You can trim away any brown or sickly looking fronds if they appear, this will allow the fern to put its energy into sending out new growth and new fronds.
Do so using sharp, clean scissors or pruning shears and make clean cuts to prevent damage to the plant. These Fiskars Bypass Pruner shears are a best seller at Walmart.
8. Fertilize to promote healthy growth
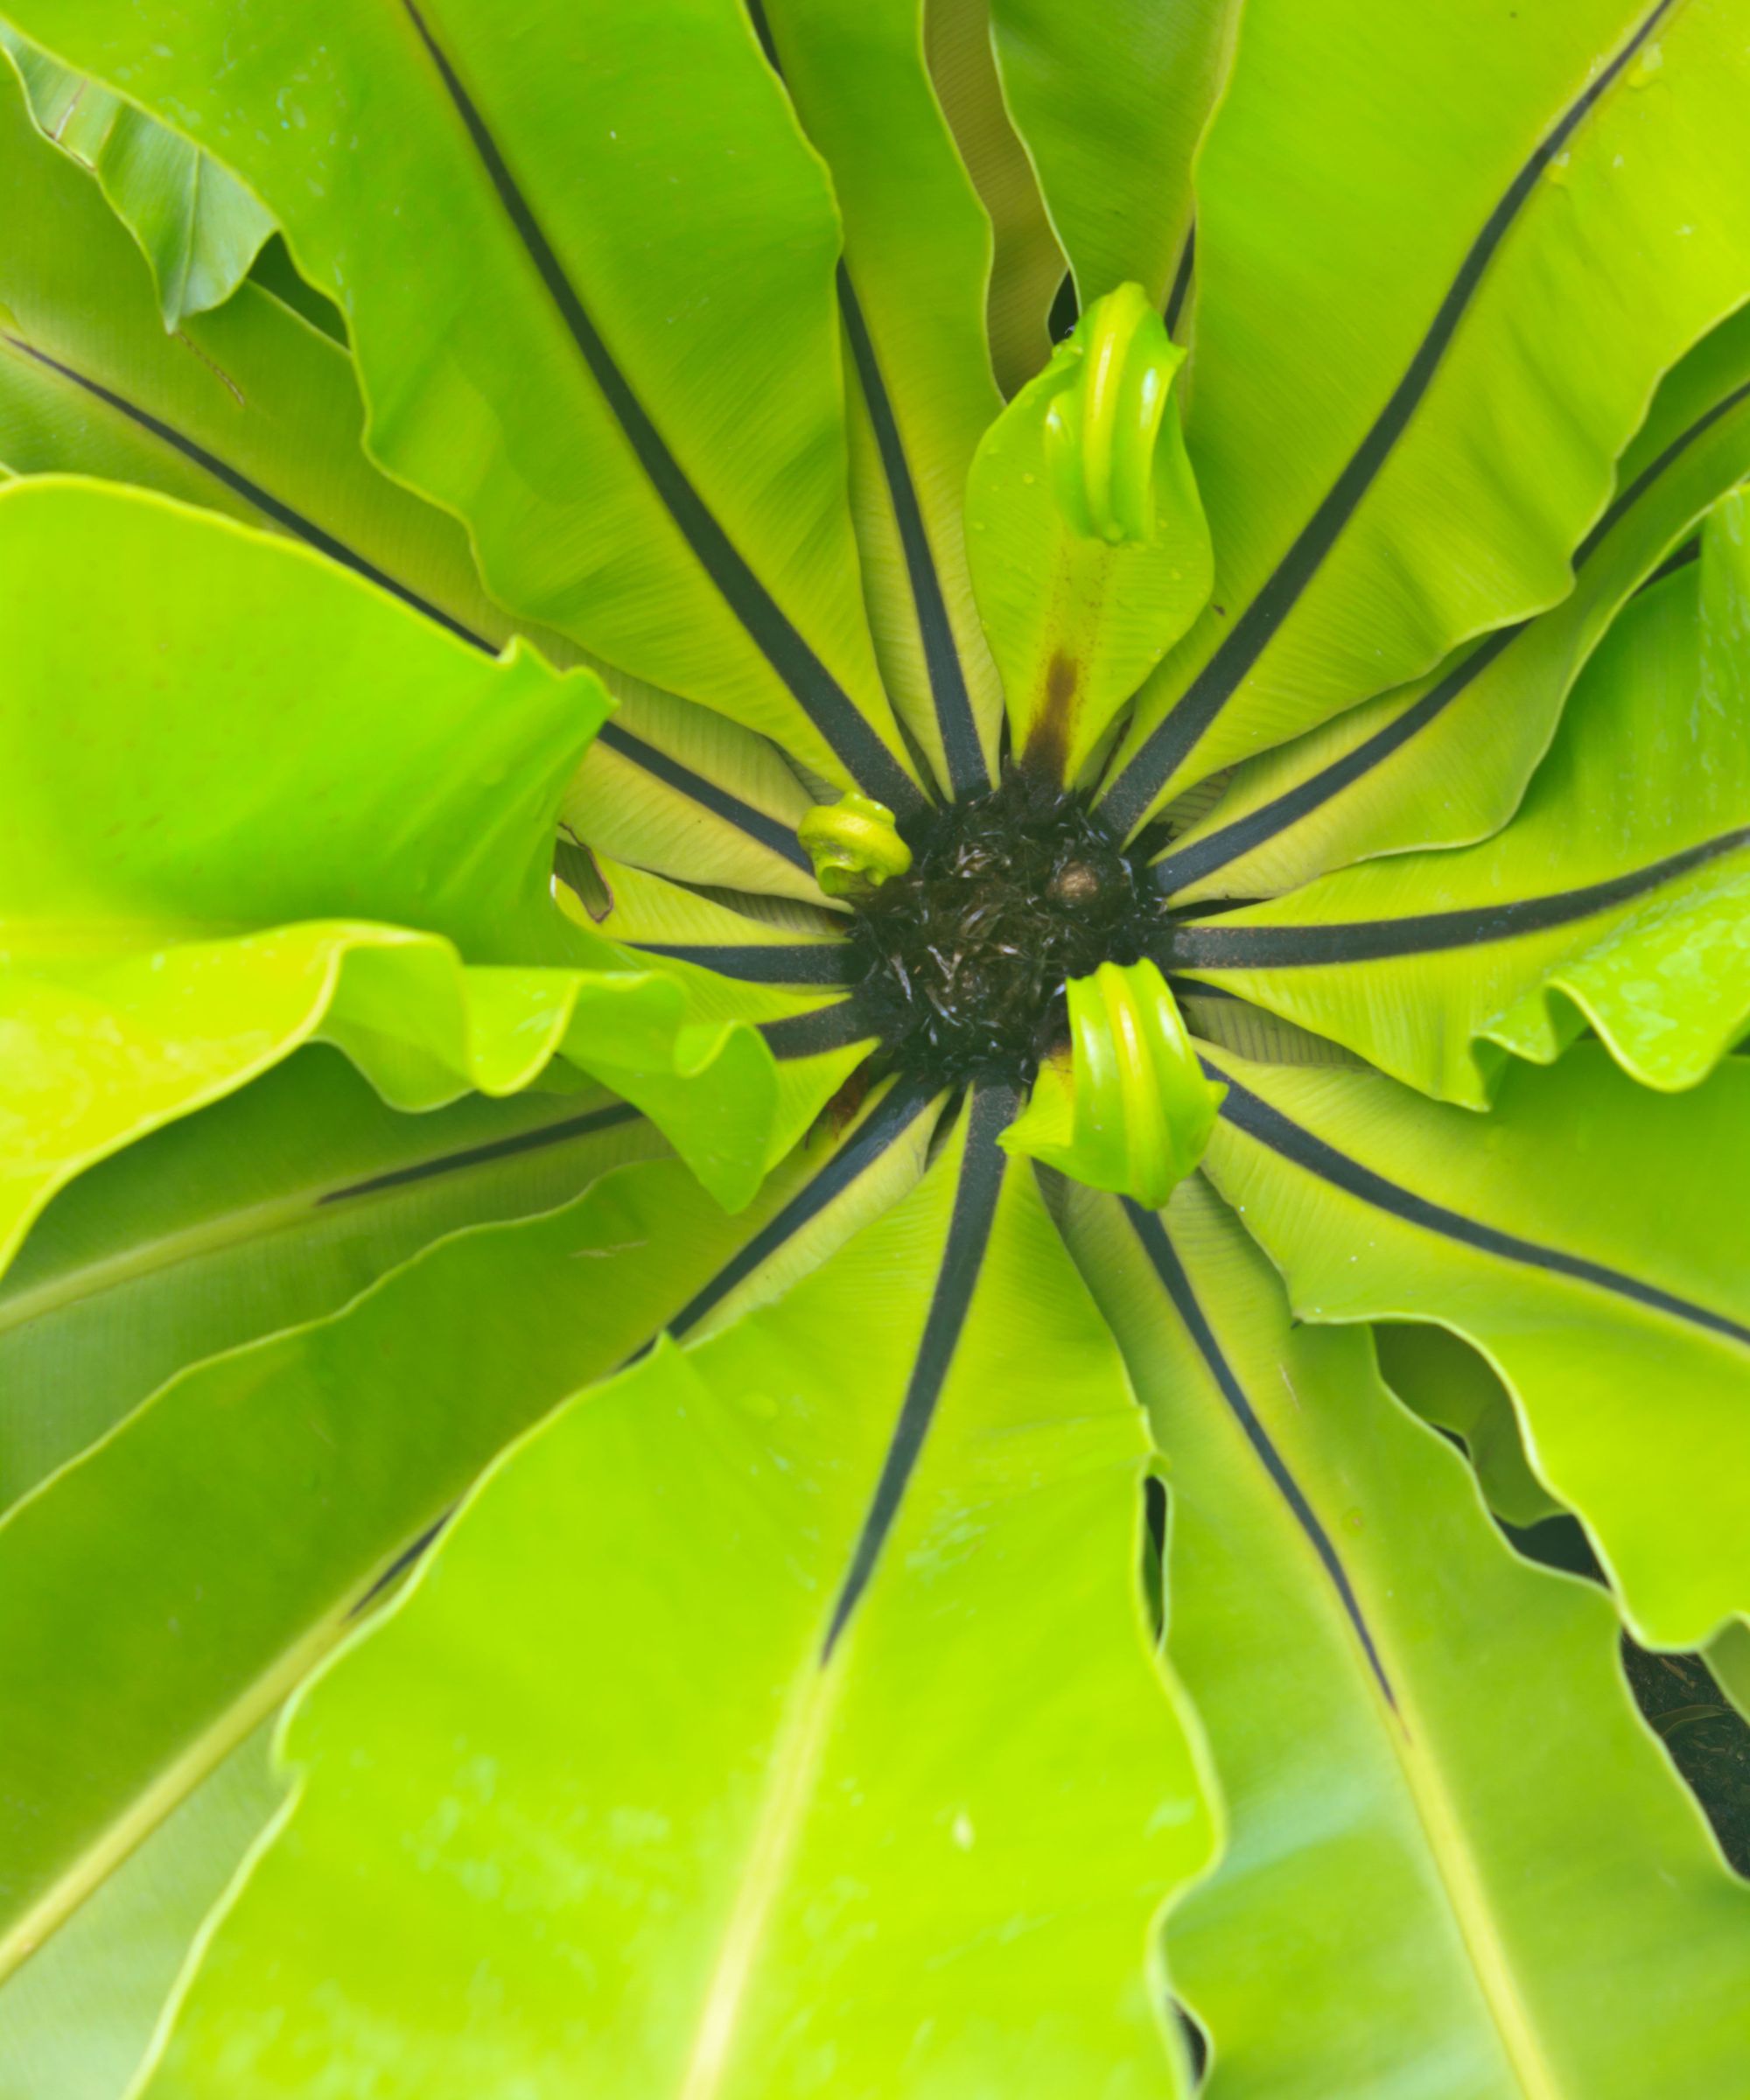
Fertilizing your bird's nest fern is important for healthy growth. Use a balanced, water-soluble fertilizer into your watering routine every two to four weeks during the growing season (spring and summer). We recommend this fern fertilizer from Amazon. Refrain from fertilizing in the winter when the plant is dormant.
You can start fertilizing your bird's nest fern once it has established a strong root system, typically when it's around 6 to 12 inches tall or after it has been in the pot for a few months.
9. Routinely check for pests
While bird's nest ferns are typically resistant to pests, they can occasionally attract spider mites or mealybugs.
If you notice signs of infestation, such as yellowing leaves, sticky residue, or small insects, treat the plant with insecticidal soap, available at Amazon. Repeat the treatment every seven to 10 days until the infestation has gone.
If you want to easily expand your collection of bird's nest ferns, you can propagate them through division or spores. To propagate your bird's nest fern through division, gently separate the plant into smaller sections, ensuring each part has a healthy root system. For spore propagation, wait until the fronds have matured and are releasing spores. Place a sheet of paper under the fronds to collect the spores as they fall. Then, sprinkle the spores over the surface of moist potting soil, keeping the soil consistently damp until new growth begins to emerge.
This way, you can build a thriving and ever-growing collection of these beautiful, lush ferns.


