Encountering a black screen on your Windows computer or one of the best laptops can be daunting, but don't worry! This common issue is often easier to fix than it seems. Whether your screen is completely black or you can see a cursor but nothing else, this step-by-step guide should help get your computer back to normal.
Tools and requirements
- Laptop running Windows
- Multimeter
Steps for how to fix Windows black screen
- Check your connections
- Perform a power reset
- Open the Advanced Boot Options menu
- Run Start-up Repair
- Uninstall recent updates
- Restore your system to an earlier state
- Update Display Driver
- Disconnect unnecessary devices
- Check for computer overheating issues
- Check the PSU for faults
Step by step guide for how to fix Windows black screen
The screenshots in this article were taken on an Asus ZenBook running Windows 11, but these steps should still work on other Windows devices.
1. Check your connections
First, let's ensure that the issue isn't something as simple as a loose connection.
If you're using a desktop computer, check the cable that connects your monitor to your computer. Make sure it's firmly plugged in at both ends.
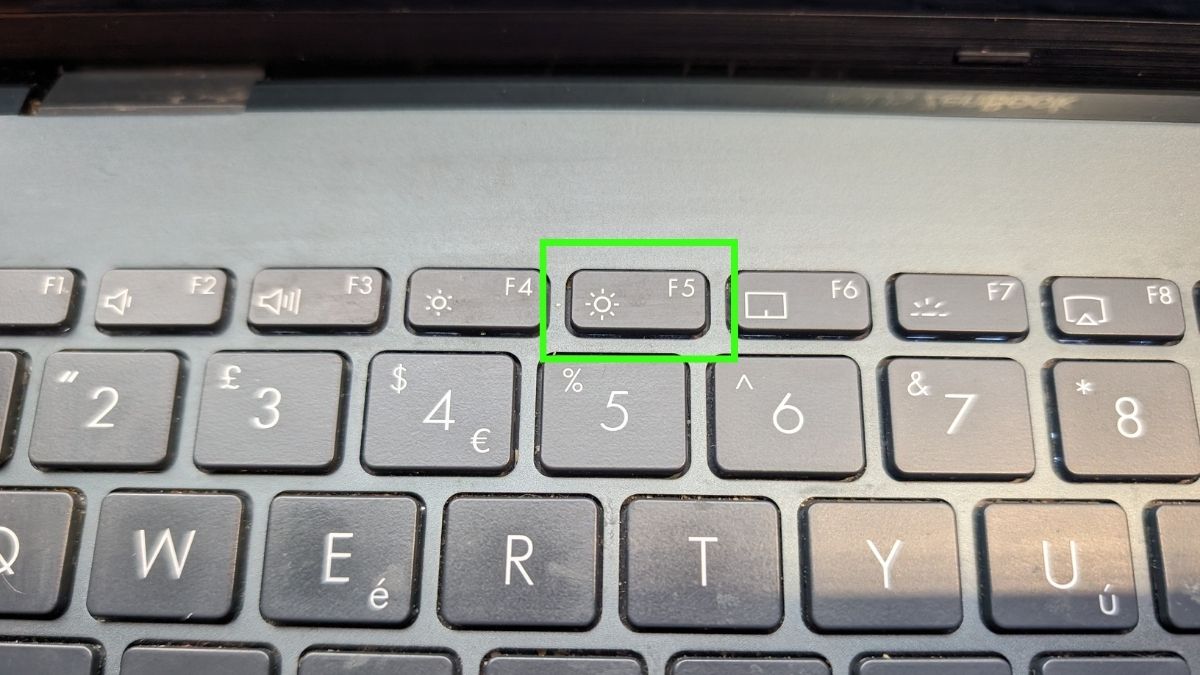
If you're on a laptop, try adjusting the screen brightness. Sometimes, the screen could be on but set to very low brightness. Check your keyboard to see which function key increases screen brightness, as this can vary depending on your device but will usually show a large sun icon.
2. Perform a power reset
A power reset can clear out temporary glitches that might be causing the black screen.
For desktops: Turn off your computer by holding the power button for about 10 seconds. Then, unplug the power cable, wait a few seconds, plug it back in, and turn your computer on again.
For laptops: Do the same, but also remove the battery if it's removable. After turning off your laptop and unplugging it, hold down the power button for 15 seconds to drain any remaining electrical charge.
Then, turn on your device to see if this has resolved the issue.
3. Open the Advanced Boot Options menu
Even if your screen is completely blank, you may still be able to access Windows advanced boot options.
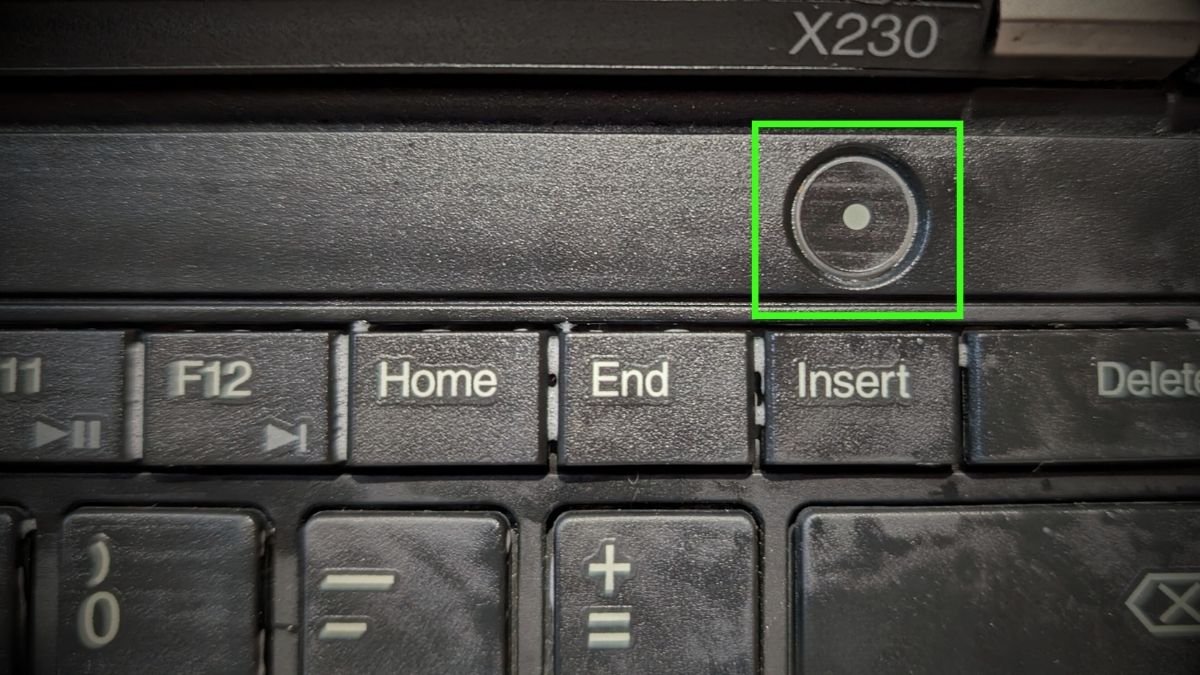
Restart your computer. As it's booting up, press the F8 key repeatedly until you see the blue Advanced Boot Options menu.
From here, there are several options you can try, which we'll cover in the following steps. If this doesn't work and you cannot access the menu, go straight to step 9.
4. Run Start-up Repair
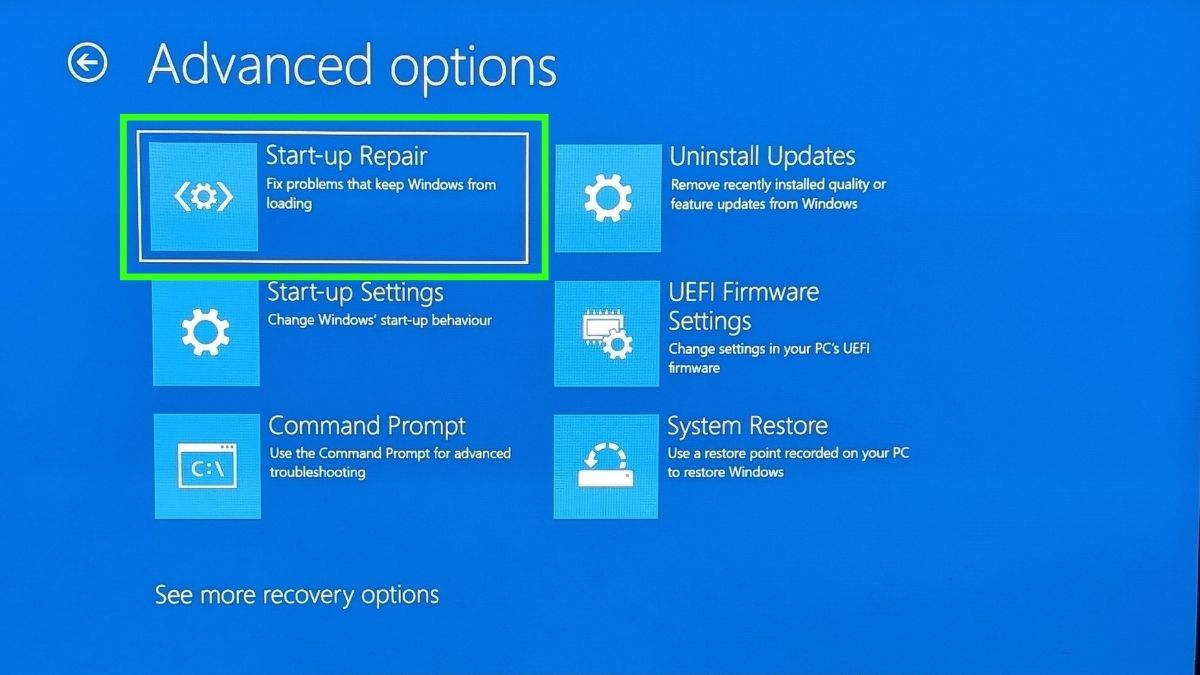
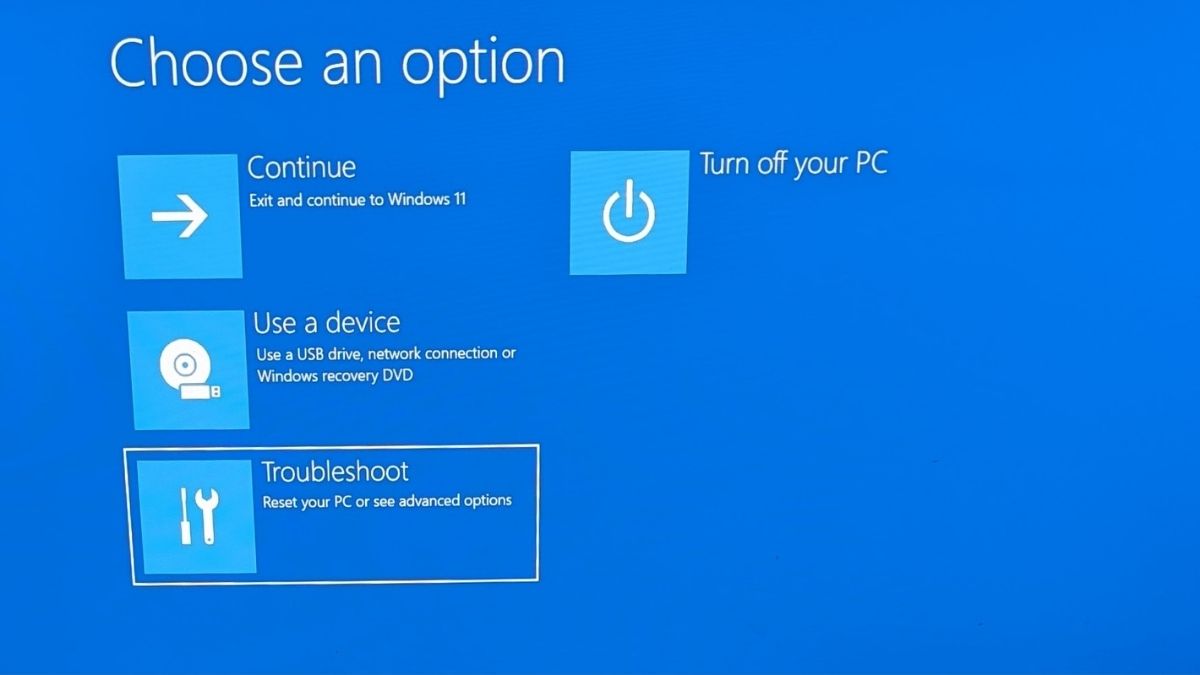
In the Advanced Boot Options menu, select Troubleshoot, then Advanced Options, and choose Start-up Repair. Windows will attempt to diagnose and fix startup problems automatically, which may resolve the issue.
5. Uninstall Updates
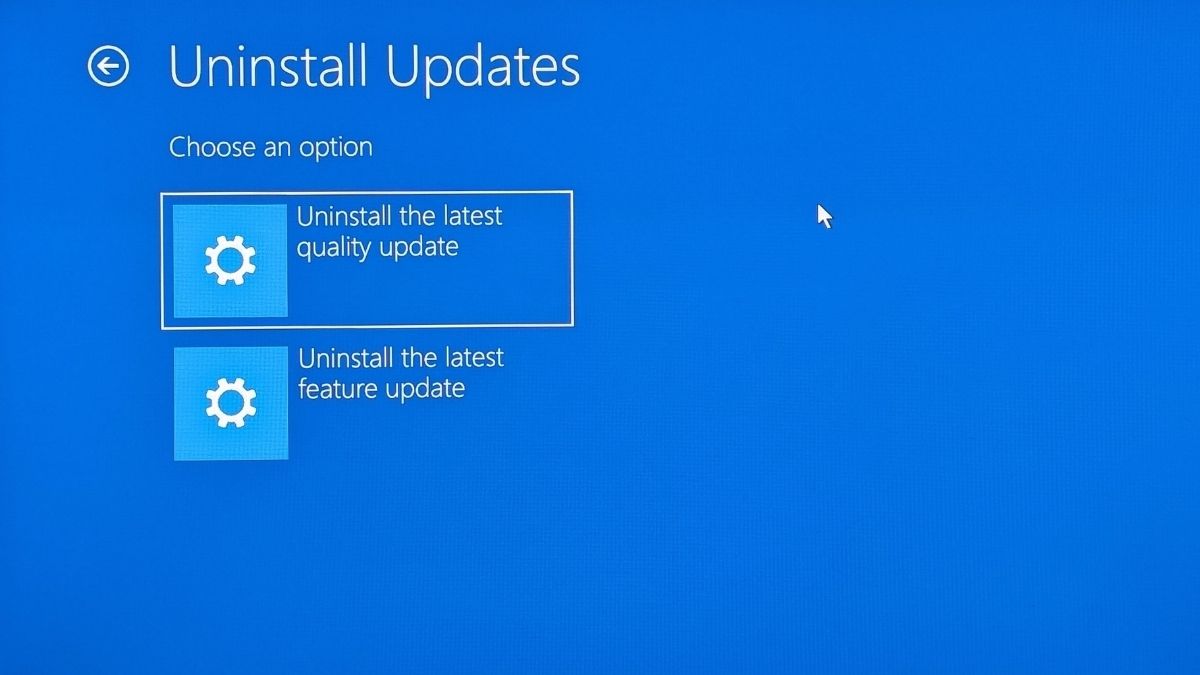
If a recent update is causing the issue, you can uninstall it through Troubleshoot > Advanced Options > Uninstall Updates. You can choose to uninstall the last quality update or the last feature update. Uninstalling updates can reverse any conflicts that might have arisen.
6. Restore your system to an earlier state
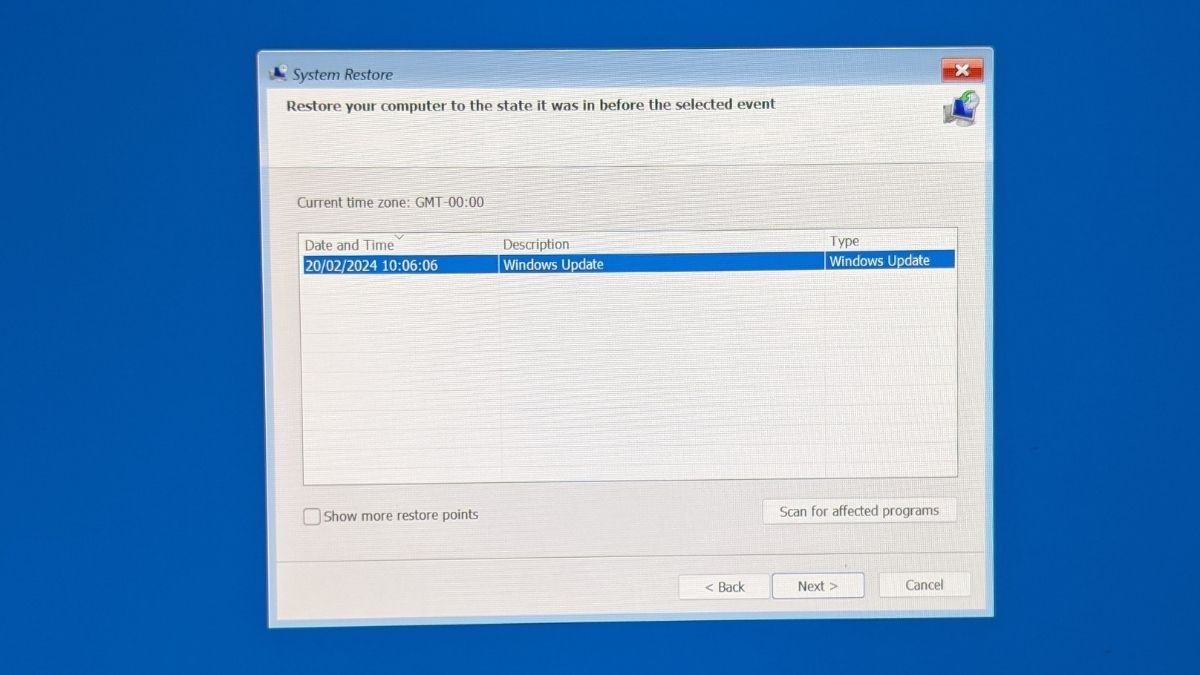
A System Restore is a feature in Windows that allows you to revert your computer's state (including system files, installed applications, Windows Registry, and settings) to a previous point in time.
To restore an earlier version of your system, select Troubleshoot > Advanced Options > System Restore from the Advanced Boot Menu.
This will open a new window. Follow the wizard to select the version you want to revert to and select Confirm.
Once the process is complete, Windows should boot up normally and display a confirmation message that the System Restore has been completed successfully.
7. Open in Safe Mode
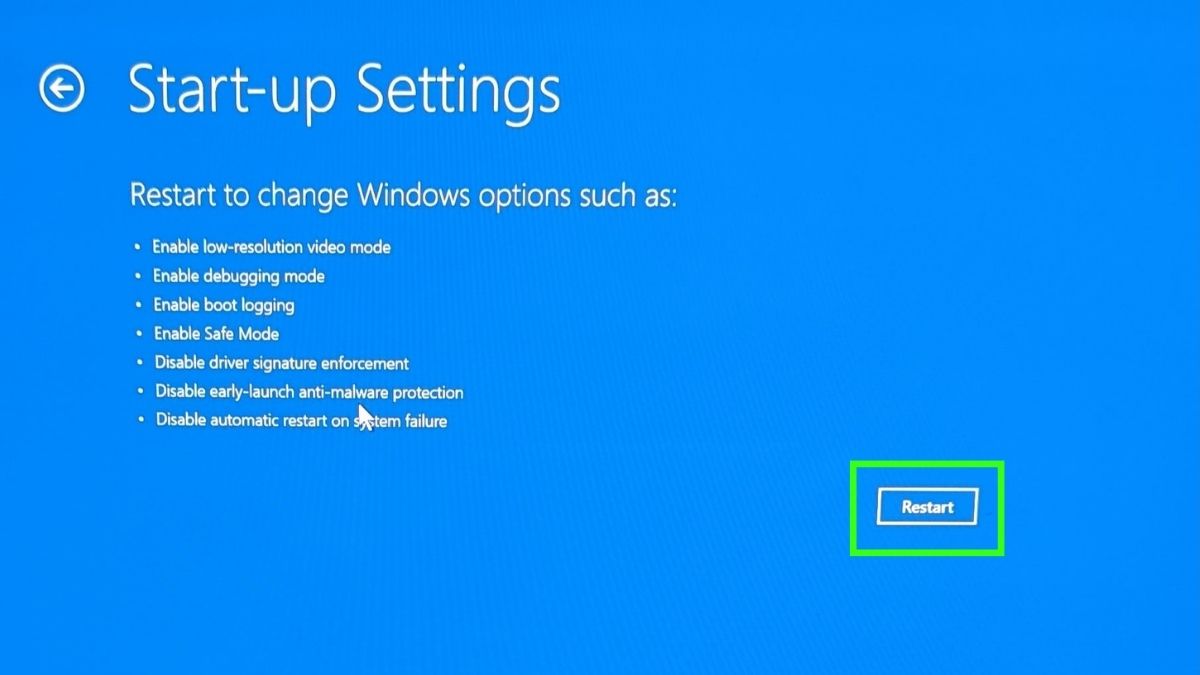
From the Advanced Boot Options menu, you can also select to start Windows in Safe Mode by choosing Troubleshoot > Advanced Options > Start-up Settings. Safe Mode starts Windows with limited functionality and can help you troubleshoot the black screen issue. You'll know if it's successful because the screen displays the words 'Safe Mode' in each corner.
8. Update Display driver
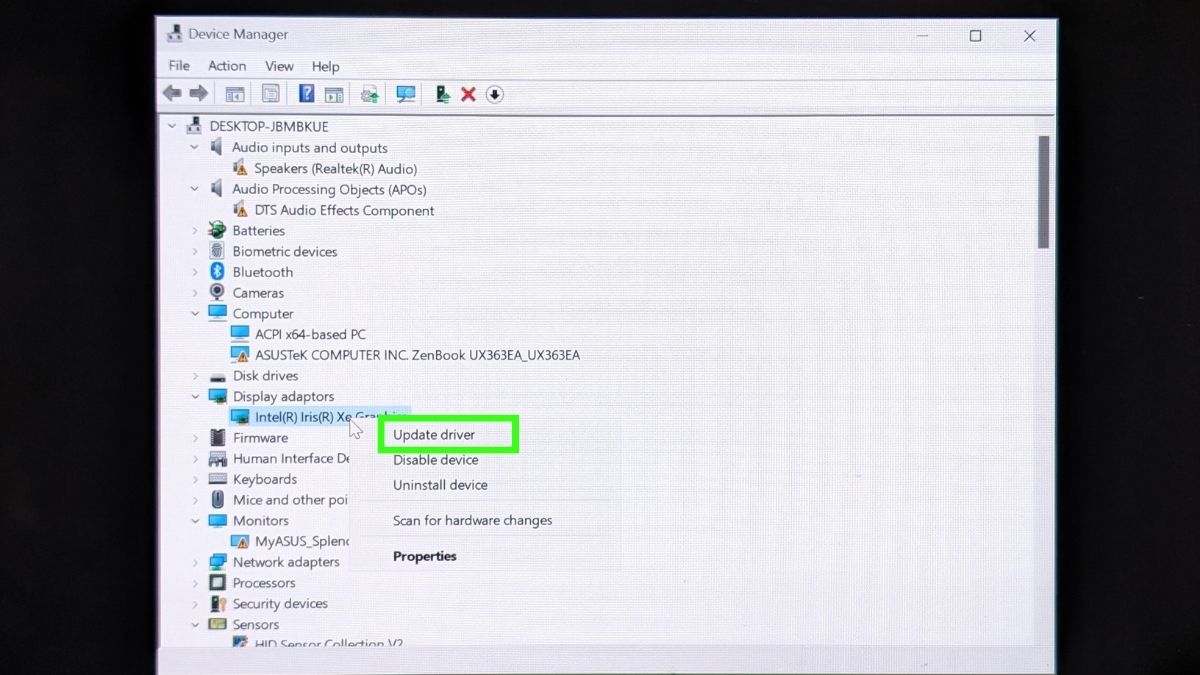
In Safe Mode, update your display driver by opening Device Manager, expanding Display adapters, right-clicking your graphics card, and selecting 'Update driver'. Choose to search automatically for updated driver software.
9. Disconnect unnecessary devices

If the Boot Menu and Safe Mode options don't work, try disconnecting any peripherals, such as headphones or additional monitors, and restart your PC. Sometimes, external devices can cause conflicts.
10. Check for computer overheating issues
Ensure your computer is not shutting down due to overheating. Check the cooling system, clean any dust from vents or fans, and ensure your PC is in a well-ventilated area.
11. Check the PSU for Faults
As a last resort, the power supply unit (PSU) may be failing, especially if your system has no power at all. When diagnosing and replacing the PSU, you may want to seek the services of a professional. However, it is possible to do it yourself.
This process requires a multimeter, a tool used to measure electrical voltage, current, and resistance. It's important to proceed with caution and ensure your safety at all times. If you're uncomfortable or unsure at any point, consider seeking professional help to avoid damaging your computer or injuring yourself.
To test the PSU with a multimeter, completely turn off your computer and open the case. Consult your computer's manual for instructions on how to safely open the case if you're not sure.
The PSU is typically at the back of the computer case, where the power cord connects. Carefully disconnect the PSU connectors from the motherboard and other components. It's a good idea to take a photo beforehand so you remember where each connector goes.
Insert the black (negative) multimeter probe into a black wire's connector (ground), and then insert the red (positive) probe into one of the colored wires' connectors. Note the voltage reading for each wire and compare it to the expected voltage. A variance of +/- 5% is generally acceptable. If any results are significantly outside the acceptable range, your PSU may be failing and need replacement.
If you need to replace the PSU, make sure the new PSU is compatible with your computer's specifications. Remove the Old PSU and place the new PSU in the same position as the old one and secure it with screws. Reconnect all power cables according to the photos you took earlier or your computer's manual.
Once everything is connected, close your computer's case, plug in the power cable, and turn on your computer. Monitor the system for stability and ensure that all components are receiving power.
Dealing with a black screen on a Windows computer can be frustrating, but by following these steps, you'll have a good chance of solving the issue. Hopefully, your computer is up and running, but if you've tried all these steps and you're still facing problems, you should probably consult a professional.