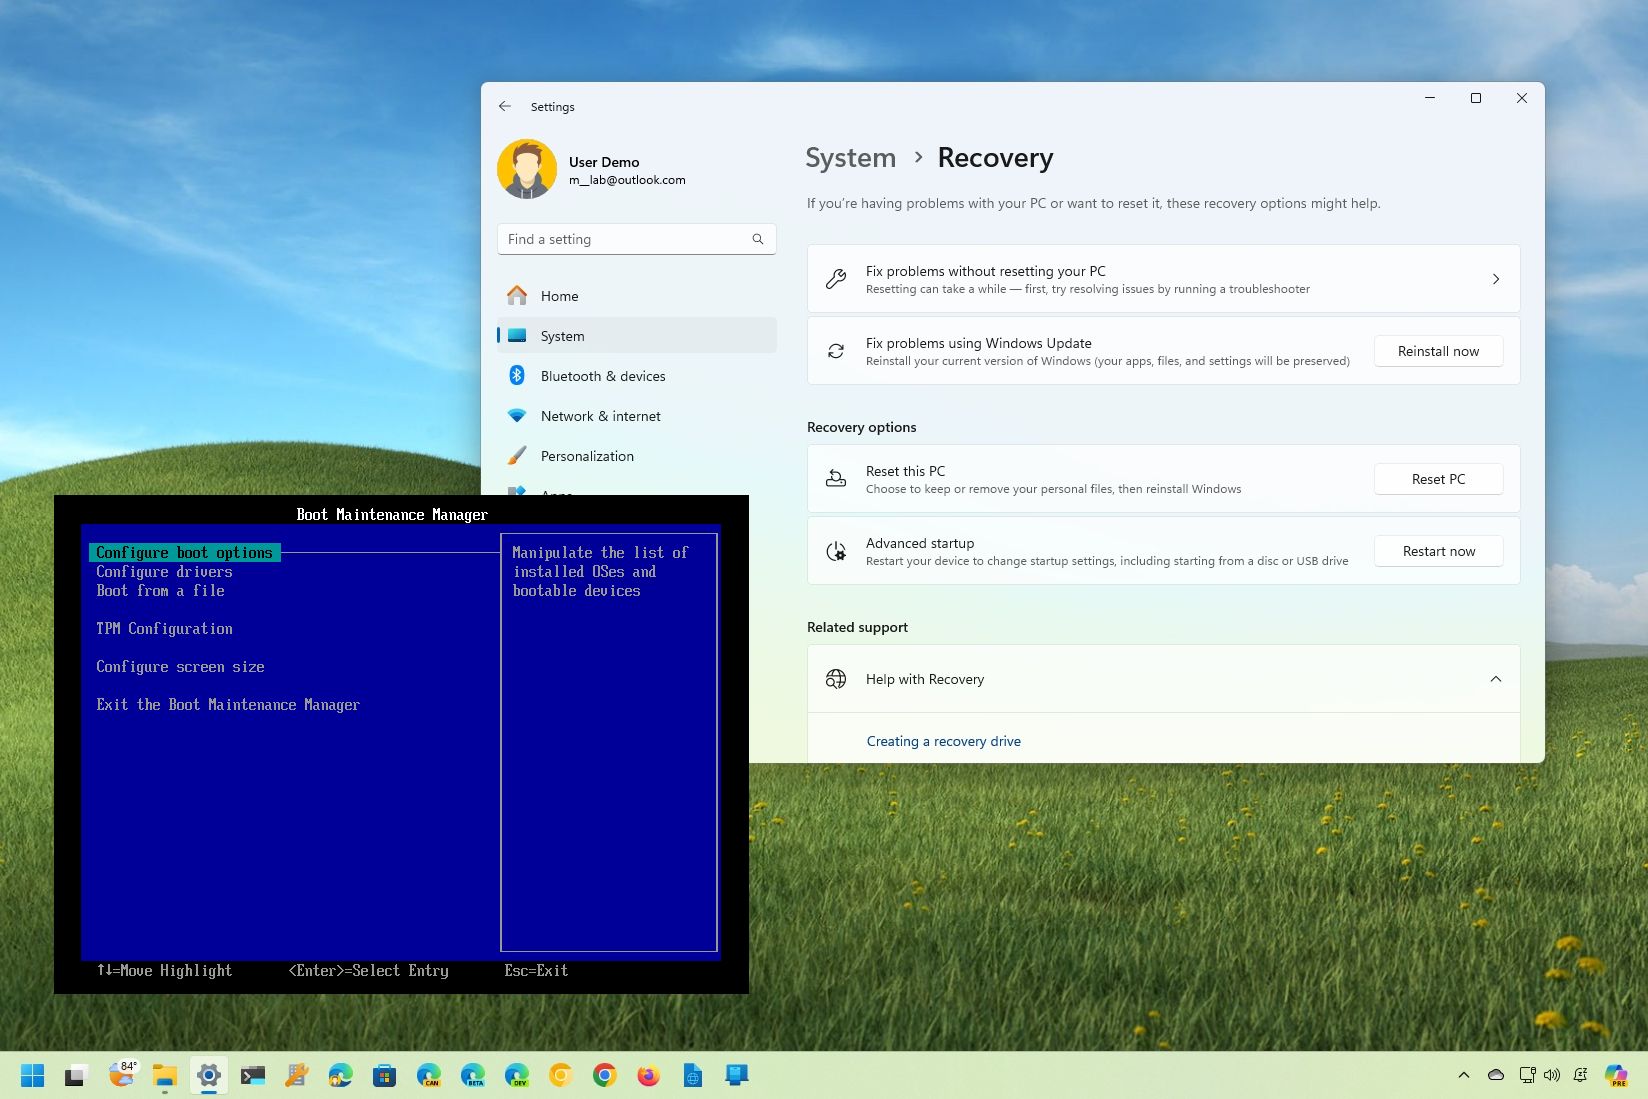
On Windows 11, you have more than one way to access the Unified Extensible Firmware Interface (UEFI) on your motherboard, and in this guide, I will teach you how to complete this configuration.
The UEFI is the modern interface that replaces the legacy Basic Input Output System (BIOS). Although both firmware types are essential as they're responsible for basic hardware configuration and transferring the boot sequence to the operating system, UEFI includes additional benefits, such as faster boot times, support for larger storage drives, better security, and more.
Usually, you don't have to worry about changing the settings within the motherboard's firmware, but sometimes, it's necessary to turn a specific feature on or off (such as virtualization), troubleshoot a hardware problem, manage the system cooling fans, and more.
Regardless, on a device running Windows 11, you can access the UEFI (sometimes referred to as the BIOS or SETUP) in at least two ways, including through the Settings app when the operating system is running or using the keyboard during the startup process.
In this how-to guide, I will explain how to quickly access the "BIOS" on Windows 11.
How to get into UEFI (BIOS) on Windows 11 from Settings
To access the UEFI (or BIOS) on your computer, use these steps:
- Open Settings.
- Click on System.
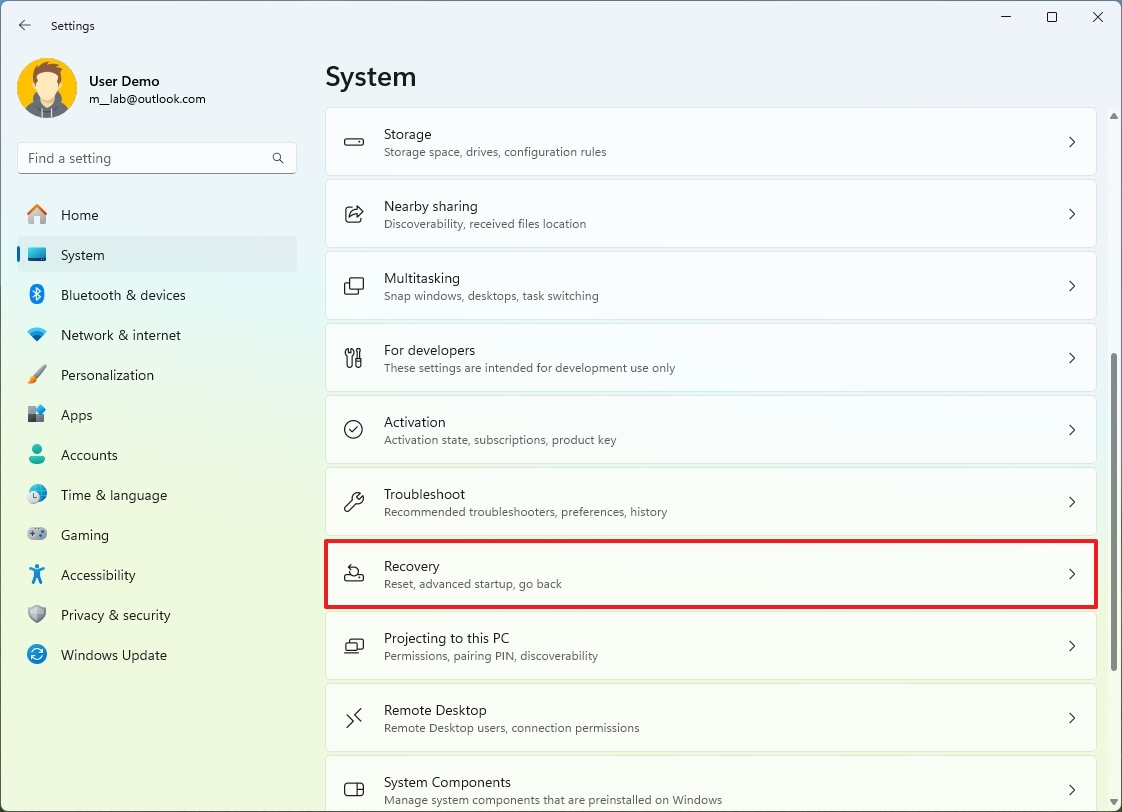
- Click the Recovery page on the right side.
- Click the Restart now button from the "Advanced startup" setting.
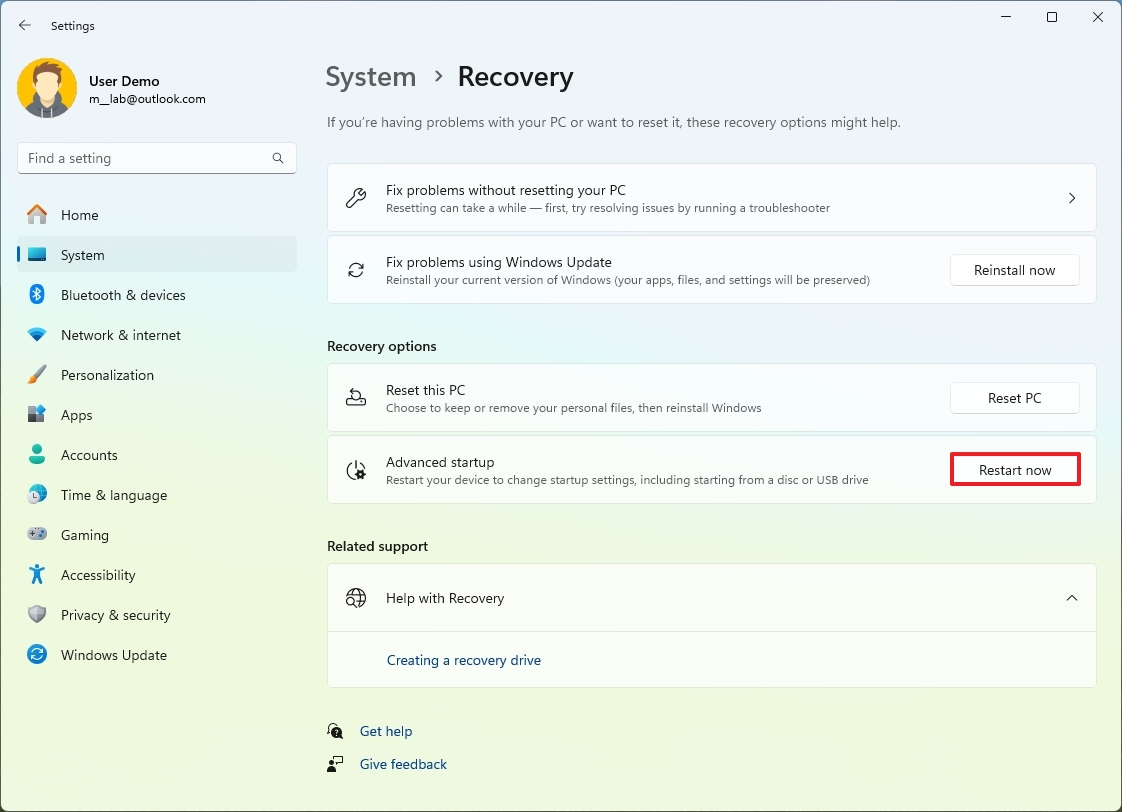
- Click the Restart now button again.
- Click on Troubleshoot from the Windows Recovery Environment.
- Click on Advanced options.
- Choose the "UEFI Firmware settings" option.
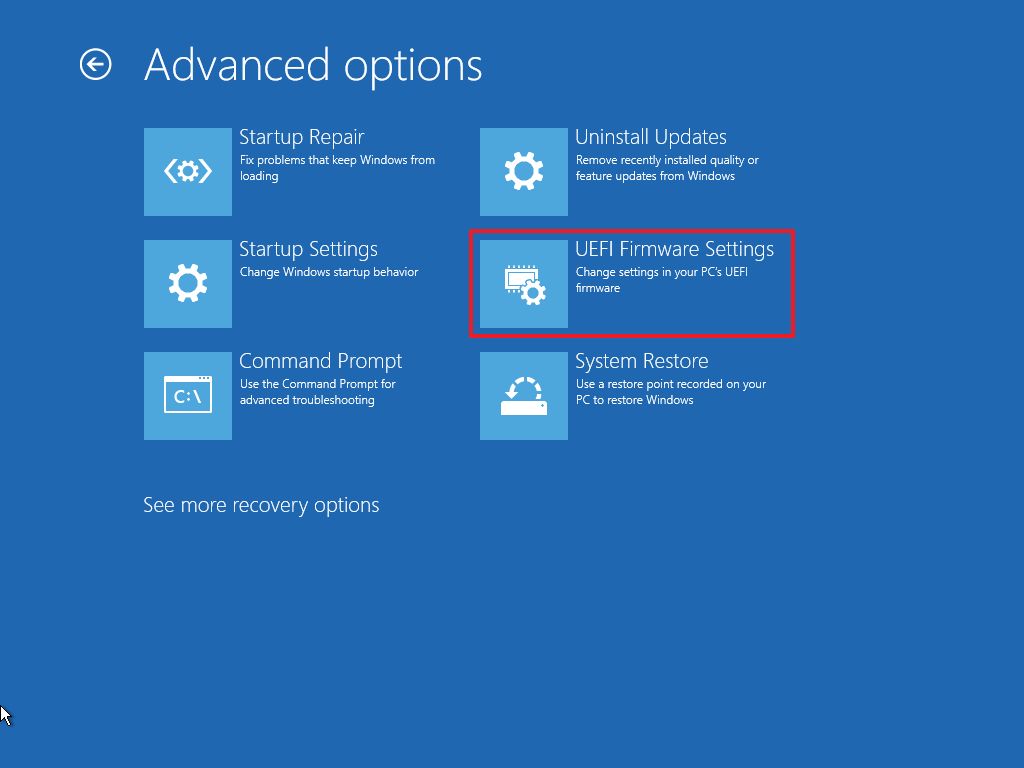
- Click the Restart button.
- Continue adjusting the BIOS settings.
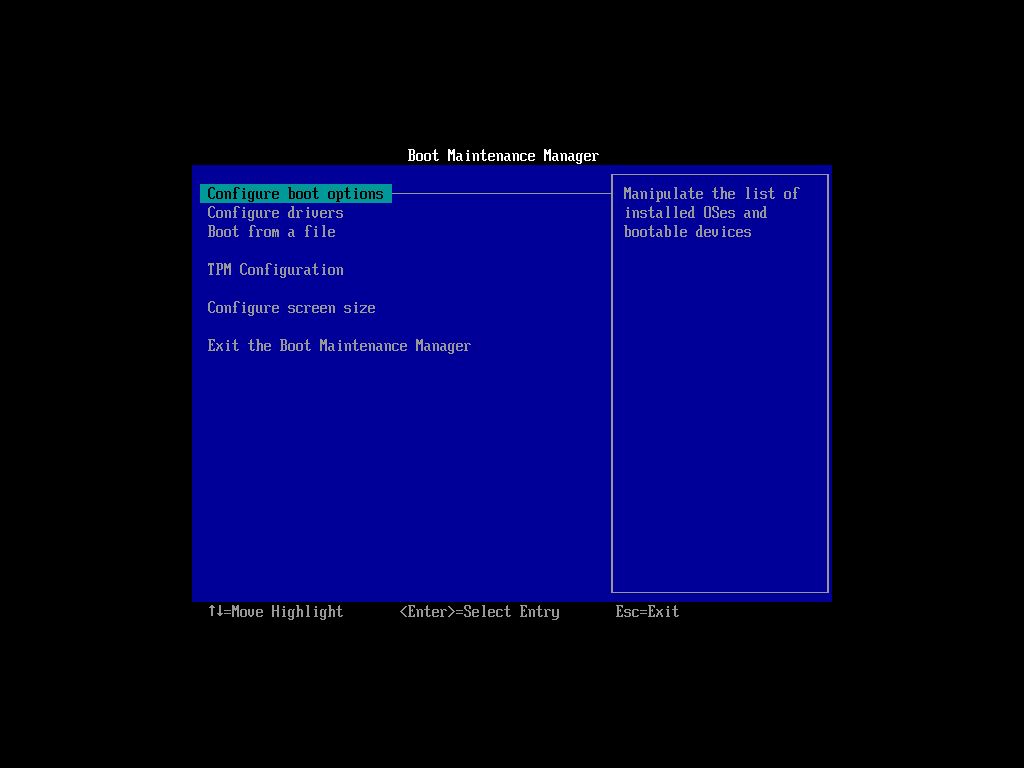
Once you complete the steps, the computer will reboot into the UEFI firmware, where you can configure many of the different features available on the motherboard, which can include setting up hardware virtualization, managing secure boot and TPM settings, configuring storage settings, changing the boot order for devices, and more.
How to get into UEFI (BIOS) on Windows 11 from boot
It's also possible to access the BIOS from outside the operating system environment using special keys during startup.
To access the UEFI on the motherboard while your computer is booting up, use these steps:
- Press the Power button.
- Confirm the key to press to enter the firmware (if applicable).
- Hit the required key repeatedly until you enter the setup mode.
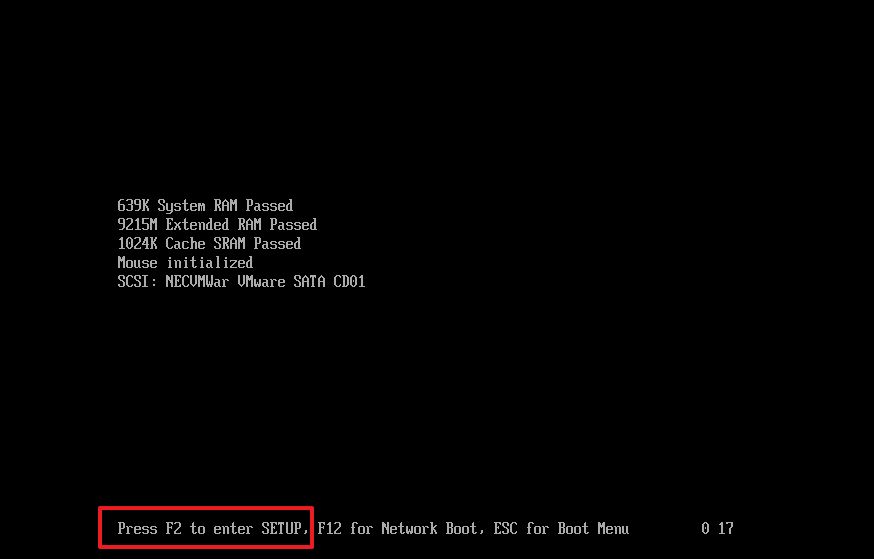
- Quick note: Typically, you have to press one of the Function keys (F1, F2, F10, etc.) or the "ESC," or the "Delete" key.
After you complete the steps, the device should start in the firmware instead of loading Windows 11.
If you can't identify the key to press to access the motherboard's firmware, you may need to check your manufacturer's documentation to determine the shortcut you should be using.
You can also check this list with some of the popular brands and the keys you can use to access the UEFI firmware:
- HP: ESC or F10 (or F1, F2, F6, or F11).
- Dell: F2 or F12 (or F1, F3, or Delete).
- Acer: F2 or Delete.
- ASUS: F2 or Delete (or Insert or F10).
- Toshiba: F2 (or F1 or ESC).
- Samsung: F2.
- Lenovo: F1 or F2 (or Fn + F2).
- MSI: Delete.
- Surface: Press and hold the volume up.
If you can't figure out the key that accesses your firmware, it's best to use the option available on Windows 11.
More resources
For more helpful articles, coverage, and answers to common questions about Windows 10 and Windows 11, visit the following resources:


