
Take better photos with the camera in your pocket. iMore's iPhone Photography Week 2024 is filled with great content that will take your iPhone camera-snapping ability to the next level.
- Check out more iPhone Photography Week 2024
#iMorePhotographyWeek
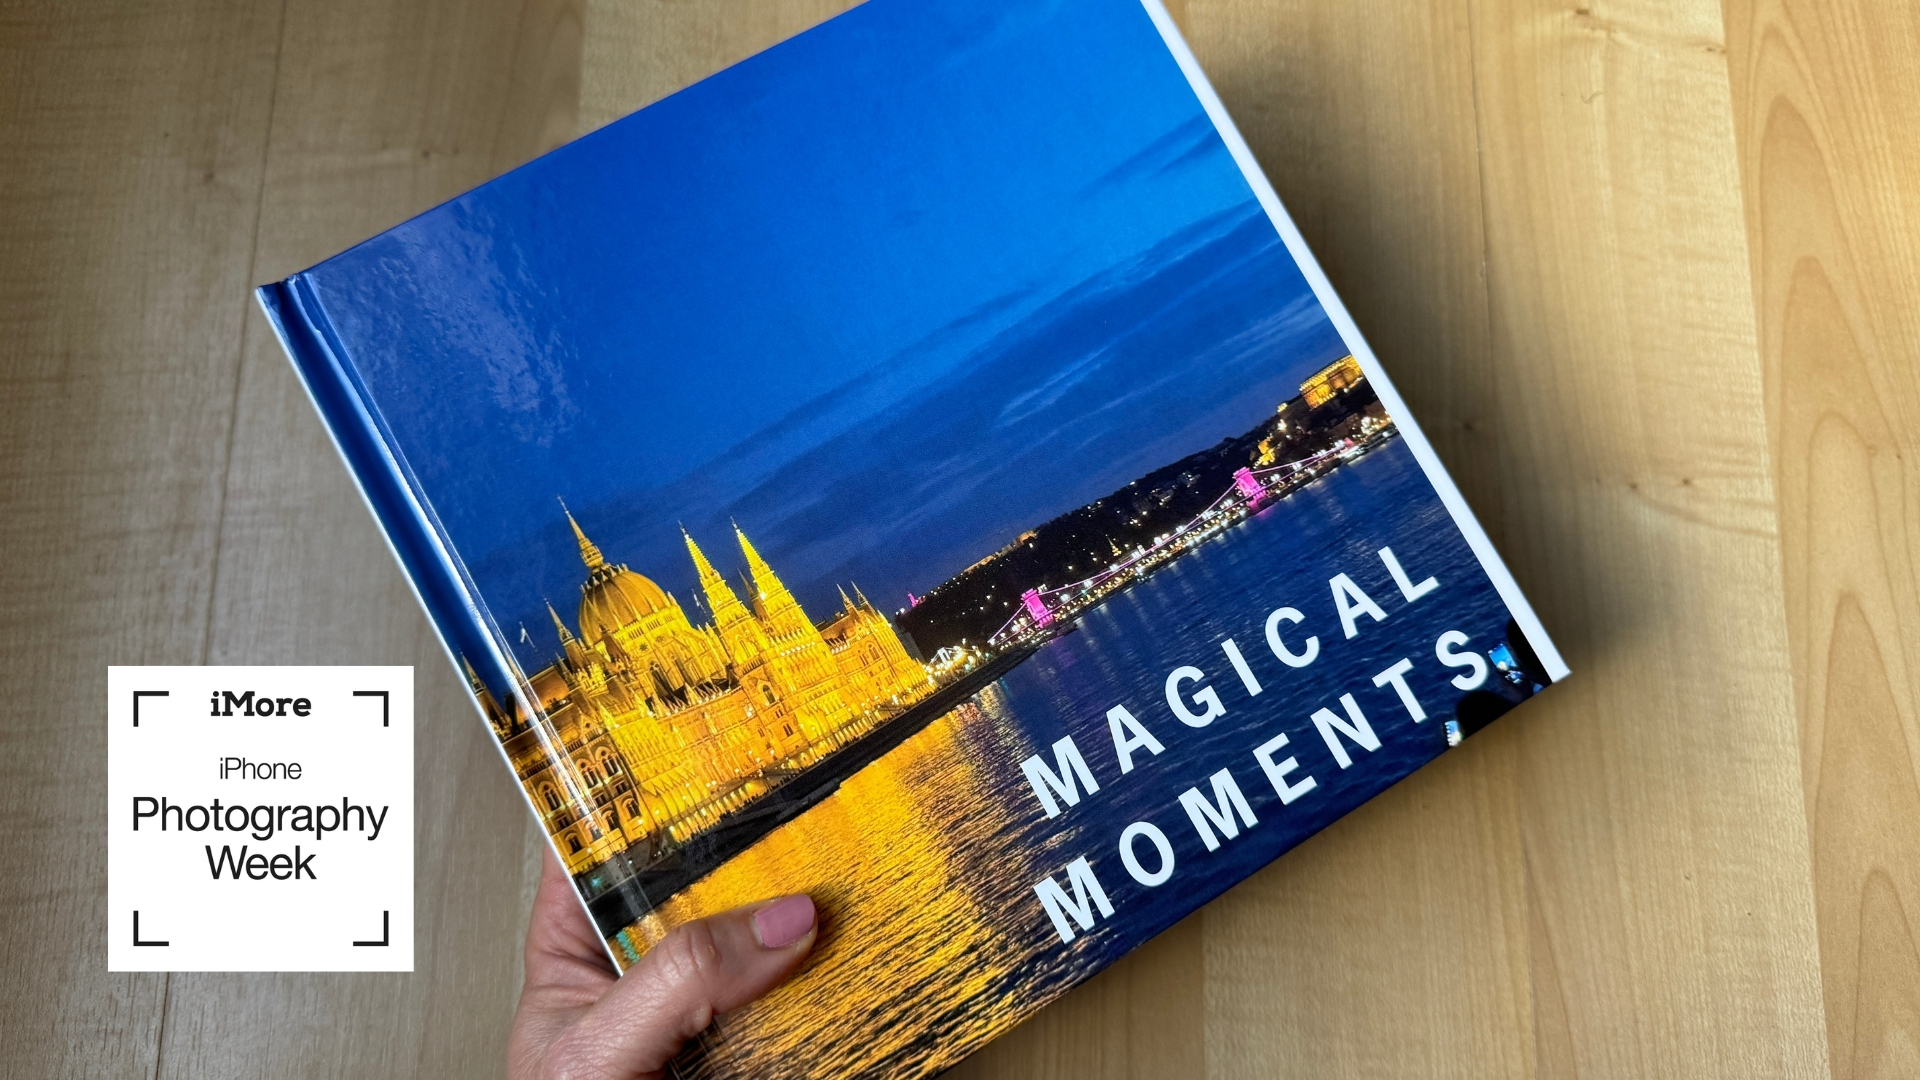
Many of us no longer print out photos, or do so only rarely. Printing individual photos and placing them in an album is one way to go, but photo books are a fresher and cleaner-looking option. Creating a photo book can be a bit intimidating, but the range of customization options is nearly endless, and the result is something to be treasured. I’ve created dozens of these photo books using my iPhone over the years. If you spend time with them, you can tell a story with the photos.
Of course, you can also tell the story with words, adding captions and text boxes along the way. Personalize the books even further with book themes, stickers, colorful backgrounds, and more. I’m here to get you started and help you unleash your own creativity. As you go, remember that everything you do can be un-done with a tap, so there’s no need to worry about making a mistake. Just remember to check everything carefully before ordering! Here's how to create your very own photo book with photos from your iPhone's camera roll.
Choose your platform
First, choose which platform you’d like to use. You’ve got lots of options for making and printing a photo book online, but I’m using Mixbook as an example in this article. Since I reviewed the platform, Mixbook has updated it with AI tools to make the process easier. As always, the resulting books themselves are gorgeous. The overall process will be roughly the same for any company’s platform you choose to use.
Mobile device or computer?
Decide if you want to create the photo book entirely on your iPhone, your iPad, or Mac. If you want to do it the quickest way possible, i.e. letting AI do most of the work for you, your iPhone will work just fine. If you prefer to place your photos by hand and do more detailed work, then I’d recommend using your Mac. Frankly, the tools are just as good on mobile, but I prefer the larger screen real estate of Mac just so I can see what I’m doing more easily.

On your iPhone or iPad
If you’re using your mobile device: download the Mixbook app from the App Store. From here, select Photo Books and follow the prompts on the screen. Once you’ve selected the size and style of book you want, you’ll upload your photos. Not only can you choose photos from your iPhone’s Photo app, but you can also upload them from Google Photos, Facebook, Instagram, or Smugmug. You can easily add more photos later, so don’t worry too much about this step. Now, it’s time to get creative.

Auto-Create using AI
If creativity’s not your strong suit, you can simply tap Auto-Create, and the app will make your book for you from the photos you’ve chosen. I’ve played around with this feature, and I’ve found that if you’re doing a short book without a ton of photos, the AI does a good job with this. However, if you’re doing a more complex book and want to put a lot of photos on each page, you’ll probably want to place the photos by hand in order to tell the story your way. Try the Auto-Create; if you don’t like the result at all, you can undo it with a tap and create your book on your own one page at a time.
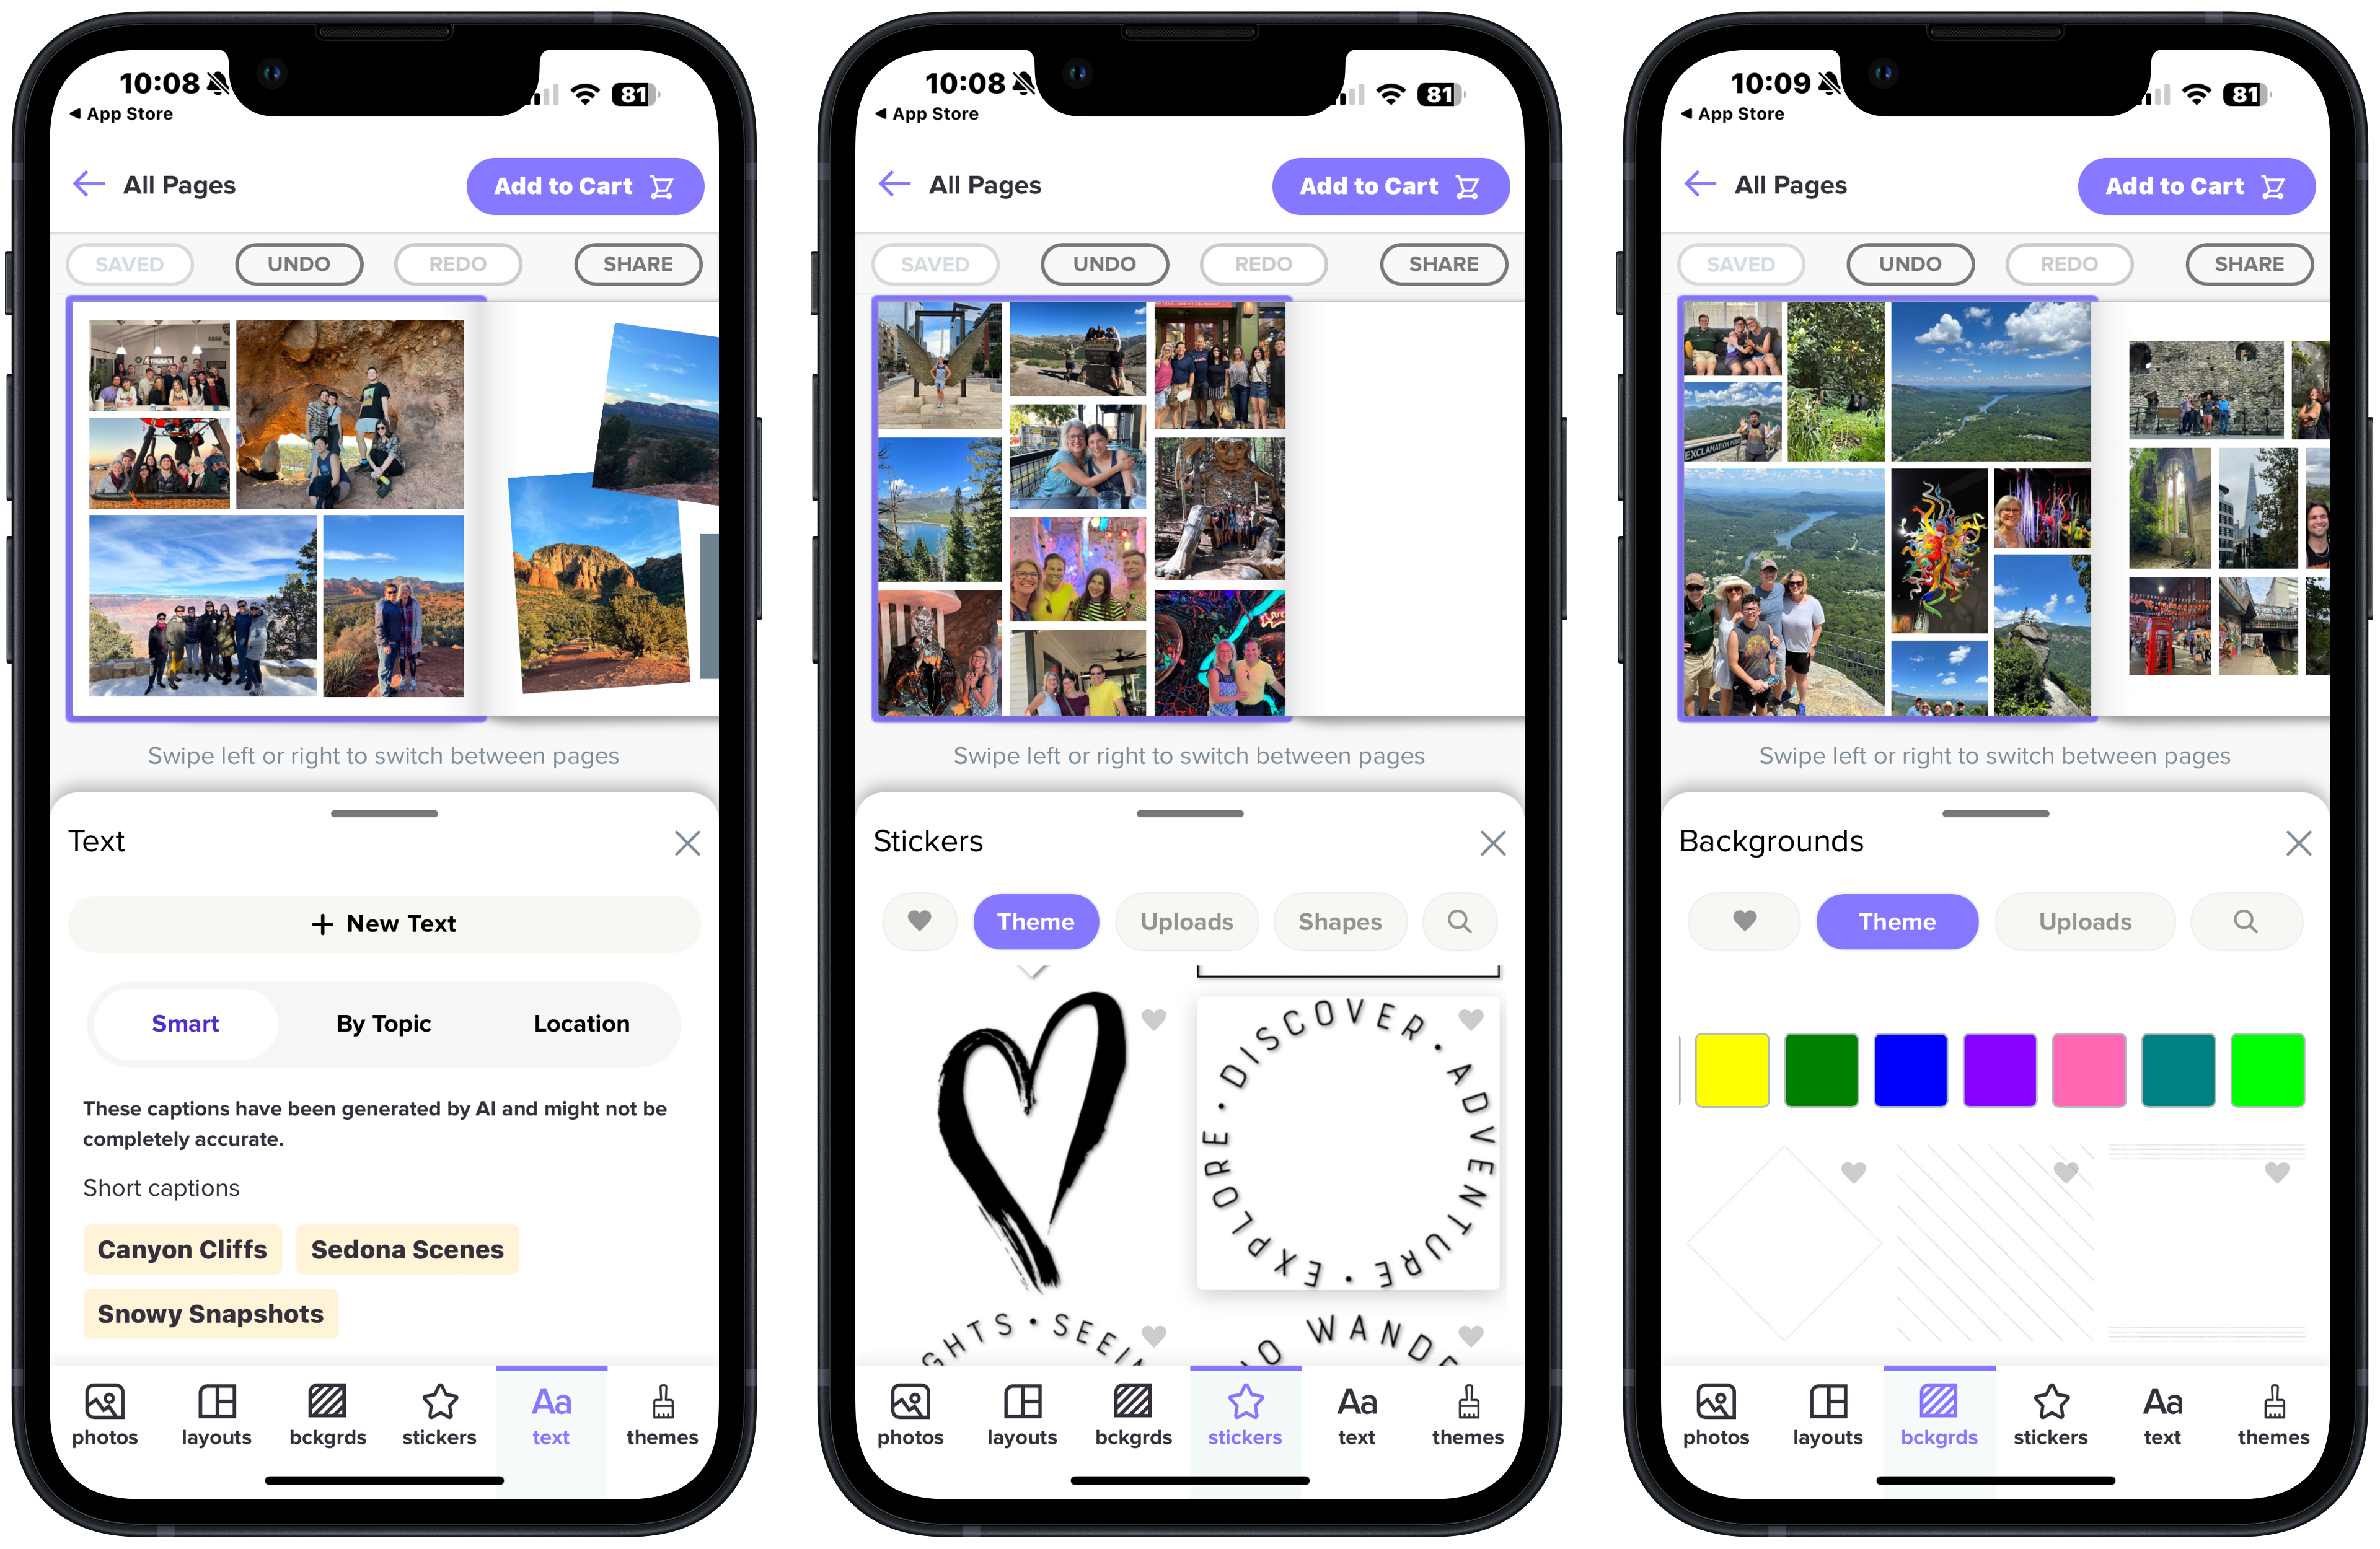
If you like how the AI has auto-created your book, you can give it a good once-over and place your order. If you like the basic idea but you want to make some tweaks, just tap on a page for more options. You’ll see options, like photos, layouts, backgrounds, stickers, text, and themes. Mixbook’s AI tools include a caption generator; you can choose from the suggested captions or create your own.
You can always toggle off the Auto Layout switch to have more control over photo placement, and you can also change the book’s theme at any time without losing your progress.
On your Mac
As I’ve mentioned, I prefer creating photo books on a computer simply because it’s easier to see your progress. The process is actually the same as it would be on your mobile device. There are a few small differences, such as the ability to drag and drop photos from your desktop. Otherwise, it’s just a larger canvas.
Check your work carefully
Go over your photo book with a fine-toothed comb. Make sure the photos are placed the way you want them, cropped correctly, and looking good. If you’ve written captions or text boxes, then check them carefully for typos. It wouldn’t hurt to get a second pair of eyes on it before you order; you can even share it digitally if you want someone to collaborate on the project with you.

All done?
Place the book in your cart and order it! Mixbook (and virtually all of the best photo printing services I’ve used) always have some kind of promo code going, be sure to check for that discount right on the site before placing your order. You can also share a link to the completed photo book so people who won’t be getting a hard copy can view the book digitally. Mixbook also offers some of the best photo cards, suitable for holiday cards or any time of the year. You can create and order just a single card (which is rare amongst the photo printing services) or a whole bunch.
Enjoy sharing and treasuring your memories! Share your completed photo books with iMore on X (Twitter) using #iMorePhotographyWeek


