Stove drip pans can become unsightly fast as their sole purpose is to catch spills and splatters. So if you don't clean them regularly, your cooking area will rapidly become a mess.
It isn't always the easiest to clean up stains and touch kitchen grease, especially if they have been left to fester and stick to the top of your stove.
But thankfully there are oven cleaning tips and tricks out there to remove kitchen grime from this surface in no time. Here, professional cleaners share their method on how to clean stove drip pans for a spotless shine.
How to clean stove drip pans like a pro
What you will need
- Dish soap - it's best to opt for a dish soap that's particularly good at cutting through grease, like the Dawn EZ-Squeeze Ultra Dish Soap available on Amazon.
- Baking soda - baking soda is great for scrubbing at stains as it's a natural, gently-abrasive ingredient. If you don't already have some in your pantry, pick up Target's Baking Soda - 16oz - Good & Gather™ in store or online.
- White vinegar - the White Distilled Vinegar - 16 fl oz - Good & Gather™ from Target should provide you with enough vinegar for this cleaning project.
- A non-abrasive scrubbing pad or sponge - the Scotch-Brite Non-Scratch Scour Pads, 3 Pads Total from Walmart are fast and effective even on tough scouring jobs. You may also find using an old toothbrush helpful to reach small nooks.
- A bucket or basin for water - the Sterilite 10 Qt. Spout Pail Classic Titanium from Walmart will be hard to beat for value, costing under $3.
- Microfiber cloths - the MR.SIGA Microfiber Cleaning Cloths Pack of 12 from Walmart is a bestseller and will keep your cleaning supply stash well stocked.
We spoke to Muffetta Krueger, founder and professional cleaner at Muffetta's Housekeeping, and Karina Toner, operations manager and professional cleaner at Spekless, to compile this step-by-step cleaning guide. If you follow these cleaning tips, your drip pans shall be shining in no time.
1. Remove and inspect your stove drip pans
To begin the process of cleaning your stove drip pans, you must first remove them from the stove. Although it might be tempting to clean them while they're still attached, it's far easier to access all sides of the drip pans for a thorough cleaning if you're able to take them off
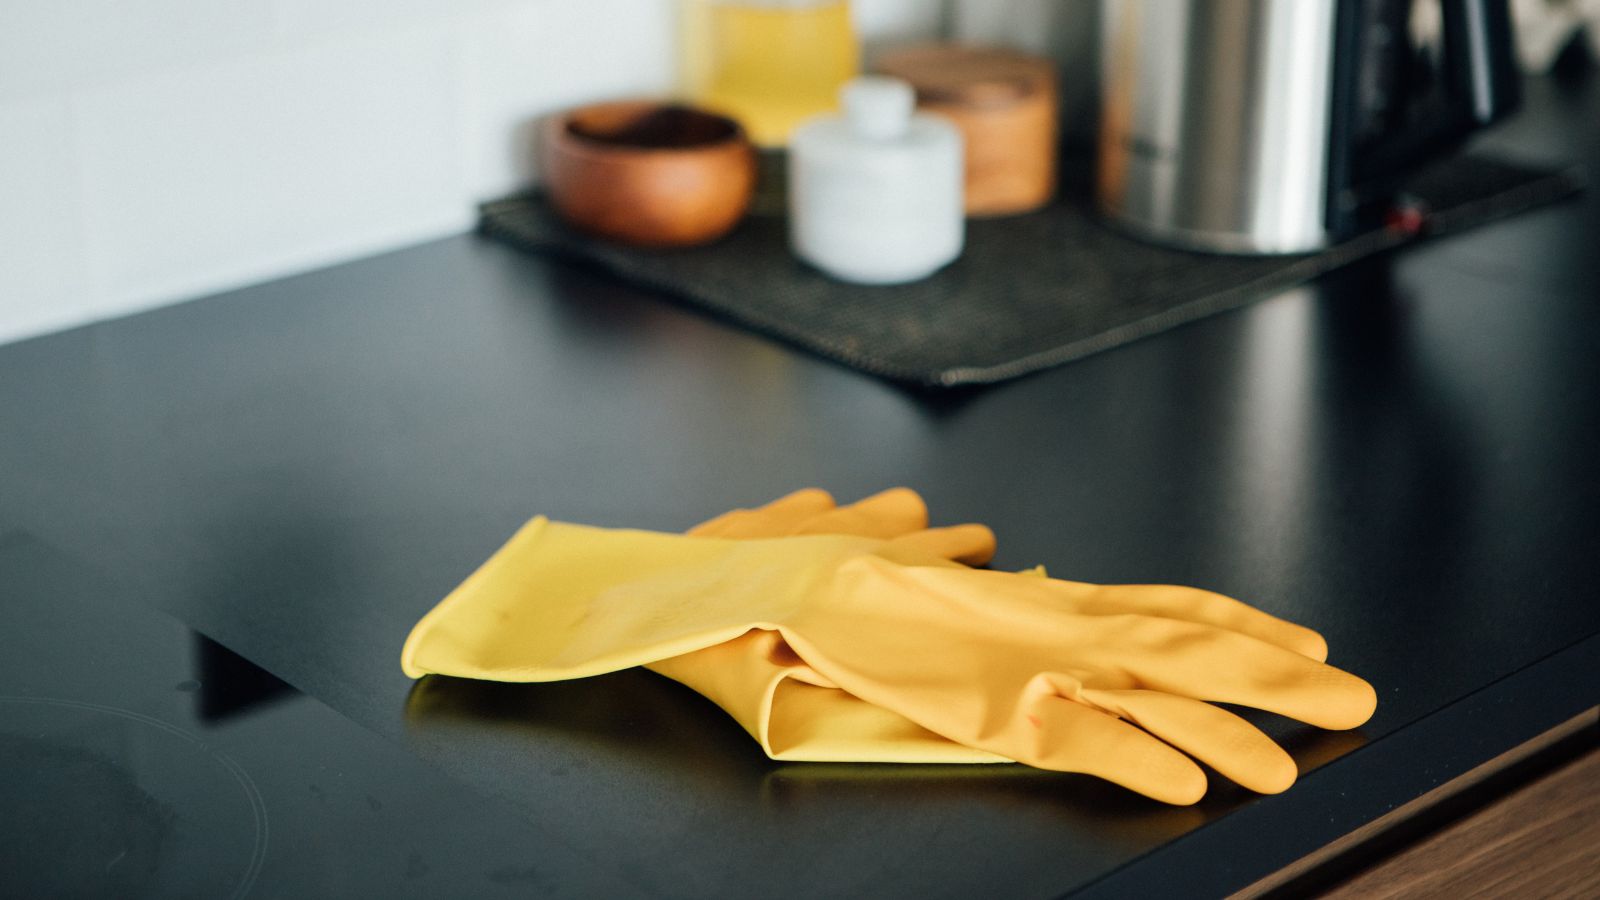
'Carefully remove the drip pans from the stove and check for visible damage or stubborn stains,' says Muffetta. 'Knowing which areas need extra attention will help you focus your cleaning efforts later on.' You can wear gloves while you do this like the Playtex Living Gloves from Walmart if you wish.
If your drip pans are made of metal, make sure to inspect them for any signs of rusting as well. This can be tackled later on.
2. Pre-clean your drip pans
Once detached, give your stove drip pans an initial clean by running them under some warm water and, for more stubborn grime, sitting them in a sink filled with water and dish soap for 10 minutes.
The aim here isn't to have your stove drip pans immediately sparkling, but instead to dislodge surface level dirt.
'Rinsing each of your pans under warm water or sitting them in the sink for a while to soak both help to loosen grease and food particles,' says Karina. 'This step will make the rest of the cleaning process more effective, so don't skip it!'
If your kitchen is busy and the sink area can't be occupied for the duration of soaking your drip pans, we recommend buying a water basin like the 12qt Dishpan White - Brightroom™ from Target to soak them in. Then, if the sink is still not available, you can rinse off your drip pans using clean water in the bath tub or shower.
3. Soak your drip pans in baking soda and vinegar
After their initial rinse, your stove drip pans will still require deeper cleaning. Submerging them in a sink filled with hot water, cleaning with baking soda and vinegar is the perfect DIY cleaning solution to do this as the bubbling chemical reaction between the ingredients will work hard to lift off dirt and grime without the use of harsh cleaning agents.
'Fill a bucket, basin or your sink with hot water, add ½ cup of baking soda and 1 cup of vinegar, and submerge the pans,' says Karina. 'Let them soak for 30-60 minutes to break down grease and burnt-on food. The fizzing action does much of the hard work for you!'
When the time is up, carefully take your stove drip pans back out of the solution and rinse them off using clean water.
If you notice large patches of grease still clinging on, it may be worth going in with a specialist degreaser at this stage, like the Easy-Off Cleaner Degreaser, Multi Surface Cleaner from Walmart.
4. Scrub off any remaining residue
At this point your stove drip pans should be free from surface level dirt and stuck-on stains. But for more stubborn stains such as burnt-on stains and patches of rust, you're going to need a bit of elbow grease.
Using a slightly damp non-abrasive sponge or a toothbrush, scrub your stove drip pan using baking soda. Apply this directly on the stain and keep scrubbing at it until you notice it lifting.
'Baking soda acts as a mild abrasive, lifting stains without scratching surfaces,' says Muffetta. 'It's particularly effective at removing burnt-on stains and stubborn scorch marks if you mix it with enough water to form a paste and let it sit on the stain for 15 minutes.'
For rust patches, scrub using a mixture of equal parts lemon juice and salt. Once it's scrubbed into the area, let the mixture sit for 10 to 15 minutes before rinsing it off and repeating as needed.
Using fresh lemon works best for this as it will be the most acidic, but if you're in a rush or have no lemons available, the Great Value Lemon 100% Juice, 32 fl oz from Walmart will also work. It's made from 100% lemon juice concentrate, which is what you're looking for if you're opting for a store-bought alternative.
5. Rinse and dry
Finally, after your stove drip pans have been cleaned as much as possible, give them a thorough rinse to remove any remaining cleaning residues and dry them off with a microfiber cloth. It's important to get your drip pans as dry as possible before returning them to the stove to help prevent the development of rust and water stains.
'Rinse off all residue with warm water under the tap,' says Karina. 'Then, wipe the pans dry immediately with a microfiber cloth to prevent water spots or streaks.'
It's not recommended to place wet drip pans back on the stove to dry using the stove's heat. It's a lesser-known fact but metal drip pans and other metal kitchenware like pots and pans rust much faster while they are hot than when they are cold.
To take extra care in drying your drip pans, you can also stand them up in a drying rack like the Sakugi Dish Drying Rack, 2-Tier Stainless Steel Dish Rack from Walmart overnight. It's best to do this after already towel drying to prevent water marks and to remove water from the drip pans as soon as possible.
Specific material care
While most drip pans can be cleaned using this step-by-step method, enamel models in a kitchen should be approached with the gentlest possible tools.
'When cleaning stove drip pans made from enamel, avoid abrasive scrubs or baking soda paste, which can damage the finish,' says Karina. 'Mild dish soap and a soft sponge are safer choices.'
Using a chunk of the Carrand Giant Bone Sponge from Amazon will do the trick. It's a super soft sponge that's durable and won't flake sponge residue onto your drip pans.
Keeping on top of your stove care may seem tough, but if you follow this step-by-step and give your drip pans a wipe over after each use, your kitchen will be in good hands. Next, find out how often you should be cleaning your kitchen for the most hygienic space.