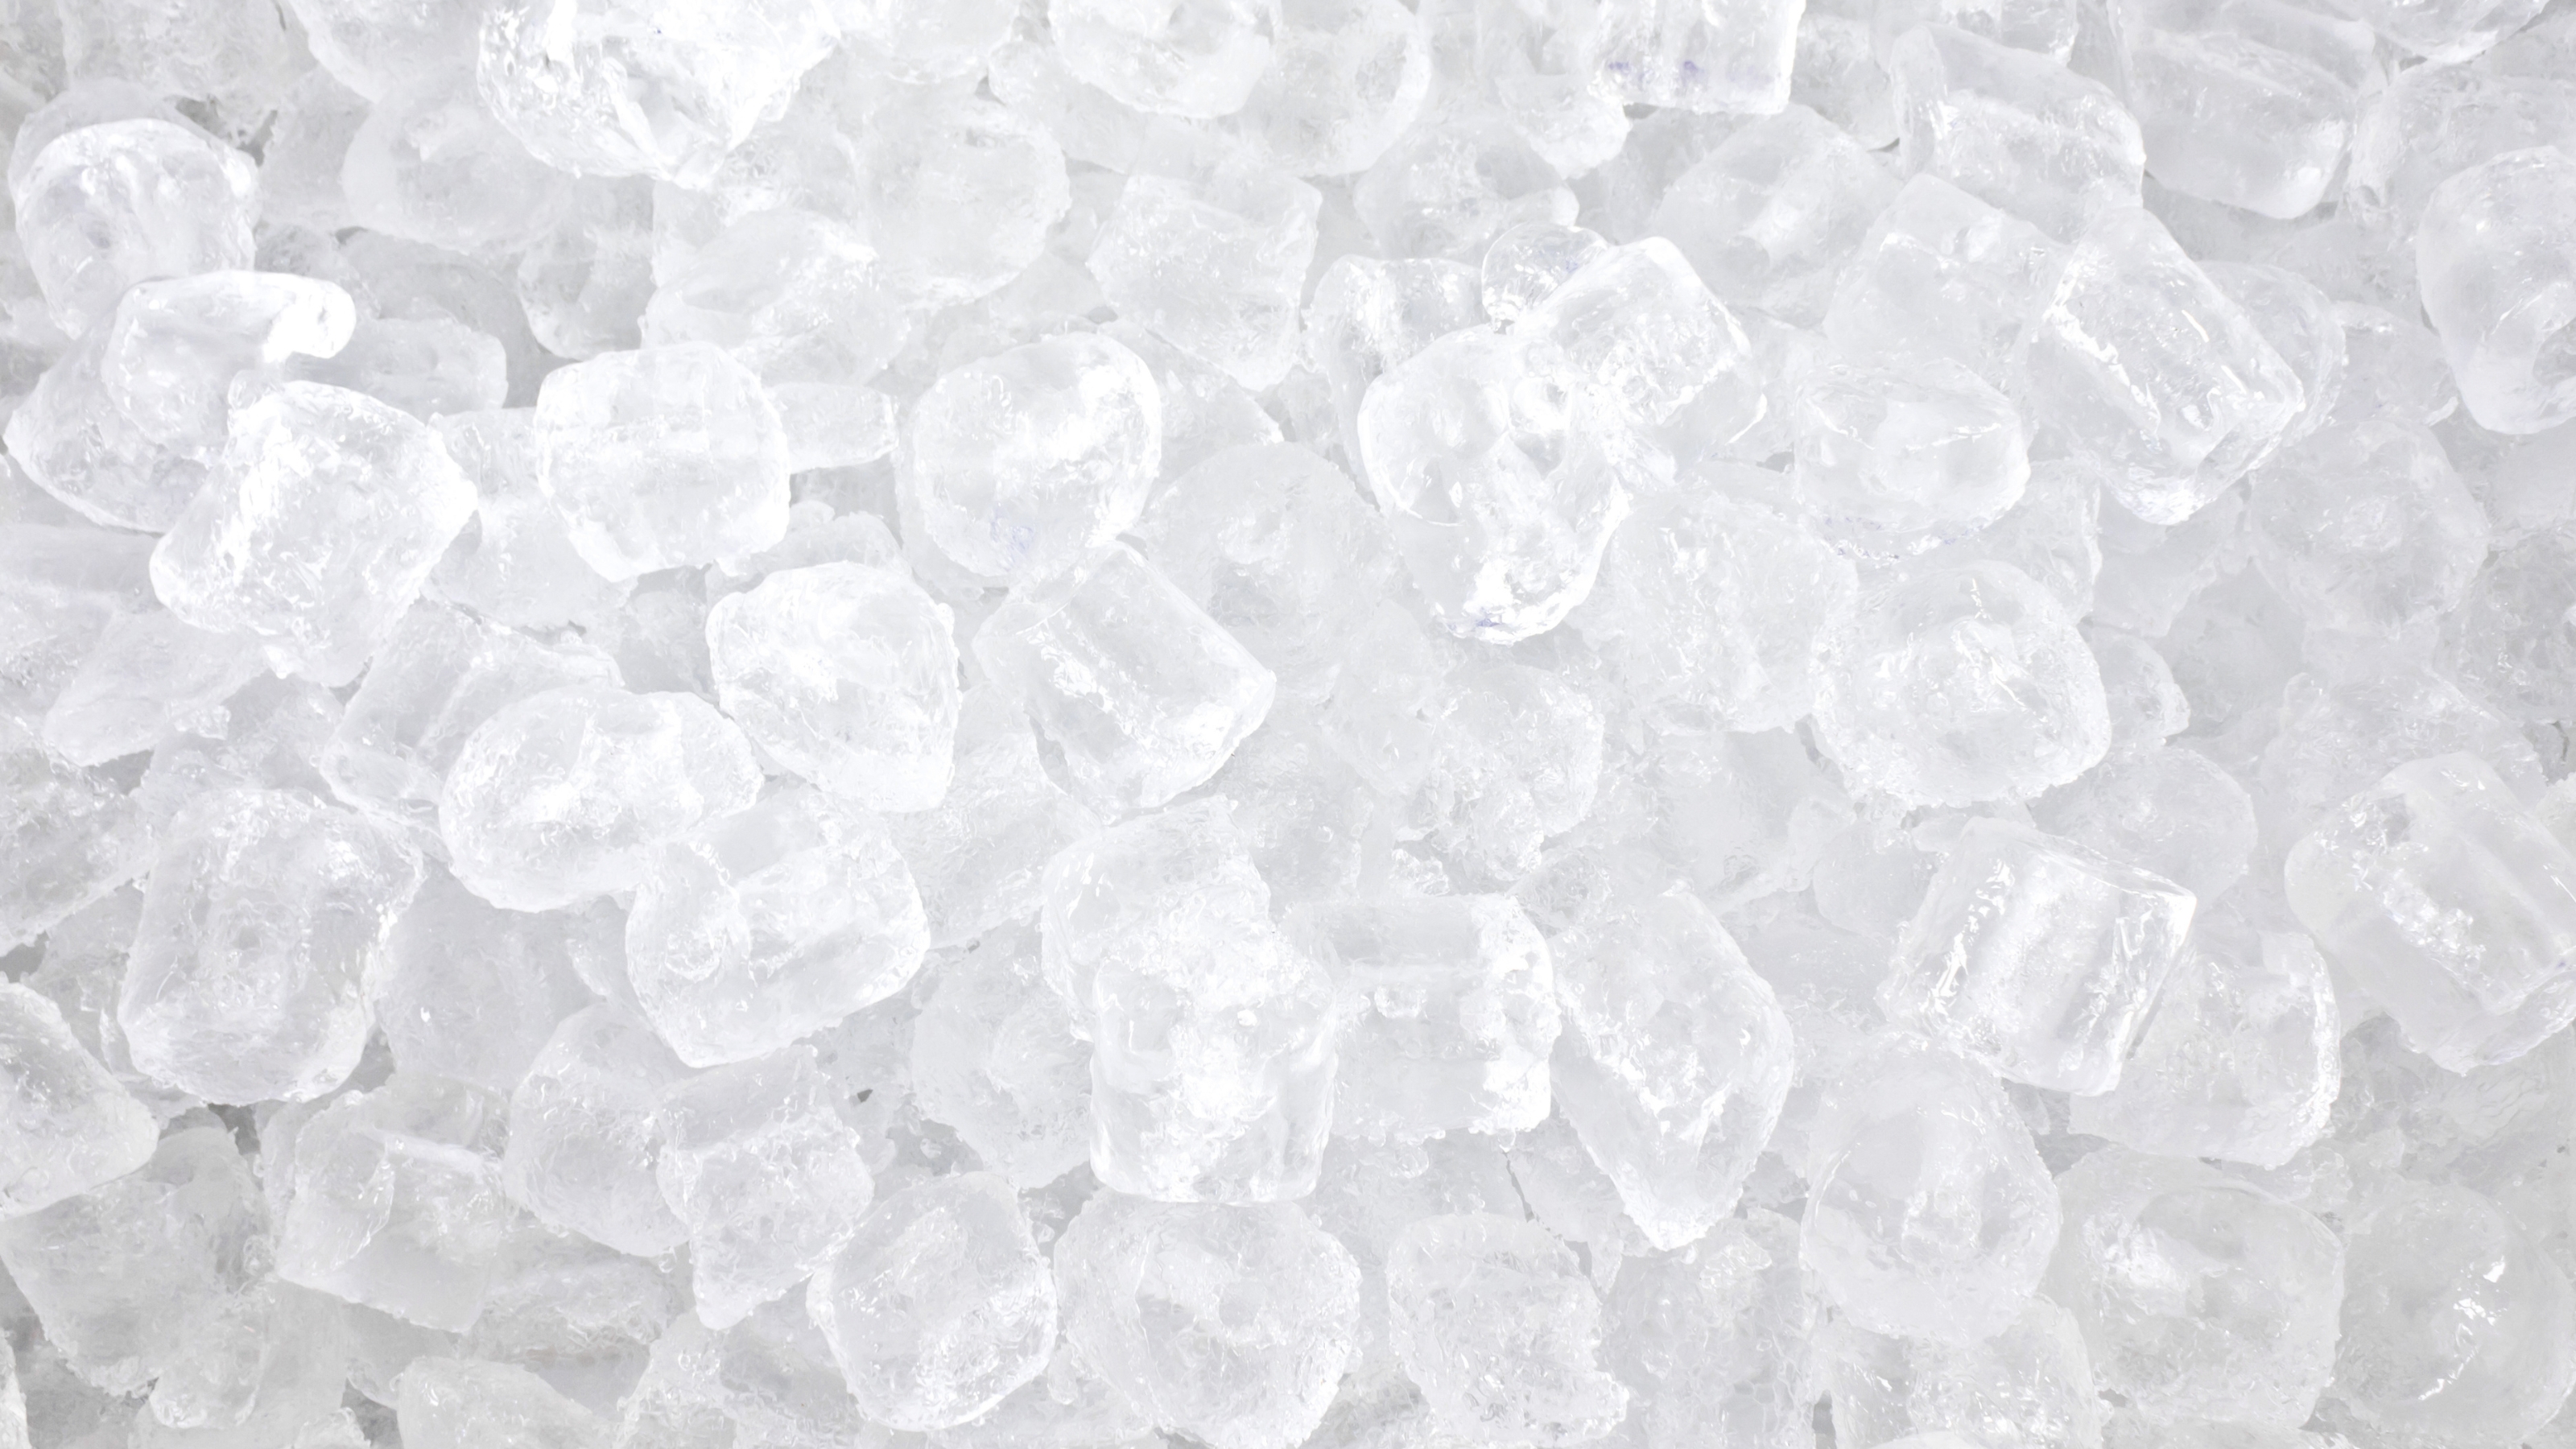
There's nothing quite like the sound of ice clunking into your glass to keep your drink cool on a hot summer's day. Over time, however, mineral deposits, mold, and bacteria can accumulate in an ice maker, affecting both taste and hygiene.
So how exactly do you clean an ice maker in a refrigerator? Our industry pros are here to explain the six simple steps to refreshing your ice maker so you can enjoy your chilled drinks with peace of mind.
When it comes to the best ways to clean a fridge, keeping your ice maker in pristine condition is an important task.
1. Gather your supplies
Before you begin, gather the necessary cleaning supplies: warm water, mild dish soap, white vinegar, soft cloths or sponges, a toothbrush or small cleaning brush, and a clean, dry towel. Optional supplies include baking soda for tough stains. You can find some useful products online: mild dish soap on Amazon, white vinegar at Target, and soft cloths at Walmart.
- Warm water
- Mild dish soap (check out this Dawn EZ-Squeeze Ultra Dish Soap from Amazon)
- White vinegar (we like Good & Gather Distilled White Vinegar from Target)
- Soft cloths or sponges (try these Scotch-Brite Non-Scratch Scrub Sponges from Walmart)
- Toothbrush or small cleaning brush (these Curaprox Ultrasoft Toothbrushes from Amazon will do the job nicely)
- Clean, dry towel (these Amazon Basics Microfiber Cleaning Cloths are great value)
- Baking soda (this Arm & Hammer Pure Baking Soda from Walmart has good reviews)
With your arsenal at the ready, it's time to dive in...
2. Empty the ice maker
Cleaning your ice maker begins with ensuring it's switched off.
Amy Wampler, CEO of Spartan Mechanical, says, "Always put safety first, so I advise unplugging your refrigerator to prevent electrical issues.
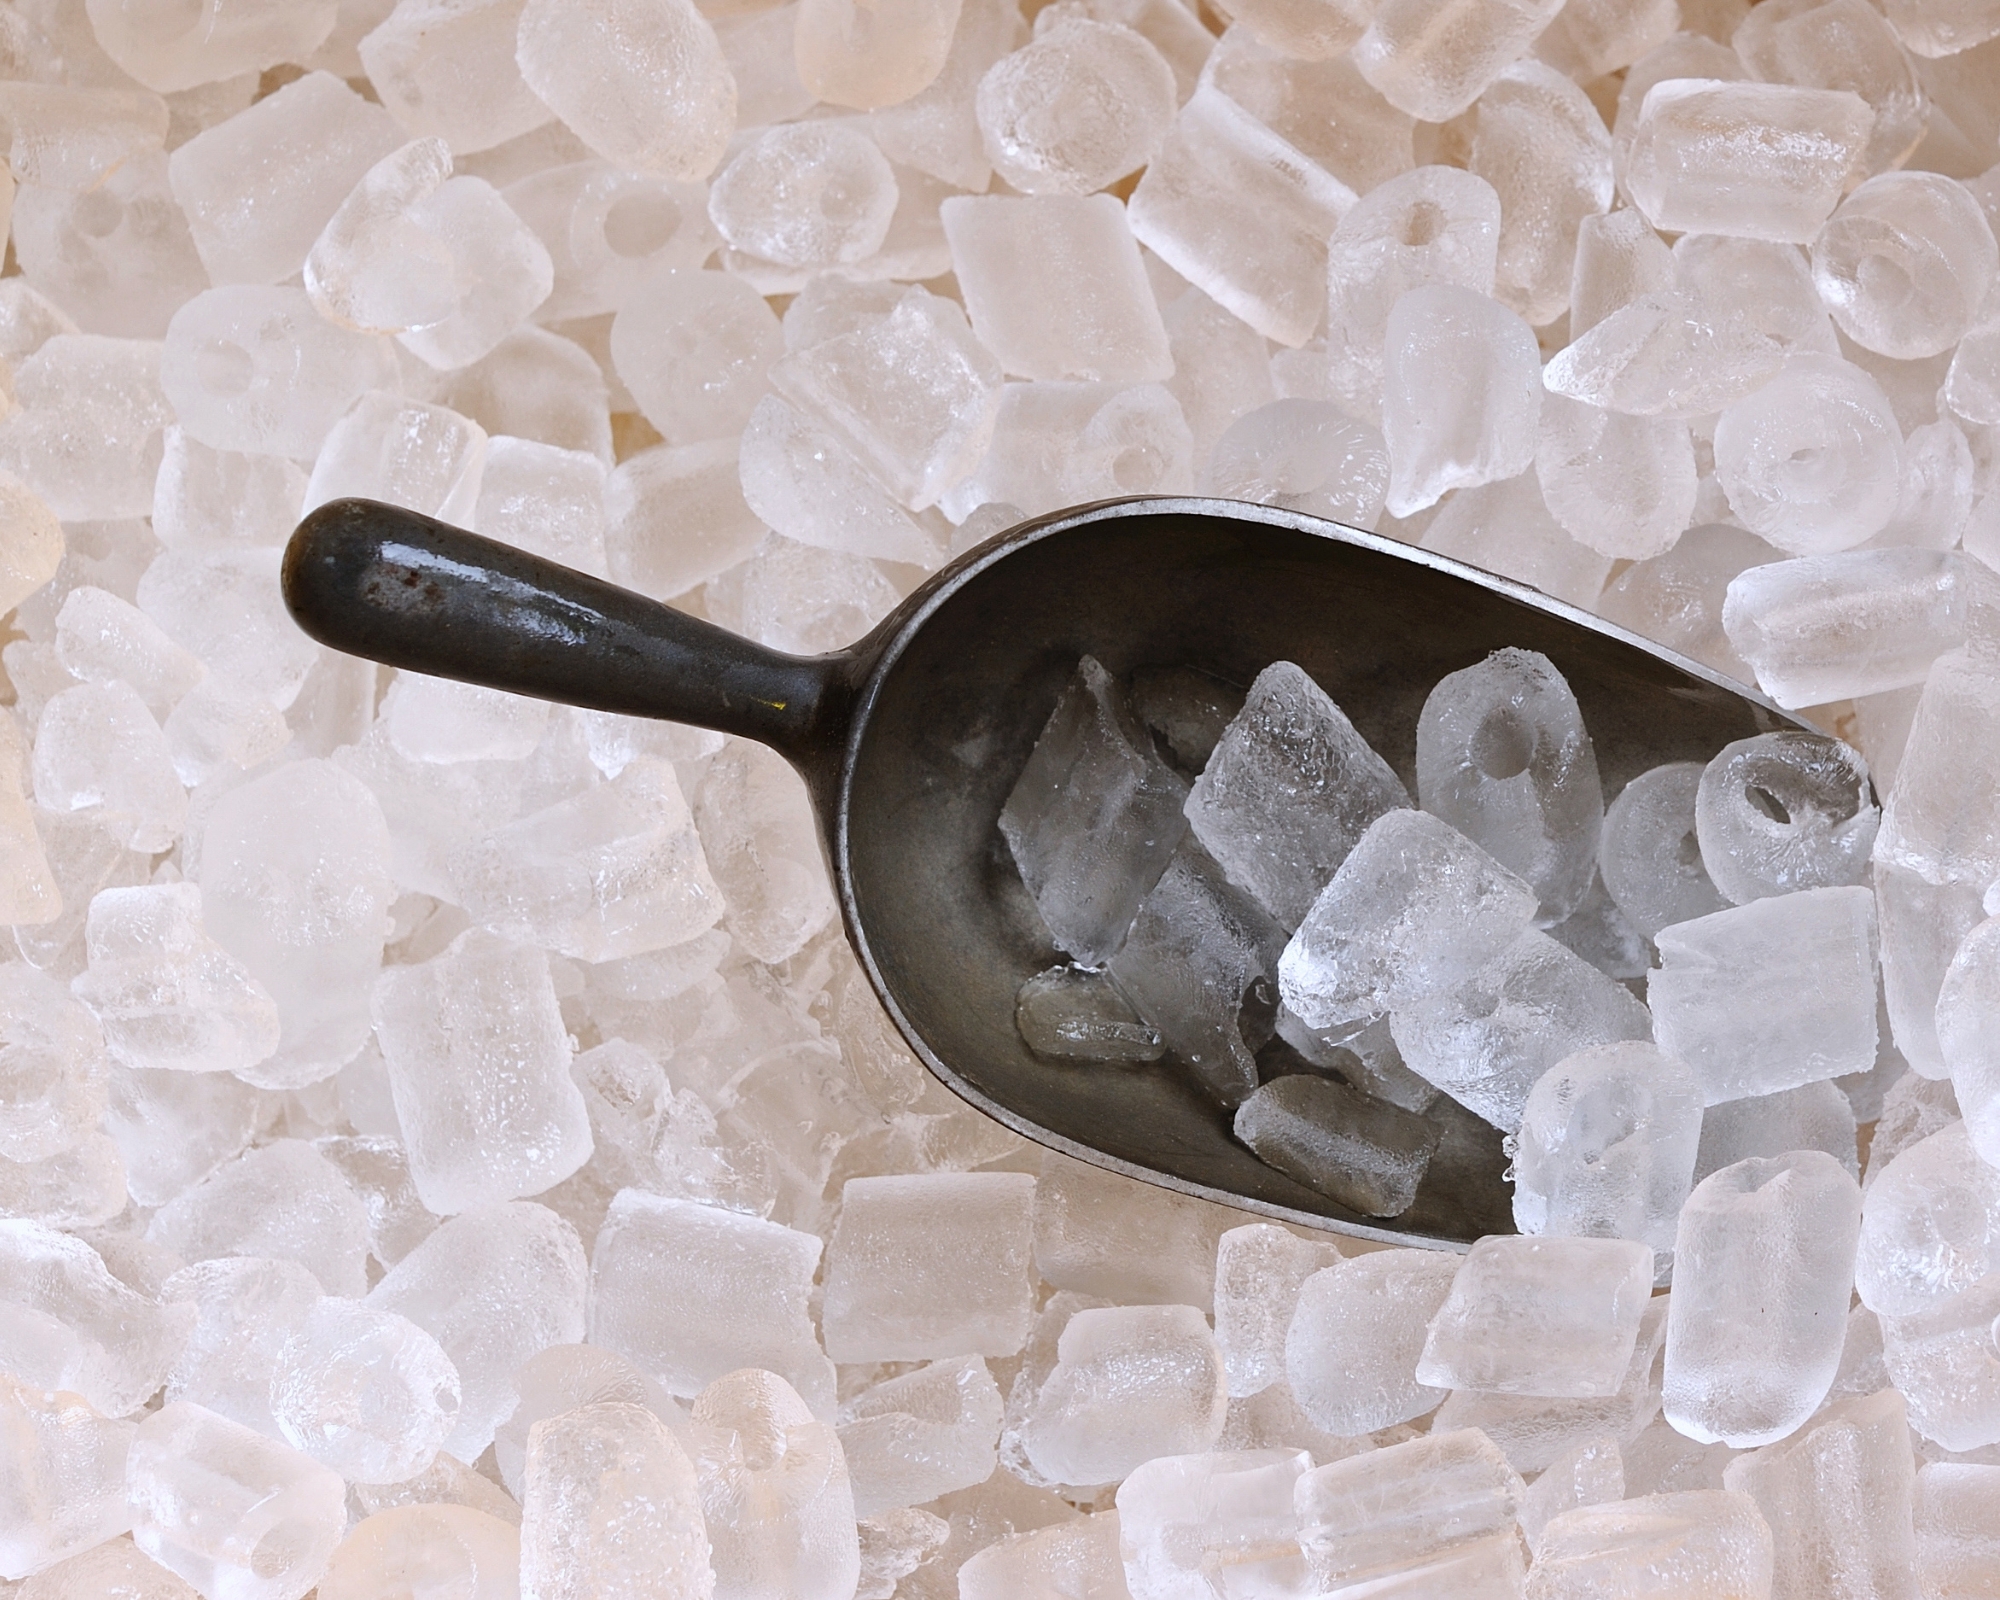
"Empty the ice bin completely, removing any detachable parts and disposing of any old, stale or weird-smelling ice."
This step ensures that you are not working around the ice and have clear access to the ice maker for thorough cleaning.
Property expert James Heartquist adds, "Often you'll find ice stuck to the sides. If so, simply use warm water to melt it."
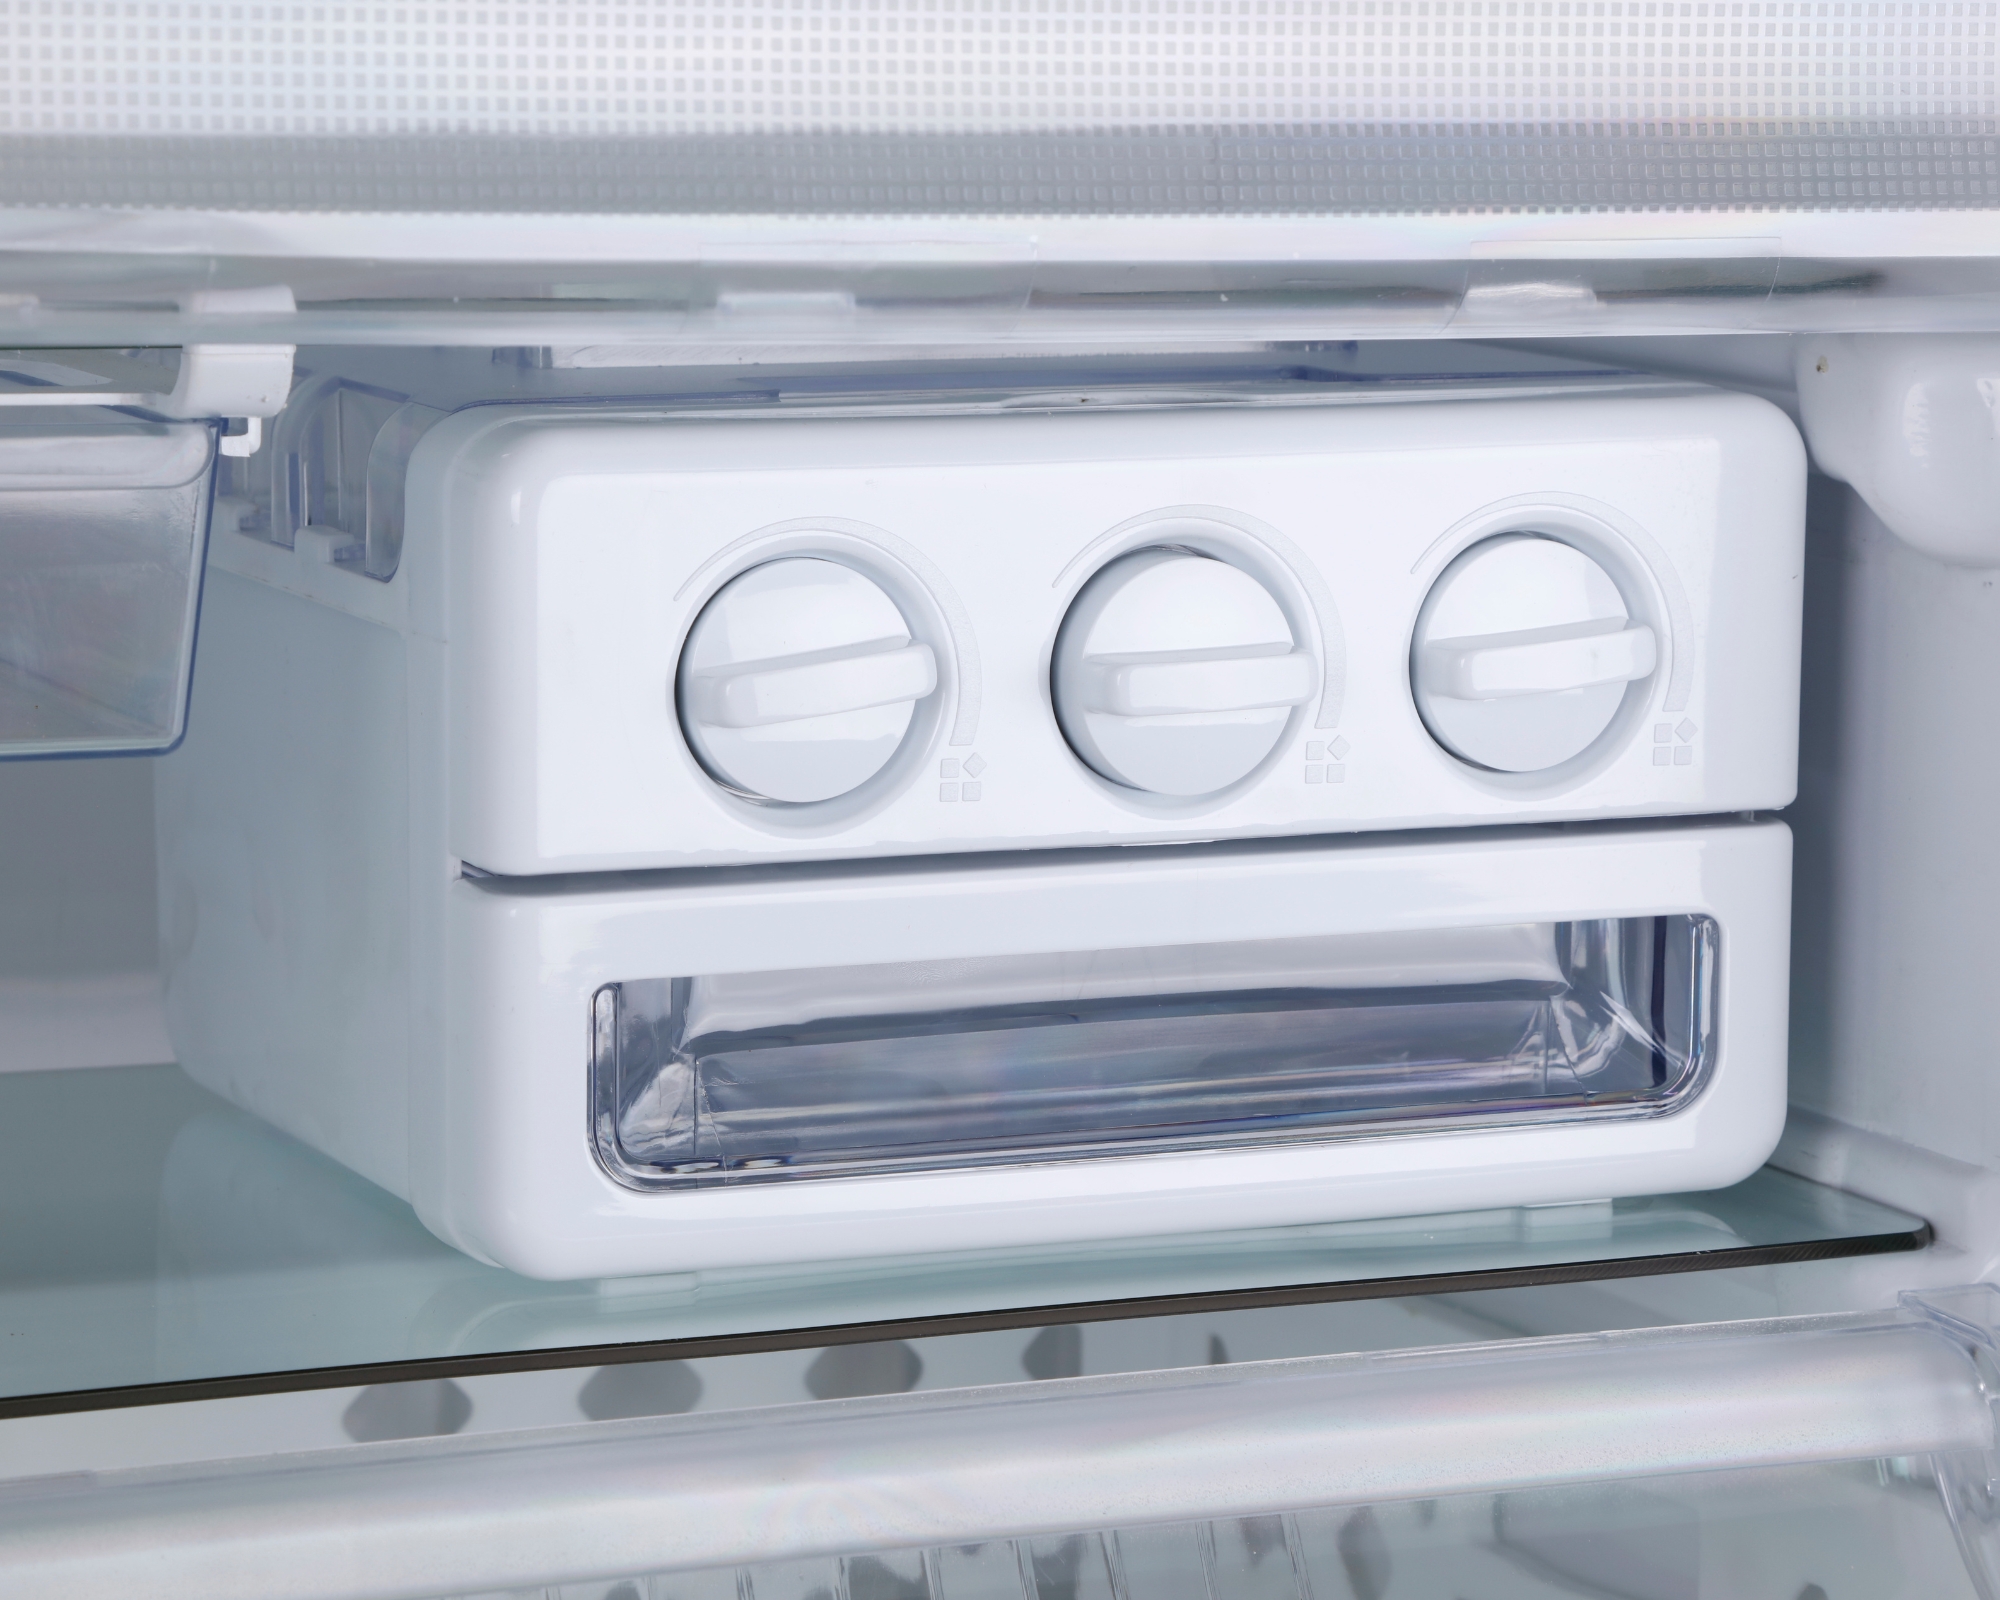
3. Remove the ice bin & parts
Take out the ice bin and any other removable parts, such as the ice scoop or trays.
Soak both the ice bin and the component parts in warm, soapy water. Rinse thoroughly before drying with a clean towel.
Wells Ye, founder of Fresh Tech Maid, says, "Think of this like a 'pre-treatment', preparing your ice maker for the full-throttle clean that is coming."
4. Clean all components
Now for the most important stage — thoroughly cleaning your ice maker.
Amy says, "Use a soft cloth dipped in a solution made of equal parts white vinegar and warm water to clean the inside of the ice maker and all its removed sections. Vinegar is good at dissolving mineral deposits and neutralizing odors, too."
Don't forget to include the ice mold, the area around the ice chute, and any other exposed parts.
For stubborn stains or buildup, use a toothbrush or small cleaning brush dipped in the vinegar solution to scrub gently. For the toughest stains, making a paste with baking soda and a little water can be helpful. Apply the paste to the stained areas and scrub with the toothbrush for effective stain removal.
An alternative approach is to use a de-scaler. Amy and James both recommend Affresh Ice Machine Cleaner, available from Amazon — specifically designed to remove hard water and mineral buildup.
For a plant-based alternative, Wells recommends Ginger Lily Farms Ice Maker Cleaner from Amazon. He says, "This ice machine cleaner is specifically made to eliminate mineral buildup from ice machines. It's secure to use in a wide range of ice producers and ensures spotless, fresh-tasting ice with practically no buildup being left unattended."
James adds, "Also remember — if your ice maker has water lines, it's important to clean them as well. Affresh is great for this too — just follow the instructions on the cleaner to ensure proper use."
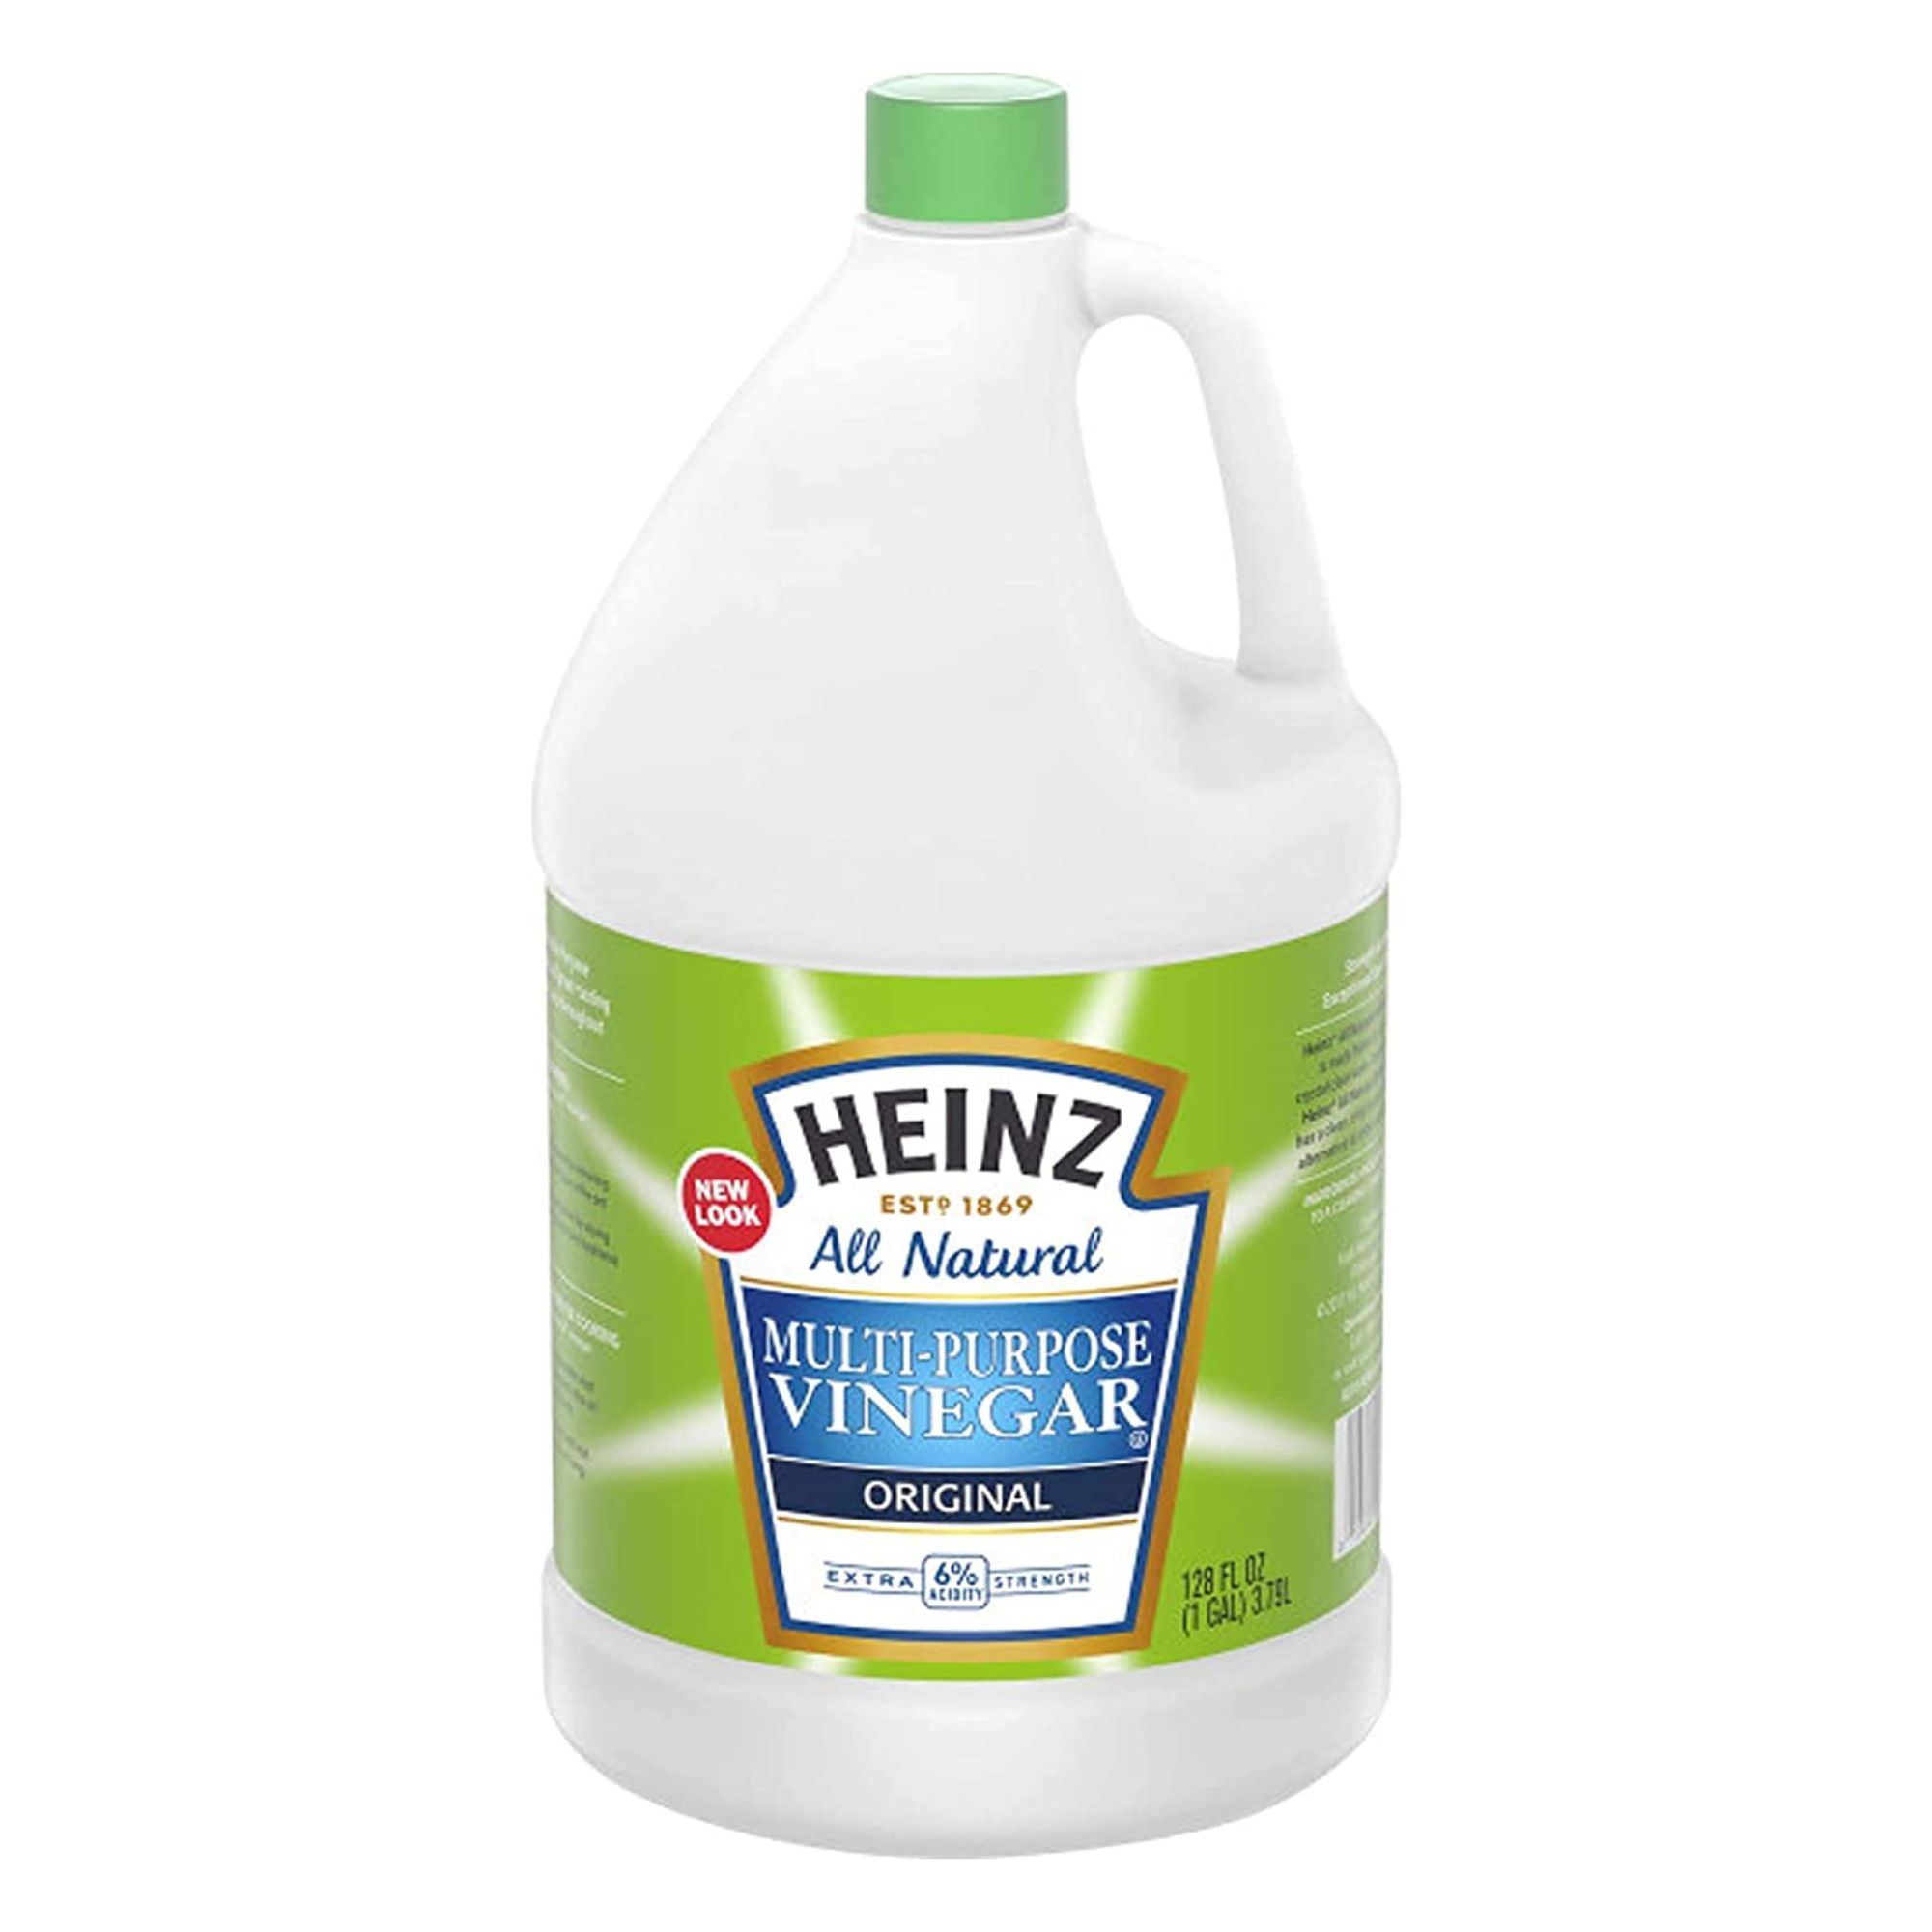
This multi-purpose vinegar from Heinz is ideal to have in your arsenal, with special strength for banishing stains and aiding with cleaning of just about everything — including ice makers.
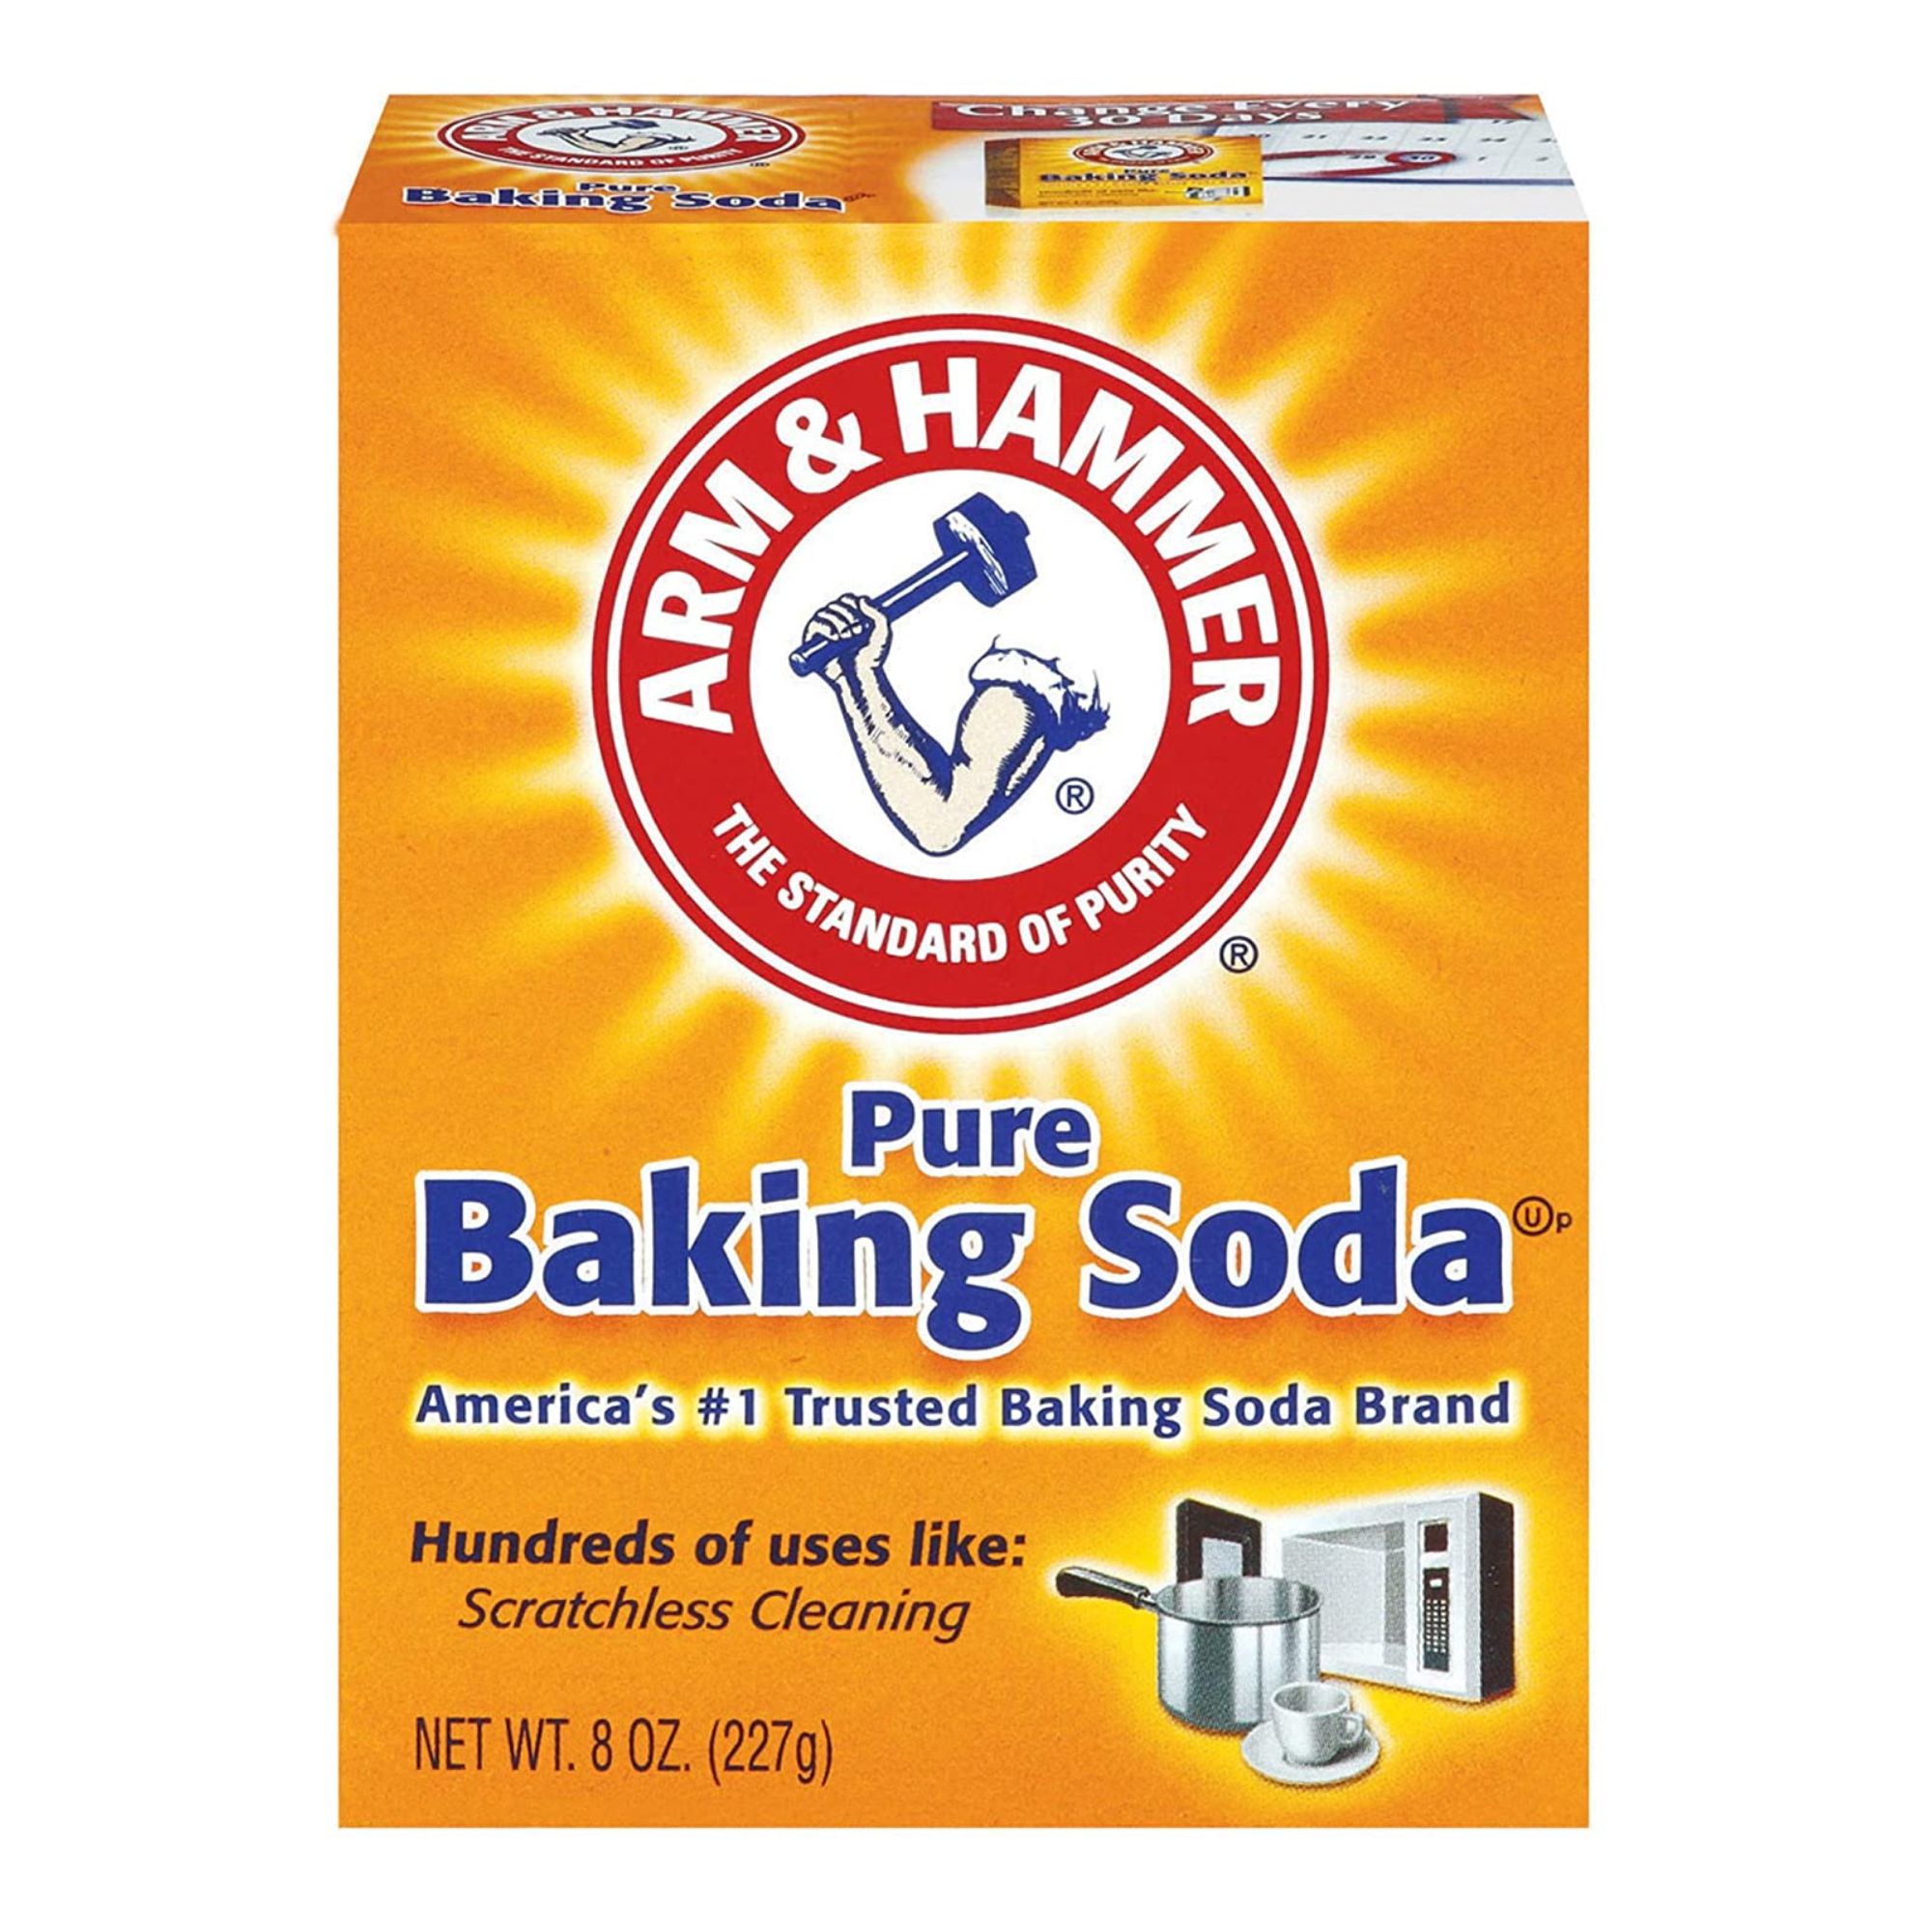
It's a smart idea to always have a box of baking soda in your home. You can use this powder to refresh and deodorize a range of places at home, including to clean your mattress, deep clean your wooden spoons, and clean your ice maker.
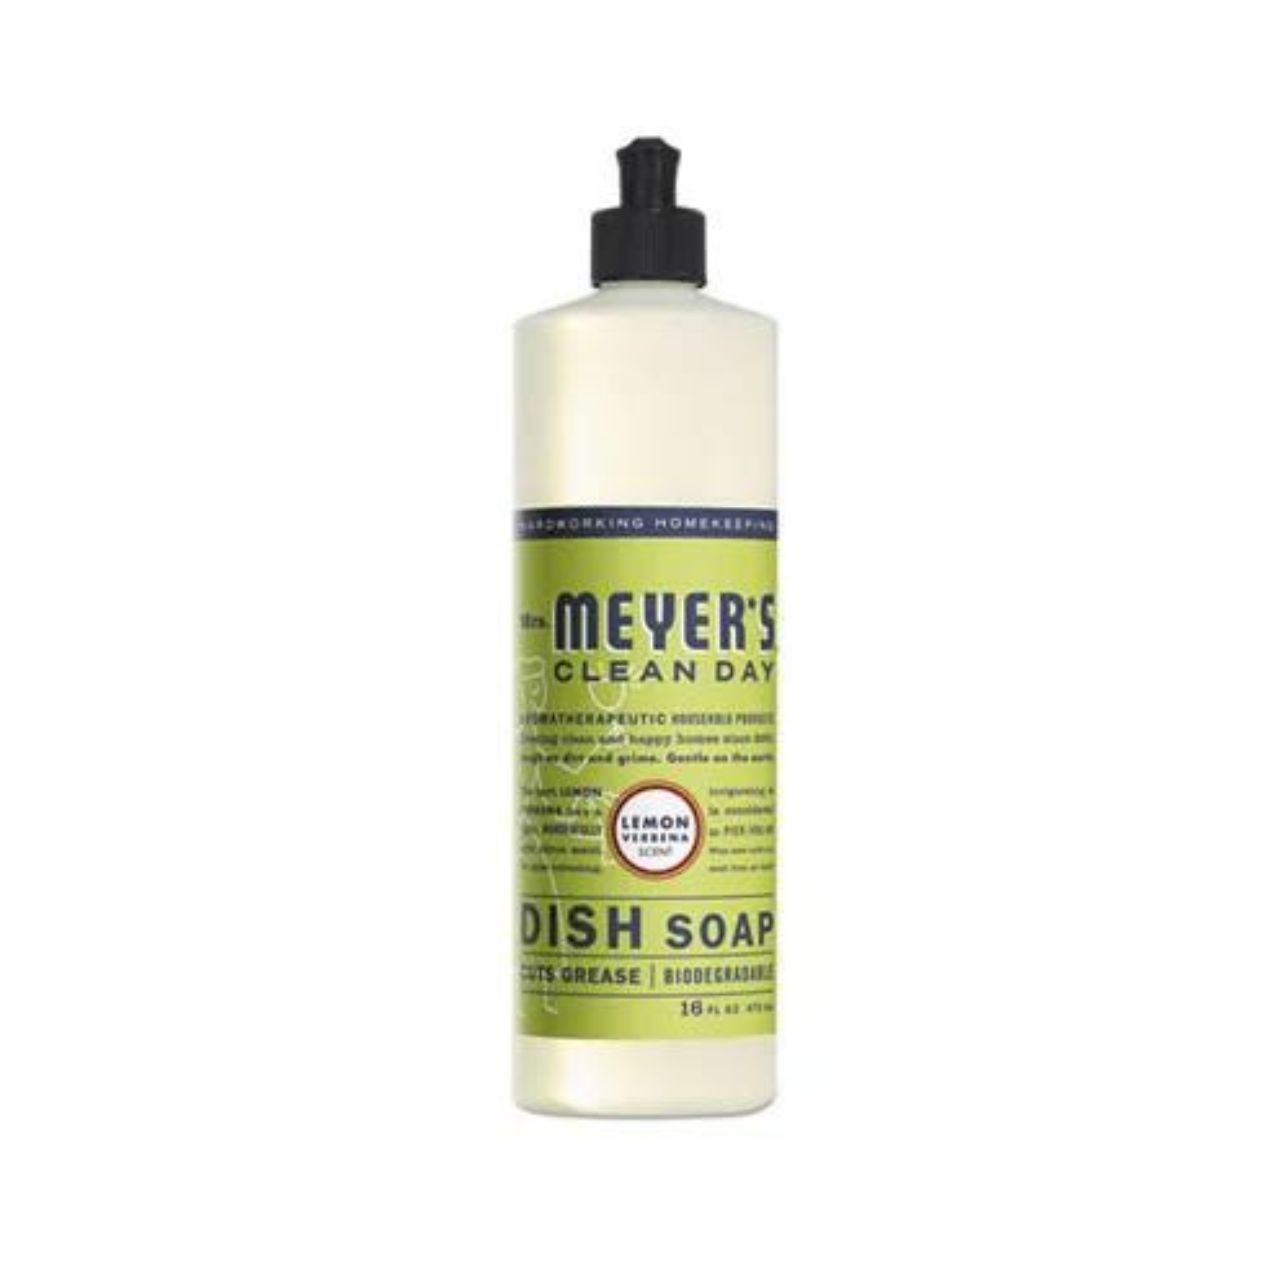
You might already have a go-to dish soap, or perhaps you just pick up the cheapest one at the grocery store? Well, this is our favorite — it smells great and can cut through pretty much anything in its path.
5. Rinse & dry
After cleaning, it's important to rinse all surfaces with a cloth dampened with clean water to remove any remaining cleaning solution.
Once rinsed, use a clean, dry towel to dry all surfaces completely. Ensuring no moisture is left behind is crucial, as it can lead to mold growth. Drying thoroughly helps maintain a hygienic environment within the ice maker.
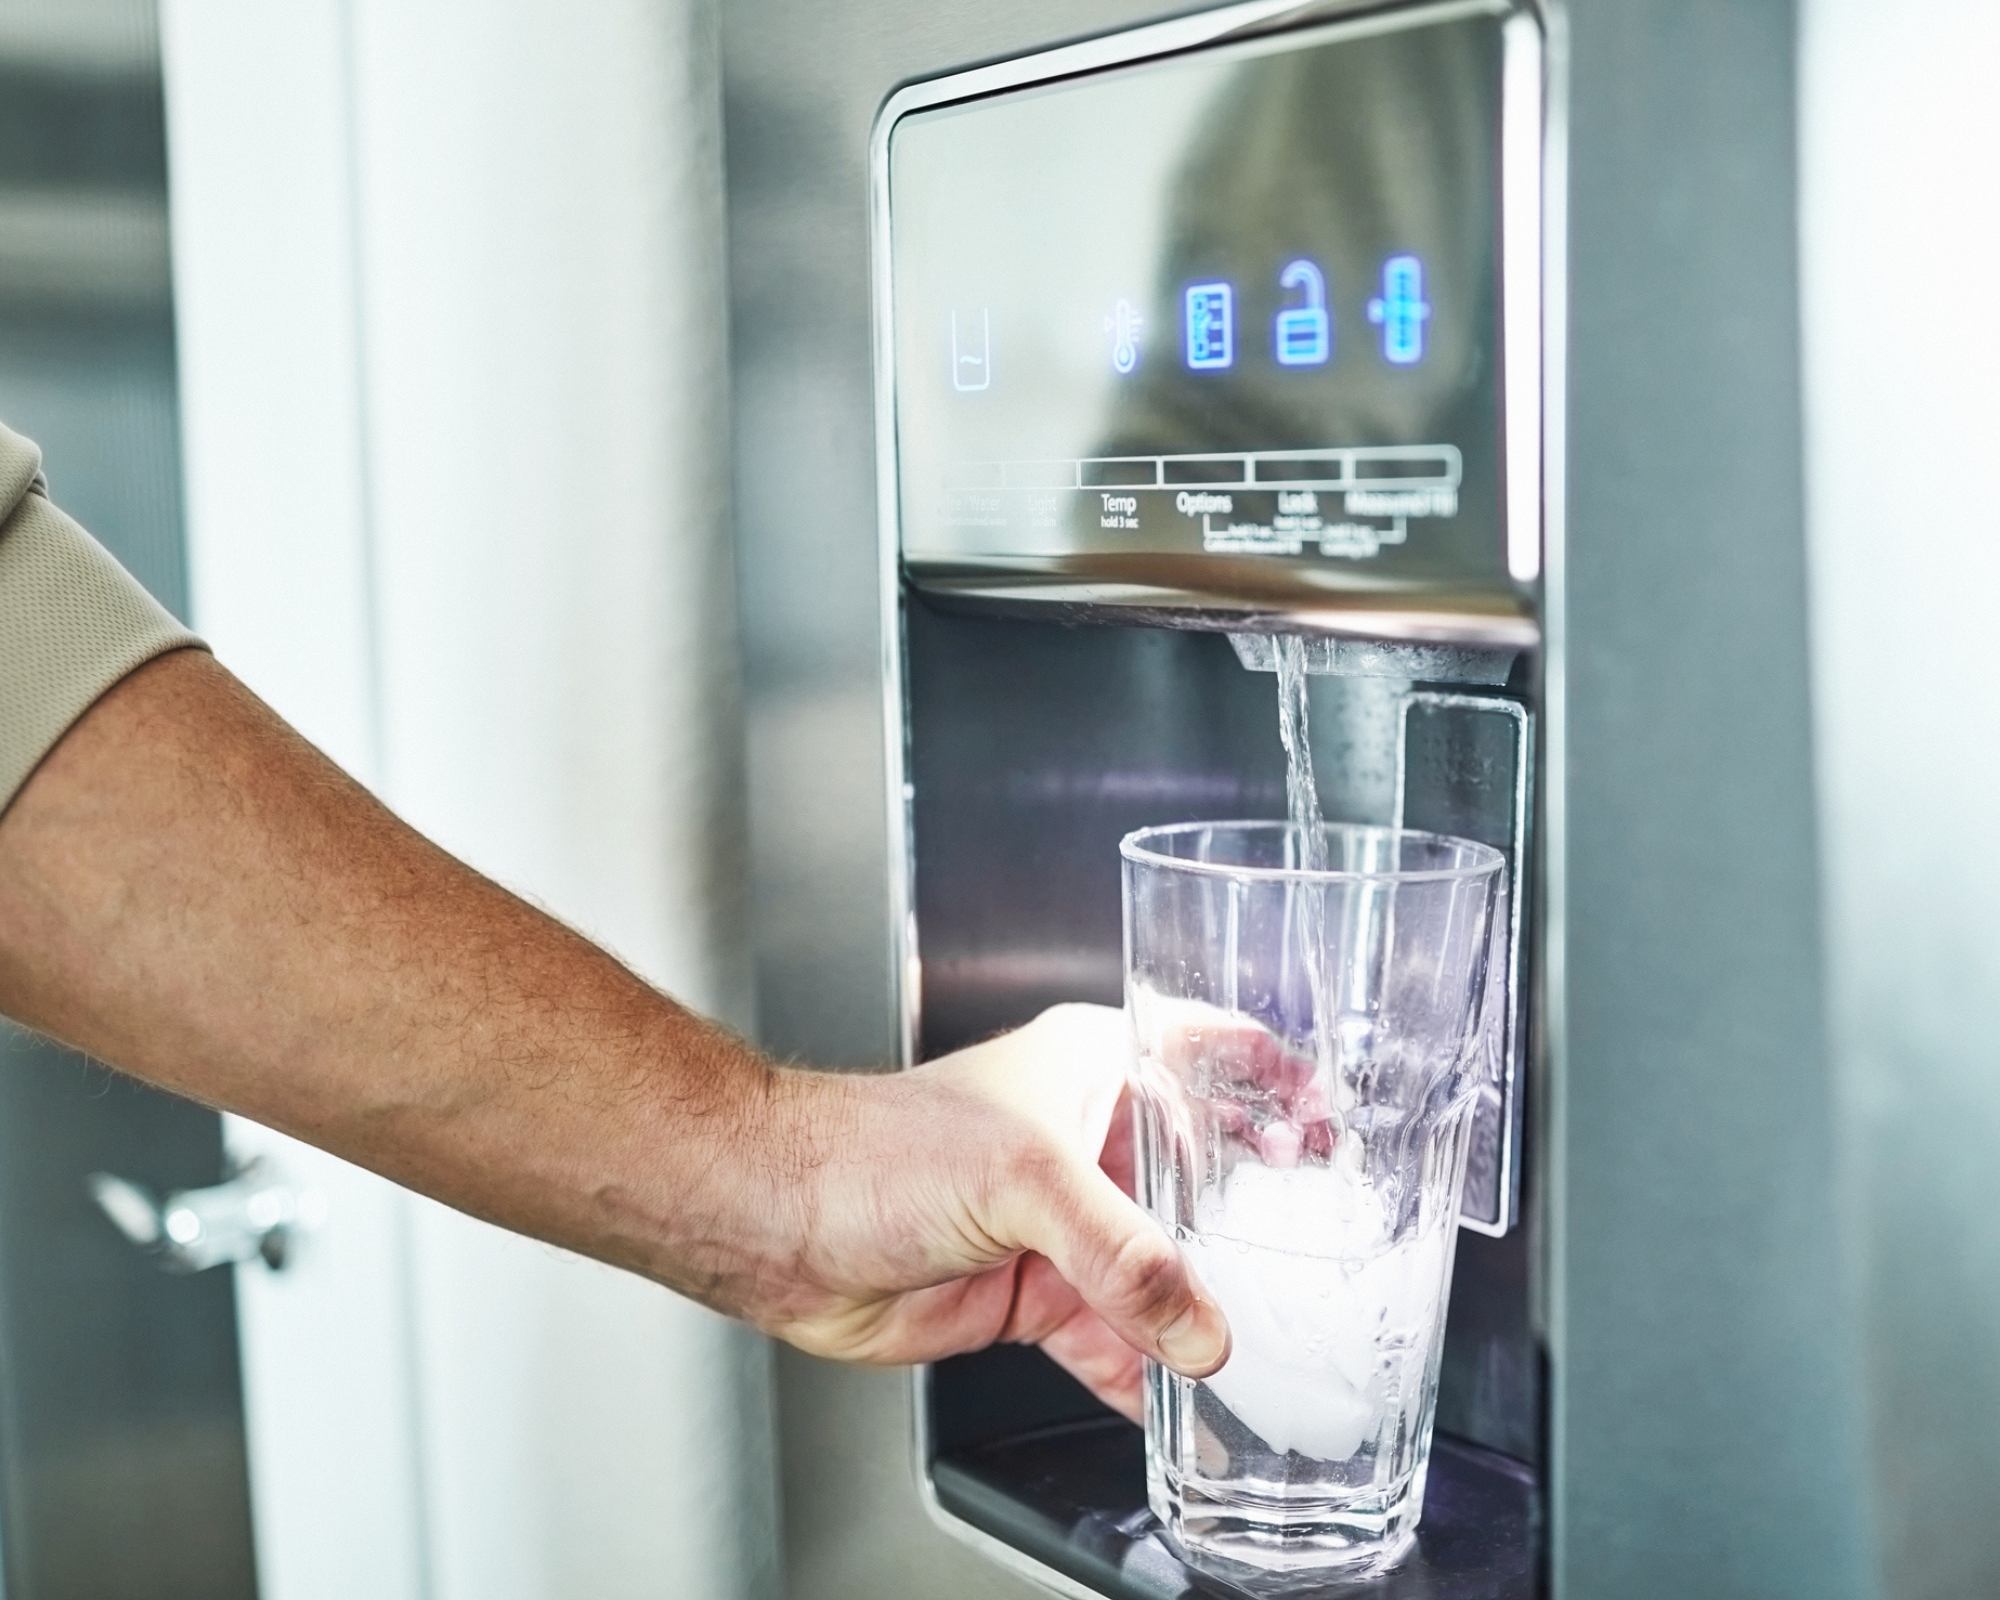
6. Reassemble & restart
Put the ice bin and any other removable parts back in their places. Once everything is reassembled, turn the ice maker back on using the power switch or button.
Allow the ice maker to produce its first batch of ice and then discard it. Wells says, "Rejecting the first batch is always advisable, since it may contain traces of vinegar or cleaning solution."
Voila! Your freshly-cleaned ice maker is now ready to go.
Meet our experts
By following these simple steps, you can maintain the quality and safety of your ice, providing peace of mind and better-tasting drinks.
Next, check out how to clean your freezer in an hour.