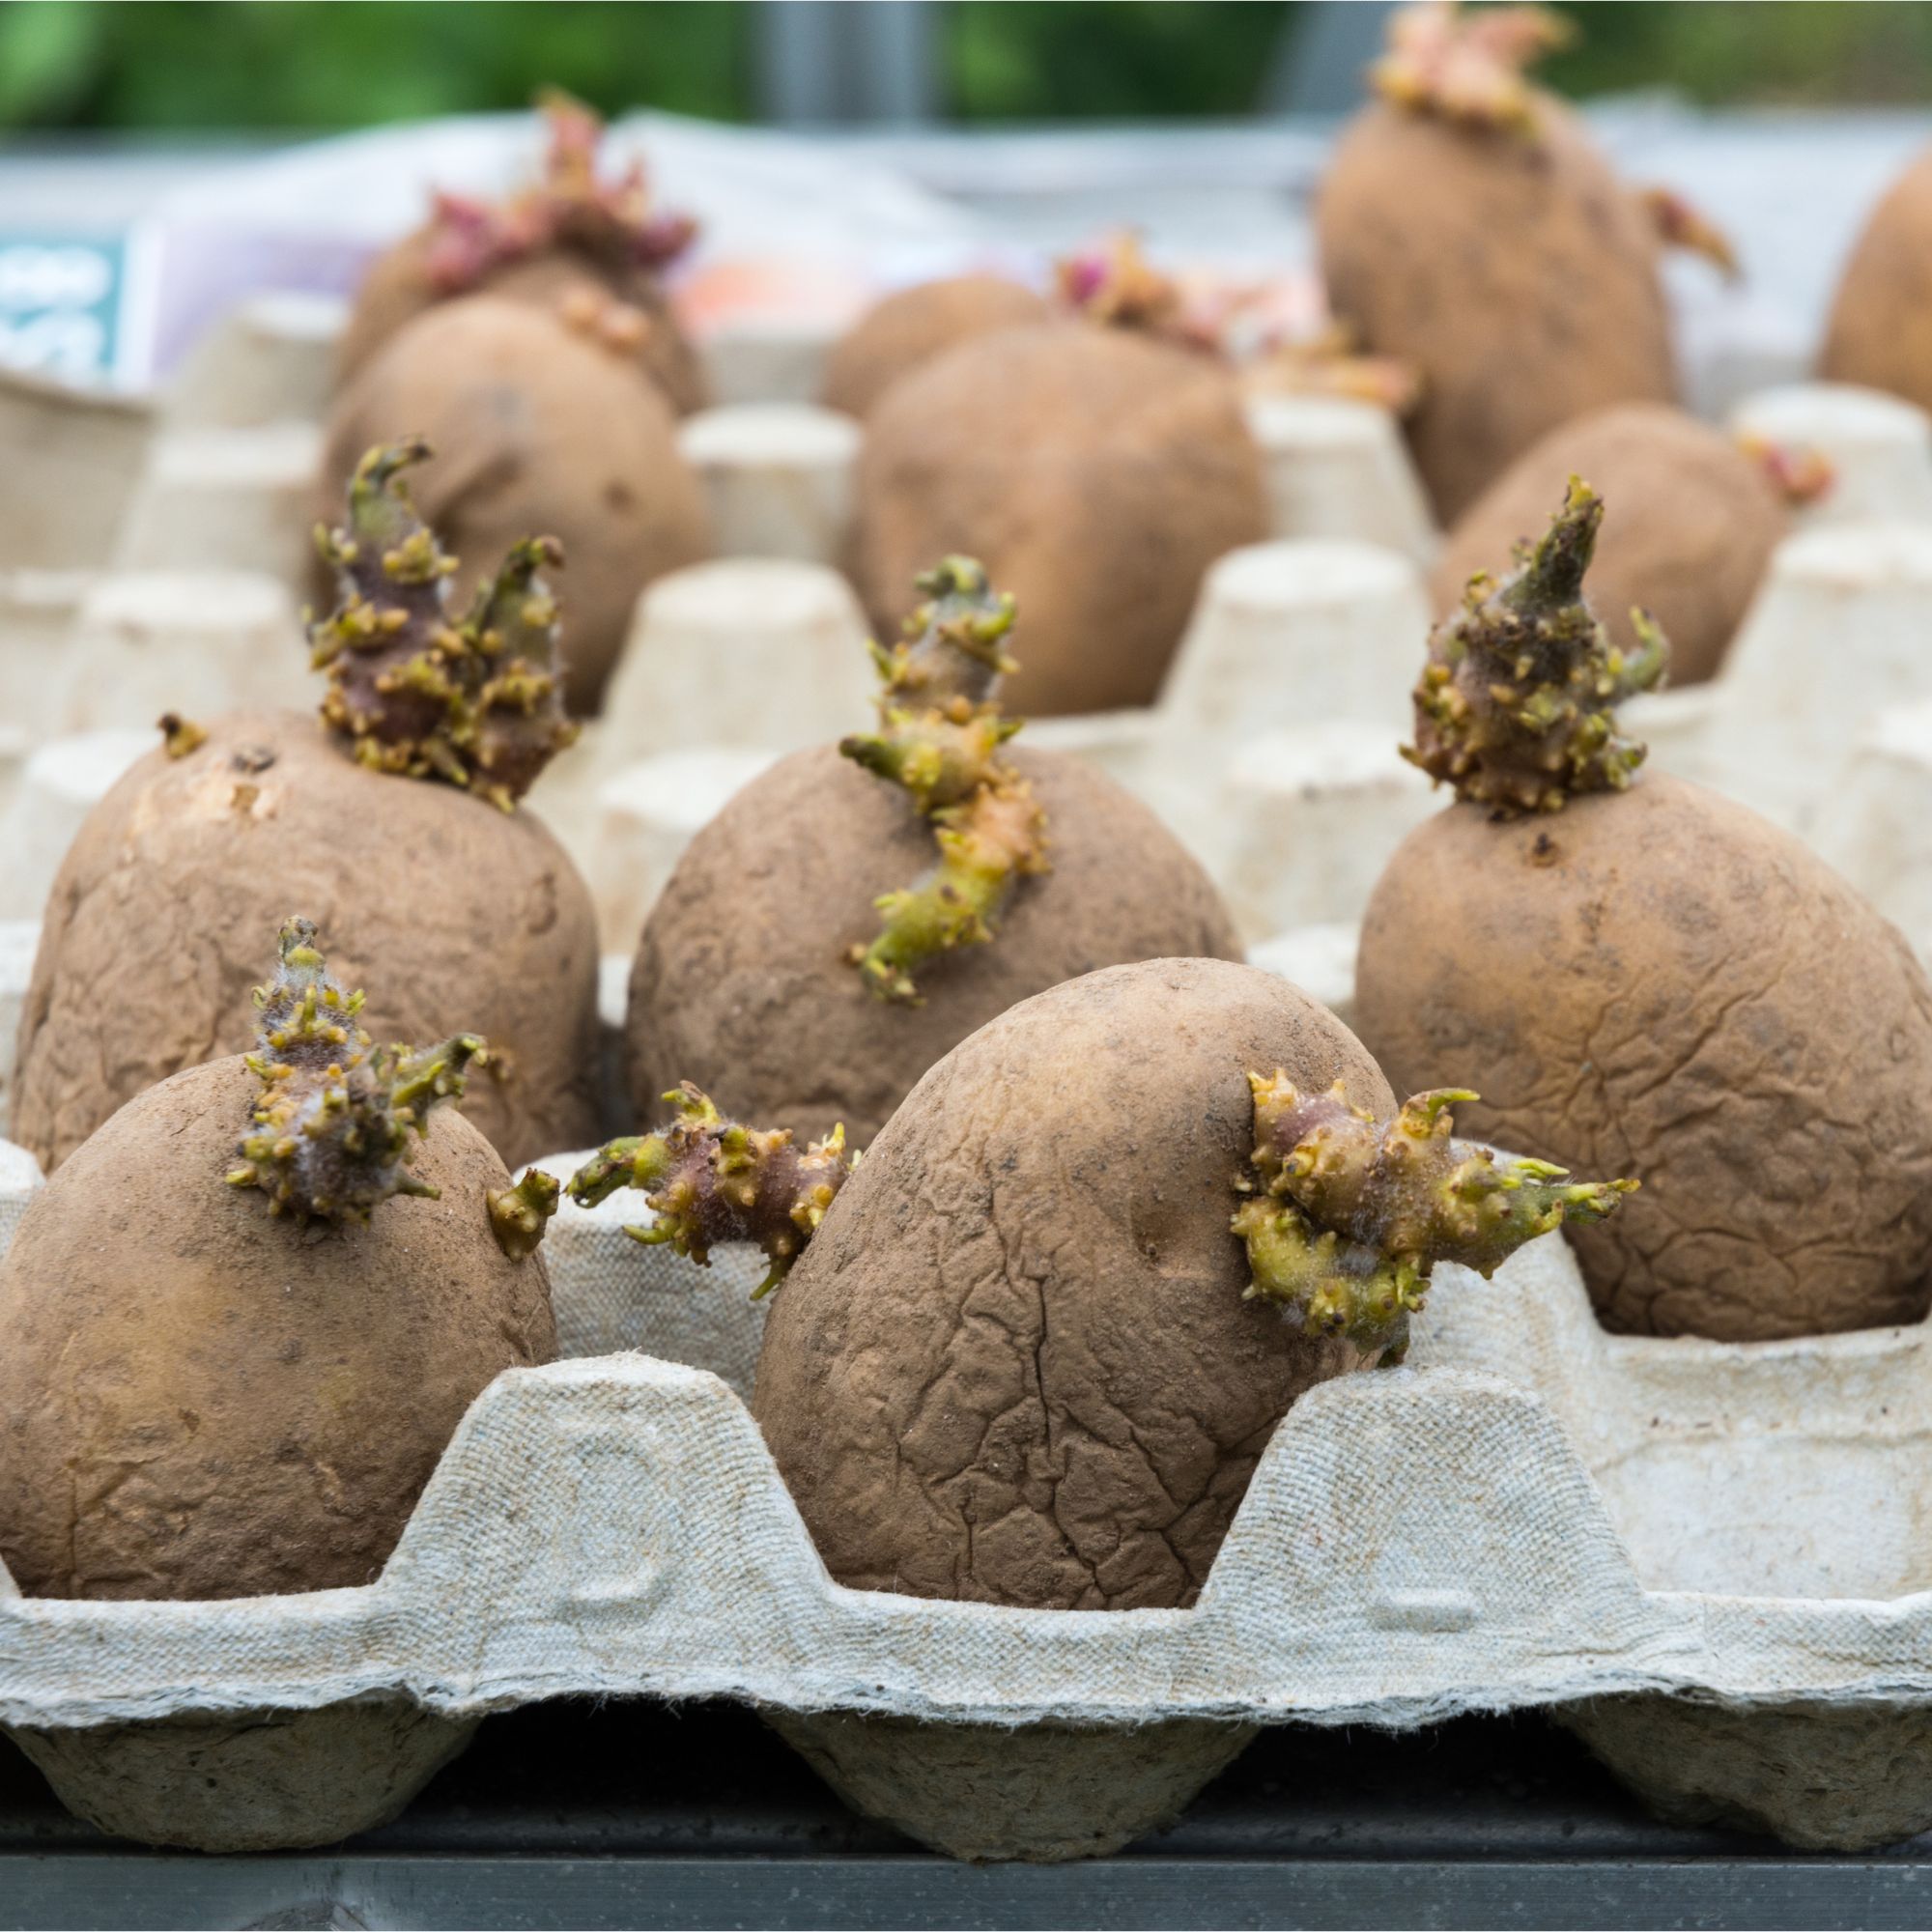
If you’re thinking about growing your own potatoes this year, there’s one important skill to learn before you get started: how to chit seed potatoes.
Many gardeners agree that learning how to grow potatoes is one of the most rewarding grow-your-own challenges out there, especially when it comes to harvesting potatoes — or digging for gold, as they say. But what does it mean to chit seed potatoes?
‘Chitting is the process of preparing seed potatoes for planting by encouraging them to sprout before they go into the ground,’ explains Dickon Harding, gardens and landscape manager at Raby Castle, Park and Gardens. ‘This gives them a head start, ensuring strong, healthy growth once planted.’
For a successful 2025 crop, take a look at our guide on how to chit seed potatoes...
What you'll need
- Seed potatoes like Potato 'Swift' from Thompson & Morgan
- Plant labels like the Whaline Wooden Plant Labels from Amazon
- An egg box or seed tray like the Verve Green Seed Tray from B&Q
- Newspaper
1. Check the seed potatoes over
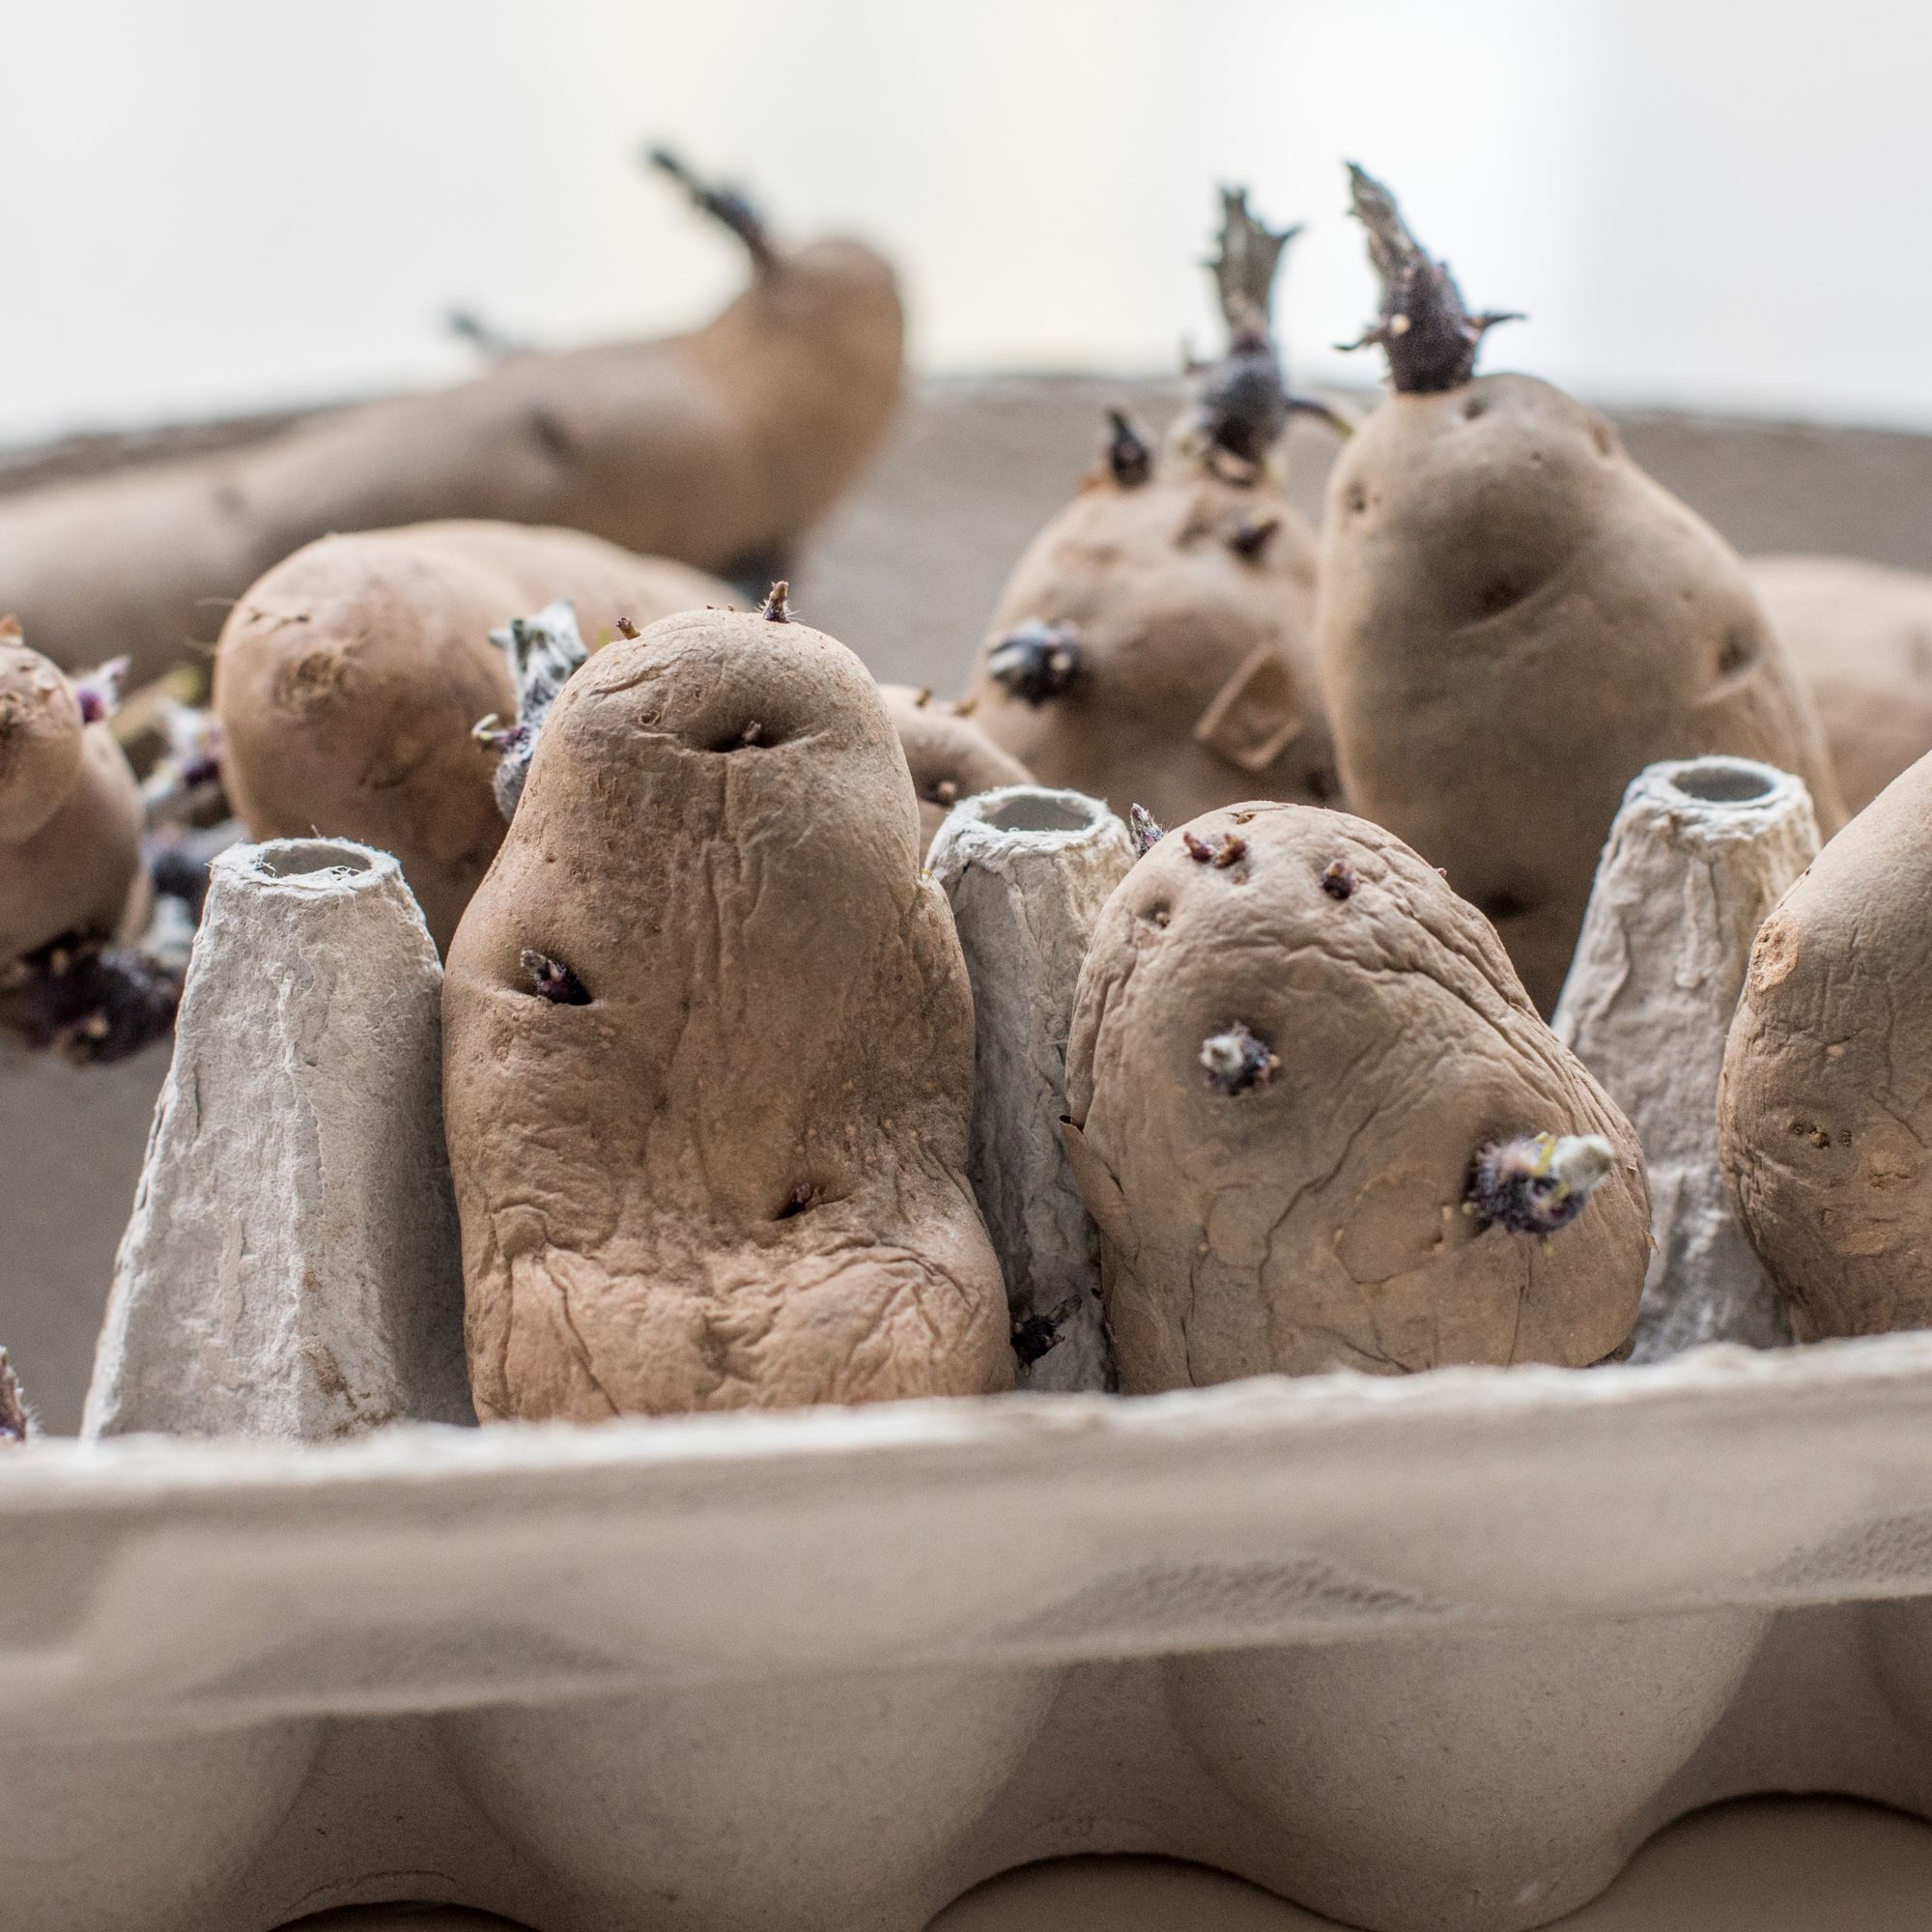
Seed potatoes aren’t quite the same as the potatoes we buy for roasts and mash — they’re sold specifically for planting. You should never try to grow potatoes from regular potatoes, because they’re often treated with sprout inhibitors which render them useless at producing a crop of spuds.
Before you learn how to chit potatoes, you’ll need to make sure your batch of seed potatoes are fit for the job — just as you would before storing potatoes.
‘Check your seed potatoes when you buy them and discard any that are damaged or mouldy as these won’t grow as well,’ advises Lucie Bradley, gardening and greenhouse expert from Easy Garden Irrigation.
If you still need to stock up on seed potatoes, here’s where you can buy them:
- Thompson & Morgan: Browse a huge selection of first early potatoes
- Dobies: Plenty more seed potatoes to choose from
- Suttons: Another brilliant range of seed potatoes
2. Position the seed potatoes
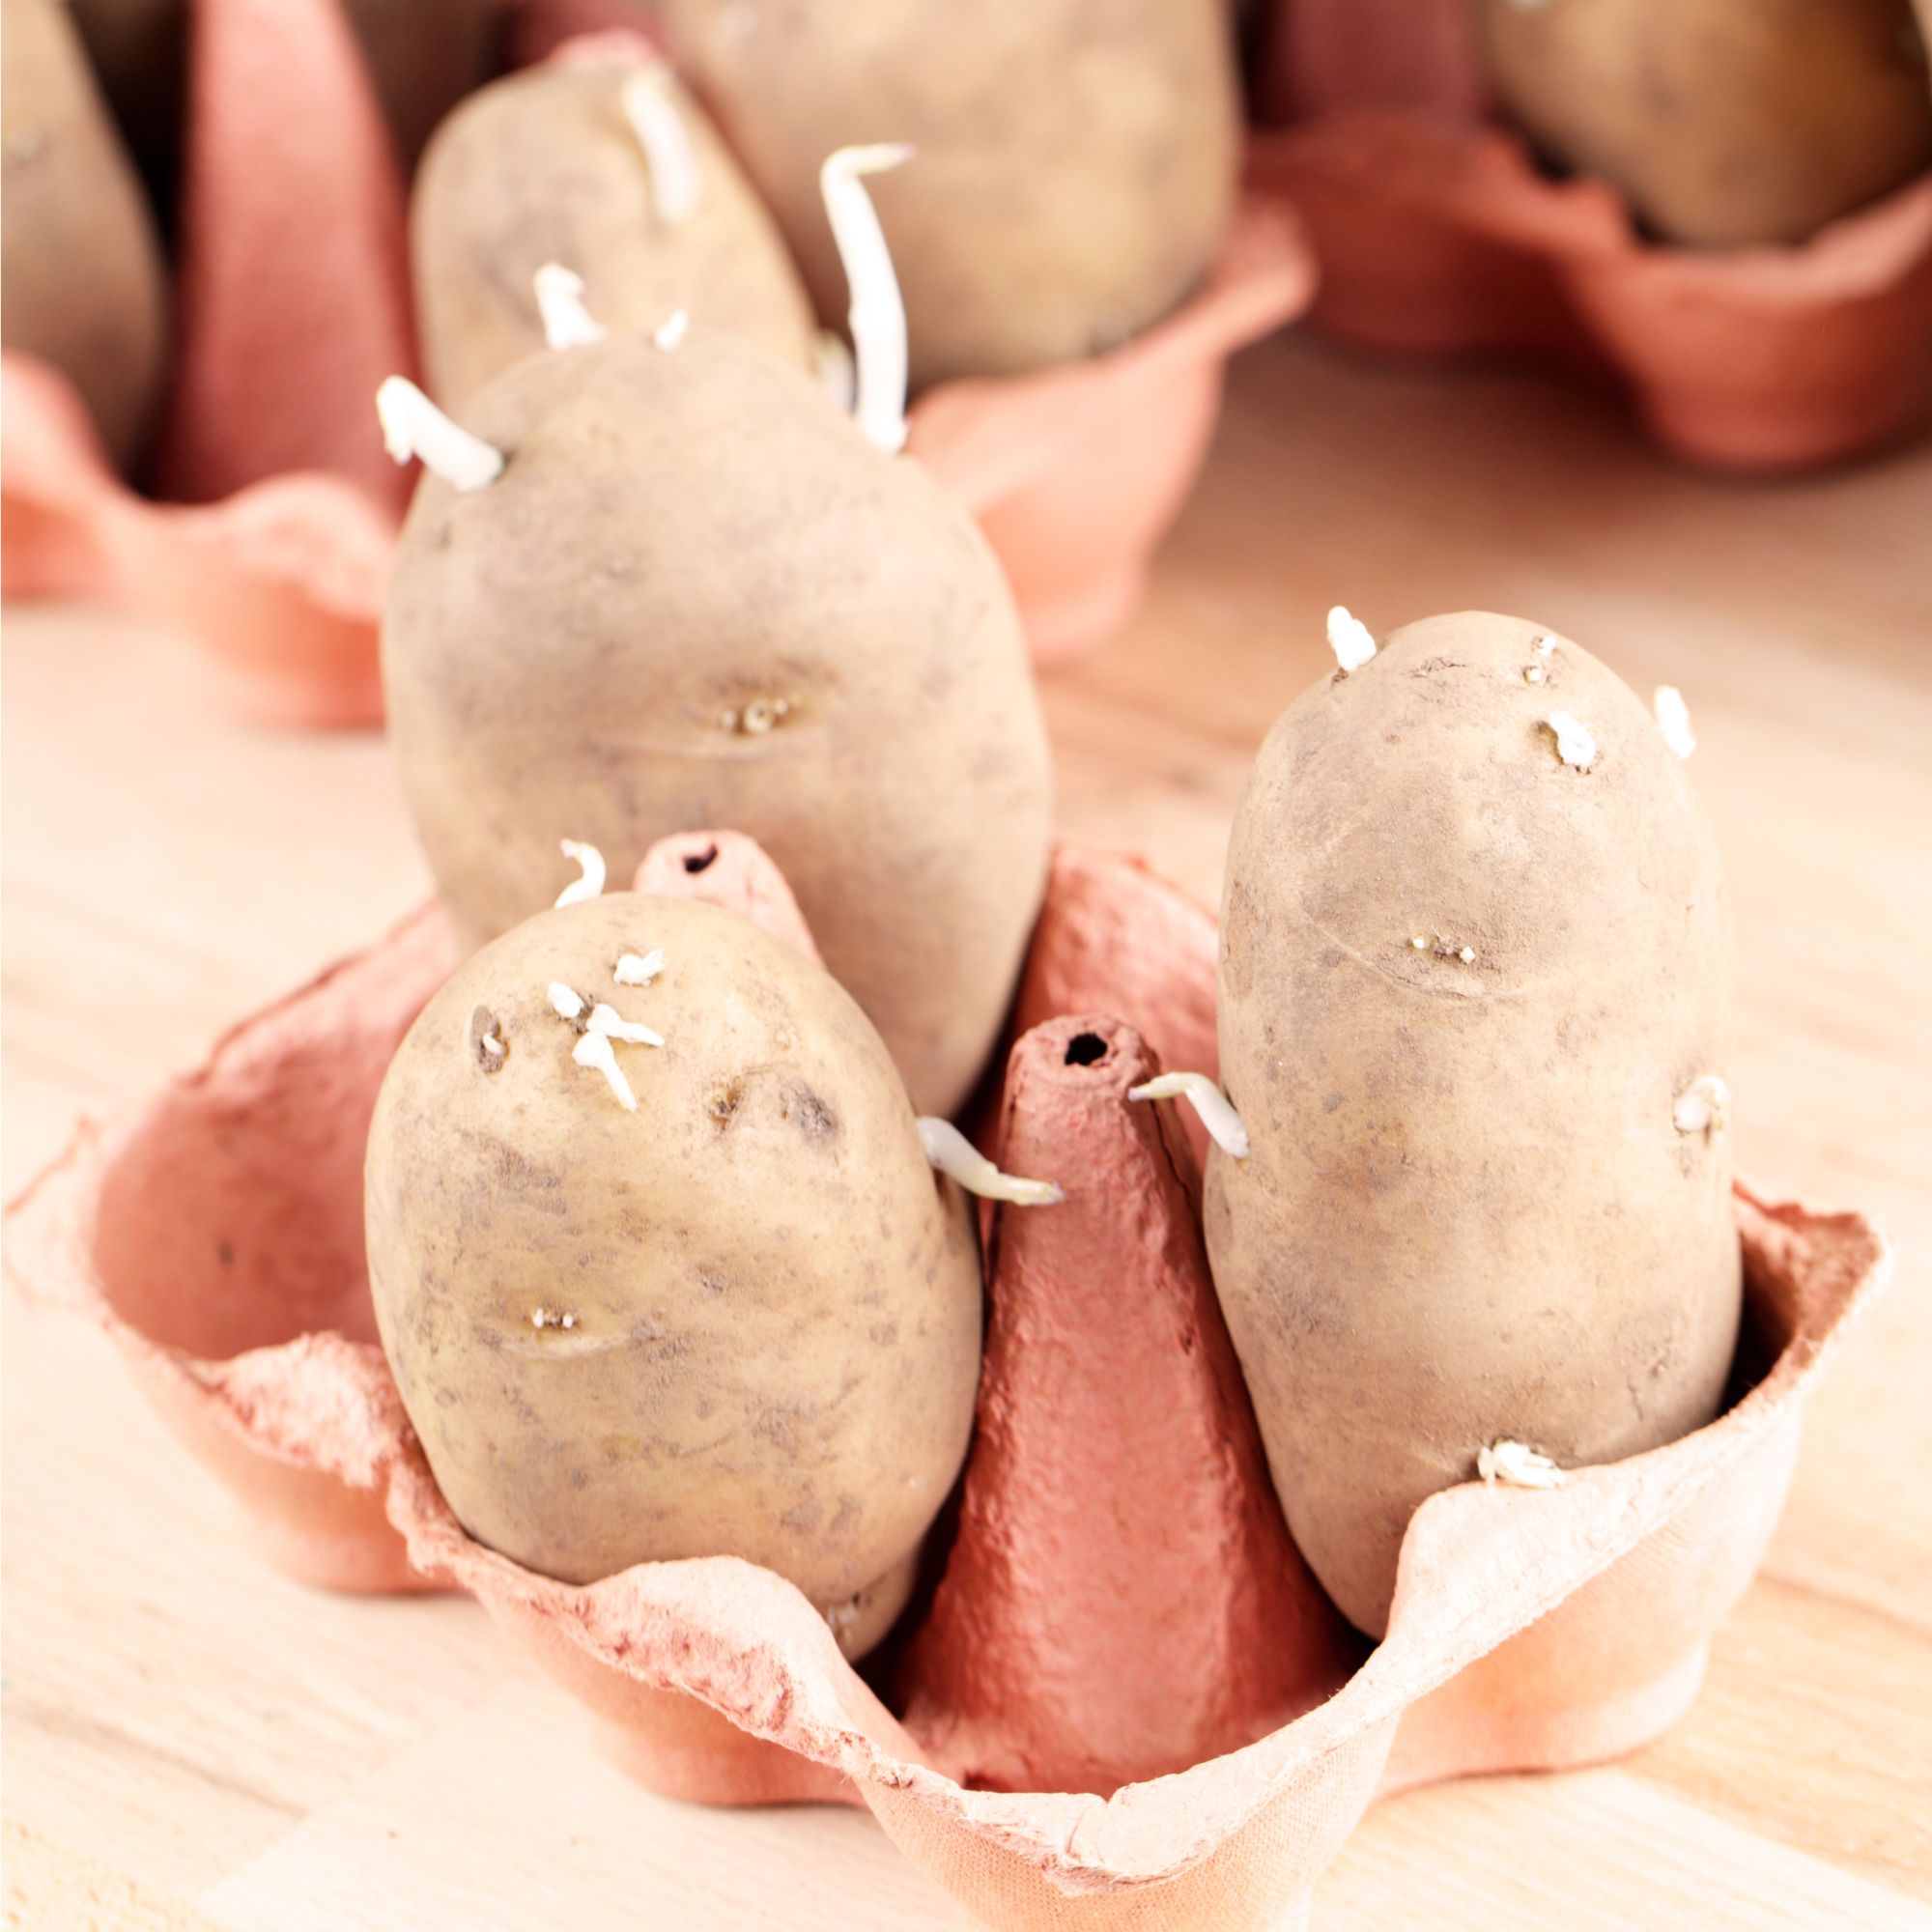
Learning how to chit seed potatoes is relatively straightforward, but you’ll need to position them correctly to encourage them to sprout well.
‘Place your seed potatoes in seed trays (egg cartons also work well) with the ‘rose end’ (the end with the most eyes) facing up,’ advises Dickon.
Wondering what the eyes of a potato look like? ‘The eyes are simply small dents in the skin of the potato and are found on the more rounded, blunt end of the potato,’ explains Lucie.
It’s crucial that there are gaps for ventilation between potatoes. ‘Chitting takes up to six weeks, so to avoid damp or mould, make sure air can get around the potatoes.
That’s why egg boxes are ideal. Or, you could use trays. ‘Make sure you line them with old newspaper and leave sufficient space around each potato so it isn’t touching its neighbour,’ Lucie adds.
3. Choose the right spot
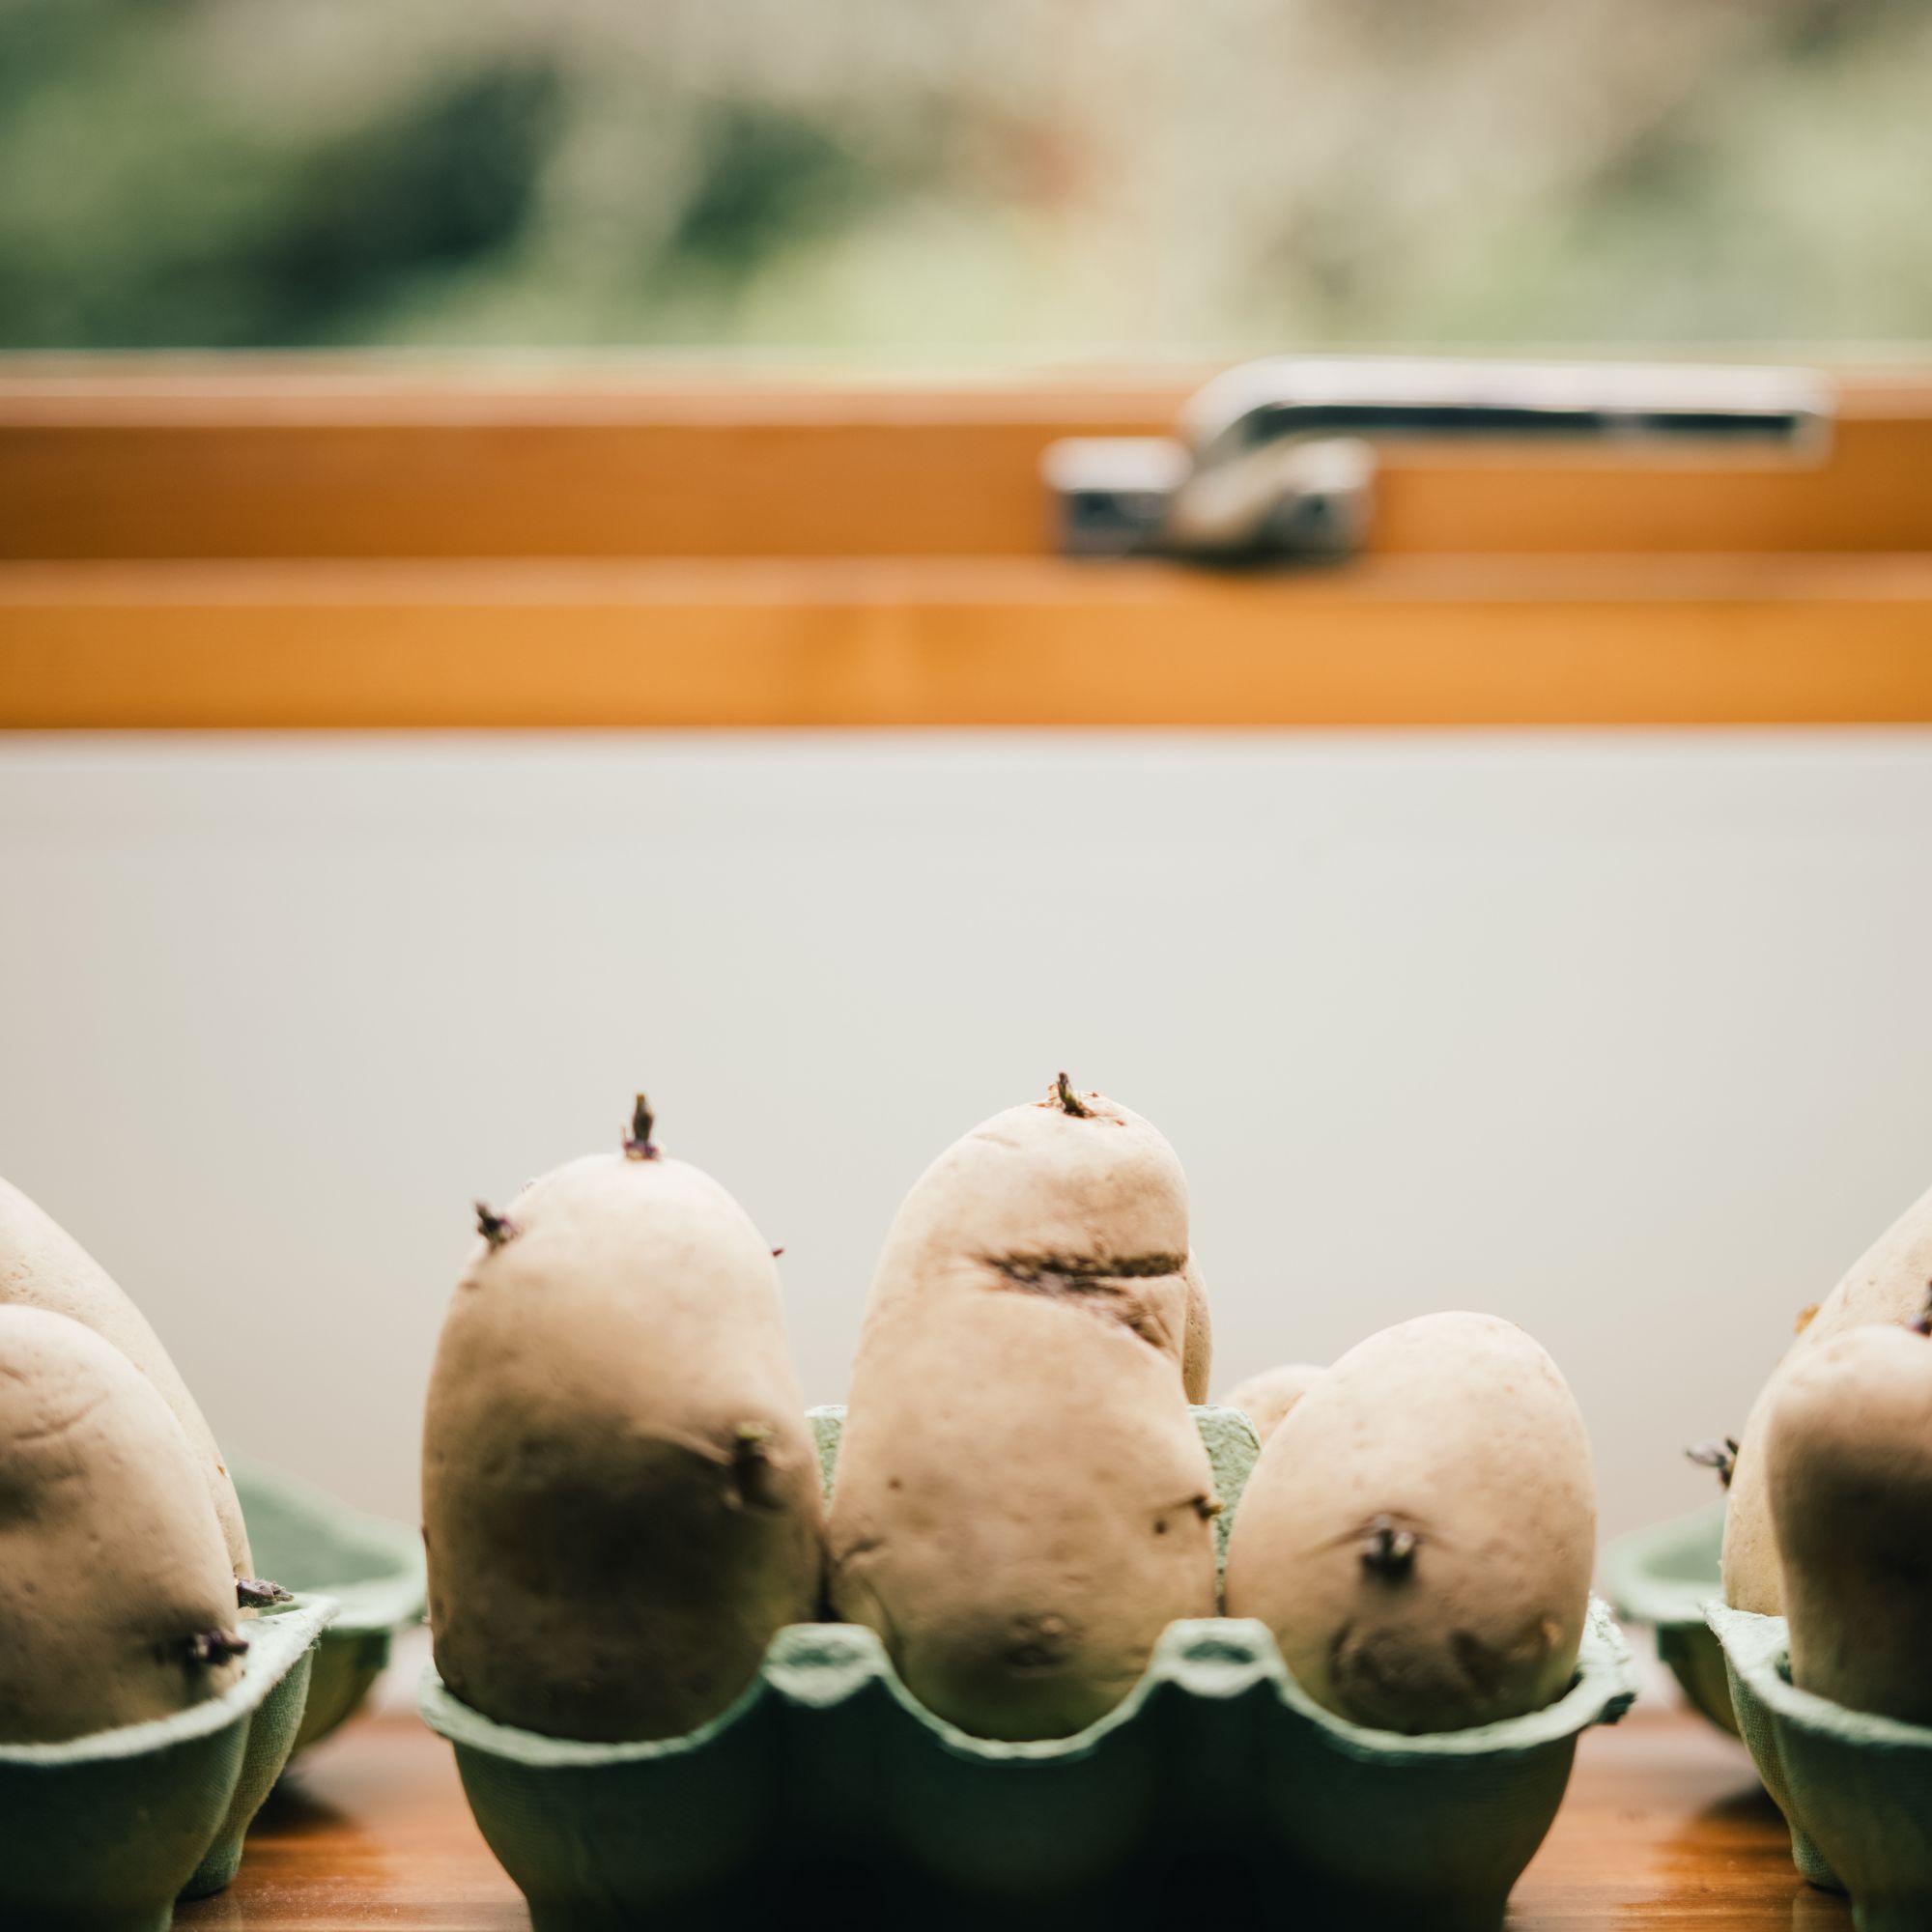
If you’re learning how to chit potatoes for the first time, know this: location is crucial. You’ll need to choose a bright, frost-free spot with plenty of ventilation.
‘To ensure strong, healthy green shoots, your potatoes should always be placed somewhere where there is lots of natural light, and where it is dry, cool and frost-free — as long as the temperature is around 7-12 degrees Celsius and there is no dampness,’ says Lucie.
‘So, chitting can be done in a spare room, inside a porch, on a windowsill, or in your greenhouse or polytunnel.’
If your seed potatoes don’t receive enough light, they’re unlikely to produce strong sprouts. ‘When there is too little light, the sprouts would be weaker, longer and thinner and likely to break off when planting,’ Lucie explains.
If you’re struggling to find a bright enough spot, Lucie says you can use artificial lights instead. Something like the Wolezek Grow Lights from Amazon can work wonders.
4. Remove excess shoots
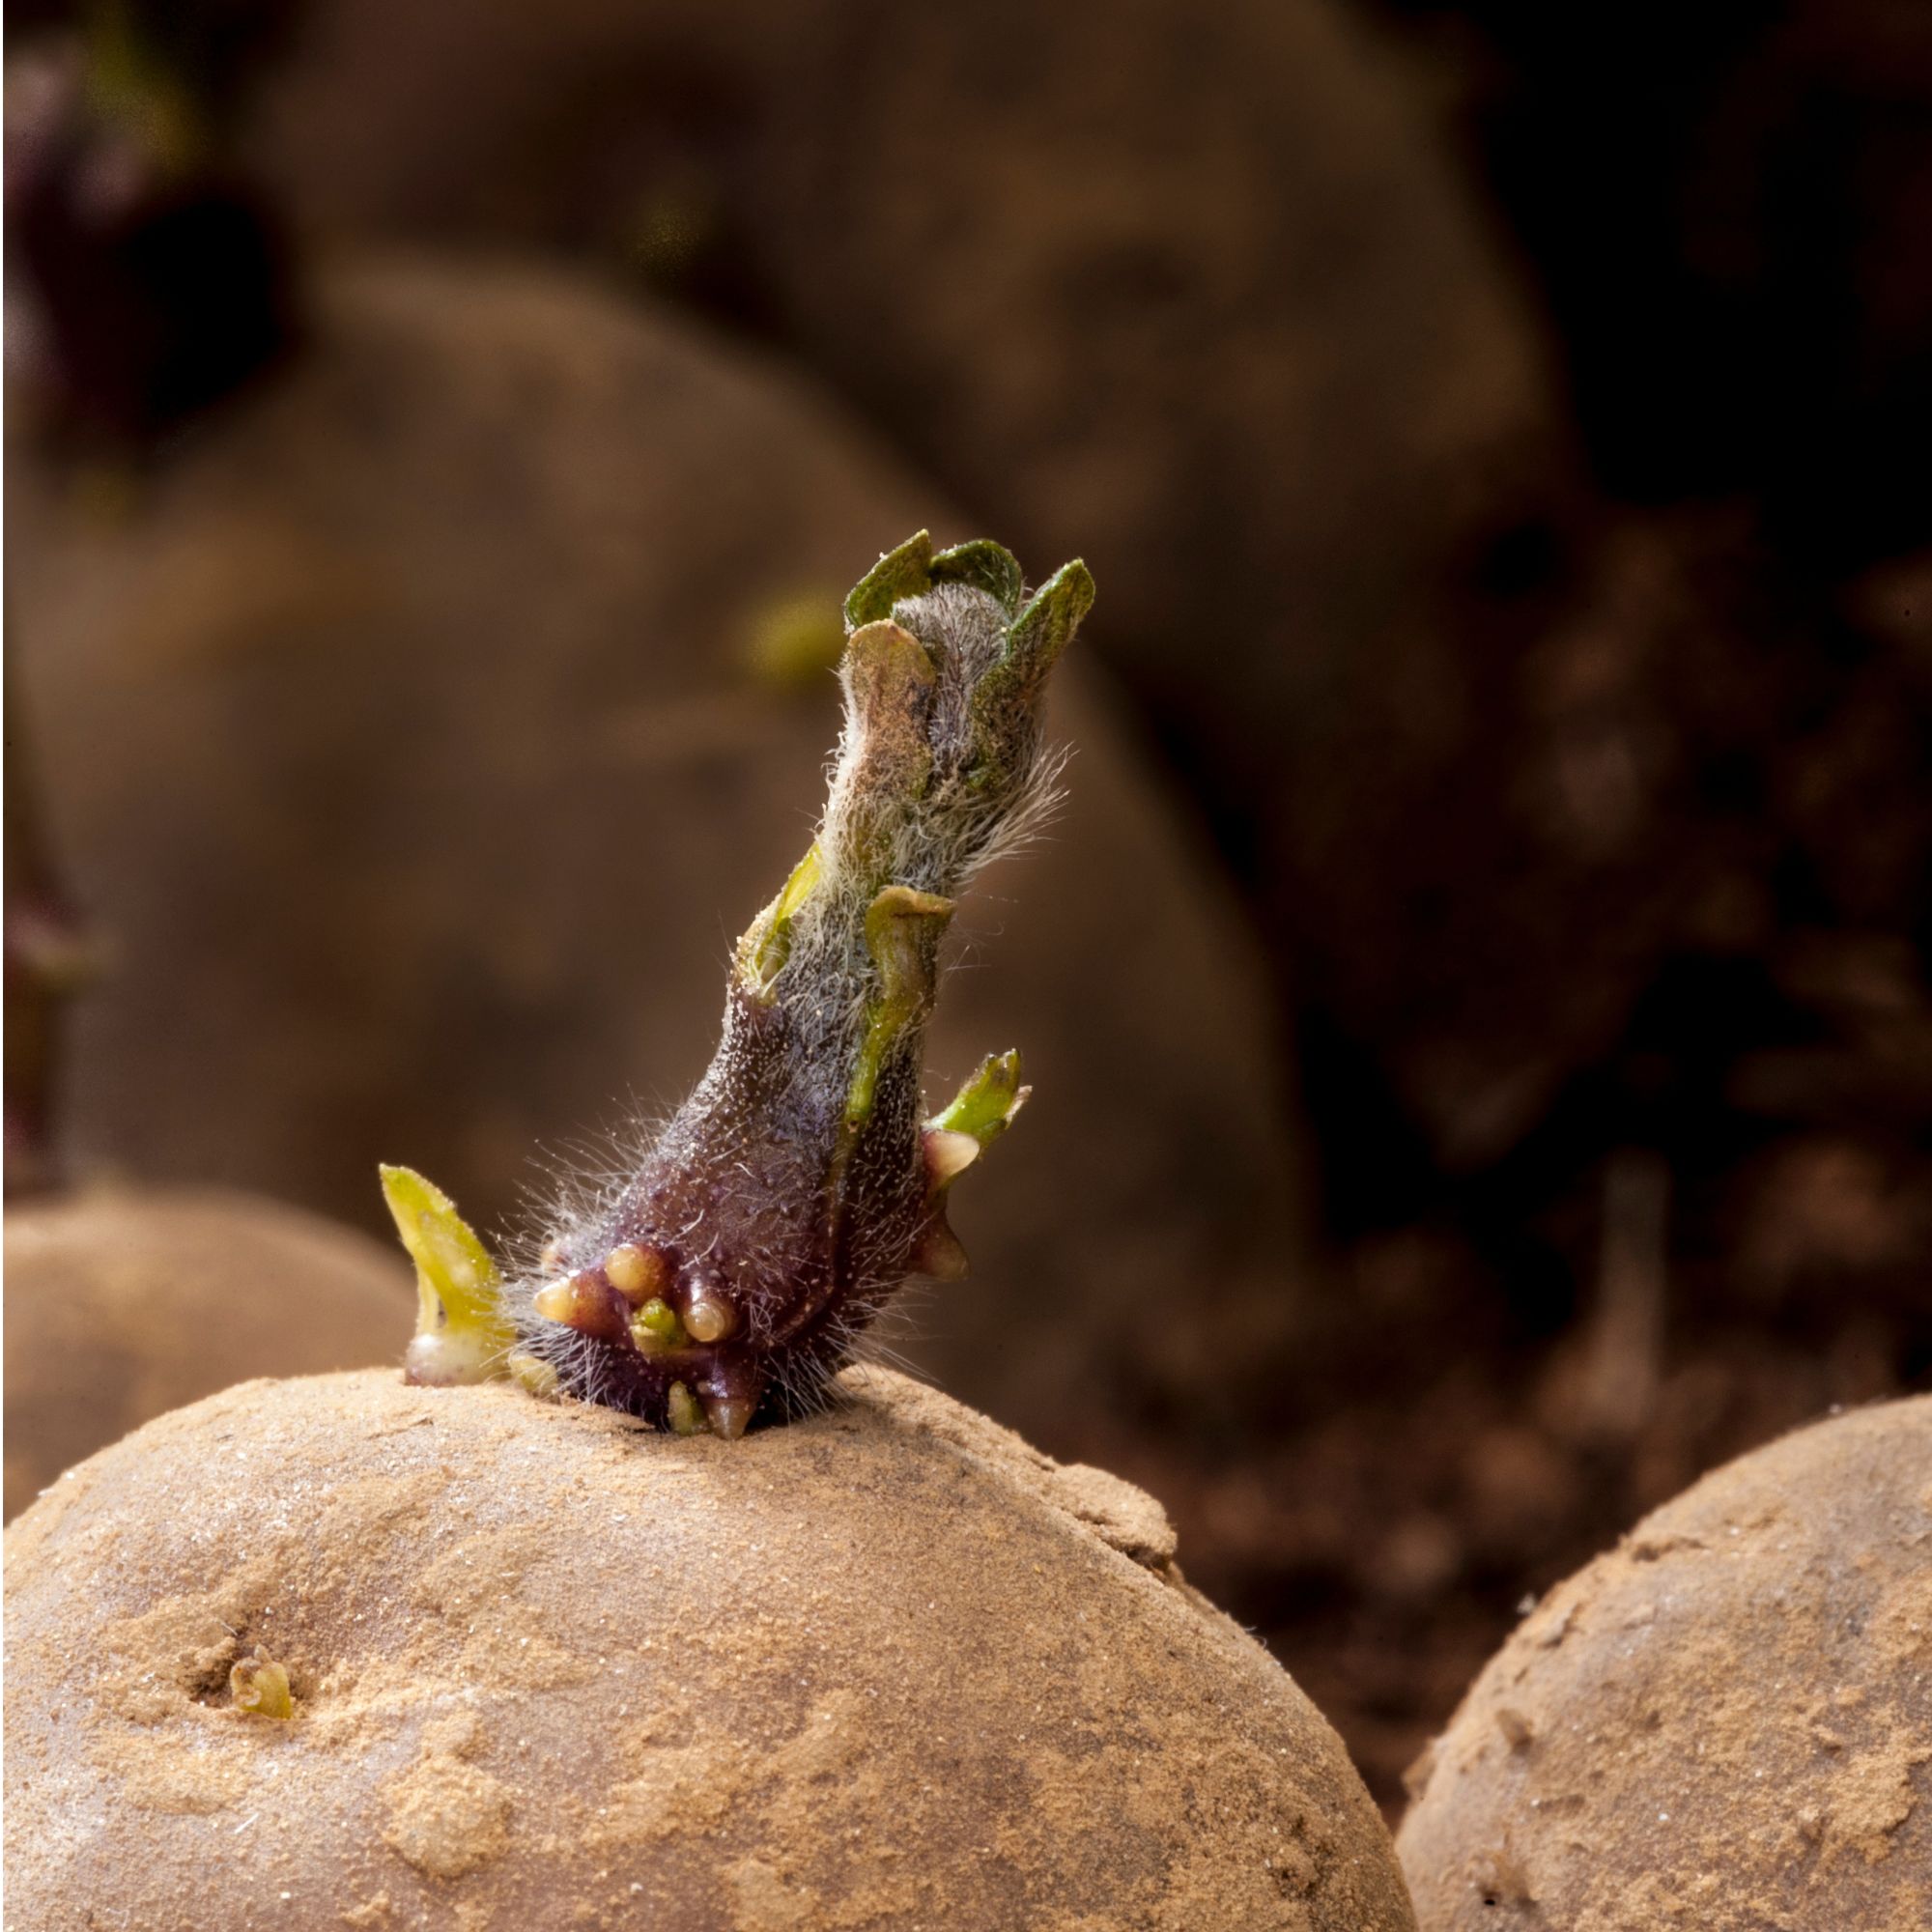
As your seed potatoes sprout, it’s a good idea to remove the weaker shoots in favour of a stronger few.
‘Leaving too many shoots can weaken the plant’s overall development,’ explains Dickon. ‘Keep the three or four strongest to ensure a productive crop.’
Then, you can start thinking about when you should be planting your potatoes, whether you'll be growing potatoes in grow bags or in the ground. If you learned how to chit seed potatoes in late winter, you can plant them as early as spring.
‘Aim to plant them out in April,’ Dickon says. ‘Even though frost risks remain in early spring, the shoots will be protected under the soil and continue growing steadily.’
FAQs
When should you chit potatoes?
Late winter is the best time to learn how to chit potatoes, especially for early varieties.
‘You can start chitting potatoes from late January into February,’ says gardening expert Lucie. ‘Basically, you should allow up to six weeks for chitting to take place before you plant.’
That way, you can work backwards from your target planting date. Where you plan to grow potatoes also comes into play.
‘When growing potatoes in a greenhouse or polytunnel, you will be able to start chitting the potatoes two weeks earlier than if you were planting them outdoors,’ Lucie explains.
What happens if you don't chit potatoes?
Although chitting isn’t an essential step, it’s highly recommended if you want stronger plants and extra harvests.
‘Skipping the chitting process can delay the potatoes’ growth once they’re planted,’ warns Dickon from Raby Castle, Park and Gardens. ‘Seed potatoes might sit dormant in the cold soil, risking rot instead of sprouting.
‘Additionally, unchitted potatoes are more likely to produce uneven or weaker growth, reducing the harvest yield.’
Of course, if you’re planting potatoes late and don’t have time to chit them, it’s still worth planting them out — under the right growing conditions, you should still have plenty of gold to find come harvest time.
Now you know how to chit seed potatoes! The skill is an absolute staple for avid gardeners.


